The Conversation (0)
Sign Up
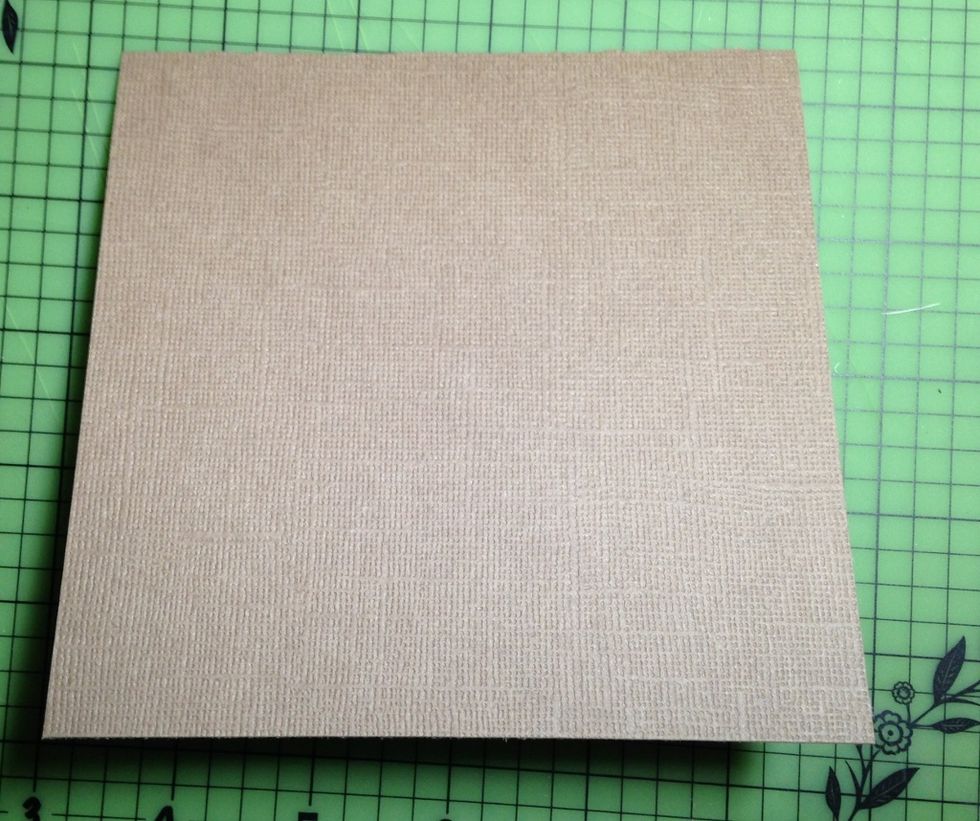
make card base using 5 X 10 piece of brown cardstock
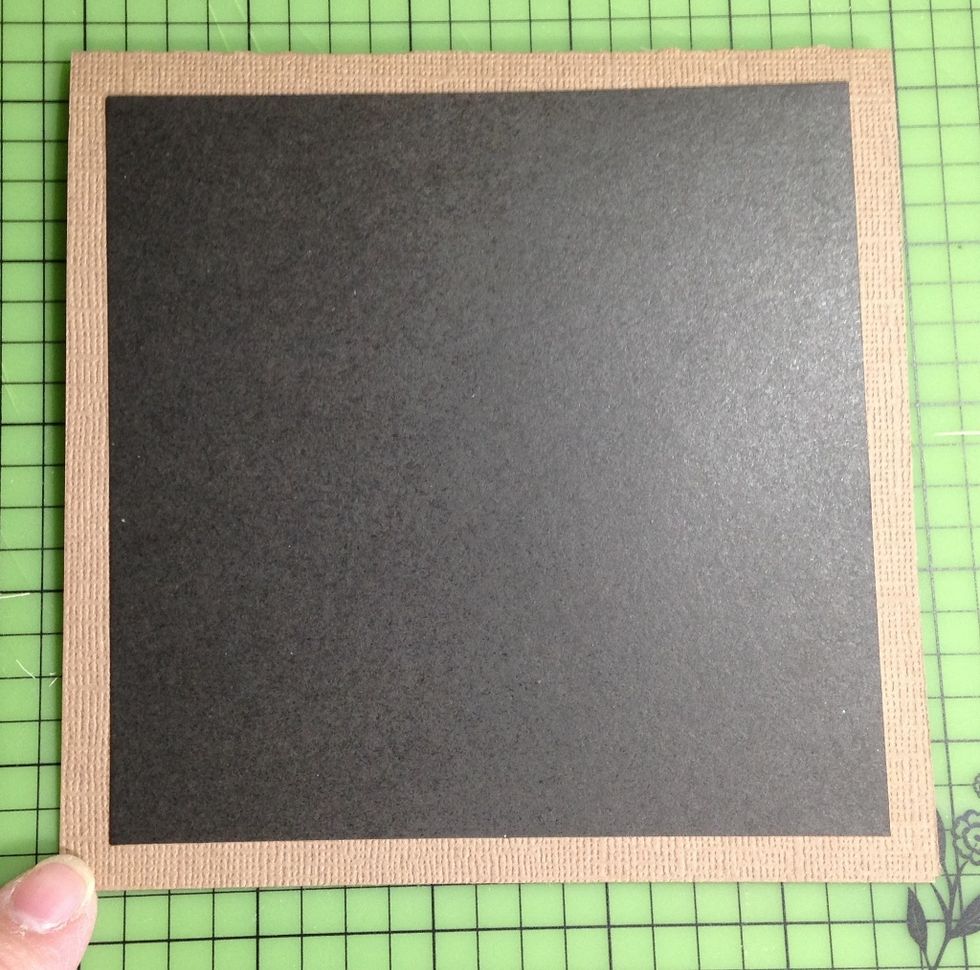
cut and adhere a 4 1/2 square of black cardstock to center of card base
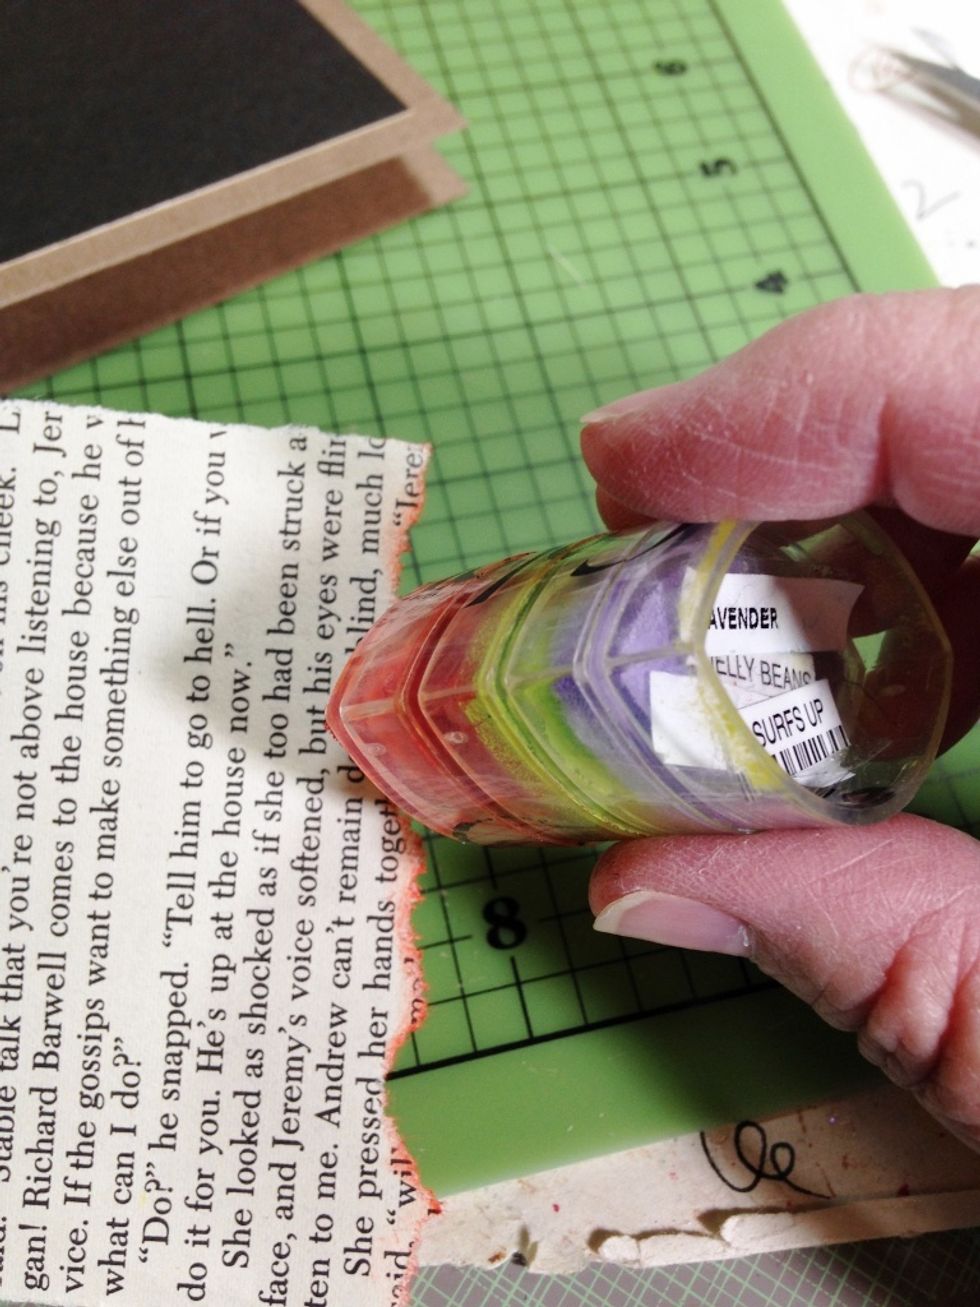
tear a 3 1/2 X 4 3/4 piece from book page; ink edges using Mango Tango Pigment Ink
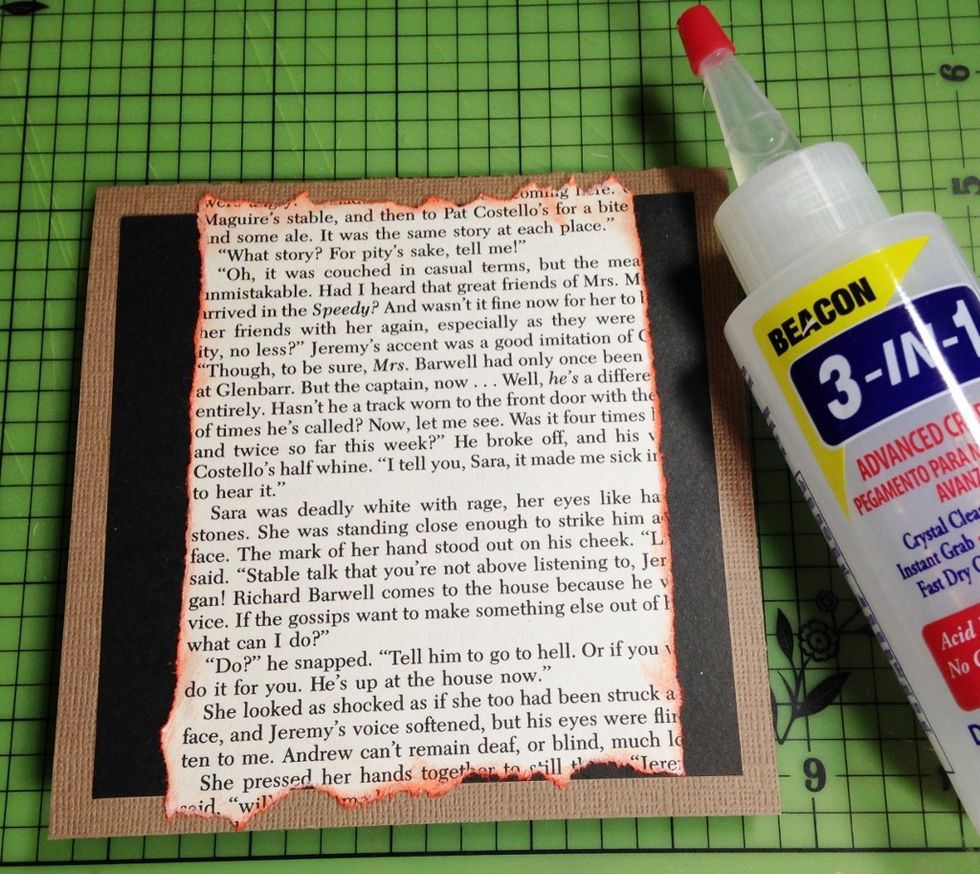
adhere to card base
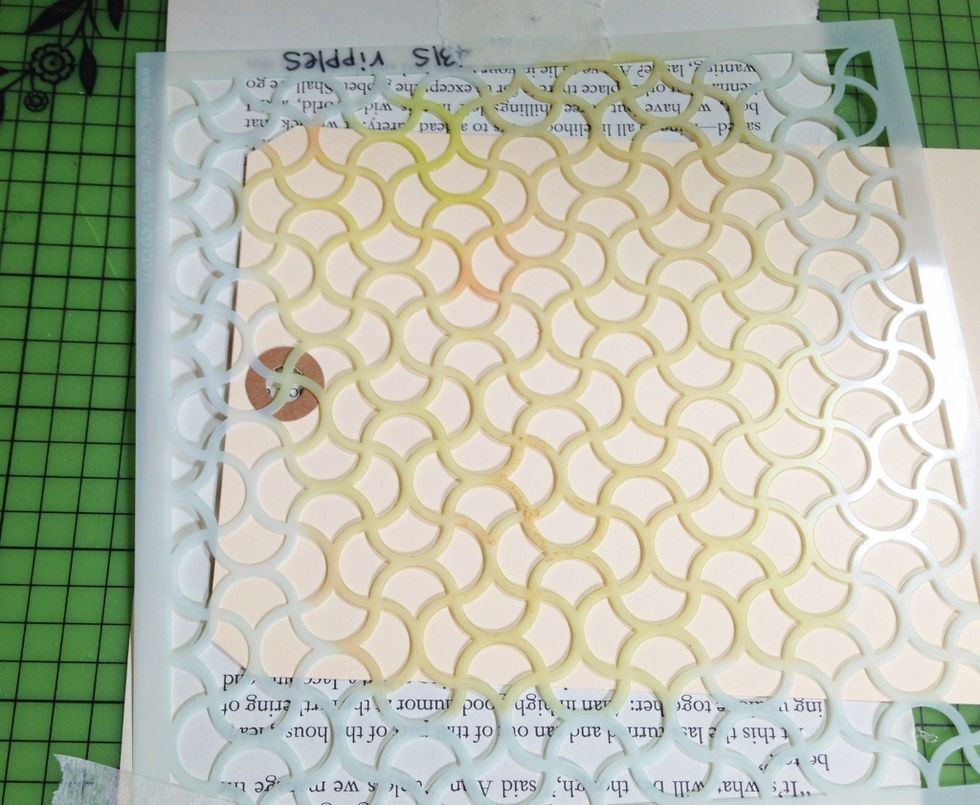
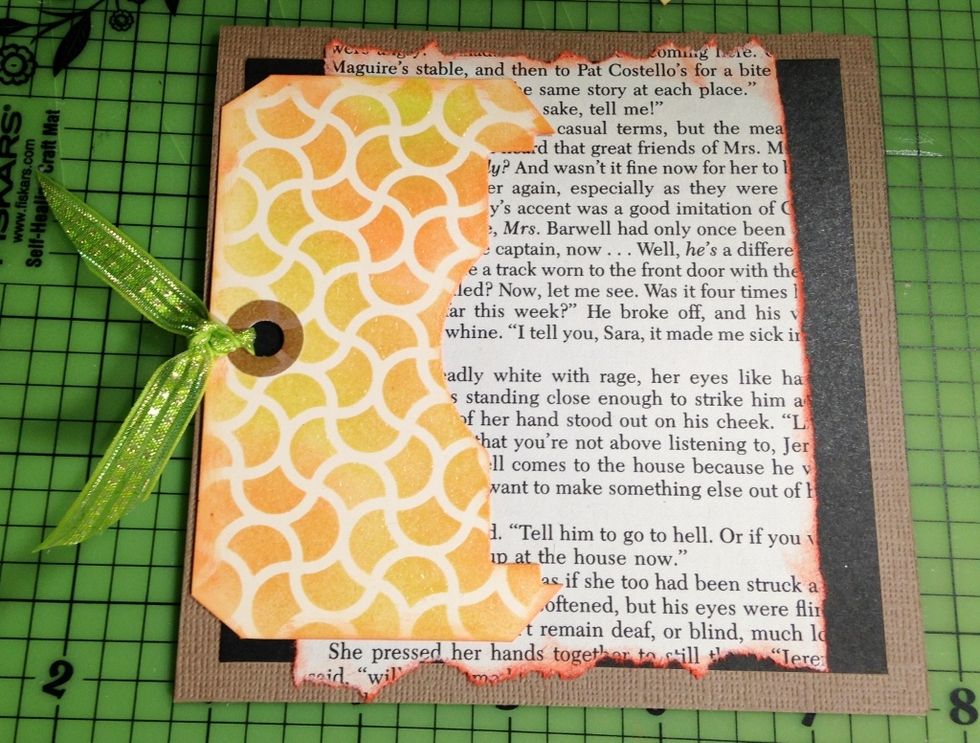
tape stencil down over hole end of manila tag
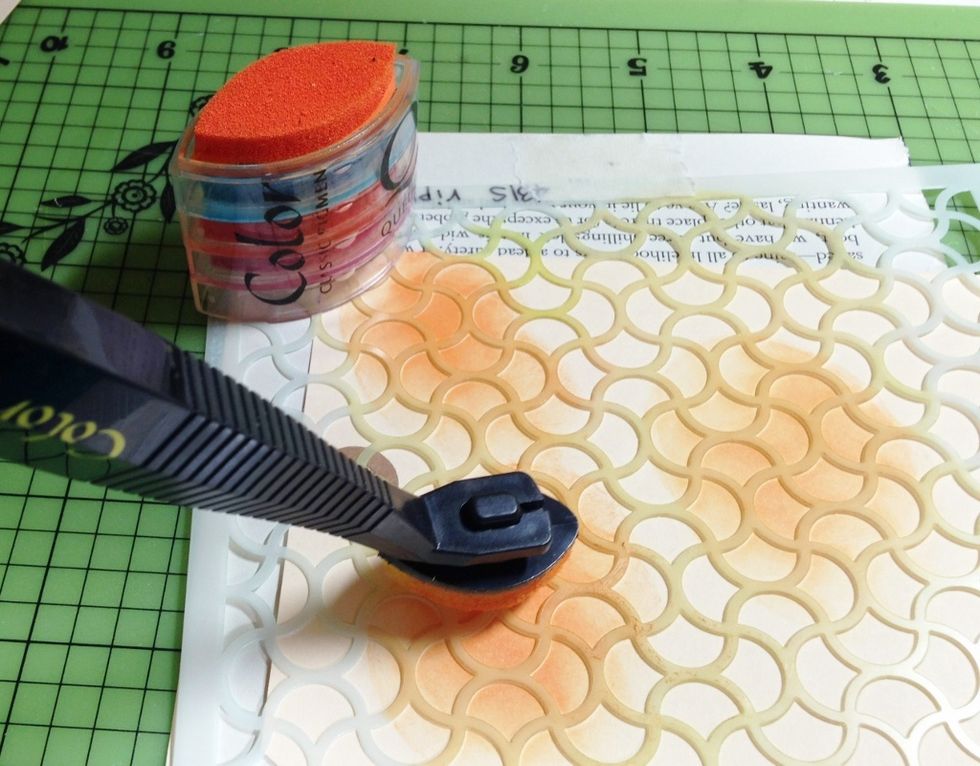
ink portions of tag using Mango Tango Pigment Ink
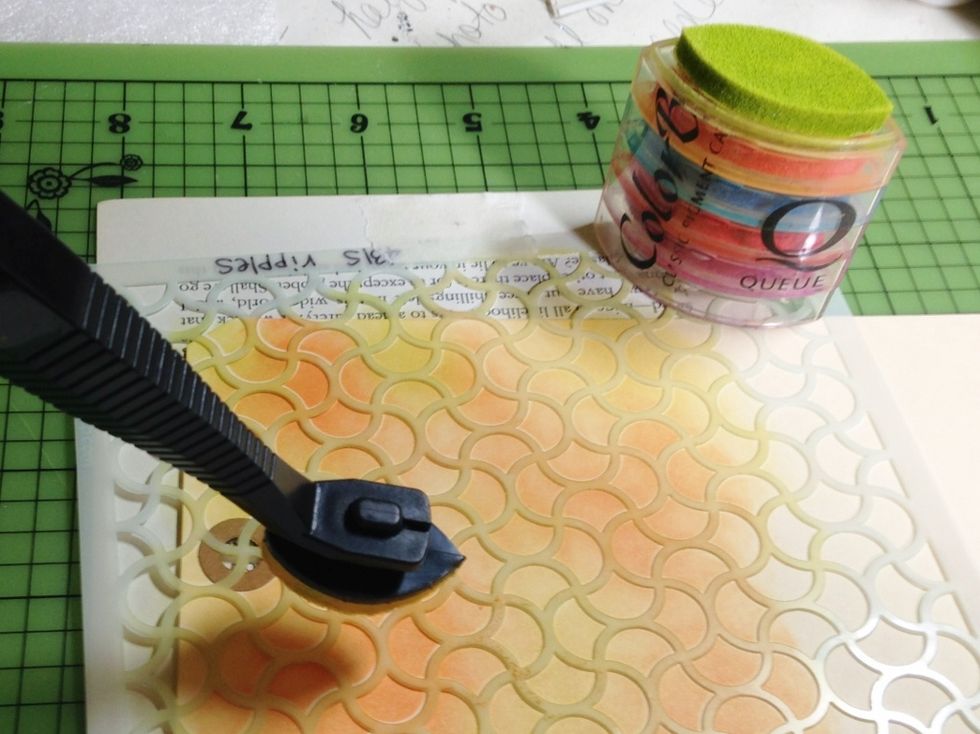
ink in rest of pattern using Lemongrass Pigment Ink, then blend colors together where they meet
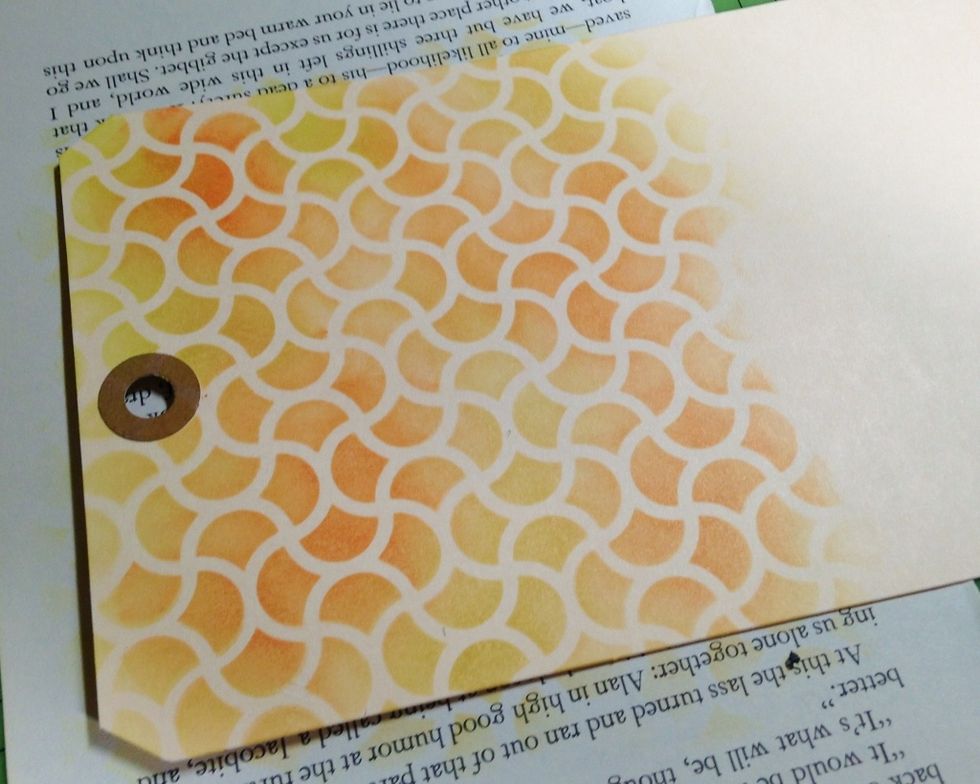
inked tag
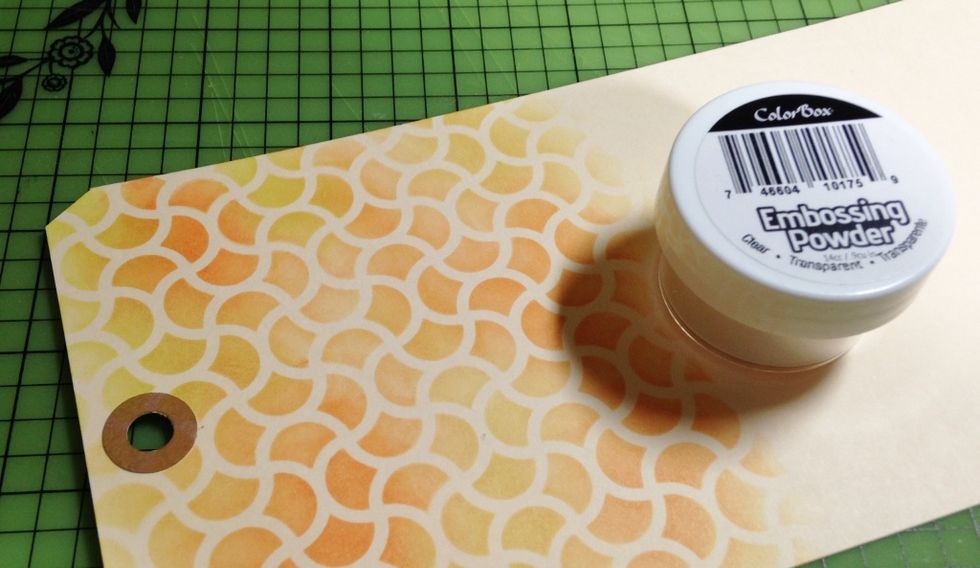
emboss tag using ColorBox Clear Embossing Powder

diecut label from center of tag
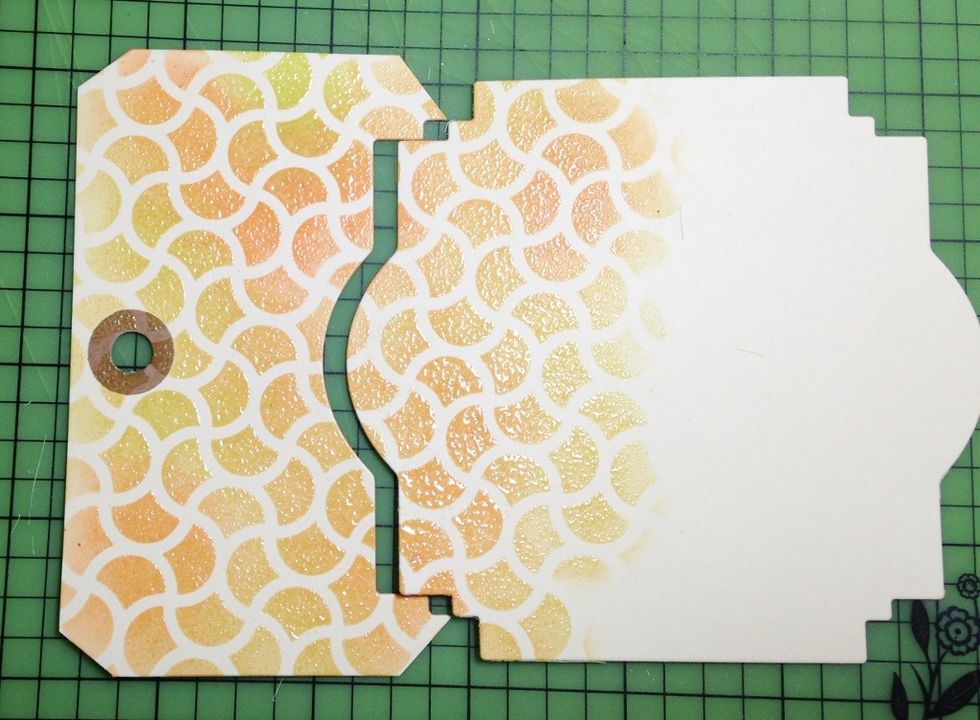
use the top portion and diecut label to create stamped scene for card - reserve remaining portion of tag to use for sentiment

turn label around so that blank area is facing left
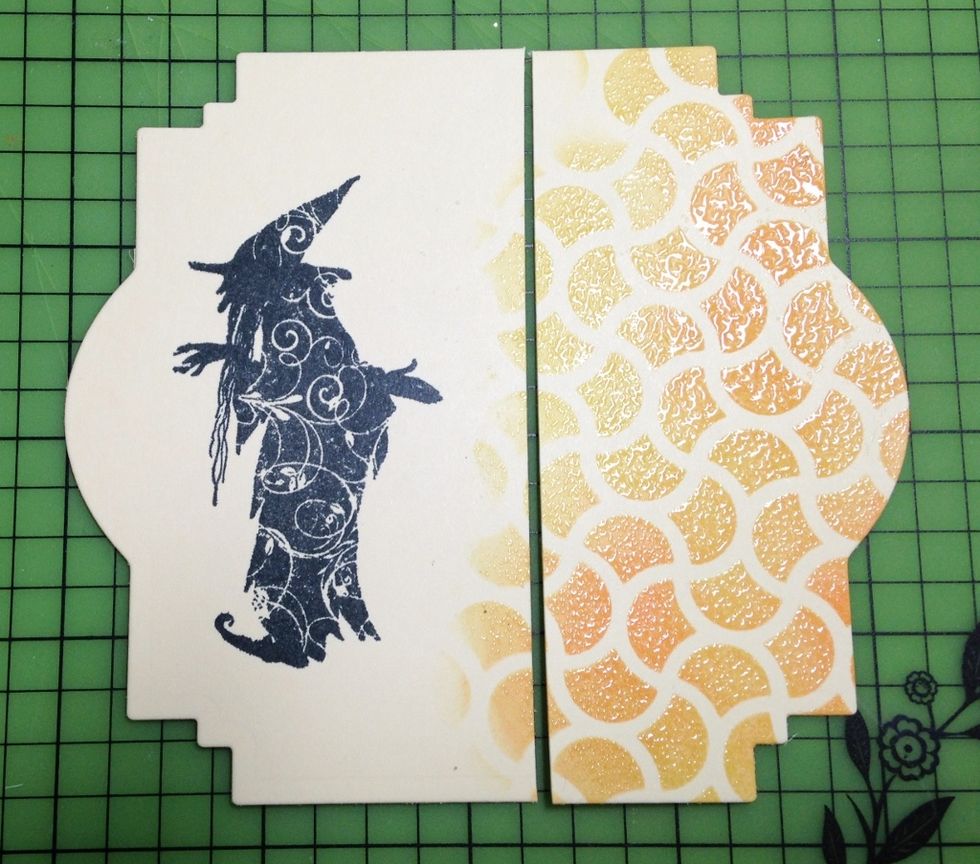
stamp witch on left - blank side of label using ColorBox Wicked Black Archival Dye Ink. cut label apart about 2" from the widest, rounded portion of the left side of label.
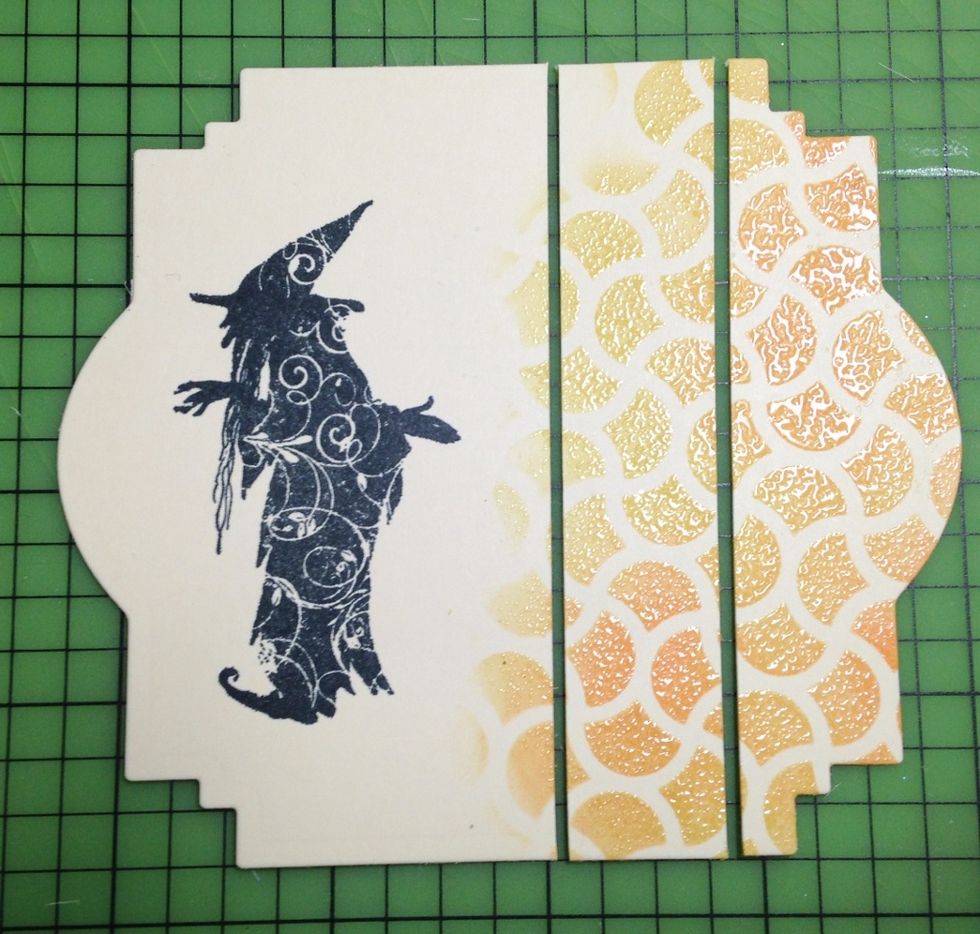
cut label again from the widest, roundest part of the label at 1" from the right. reserve right side

tie green ribbon in hole in tag
adhere hole portion of tag to left side of card
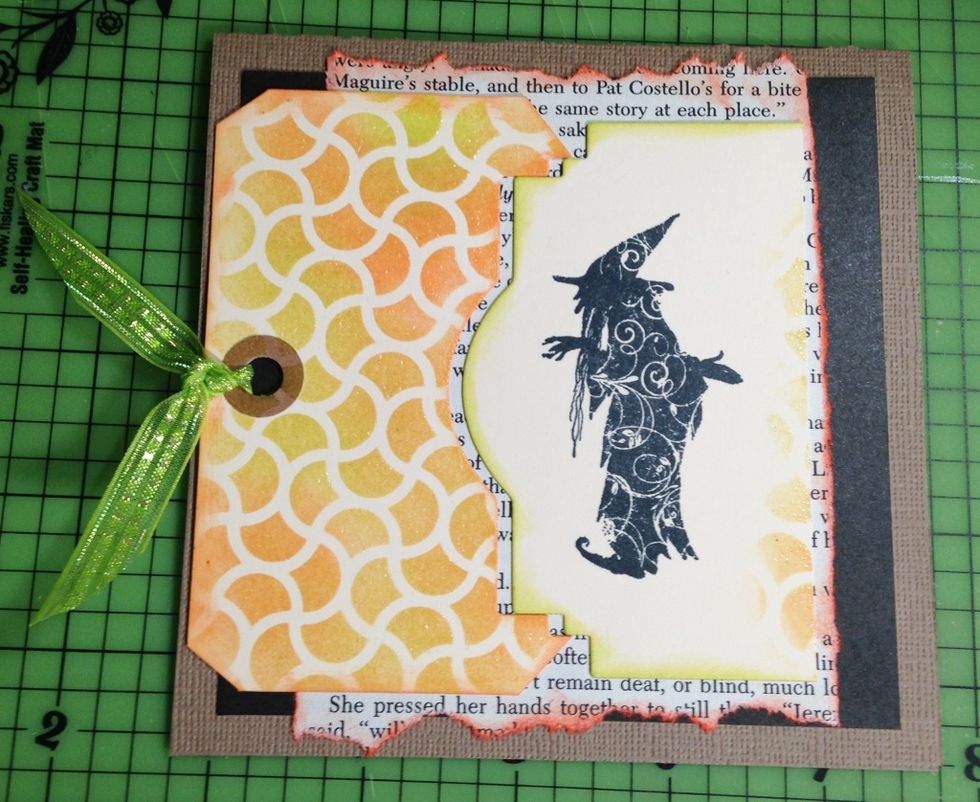
ink witch portion using Lemongrass Pigment Ink and adhere to card front about 1/8" away from first piece of tag.
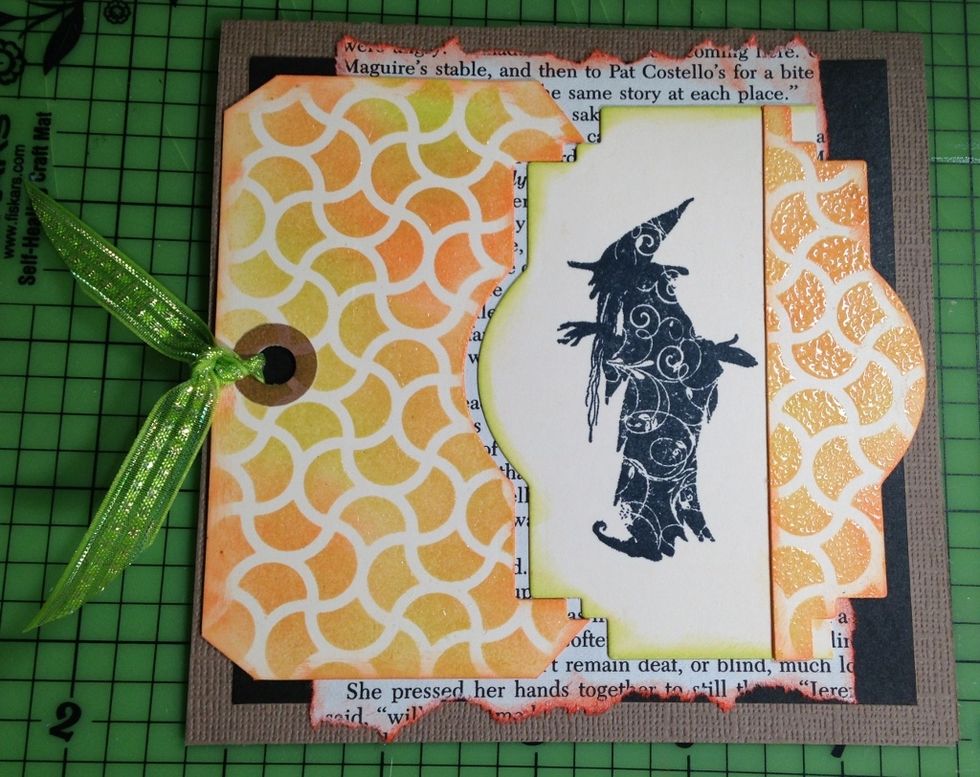
add right side portion of tag slightly overlapping right edge of witch piece
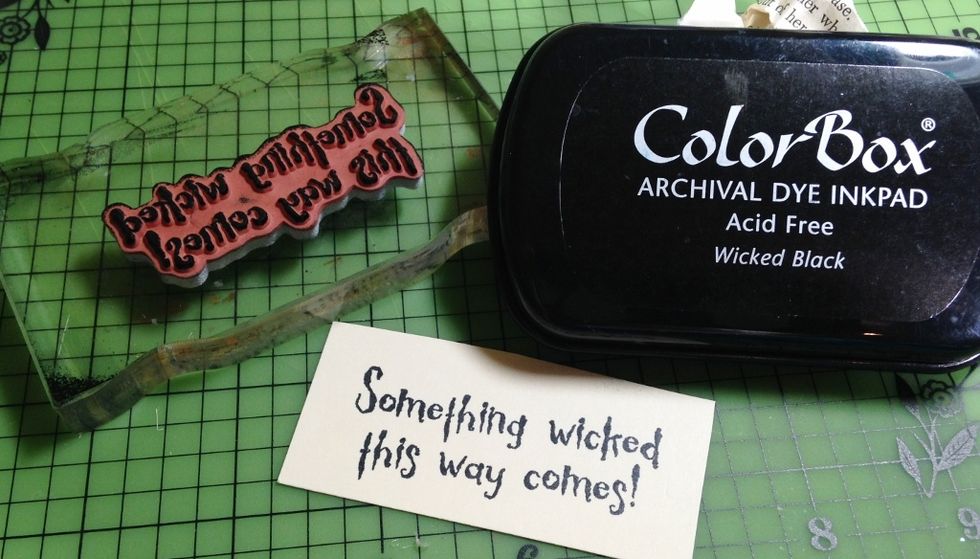
stamp sentiment using ColorBox Wicked Black Dye Ink

cut sentiment apart and ink edges using Lavender Pigment Ink
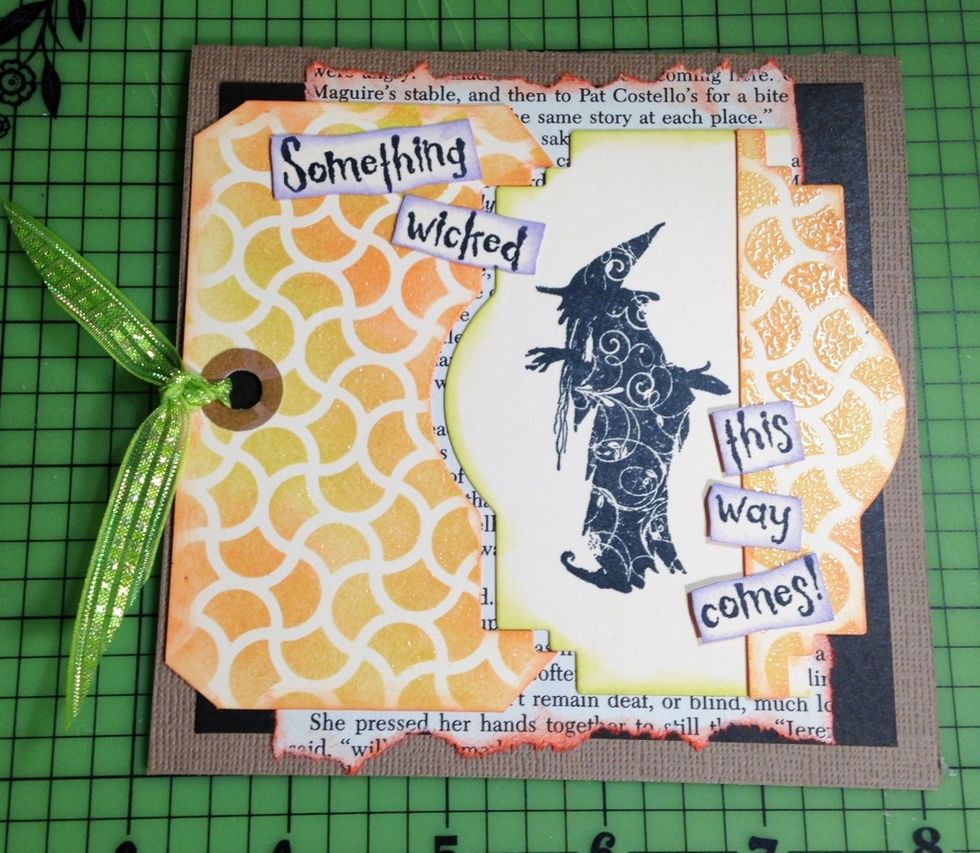
adhere sentiment to card as shown
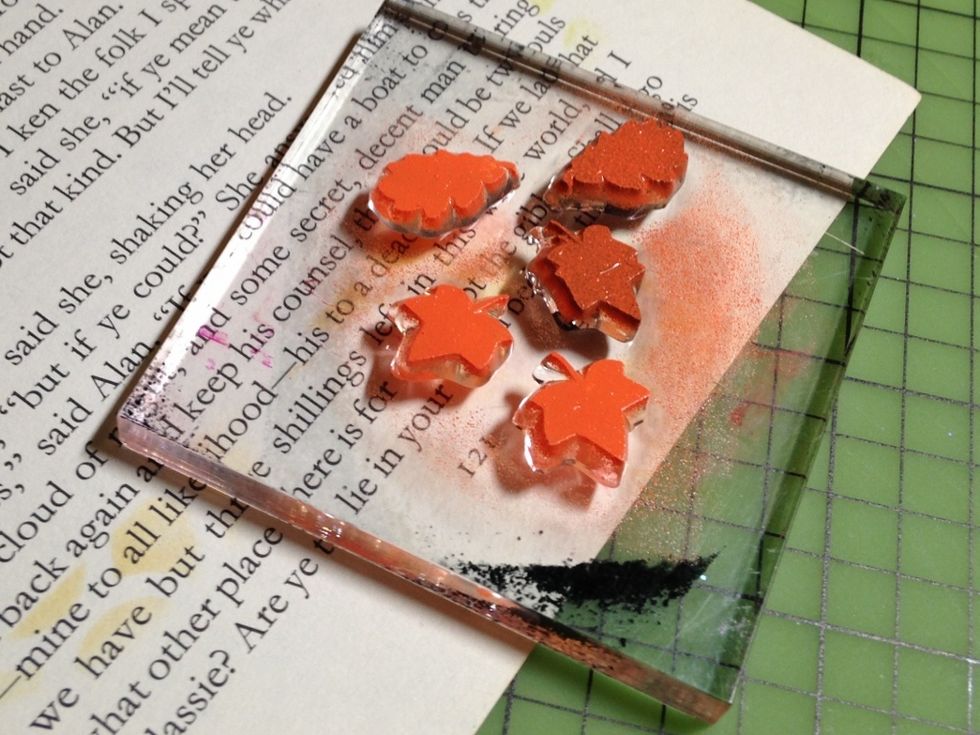
ink mini leaf stamps using Orange Pigment Ink

use ColorBox Stylus & Tips to tap on some Scarlet and Canary Pigment Inks
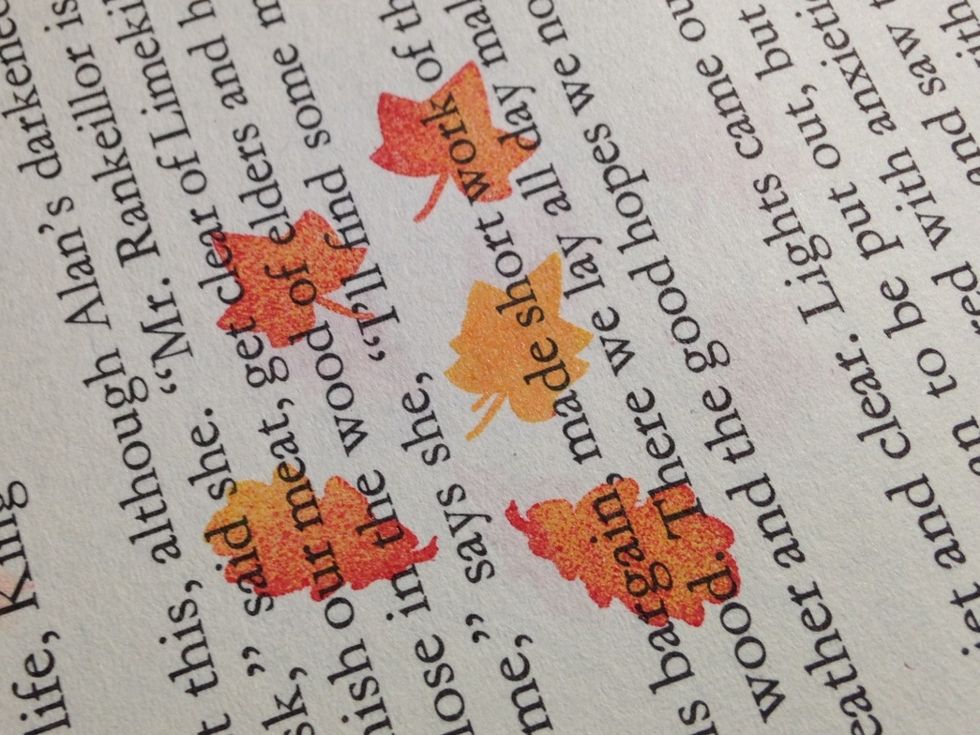
stamp leaves on book page and emboss using ColorBox Clear Embossing Powder. stamp and emboss 10-12 leaves and cut out

adhere black swirls to lower portion of card, then arrange and adhere leaves along swirl
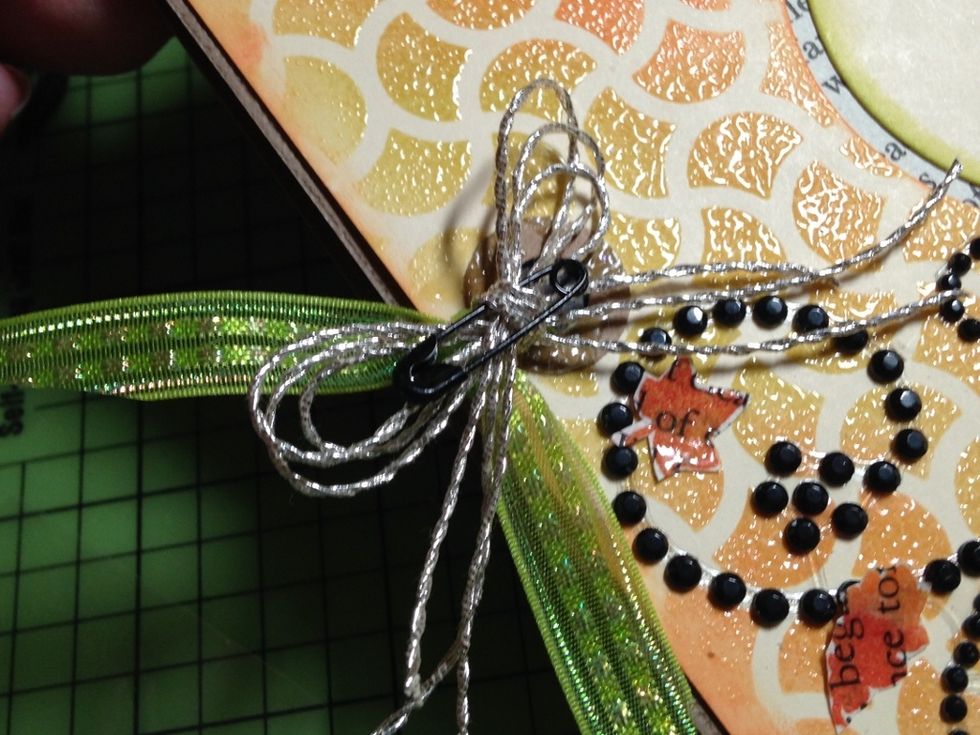
add silver cording bow with black safety pin at center

finished card - www.clearsnap.com - www.tamisanders.com - tami sanders * paper crafter