The Conversation (0)
Sign Up
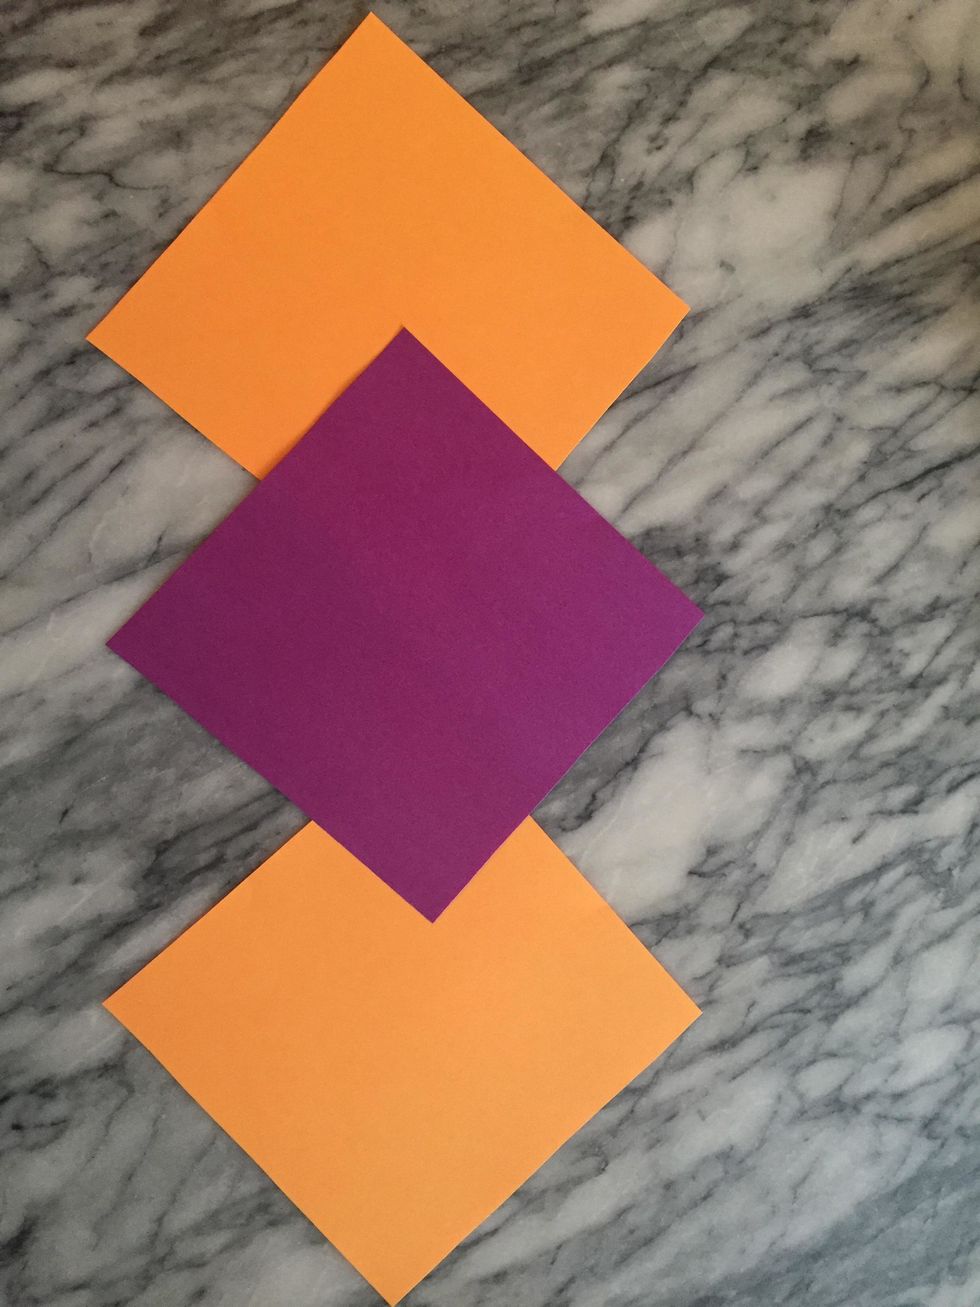
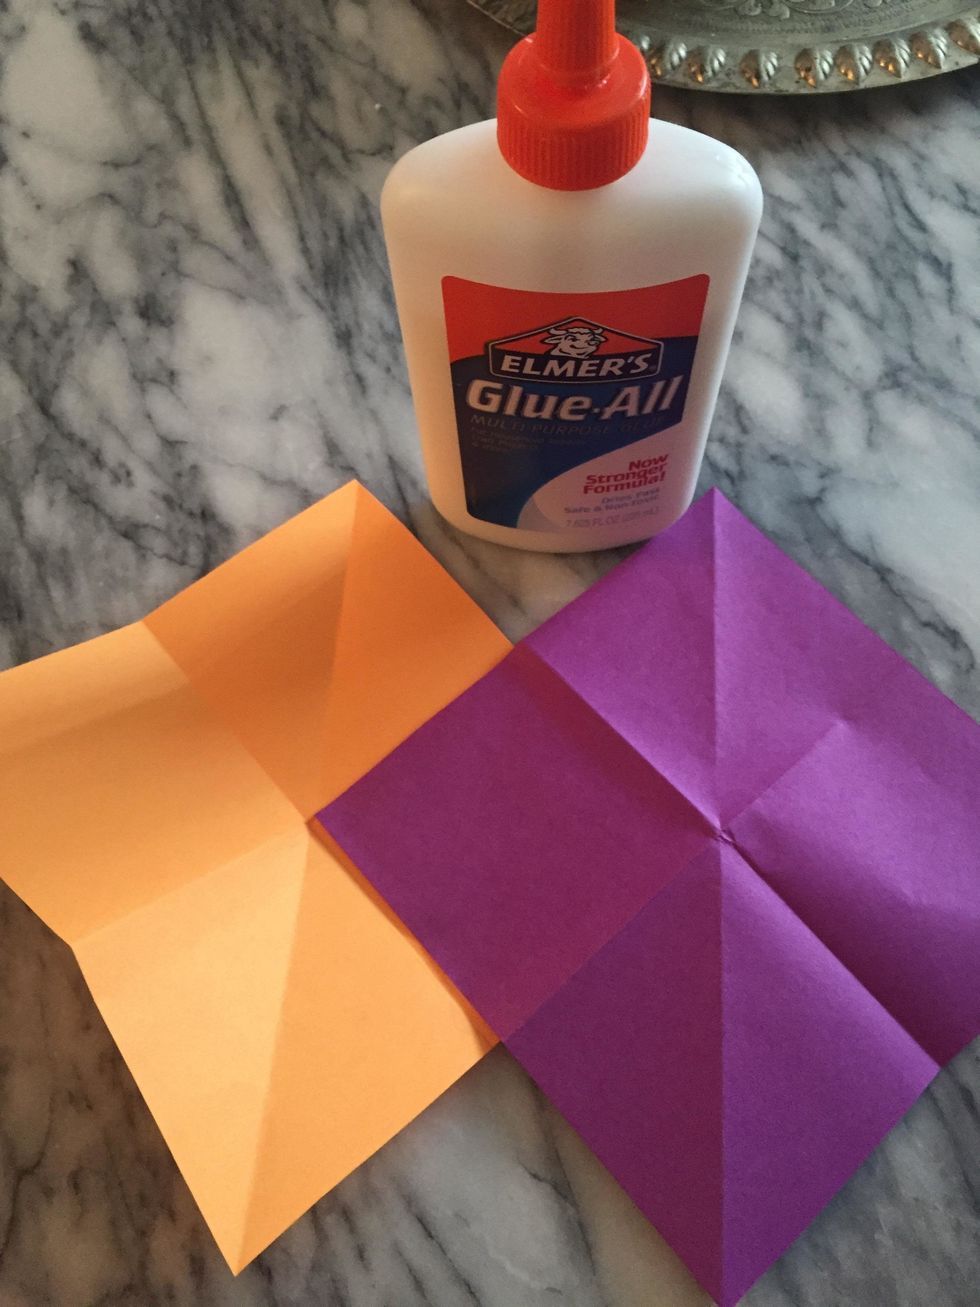
Start with square sheets of paper. This squash book is made with three sheets, but yours could use more.
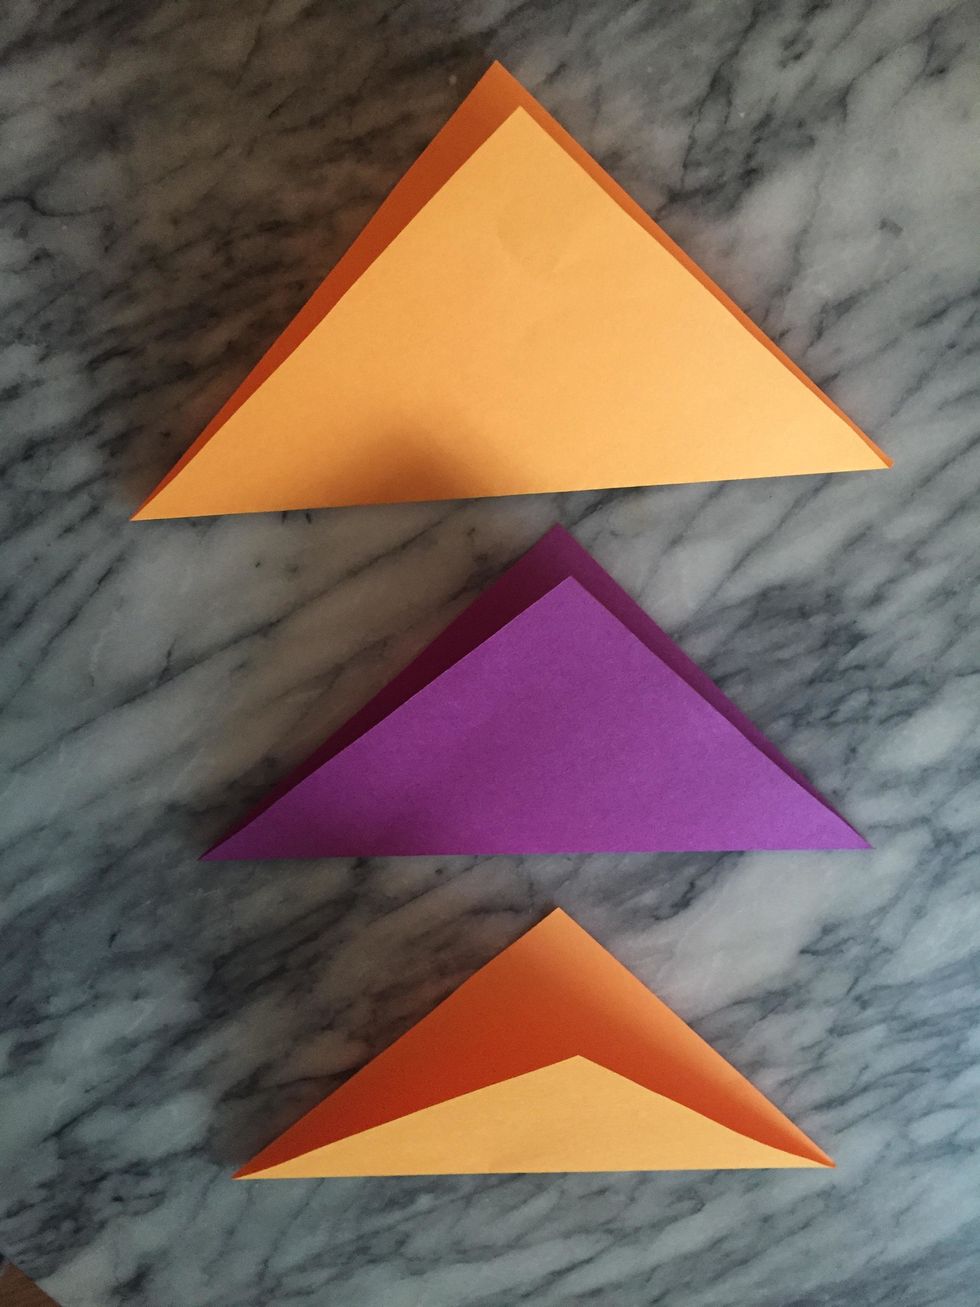
Fold each paper in half diagonally.
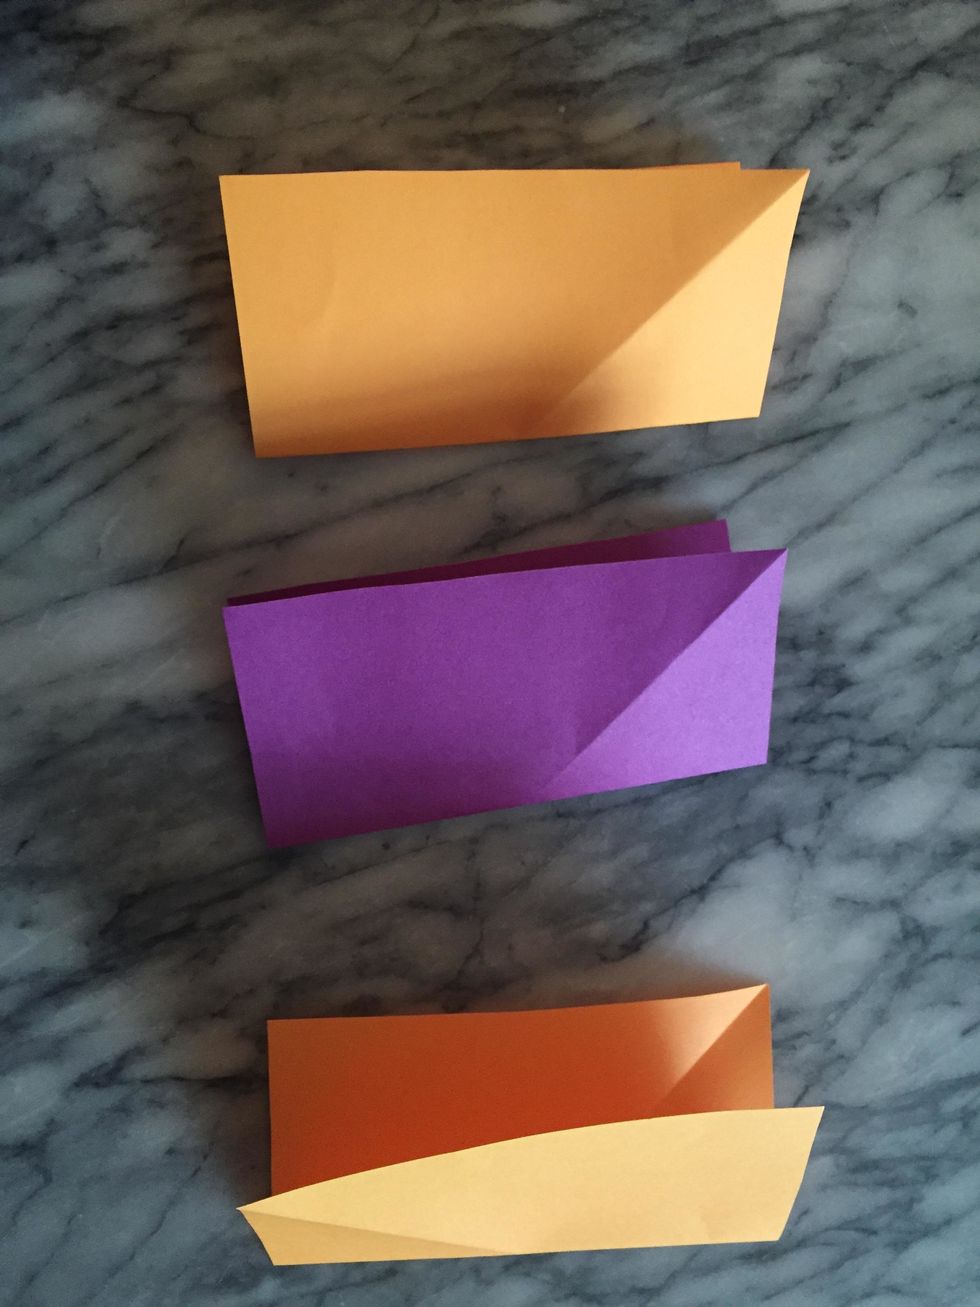
Fold paper in half horizontally.

Fold paper again along the opposite axis to create small squares.

Lay the paper overlapping with diagonal folds running in the same direction. The middle sheet is flipped over so the diagonal folds upward, while the diagonals fold downward on the side sheets.
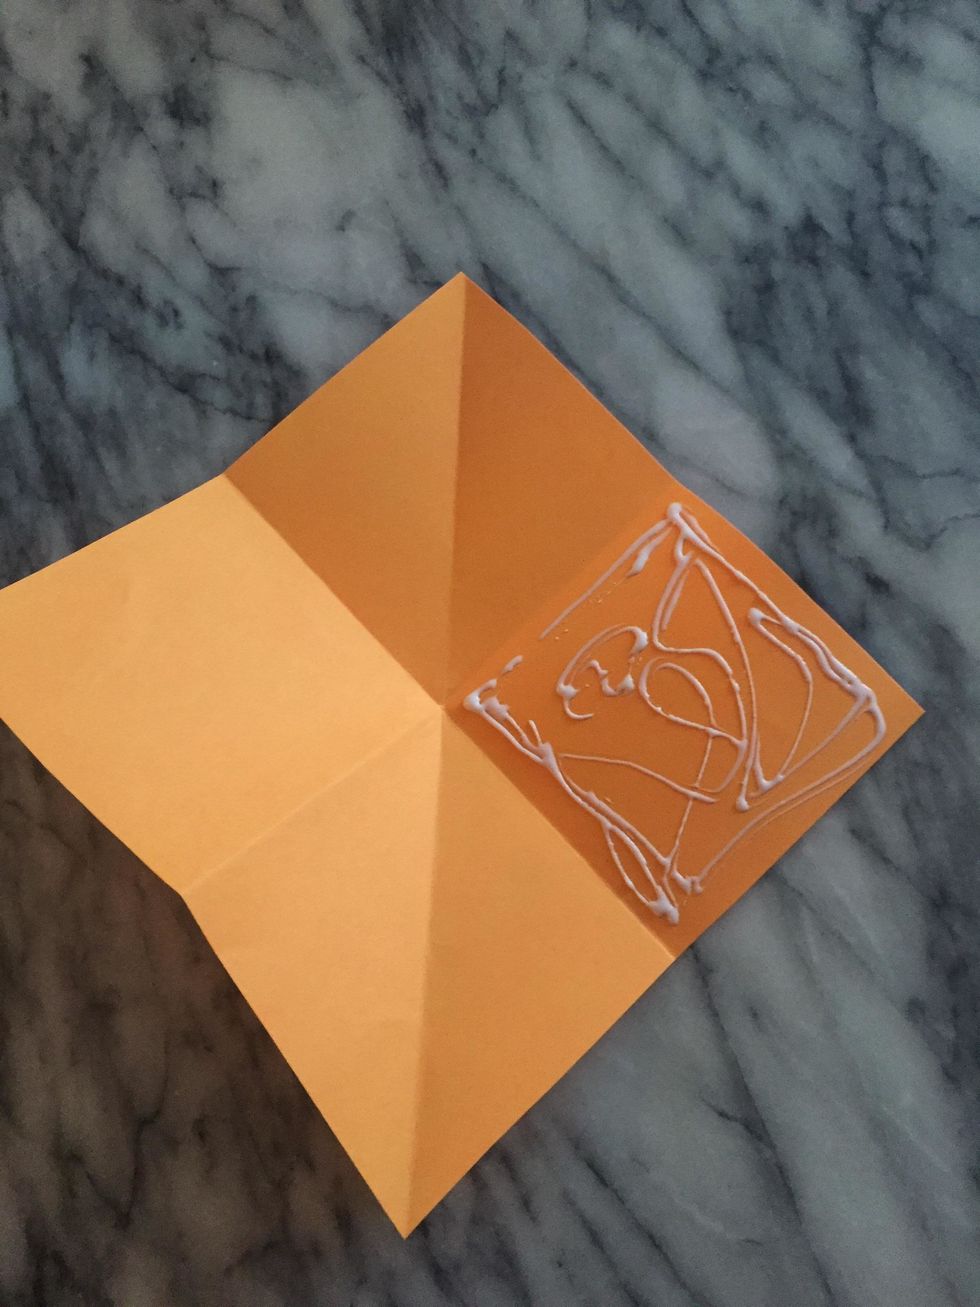
Apply glue to one corner square.
Overlap the middle sheet as shown in step 5.
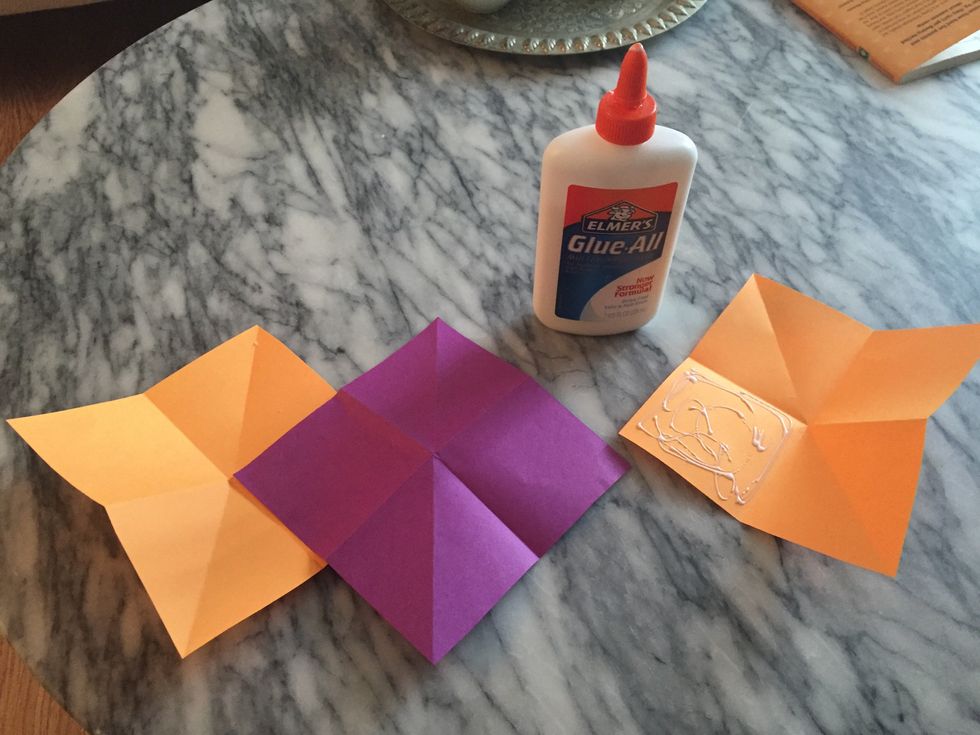
Glue the third sheet in the same way.
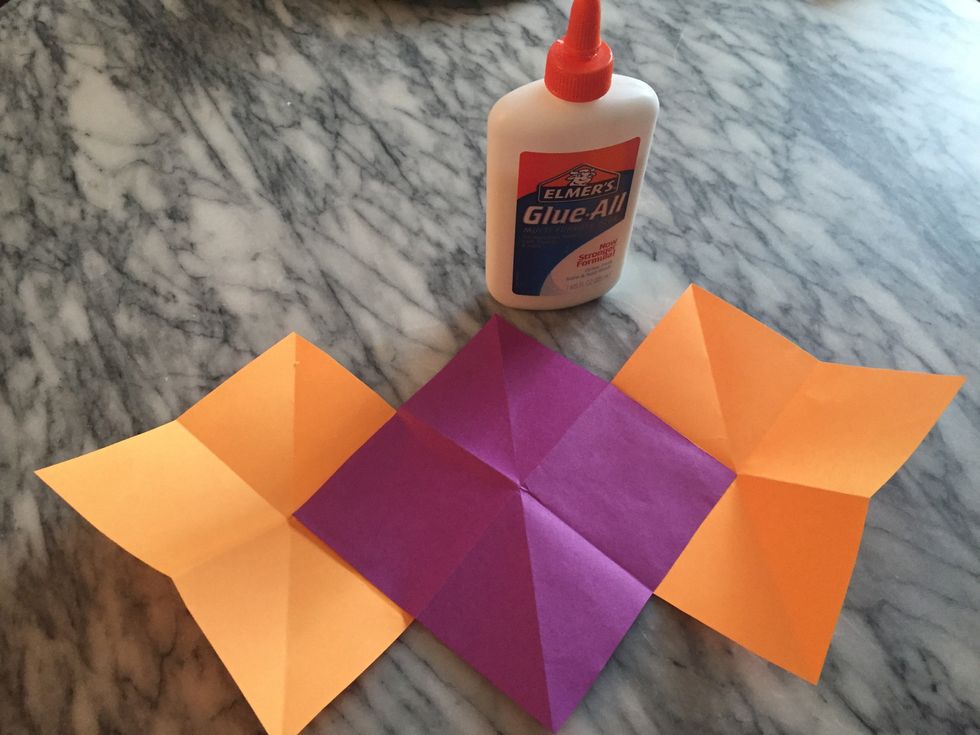
Like this!
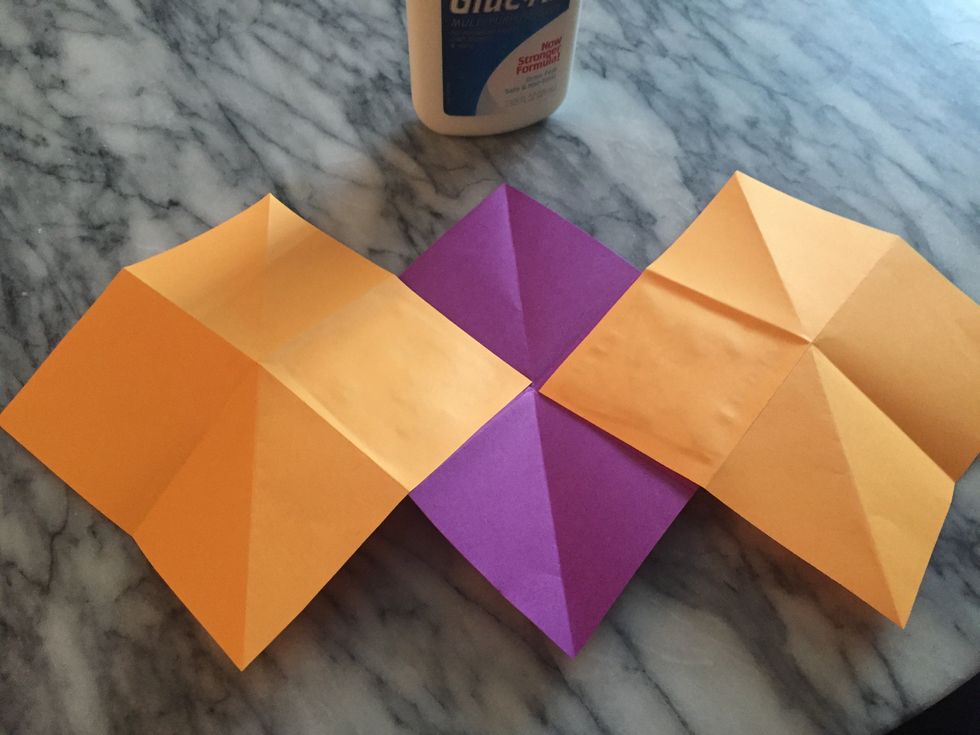
Flip the sheets over.
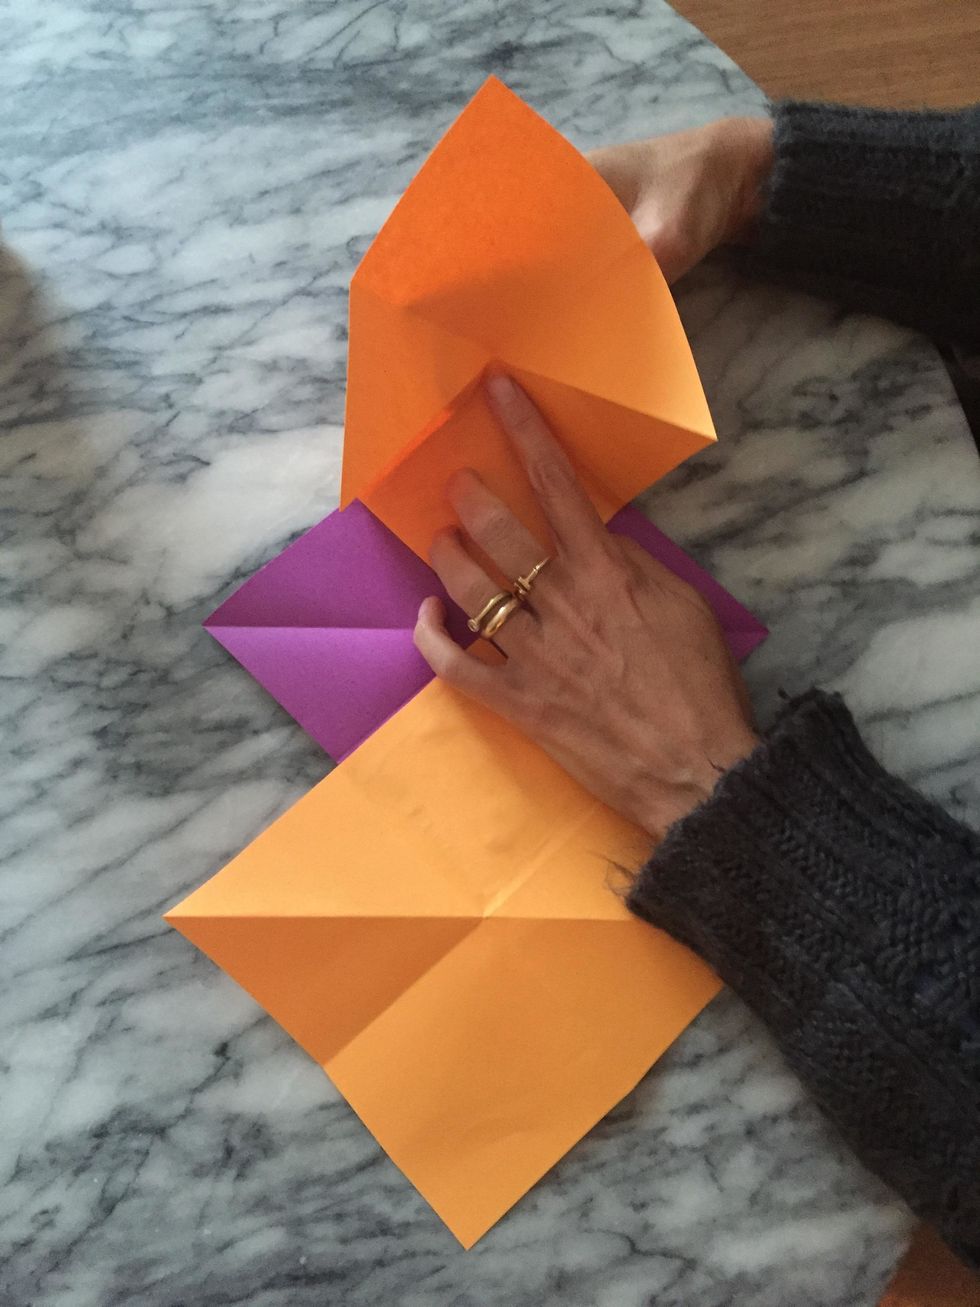
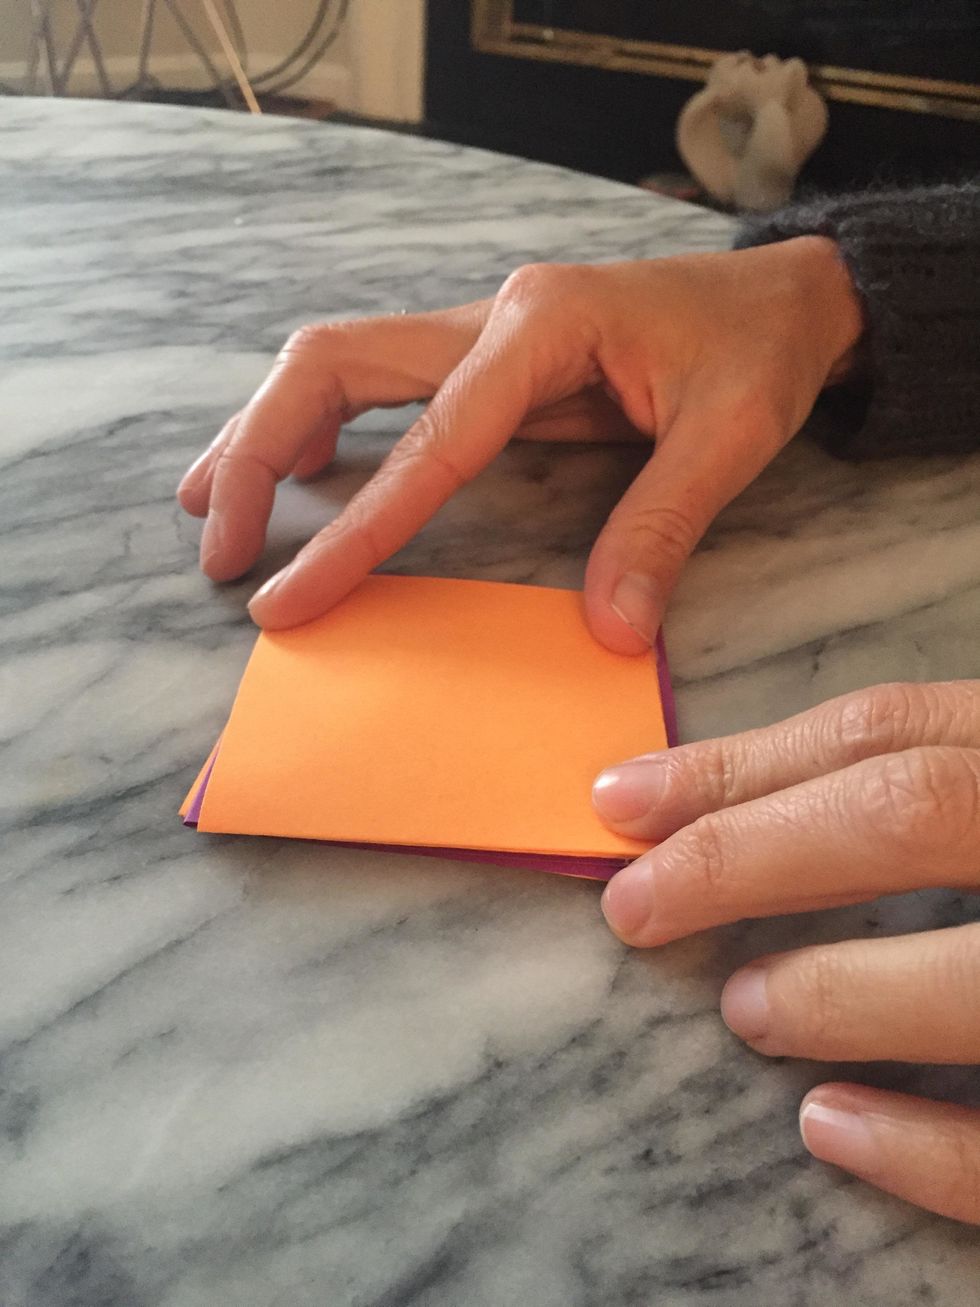
Here comes the squash fold!! Place one finger on the center of the folds and use your other hand to close the fold, kind of like making a puppet's mouth.
Squash it down gently, so you have a nice square.

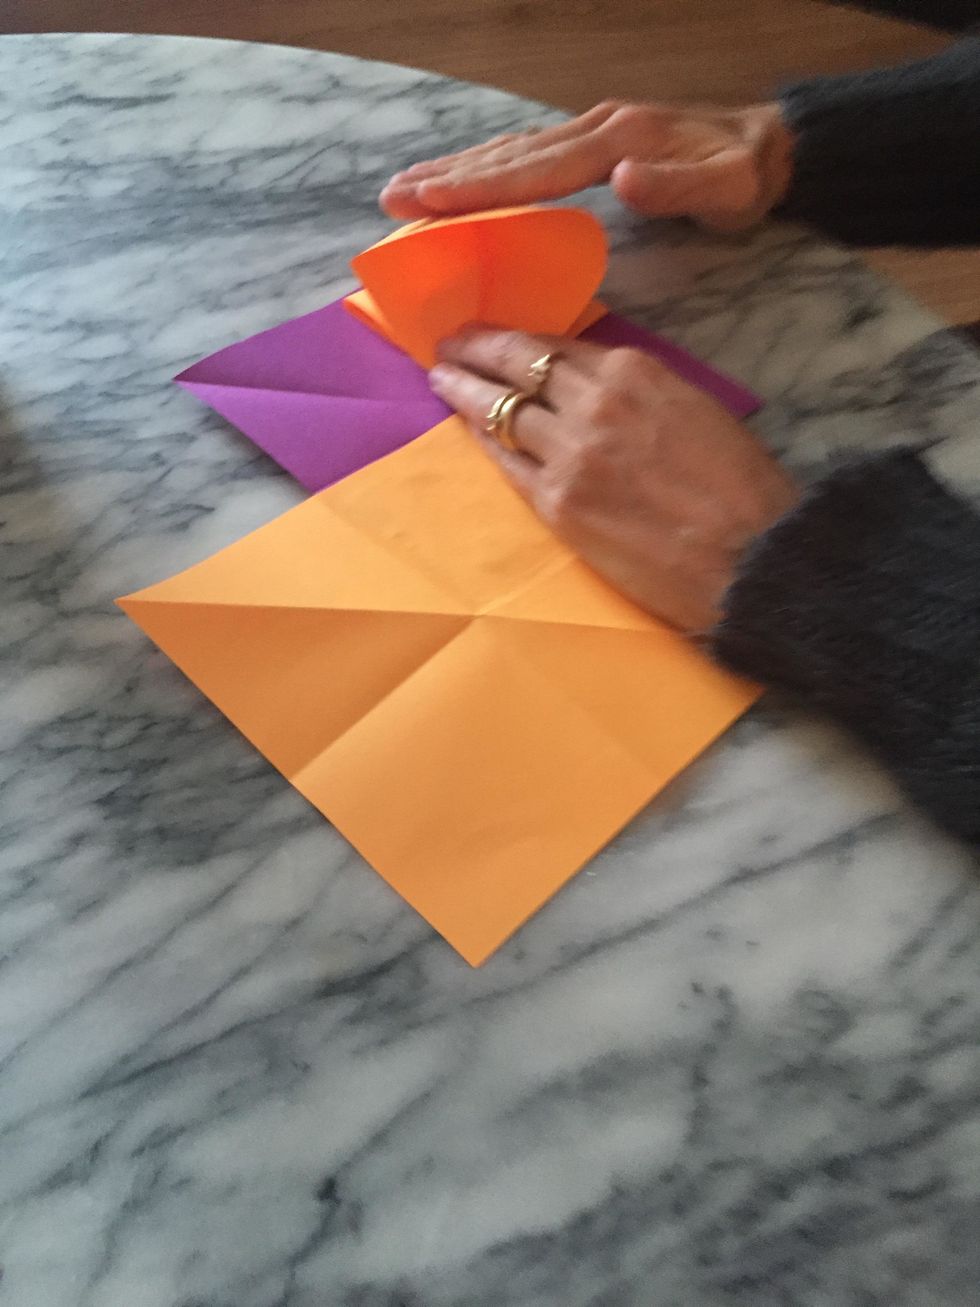
Here is the squash from another angle.
Repeat the squash fold on the other side.
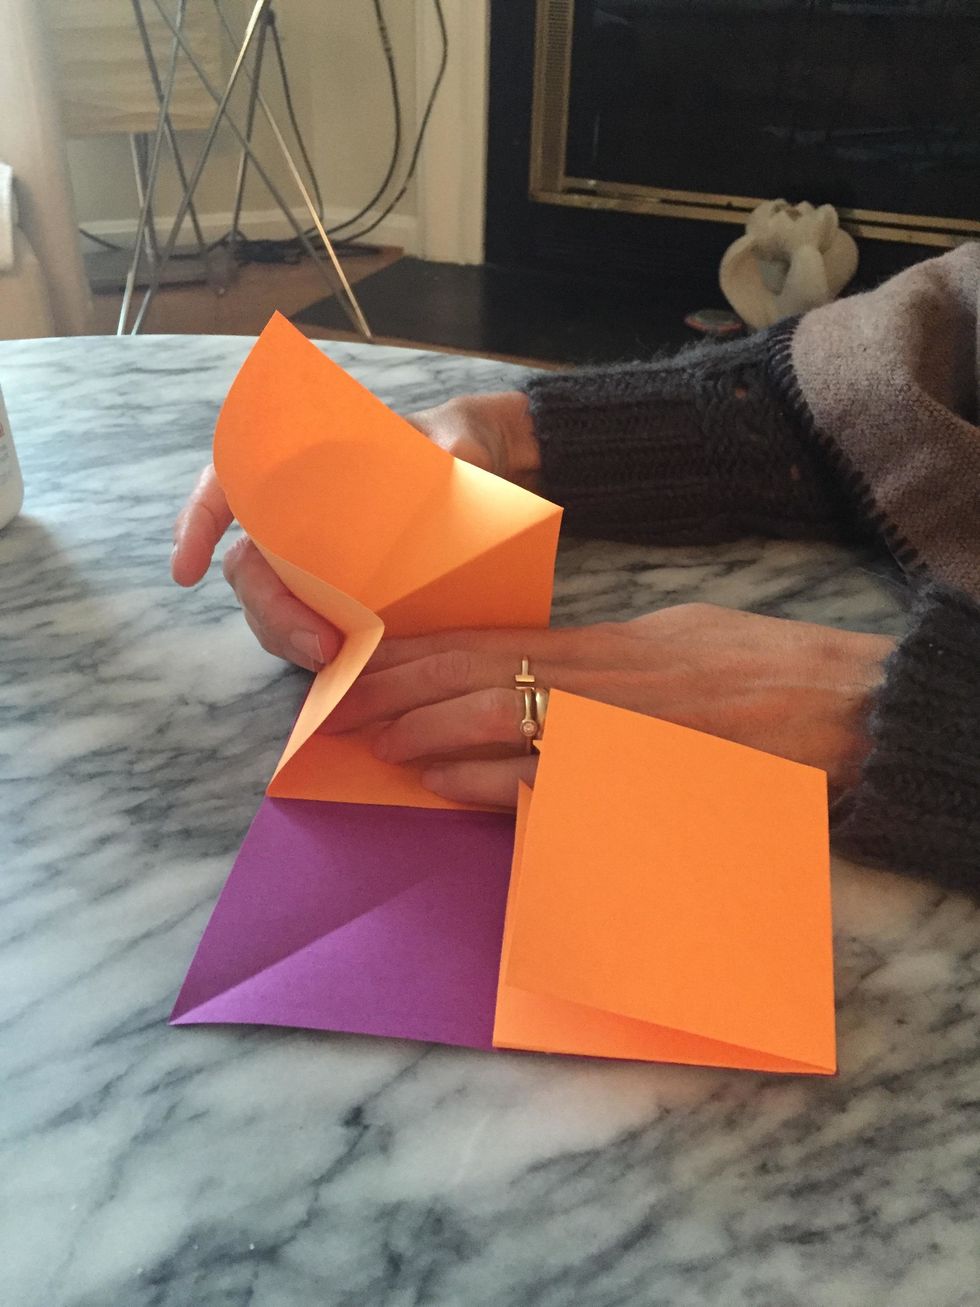
Now squash fold the center sheet of paper. This will squash in the opposite direction.
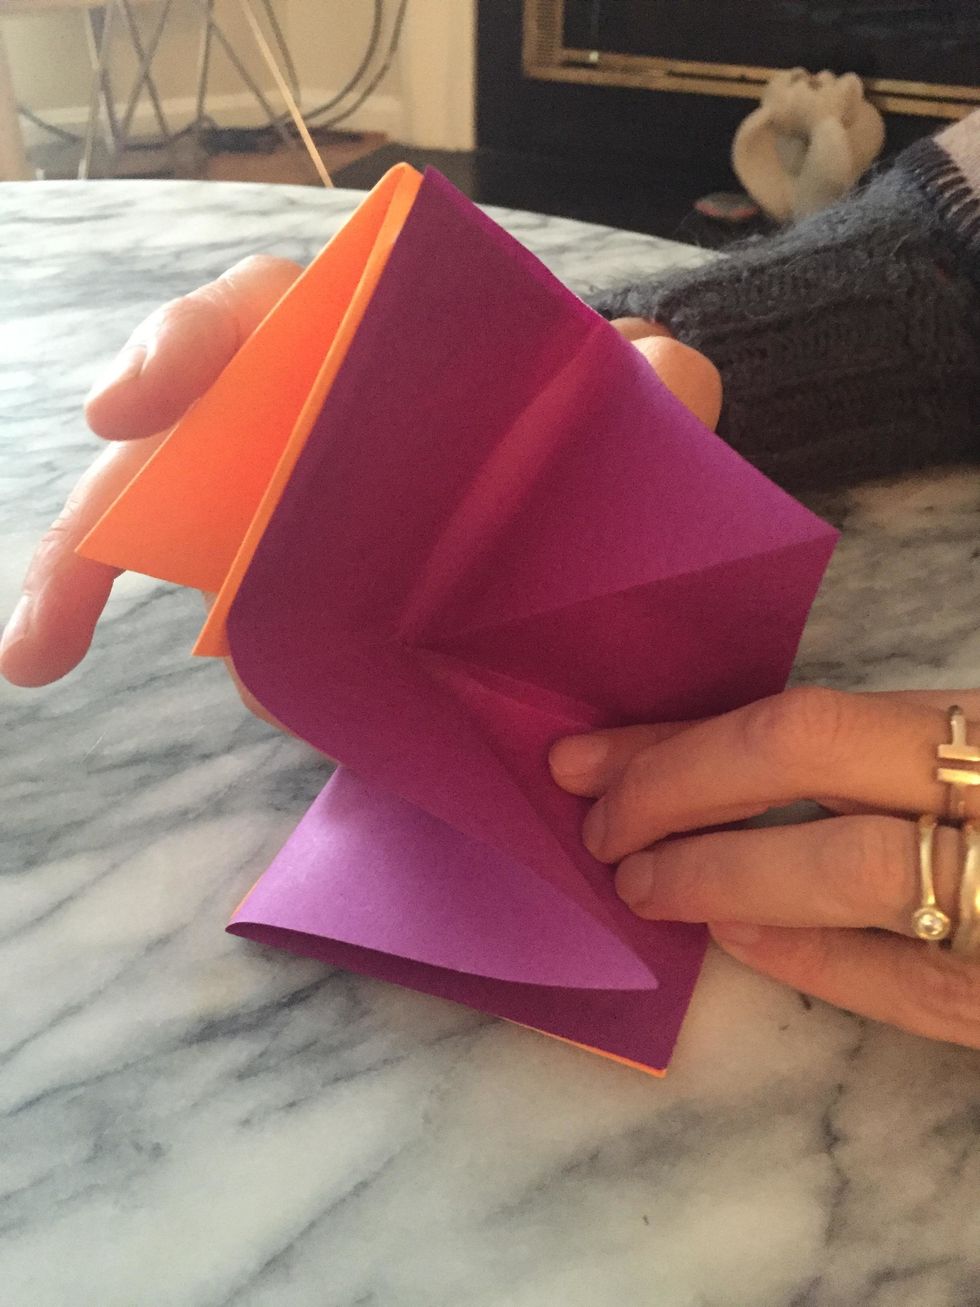
Press the folds down firmly my running your fingers along the folds so that the folds are "crisp".
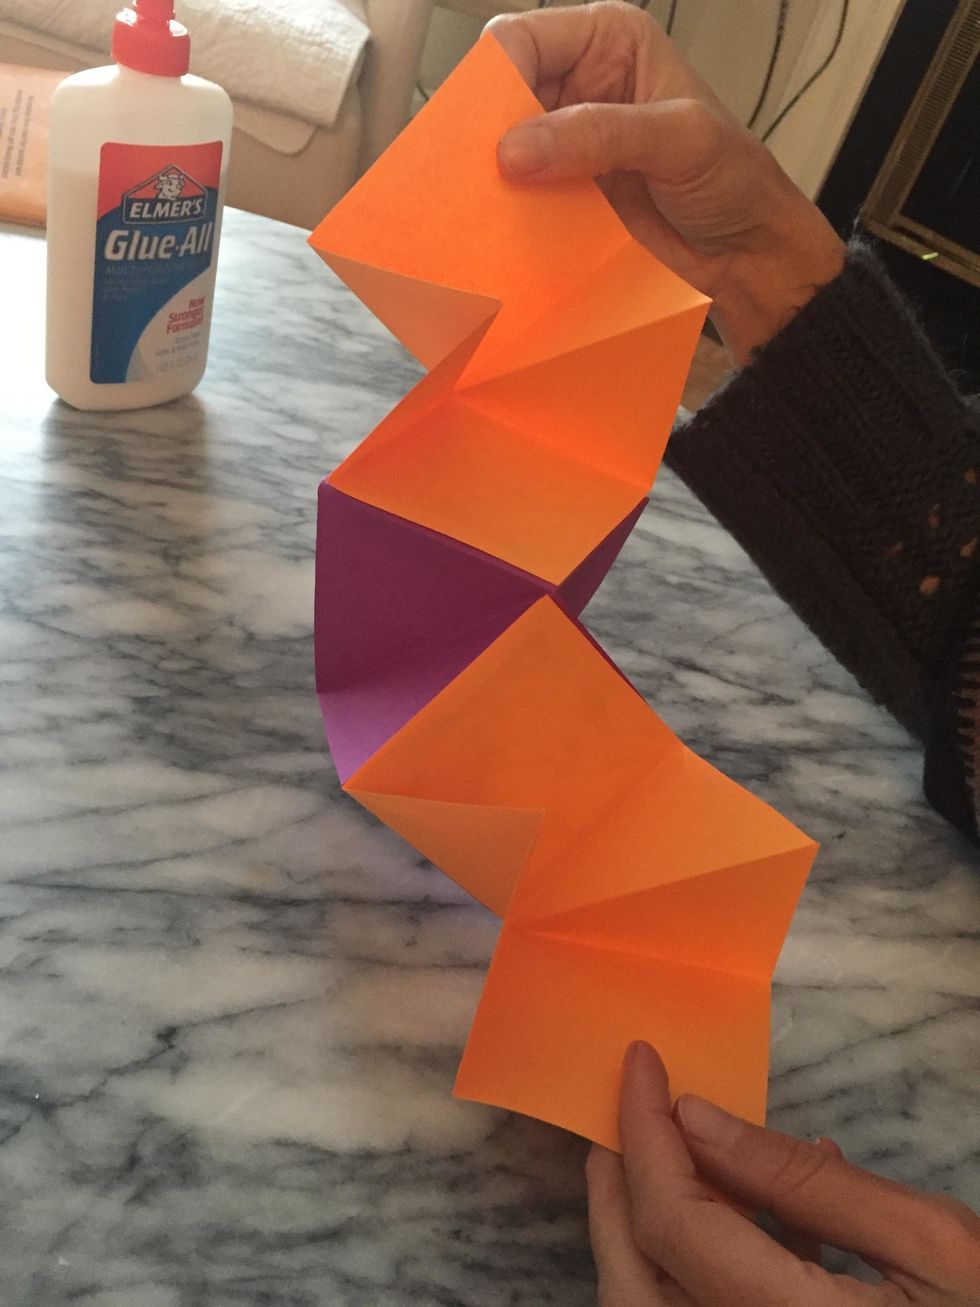
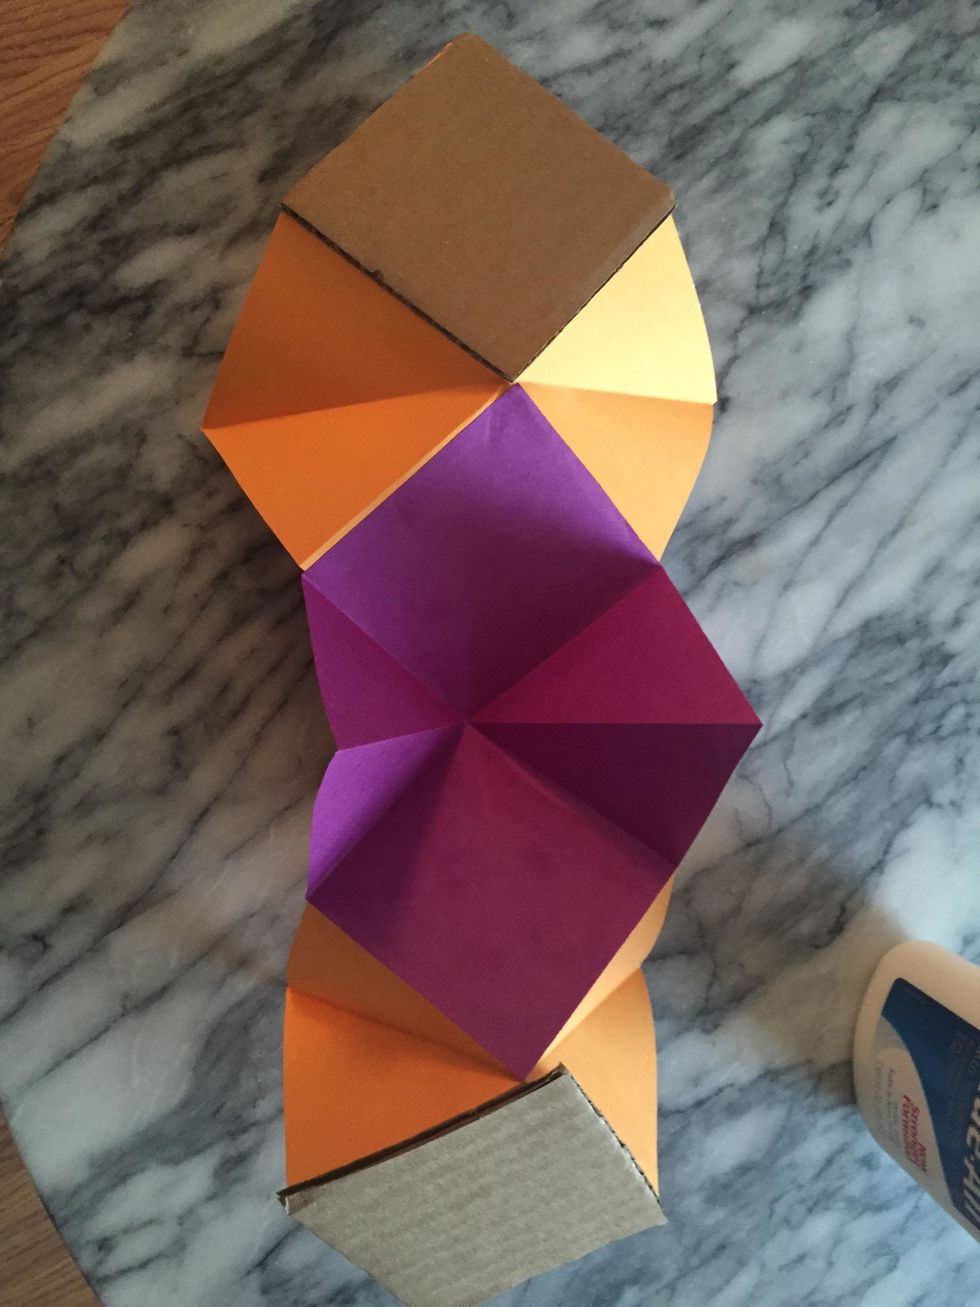
Here is how it opens up!
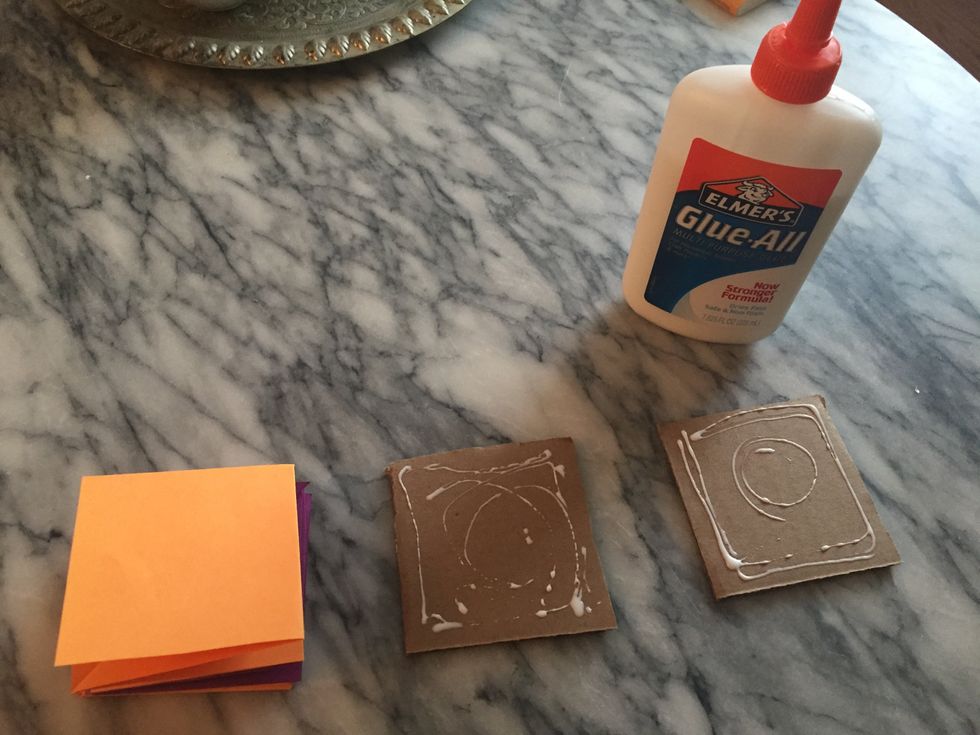
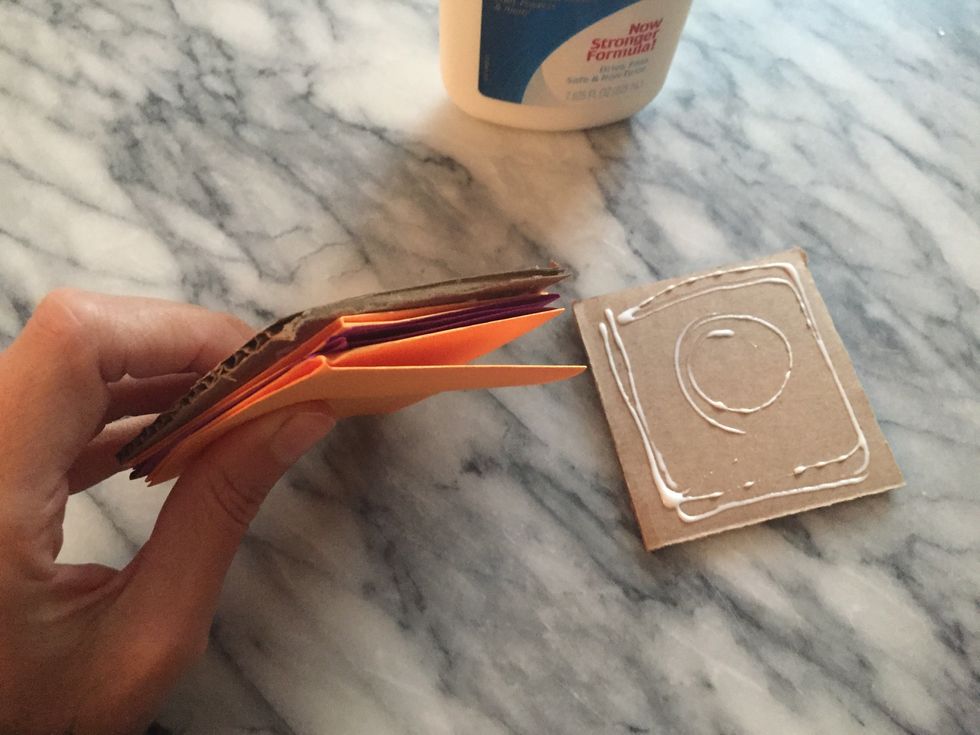
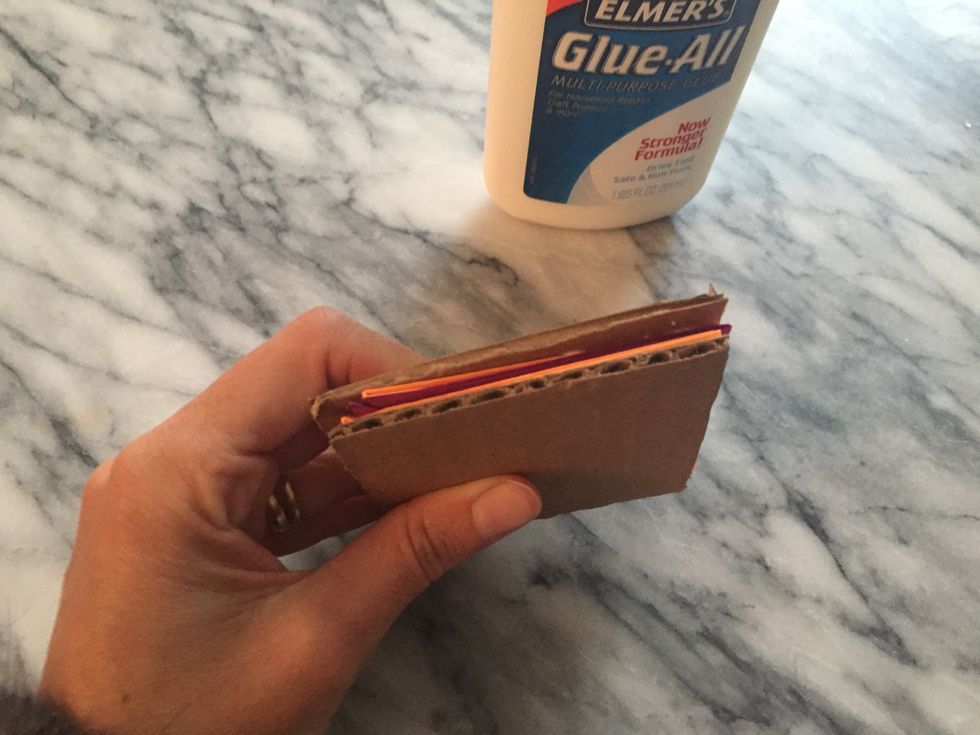
Optional: glue two square cardboard pies onto either end as a book "cover"
It's like making a sandwich!
It's like making a sandwich!
The squash book is constructed, now get creative decorating, writing, or drawing inside and on the cover.
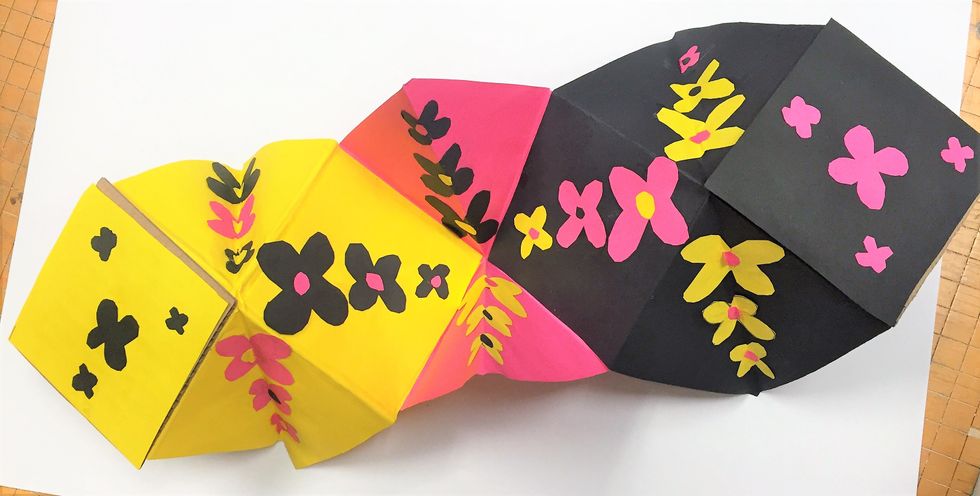
sample