STEPS
TOOLS
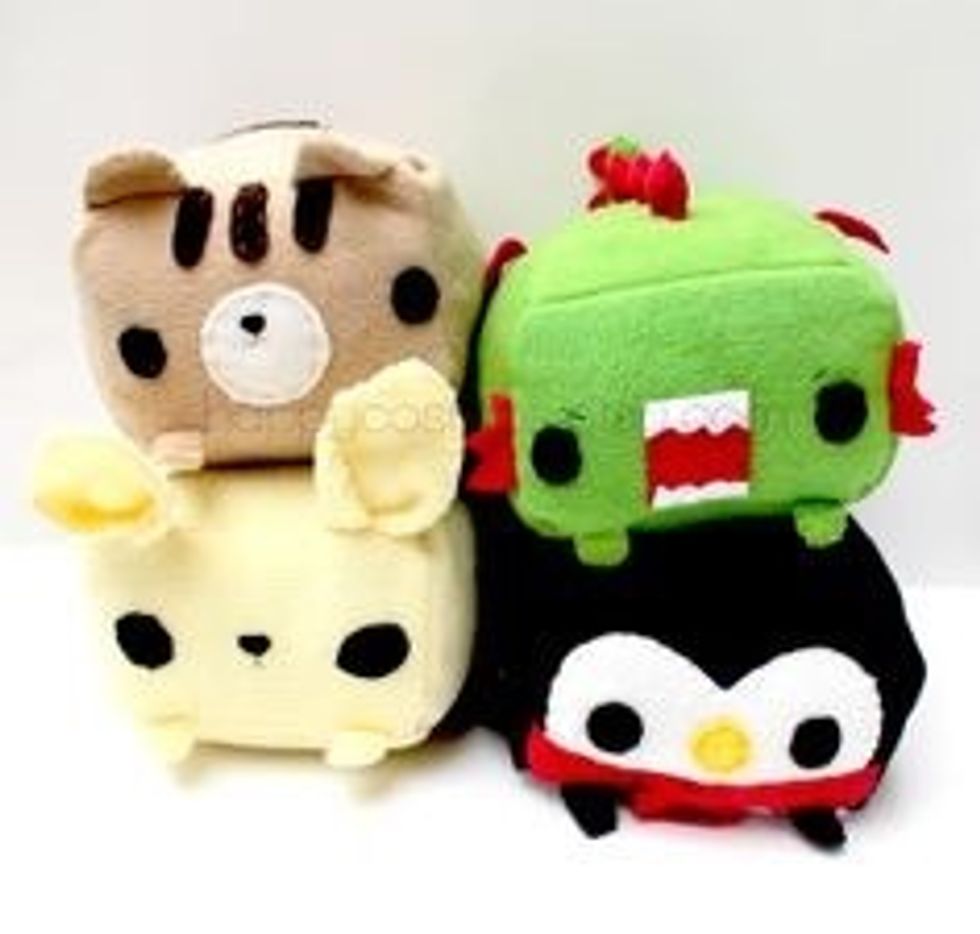
This picture online was my inspiration.
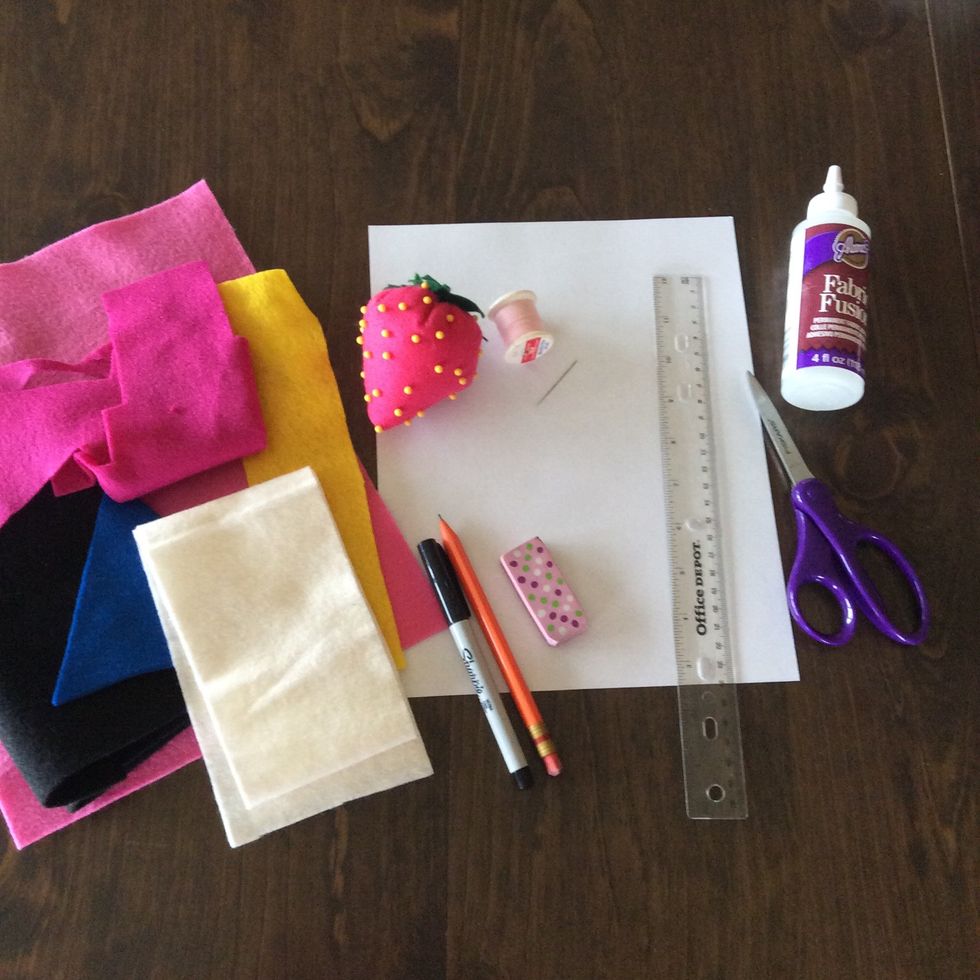
Here's everything you'll need (plus stuffing).
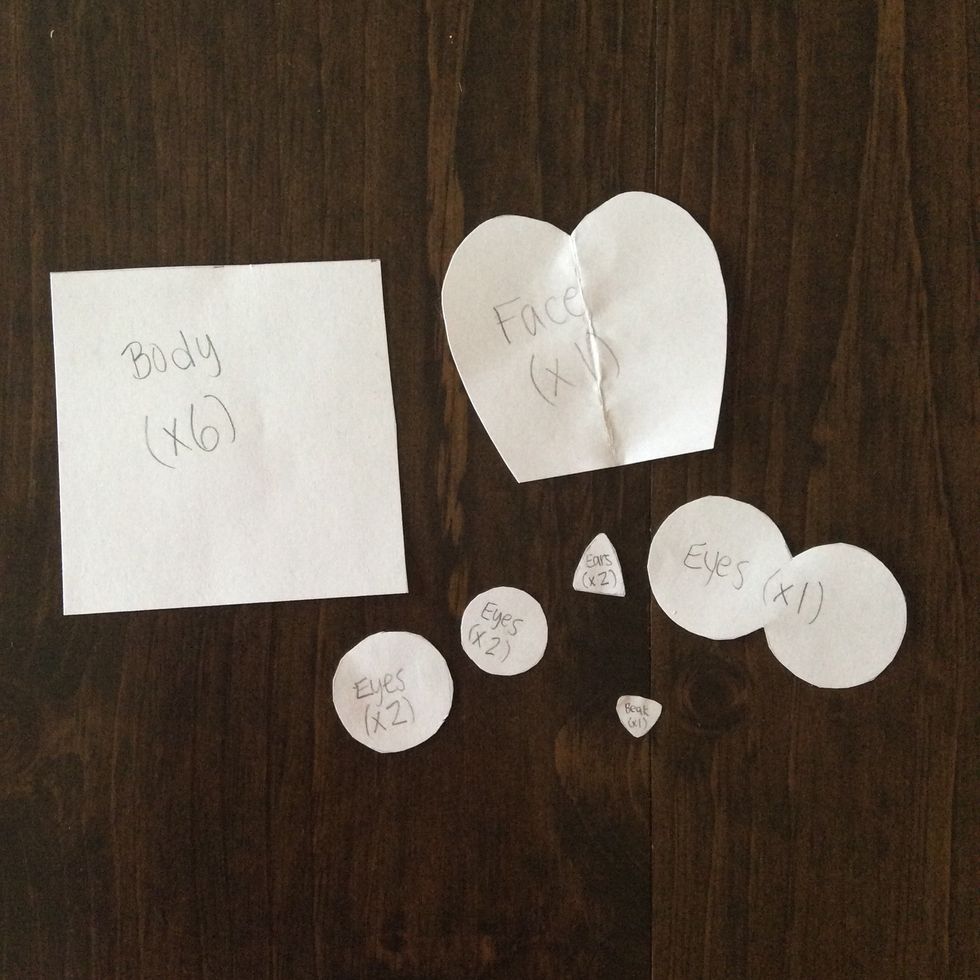
Make templates according to your animal. (I'm making an owl.) I made my body template 3.5 x 3.5 inches.
If you're going to hand sew, feel free to cut on the lines (for the body). If you are machine-sewing, leave a 1/4 inch seam allowance.
The body should be square and have six pieces. Facial features will depend on animal. Add ears and a tail if desired.
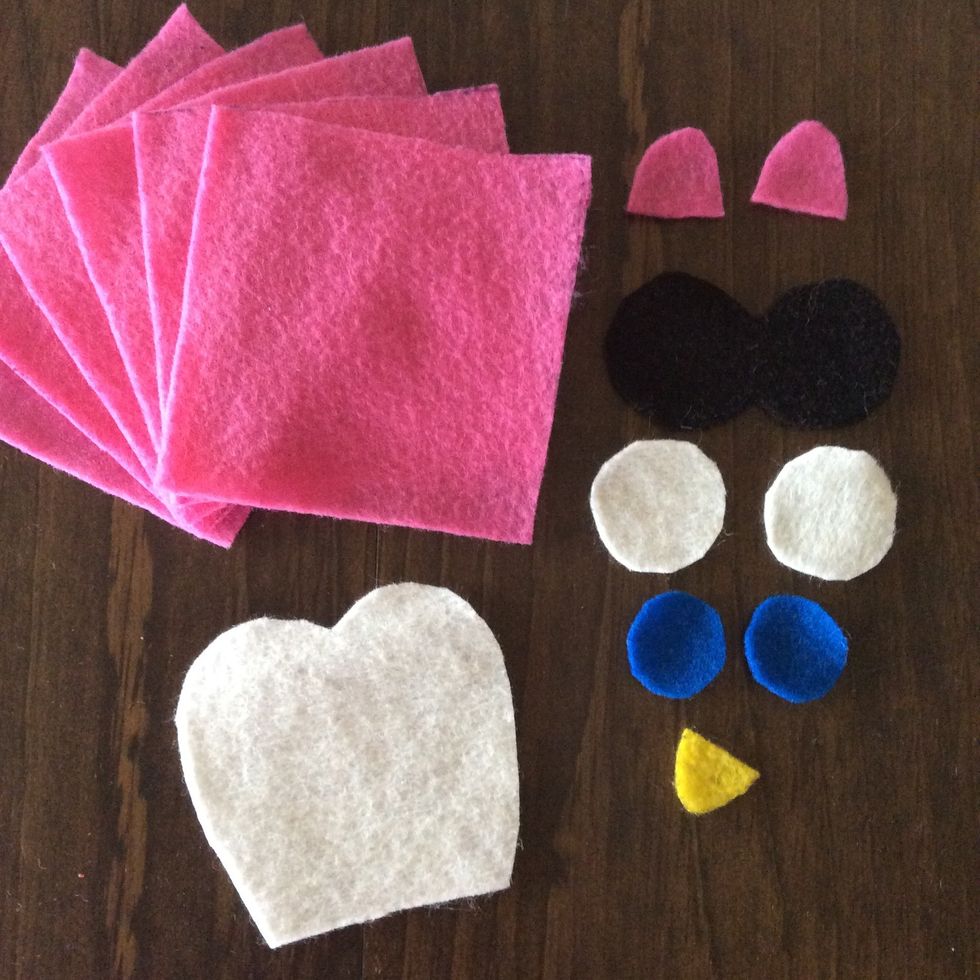
Trace and cut EVERYTHING out.
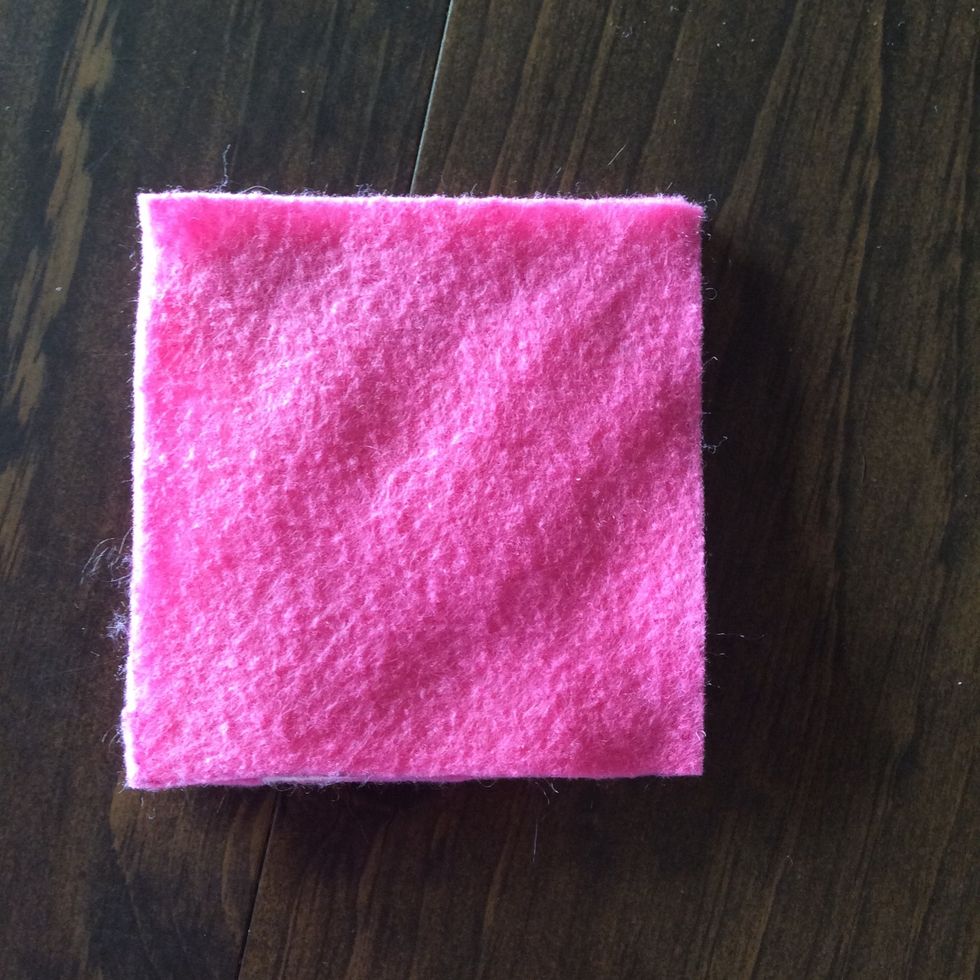
Line up two pieces wrong sides out...

...and sew along one edge with a back stitch. Yes, one edge is sewn.
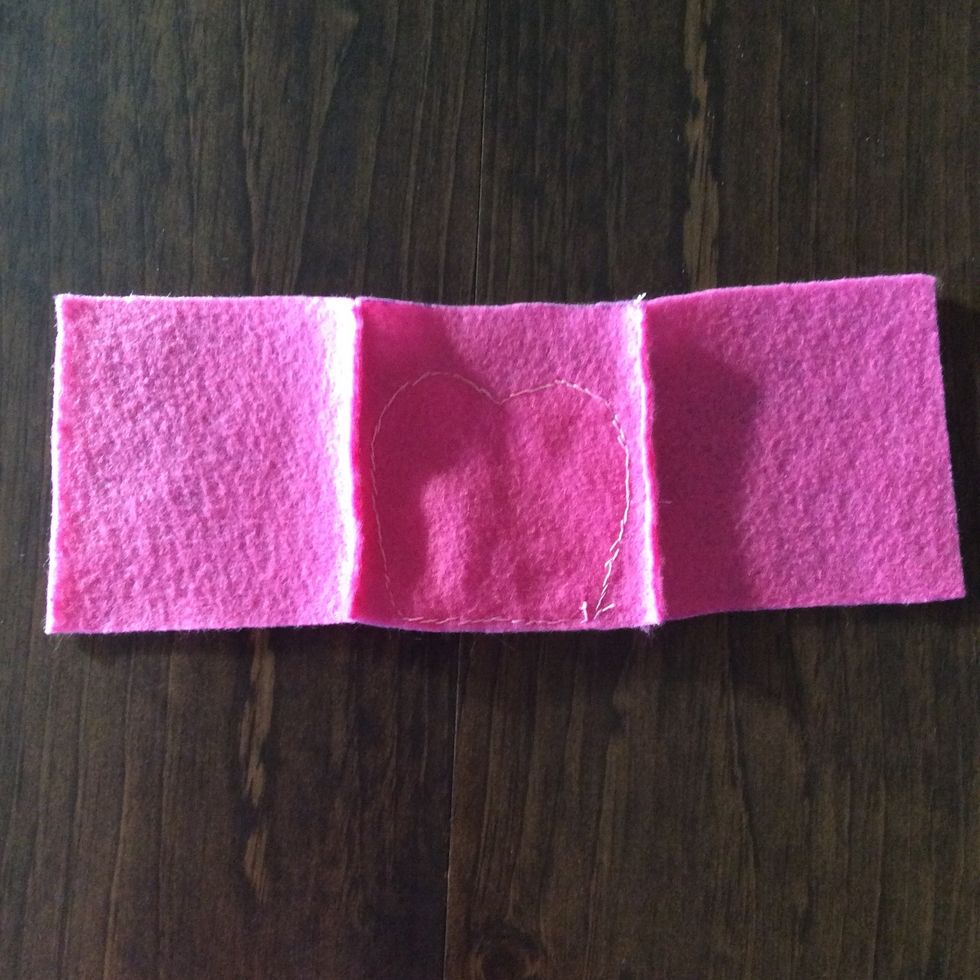
Repeat once..
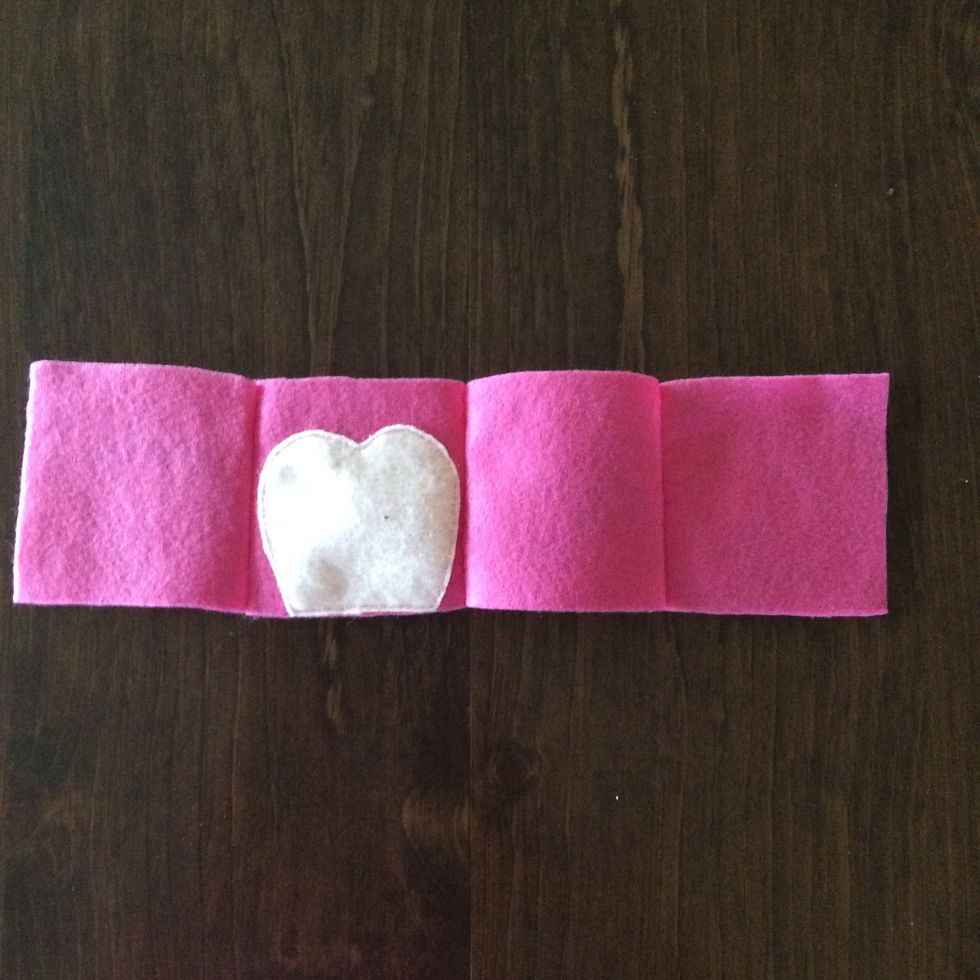
...and twice. You should now have four sewn together, including the face.

Fold in half, wrong sides out, and sew the edge with a back stitch.
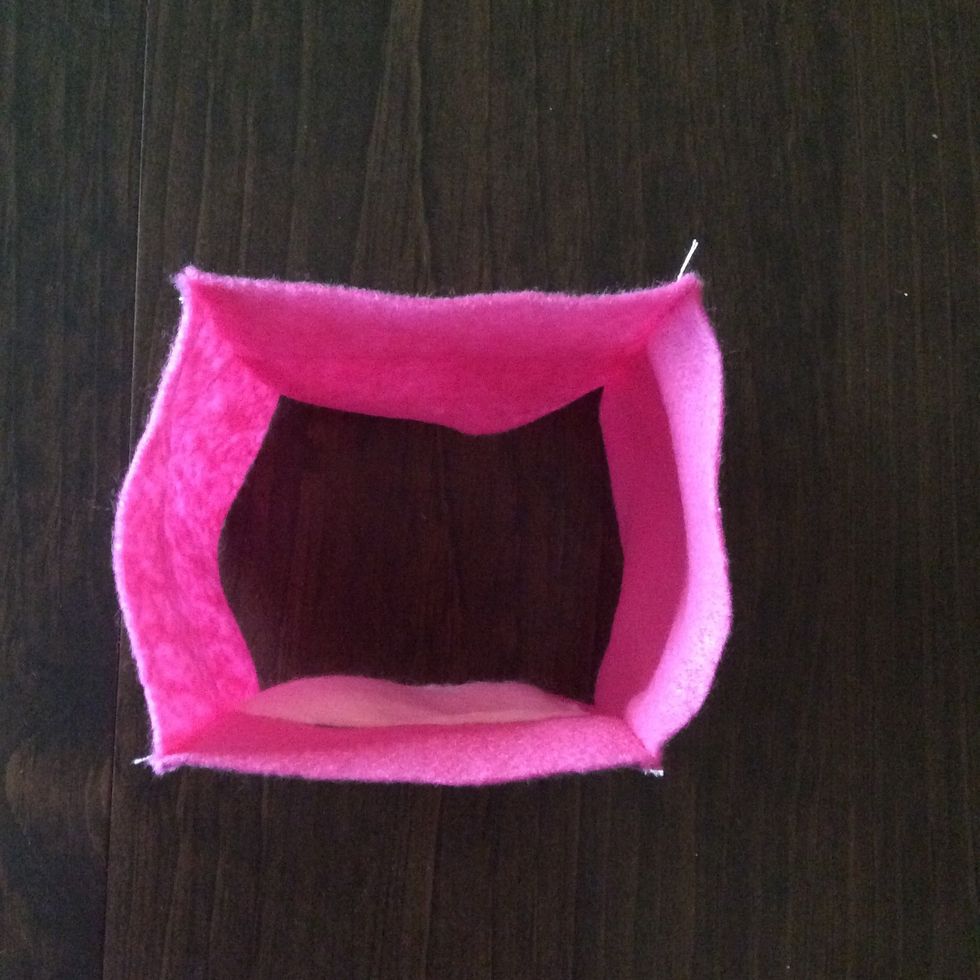
You now have a weird square thingy.
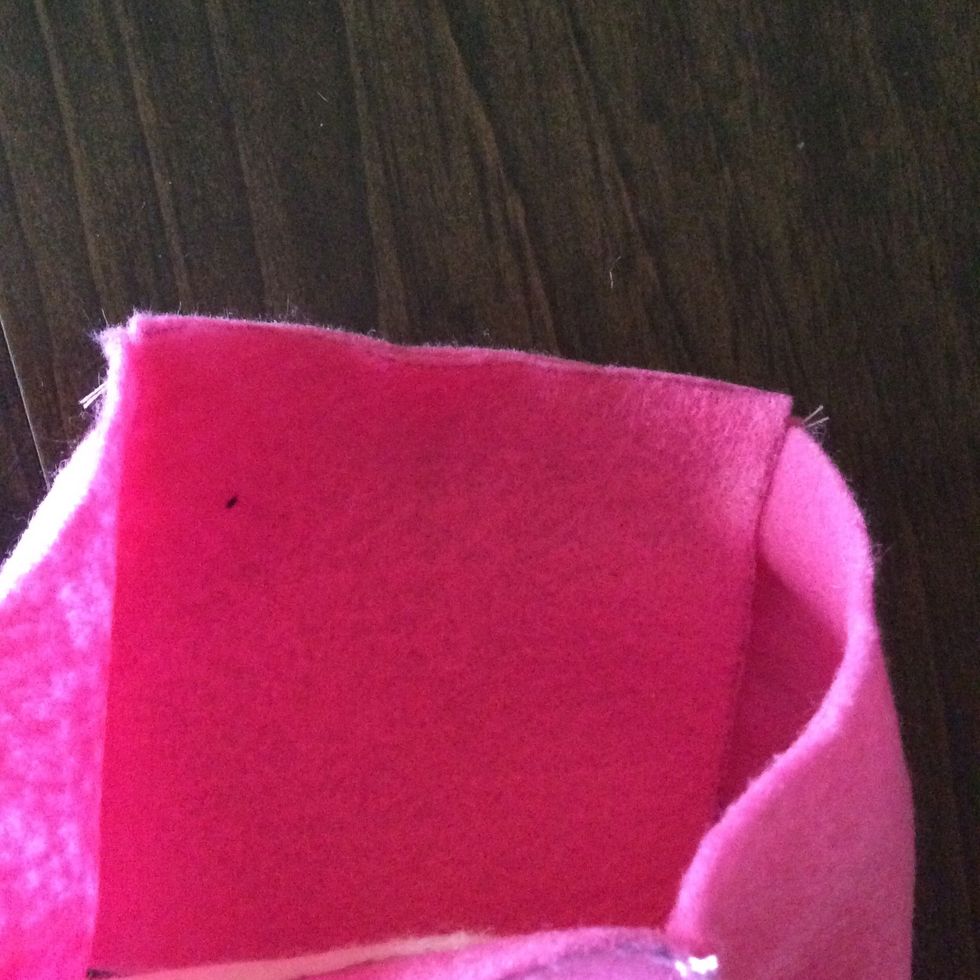
Line up a piece of fabric (ON THE INSIDE) and pin if necessary...

And sew across the edge.
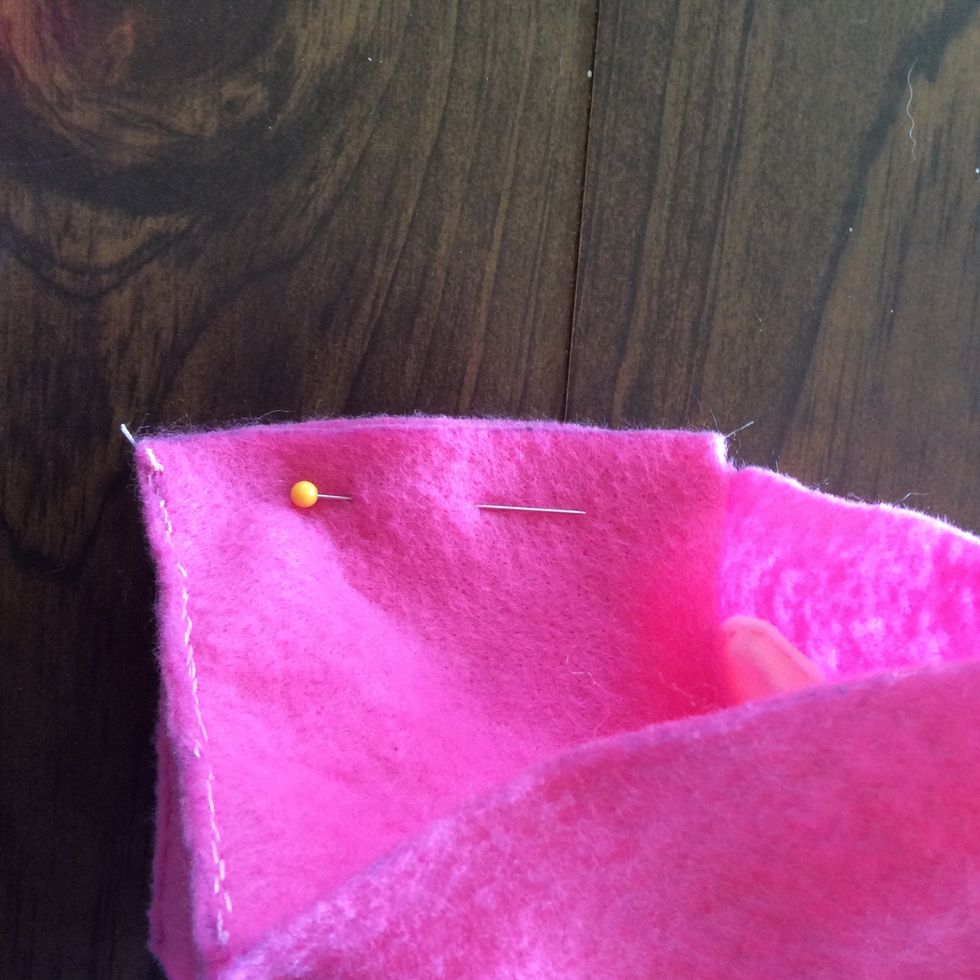
Line up another one of the square's edges, once again pinning if necessary...
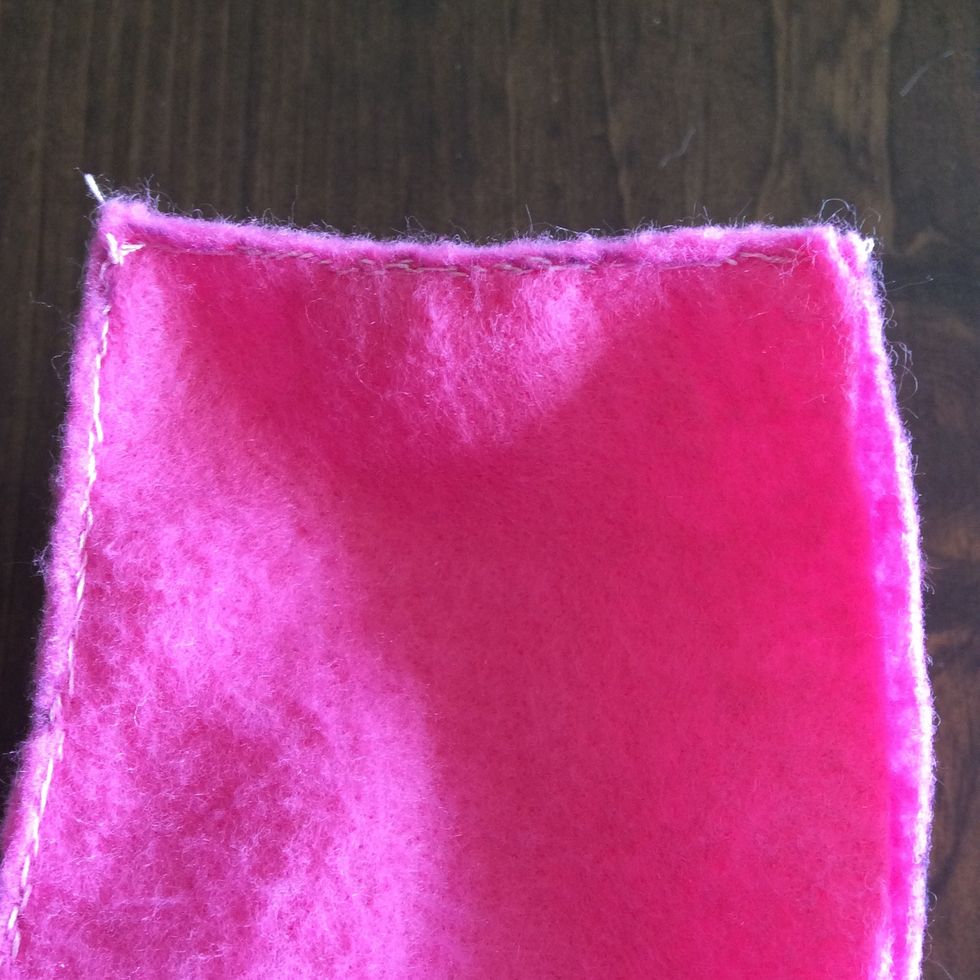
...and sew across.
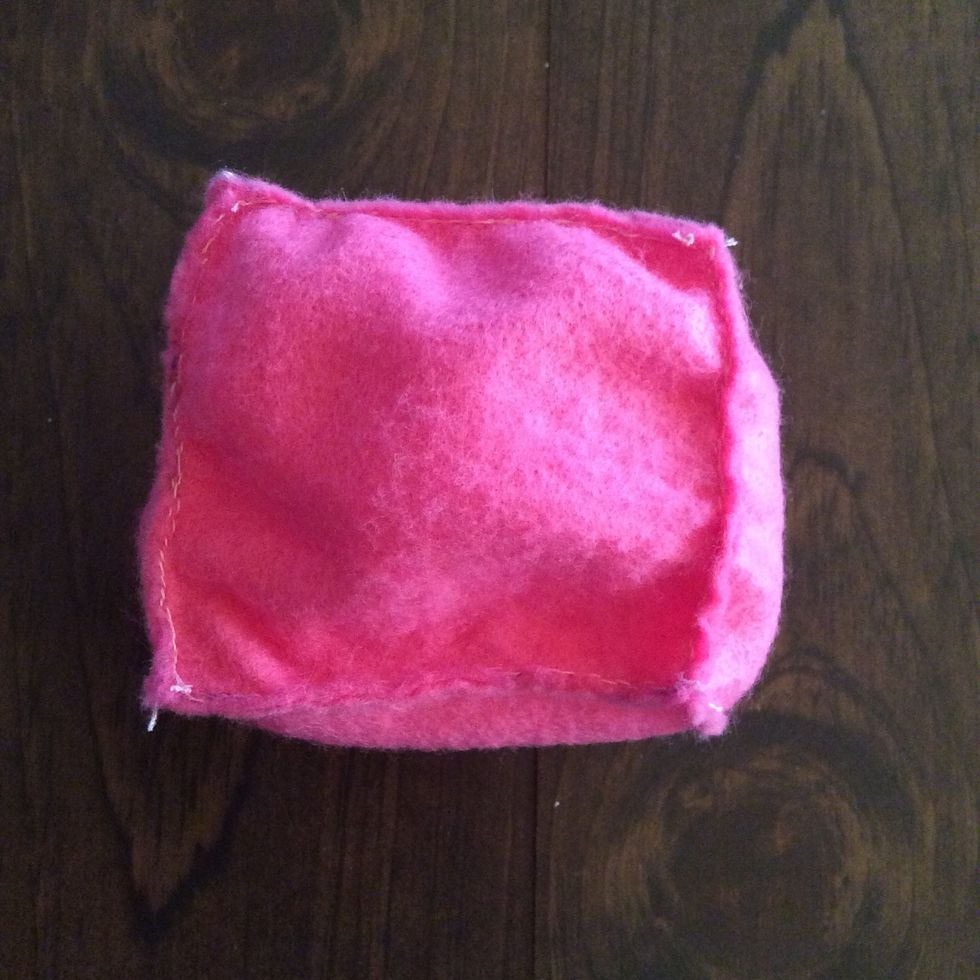
Repeat for the other two edges.
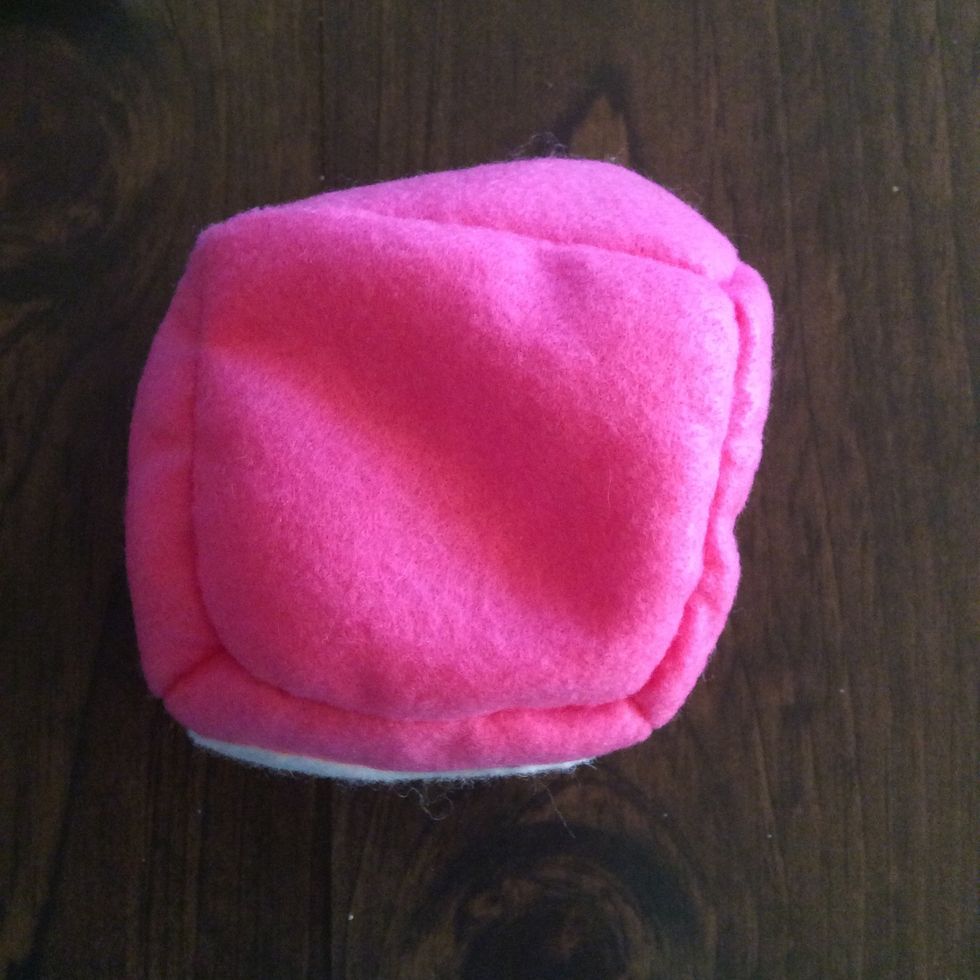
If you're going to SEW on the facial features flip it inside out NOW. If you're going to glue, skip this step.

I like to sew all of the eye parts together first...
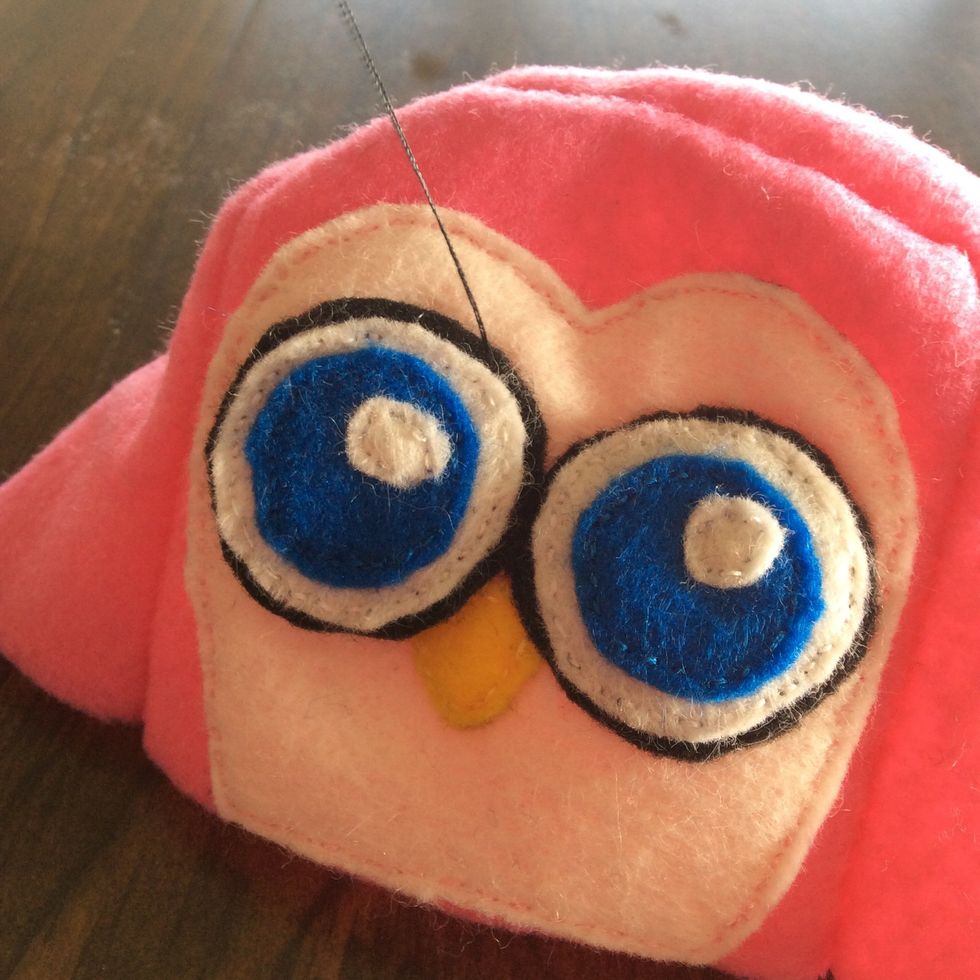
...and then sew it on the plushie.

Your animal now has a face.

Flip it inside-out again.
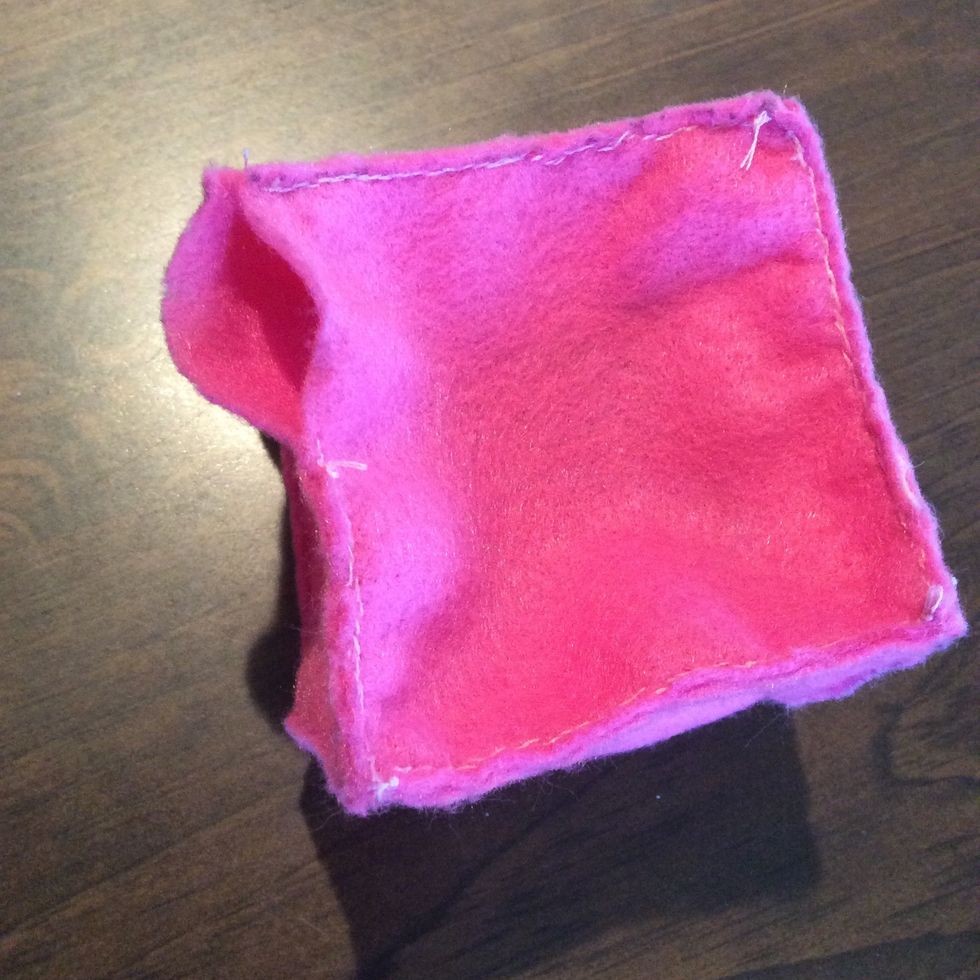
Repeat steps 12-15 on the bottom, but on the last edge, leave a 1-2 inch gap.
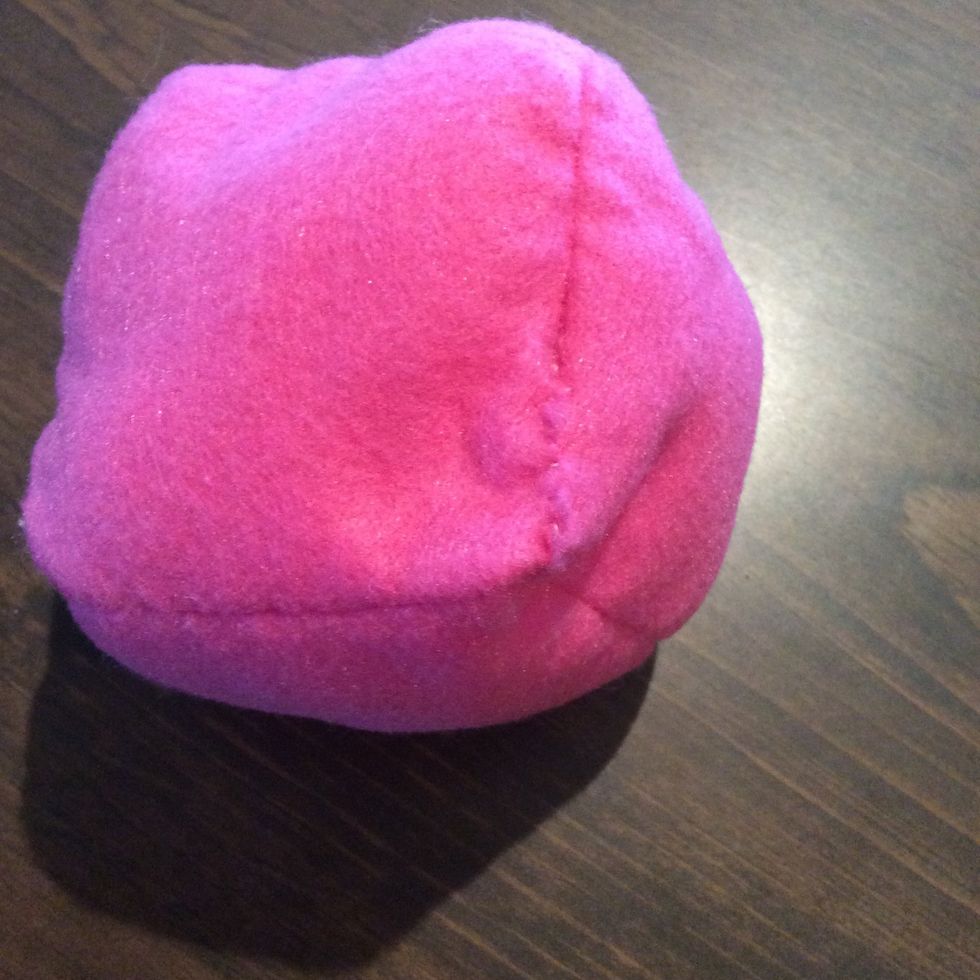
Flip it right-side out, stuff it, and sew the opening closed with a ladder stitch. If you're gluing on the face, do it now.
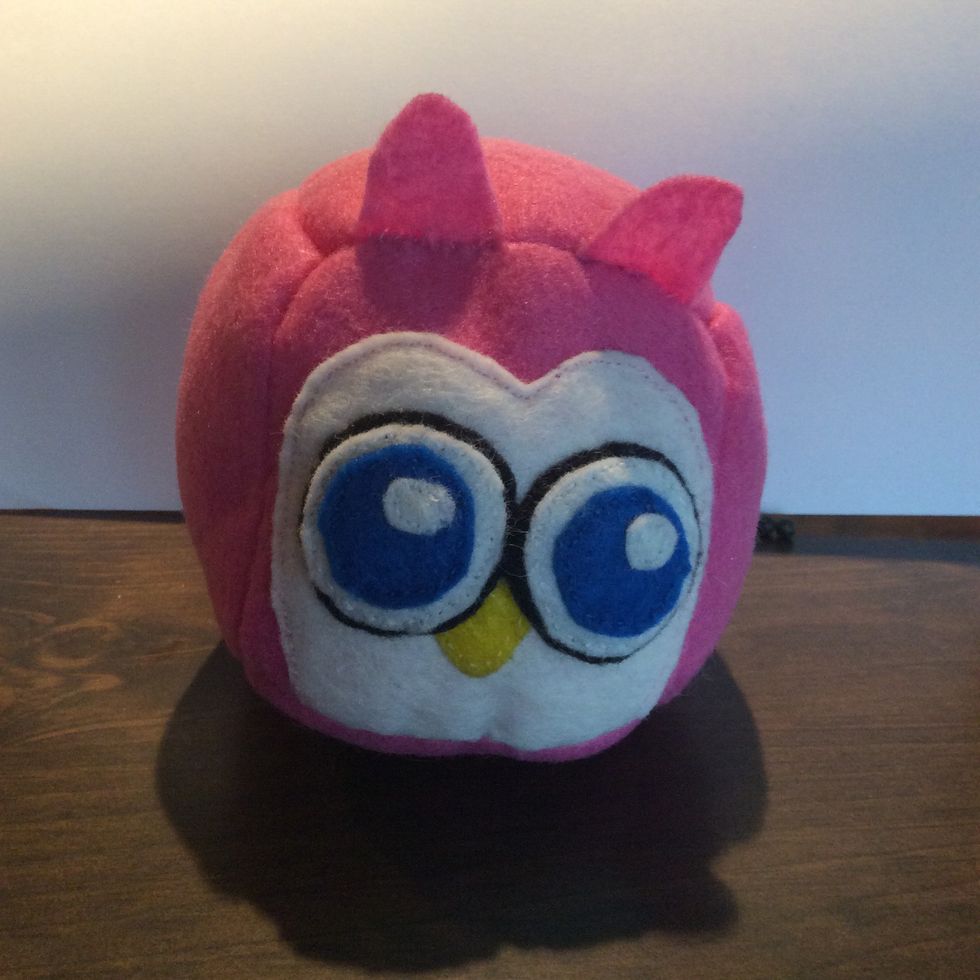
Sew/glue on ears/tail, and you're done! It was totally worth the 5+ hours!
~SHOUTOUTS~ Hailey Grimmius Like my guides for a shoutout in my next one!
- Felt
- Stuffing
- Needle and thread
- Stuffing
- Paper, pencil, and eraser
- Fabric glue
- Sewing pins
- Ruler
- Scissors
- Marker
Jocelyn Tillman
I do mostly crafts with some other spontaneous stuff.
I am no longer making guides but will keep my previous ones up.
United States
The Conversation (0)
Sign Up