The Conversation (0)
Sign Up
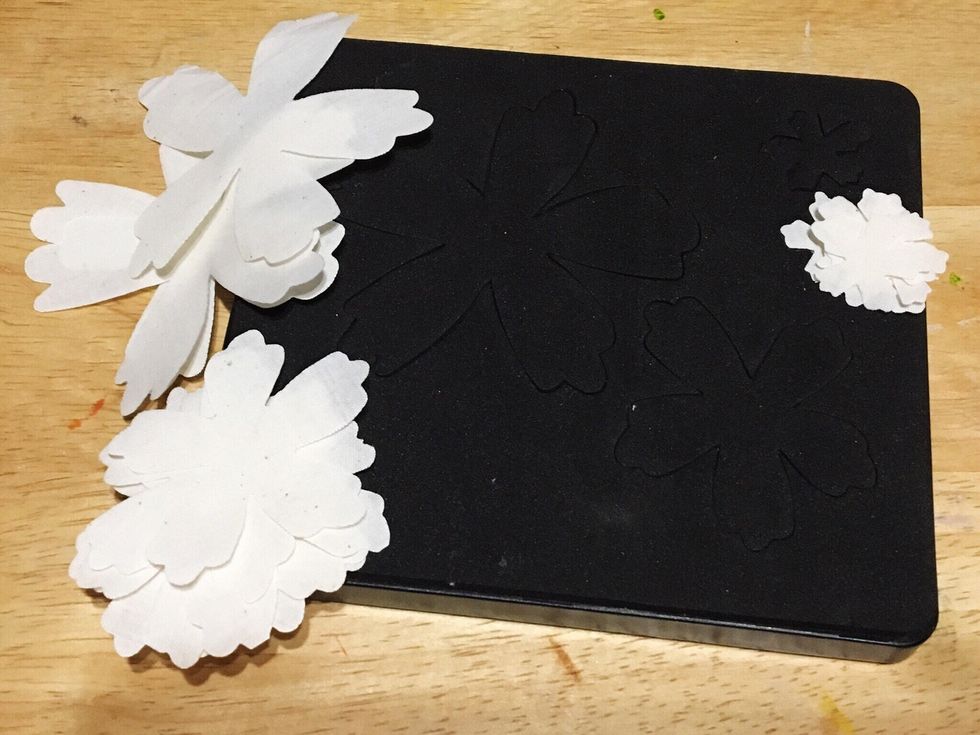
Diecut small, medium and large flowers from light-weight muslin. Cut even numbers as 2 pieces layer to create each flower.
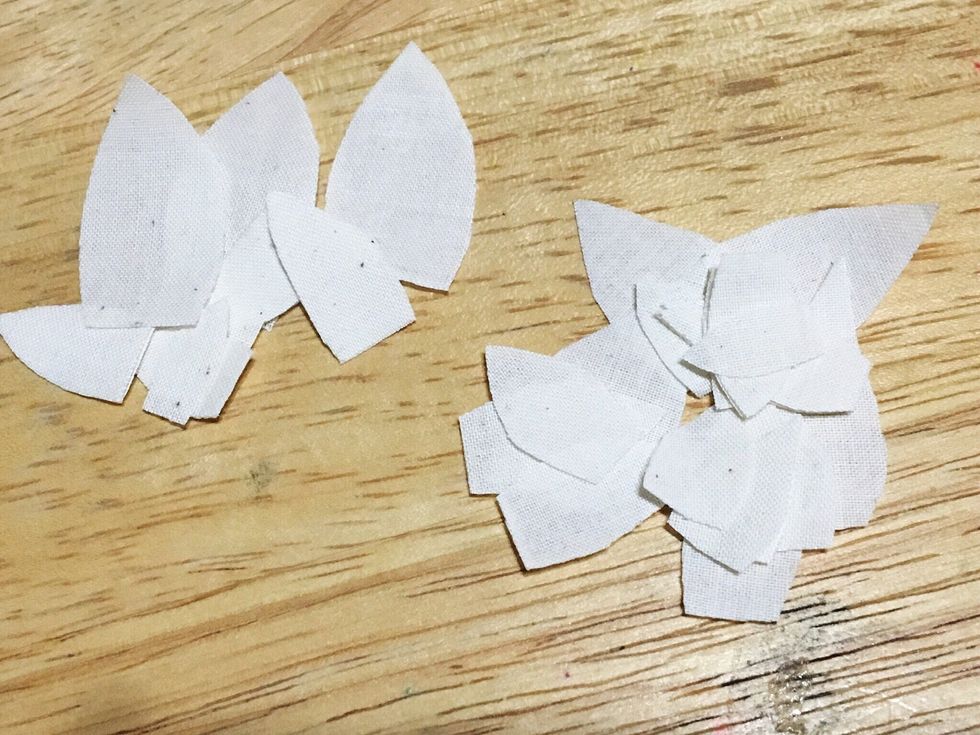
Handcut small, medium and large size leaves.

Add a small bit of water to plastic container and add a few spritzes of Frosted Plum Ink, stir to mix.
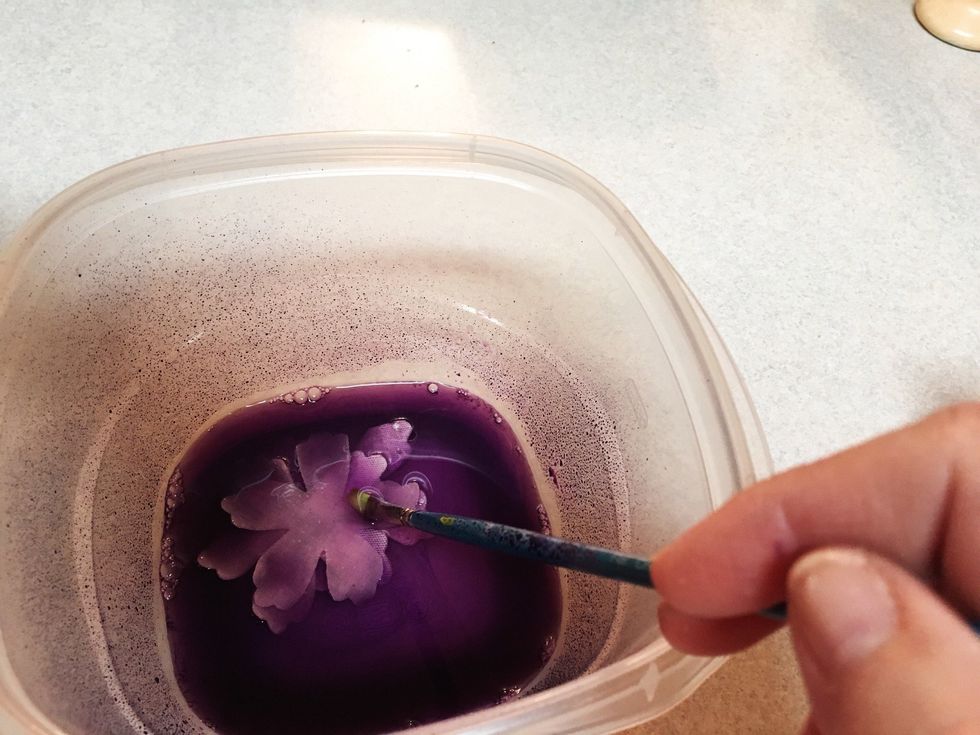
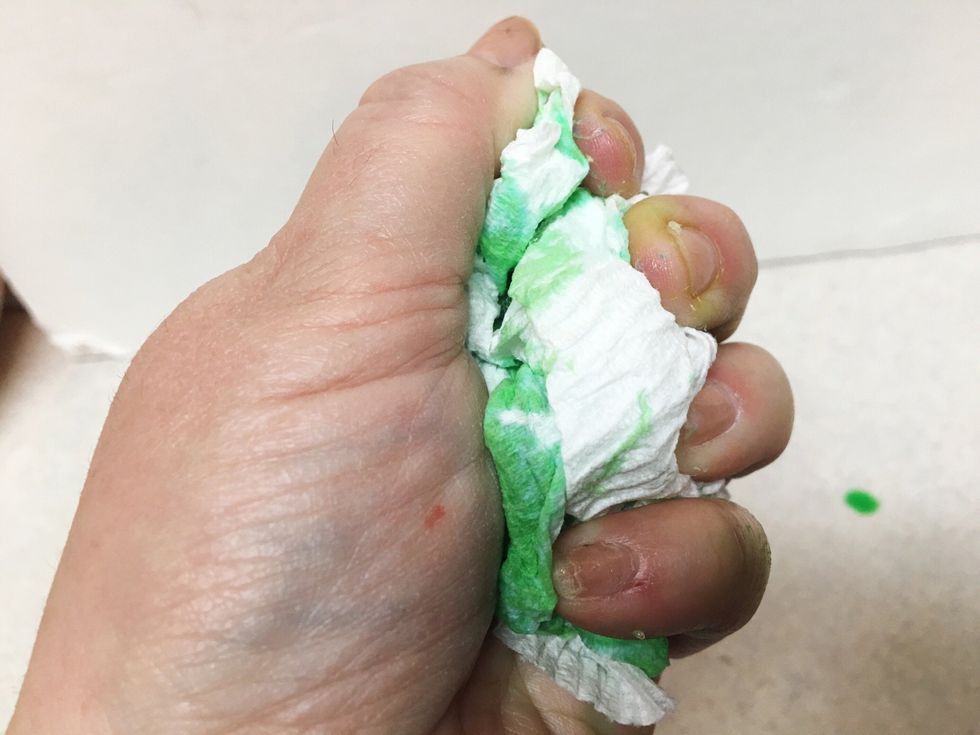
Add half your large flowers – this will be your lighter shade set. Let sit a minute or so, then squeeze out excess liquid.
Transfer to a clean paper towel, squeeze tightly, then transfer flowers to a layer of paper towels.

Add a little bit of water to lighten the dye, then add rest of large flowers. Squeeze and lay out to dry as before.

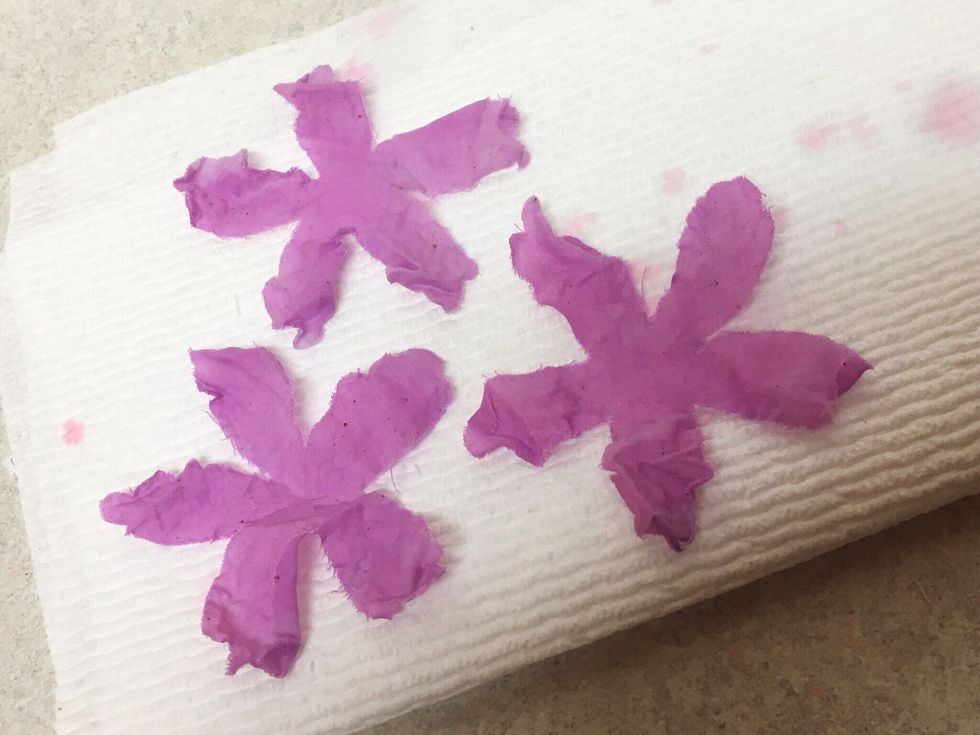
Repeat dyeing process with Pinkolicious and Pumpkin Pie Spritzes.
For Leaves: Mix a few spritzes of Golf Course and one or two of Lemon Drop, dye half your leaves. Add a little water to lighten and dye the remainder of your leaves; squeeze dry and layout as before.
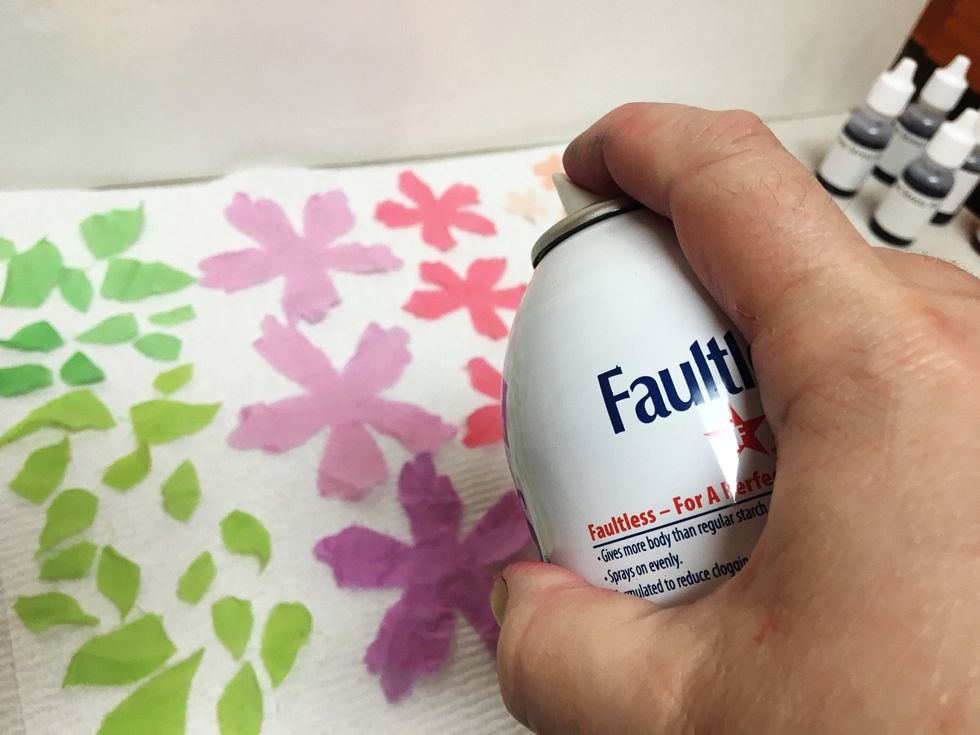
Spray flowers and leaves with spray starch.
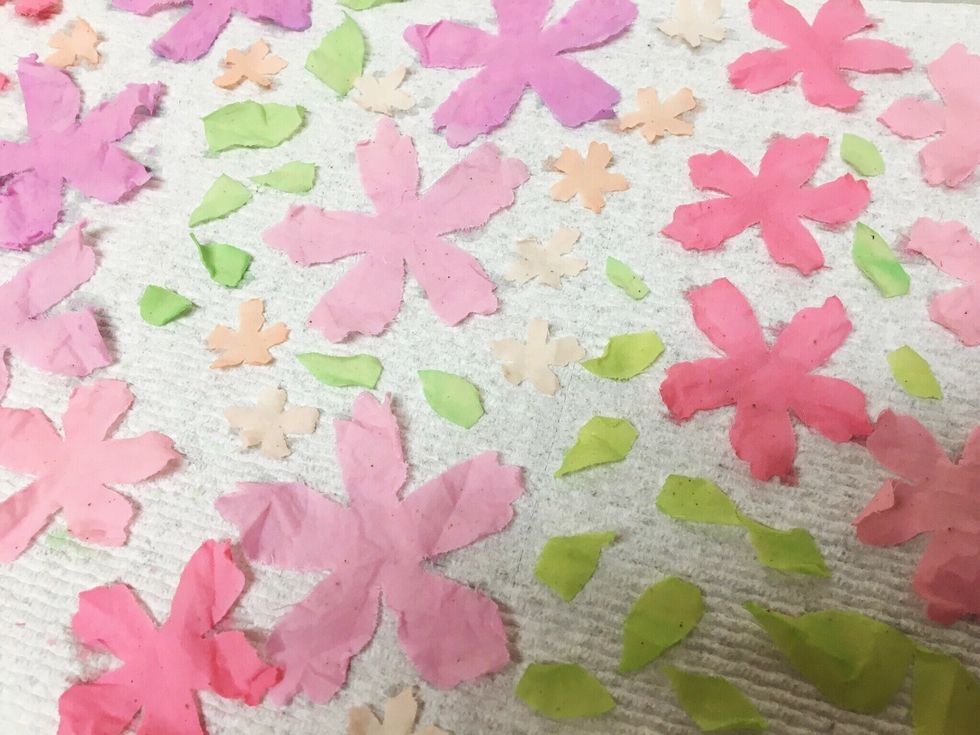
Transfer to a clean layer of paper towels and let dry.
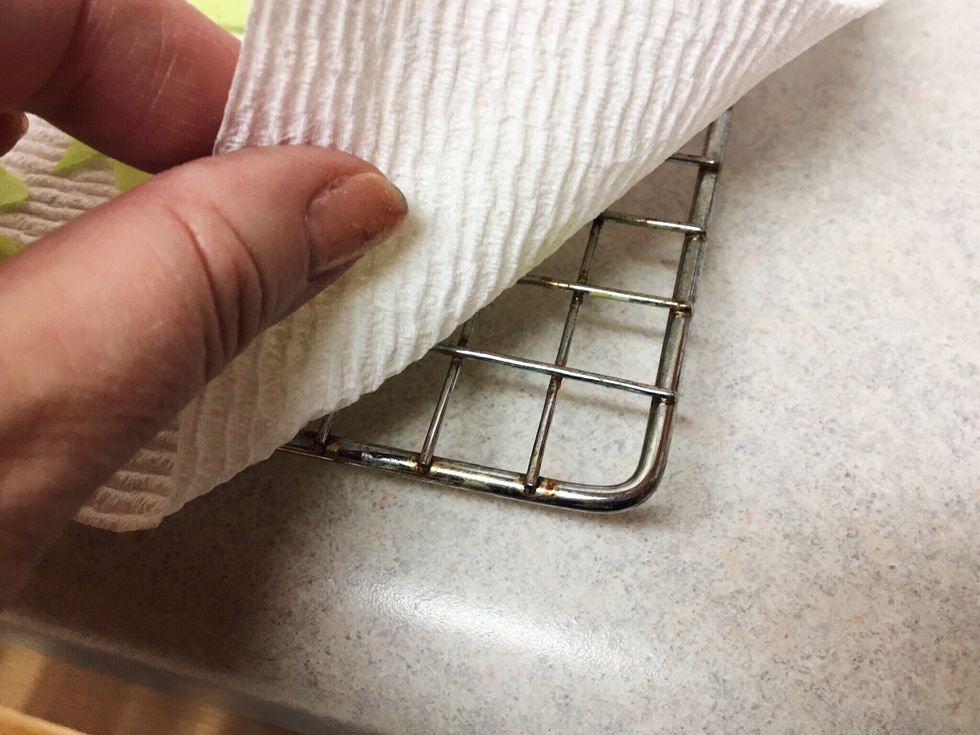
To speed drying time, layout on a cooling rack.

Add about a yard of ribbon to green dry; squeeze out excess liquid.
Squeeze ribbon in a paper towel.
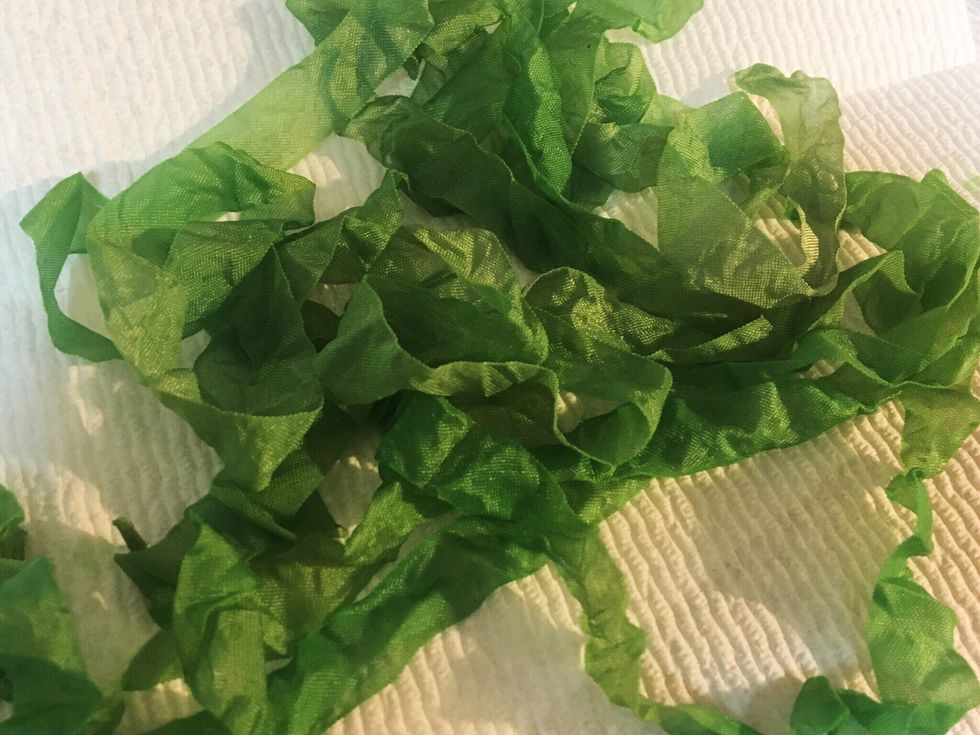
Loosen ribbon and lay out on paper towels to dry.

Paint the top of the outer loop with Neptune Ink...
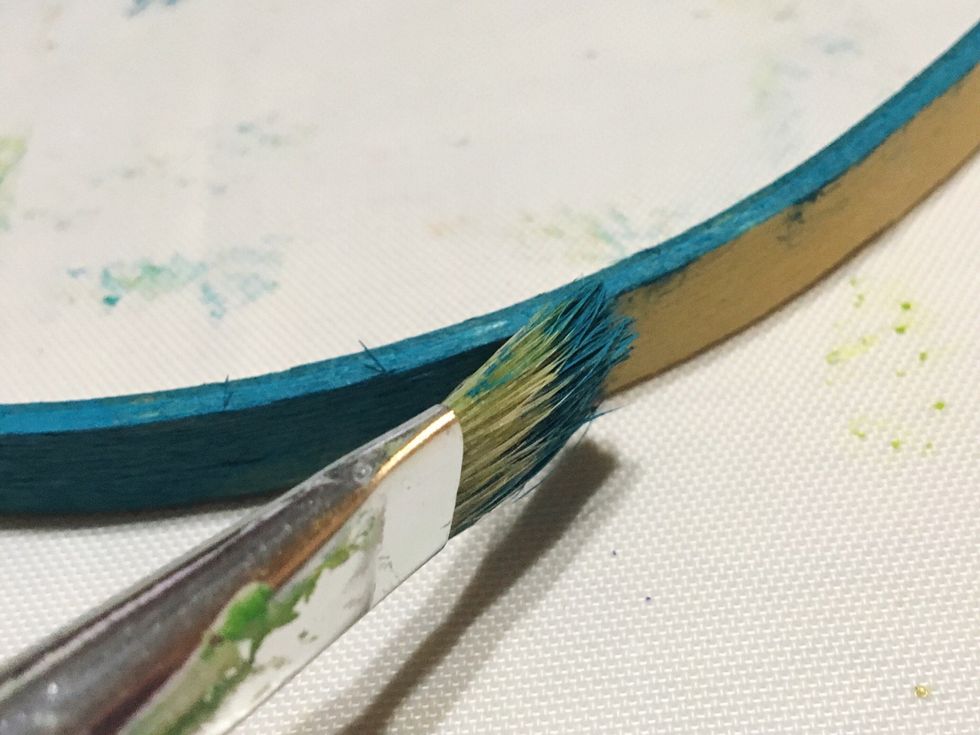
then paint the outside; set aside to dry.
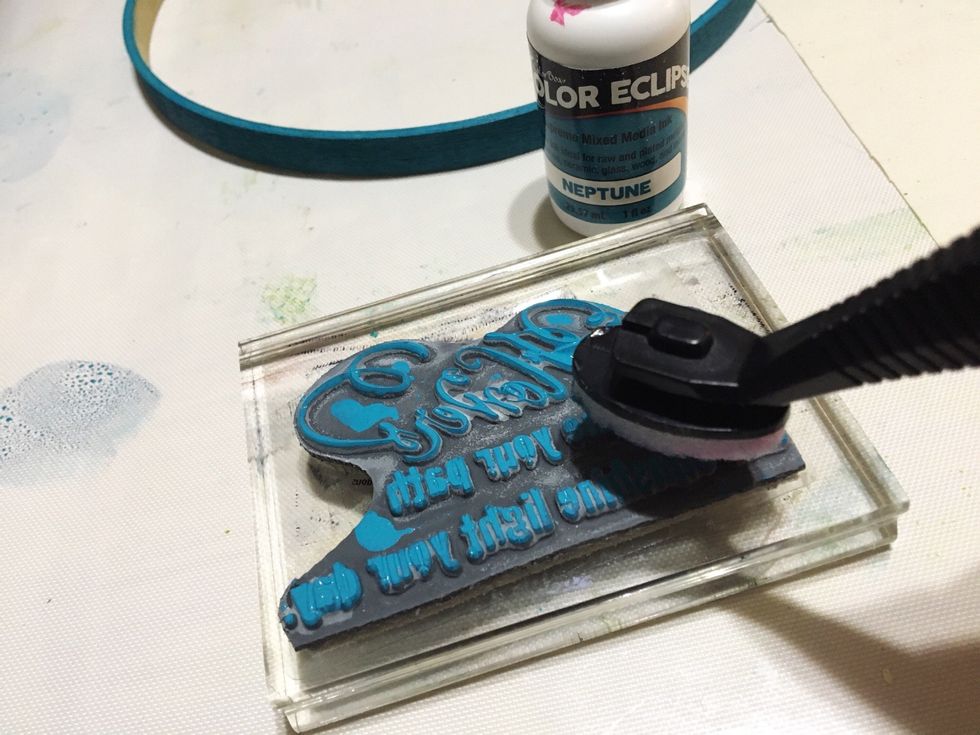
Ink stamp with Neptune Ink applied with Stylus & Tip.
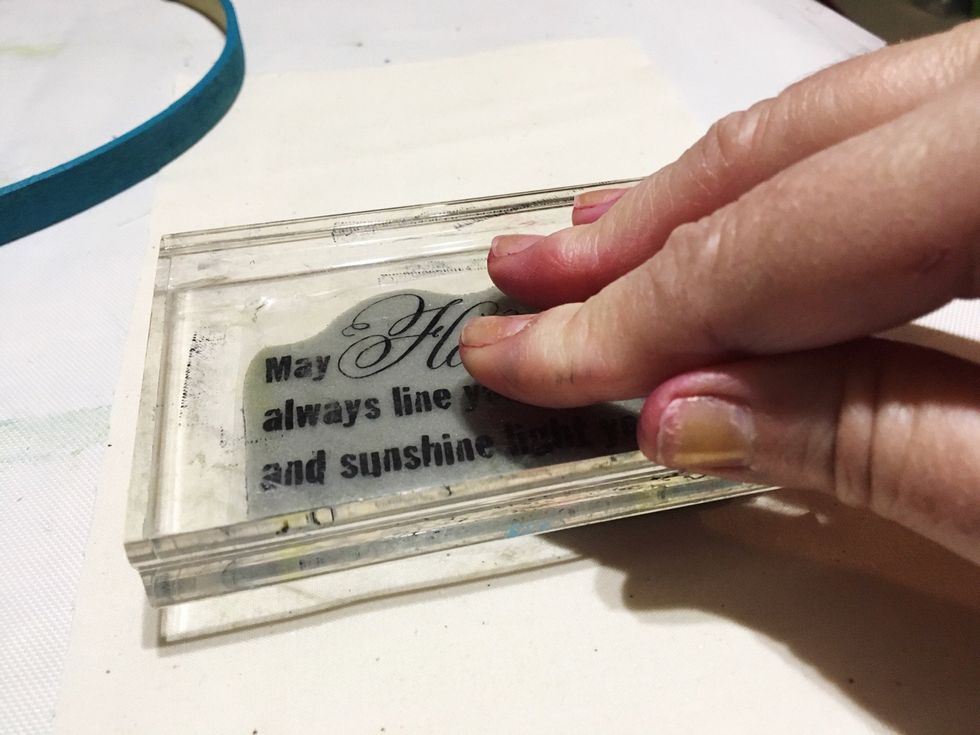
Stamp on a piece of medium-weight muslin and let dry.
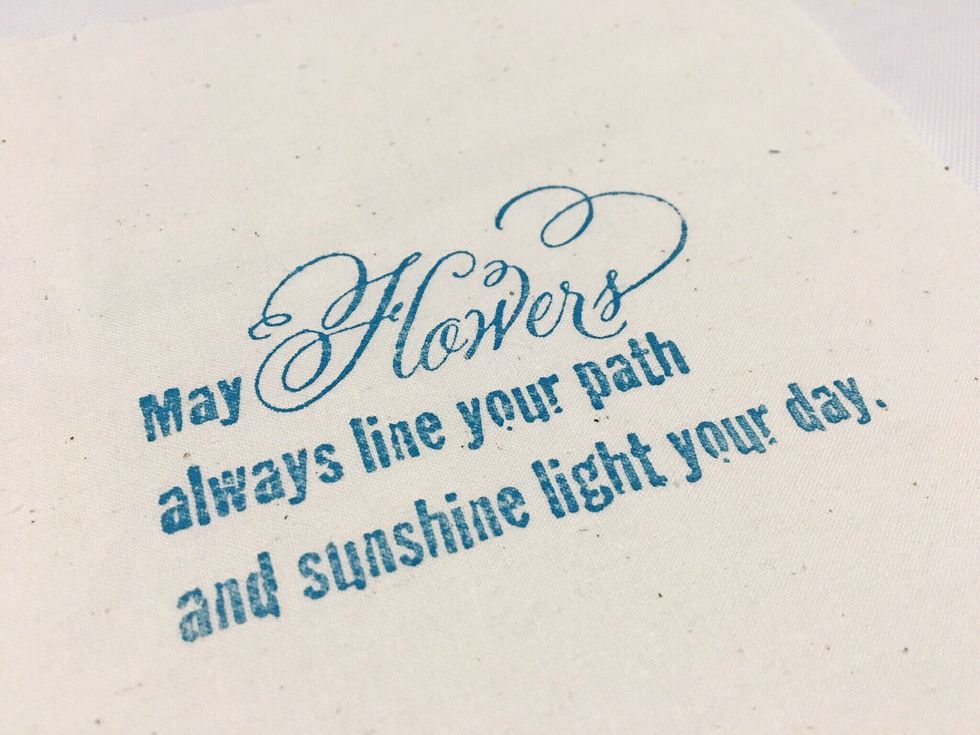
Stamped Sentiment.

Cut out a piece of medium-weight muslin a few inches larger than outer hoop.
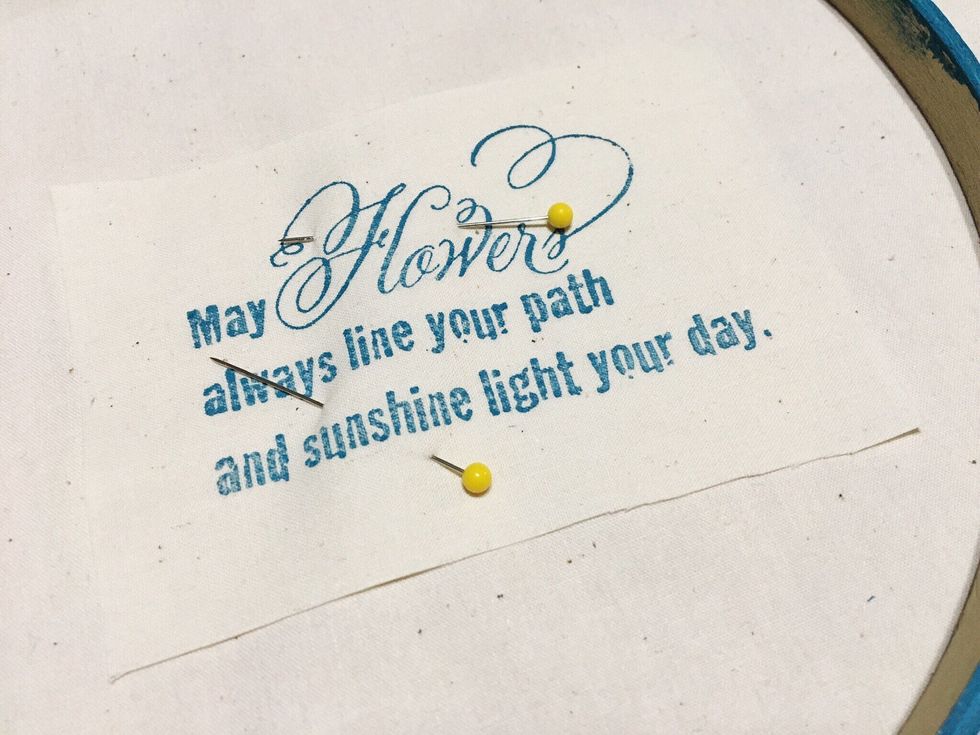
Cut around stamped sentiment and place on larger piece of muslin; lay hoop over fabric, and pin sentiment in place toward lower left.

Stitch around sentiment several times, overlapping lines.
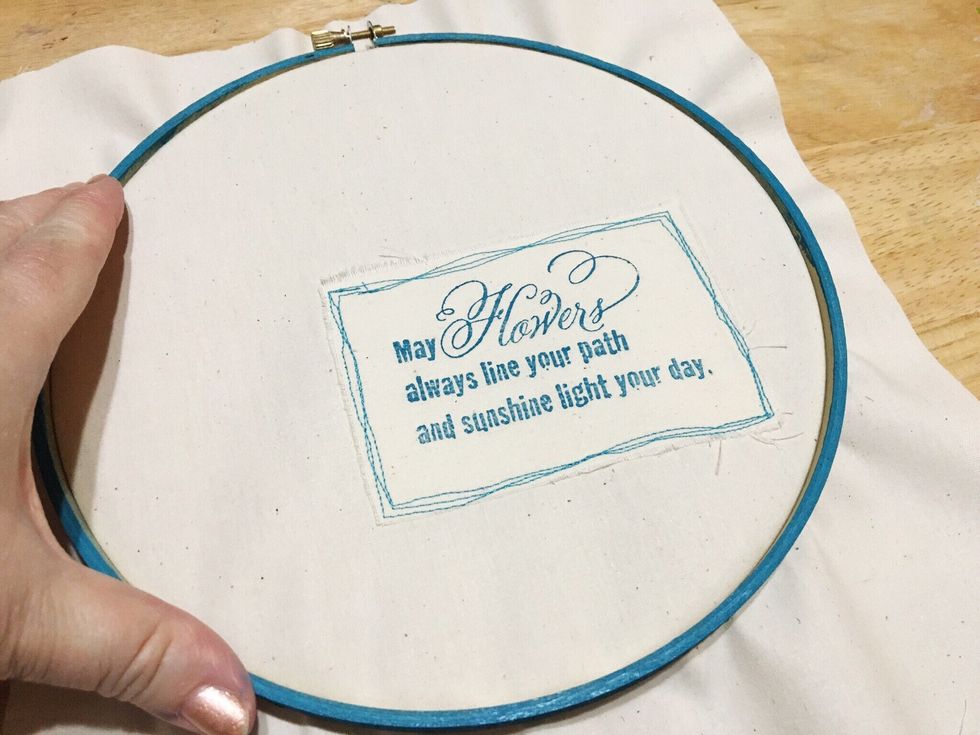
Place muslin in hoop with metal fastener at top, and sentiment towards lower right.
Turn over and gently pull fabric all around hoop to make sure its taunt.
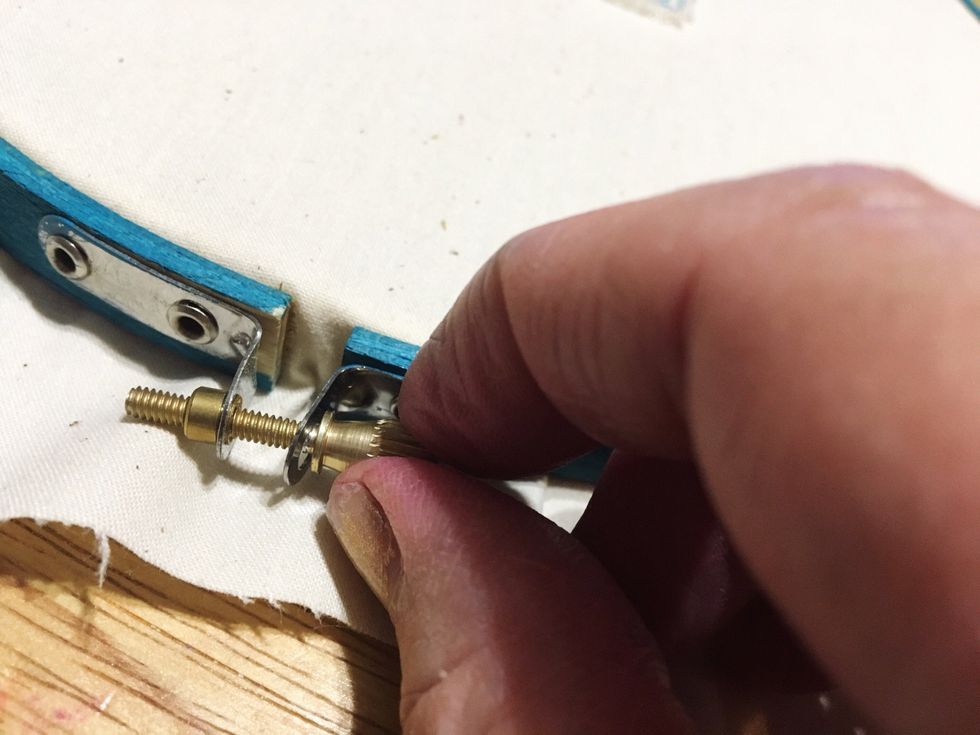
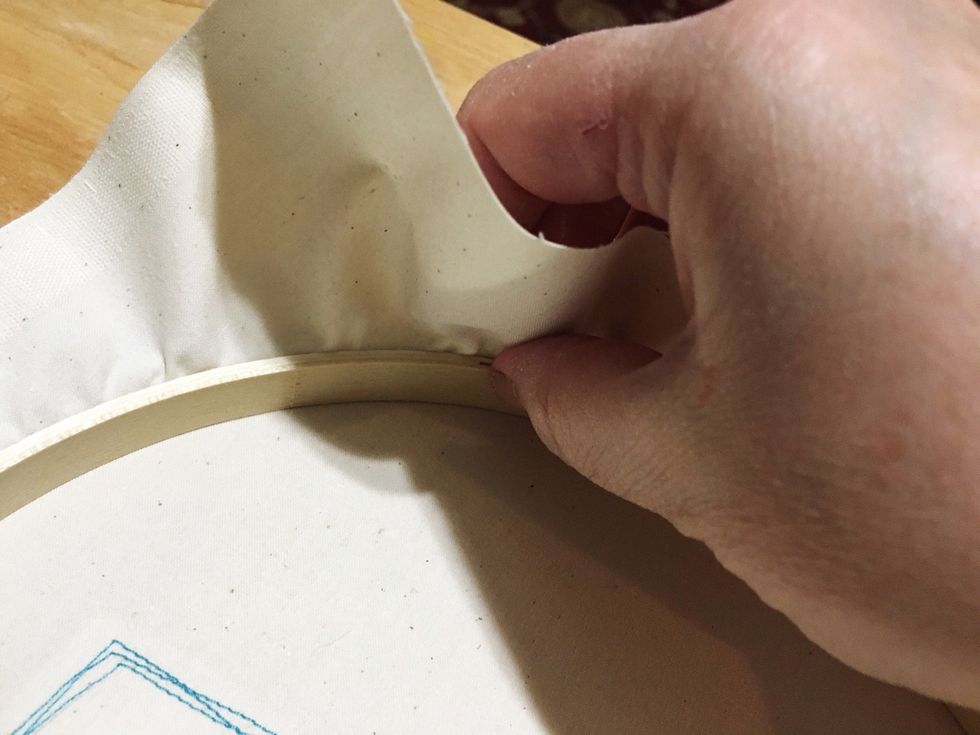
Tighten screw to secure fabric in place.

Trim fabric to about ¾” to 1” above hoop.

Fold fabric over hoop and glue in place.
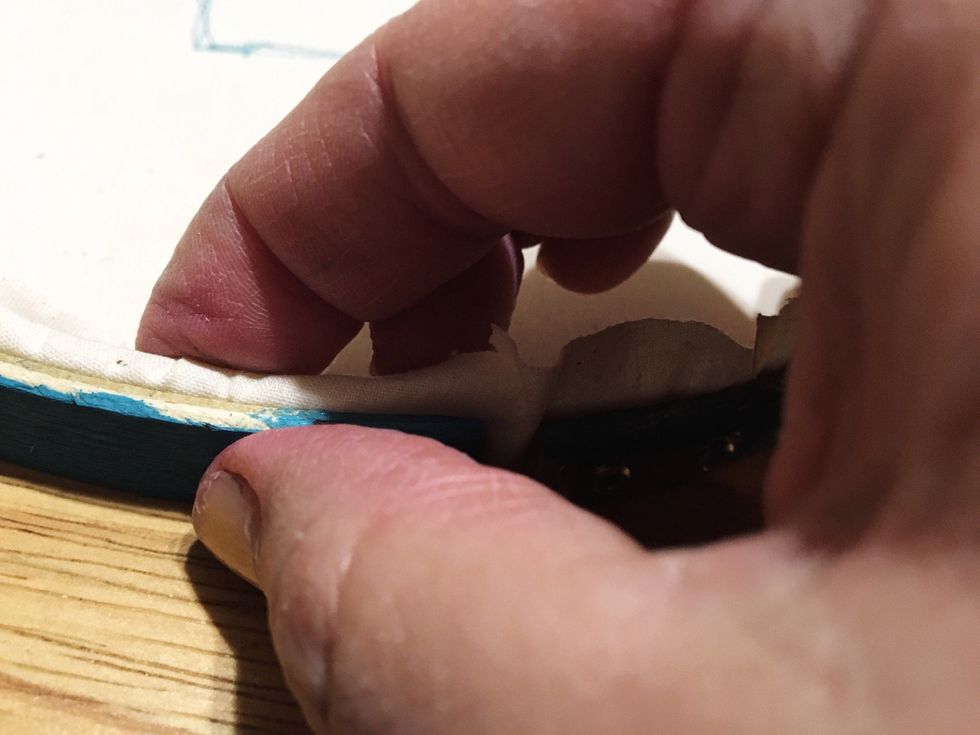
Press edge to inside of hoop to secure.
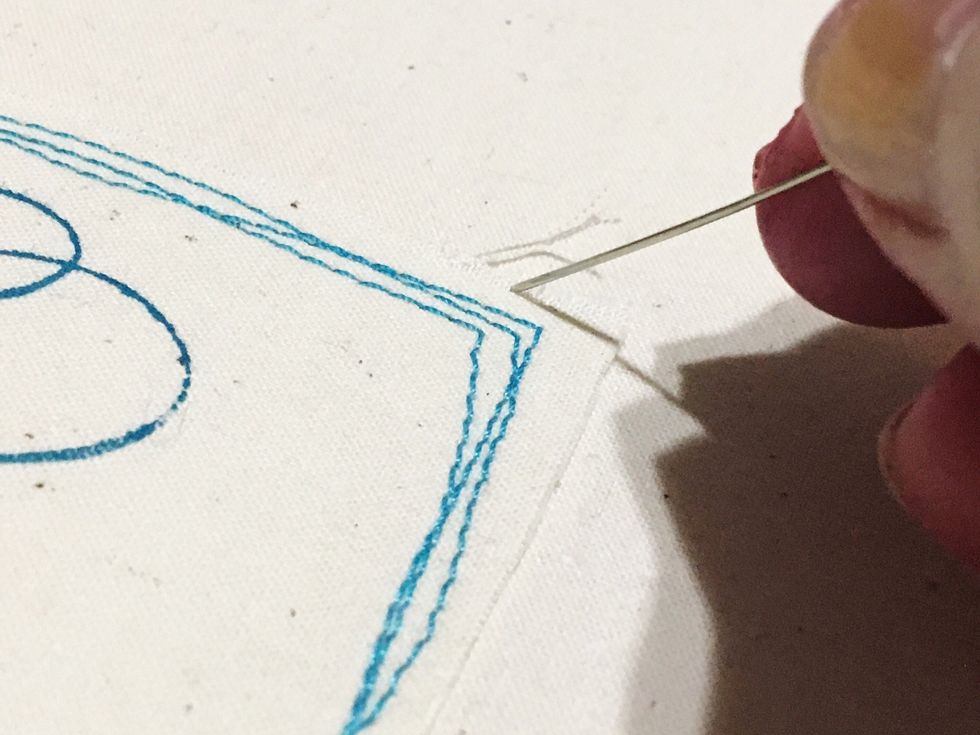
Pick out a few threads around sentiment to distress.
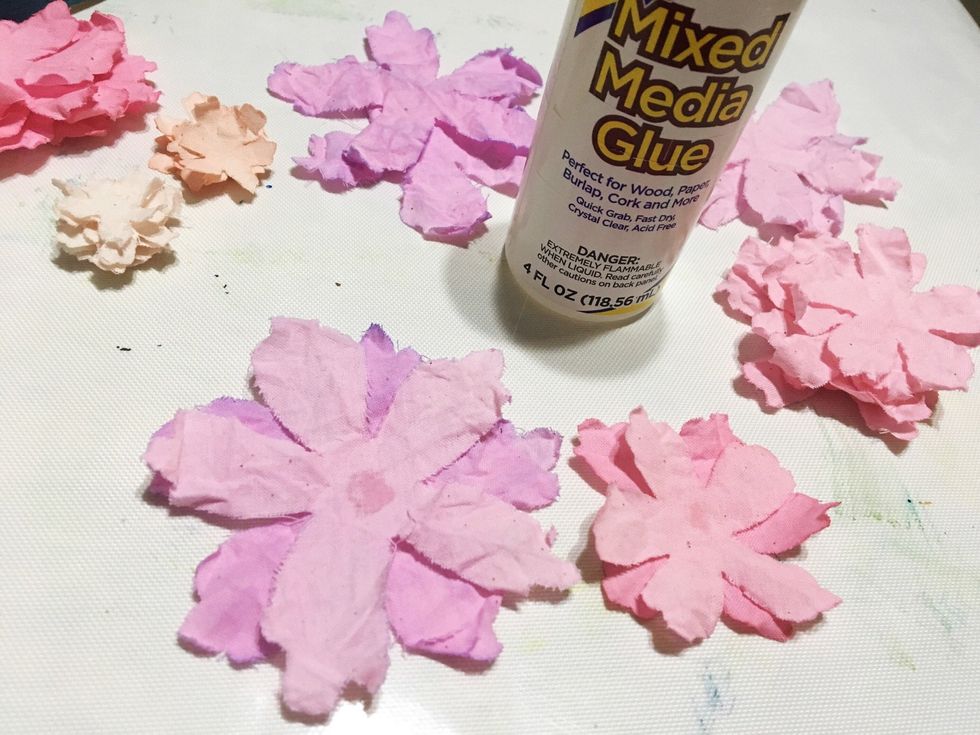
Layer flowers, 2 per flower, darker color flower to the back with lighter color on top, offsetting petals. Glue flowers together. (glue is wet in photos)
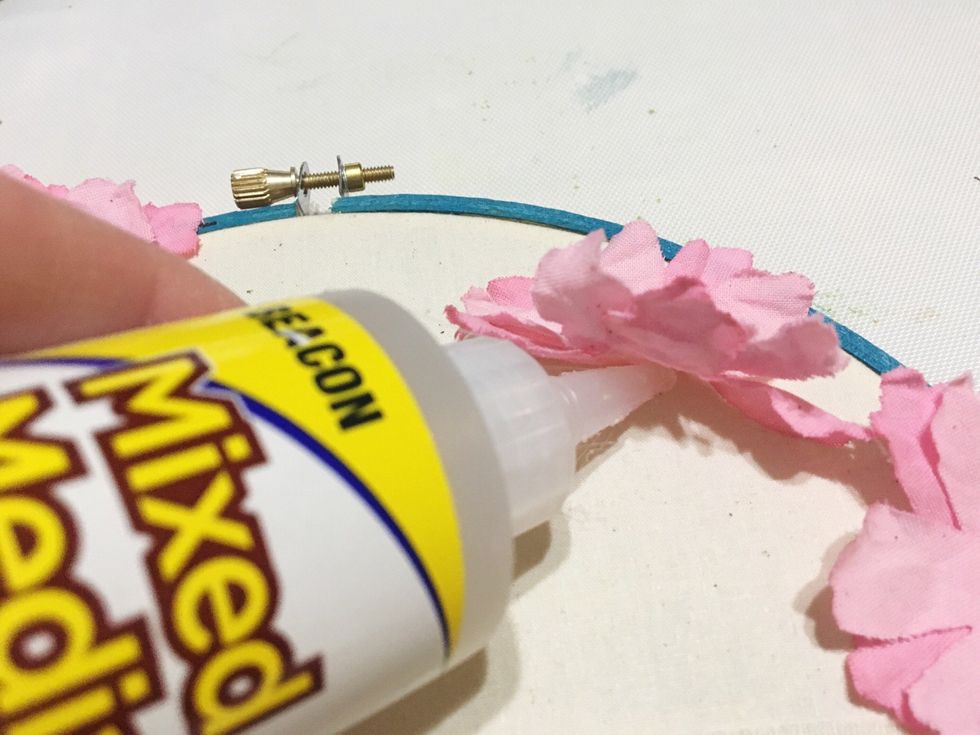
Arrange and start to adhere flowers to hoop, begin with large purple flowers, then add medium pink flowers.
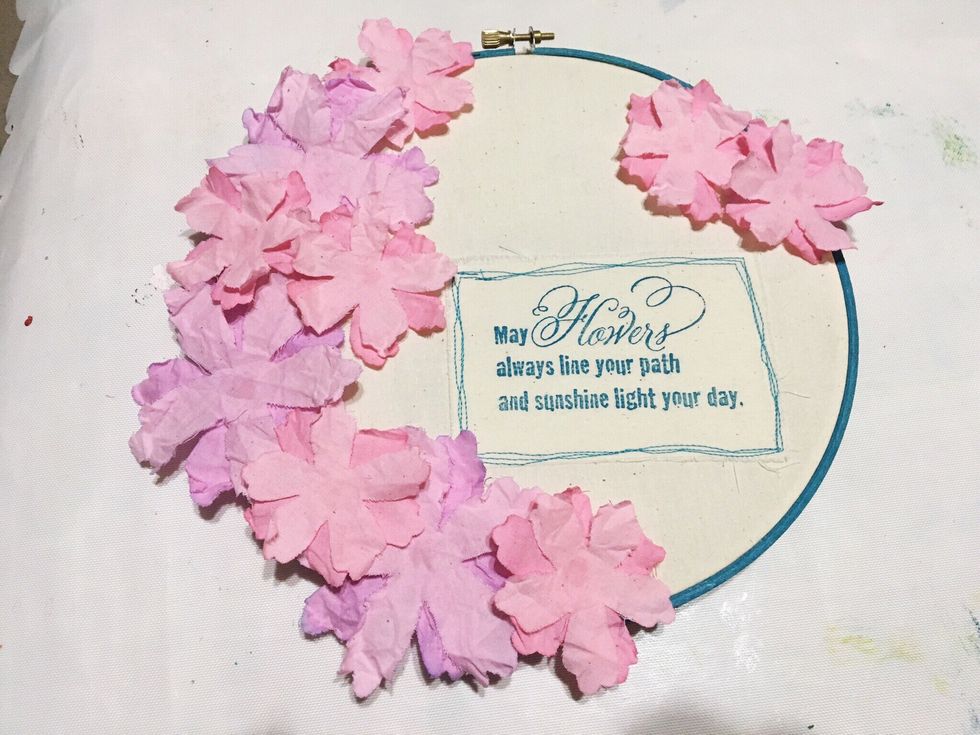
Purple and pink flowers added.

Then arrange and adhere the small peach flowers.
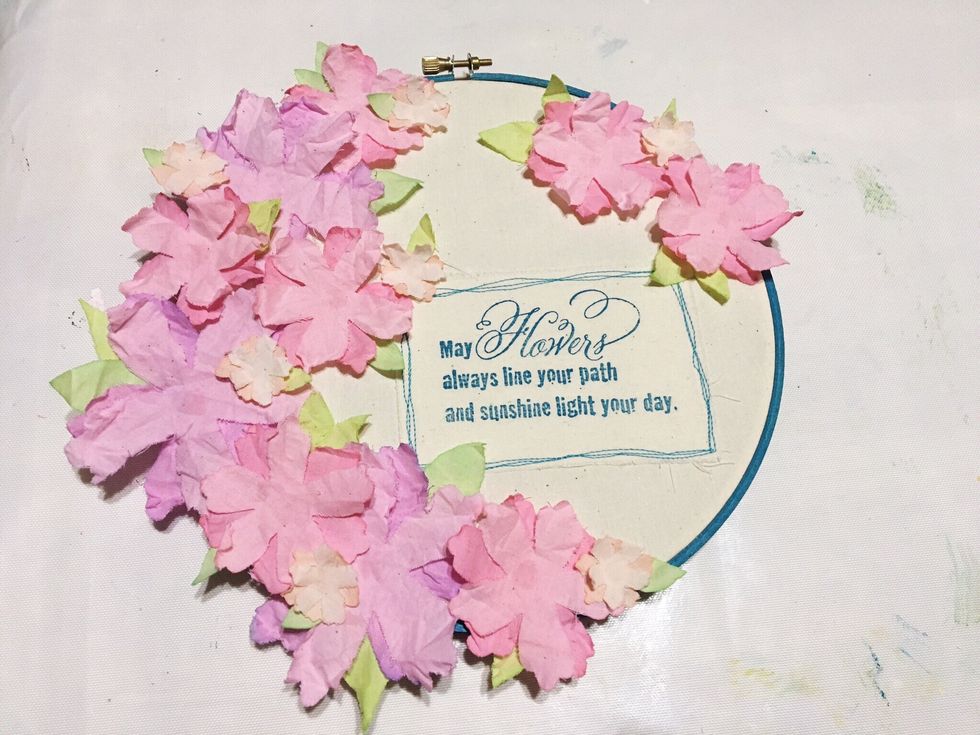
Arrange and adhere the leaves.
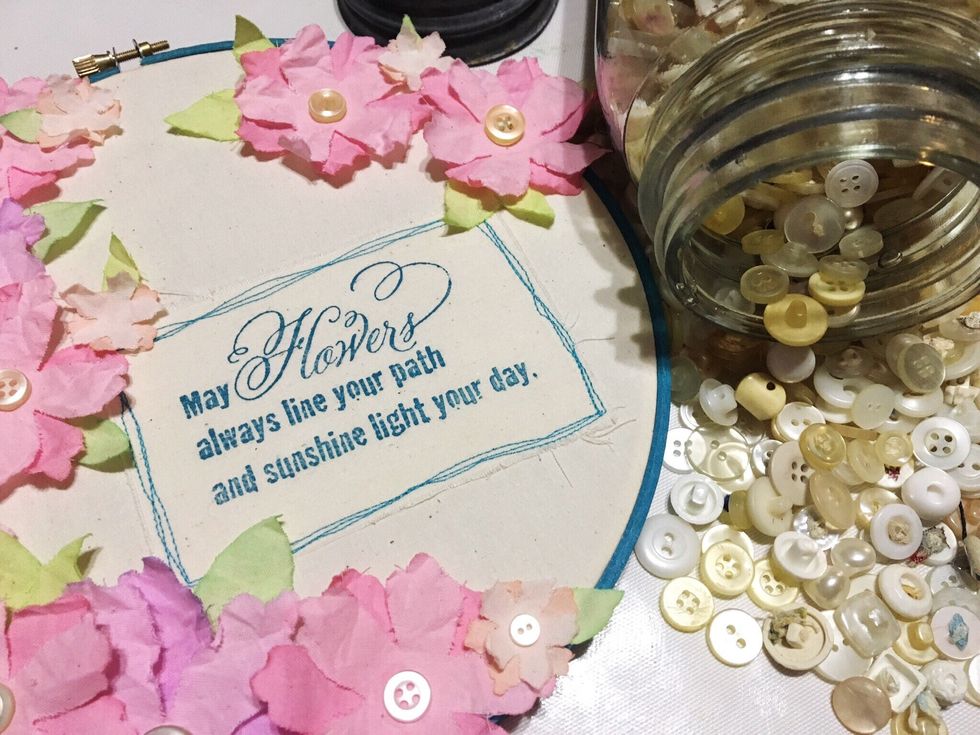
Adhere buttons to the centers of the flowers.

Make bow and secure to closure at top of hoop, add a small loop for hanging your wreath behind the bow.
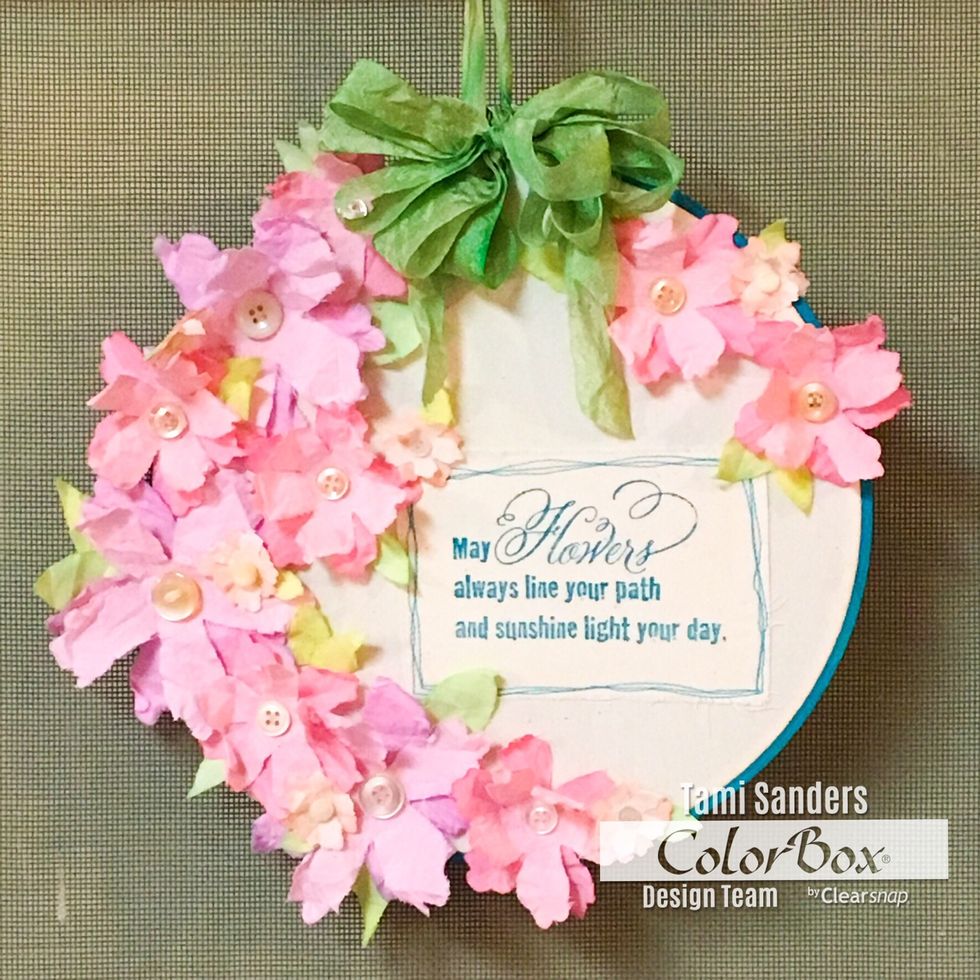
Finished project all ready for Spring! Display INDOORS; dyes need to be heatset or sprayed with Sealer as a precaution to prevent running, so not recommended for outdoor use.
i hope you enjoyed this project. for more project ideas, check out #clearsnap on INSTAGRAM. you can find me on my website: tamisanders.com or on INSTAGRAM #tami.paper.crafter thanks for viewing!