The Conversation (0)
Sign Up
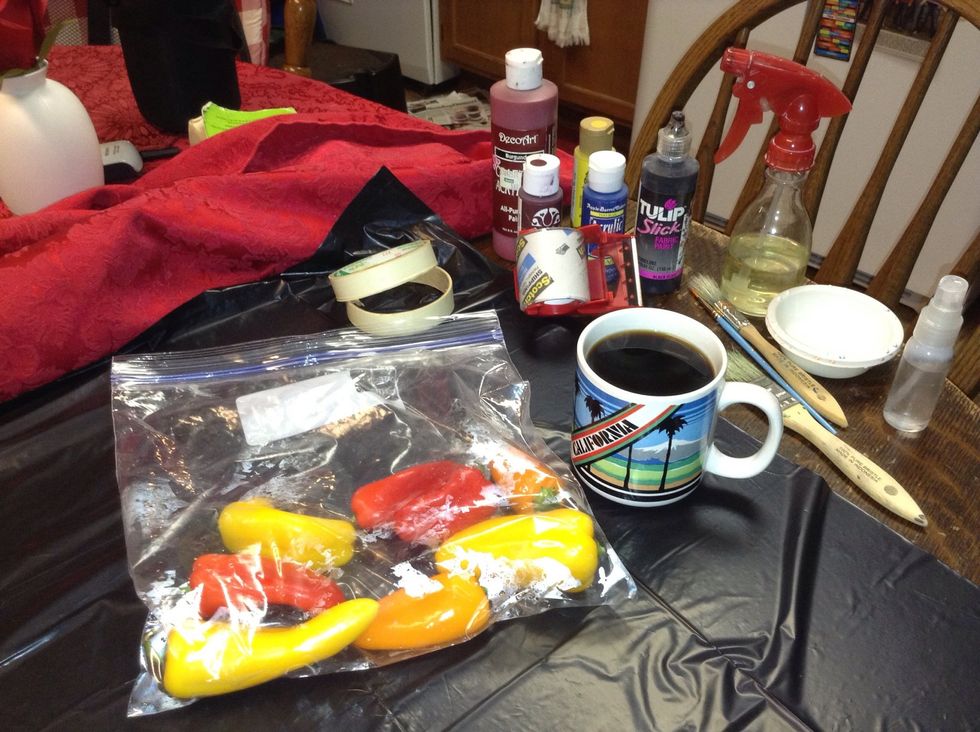
OPTIONAL SUPPLIES: • Peroxide and/or distilled vinegar • Trash bag or bunch of newspapers (for working surface) • Black coffee and sweet peppers
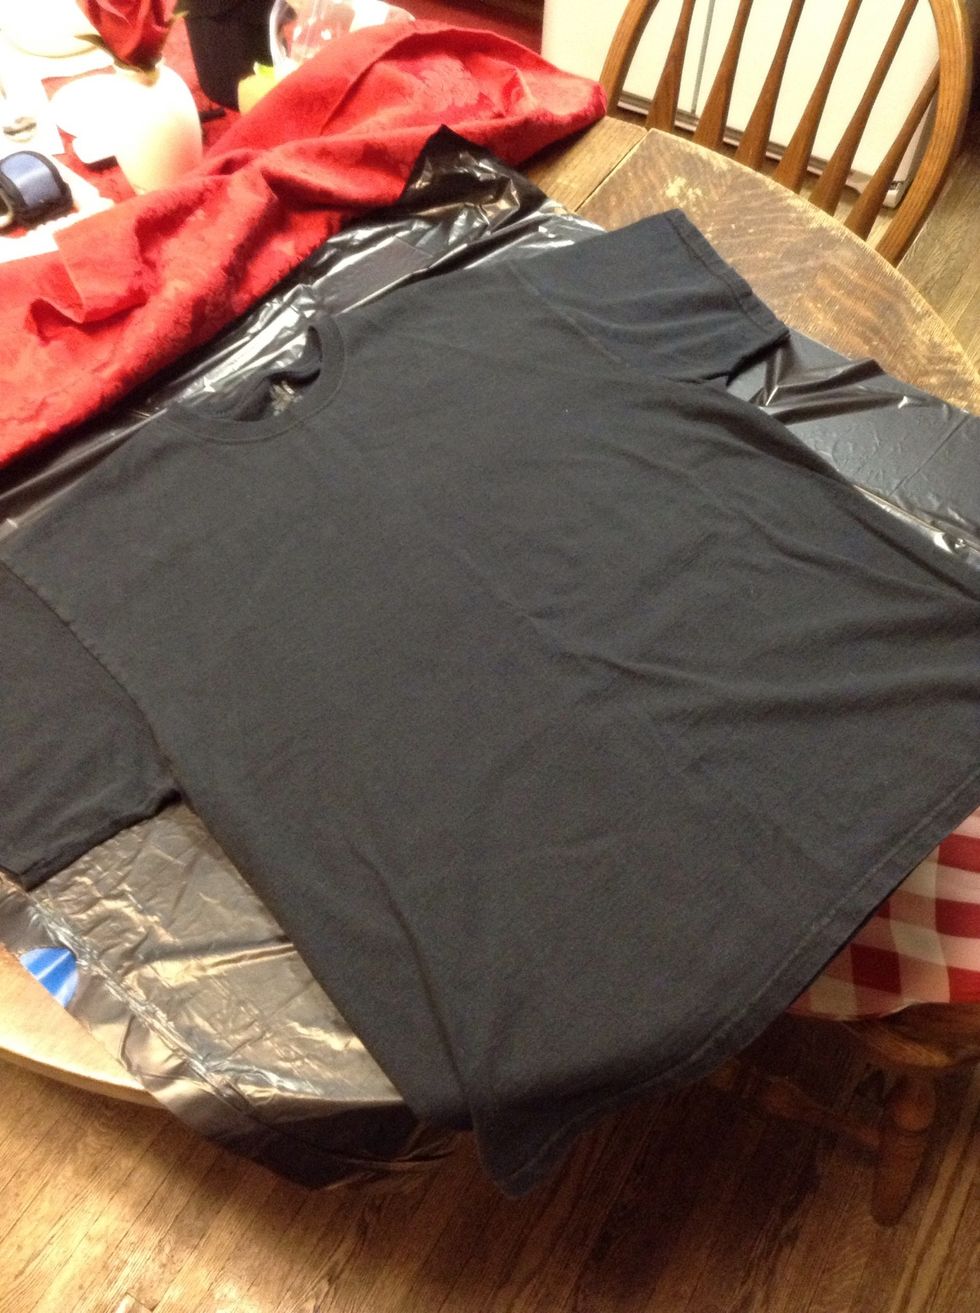
Lay down a work surface, in this case a trash bag! Grab a t-shirt you're not afraid to mess up if you make a mistake. I think black works best, but experiment!
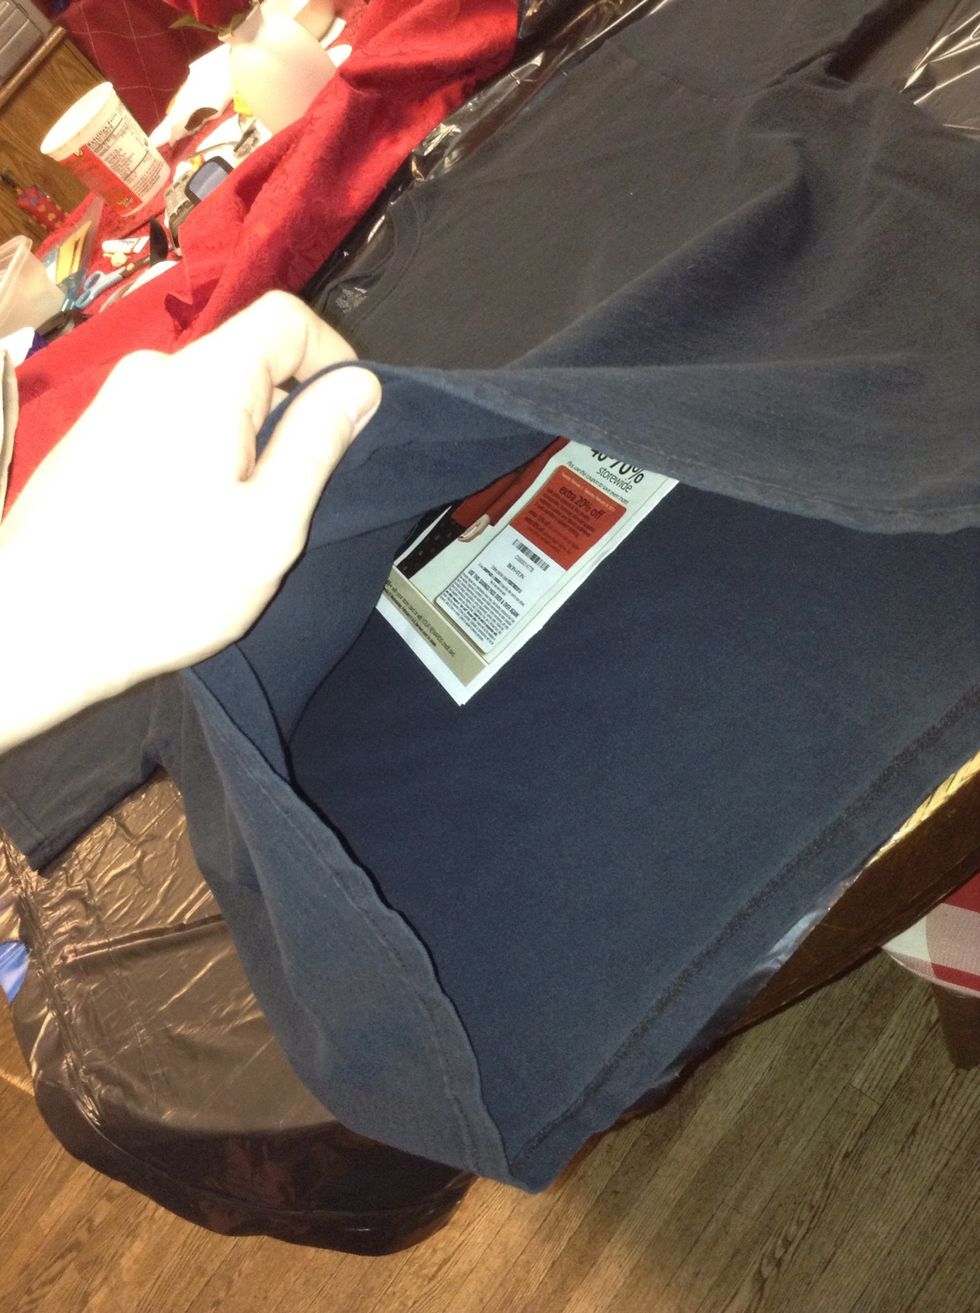
Be sure to put old newspaper INside the shirt to prevent bleach from going through.
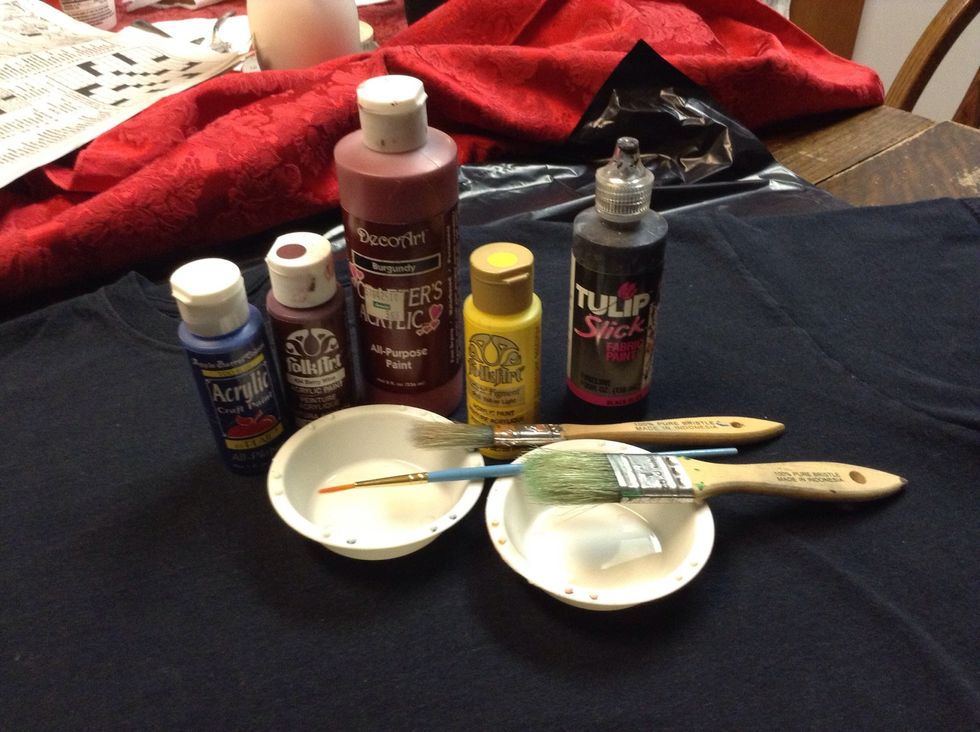
Now would be a good time to get your supplies together!
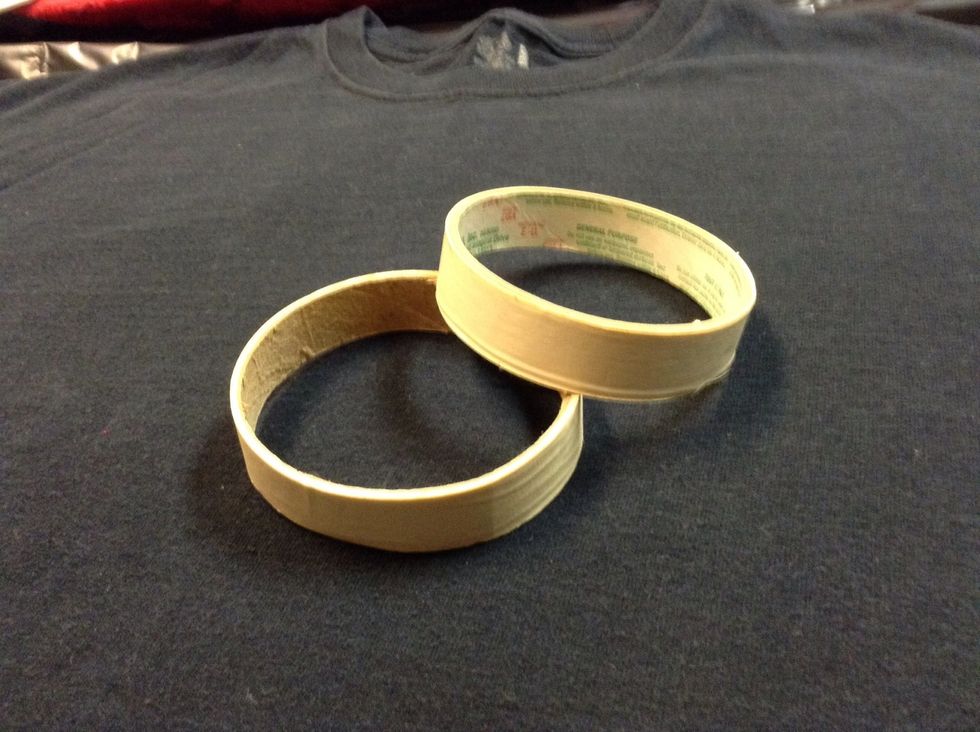
Might I recommend NEW masking tape? Mine were pretty old and ripped a lot.
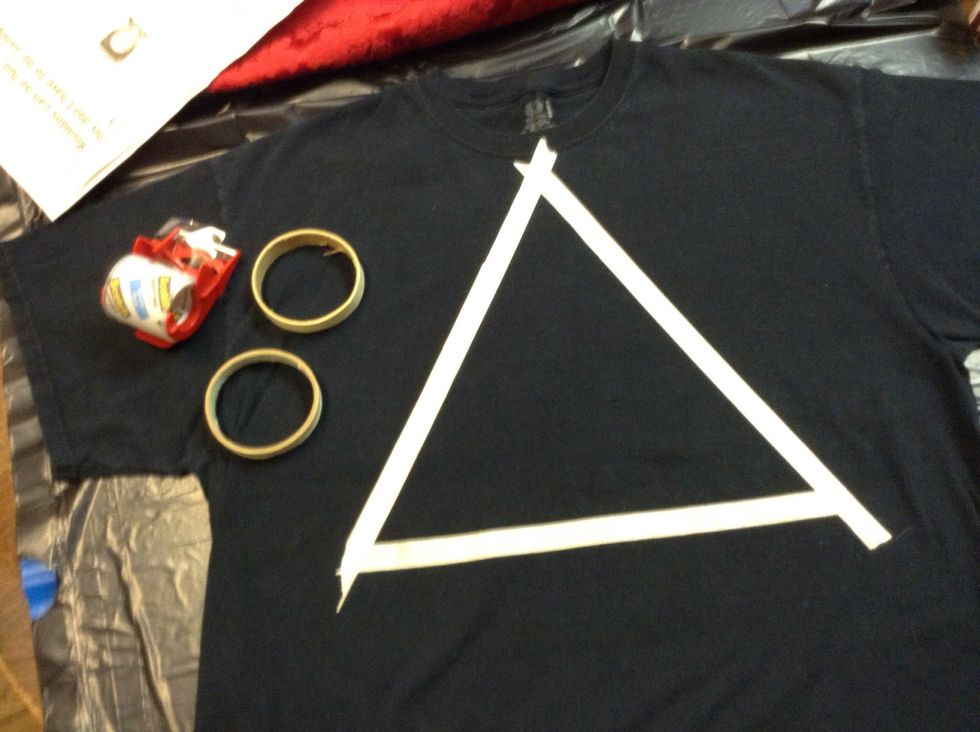
Tape off the section you want to be SPACEY! I wanted a triangle, but feel free to do whatever you can imagine!
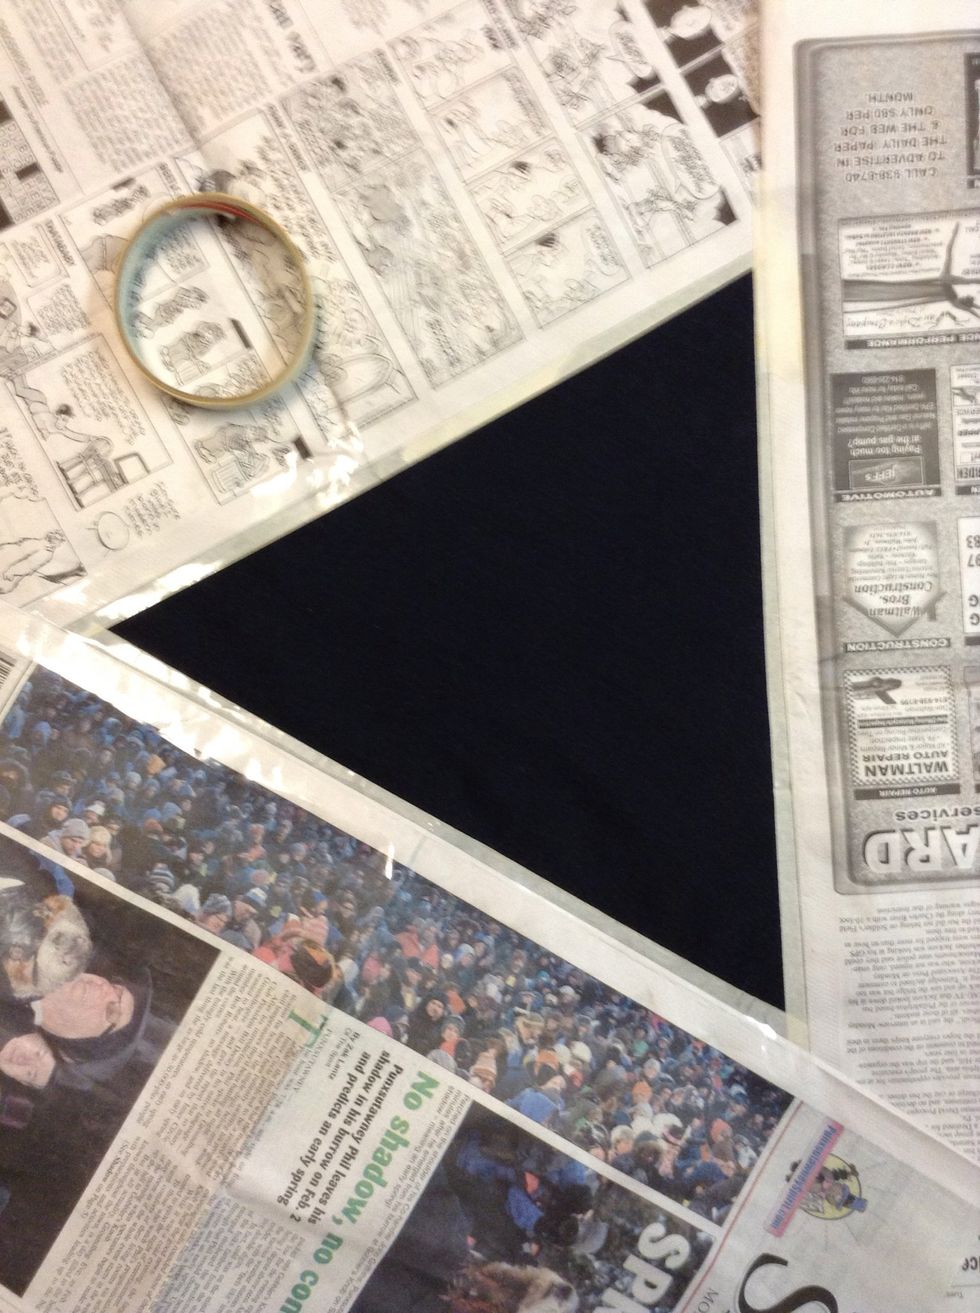
Cover the rest of the shirt with old newspapers (or new, if you don't care about the news) and tape it down, too.
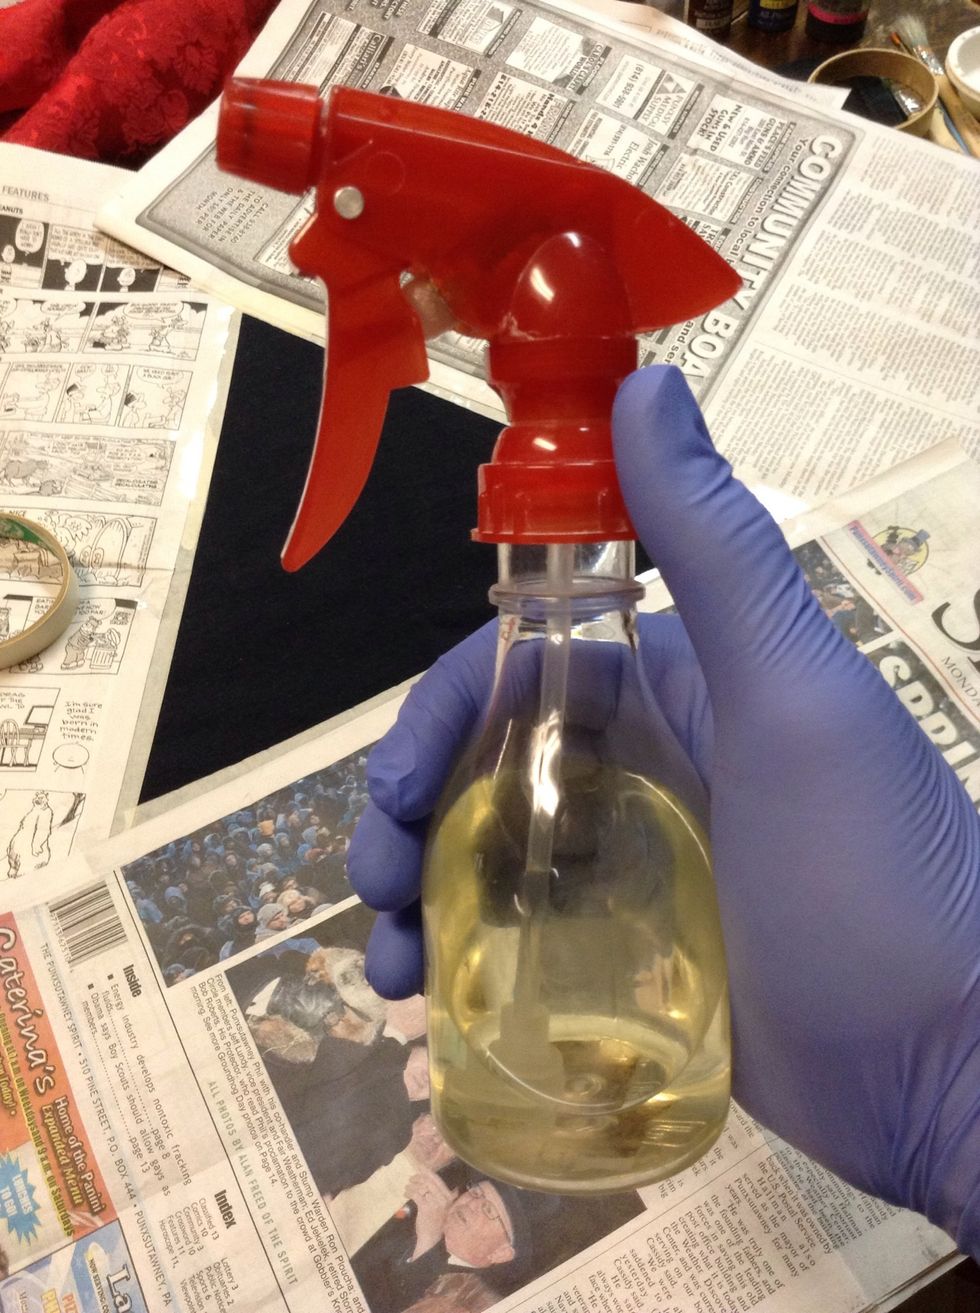
Ah, bleach in a spray bottle! I wore gloves for protection, as you can plainly observe.

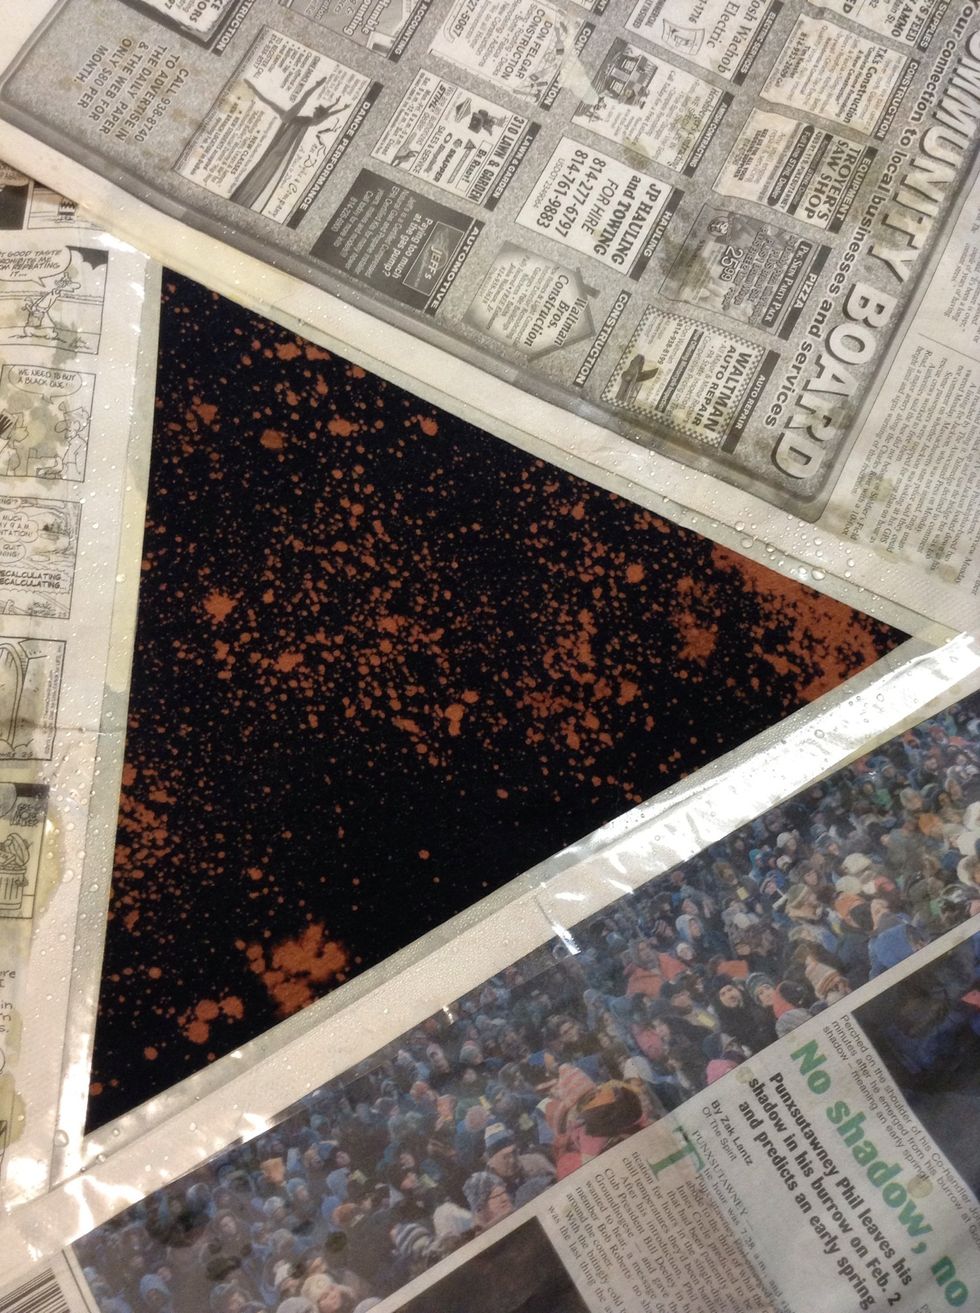
Spray that bugger! Don't go so crazy that it ALL turns orange, but spray enough so it looks decent. It takes about 5 seconds to see the bleach react. Peroxide afterword stops the bleach's reaction.
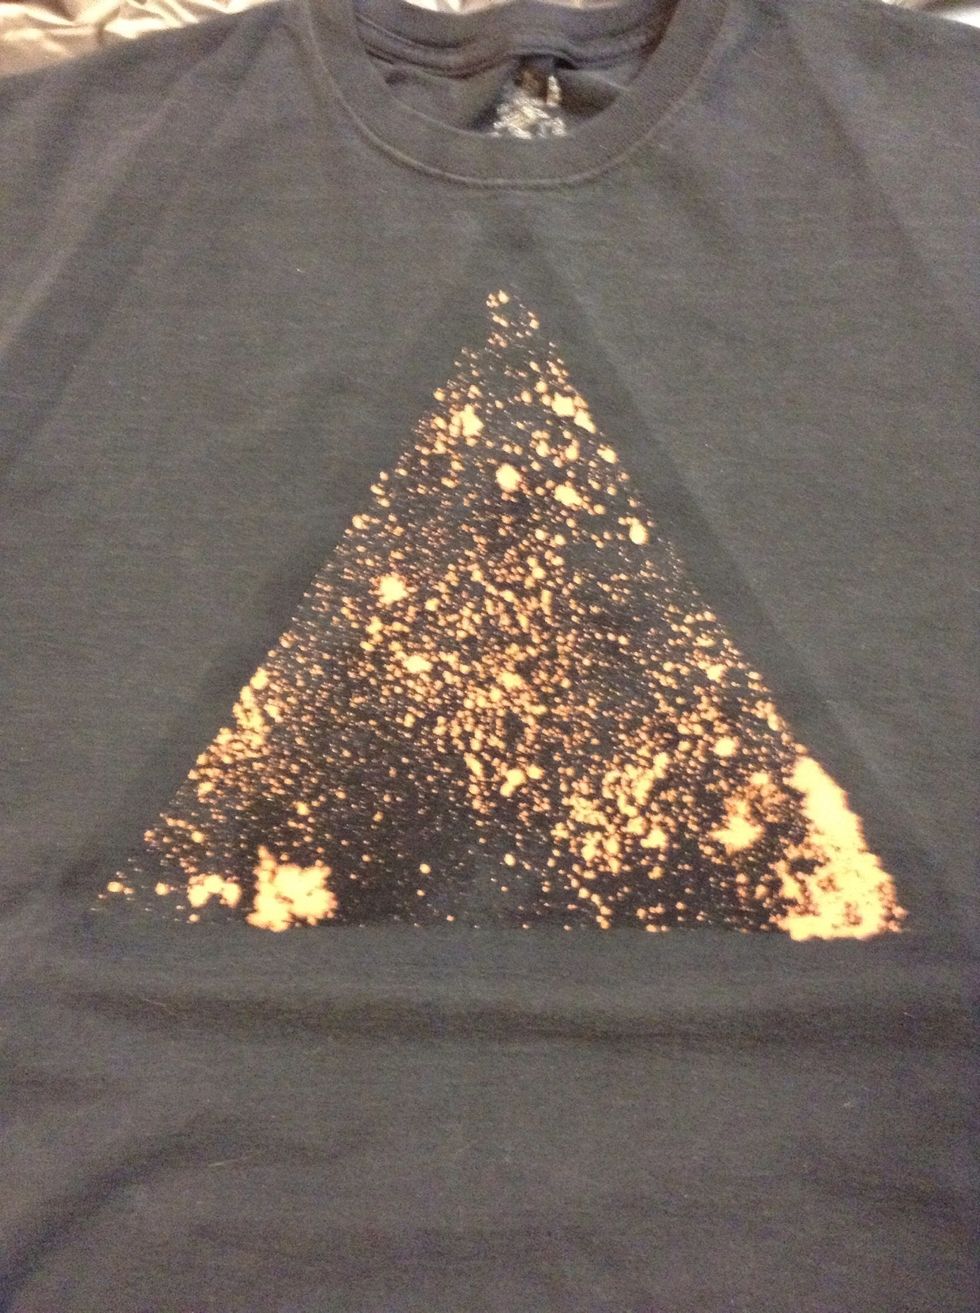
Lookin' good so far! Remove the newspapers and tape. Notice how much the bleach reacted compared to the last slide. Just a reminder to take it easy with the bleach!
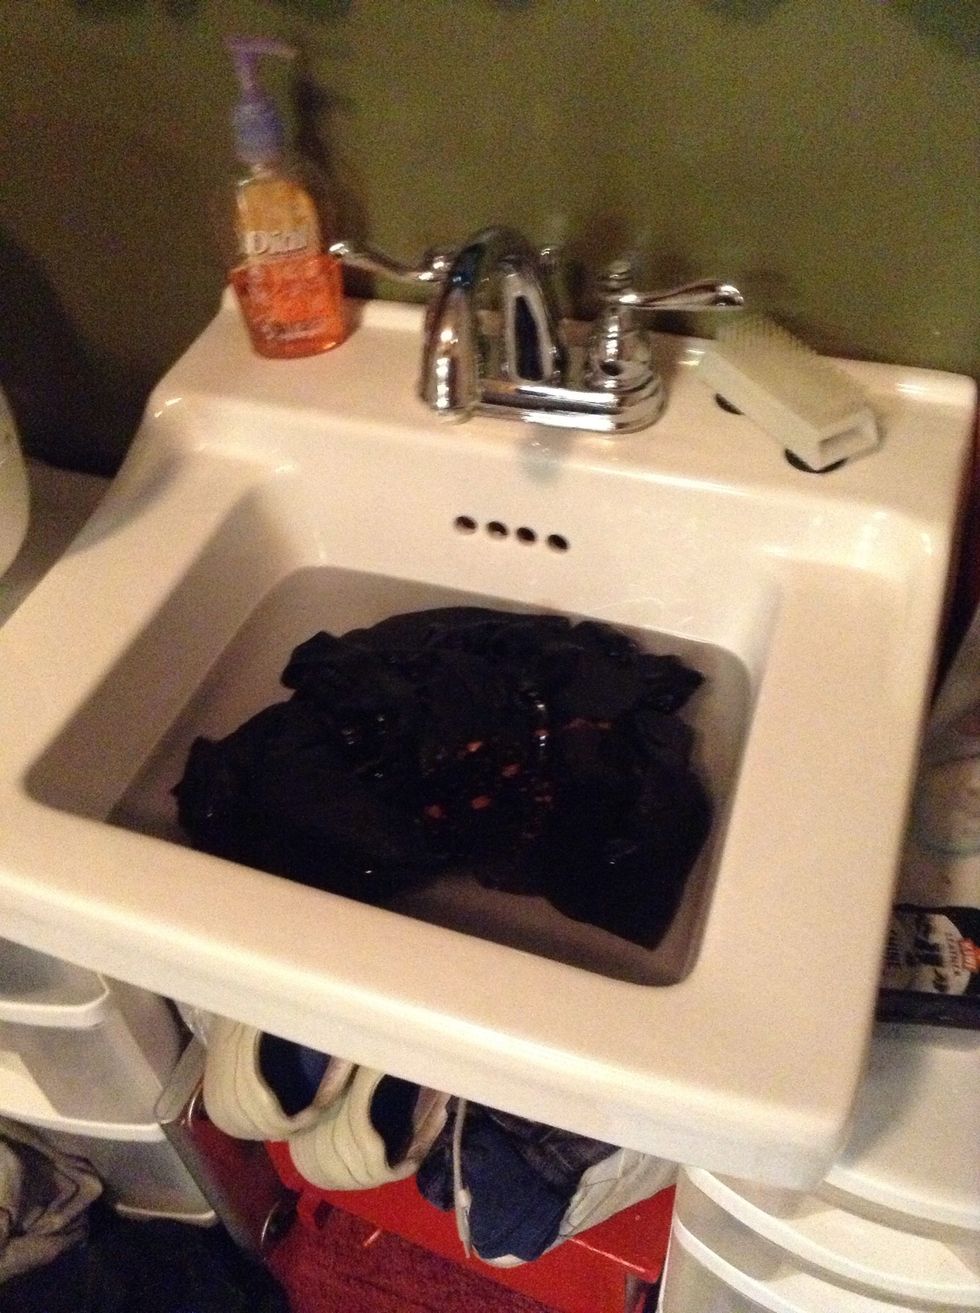
Wash that son of a gun. You could toss it in your washer as you would normally wash clothes, but I scrubbed it in a sink filled with warm water and a TINY bit of distilled vinegar. Just knead it up!

Dry it! I threw a dry towel in with it to keep it from sticking to the sides of the dryer. Put a dryer sheet in, just do it like you normally dry clothes.
Now you should drink the coffee and eat a sweet pepper or seven!
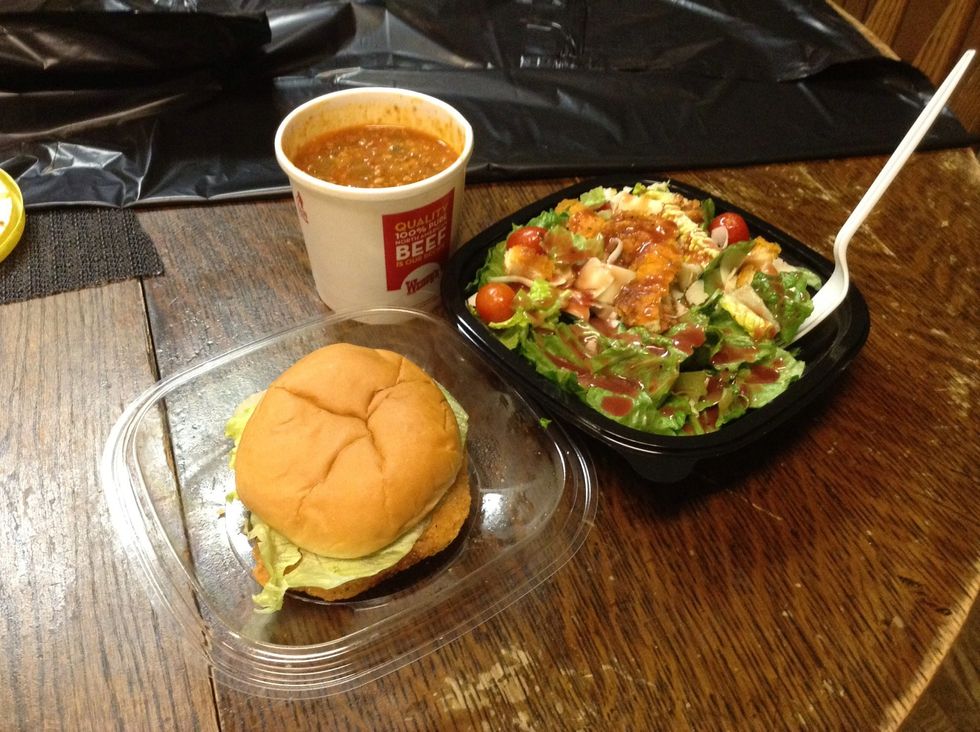
AND, if your wonderful mother happens to walk in with Wendy's, partake!

All dry! Spread it out back on your work space.
Tape it BACK the way you had it before. Now it's time for paint!
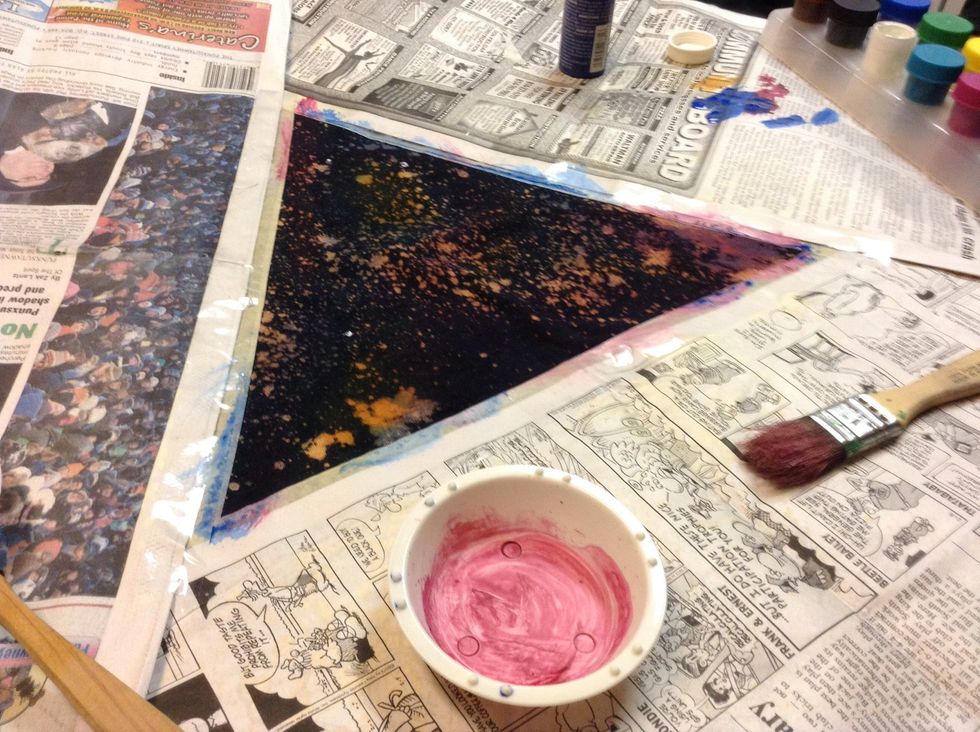
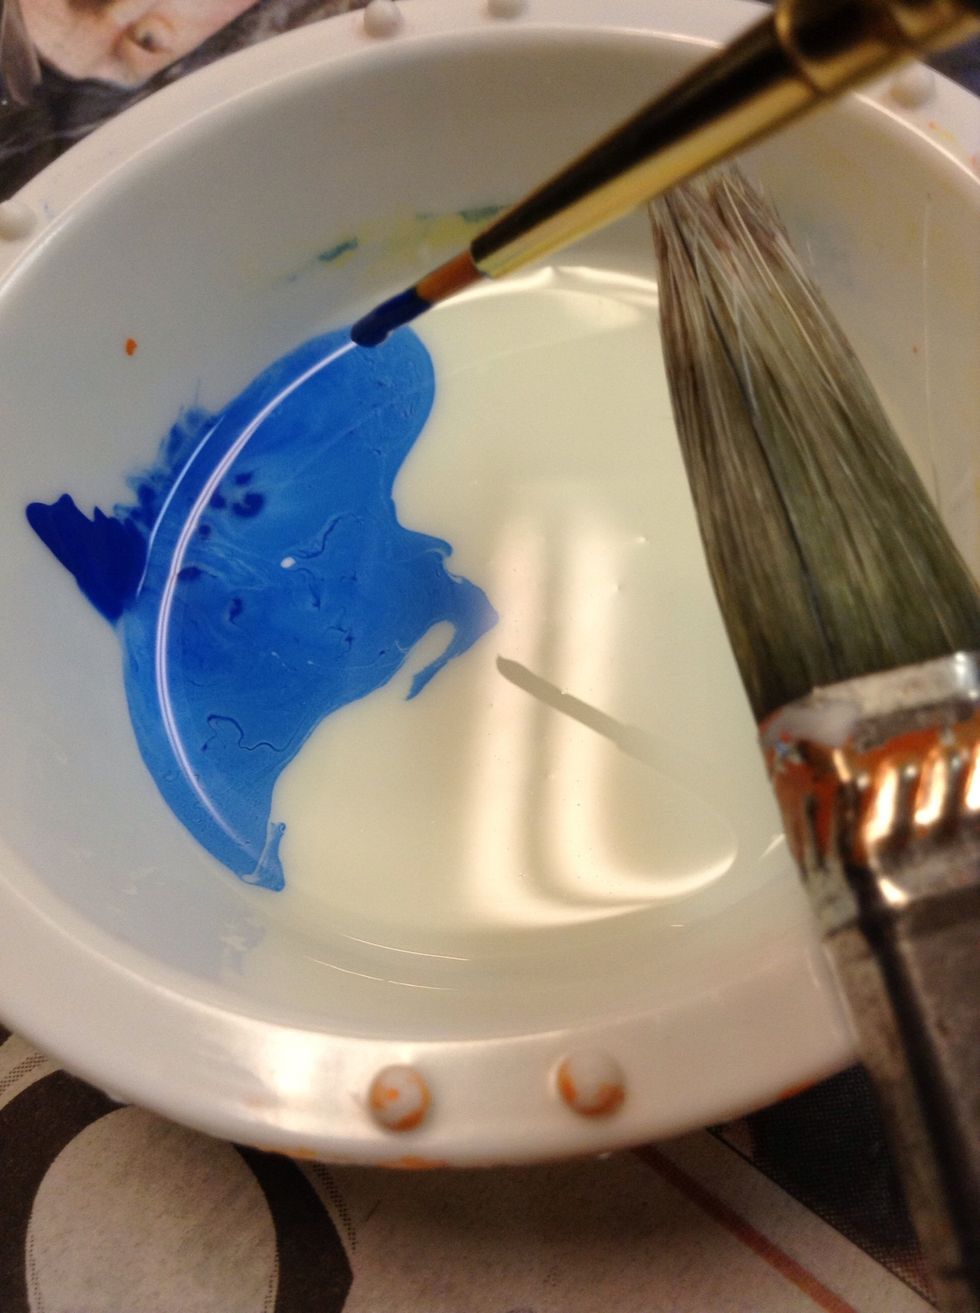
Using acrylics, gently swipe/swoosh/dab it wherever you please. You may want to water it down just a tiny, tiny bit. You can go over a few spots with a watered down white. I didn't, but I should have!
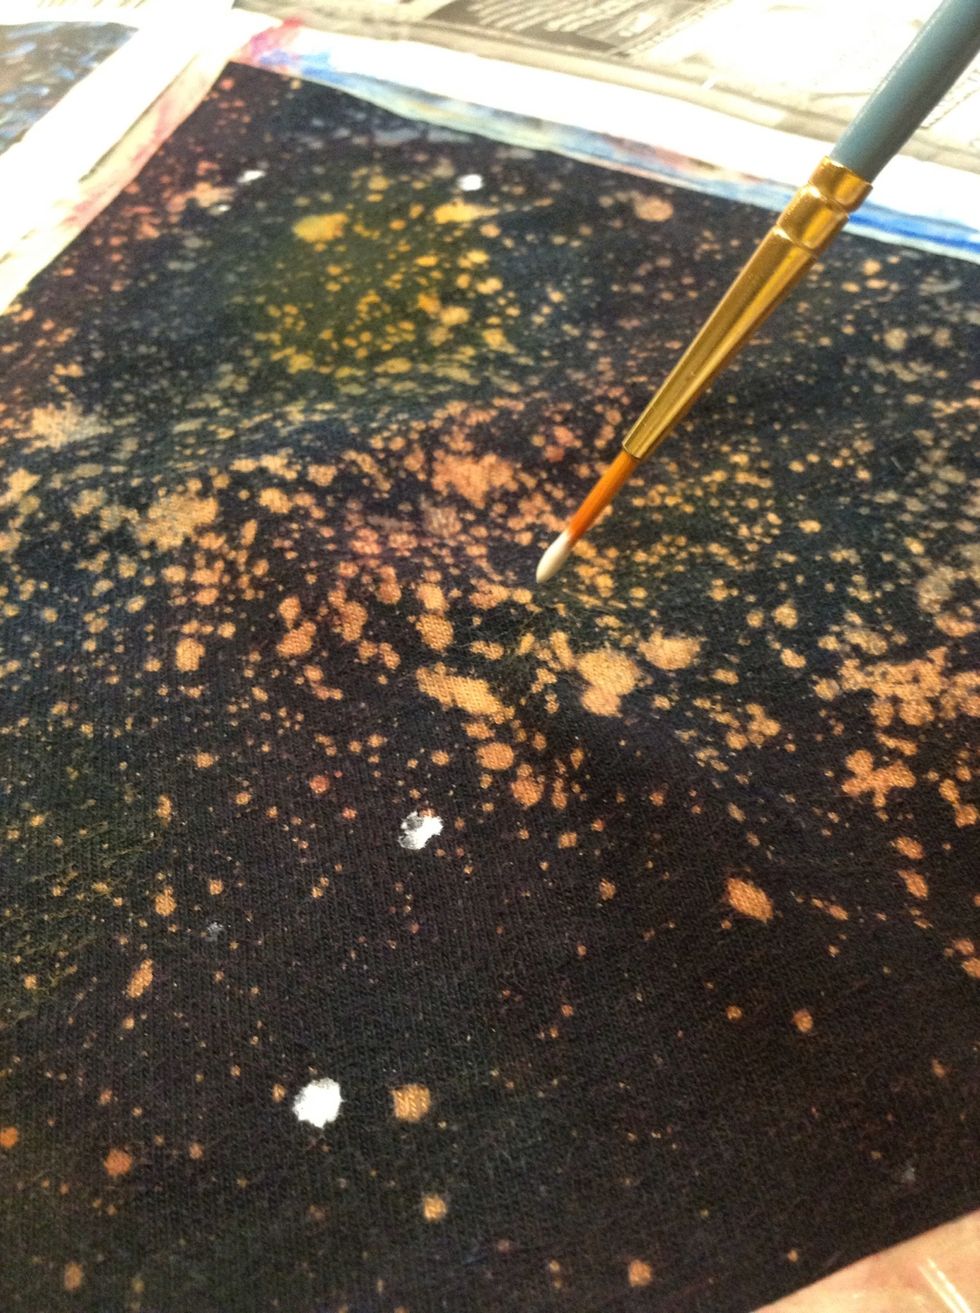
Now I URGE you to use white ACRYLIC paint for all the stars... But I ran out and had to use poster paint. It will wash out when it goes through the washer! So take a tiny brush and make dots!
Don't be afeared to mix paints and experiment!
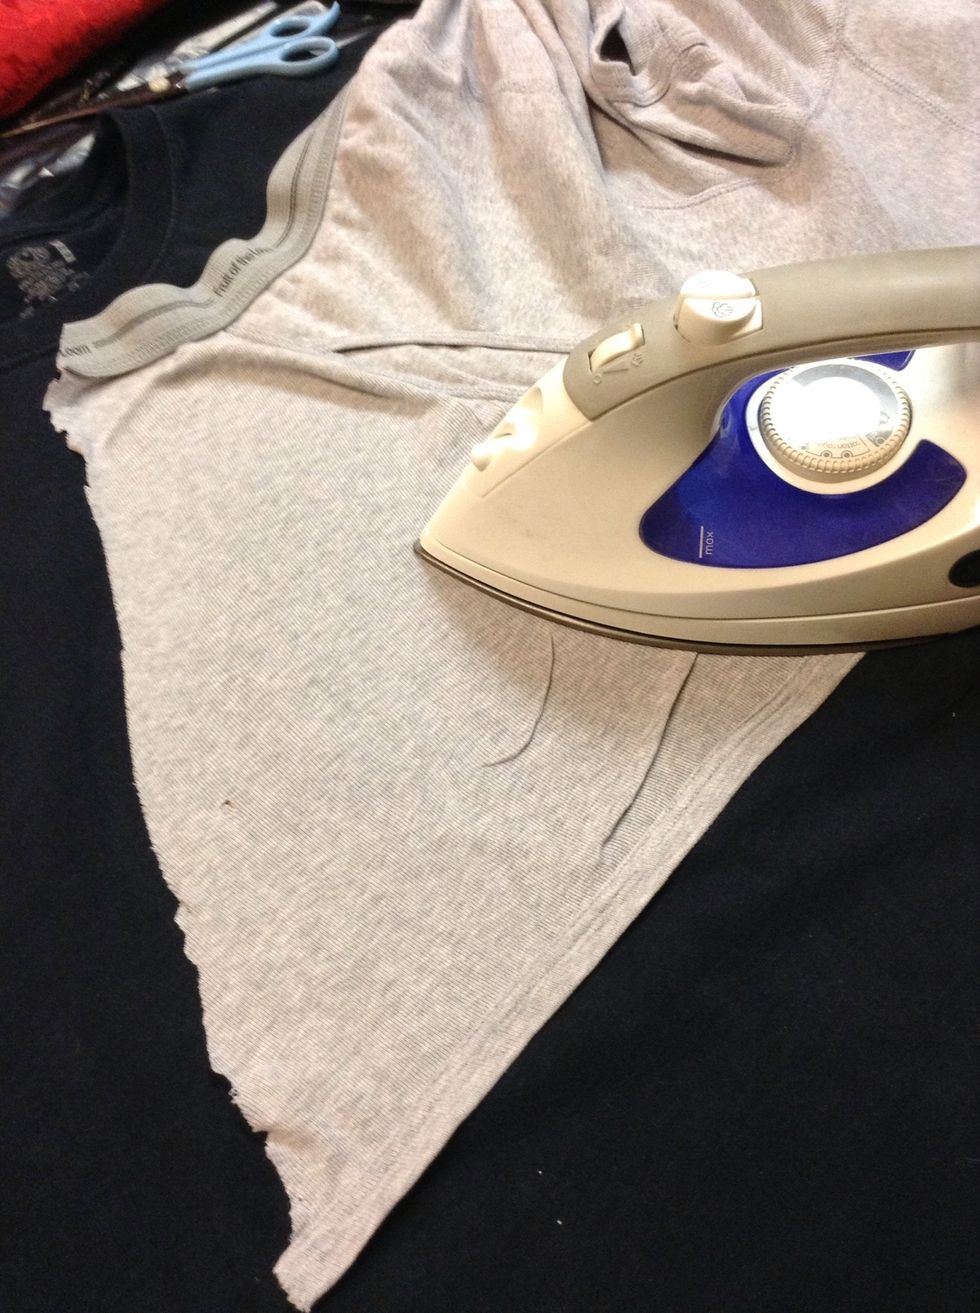
Once you're happy with it, I suggest putting scrap material over it and ironing it. High heat, no steam. This will set the paint and keep it from washing out!
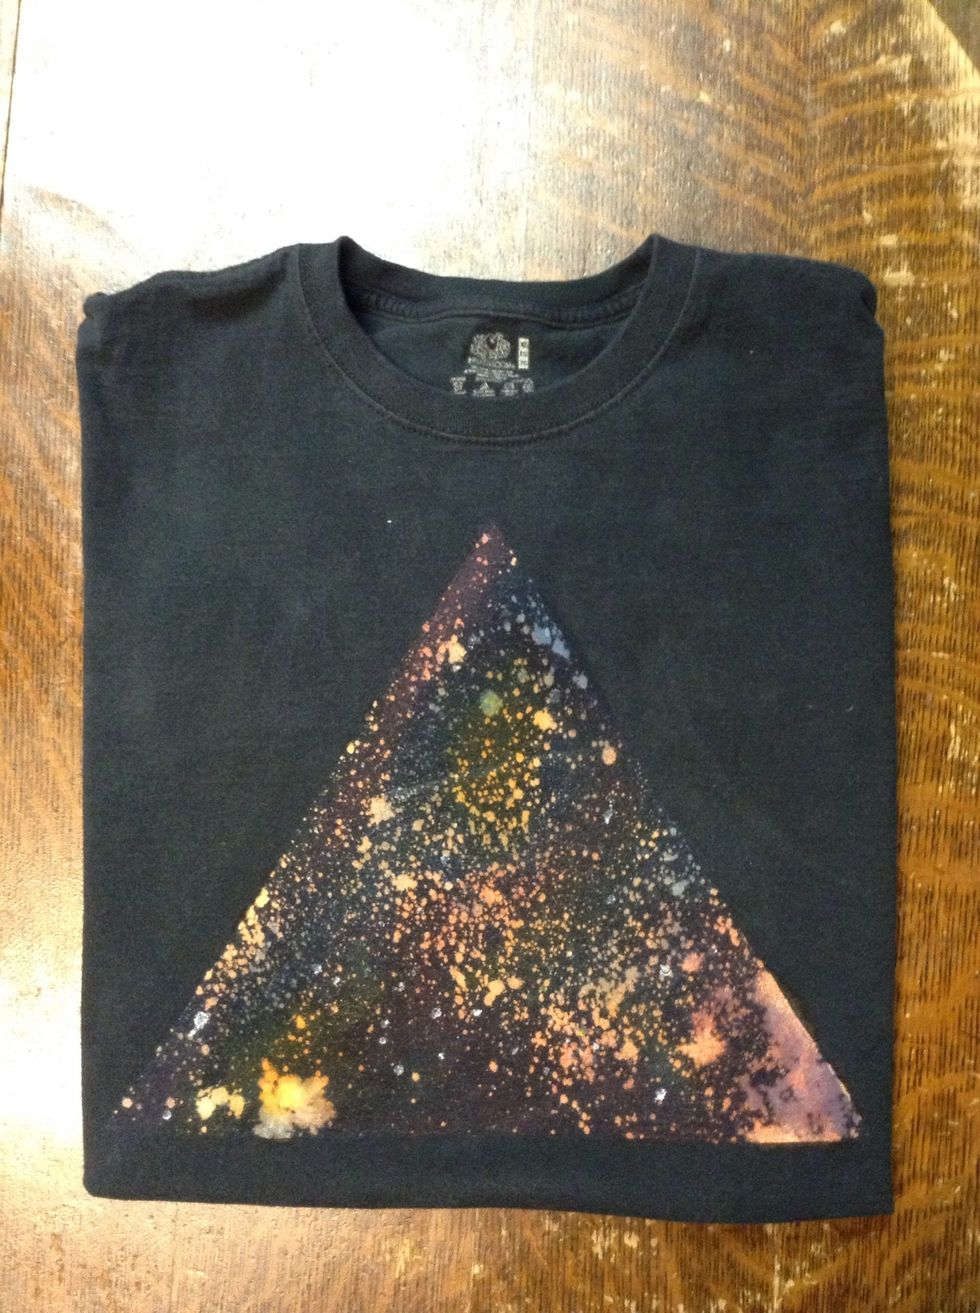
And I think it looks great! I'll add the stars later, myself, when I get white acrylic paint! But all-and-all, I think it's just dandy!
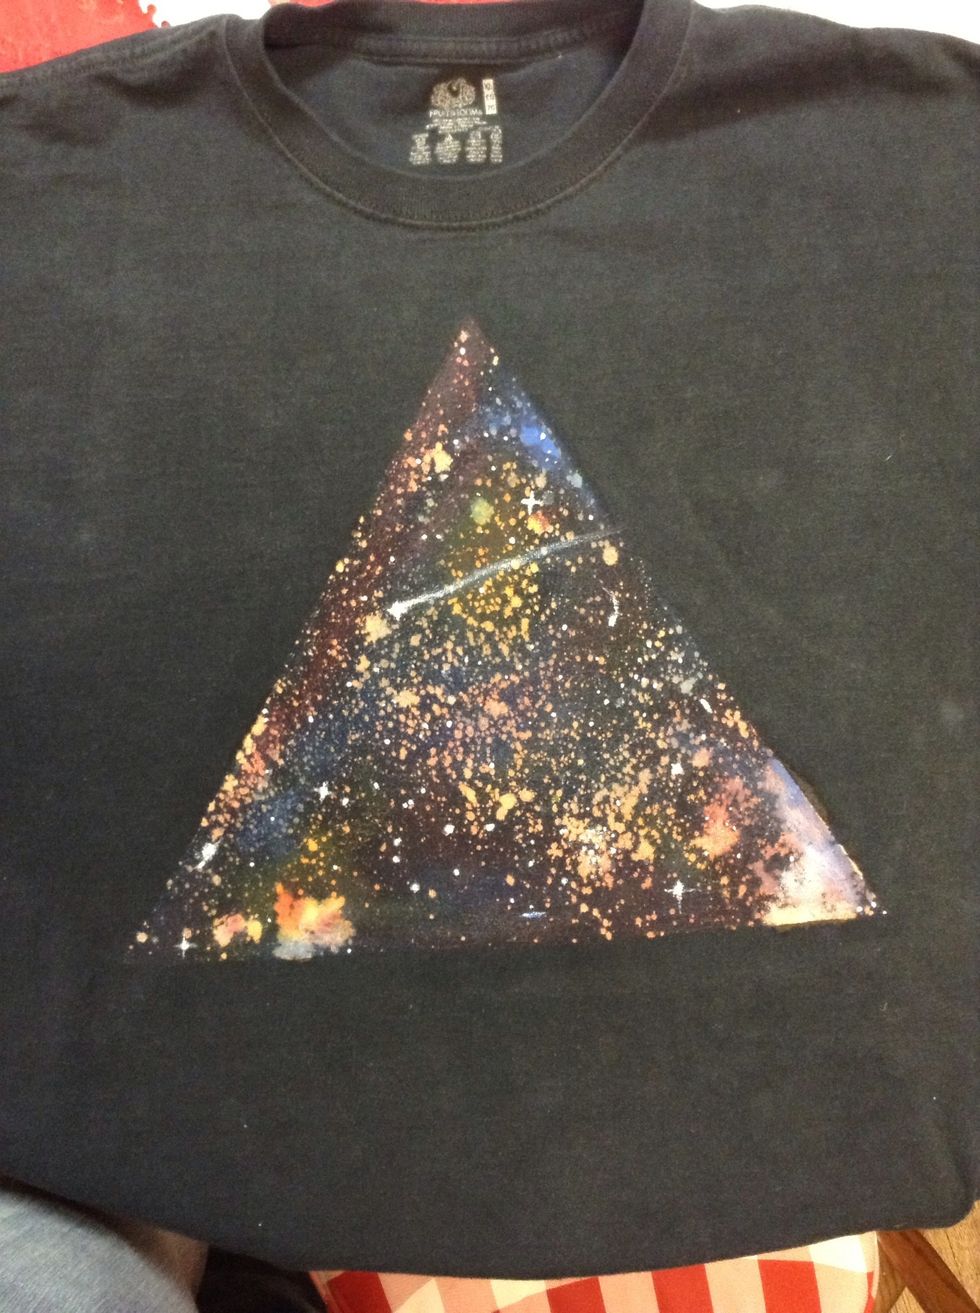
And there we go! After I bought white acrylic paint, I added stars and strengthened some of the colours! A job well done!
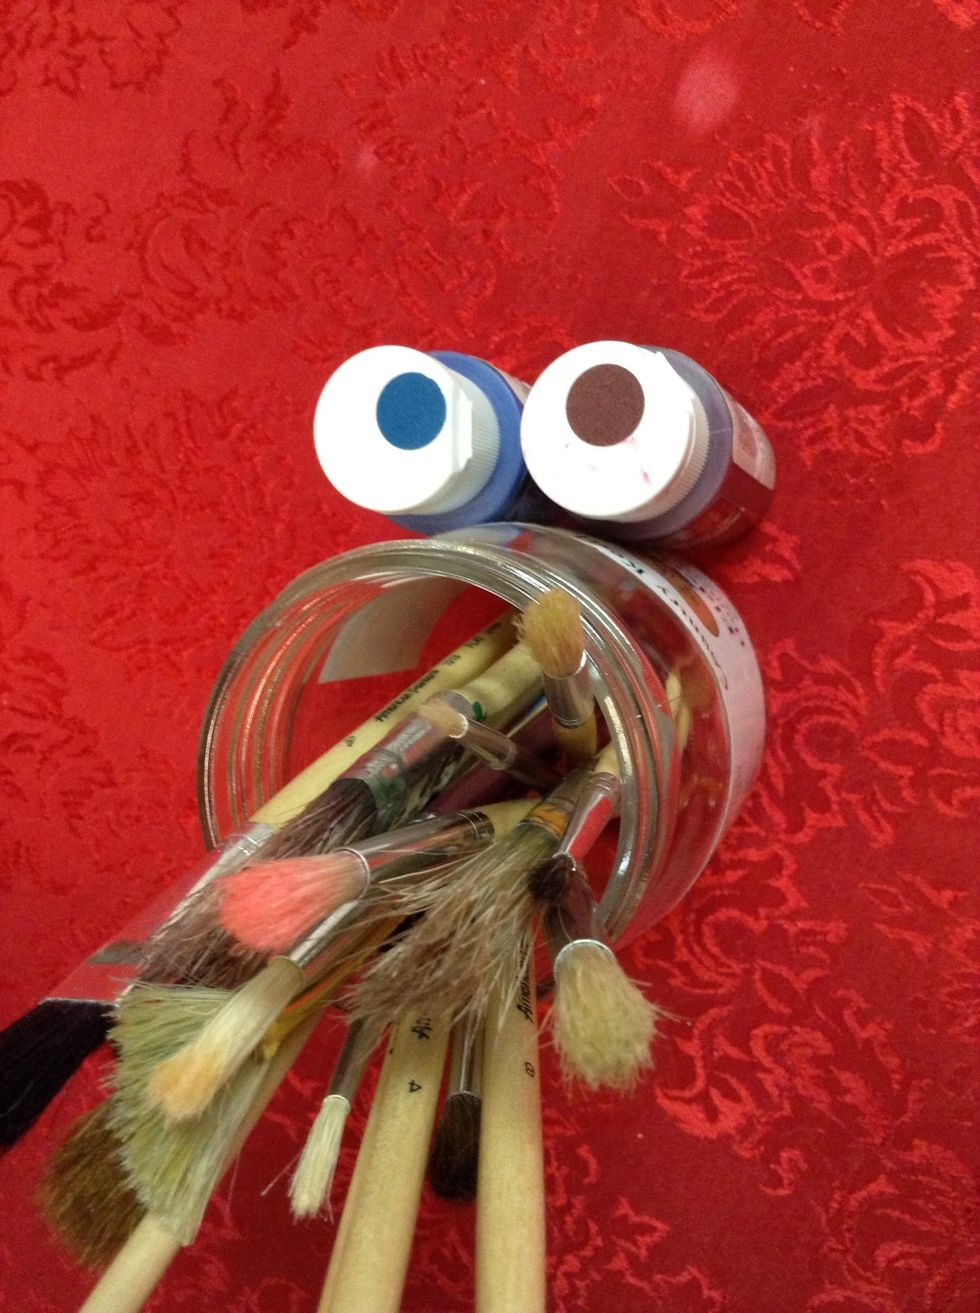
Clean brushes makes for a happy brush holder!