The Conversation (0)
Sign Up
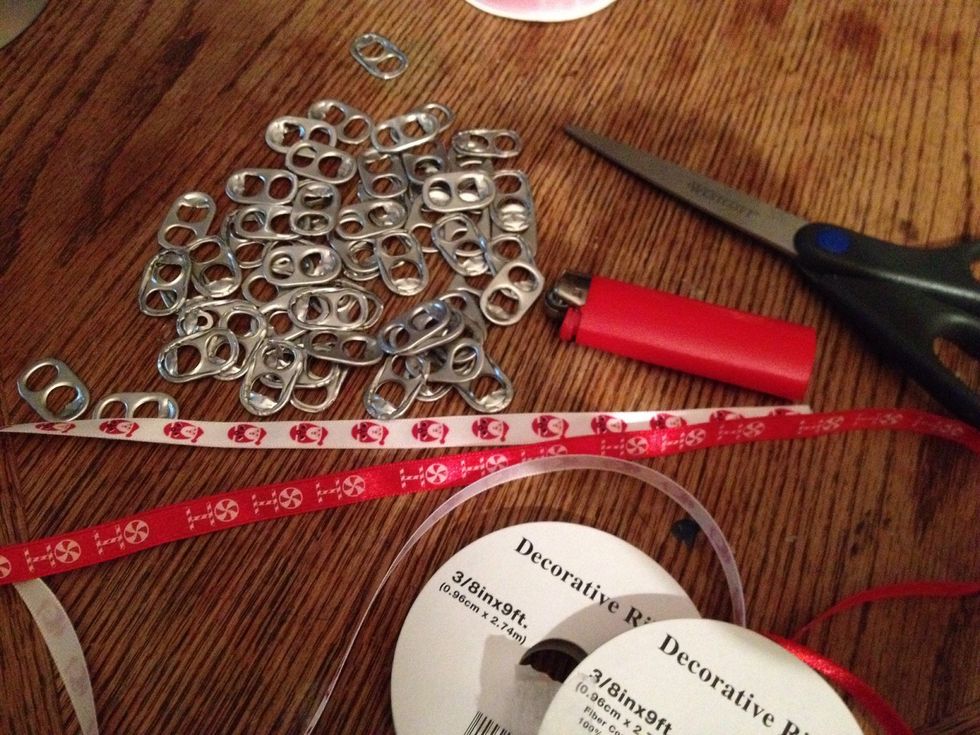
My Supplies, prepared and laid out.
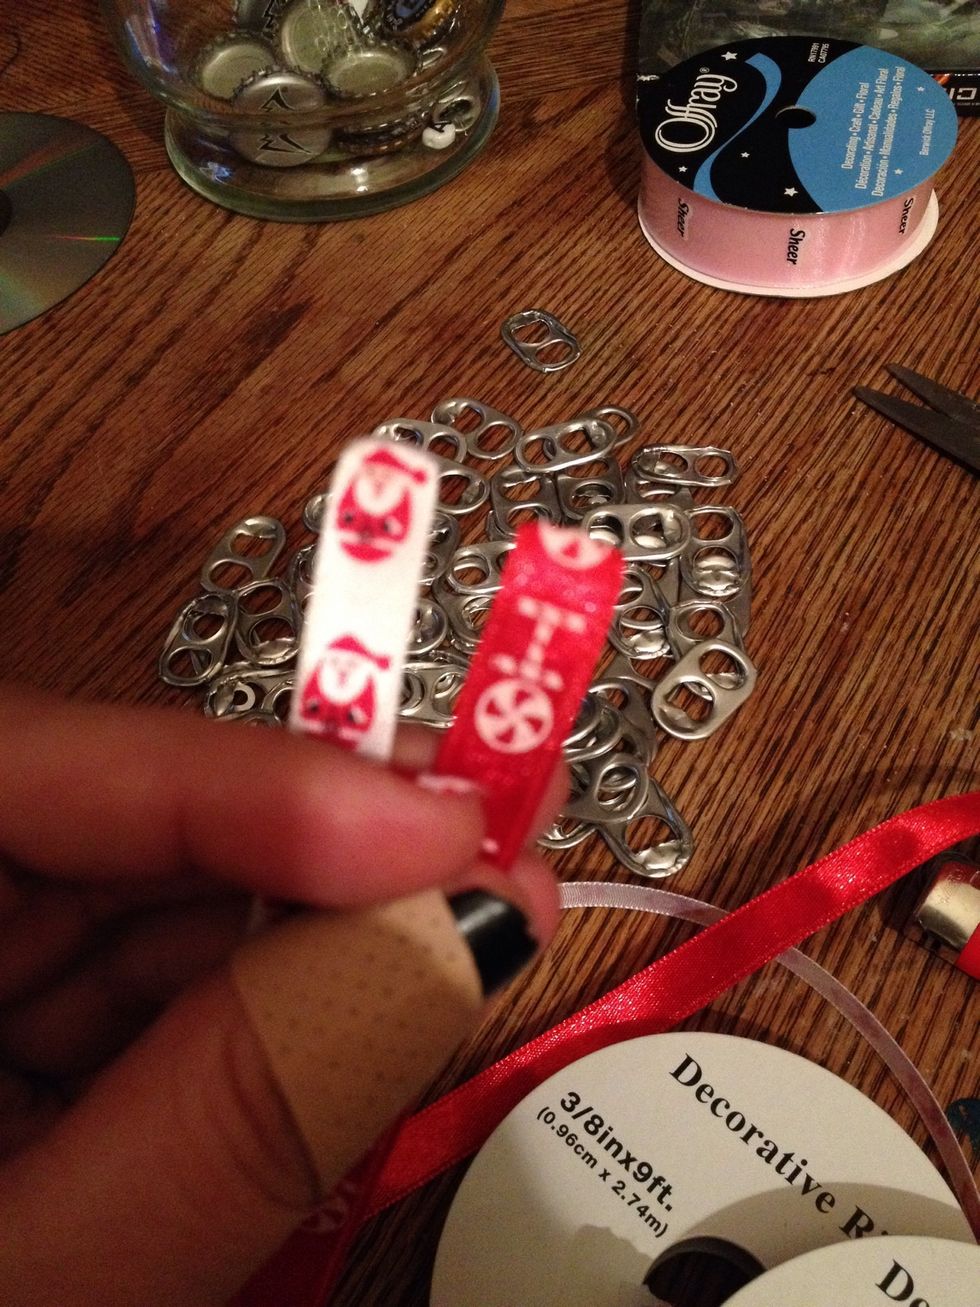
Seal the ends if the ribbon, to prevent fraying, by lightly and quickly running a lighter back and forth along thenends of the ribbon a few times. WARNING-- Hold to long it'll catch fire and melt!
I leave one side of each ribbon attached to the roll still, to keep things easier, and hold things together better. Plus, I'm really not sure exactly how much ribbon I used. It was at least 18"-2'.

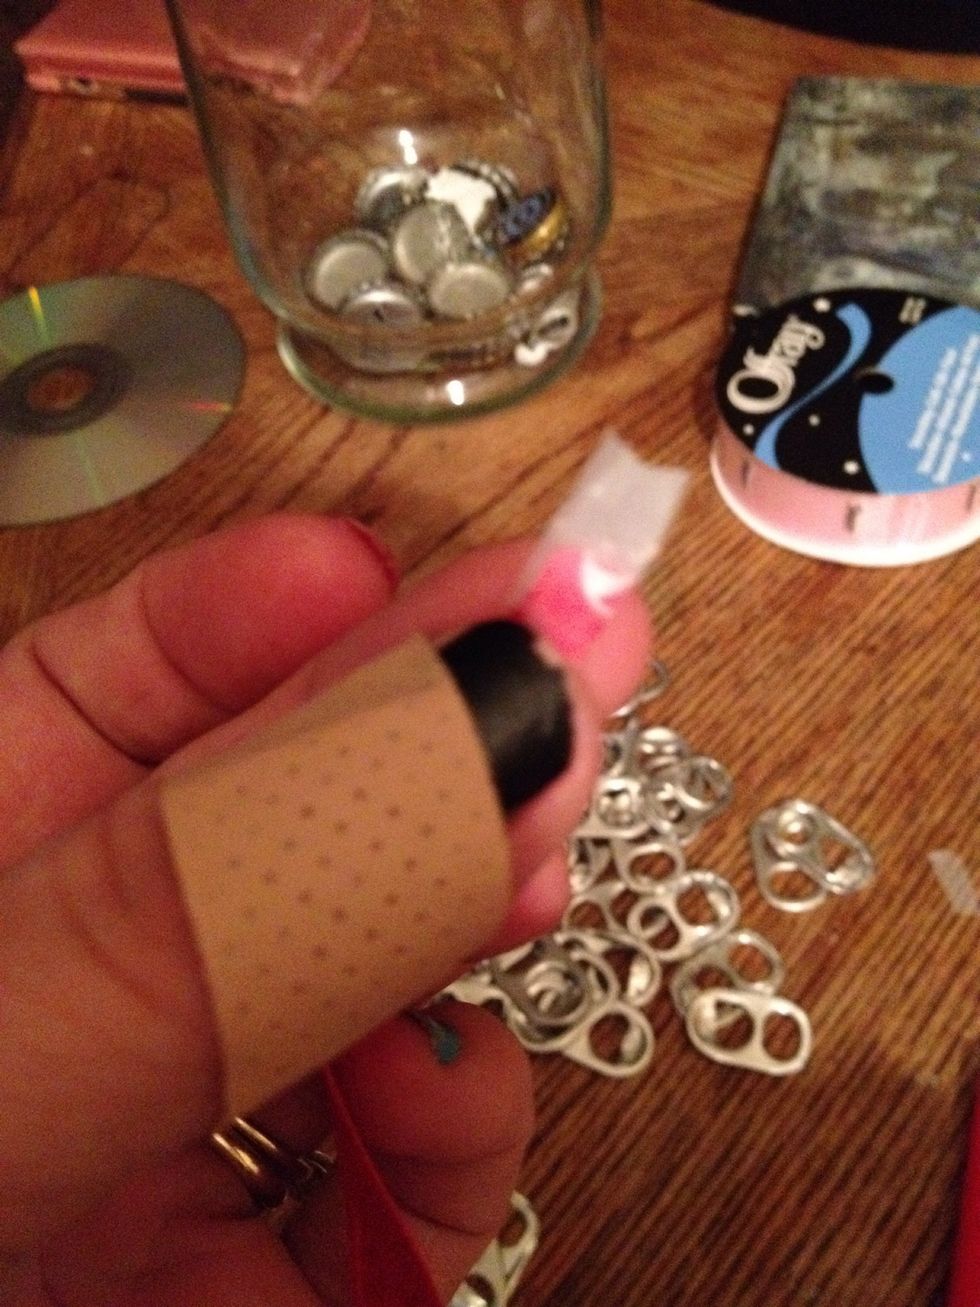
Get rid of little circle tab by bending back and forth with pliers. Bend down sharp edges. Fingers work too but get sore fast.

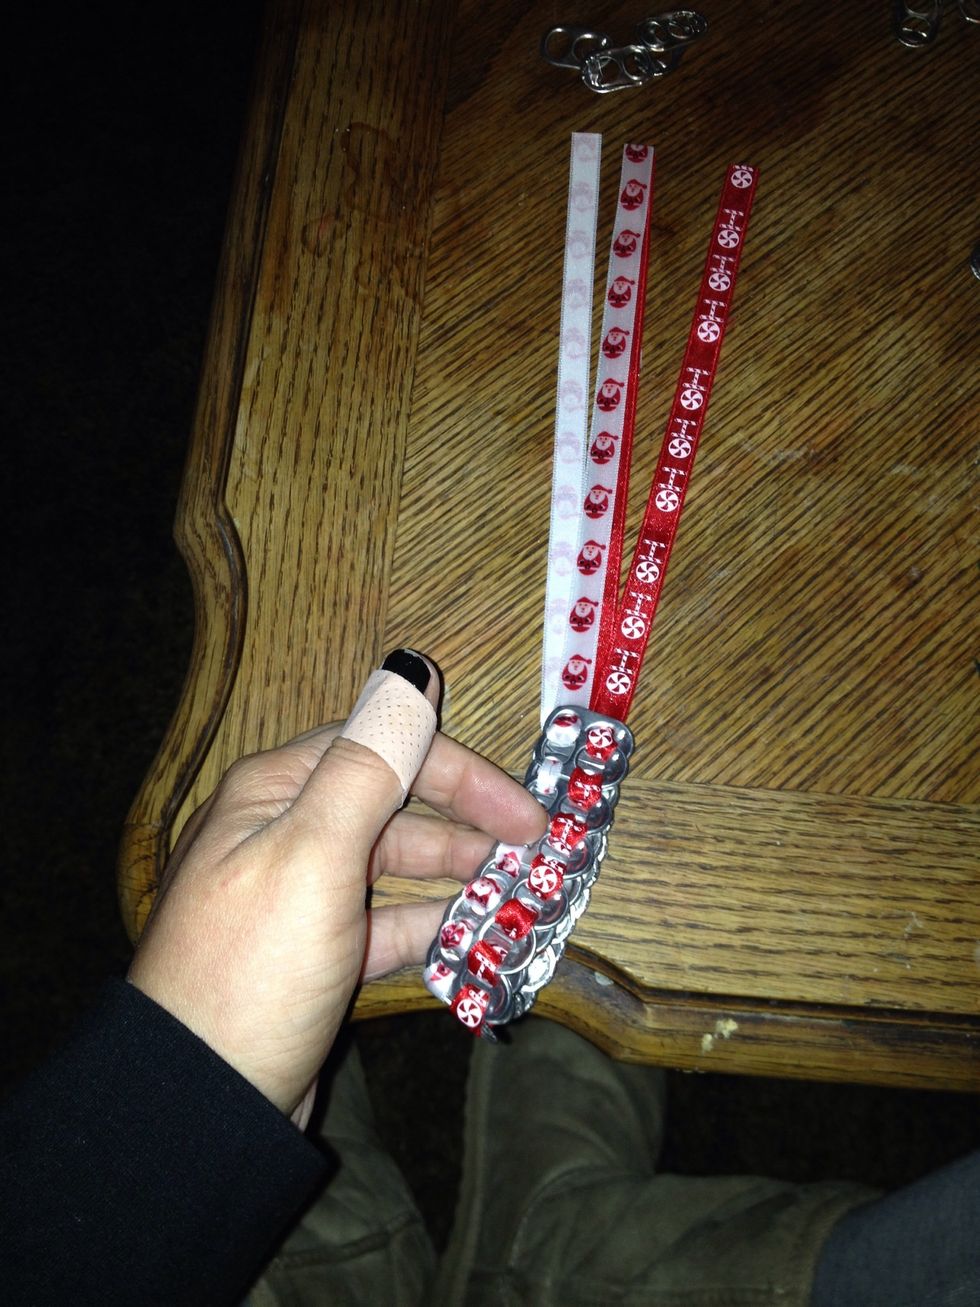
Like so. Band-aid from separate incident involving flea dipping a crazy kitty cat LOL!
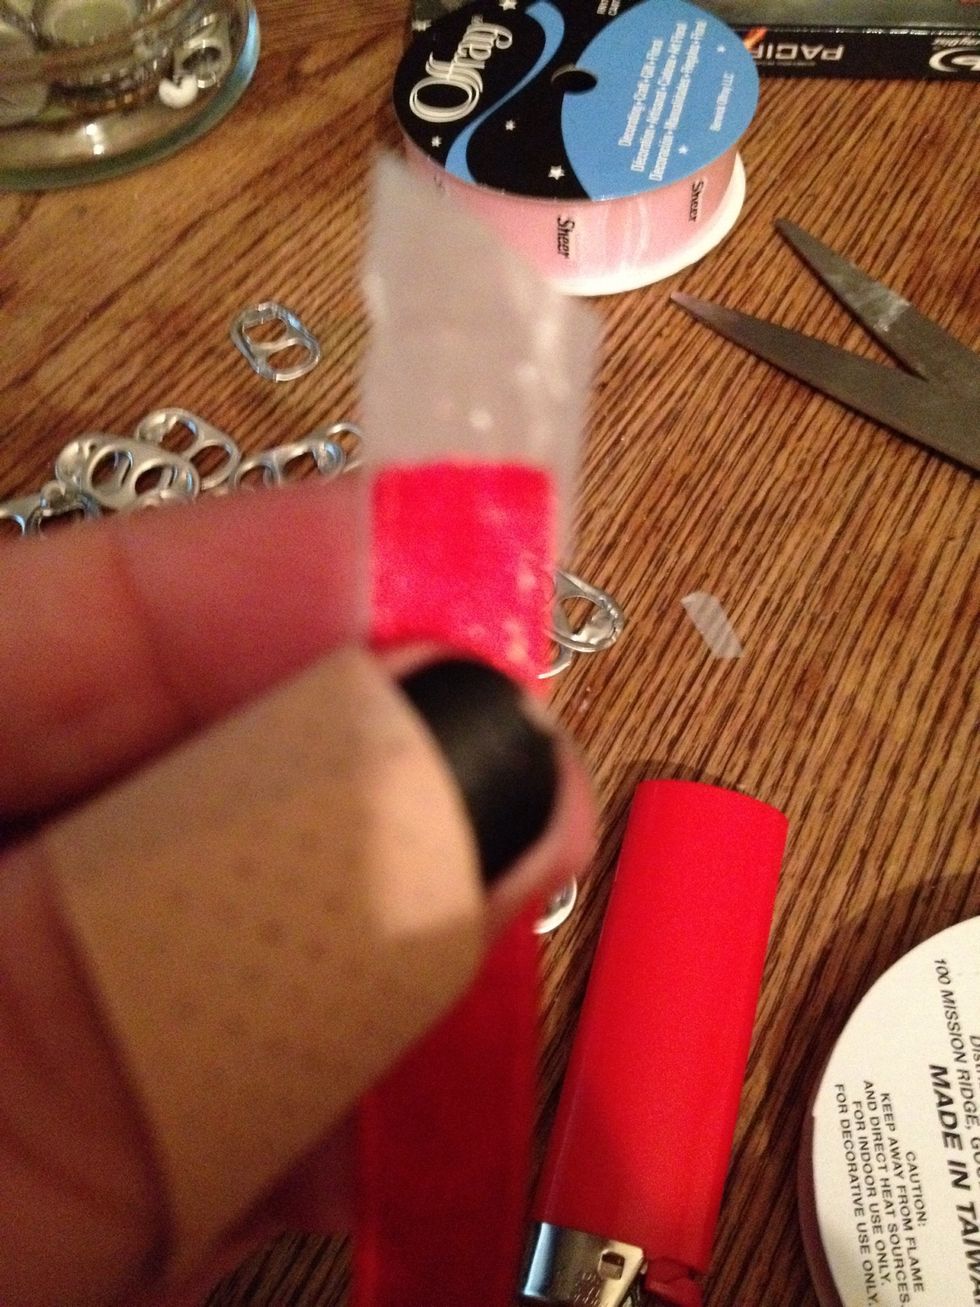
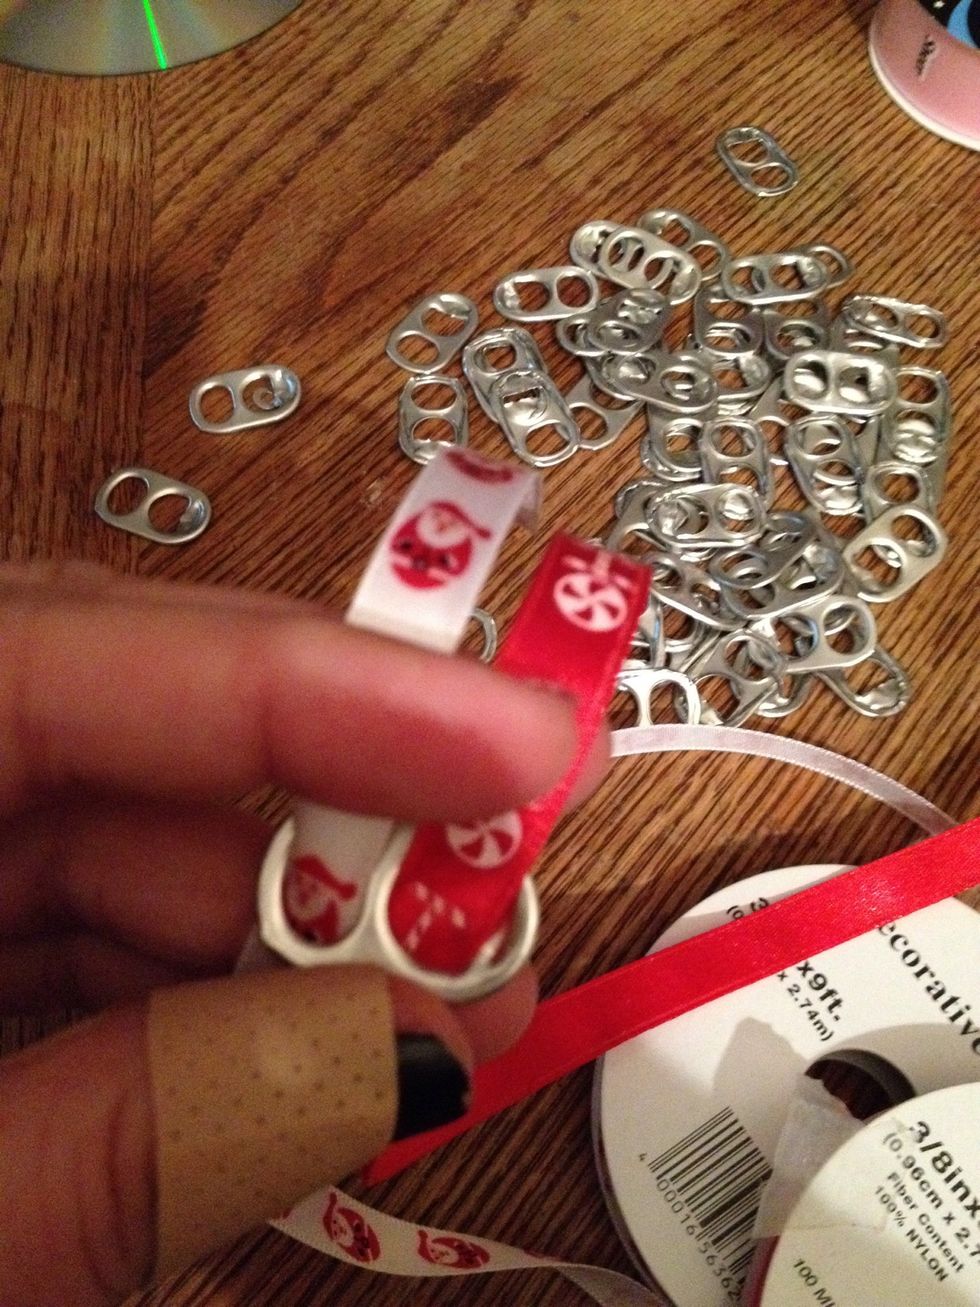
Take a small price of tape and stick on ribbon, like pictured.
Fold in half, and trim top into a sort of point- this makes threading the ribbons thru the can tabs MUCH easier. Do this to both ribbons.
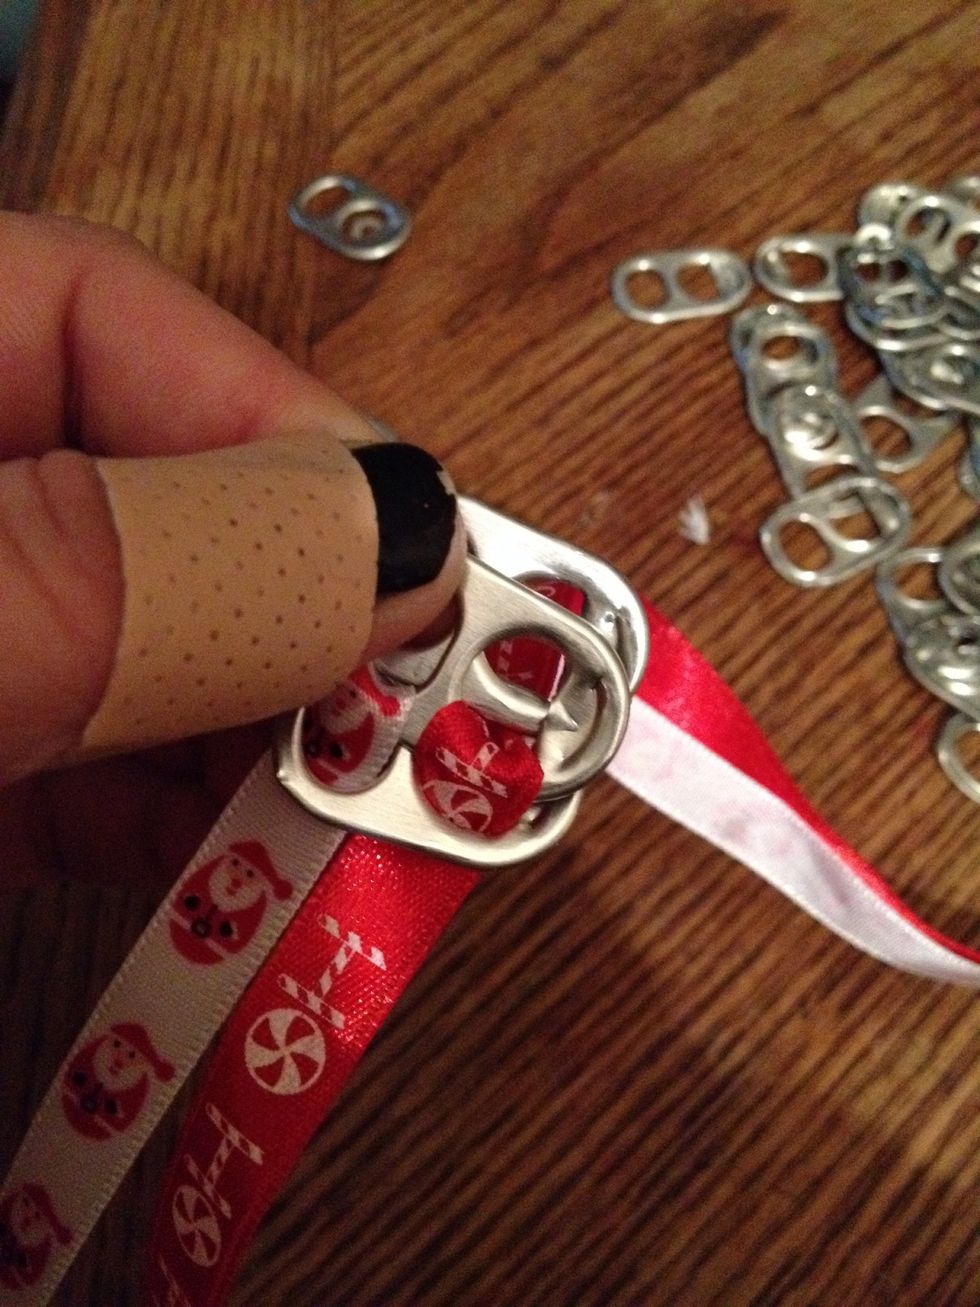
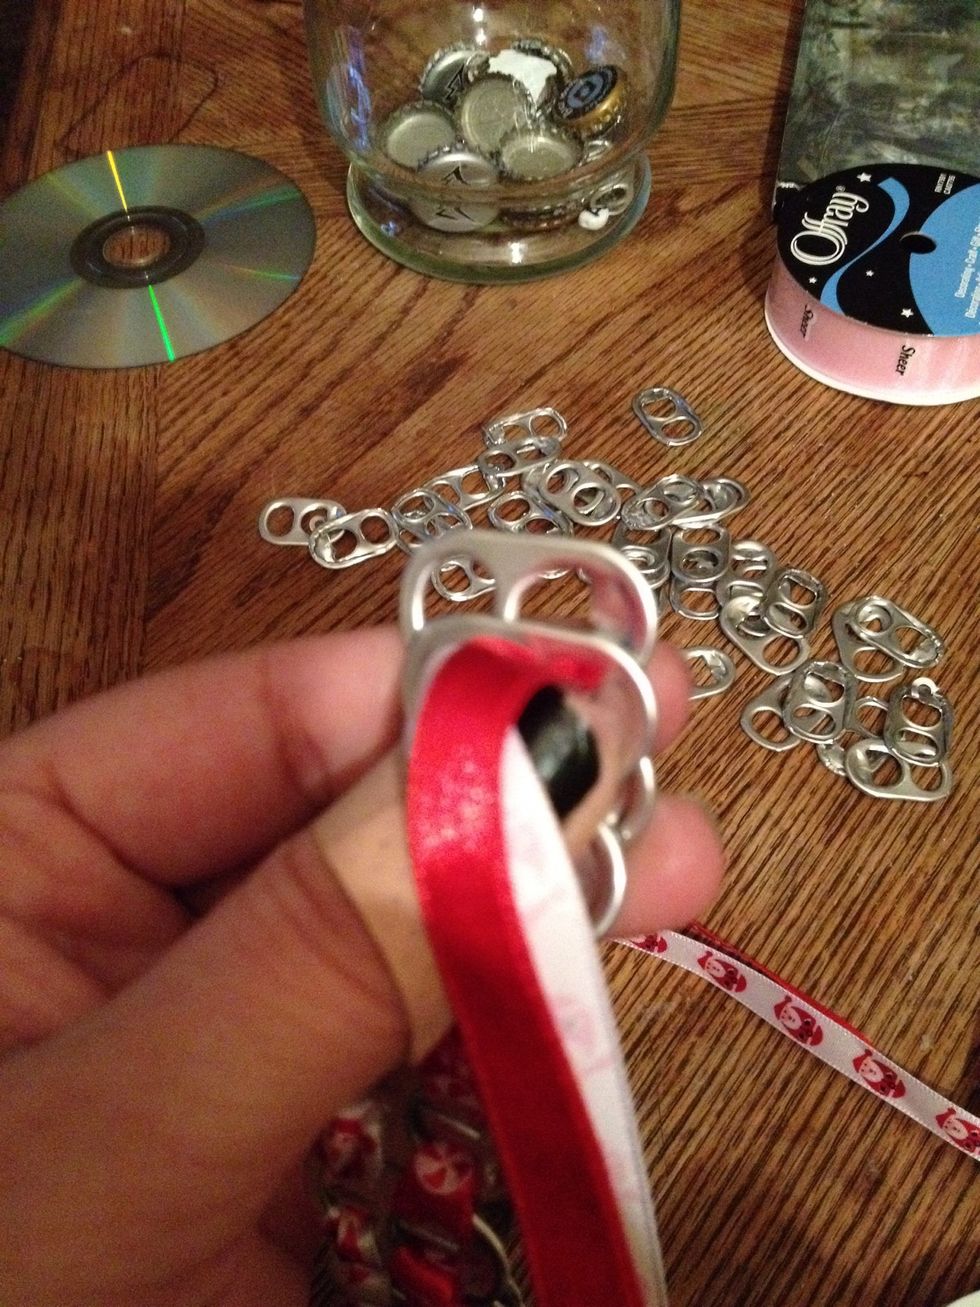
To start bracelet- Bring ribbons up thru the bottom of one can tab. Thread from left to right.
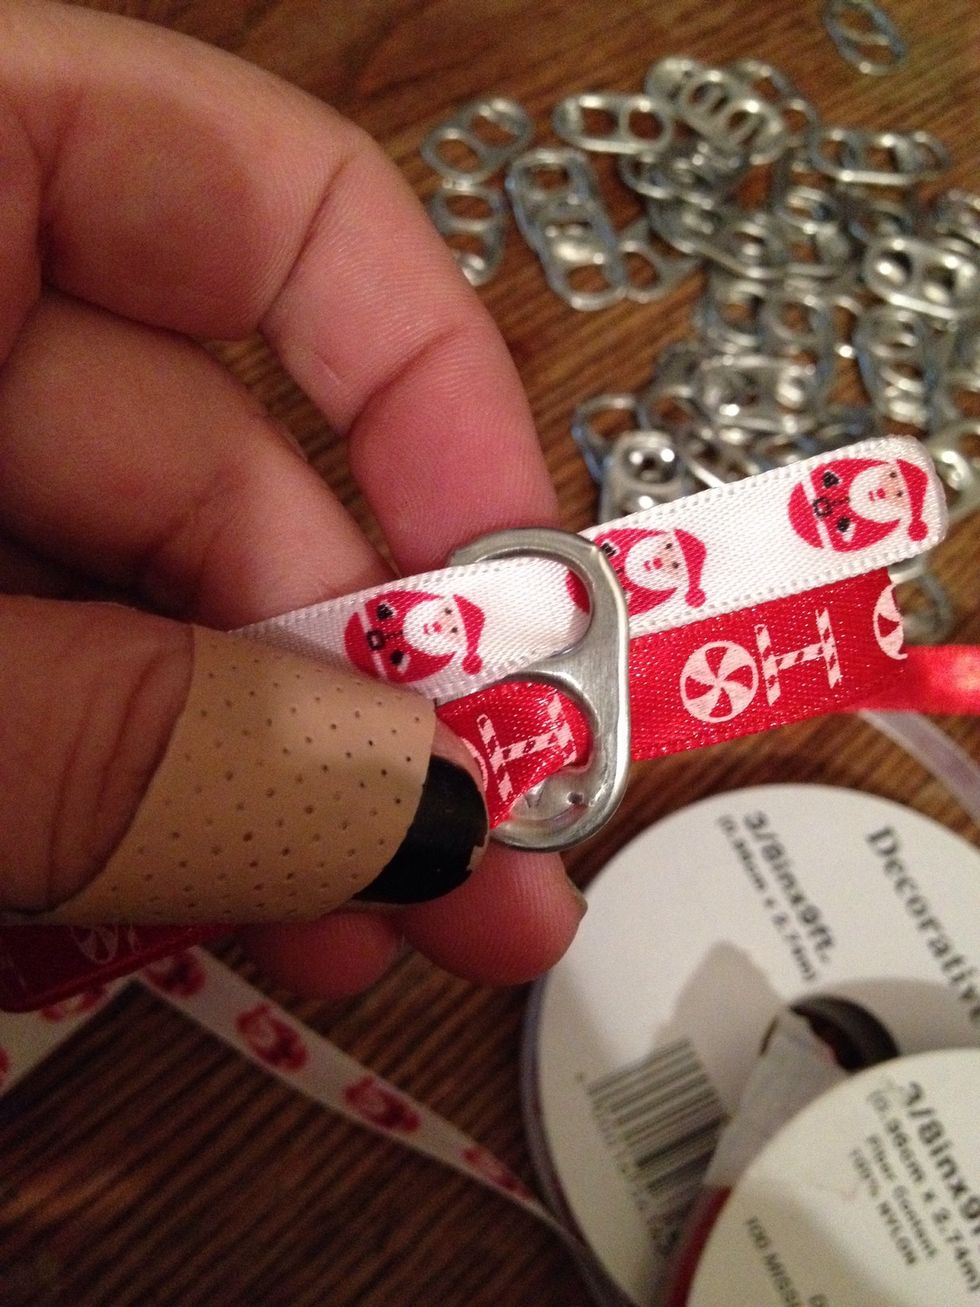
Wrong way to start.

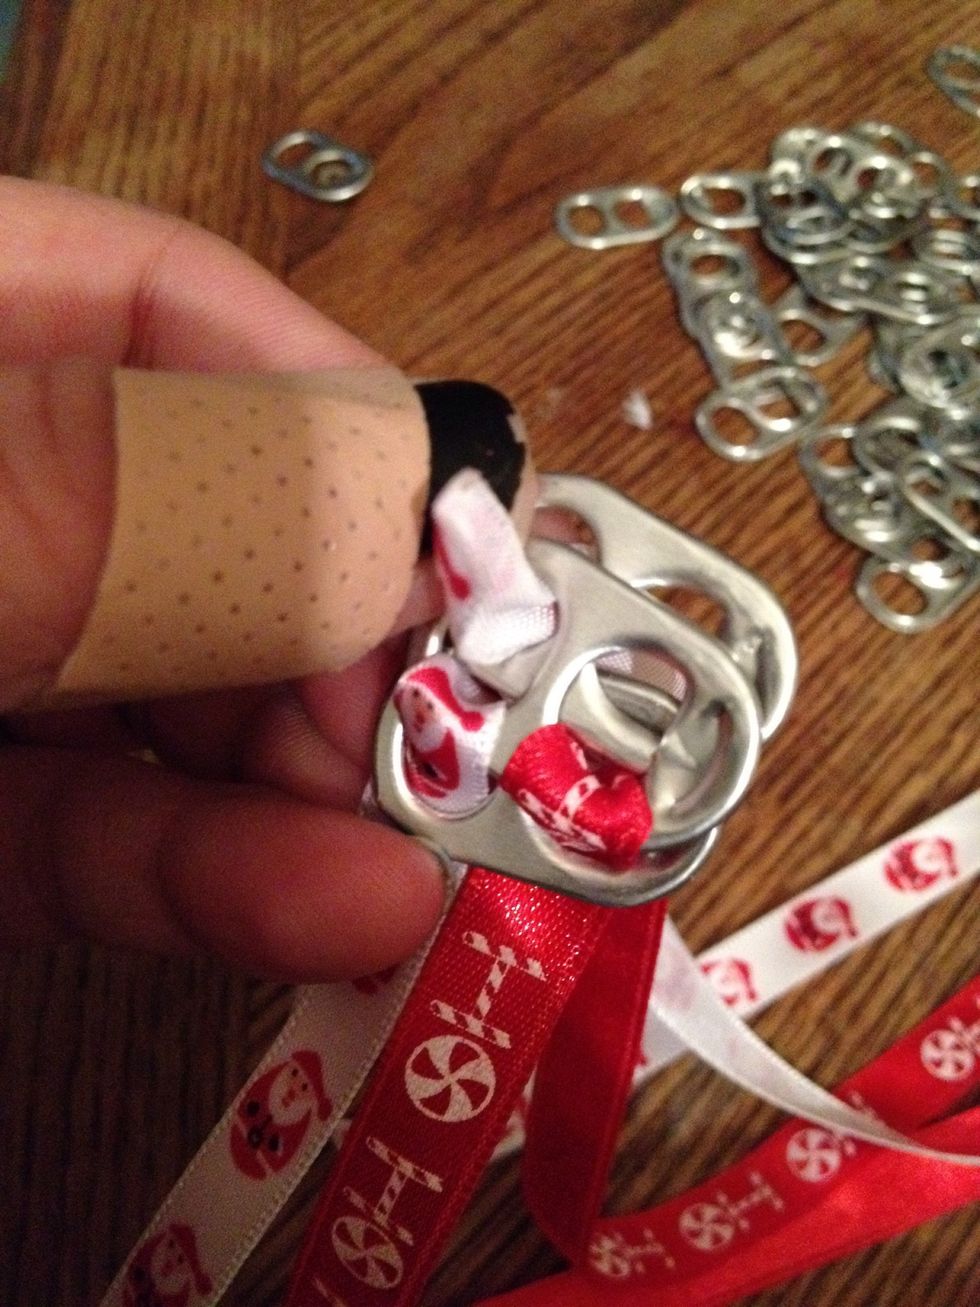
Hold a tab over the first tab, and thread ribbons over one side of 2nd tab, going back down thru into the 1st tab.
This is how you would be holding them without the ribbon.
This is what it looks like after completing step 10.
Grab a 3rd tab and hold under edge of 2nd tab, making holes for ribbons to thread back up thru.
Bring ribbon up under 3rd tab, and back up thru 2nd tab. Keep ribbon taut, with only a slight give between tabs for flexibility.
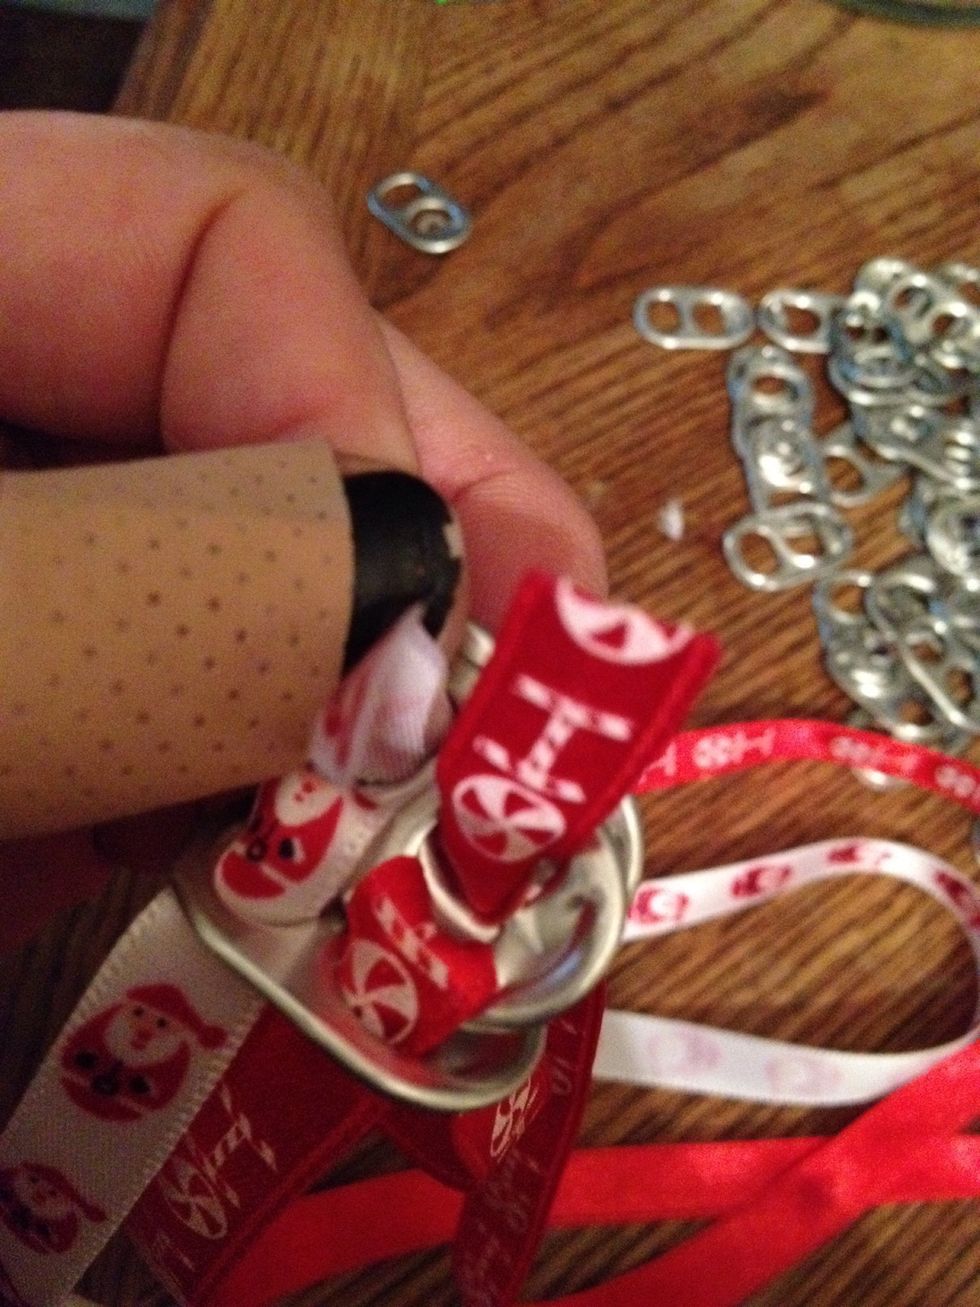
Bringing ribbon thru.

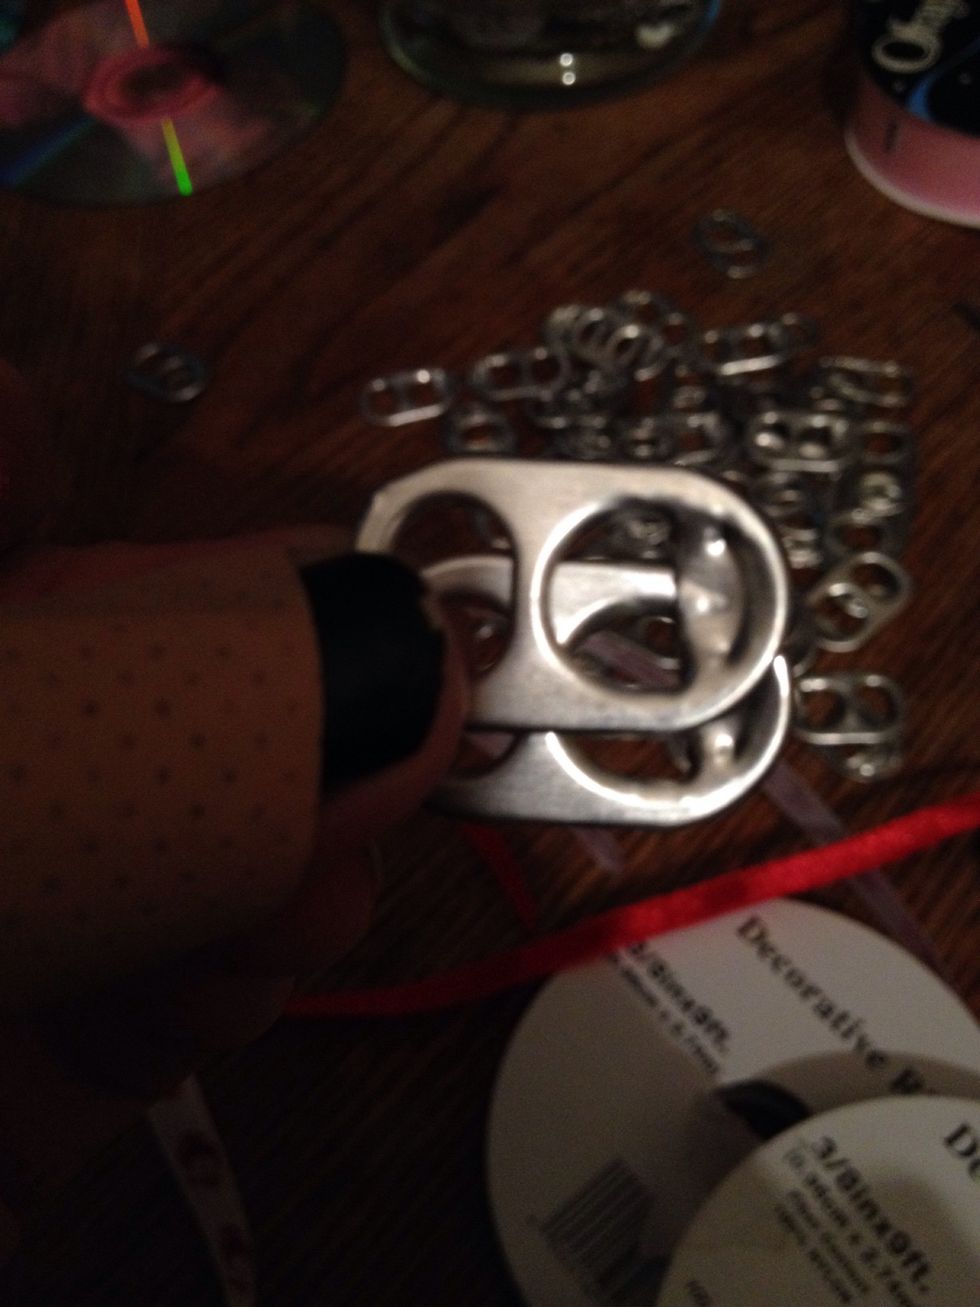
Grab a 4th tab and place over tab 3, beside tab 2.
View from side of 4th tab being added. Thread ribbon over left side of 4th and down thru 3rd.
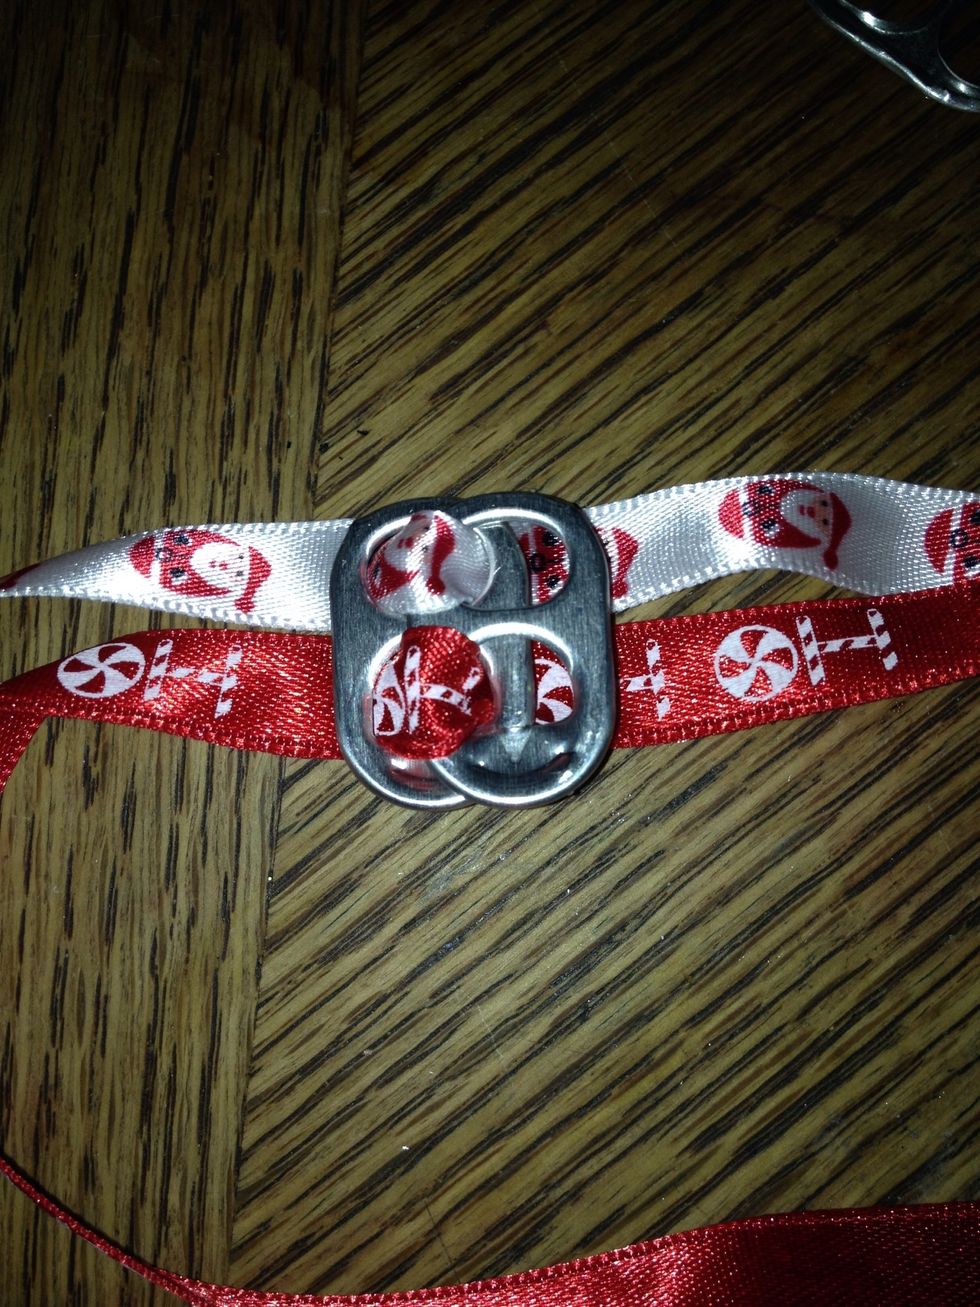
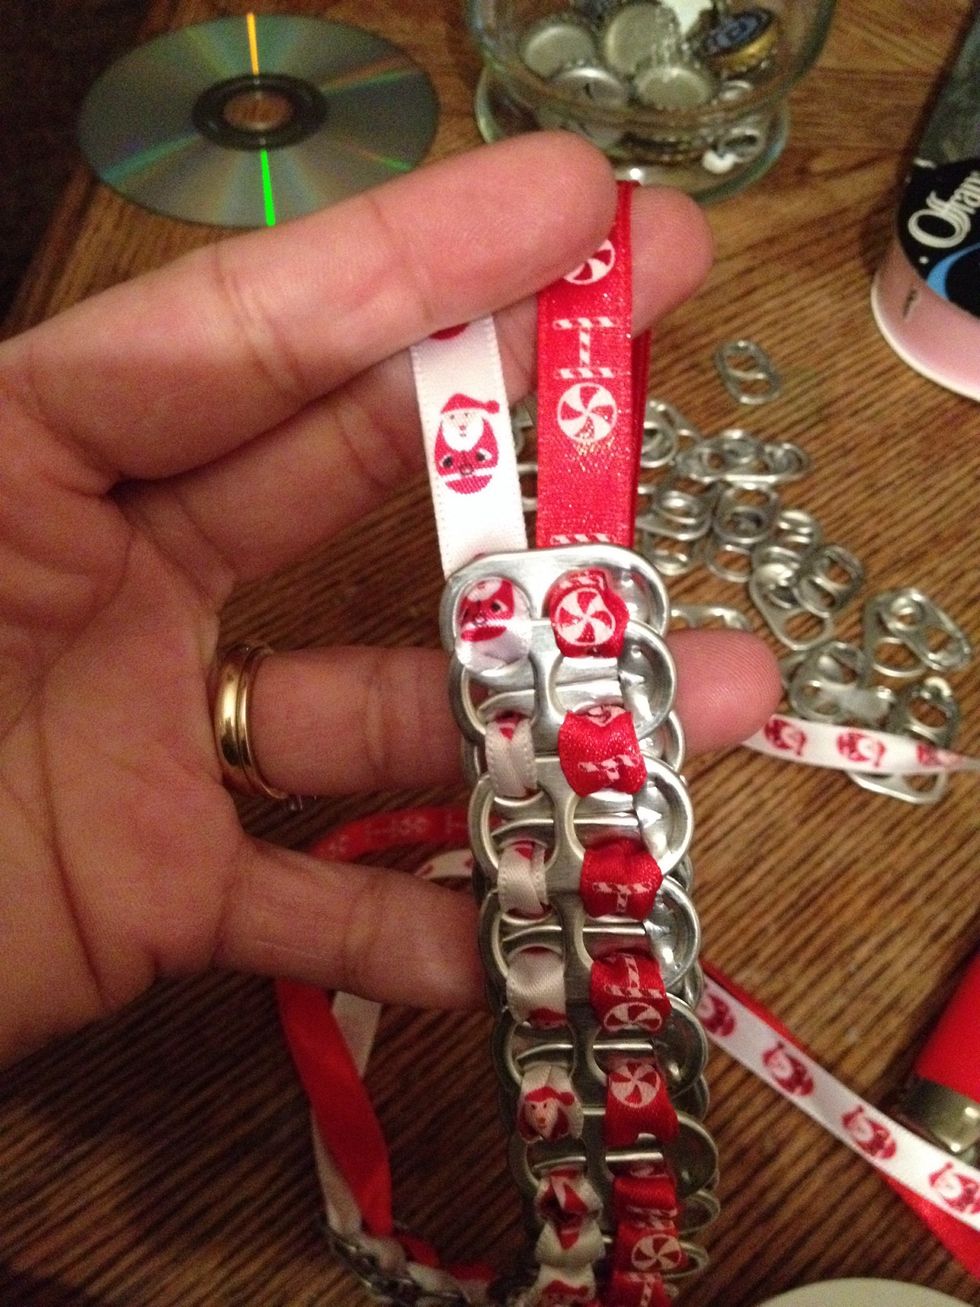
Like so. Add 5th tab under tab 4, beside tab 3. Keep threading ribbon thru and adding tabs, as shown in previous steps, until you reach desired length of bracelet tab-wise.

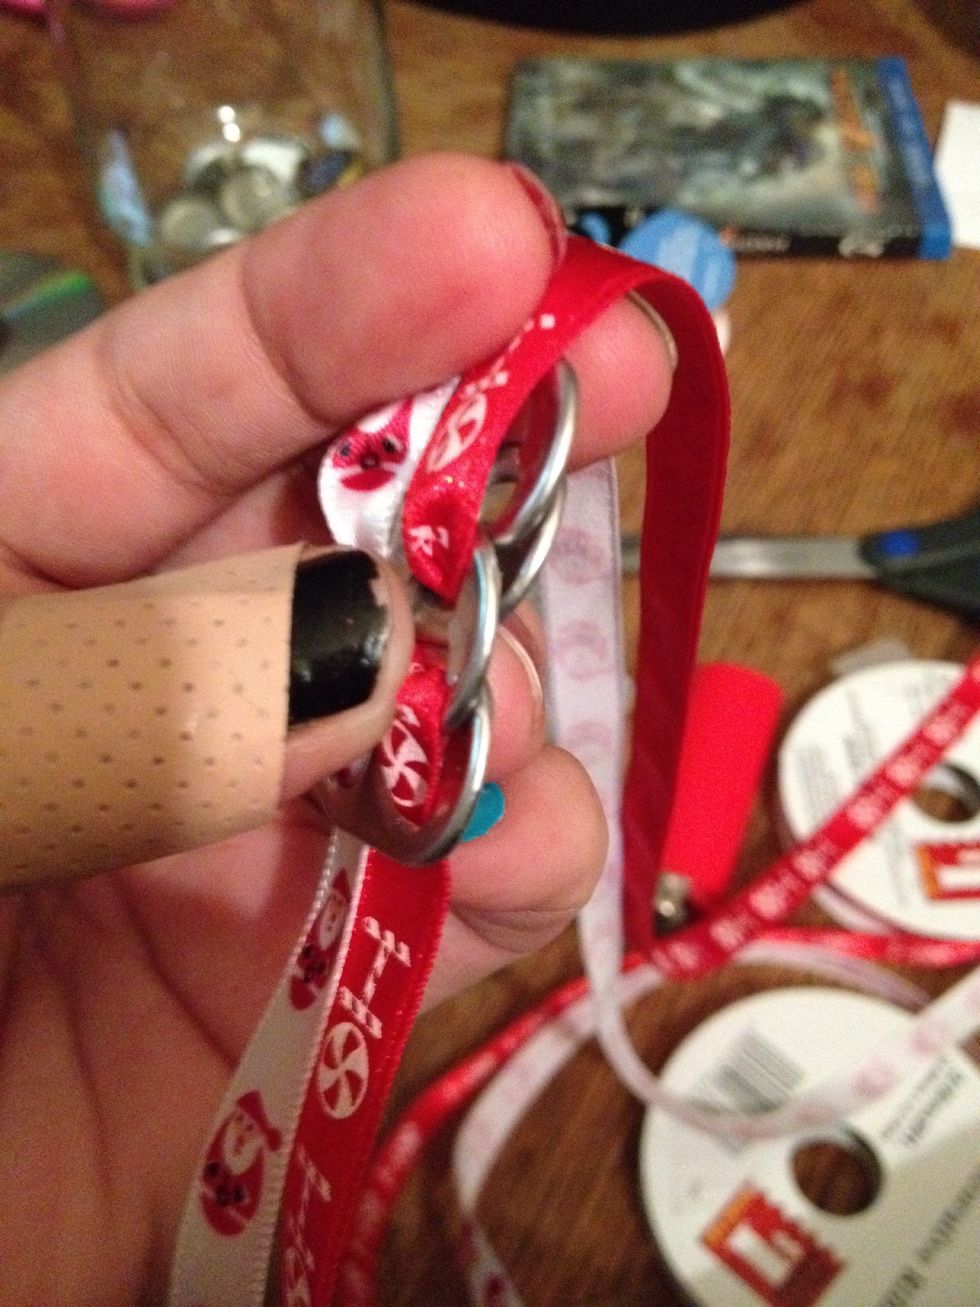
This is about halfway. I'm 12 tabs in.
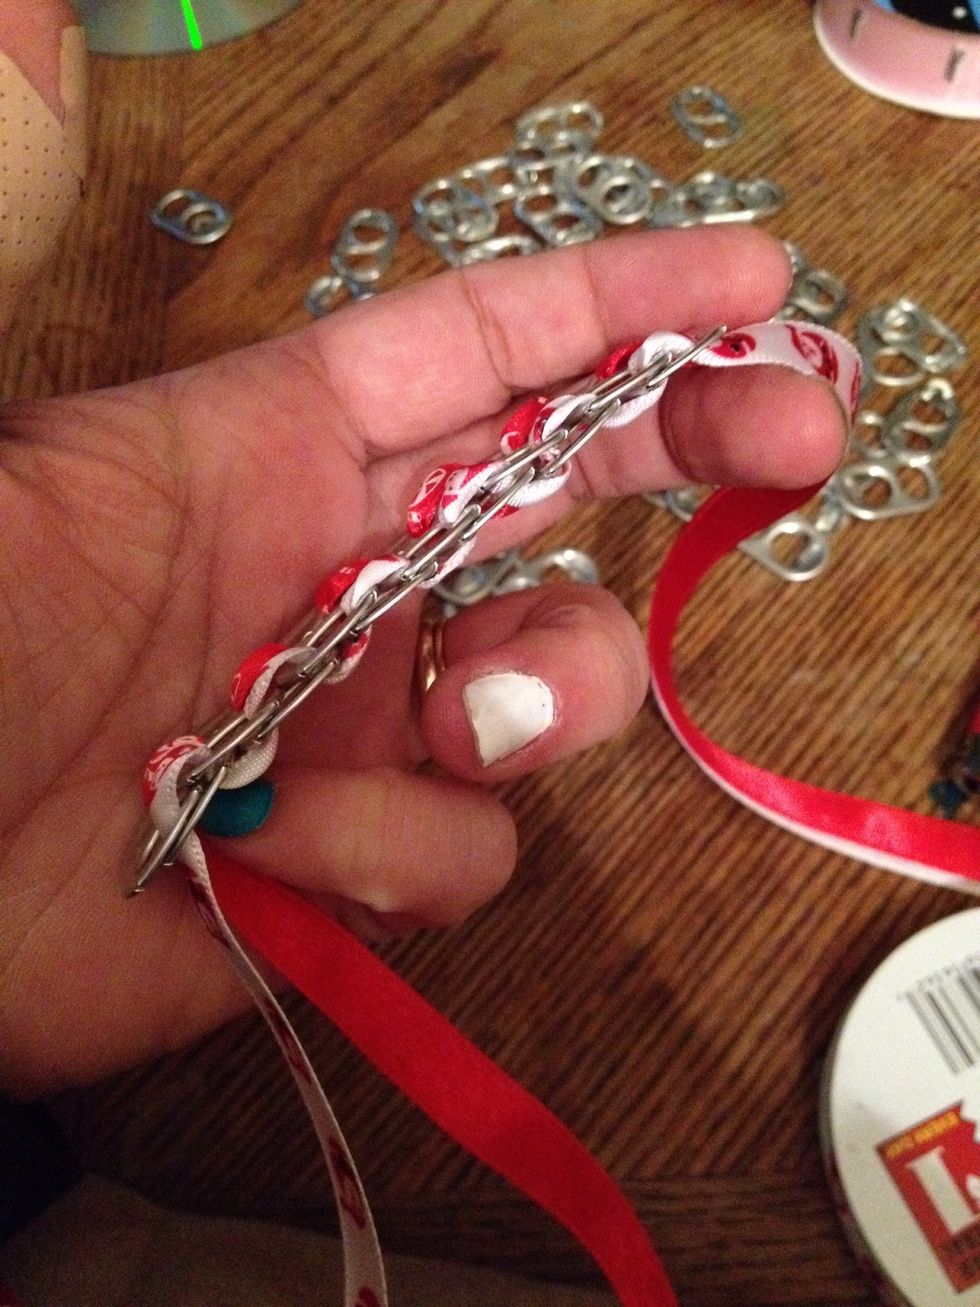
Side View.
Once you reach the desired amount of tabs for length, pull ribbons thru over the top of the tab you're on, add one more tab underneath if you end on top, and down thru last tab.
Loosely fold bracelet in half and bring matching sides of ribbons together straight out like shown.
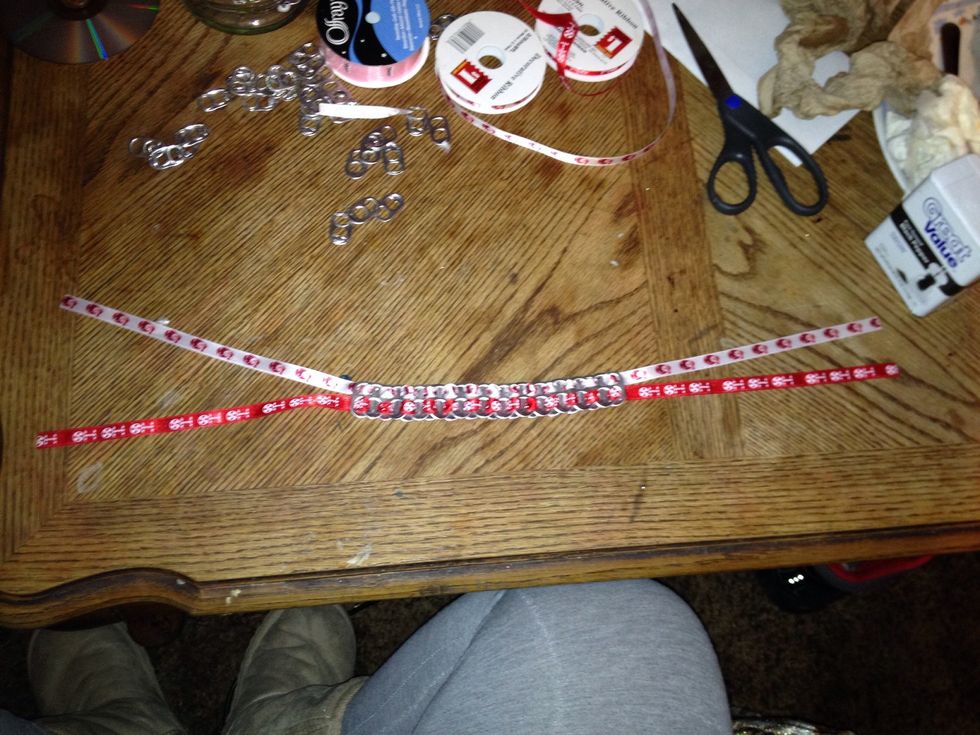
Cut ends of ribbons roughly the same length. Doesn't have to be perfect. Lay bracelet out to finish the ribbon ends on the next step.
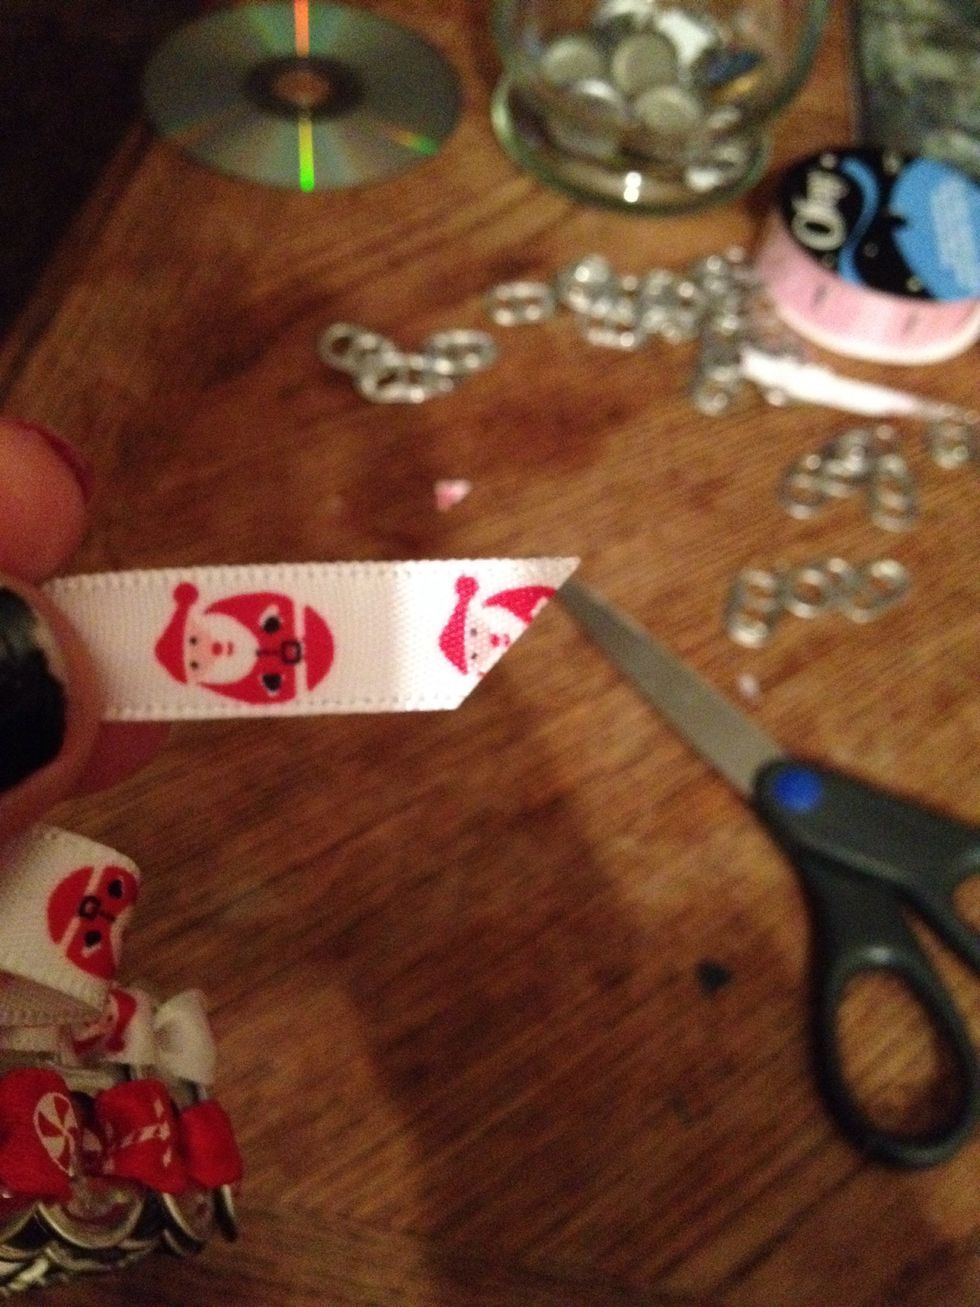
Snip a slight diagonal with scissors, and seal ends with lighter to prevent fraying as told at beginning of guide.
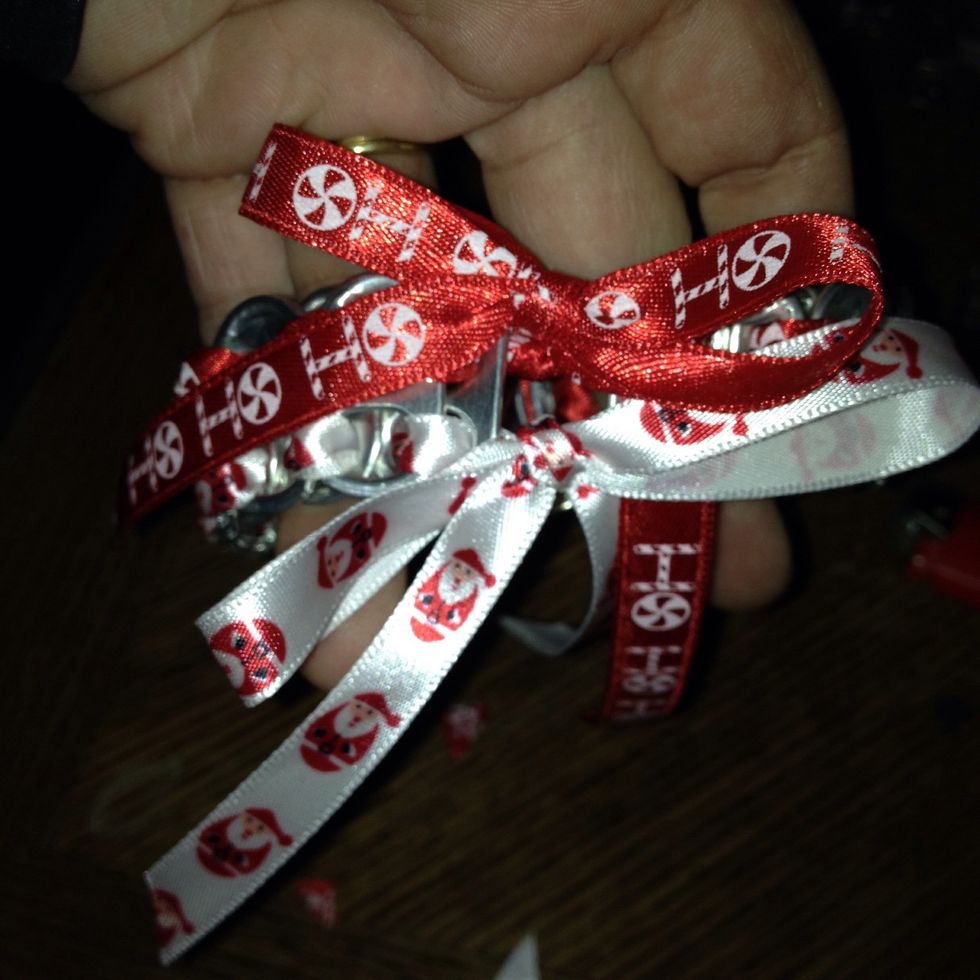
Tie ribbons together, like so.
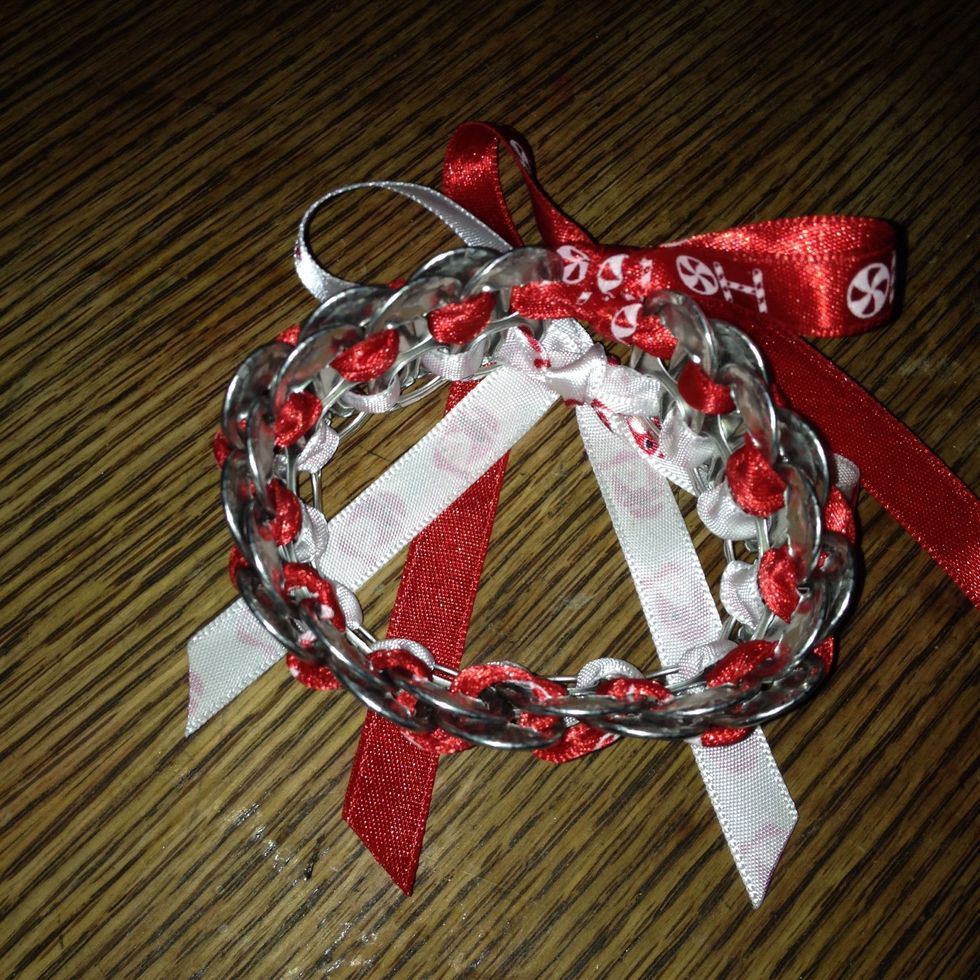
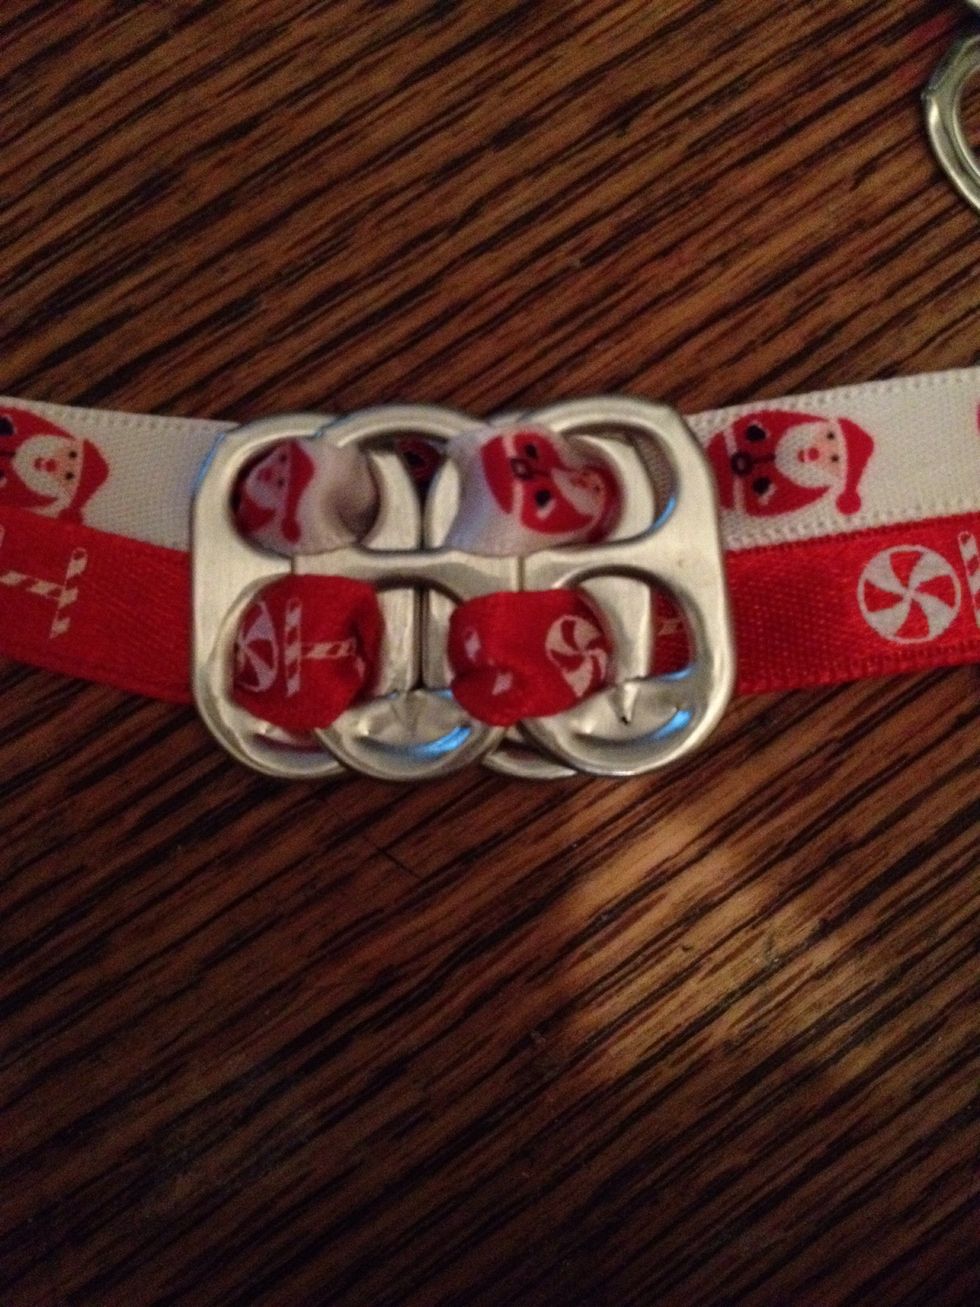
Finished Double Ribbon Soda Can Tab Bracelet.
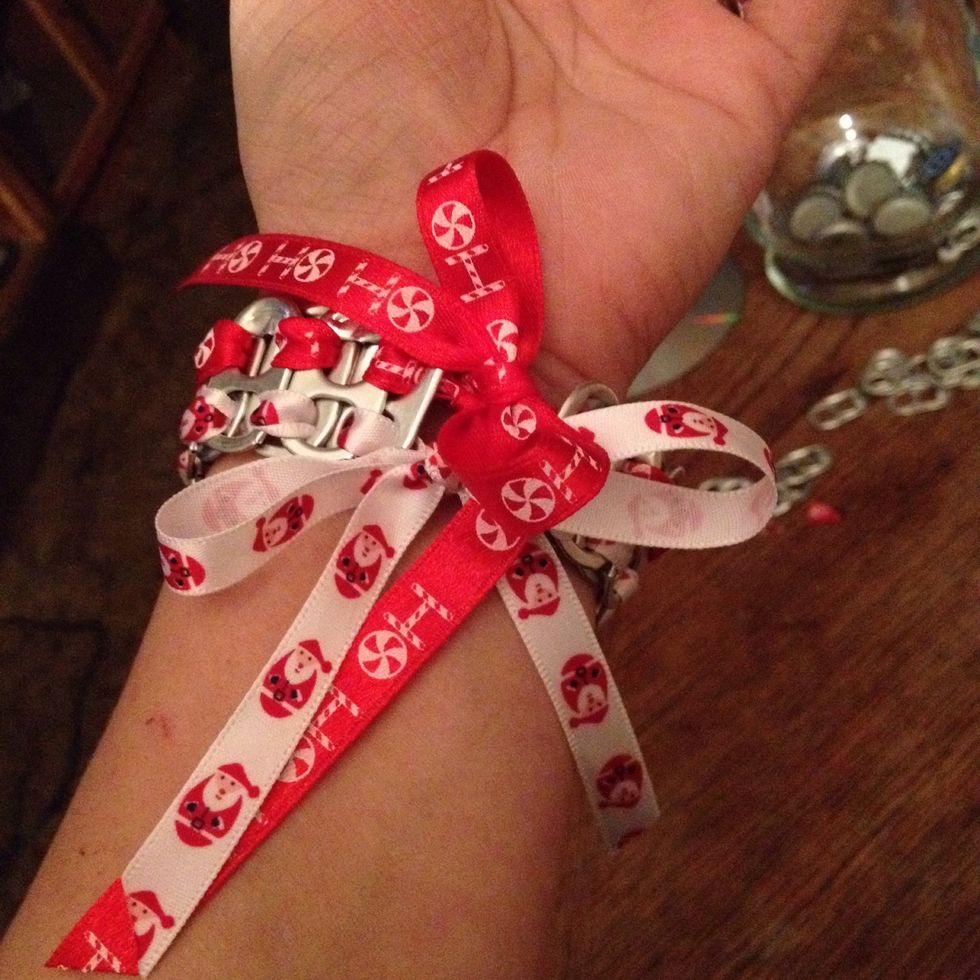
Slip it on your wrist. So cute! Mines Christmas ribbon, to give as a gift.
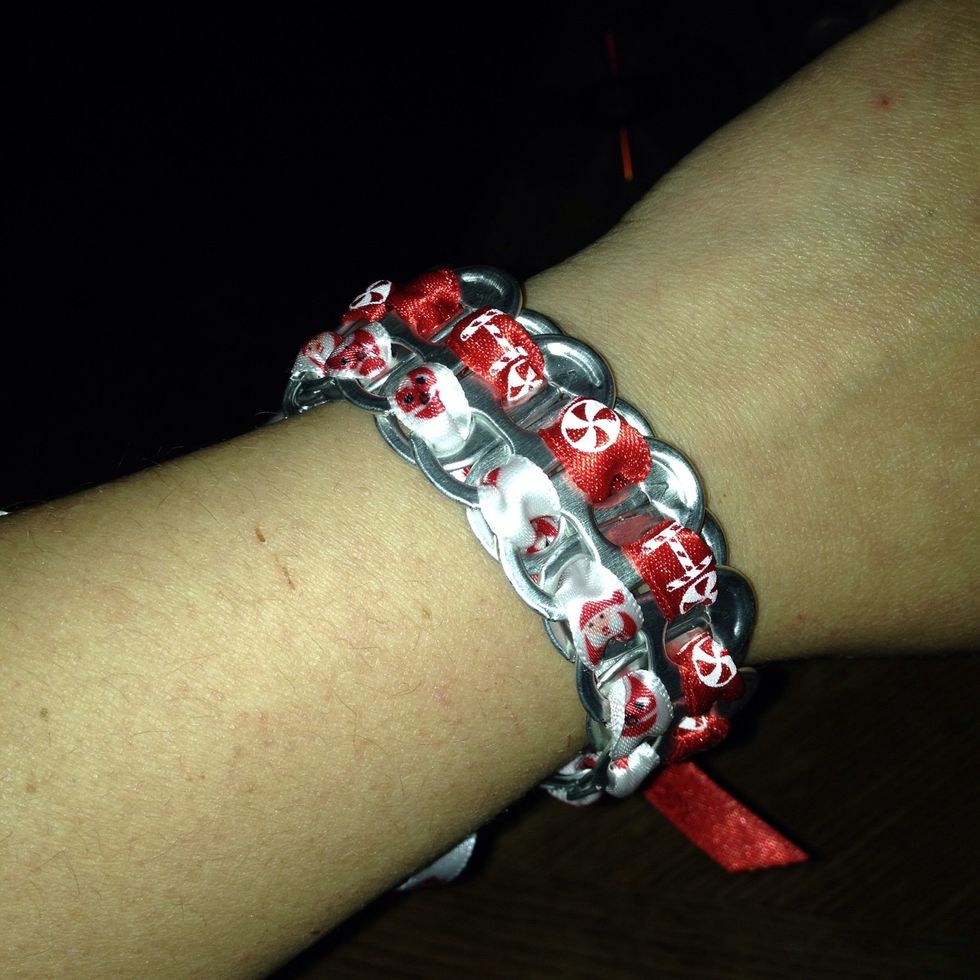
View from other side. It can be worn with the ribbons facing up or down, depending on wearer's style preference.
Hope you enjoyed this guide, and love your new recycled bracelet. Let me know if you have any questions! 💜💕💜💕💜💕💜Sarah