Gather supplies: clay tools, paddle or burlap scrap, and a jar of slip.

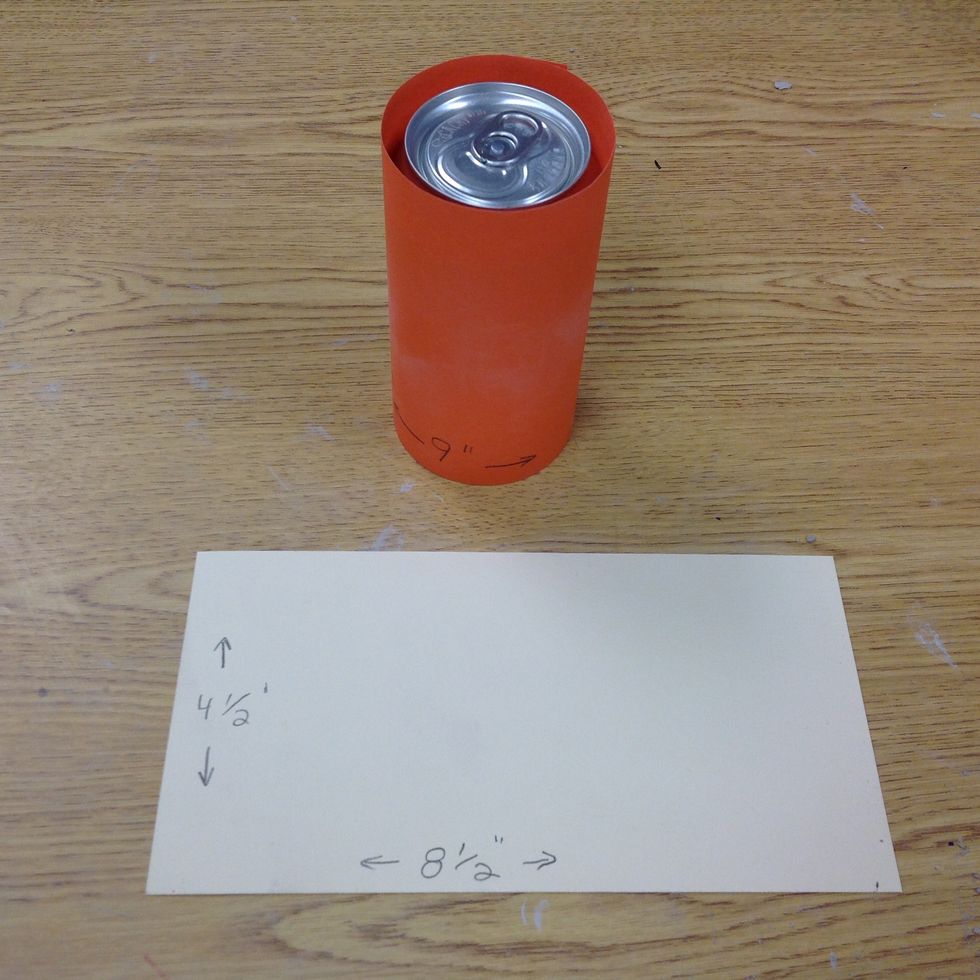
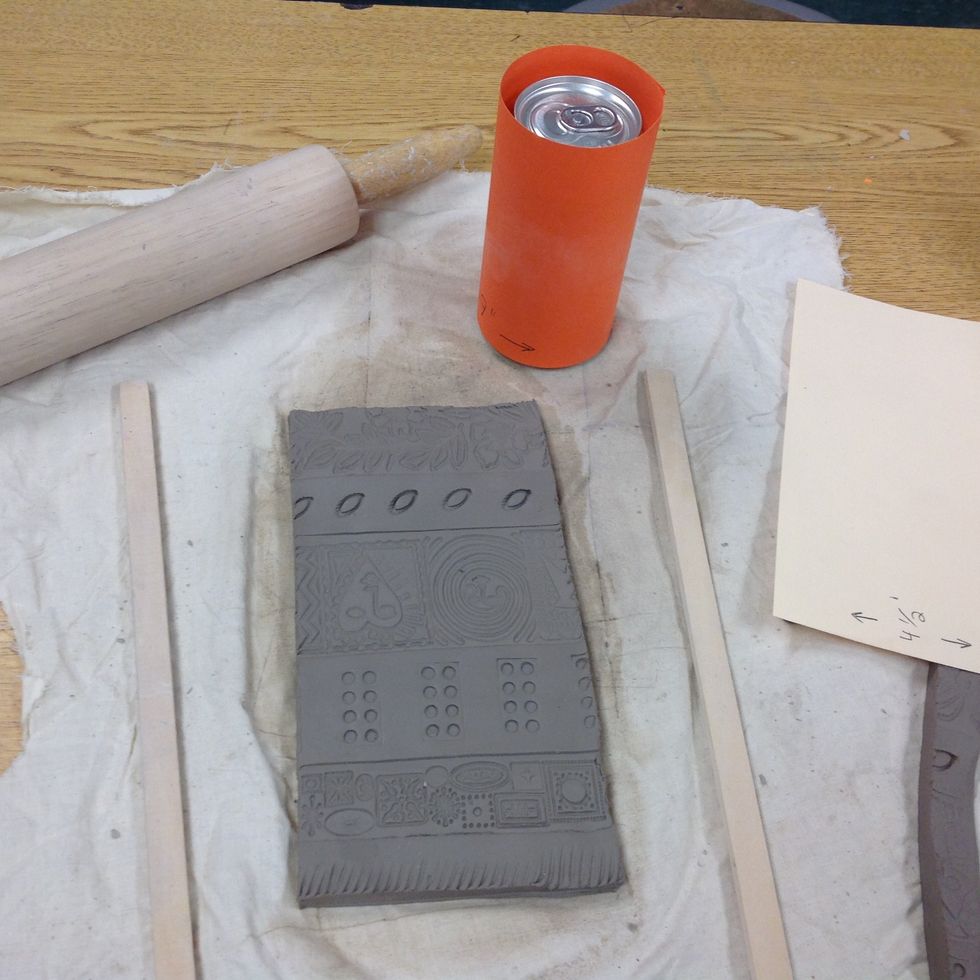
You will need one 4.5 x 8.5 template for tracing clay, and one 5 x 9 piece of construction paper. Tape the construction paper around the can.
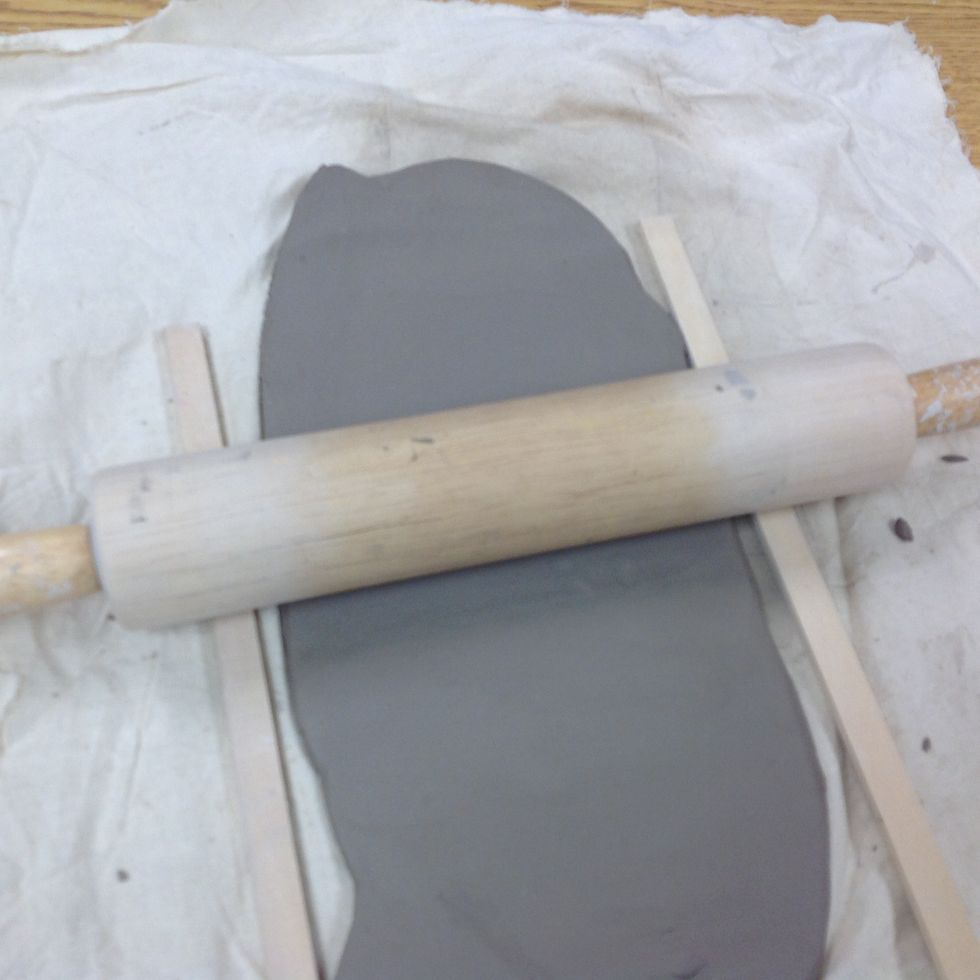
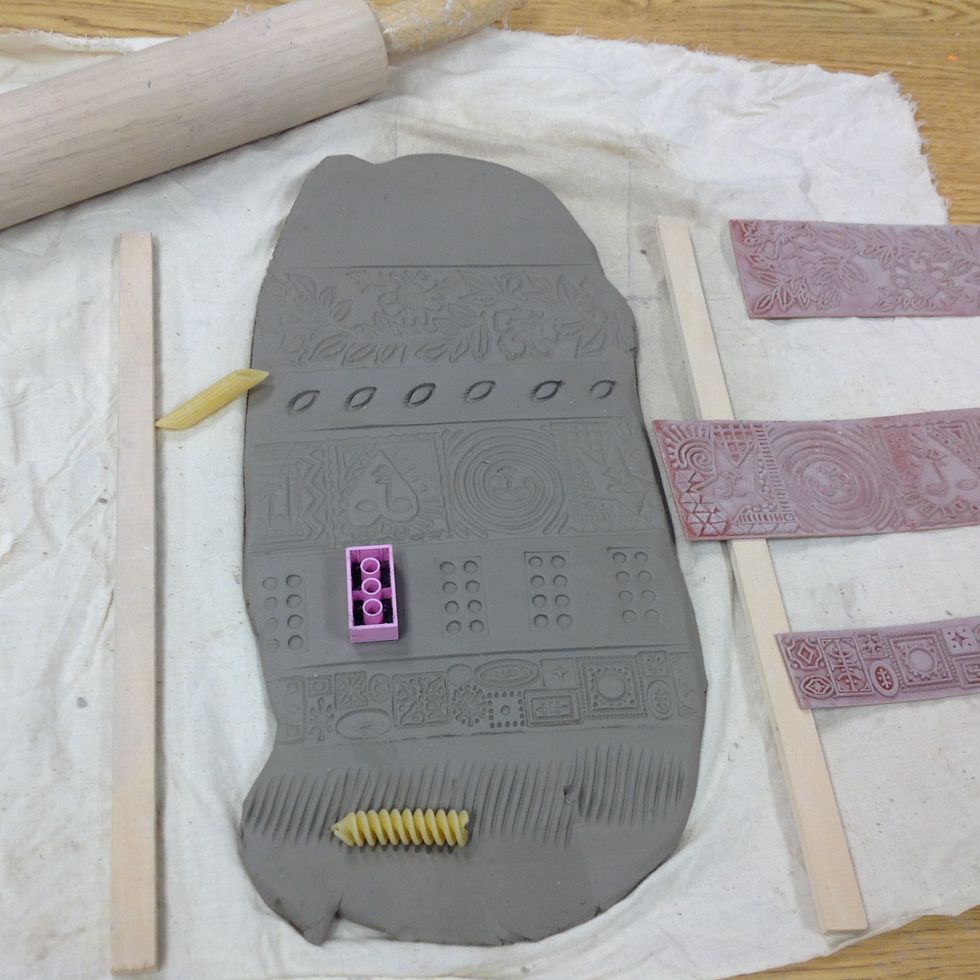
Collect a "slab rolling kit" = 1 piece of cloth or canvas, 2 sticks about 1/4in thick, one rolling pin, and a slab of clay
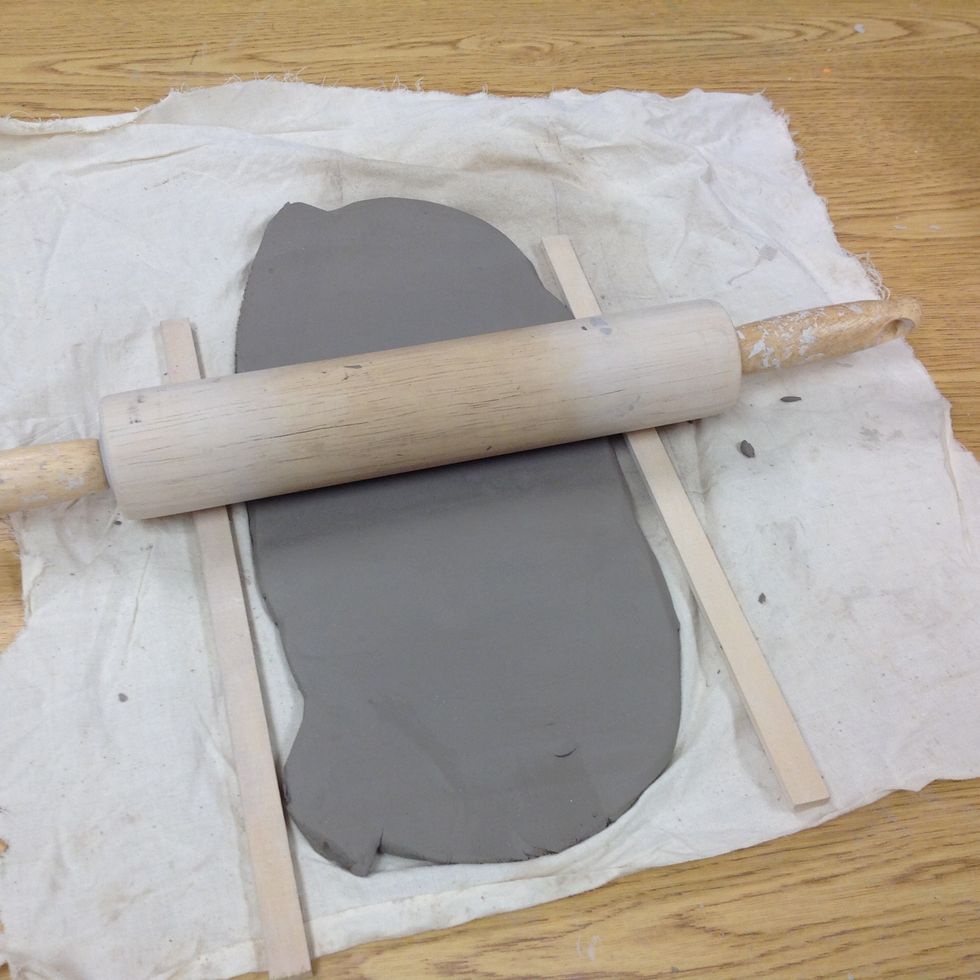
Keep the rolling pin on top of the sticks as you roll out a long slab of clay.
Make sure the slab is larger than the template but don't cut it out yet.
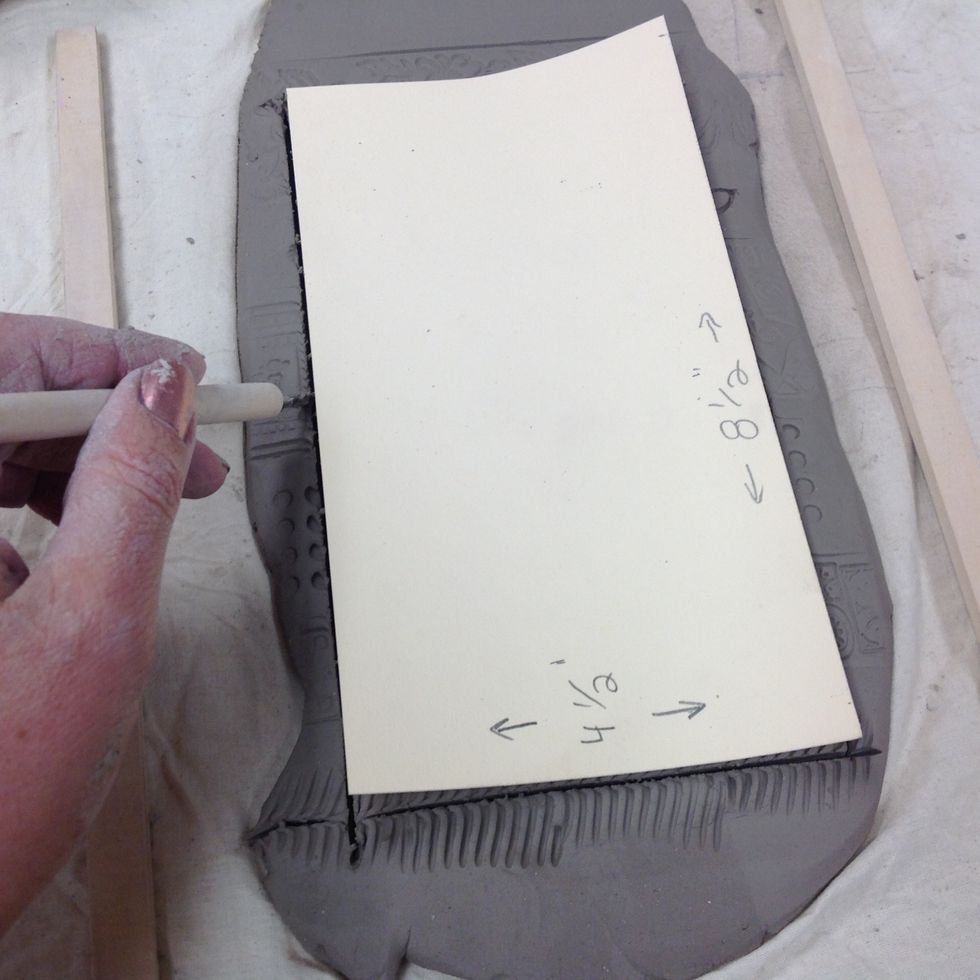
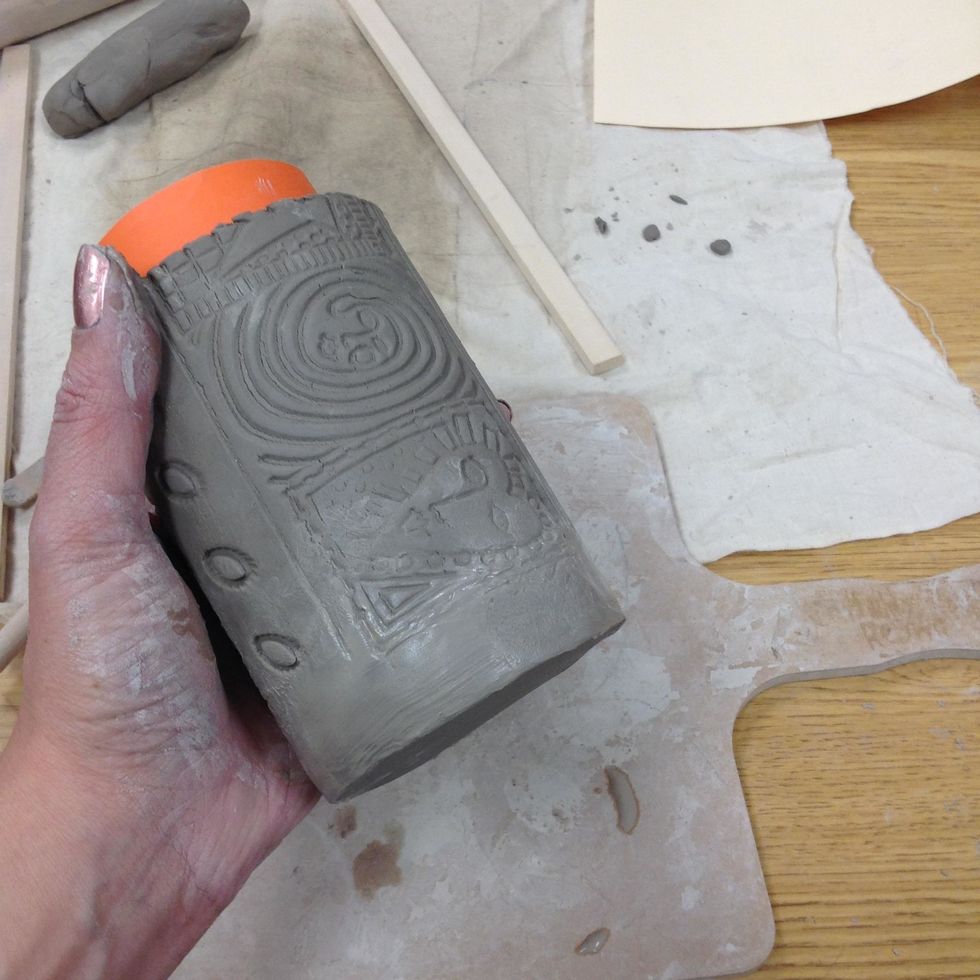
Add texture to your clay slab.
Trace the template to cut out a 4.5" x 8.5" rectangle.
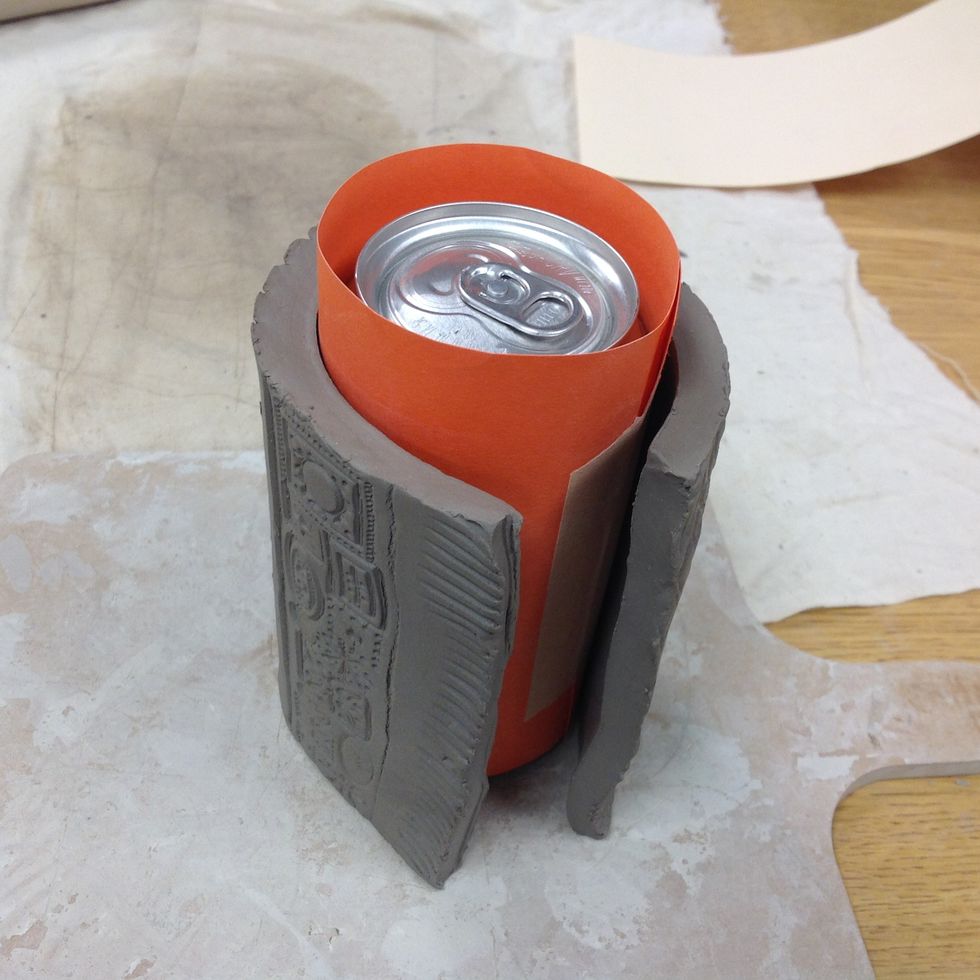
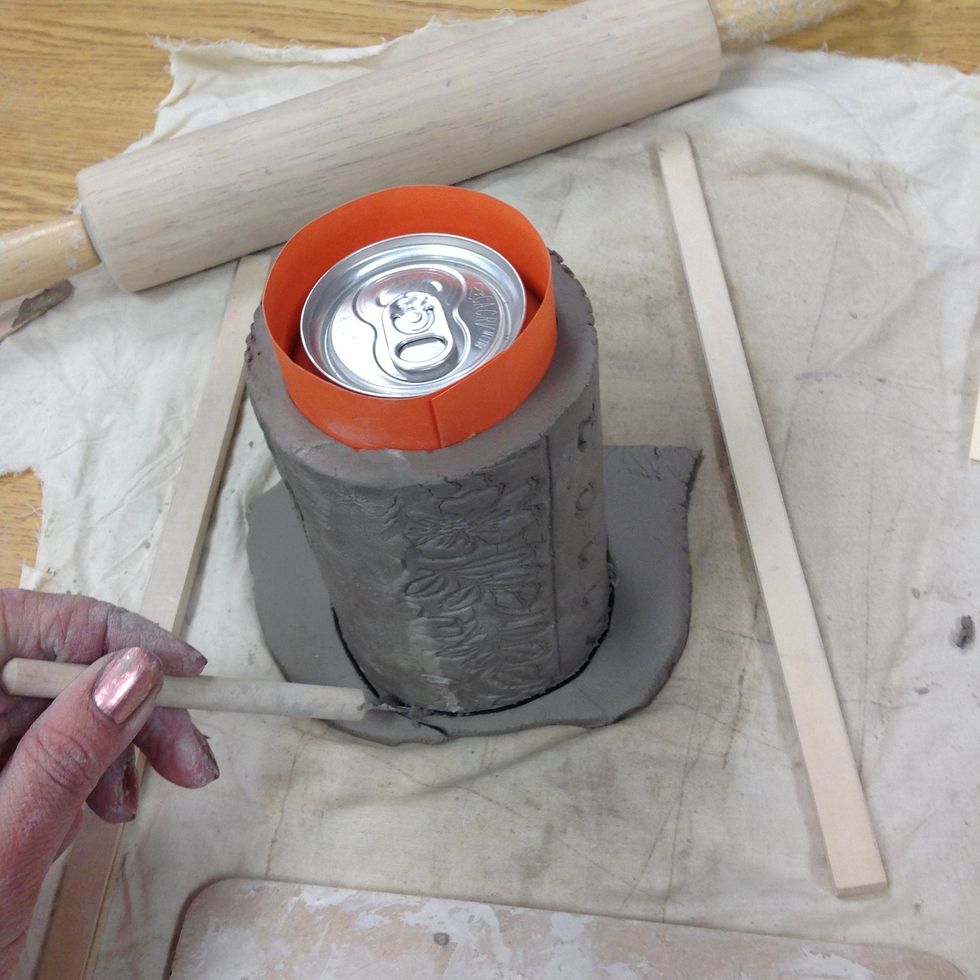
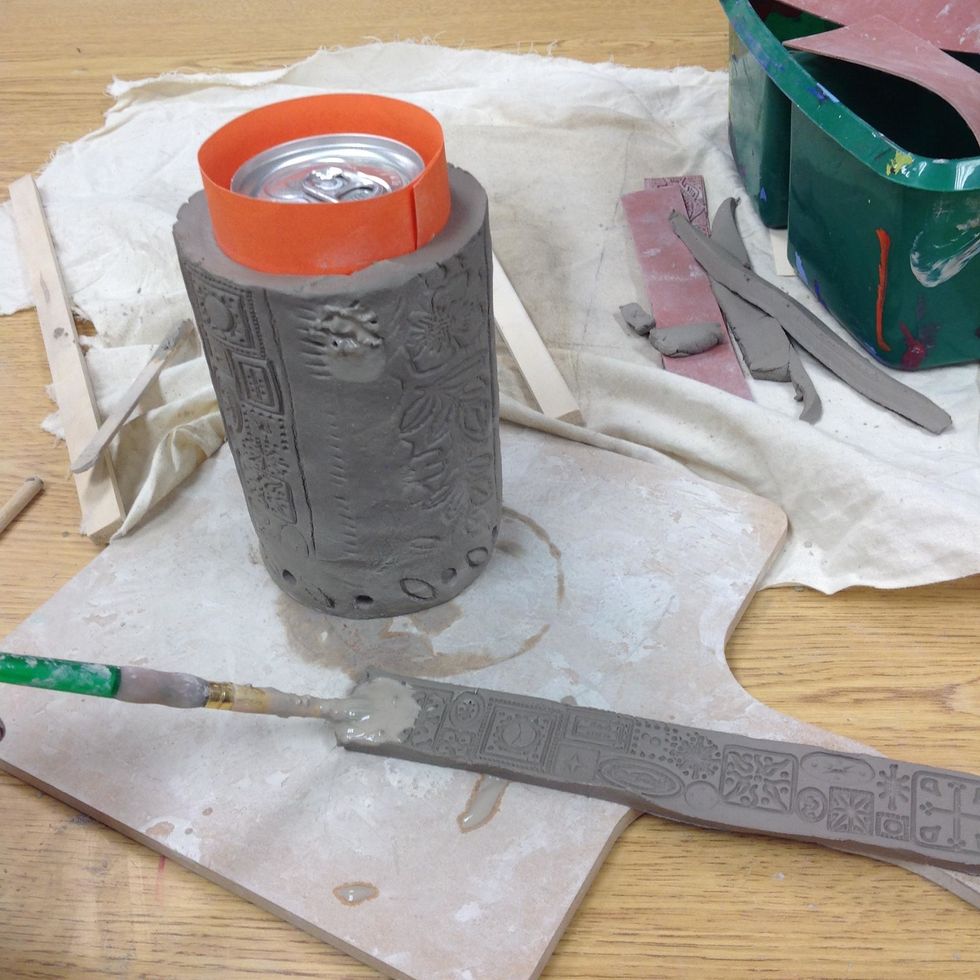
Wrap your clay around the bottom of the can. Work on a pallet or piece of burlap so it does not stick to the table.
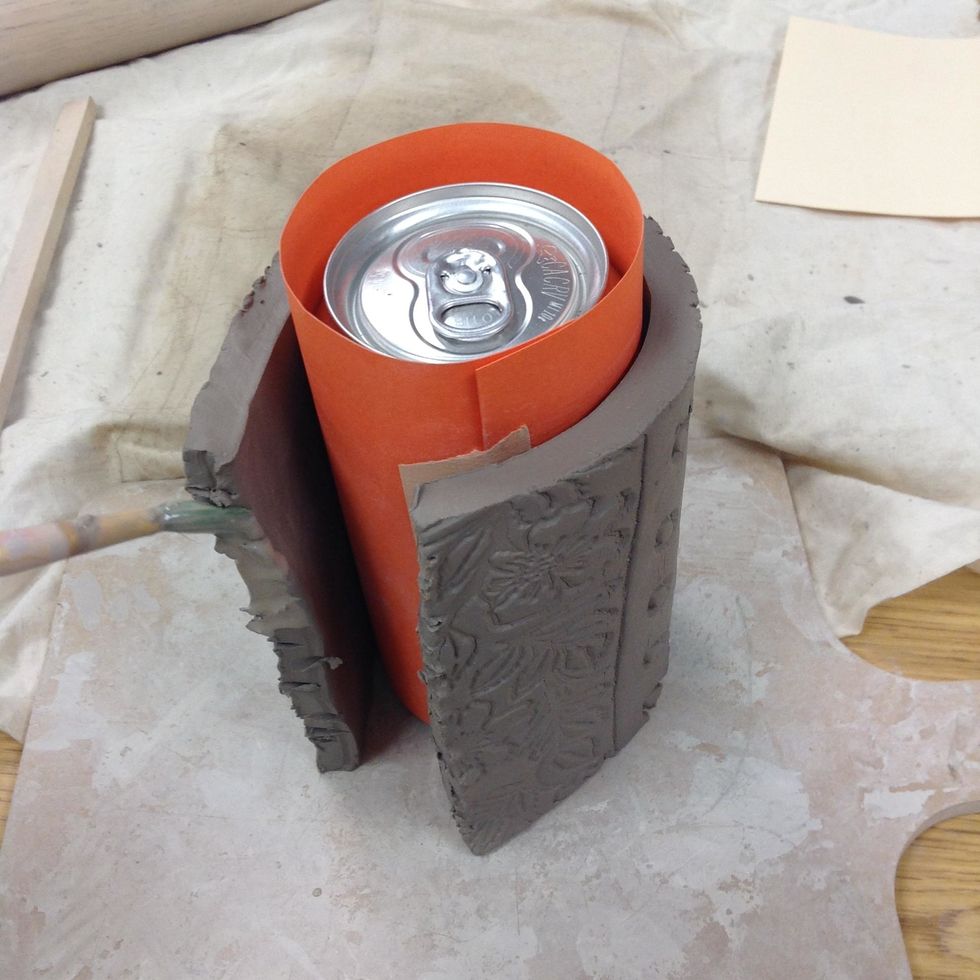
Score the two edges, add slip...
...and use a flat tool to blend the seams together.
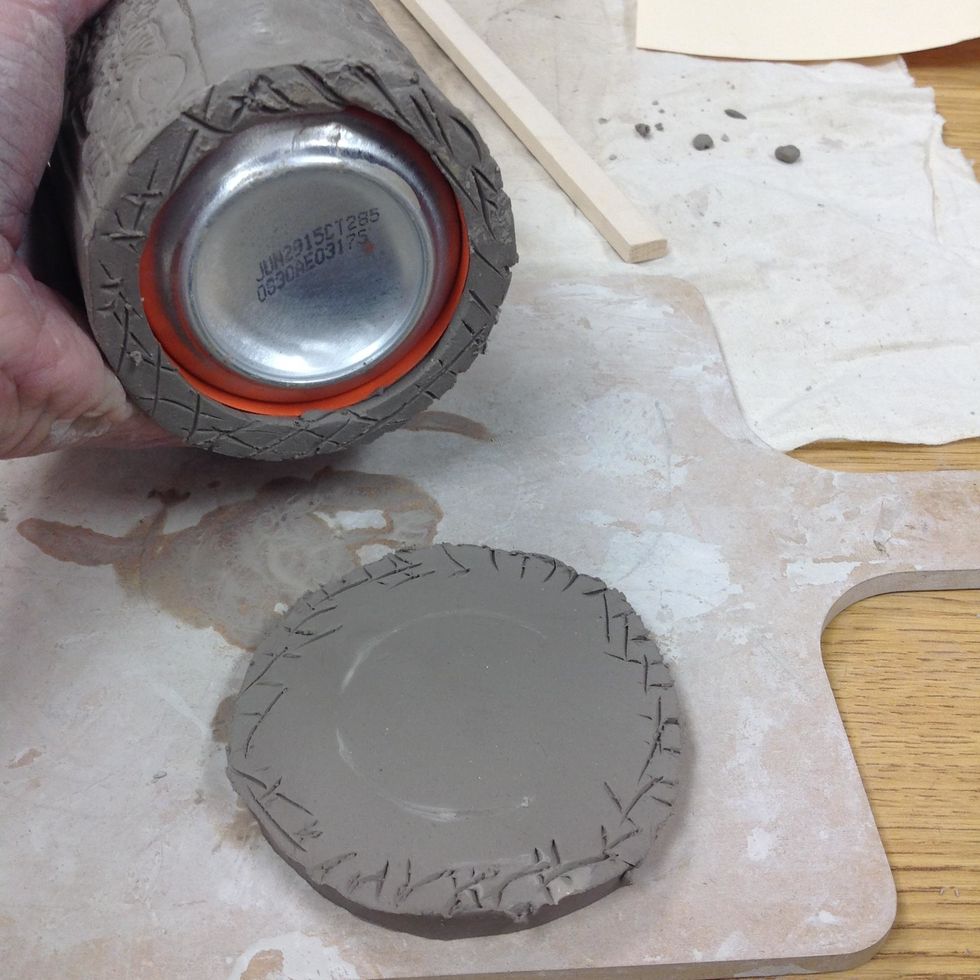
Roll out a small slab of clay and trace the bottom of your mug.
Score. Slip.
Blend those edges together.
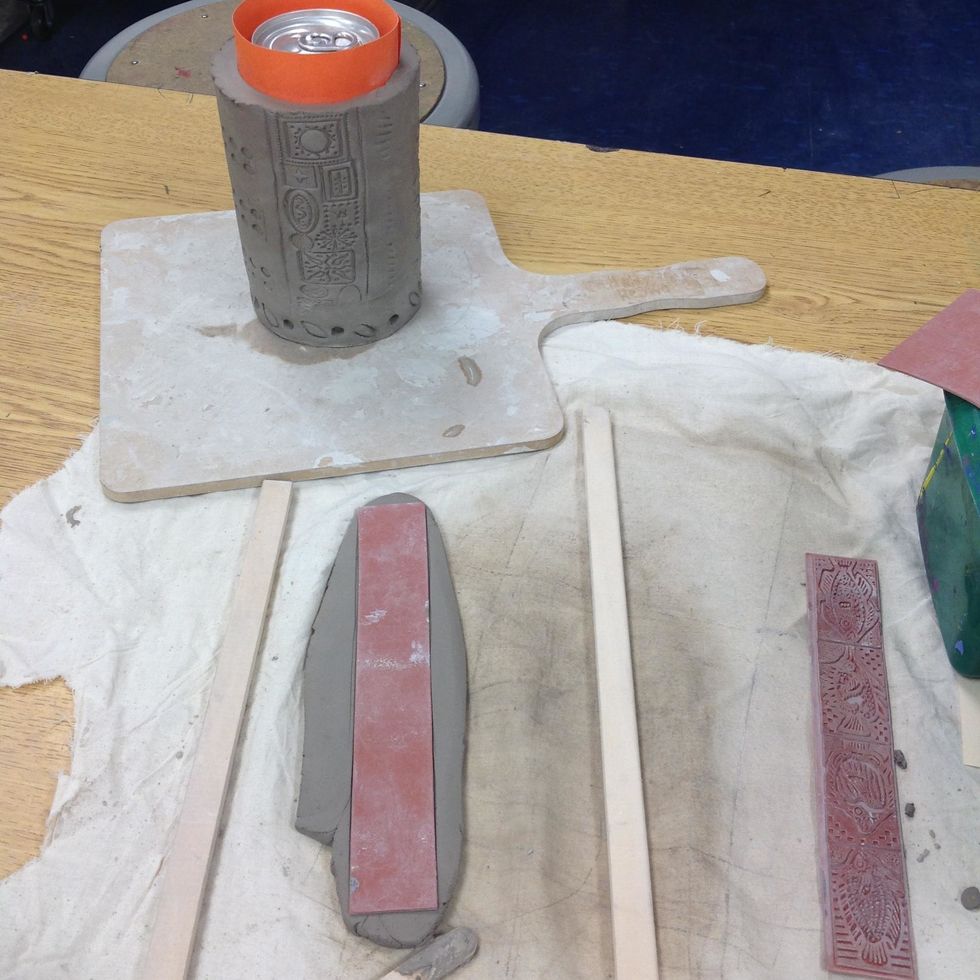
Roll out a narrow slab for the handle. Add texture and trim.
Score. Slip. Blend.
Pull the can out while the clay is still wet.
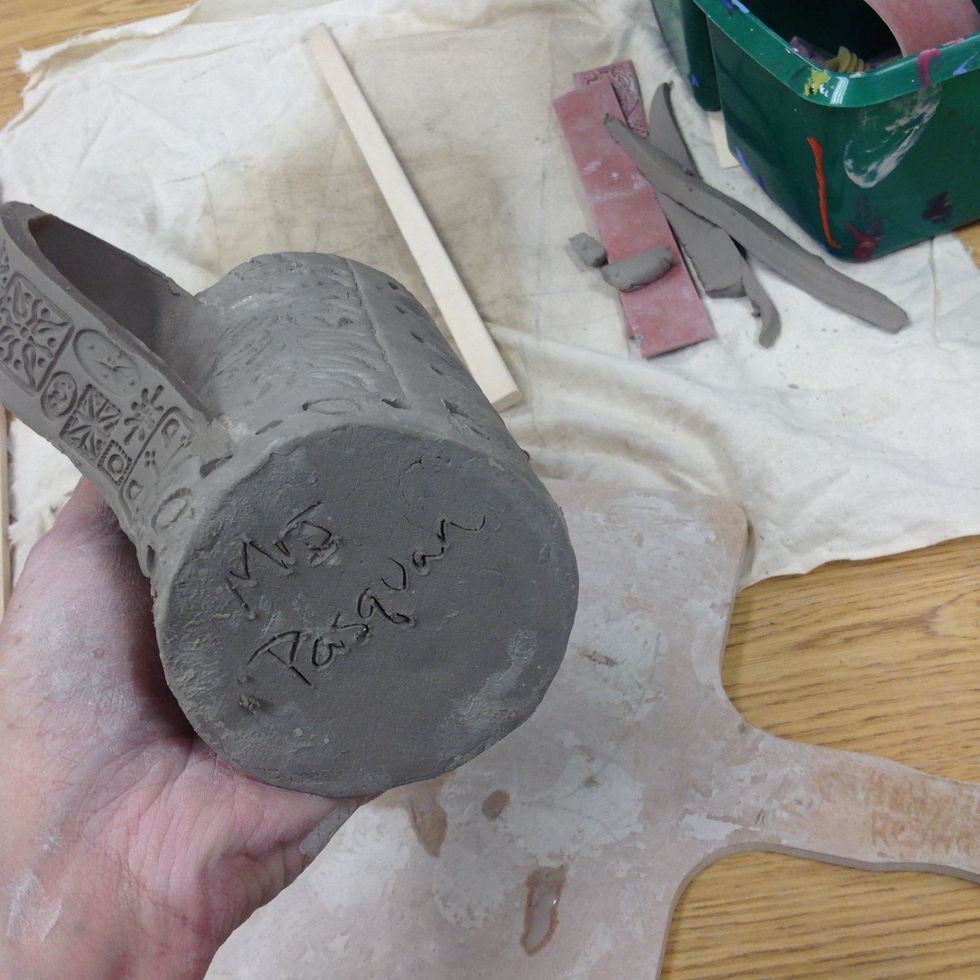
Sign the bottom of your masterpiece.
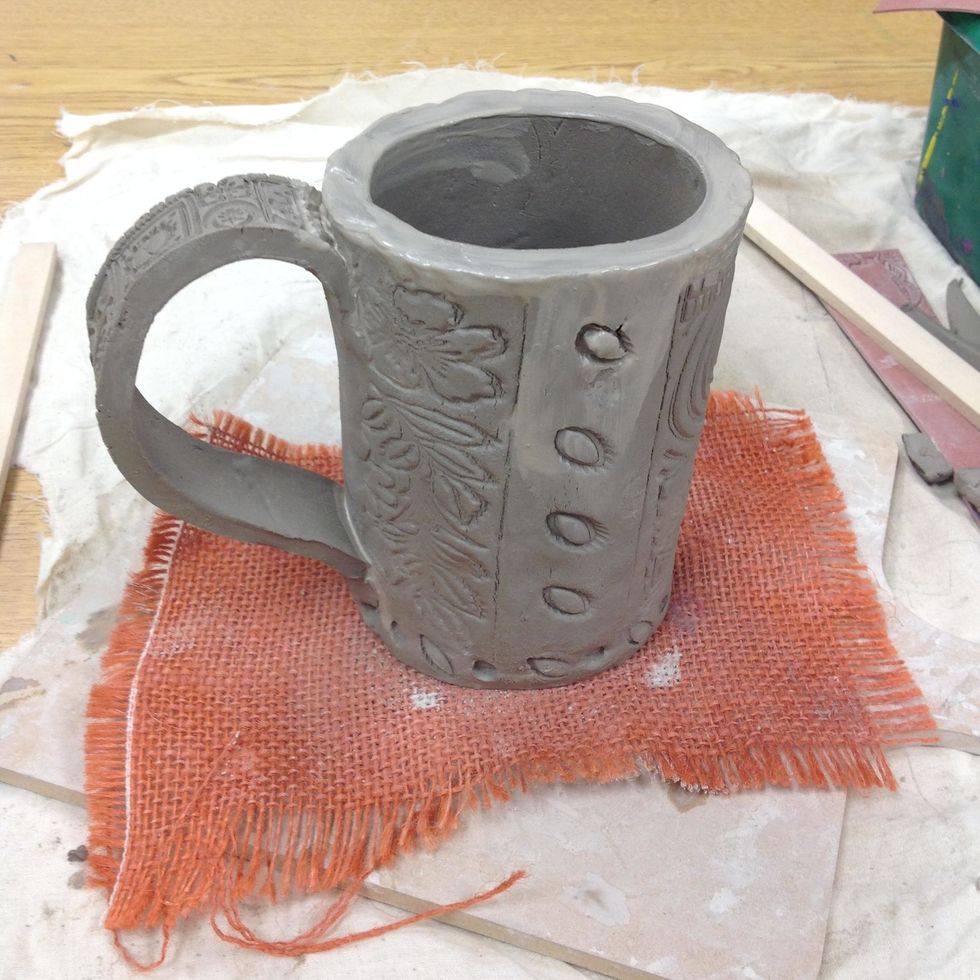
Fix any details that need fixing, and place your clay in the "fire me" zone.
- 1.0 empty soda can
- 1.0 4.5 x 8.5 template
- 1.0 5 x 9 piece of construction paper
- 1.0 bucket of clay tools
- 1.0 jar of slip
- 1.0 slab of clay
- 1.0 rolling matt (fabric)
- 1.0 rolling pin
- 2.0 12" x 1/4" wooden sticks
- 1.0 small piece of masking tape