The Conversation (0)
Sign Up
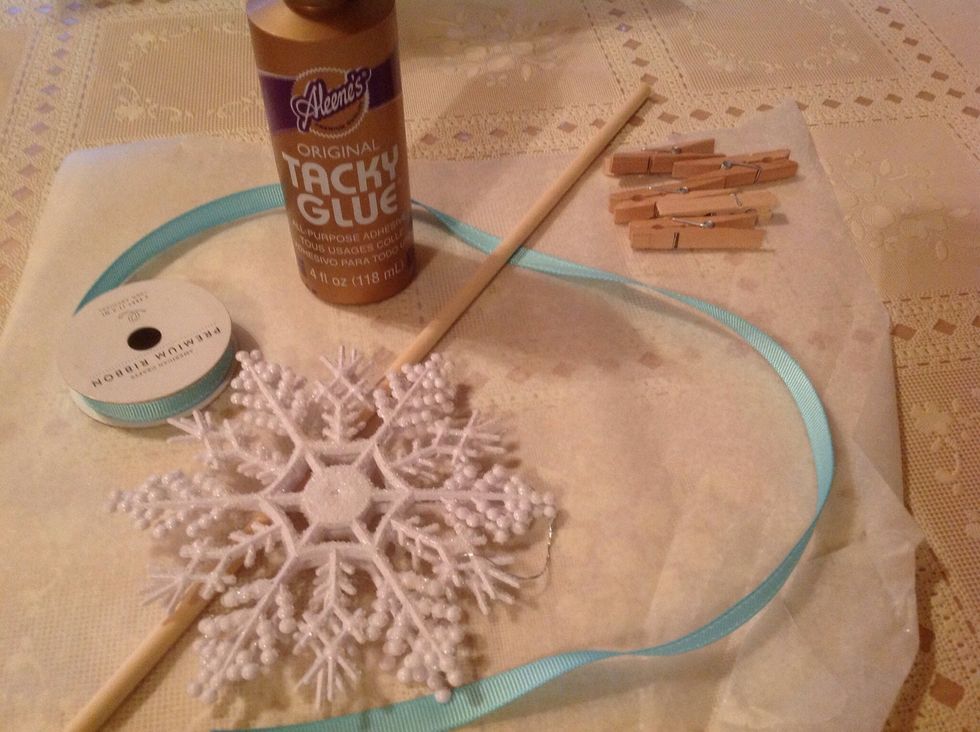
Gather supplies.
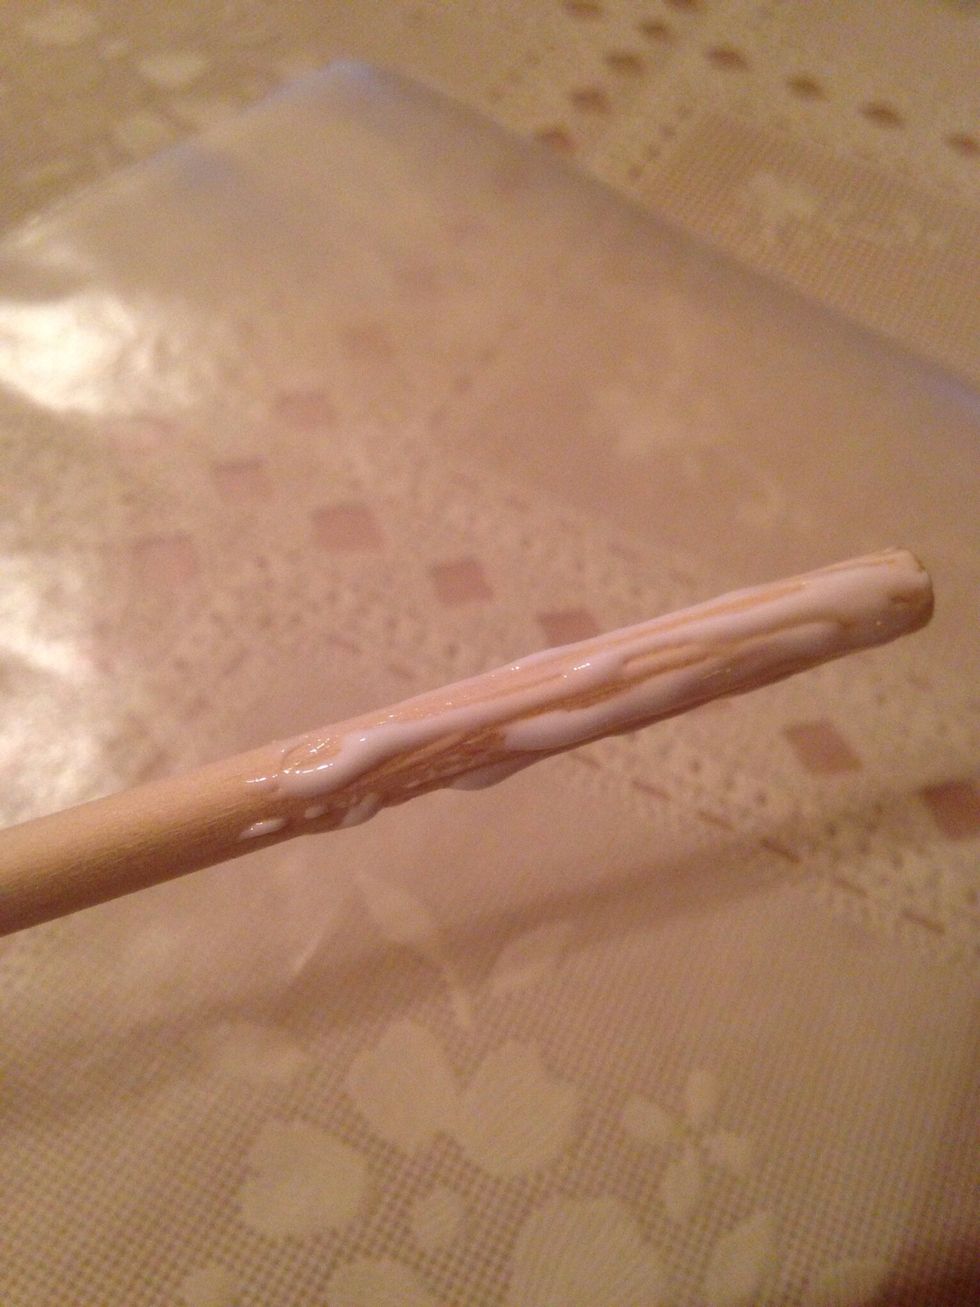
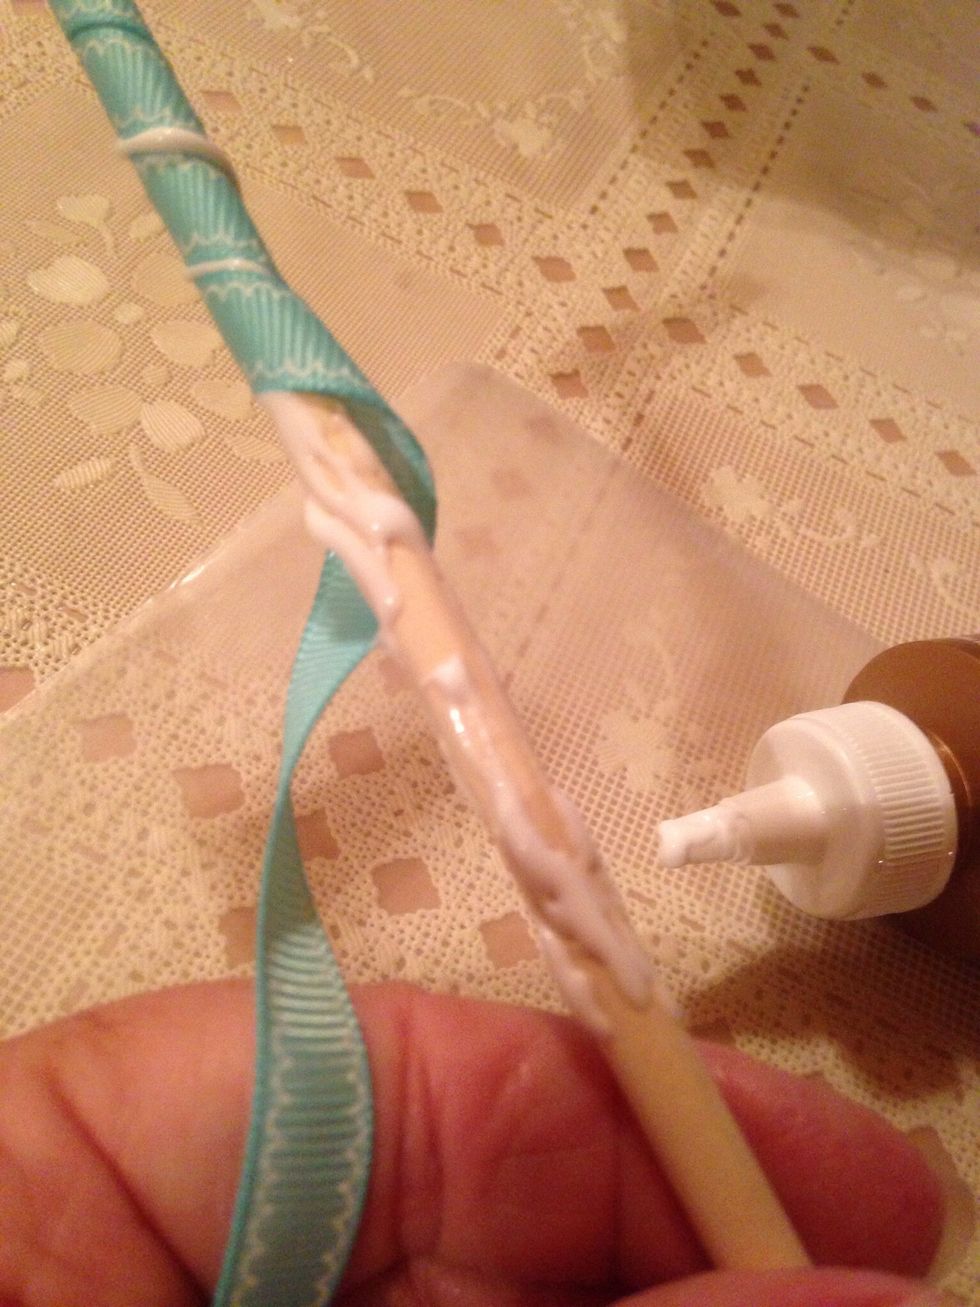
Cover end of dowel with tacky glue. Spread on all sides. It is a thicker glue, so it will not drip. Start off with about three to four inches.
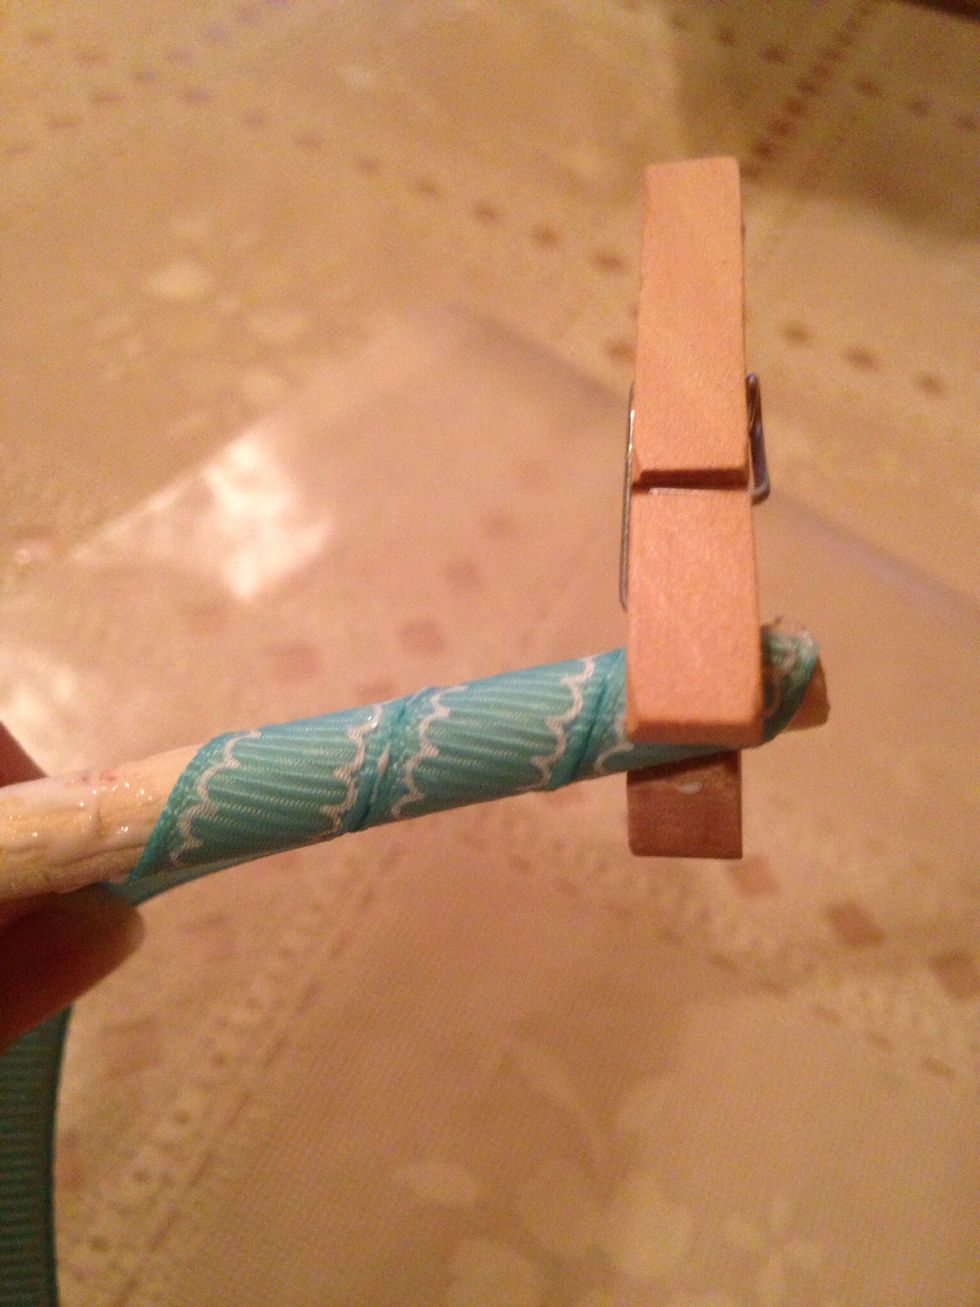
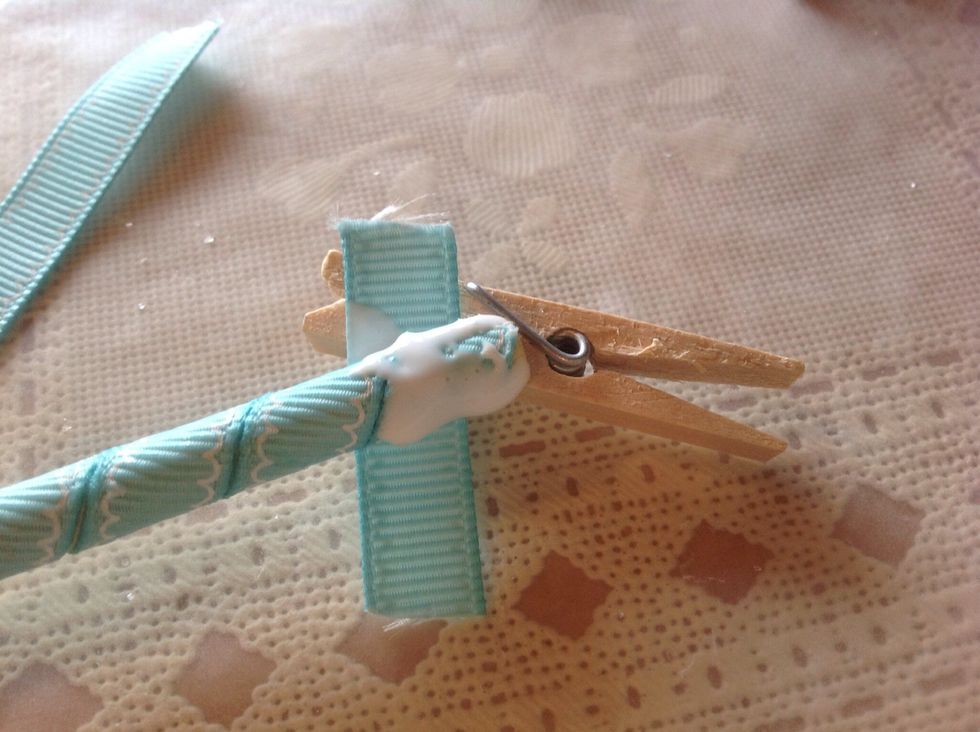
Attach end of ribbon to end of dowel, clip clothes pin on to keep ribbon in place until glue dries. Wrap ribbon tightly around the dowel, over the glue.
Keep ribbon tight as you wind ribbon over glue. Don't worry about glue that seeps up, you will spread that out later.
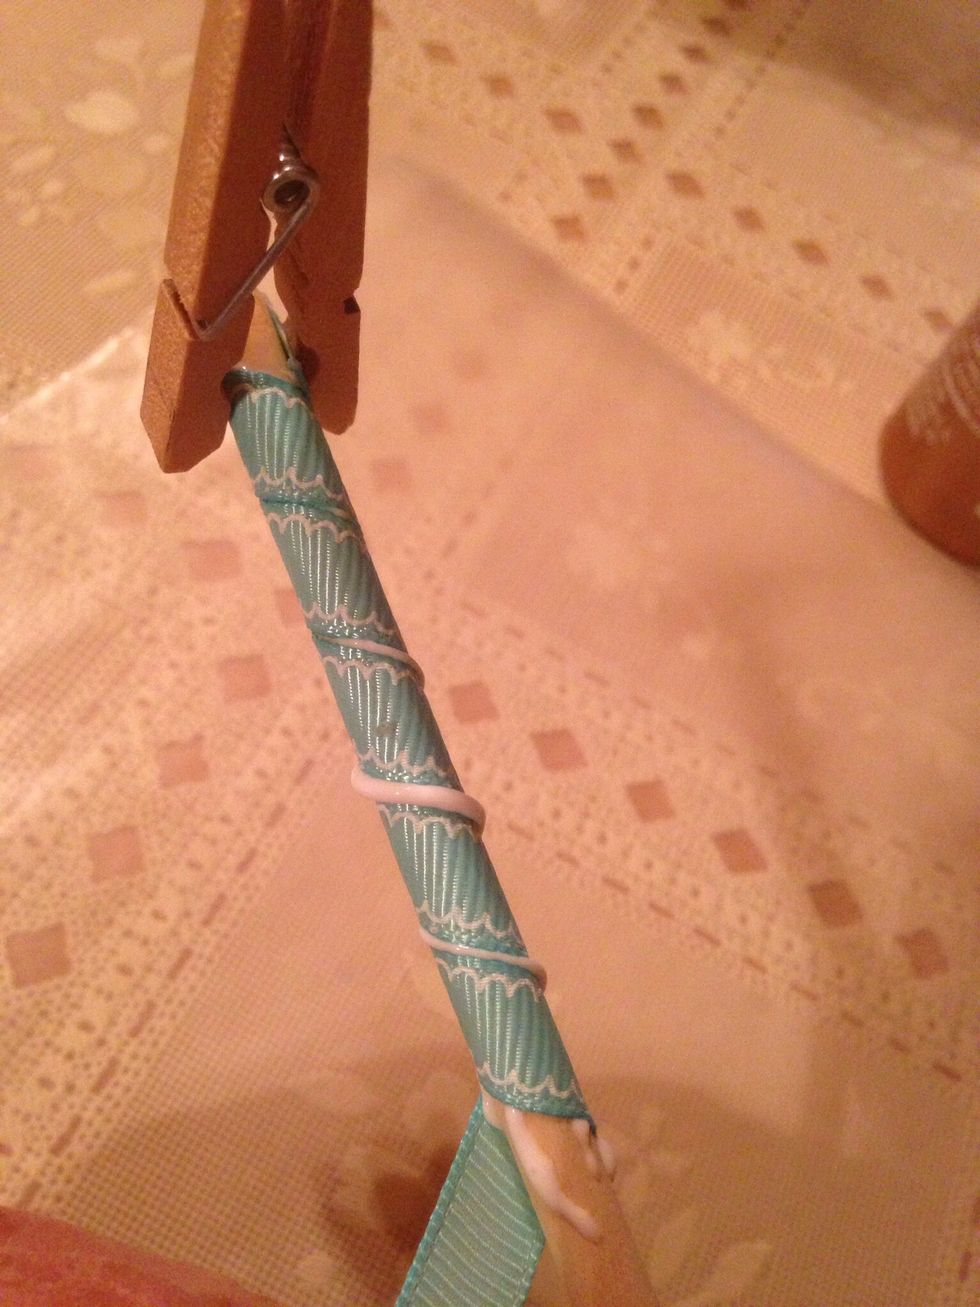
Continue to add glue and wrap ribbon until the dowel is covered.
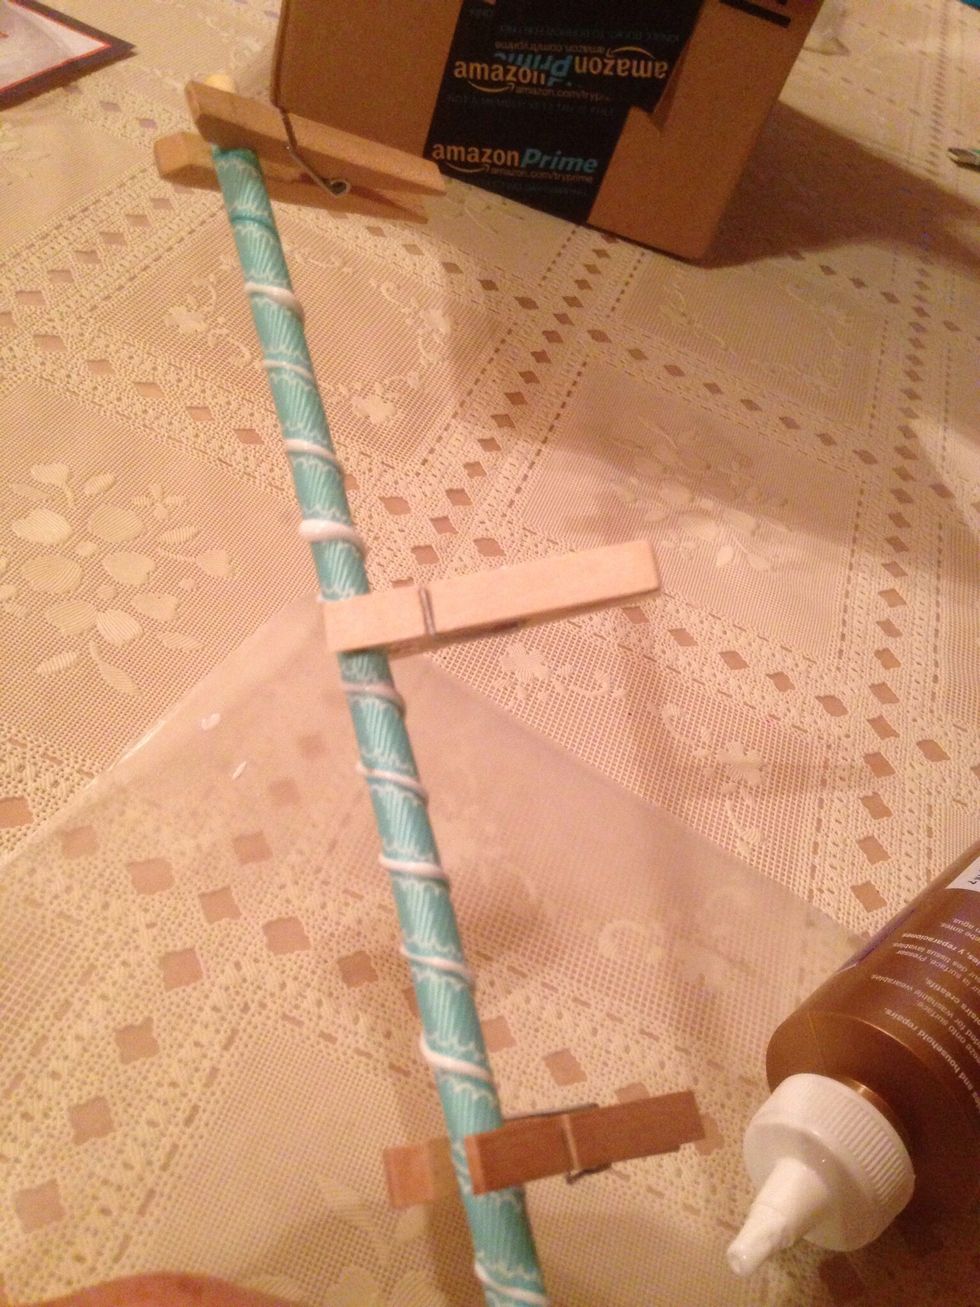
Use the clothes pins to clip about every three inches or so on the dowel. This will keep the ribbon in place as you wait for the glue to dry.
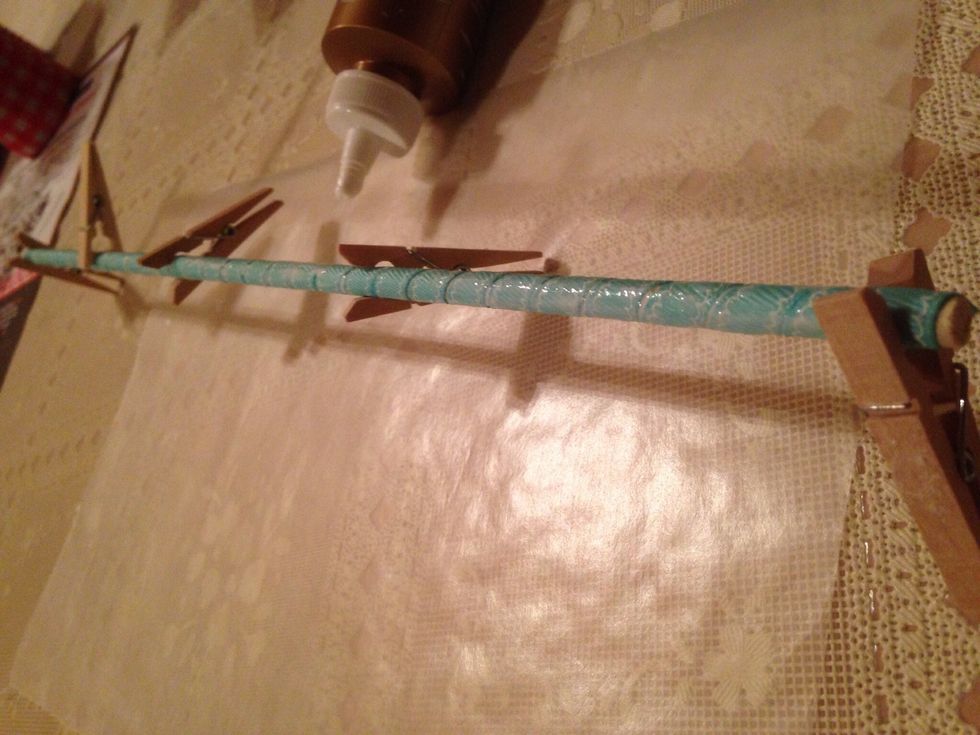
After dowel is covered with ribbon and clothes pins clipped, spread out any glue that has seeped out. Allow a few hours for glue to completely dry.
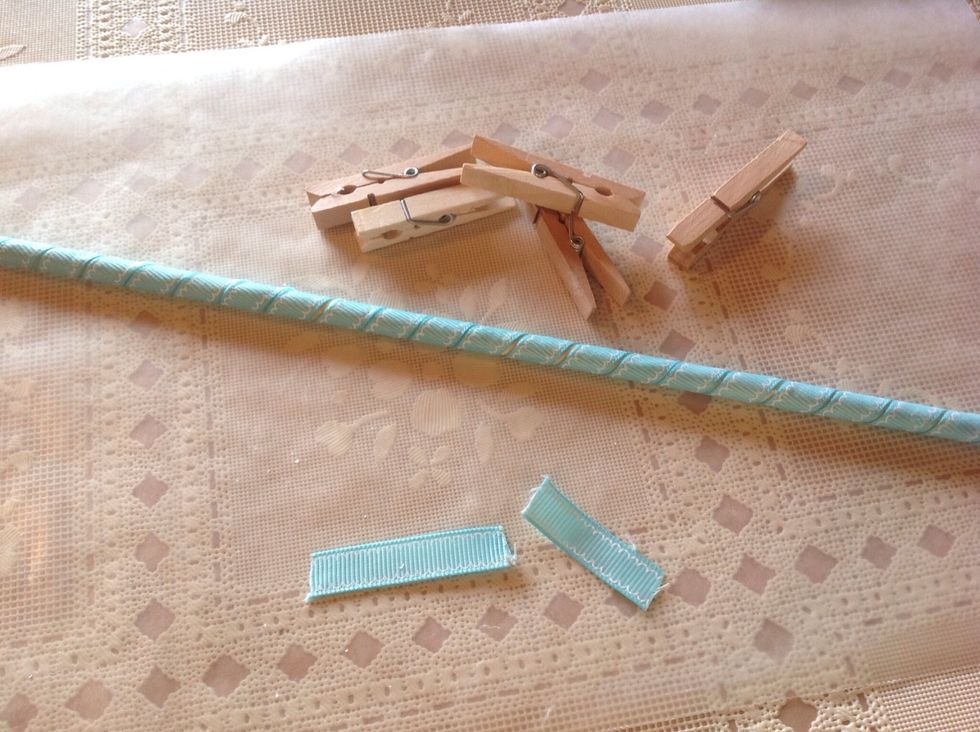
After glue is completely dry, remove clothes pins. Cut two pieces ribbon about 1 1/2 inches long. These will make a finished cover for both ends of dowel.
Glue 1 1/2 inch piece of ribbon on end, wrapping tightly.
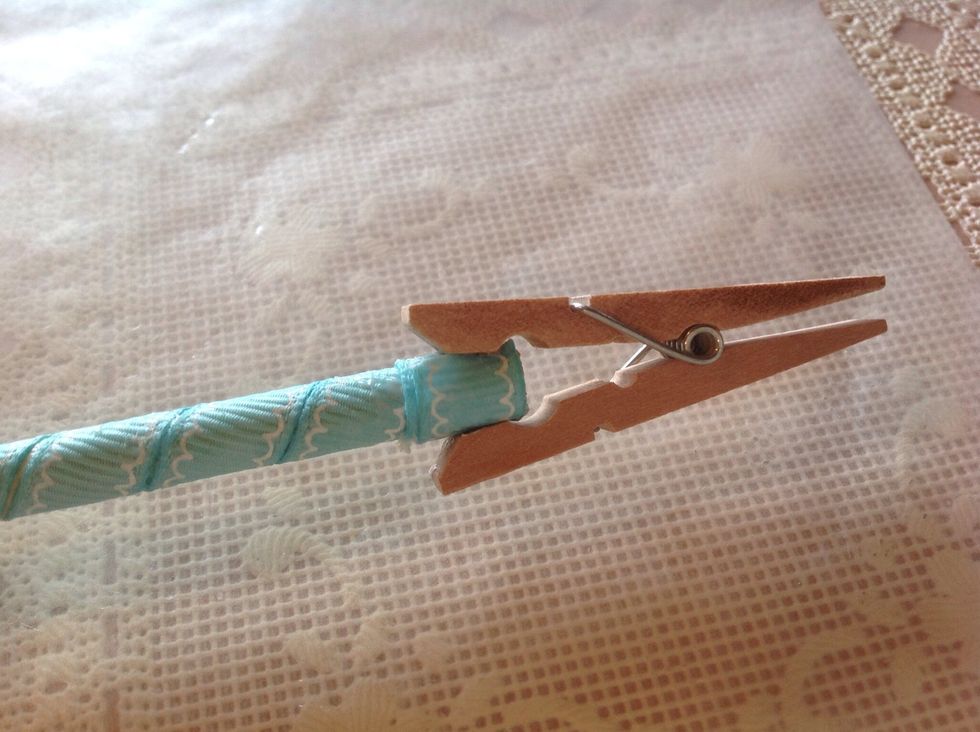
Use clothes pin to hold until dry. Do this on both ends of dowel.
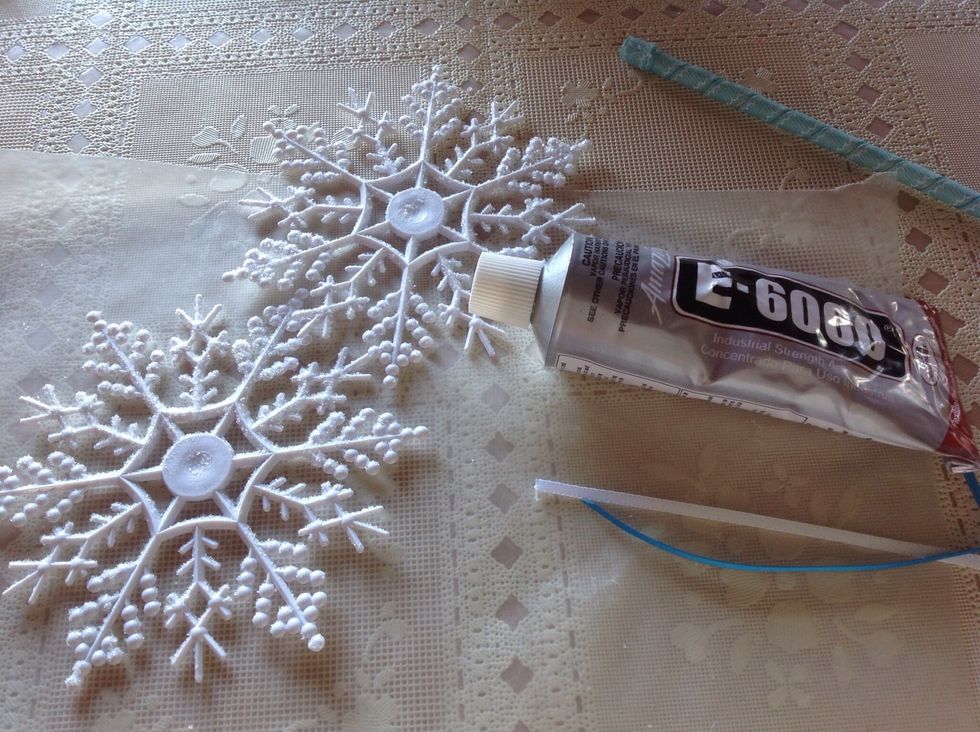
While ribbon is drying, gather remaining supplies.
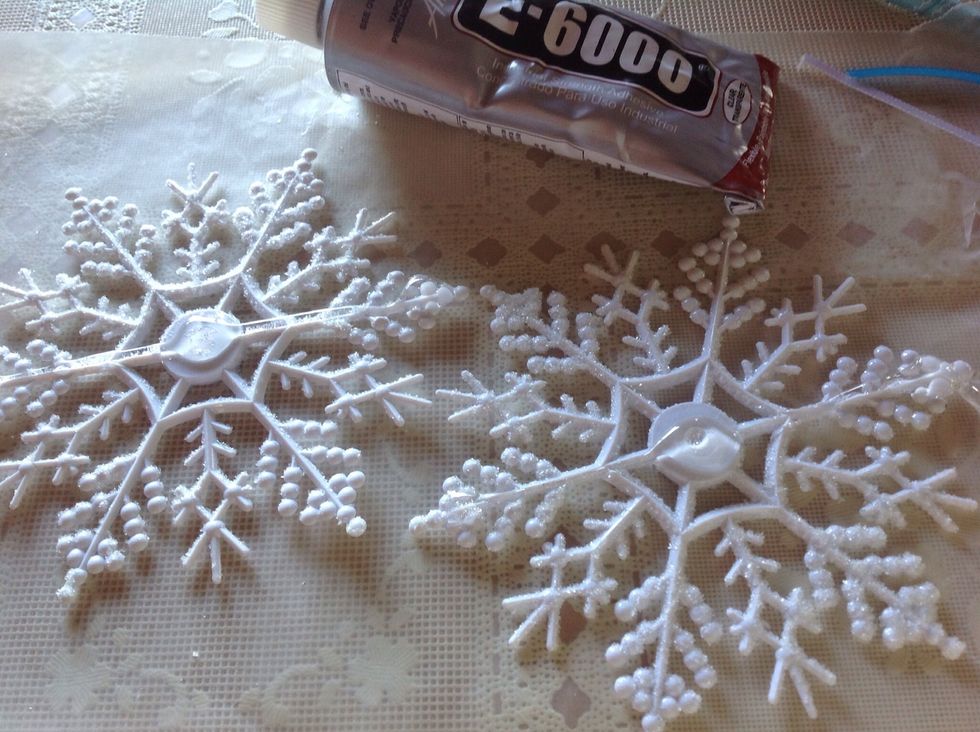
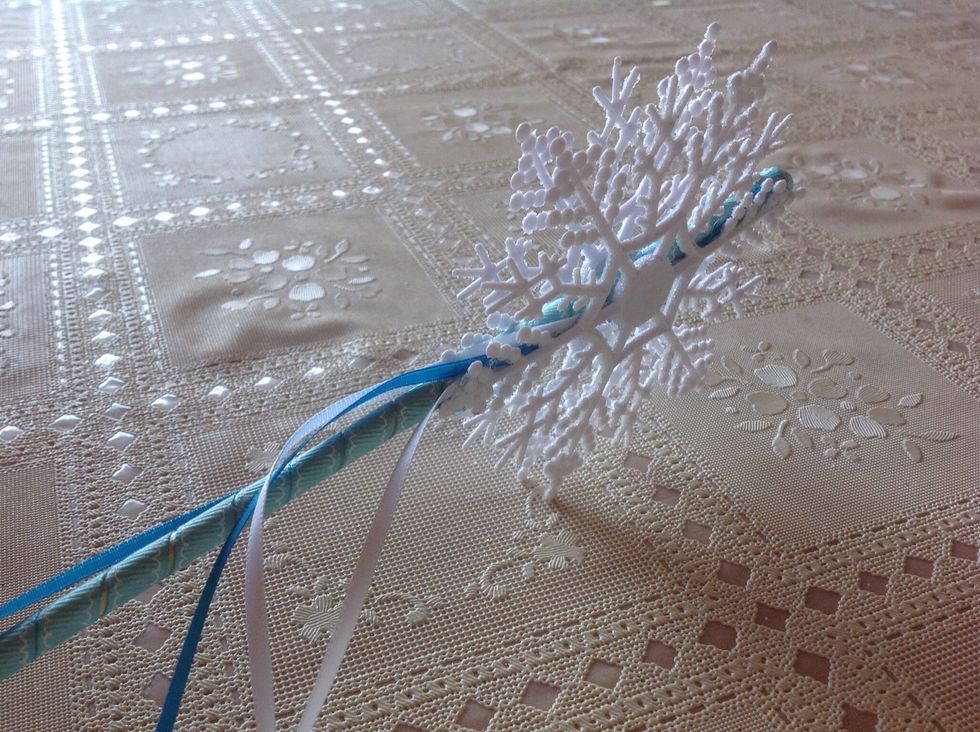
Put a line of E600 down the middle of both snowflakes, from one end to the opposite.
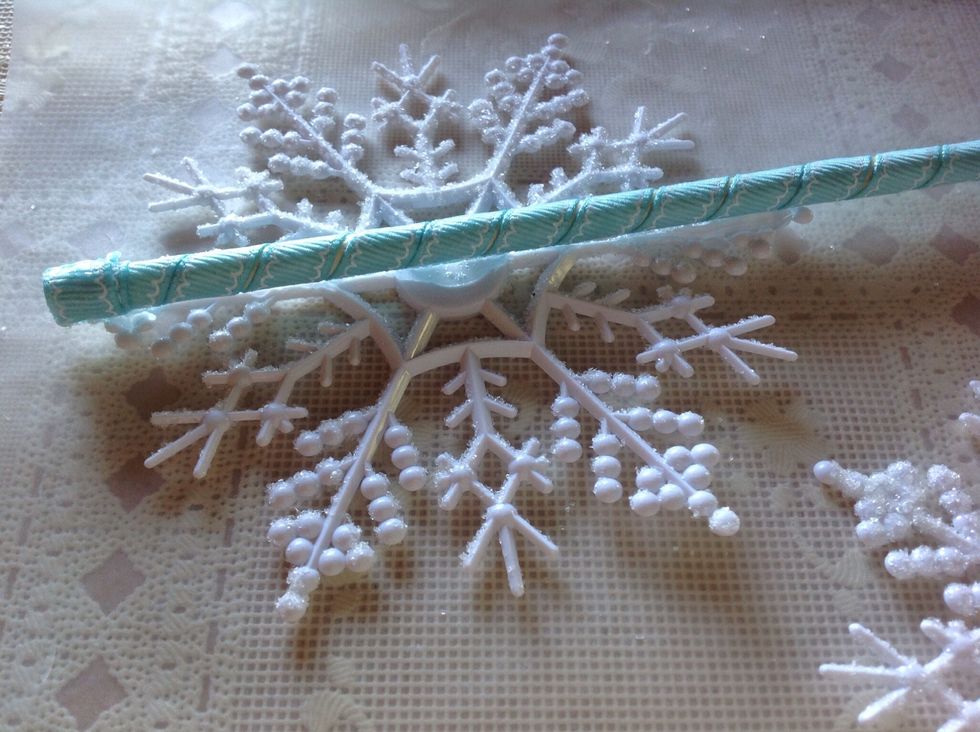
Set dowel over the line of glue.
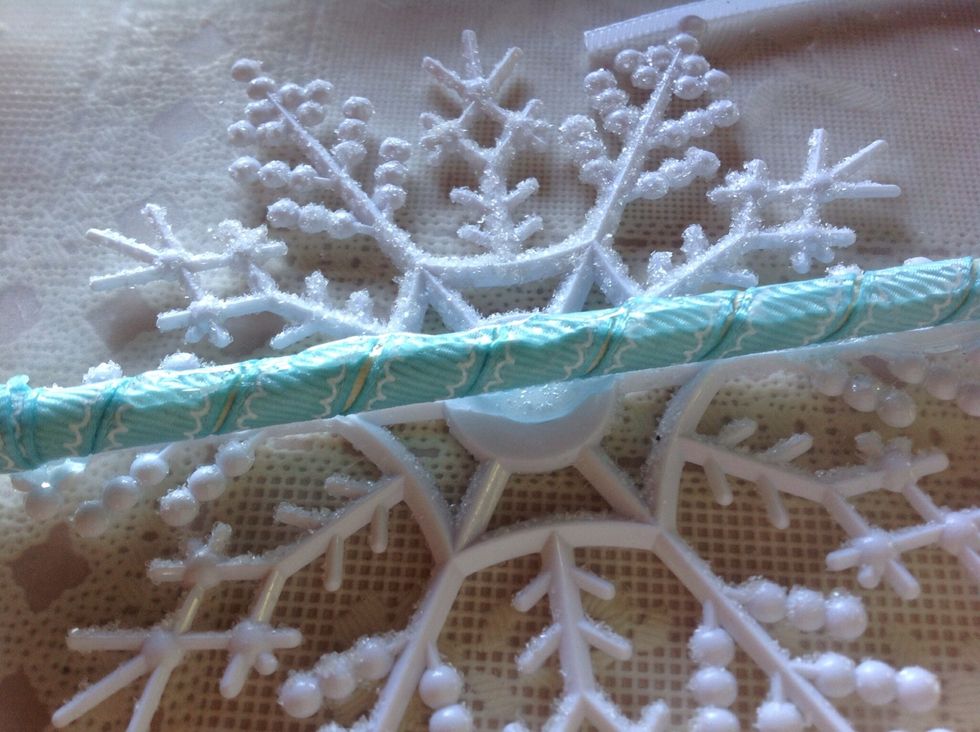
Add a thin line of glue over top of dowel.
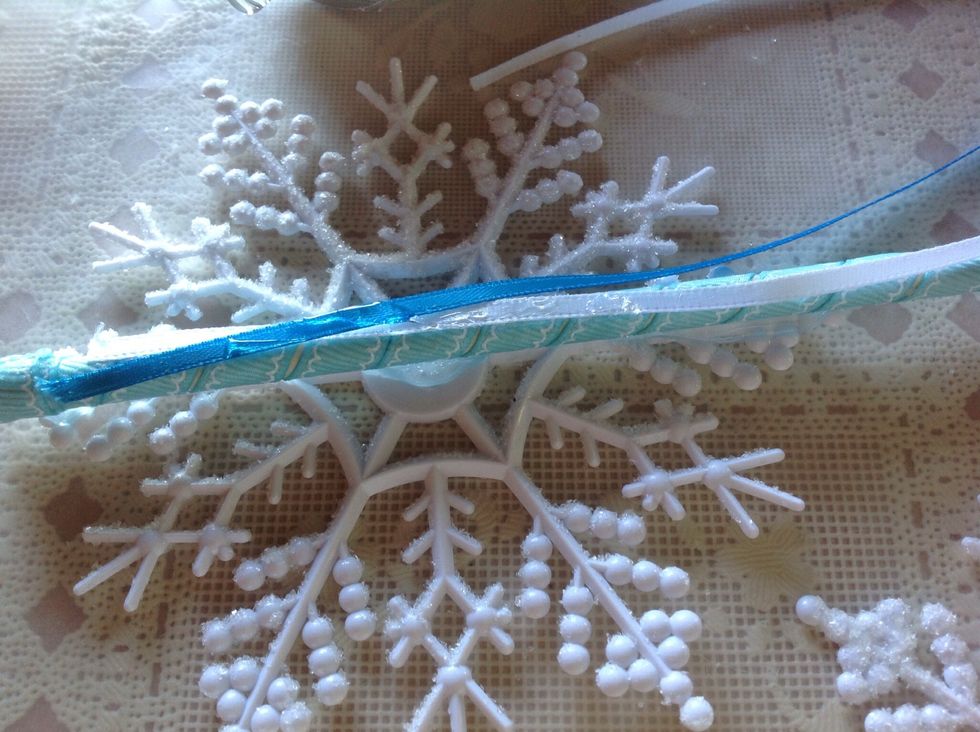
Add thin embellishment ribbons.
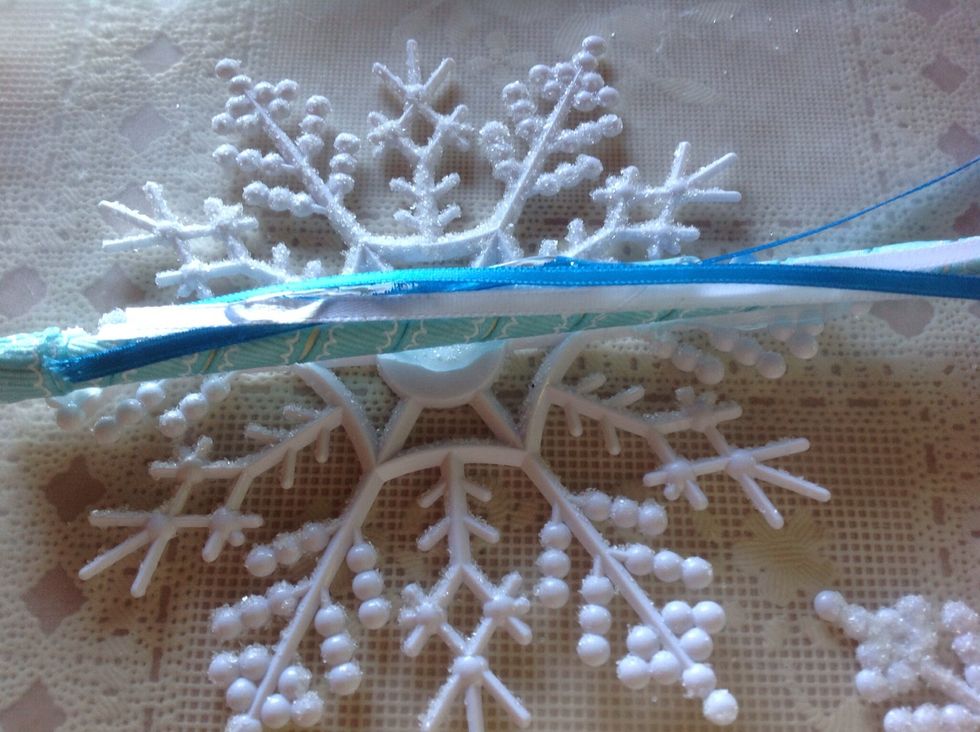
Add glue as needed.
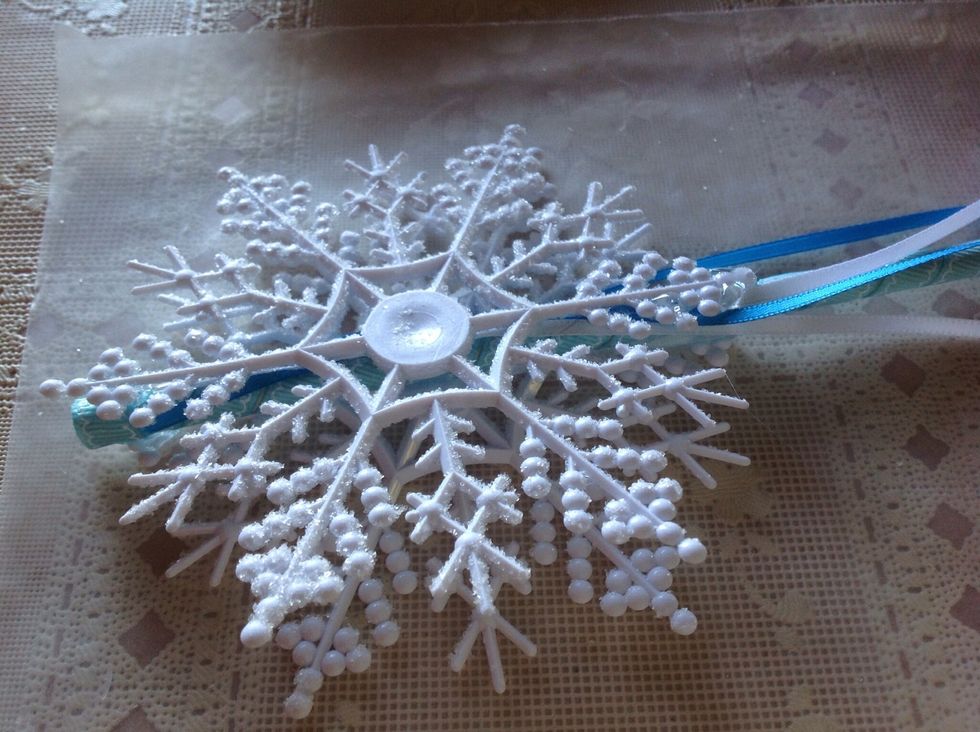
Add second snowflake on top of dowel and ribbon, lining up straight.
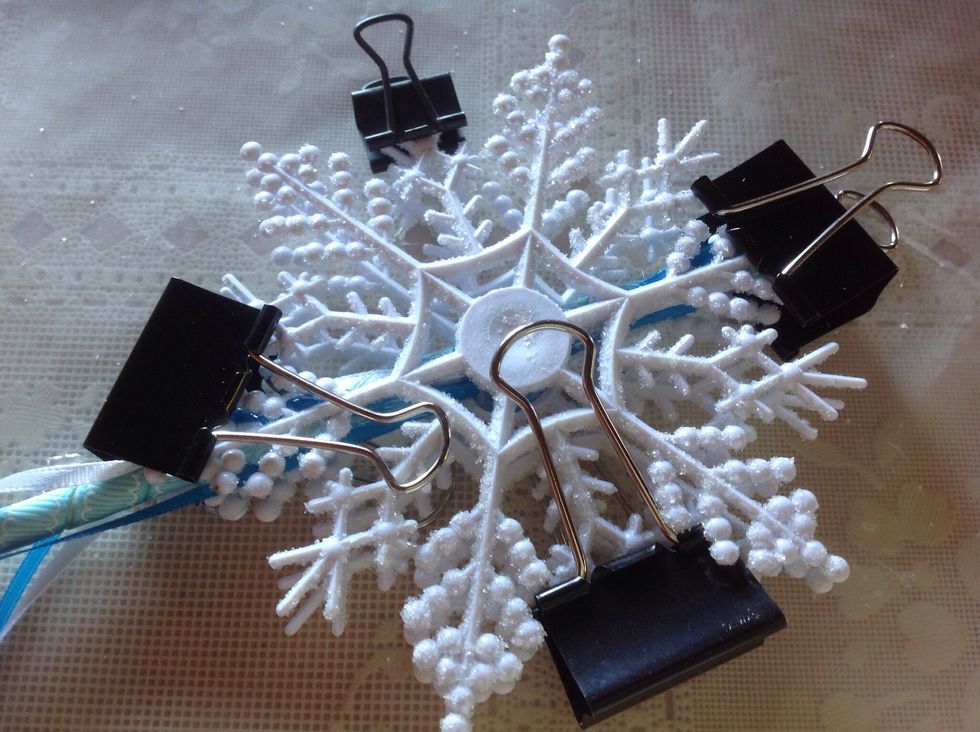
Use binder clips to hold snowflakes together. Give this a few hours to completely dry.
After glue is completely dry, remove binder clips. So pretty...
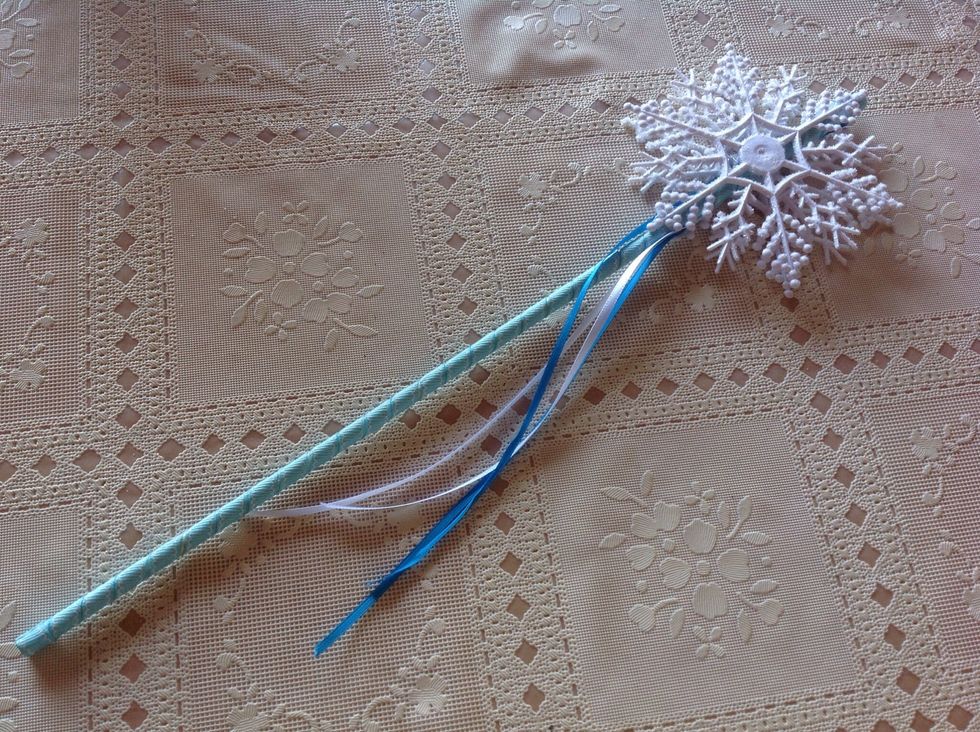
Ready for a Snow Princess!