The Conversation (0)
Sign Up
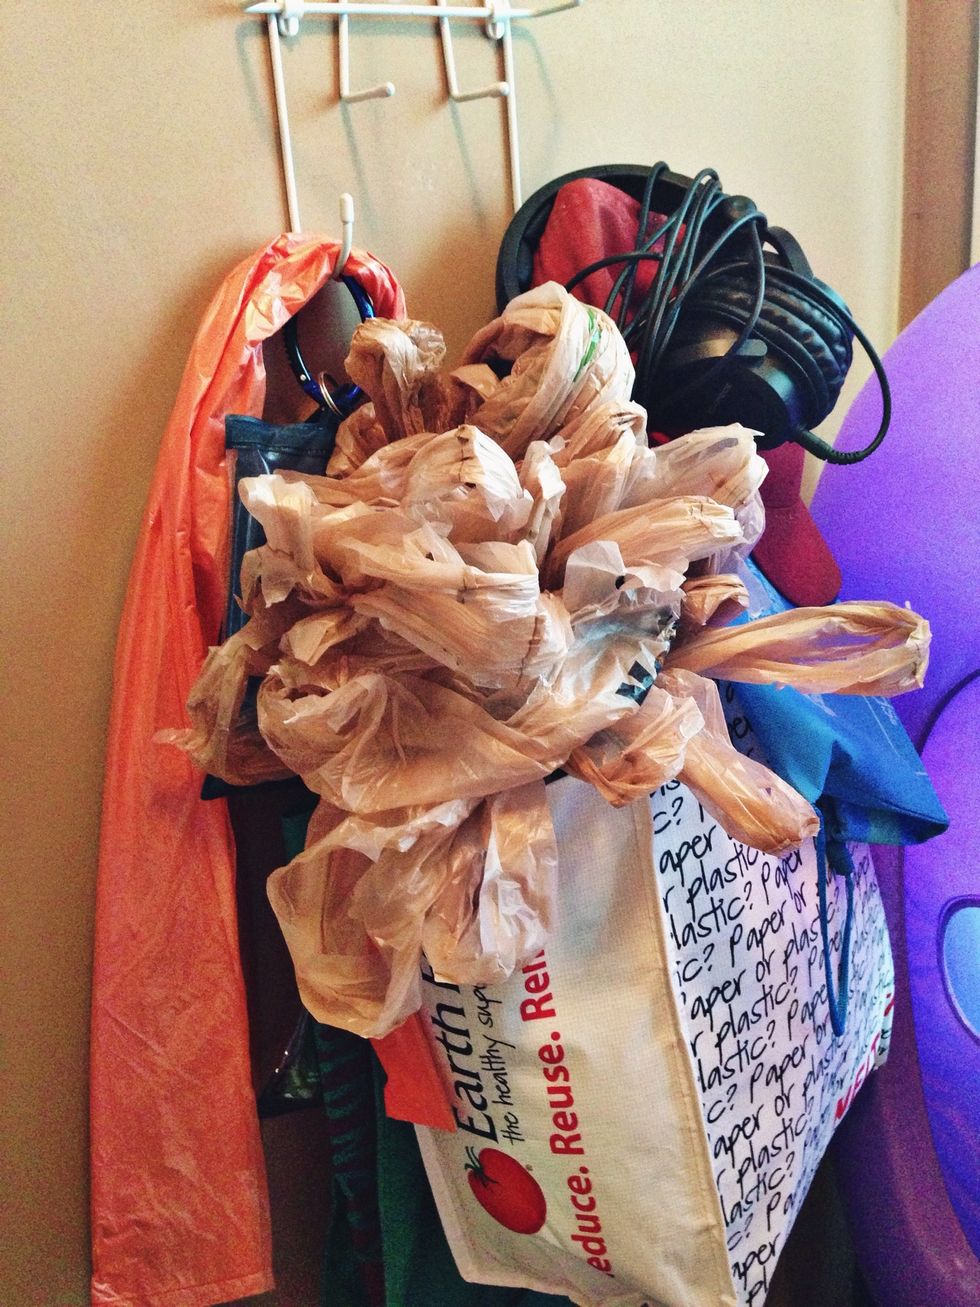
Yeah, it's about time to get this under control!
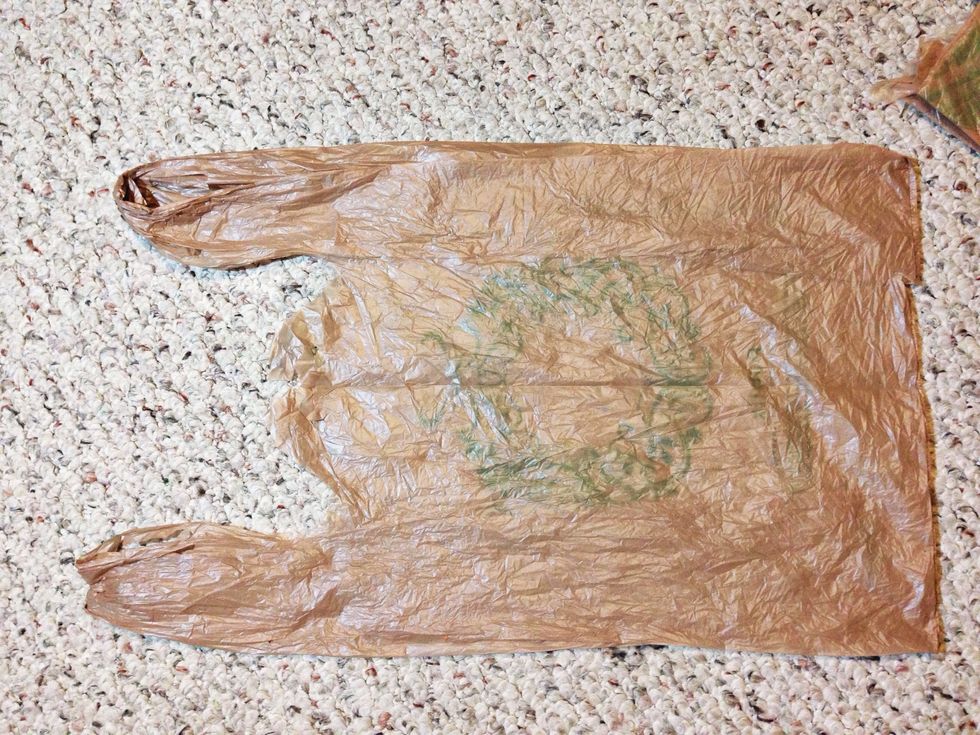
Start by folding your bags. Lay out flat and smooth as much air out as possible by rubbing from the bottom of the bag upwards.
Fold in half lengthwise and again remove air.

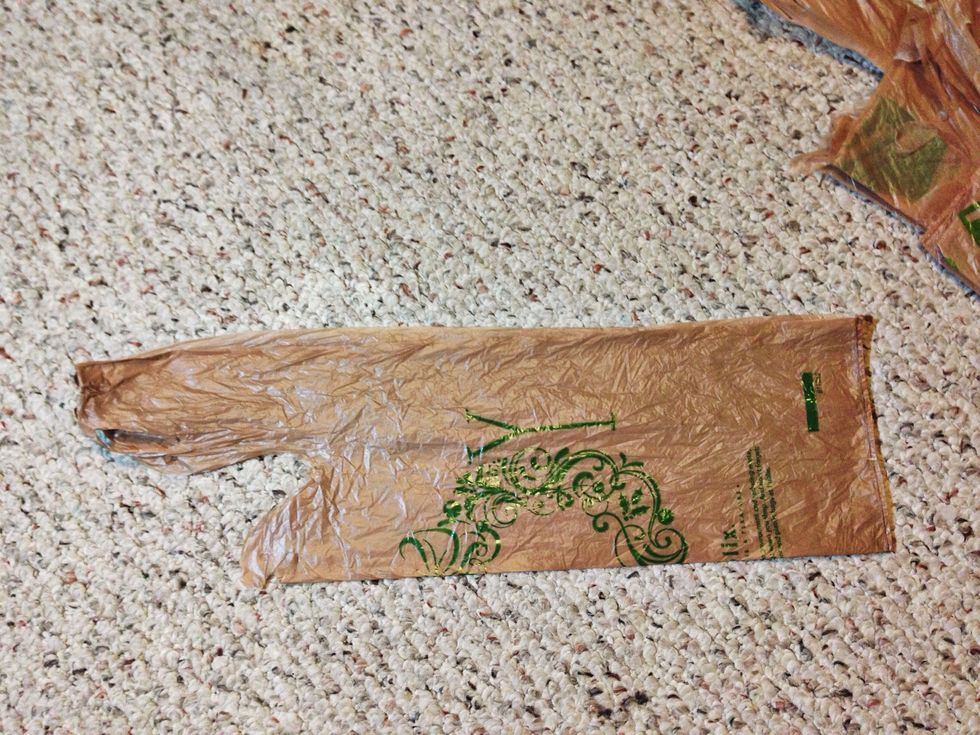
Next fold the bottom up to line up with the opening of the bag and again one more time to keep the bag small.

Line up your bags with the handle of the next bag overlaid onto the previous one.
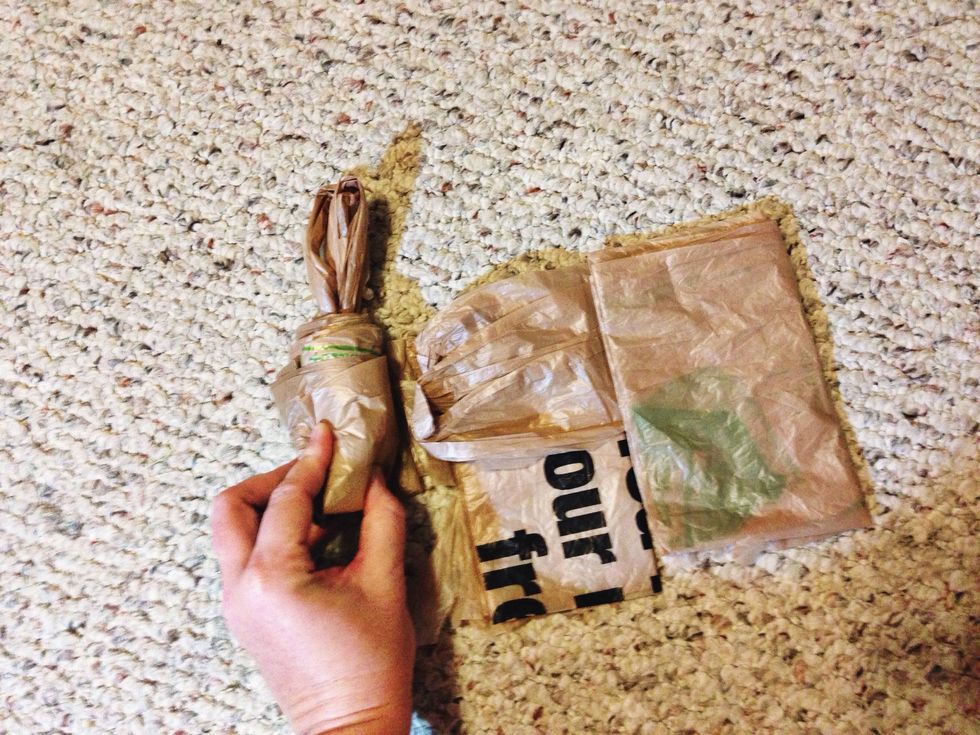
Begin by folding up the handle of the first bag and rolling down the line of bags.
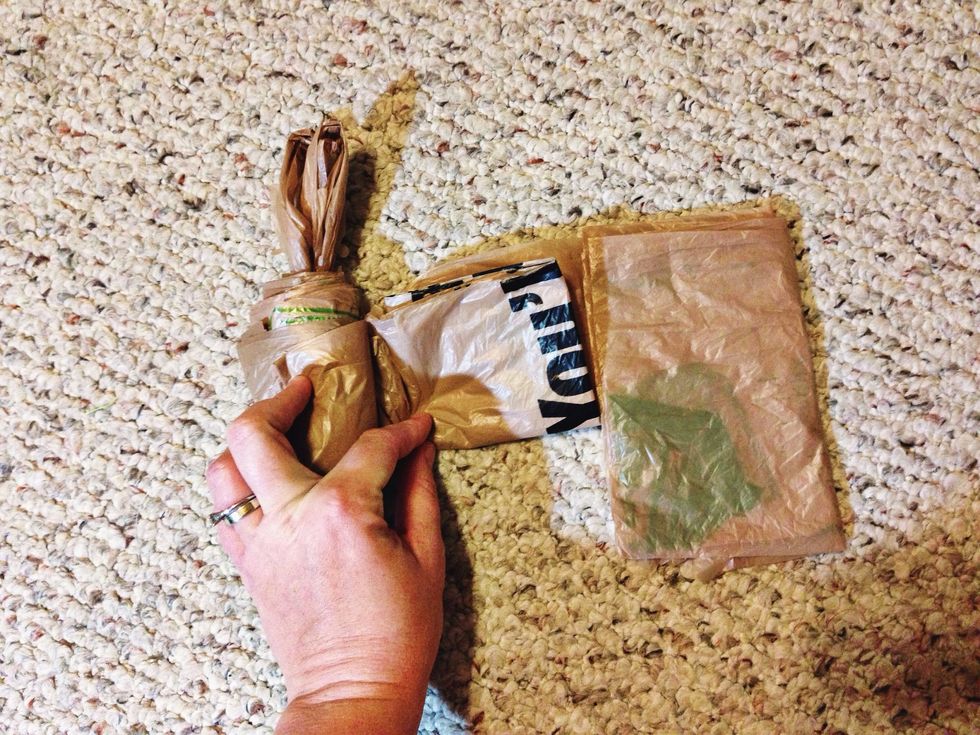
You will make one final fold to each bag as you get to it by folding it up and over the handle of the next bag.
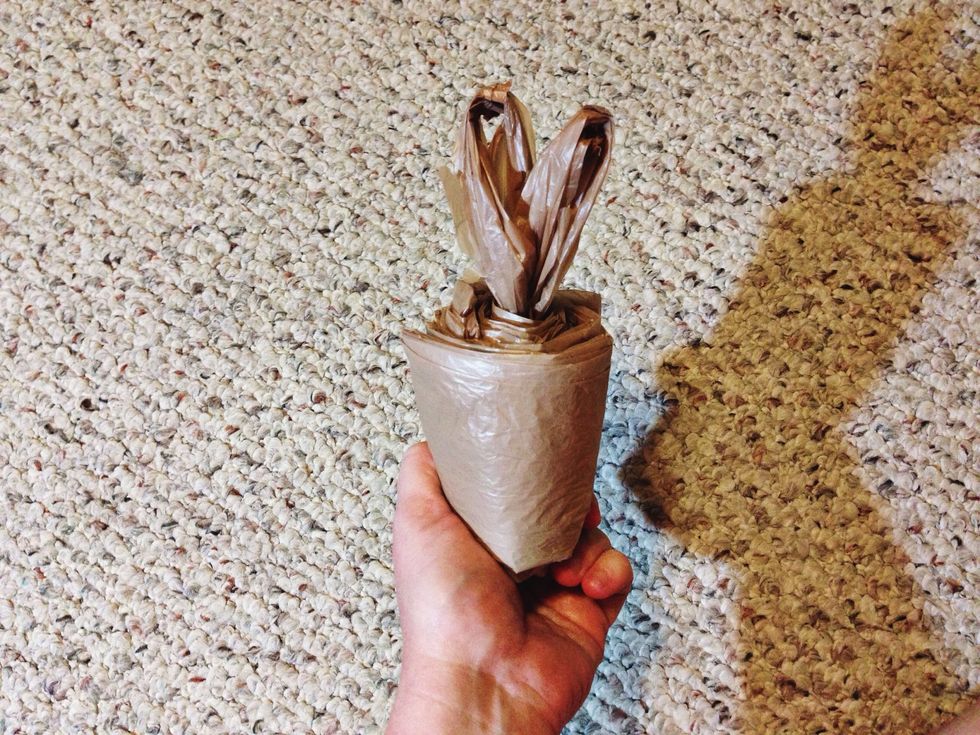
Roll til you're done and put a rubber band around it to hold it together until you've got your tote ready!
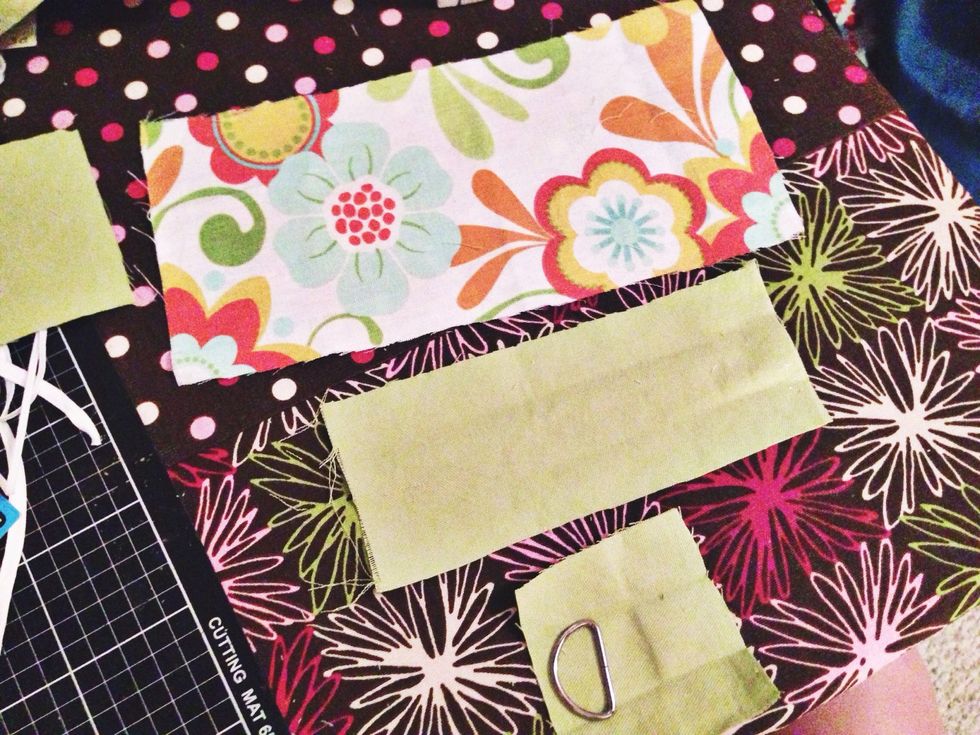
Cut your fabric: perfect for using up old scraps!! Main fabric: 1 rectangle 11.5"x5.5" Accent fabric: 1 rectangle 11.5"x4", 1 rectangle 8"x3", & 1 square 3"x3"
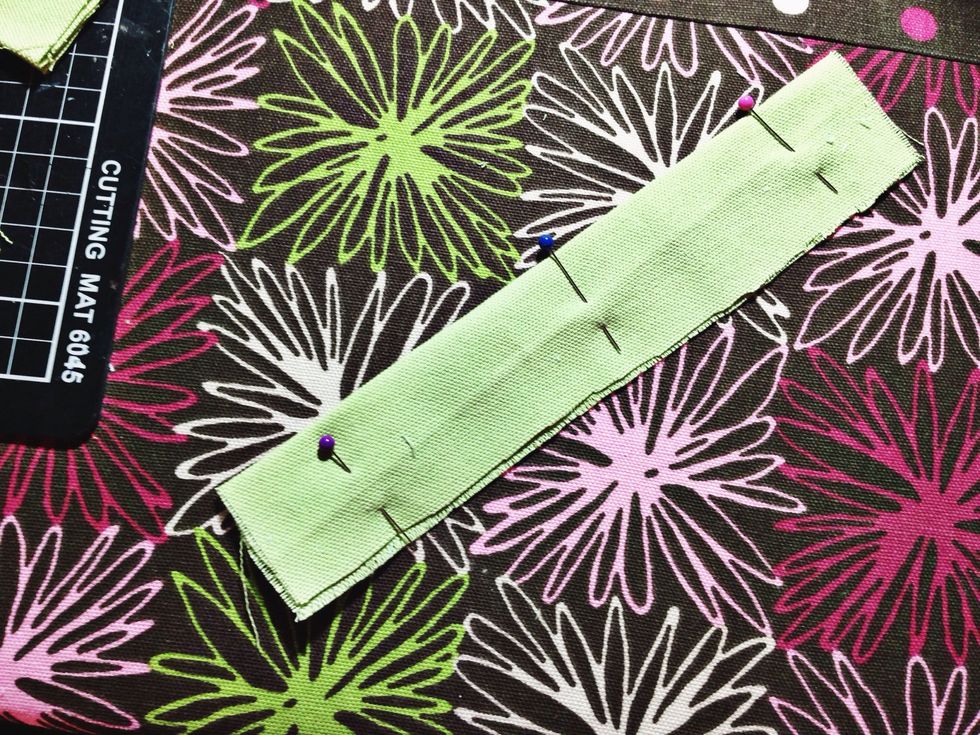
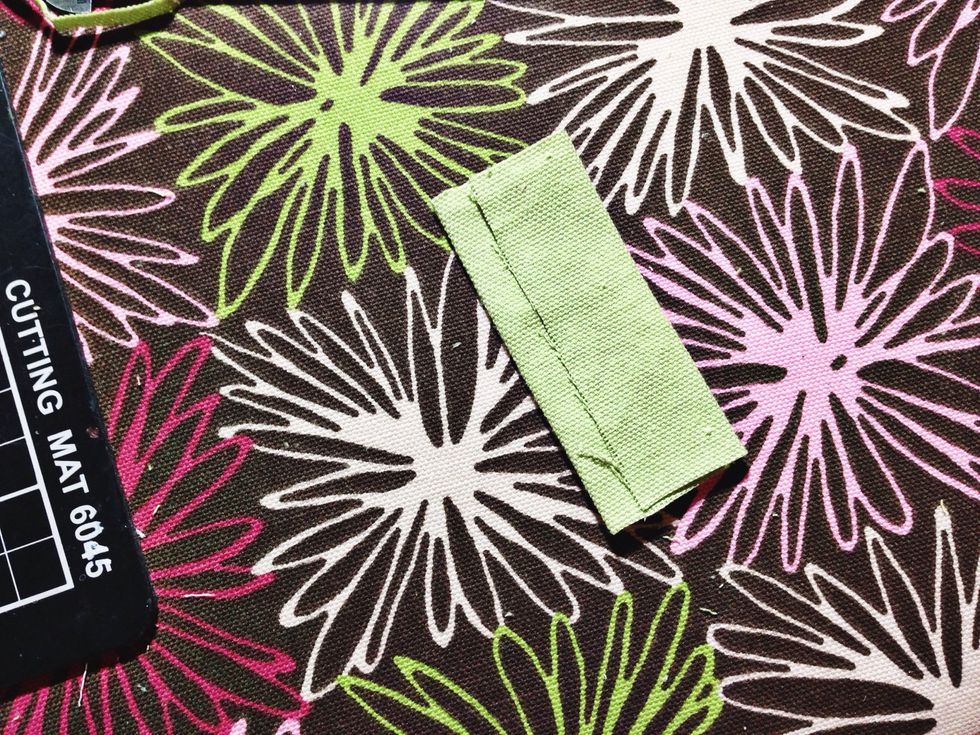
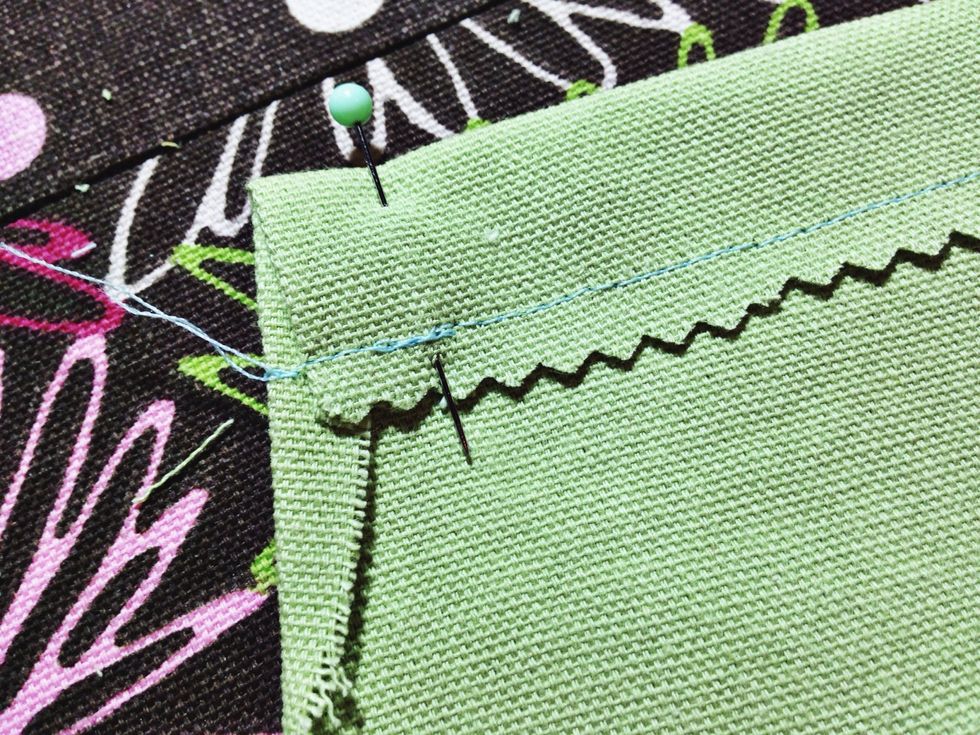
Fold over 8x3 rectangle with wrong sides out. Pin and sew. Serge or zig-zag stitch the edge.

Fold the 3x3 into a third.
And then fold again another third. Insert d-ring, fold entire piece lengthwise and sew together at end. Basically, make this whatever width your ring is :)

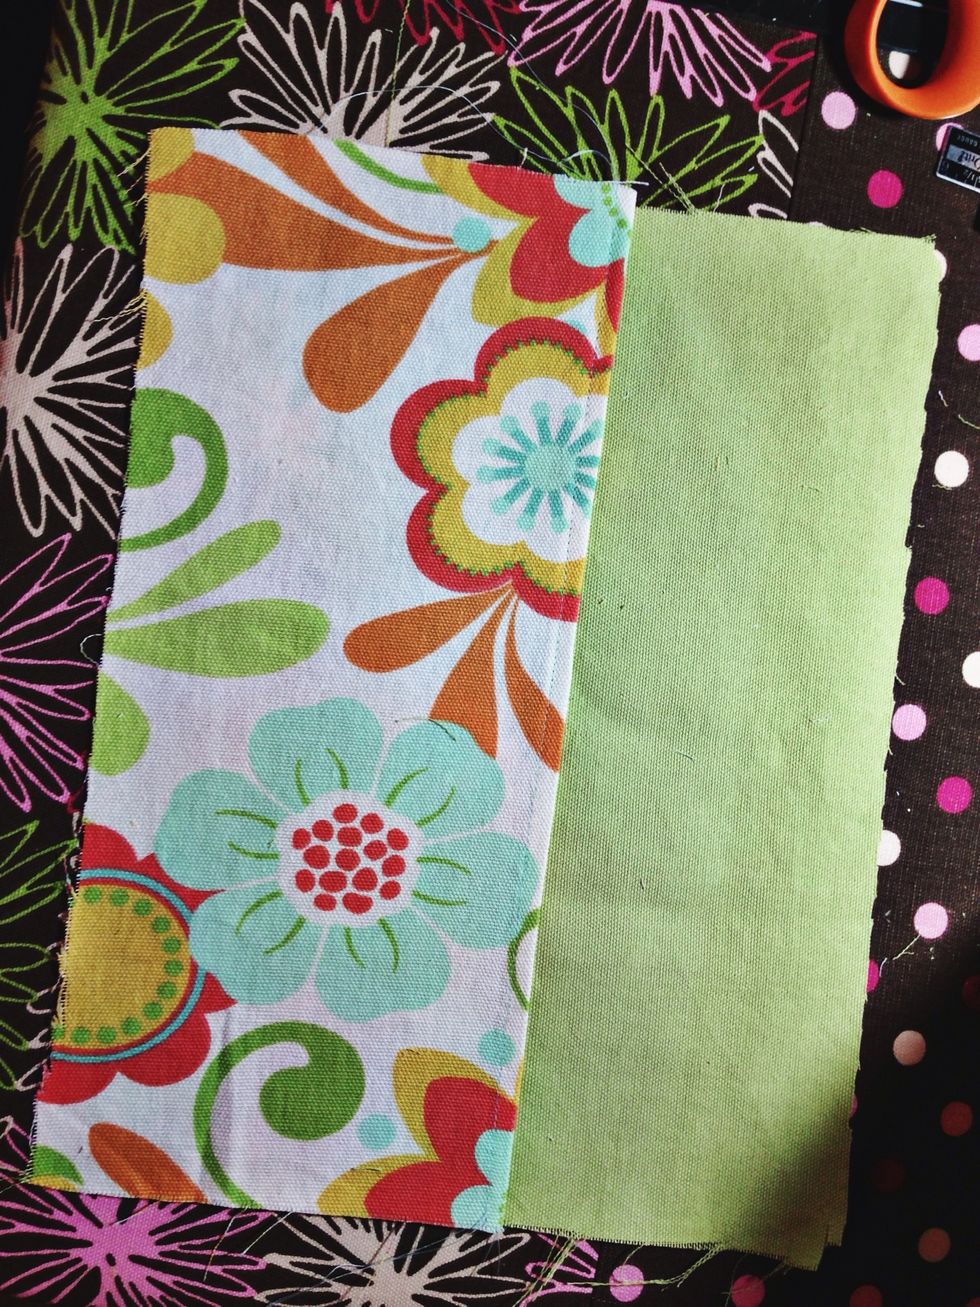
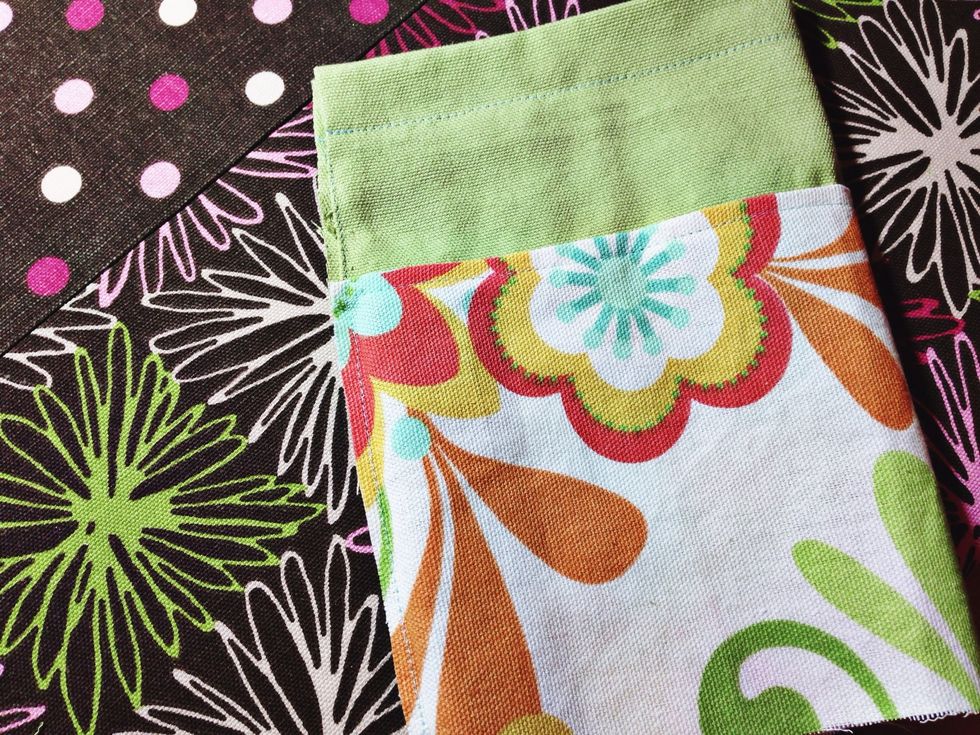
Sew largest two rectangles together by placing wrong sides out and pinning. Sew together.
Iron the seam

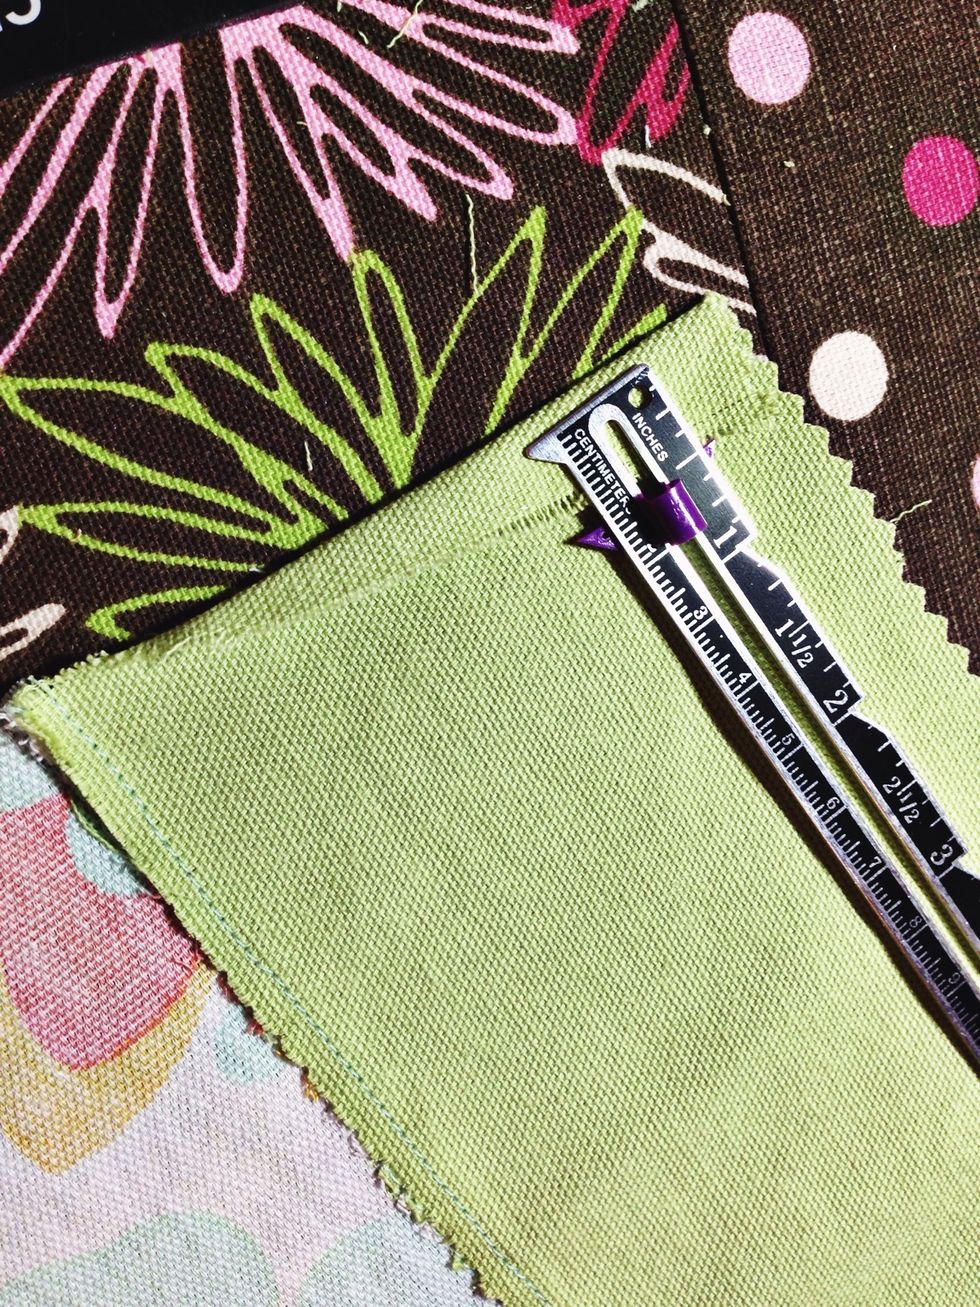
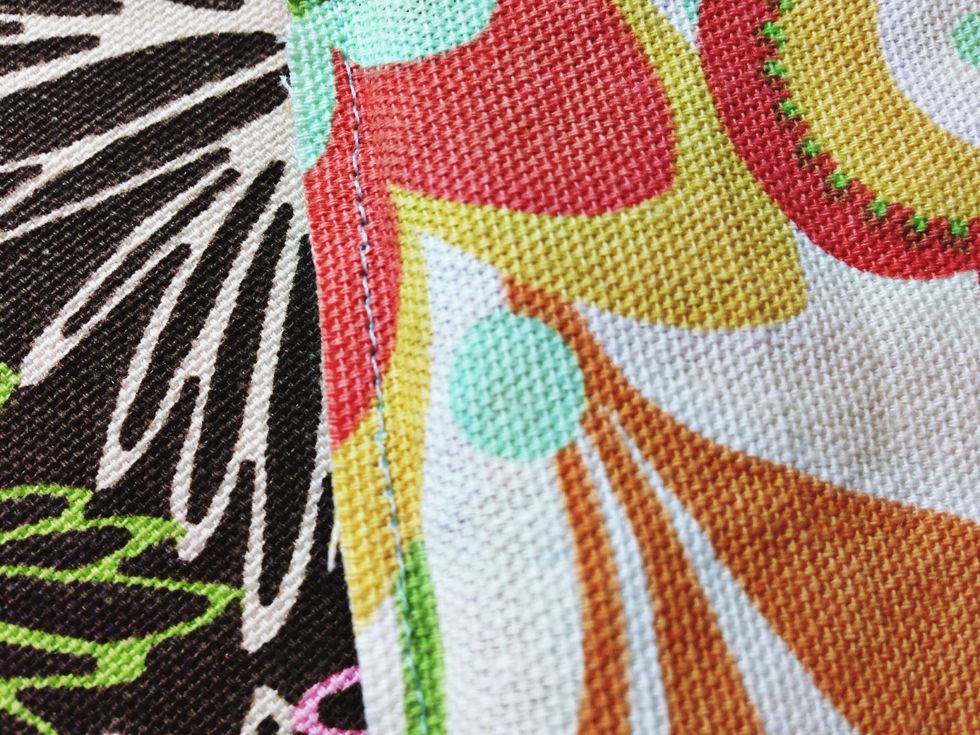
And top-stitch the outside for a clean look and to help secure the seam down into place.
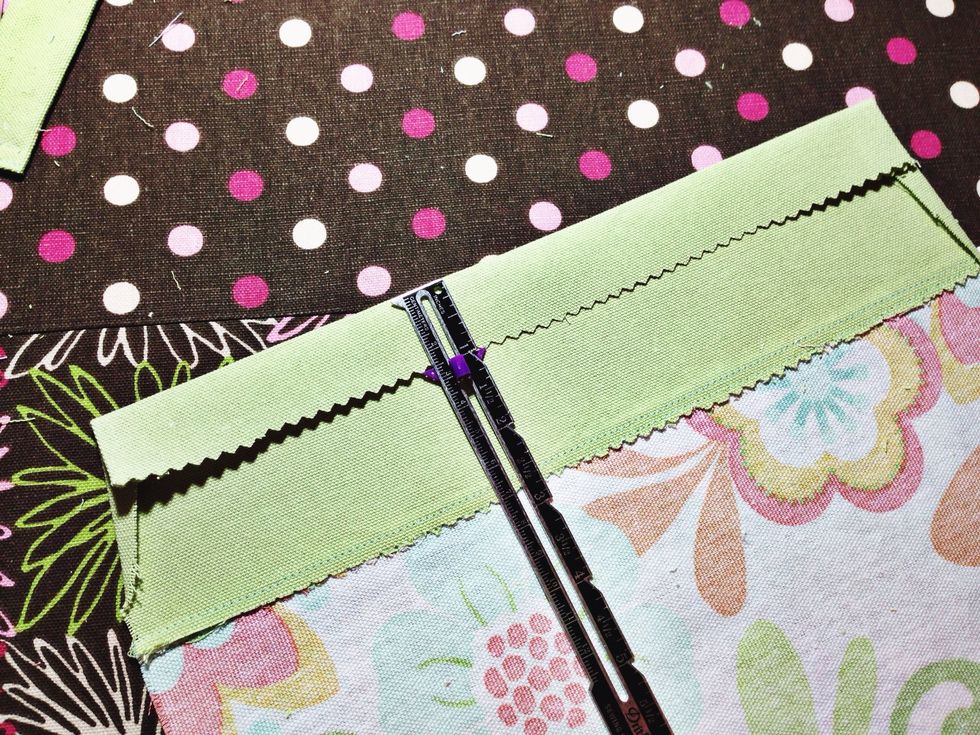
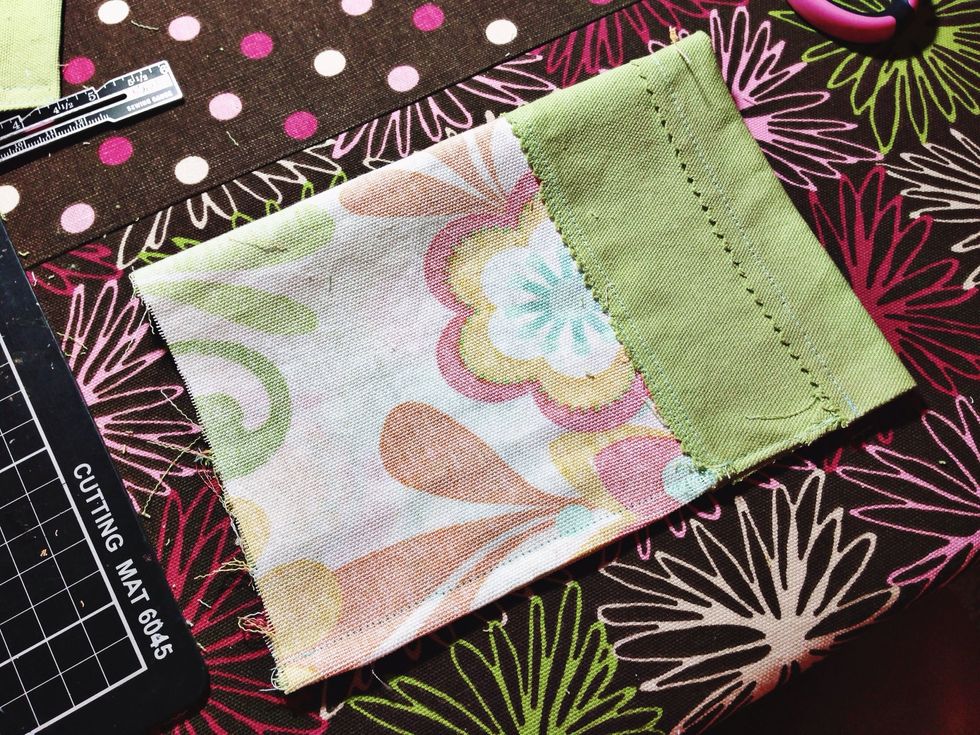
I used pinking shears to cut my edge instead of serging it, but you can do what you usually do. Fold the accent fabric's end in at an angle. About a half inch in is just fine. Fold on both ends!!
Then fold the entire edge down an inch to form your drawstring casing. Pin and sew
Detail of sewn edge end with finished casing opening. Definitely back stitch around the case opening to reinforce it.
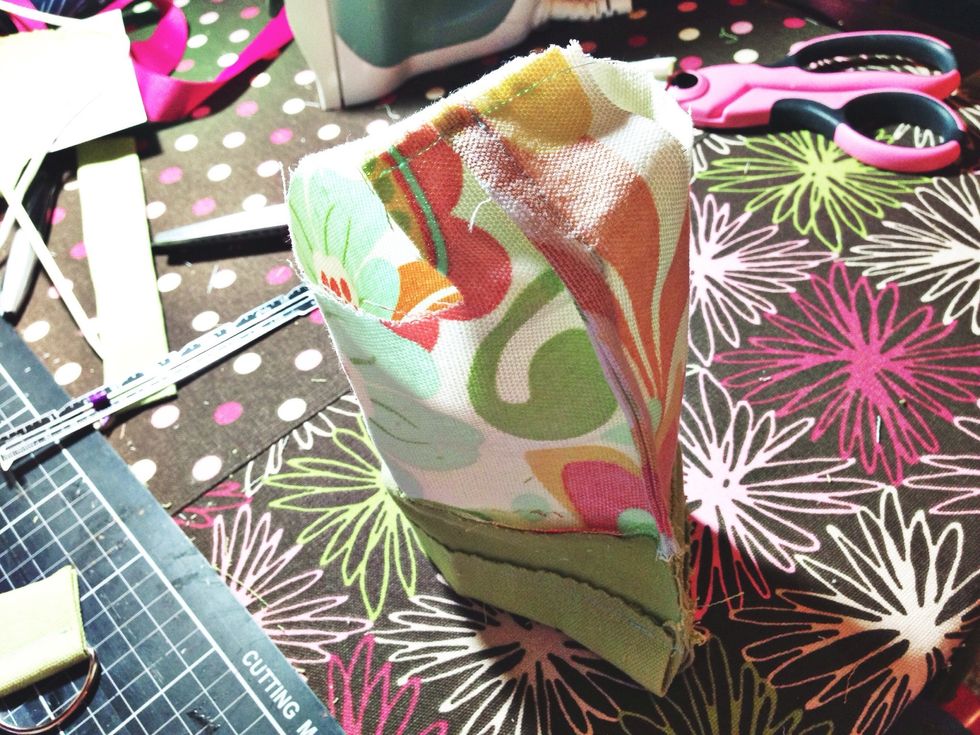
Next, fold over the entire piece right side out. Pin and sew a 3/8" seam.
Yep!! Right sides out first!!
Then turn it inside out and sew a 5/8" seam. Remember to start just below where your casing openings are. Be careful and don't sew your casing opening closed!!

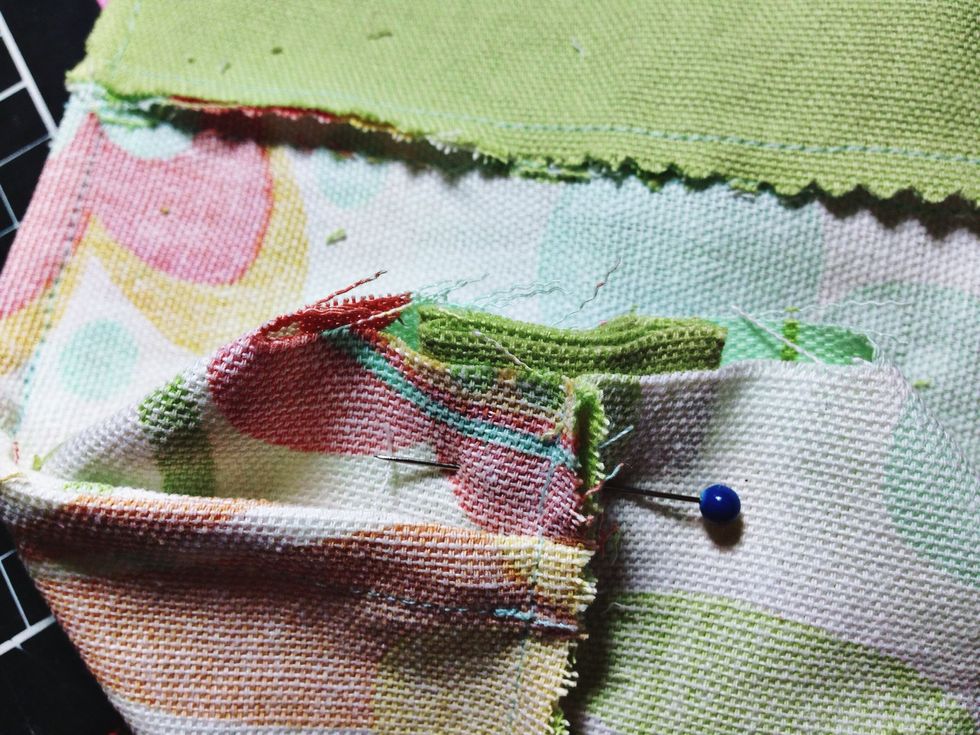
Now, lay your bag flat and position the seam in the middle. Measure and cut 1.5" squares on both sides of the bottom.

Now, you should have something like this. Pin and sew the very bottom portion being sure to lay the side seam flat as you sew.
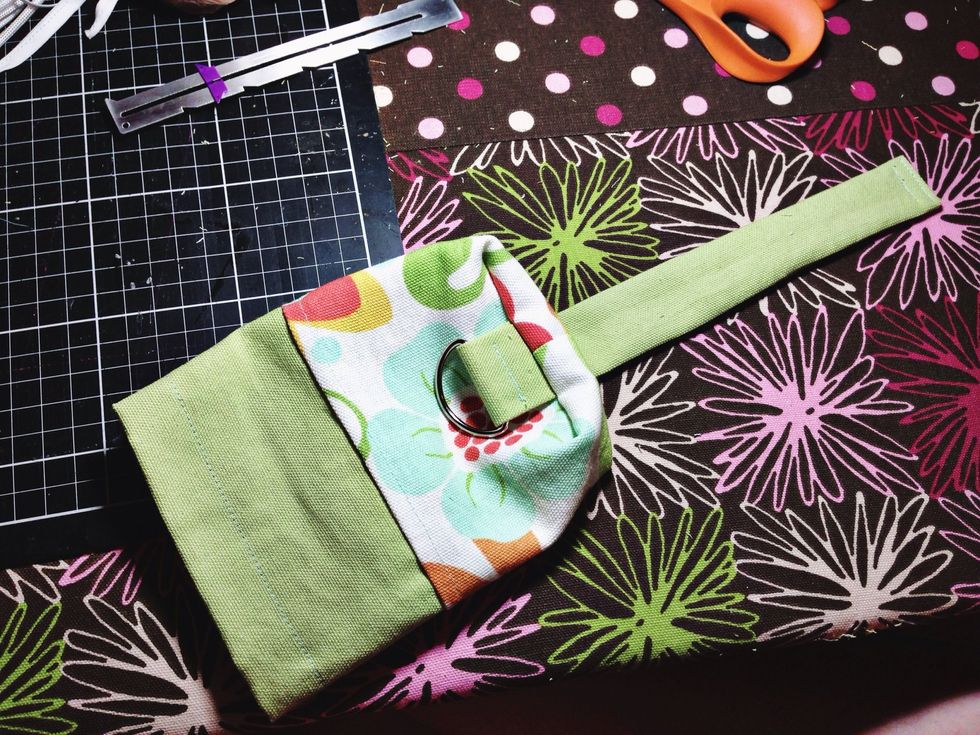
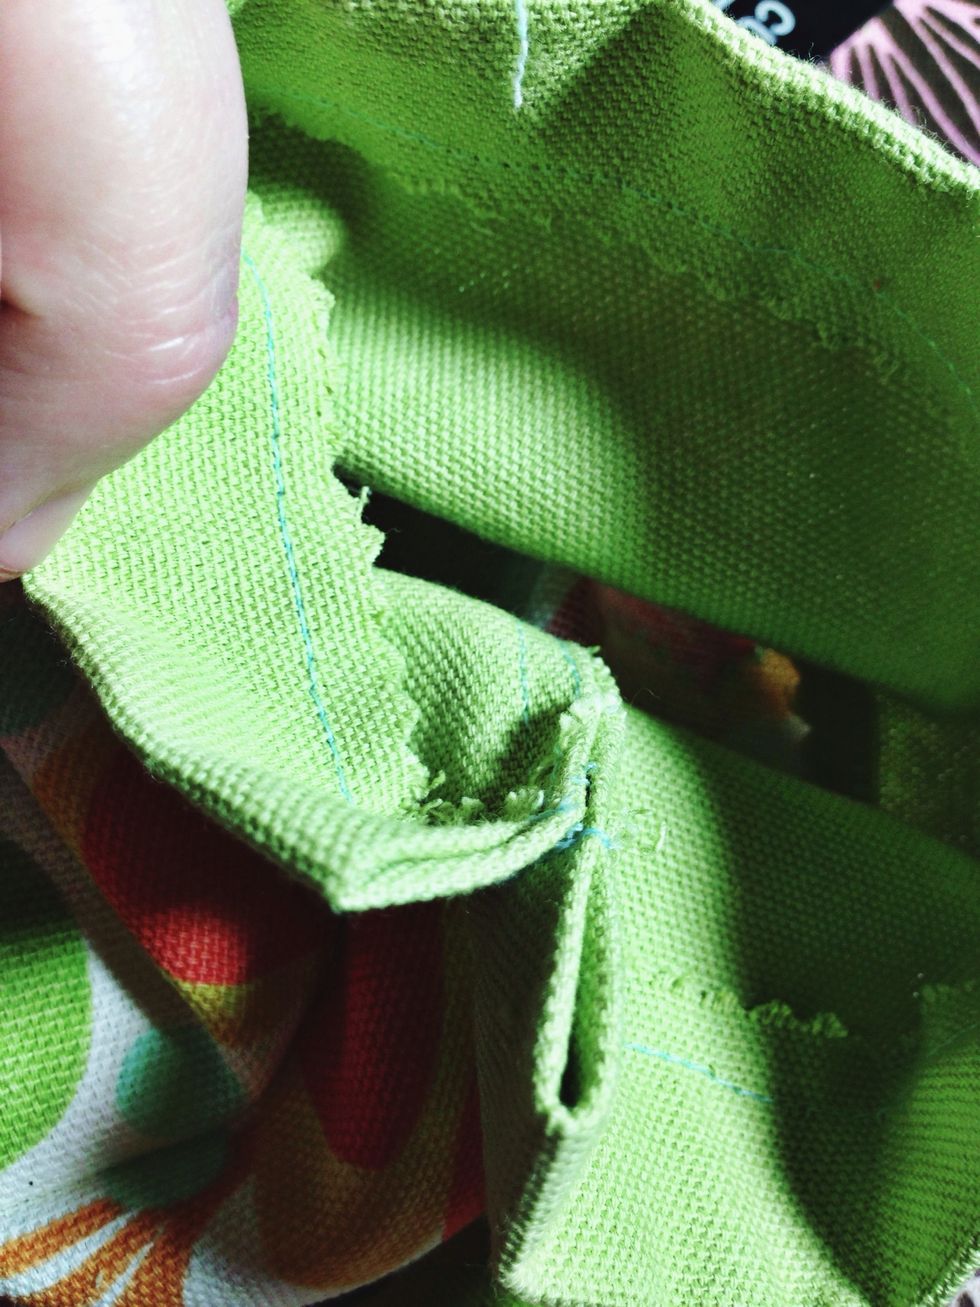
Now, it should look something like this. Drop the d-ring into one of the holes. Position the end of the d-ring piece in the center and pin.
Squish the hole closed creating a straight edge line. Sew across the whole edge and serge or zig-zag. Do the same with the other side and attach the remaining long rectangular piece.
Turn right side out and you should have something like this!
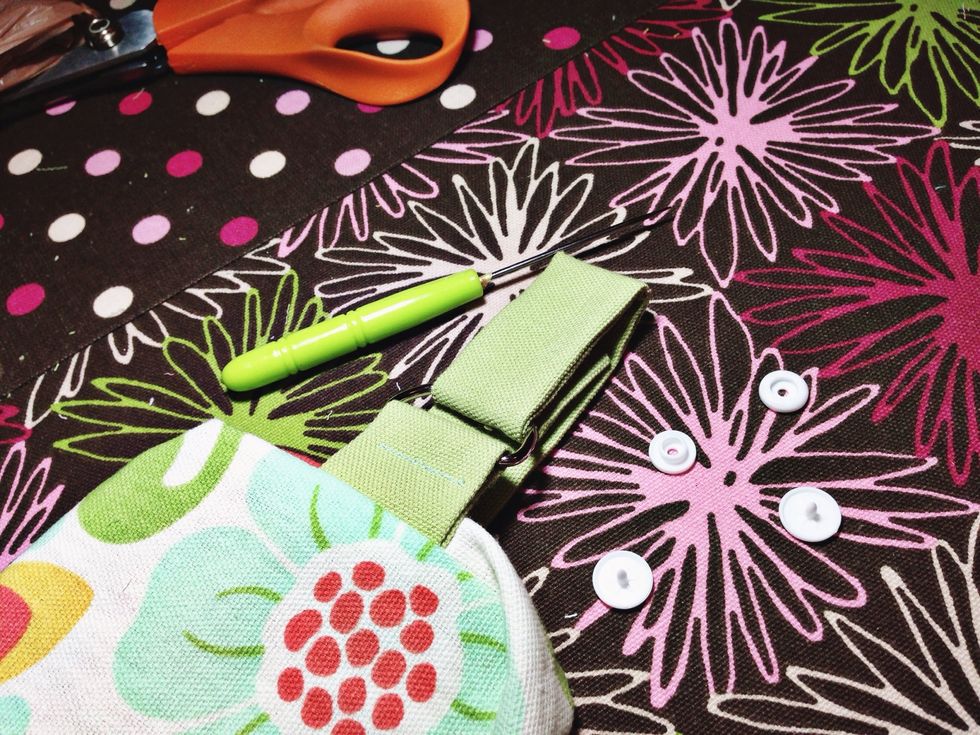
Fold over the long strip at the top and position it with room to attach a snap on both sides of the strap.
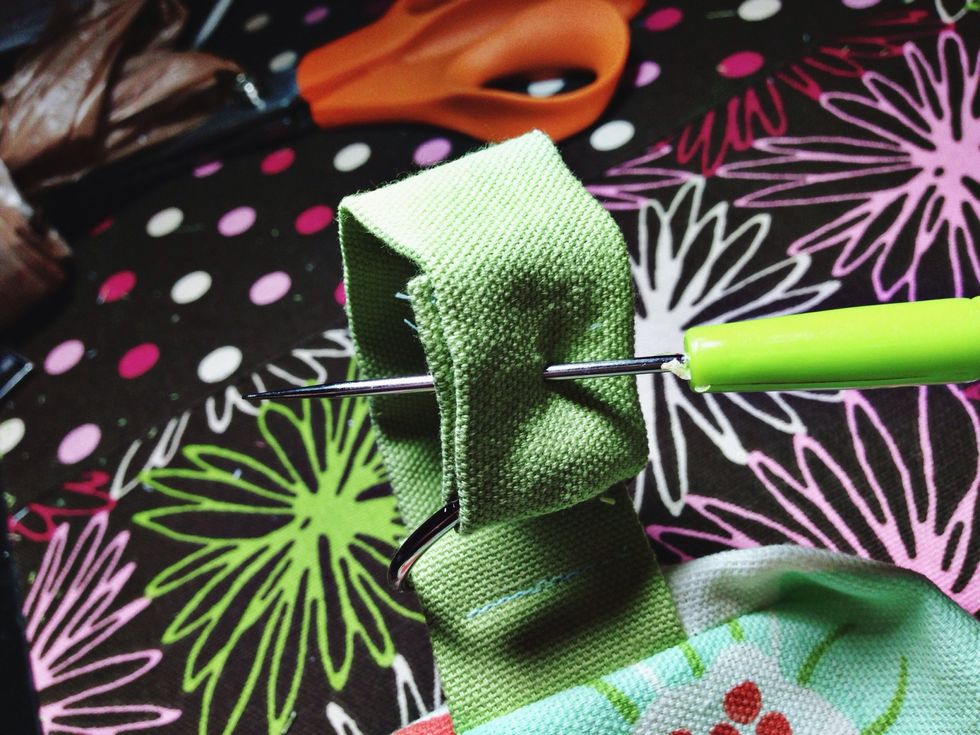
Using an awl, create your snap holes.
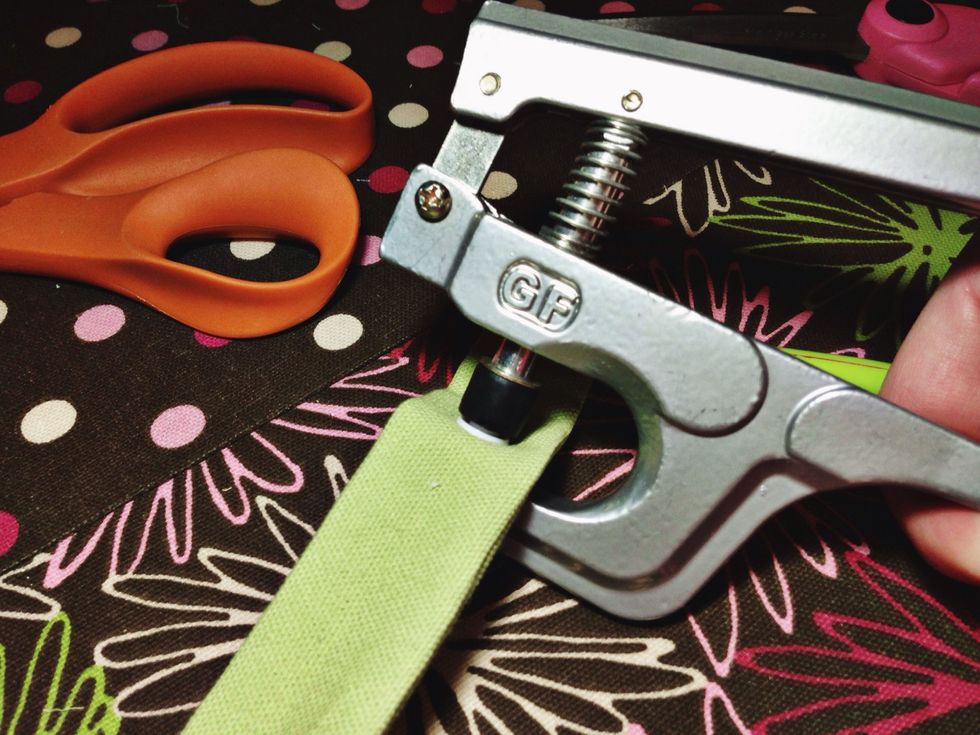
Then attach your snaps.
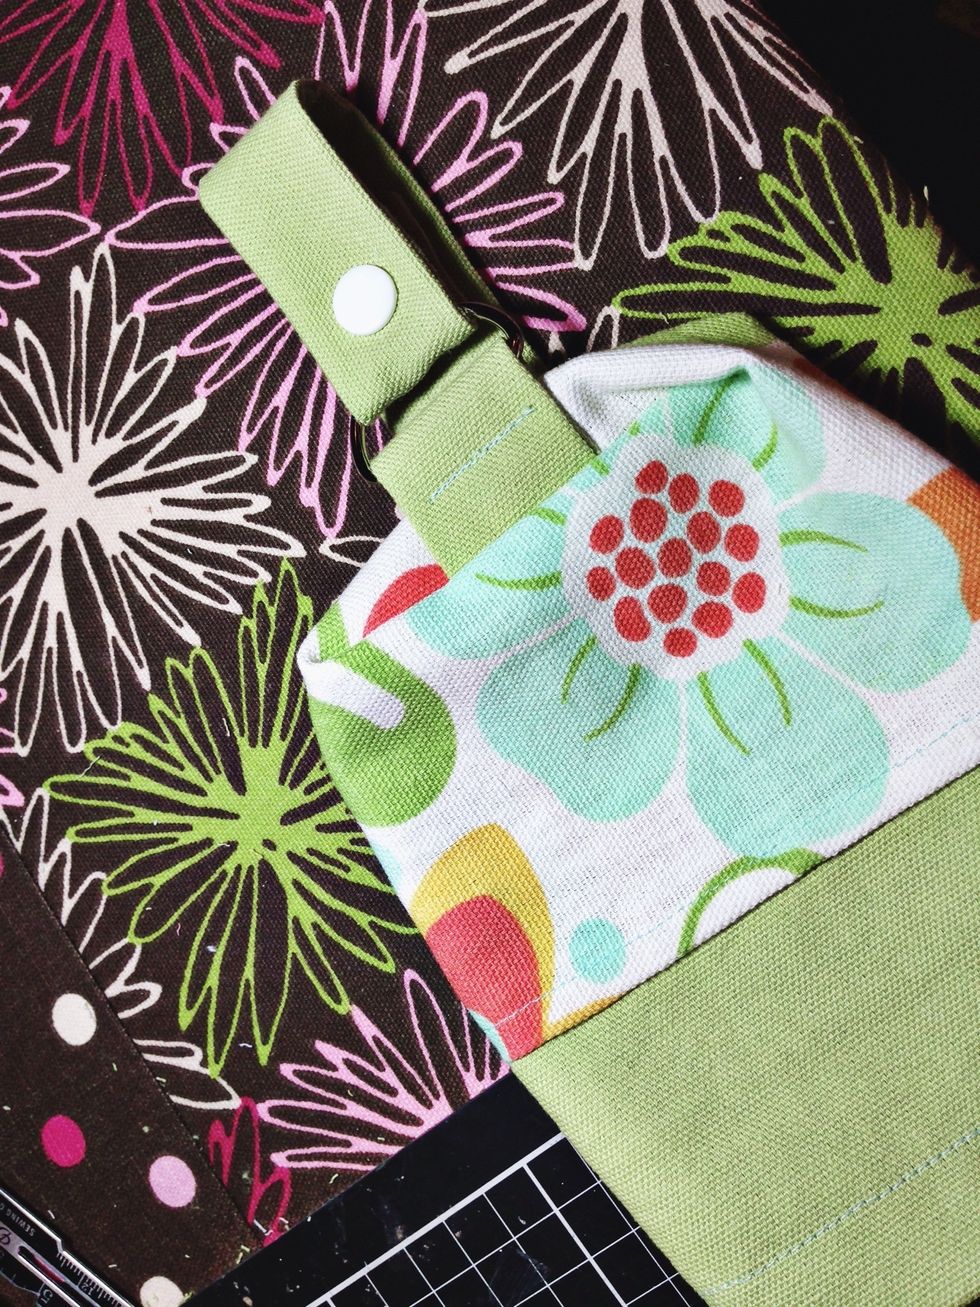
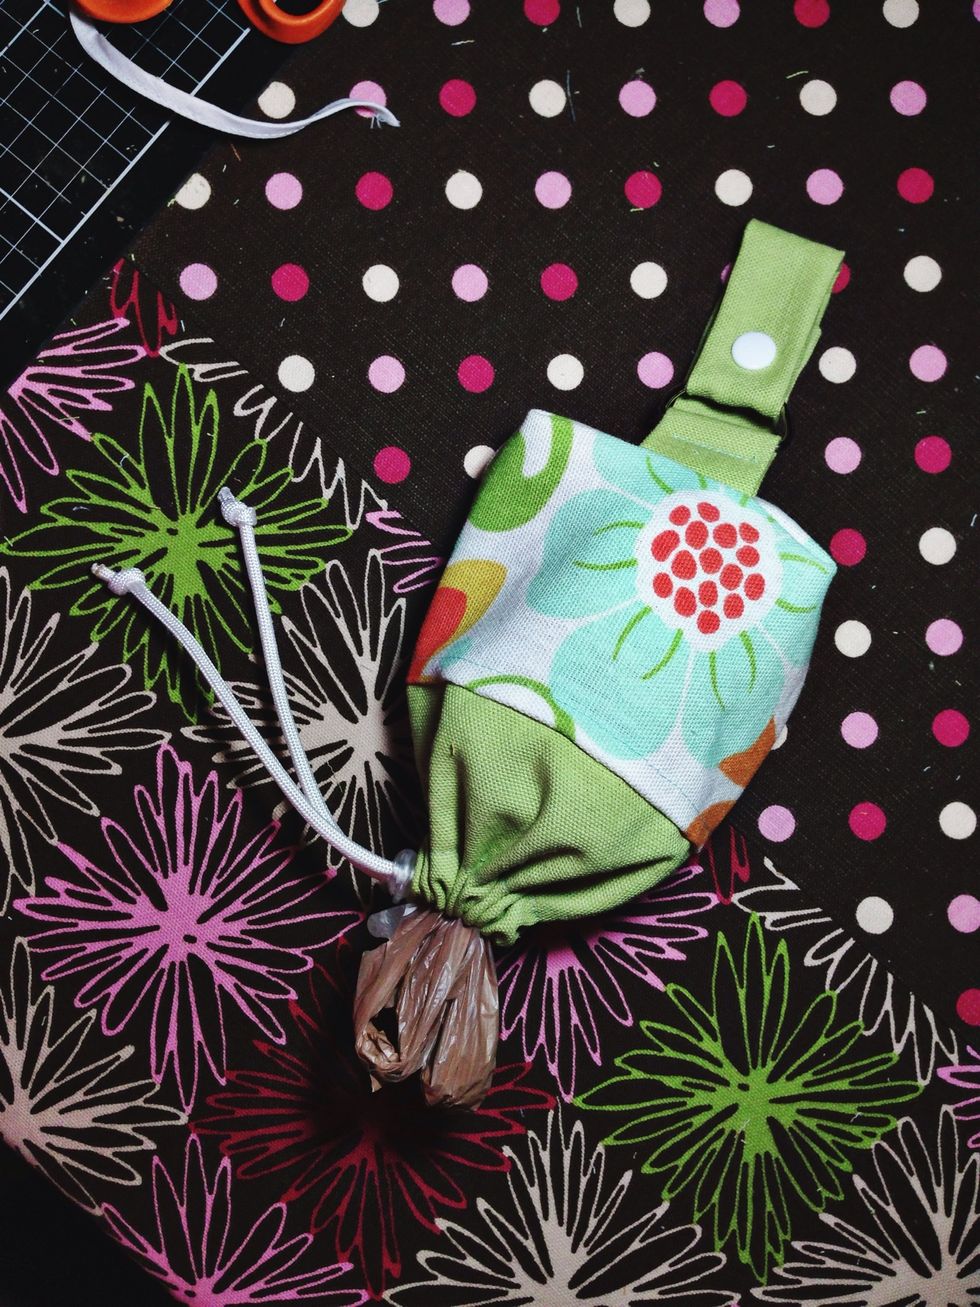
Yay! Now it's ready to hang wherever!
Now, run a ribbon or cord through your casing. I used some parachute cord and burned the ends after cutting them.
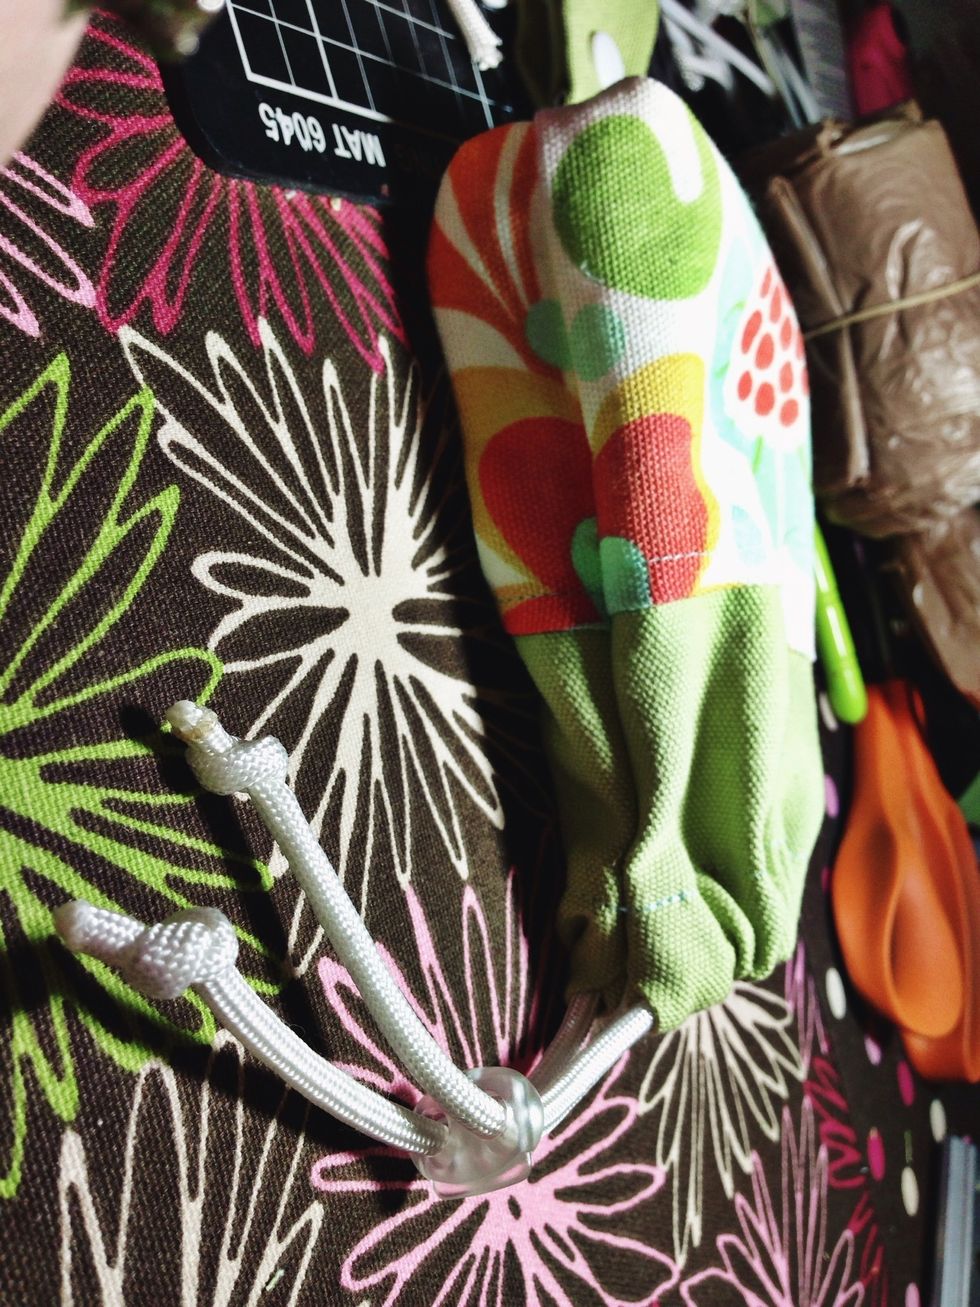
Attach a cord lock and tie off your ends
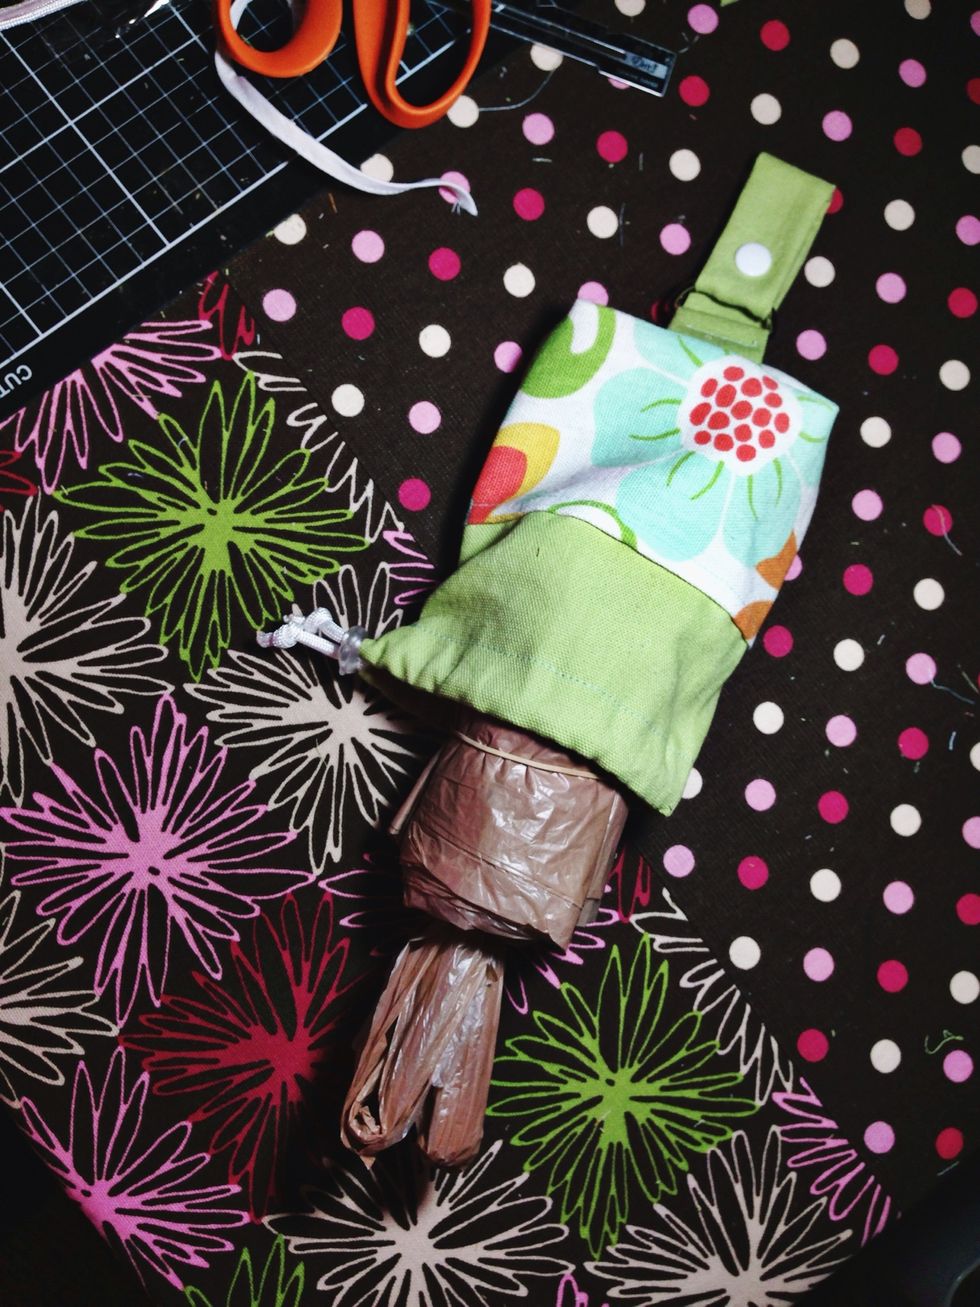
Insert the pre-rolled recycled bags
And enjoy!!!