The Conversation (0)
Sign Up
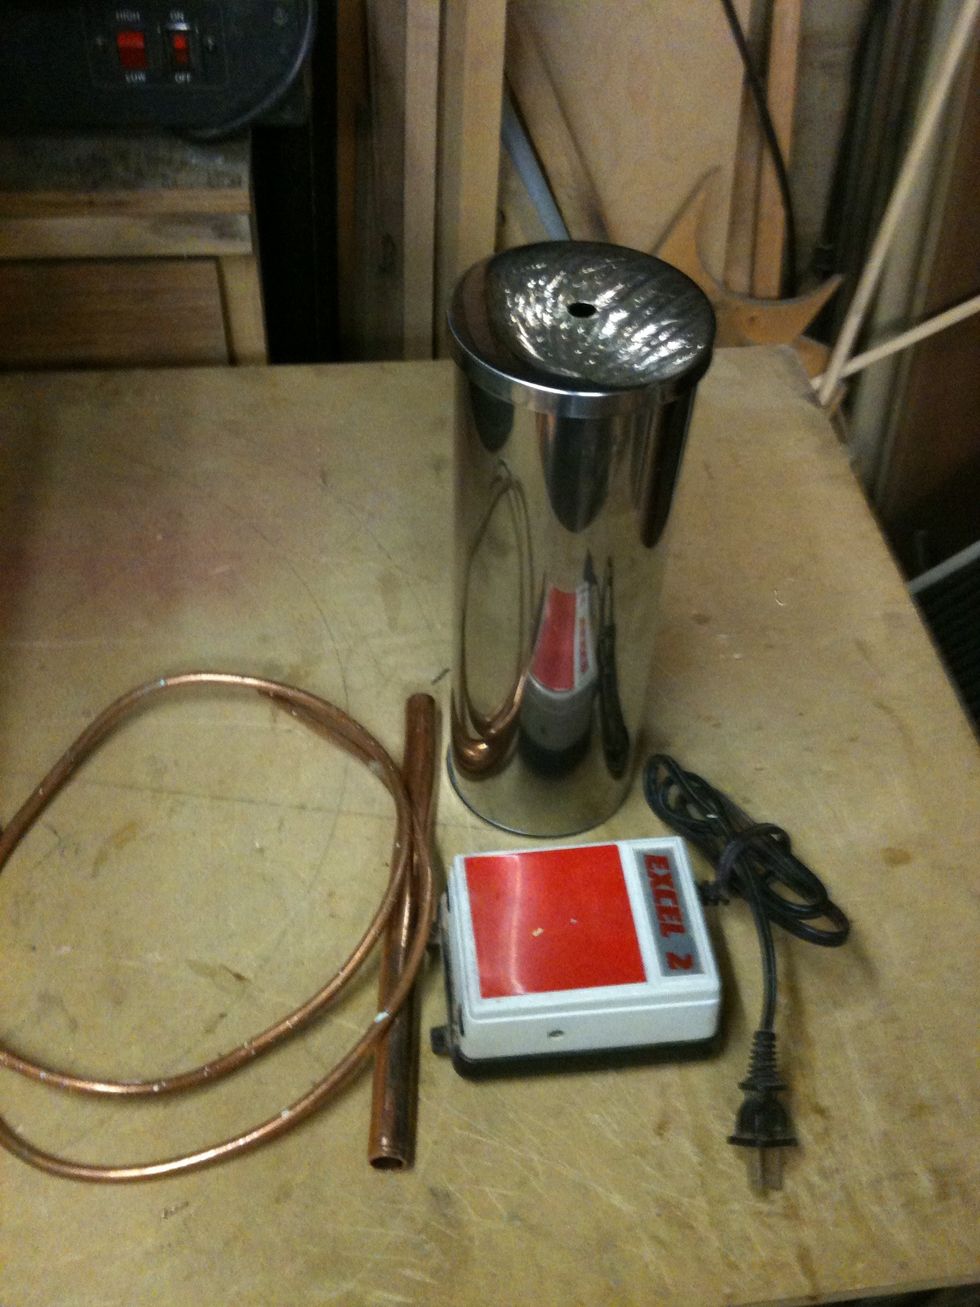
These are the supplies I needed for this project. Shown here is the 1/4" copper and I ended up using 3/8" copper instead. My thought was bigger pipe more air flow.
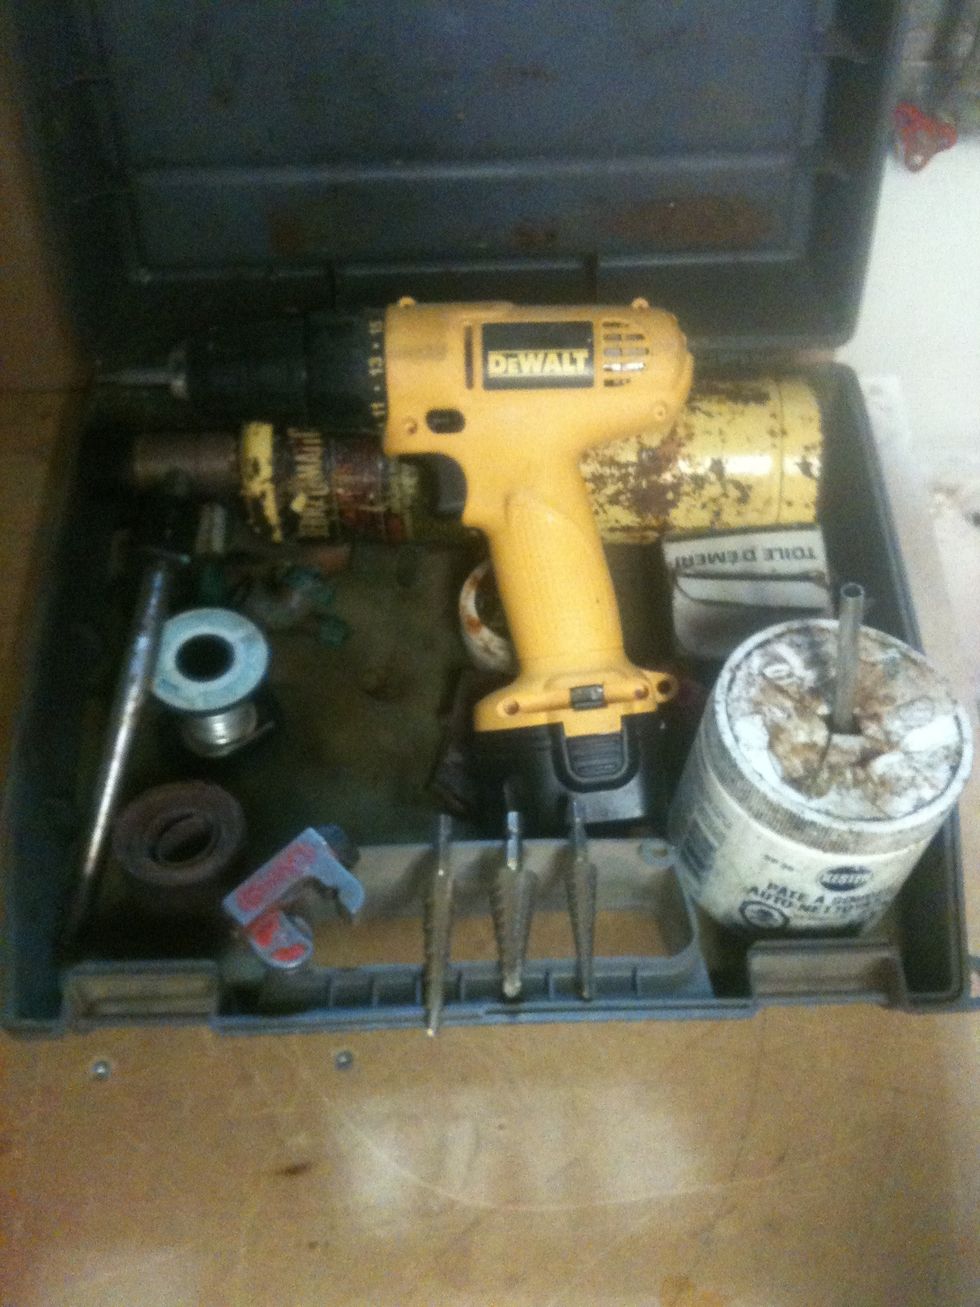
These are most of the tools needed. My soldering kit, a drill, pipe cutter, and step drill bits(for making holes larger in metal).
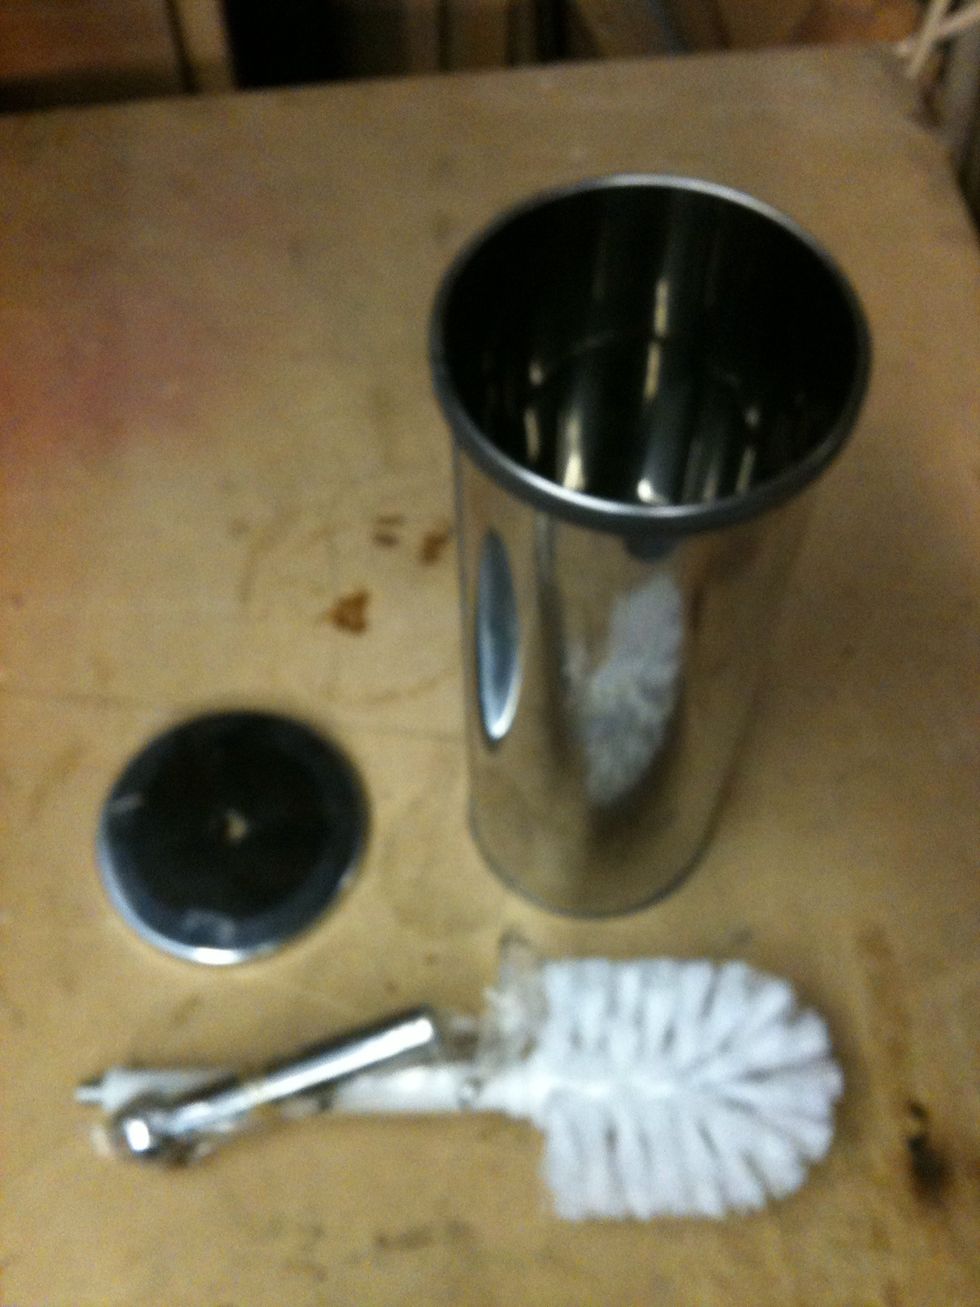
I got this canister at Walmart for $10. It's as close as I could get to a cheap almost airtight metal canister. Works for me!!
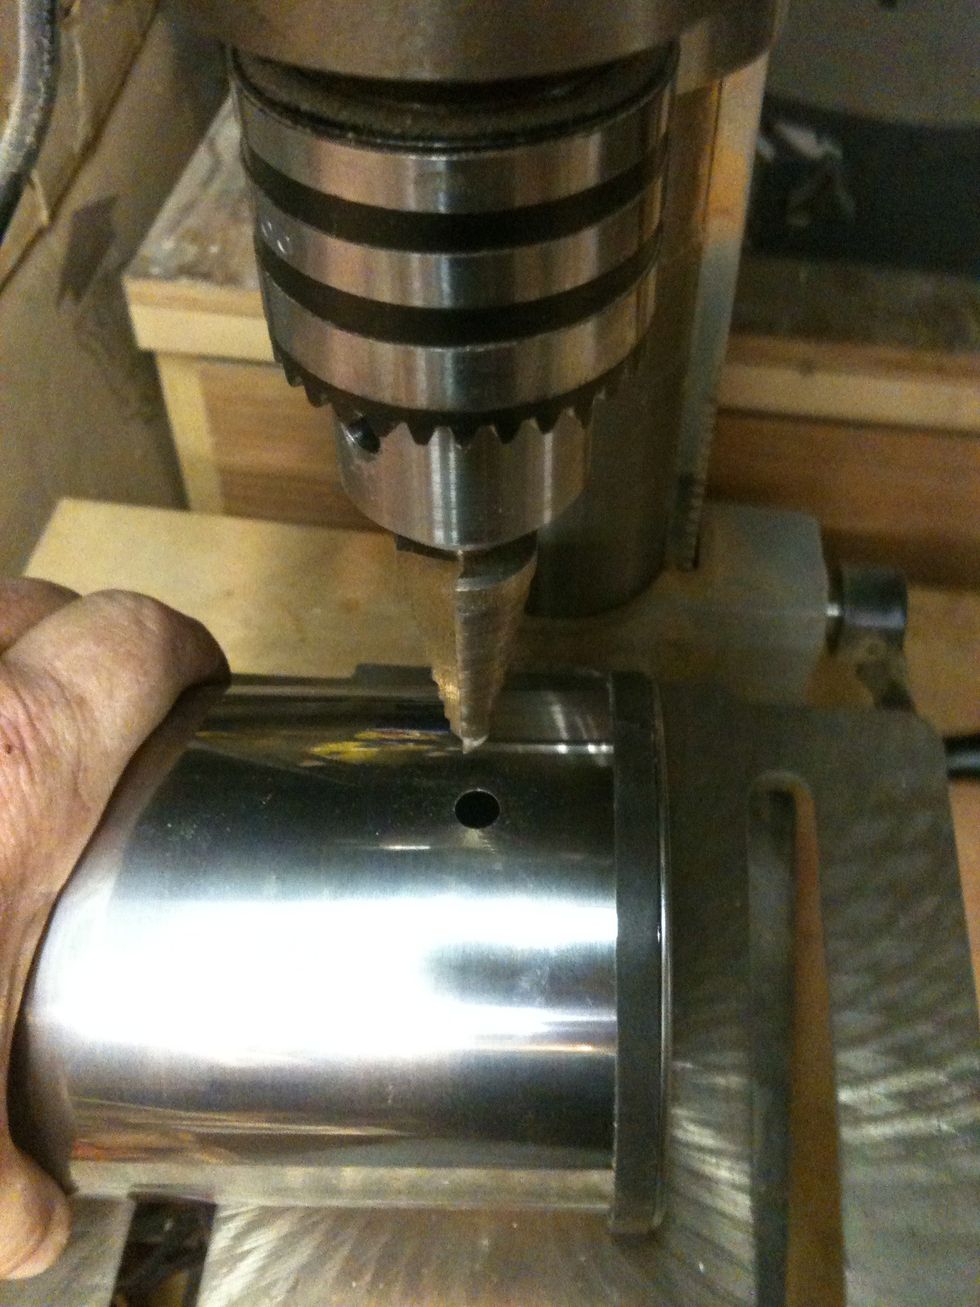
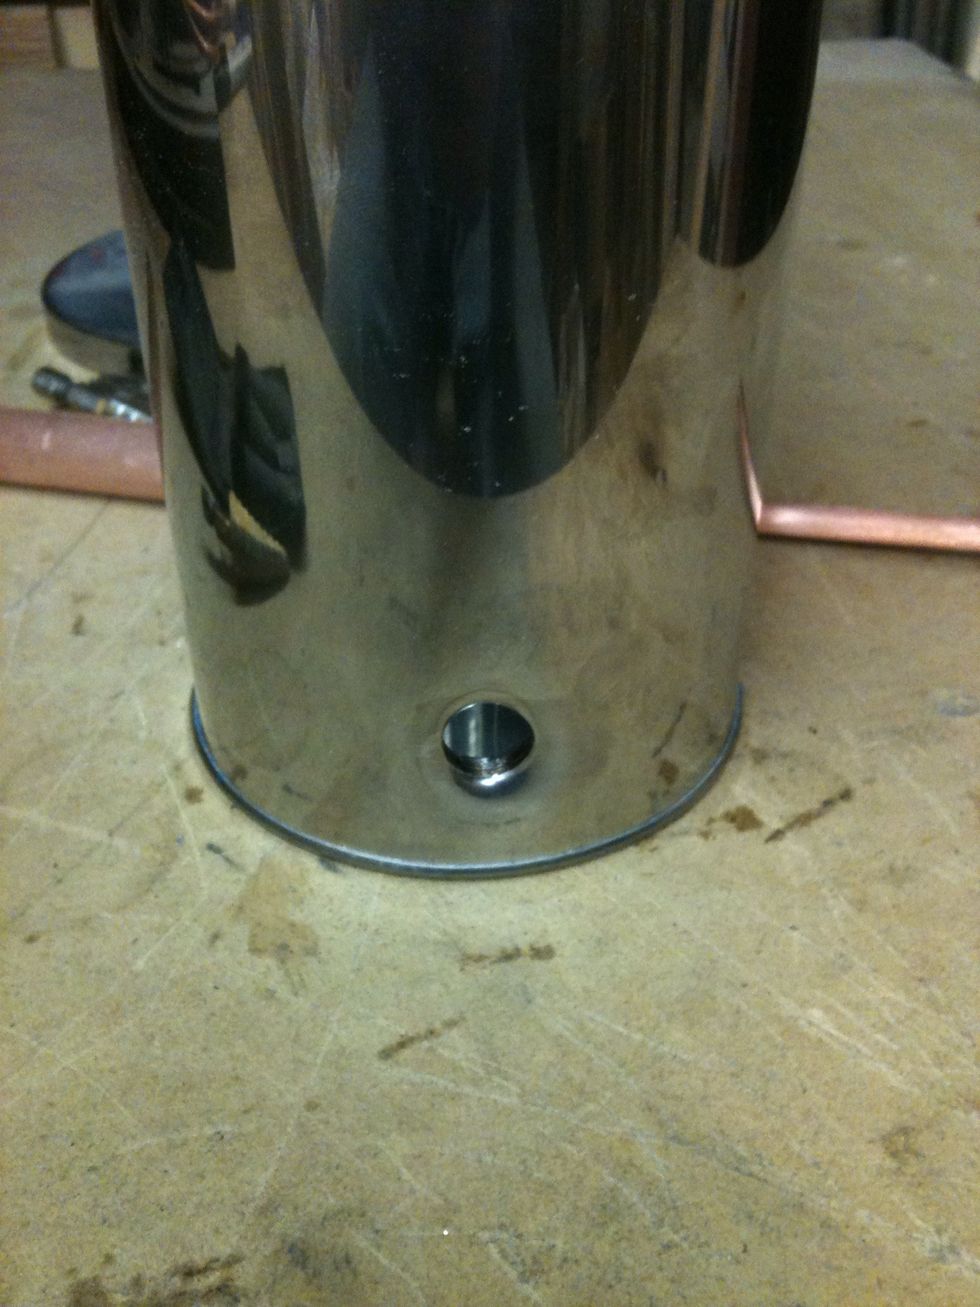
Start by drilling a 1/2" hole near the top of the canister. Then on the oppostie side drill a 3/8" hole.
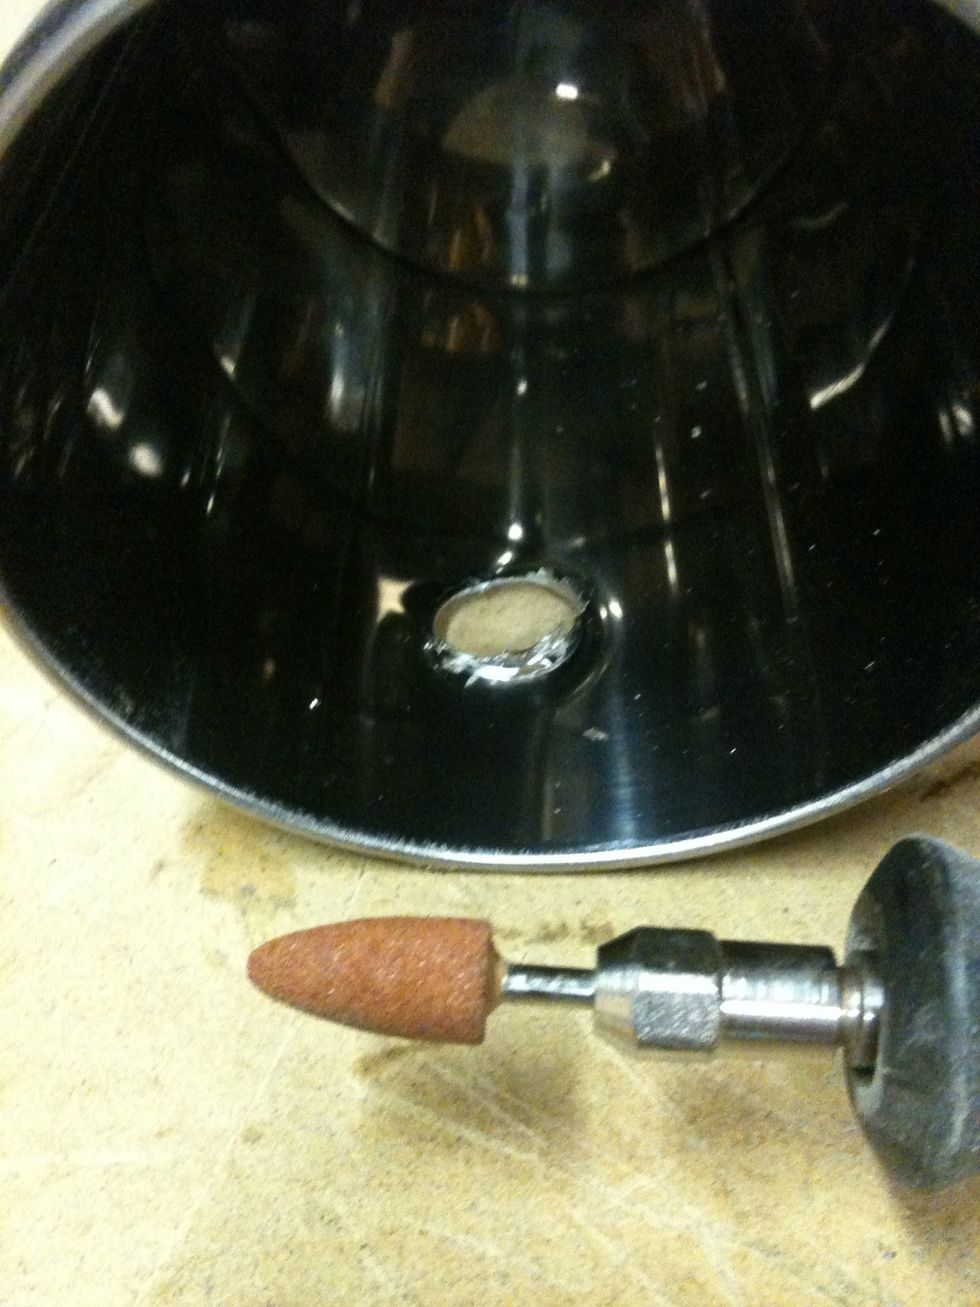
The step up bits tend to leave some frayed metal on the inside, you can use a file, pliers, or a deburring bit. Grind them down untill smooth.
Now drill a hole near the bottom of the canister. The size needed for this hole depends in how much room you need to light the wood. I made mine about 1/2".
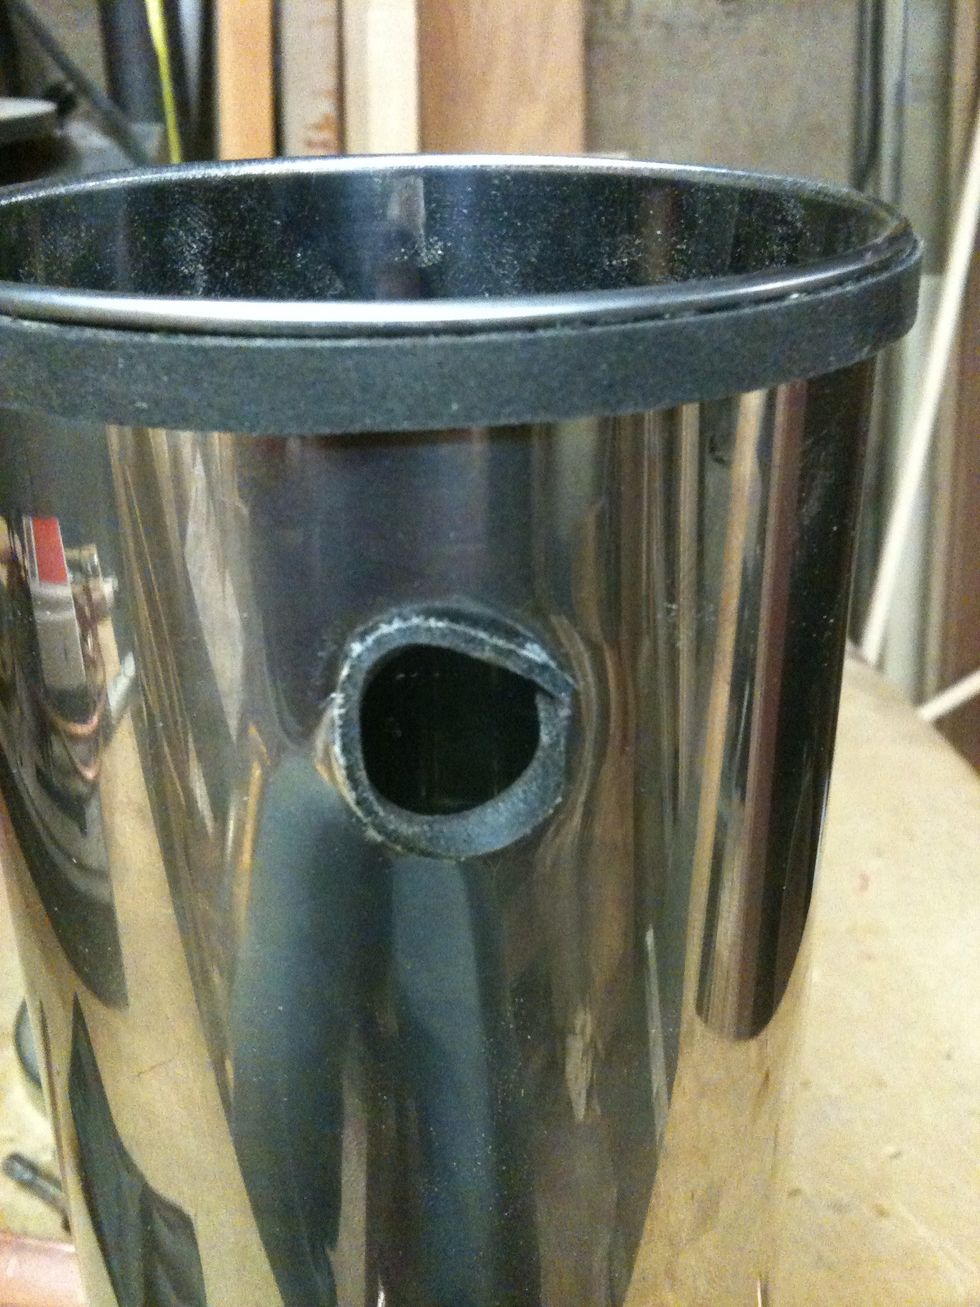
One of my holes was a little too big for the 1/2" pipe so i lined the hole with some foam tape. I also lined the top with foam tape to create a better seal.
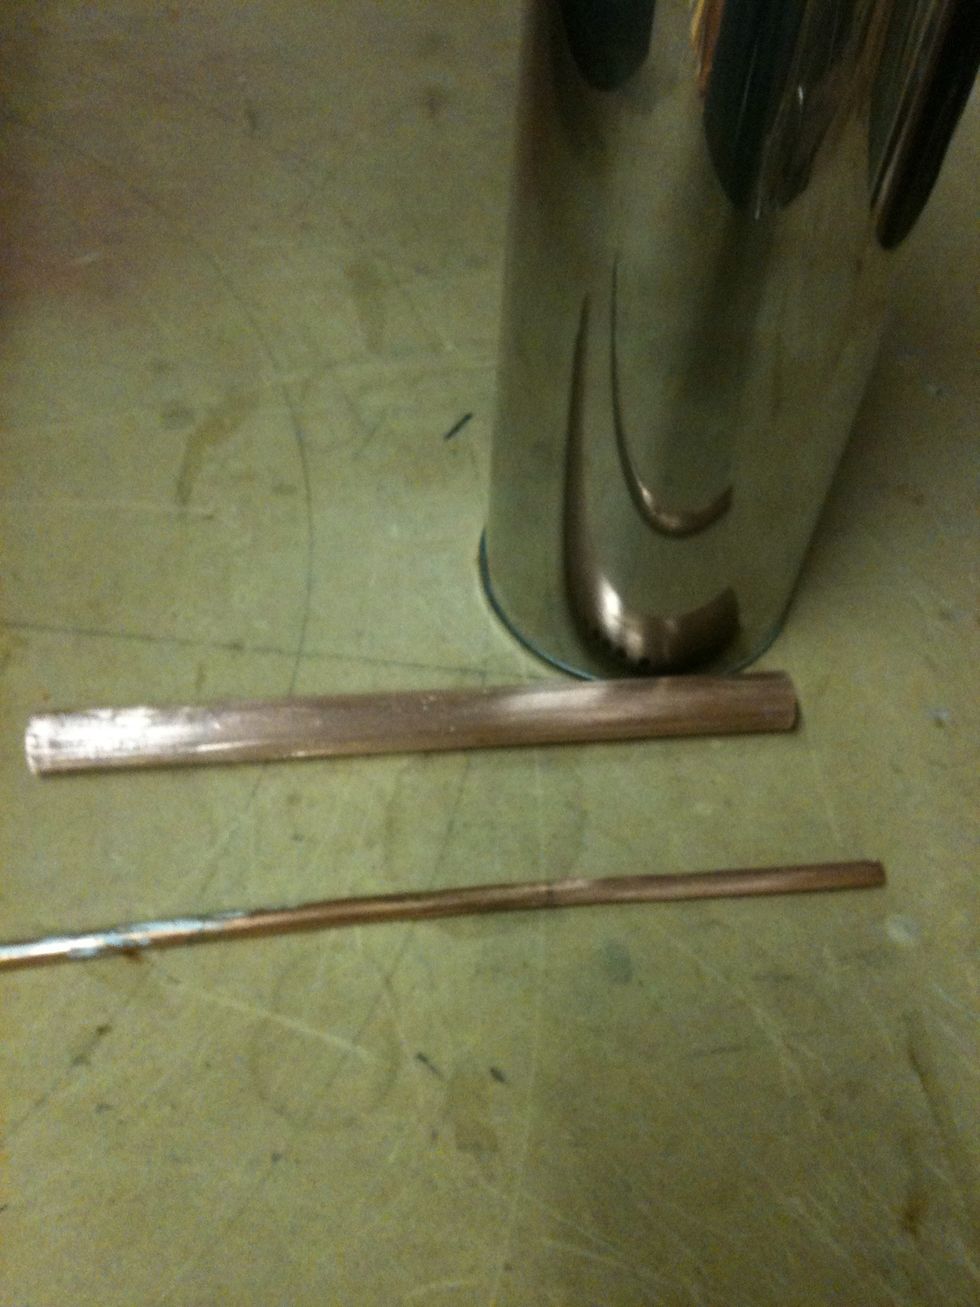
Start by cutting the 1/2" pipe to about 6" and the 3/8" pipe to about 4".
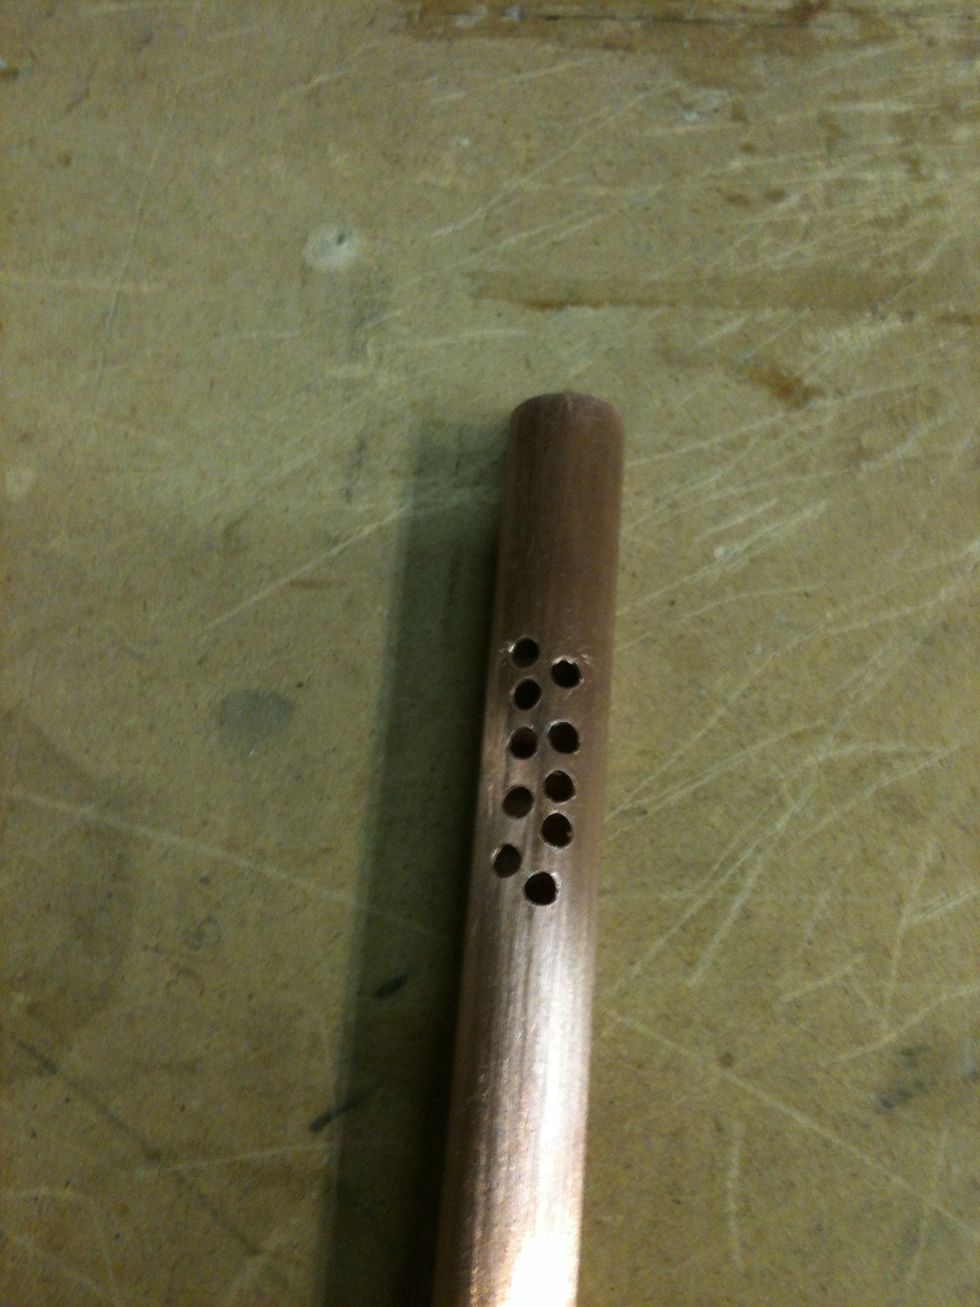
We now need to make a hole in the 1/2" pipe. I stared drilling out a lot of holes. I made the hole where it would be in the center of the canister.
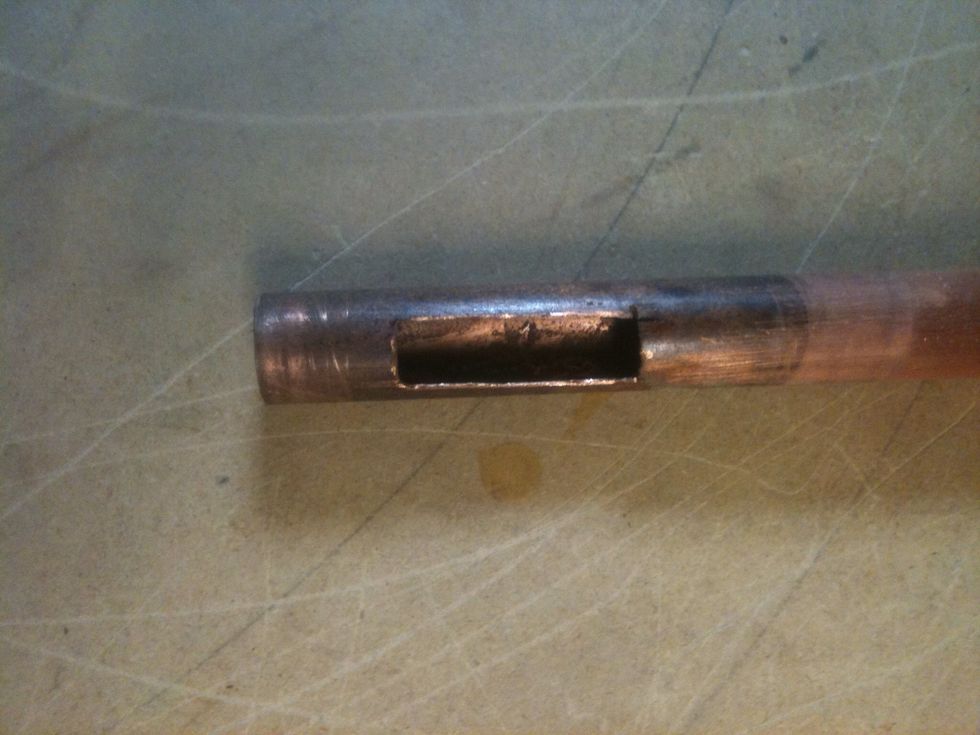
I ended up cutting out the holes and made one big opening. Again thinking about more air flow.
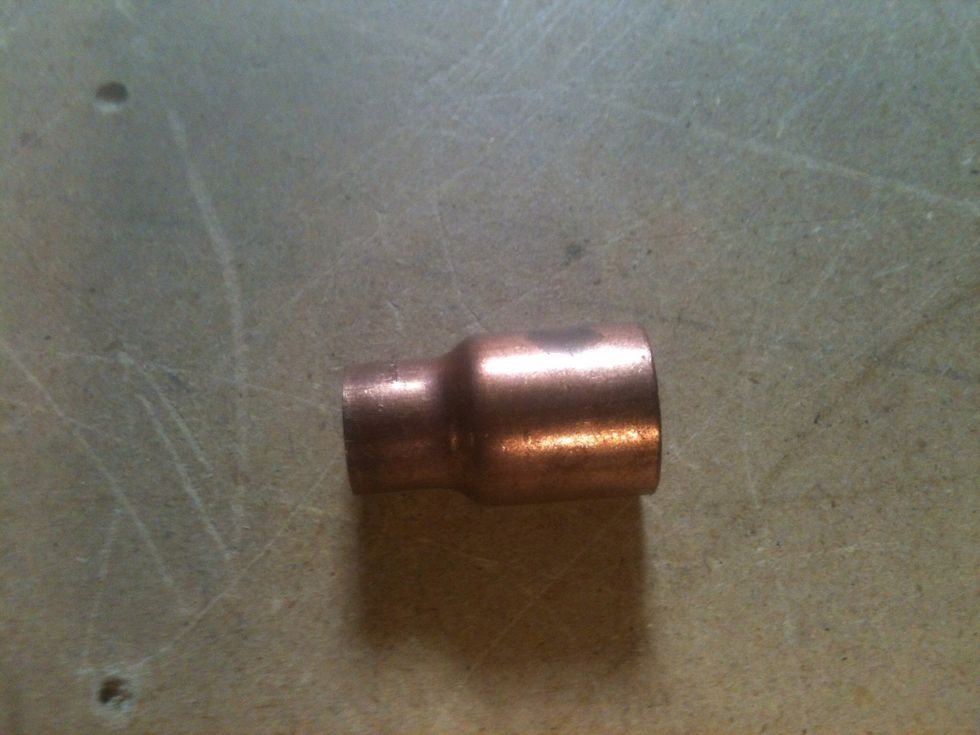
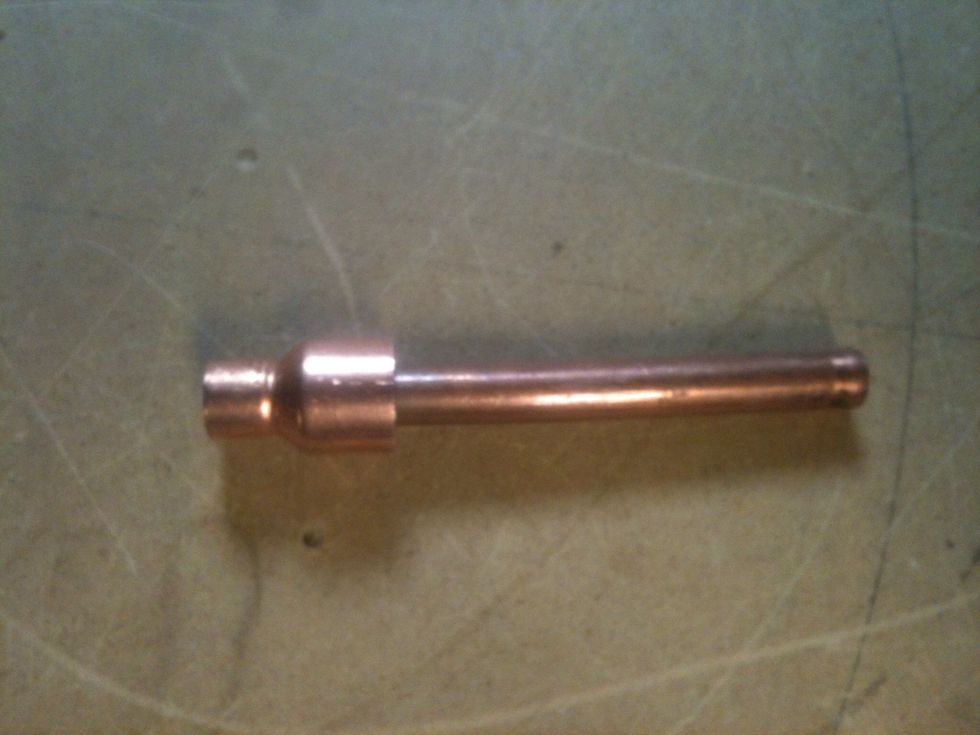
This is the 1/2"-3/8" reducer. The 3/8 side will go into the hole you made in the top of the canister.
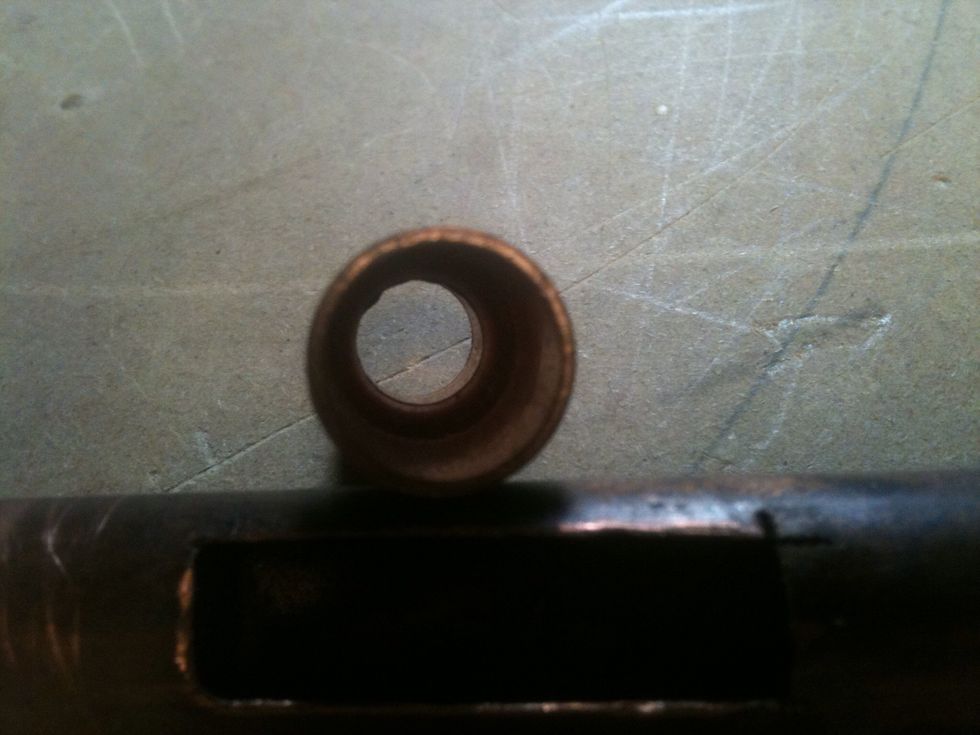
You will need to grind/sand down the stopper inside the reducer so that the 3/8 pipe can fit in. It's hard to see it in this pic, but it's there!!
Once grinded down, fit the 3/8 pipe into the reducer. Leave about 1/4" gap at the end so the other piece of 3/8 pipe can fit in.
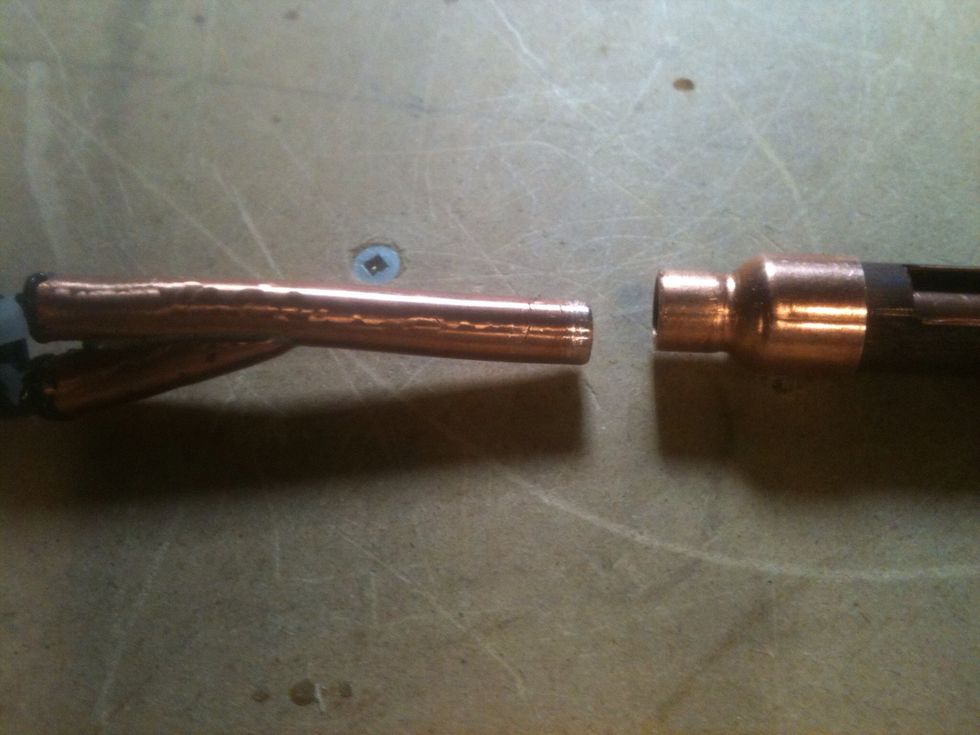
This is the other pipe that is attached to the air pump, that will fit in the other side of the reducer. My pump had two air holes so i rigged up a couple pieces of copper to recieve the two hoses.
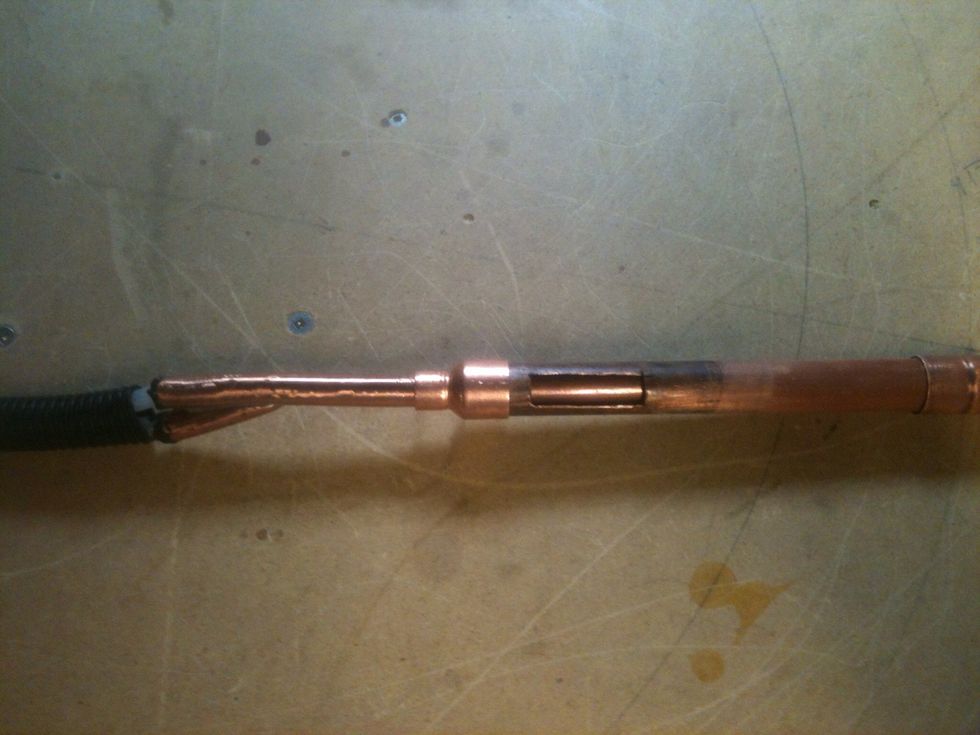
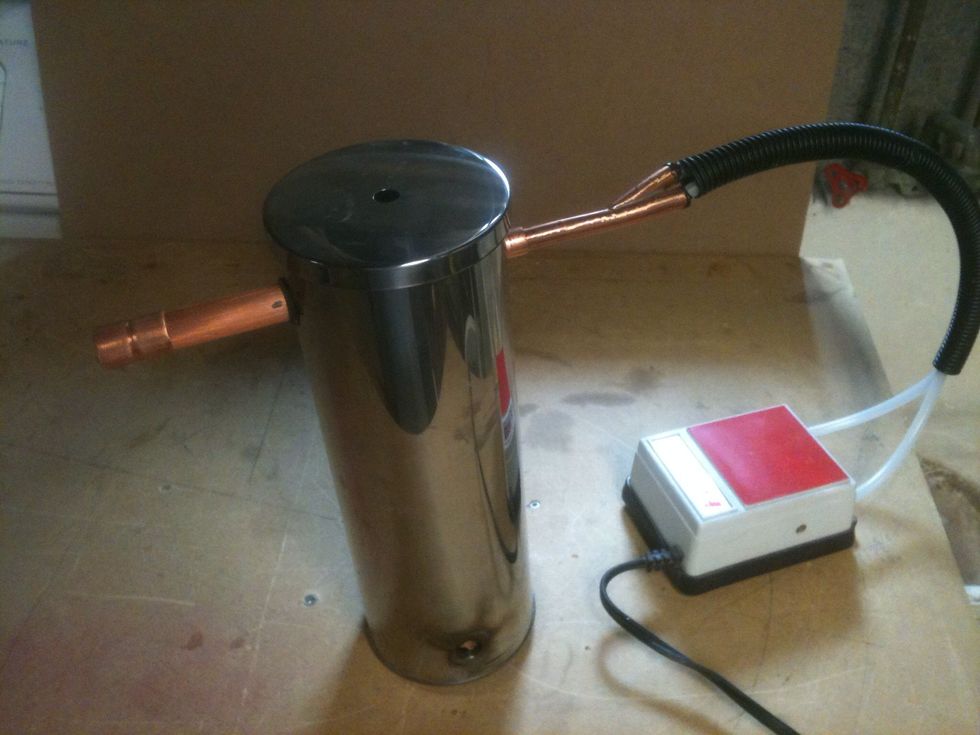
This is how all the pieces fit together. Air coming in on the left goes through the 3/8" pipe past the hole in the 1/2" pipe, creating a suction through the hole(which will be in the canister).
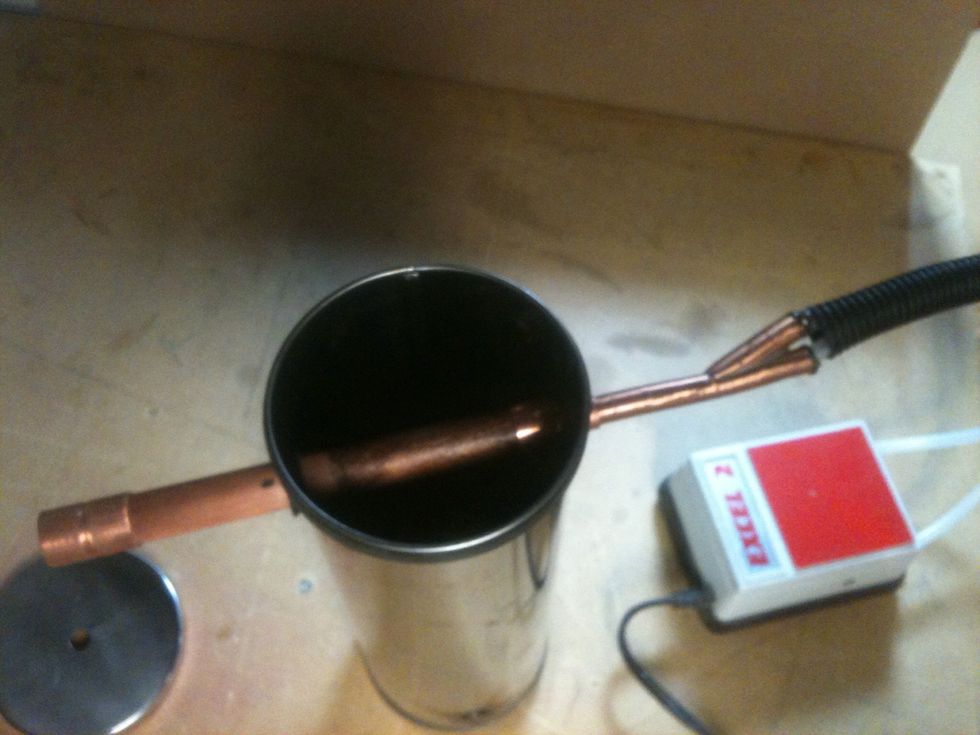
This is what it looks like when it's all put together. I have the big hole facing down, so it can take in the smoke as it risies in the canister.
Now put the lid on and light the bottom hole, once the wood chips are in. I will be taping up the hole on top so no smoke comes out.