The Conversation (0)
Sign Up
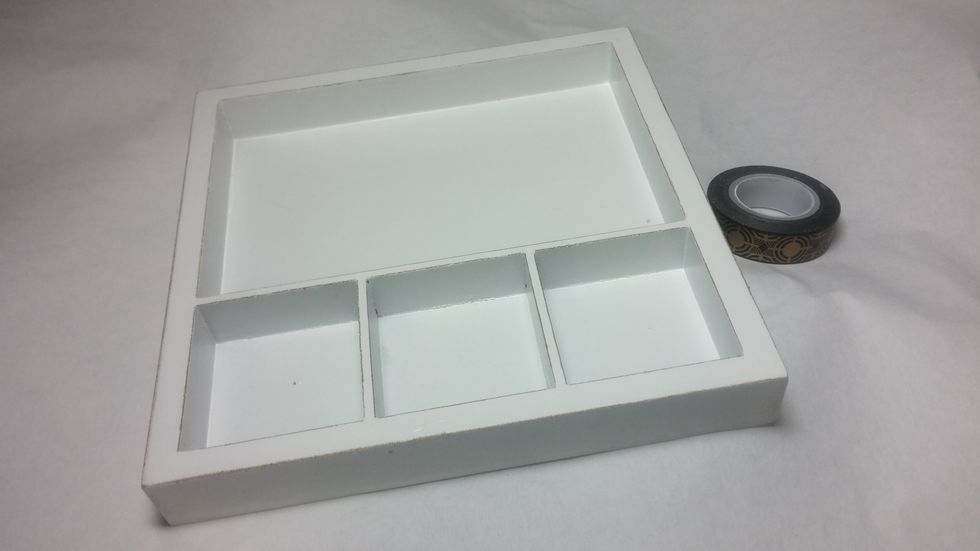
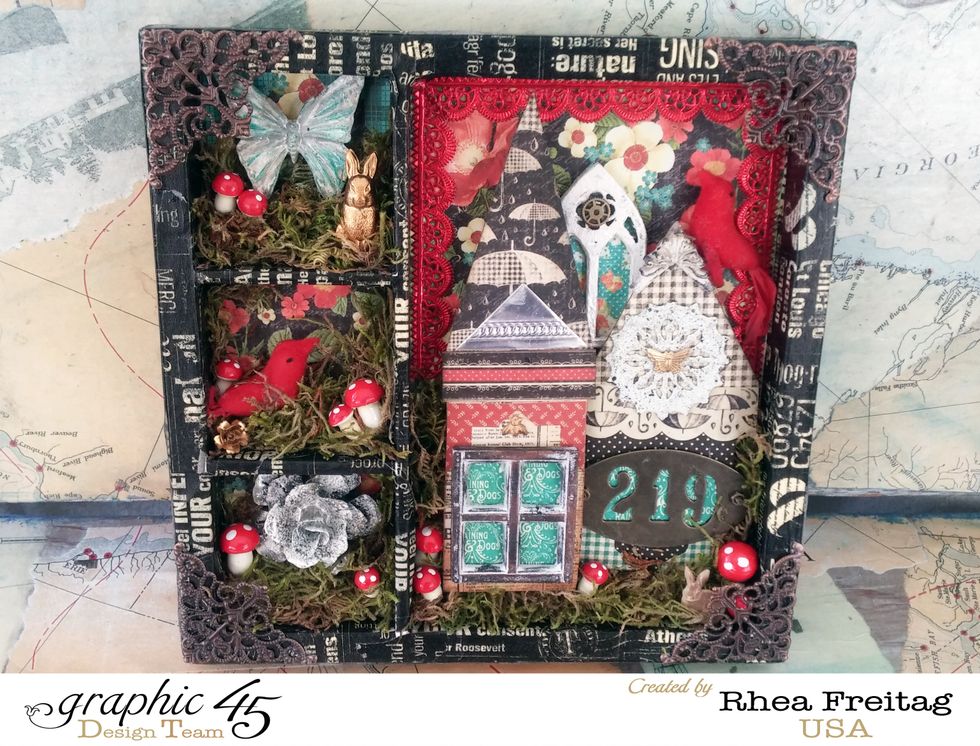
Start by covering your shadowbox with decorative tape. I changed my plan, which often happens!
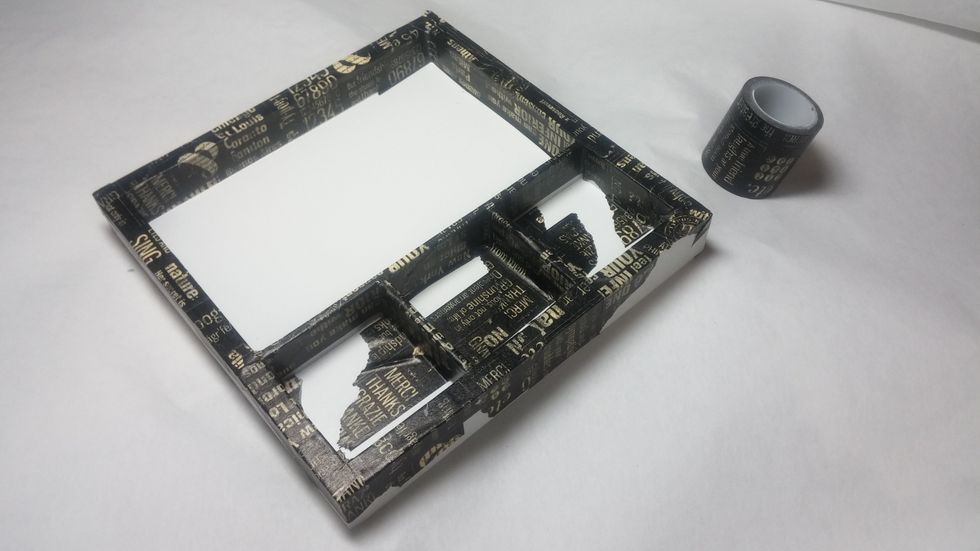
Use smaller pieces to cover smaller areas. Be sure to burnish down the edges really well. You do not have to cover all of the insides of each box as they will be embellished with paper.
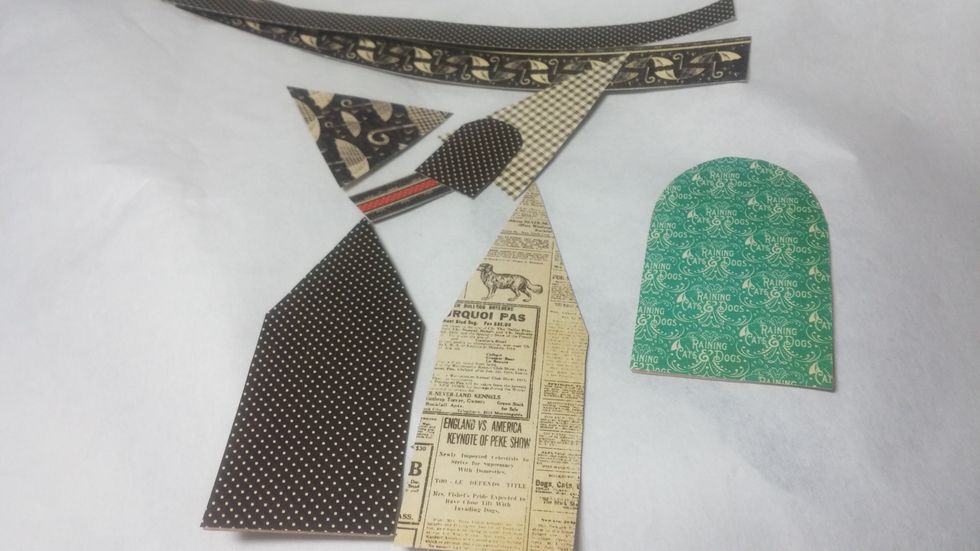
Next I cut out my house shapes with chipboard and my chosen printed paper. I free hand cut roof and door elements as well.
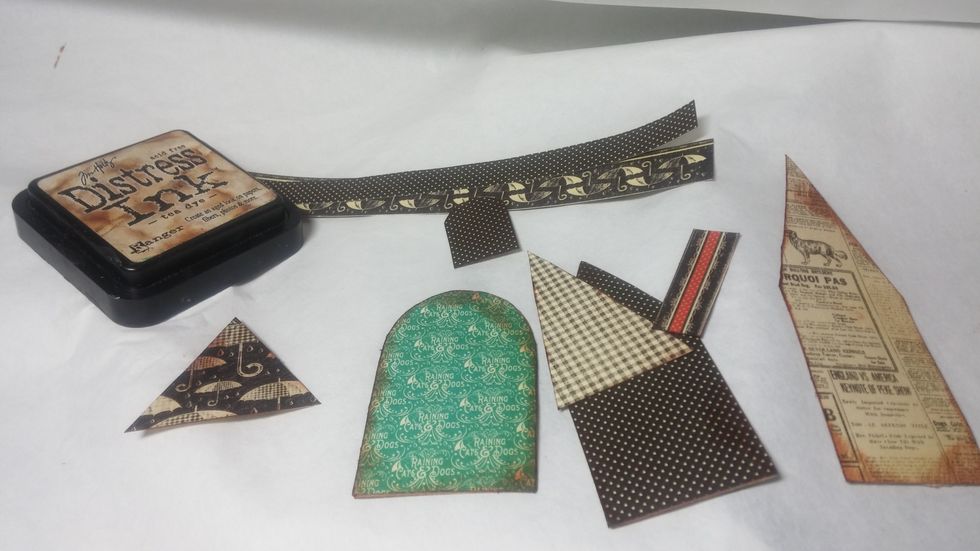
Ink the edges of the house elements to age them a bit.
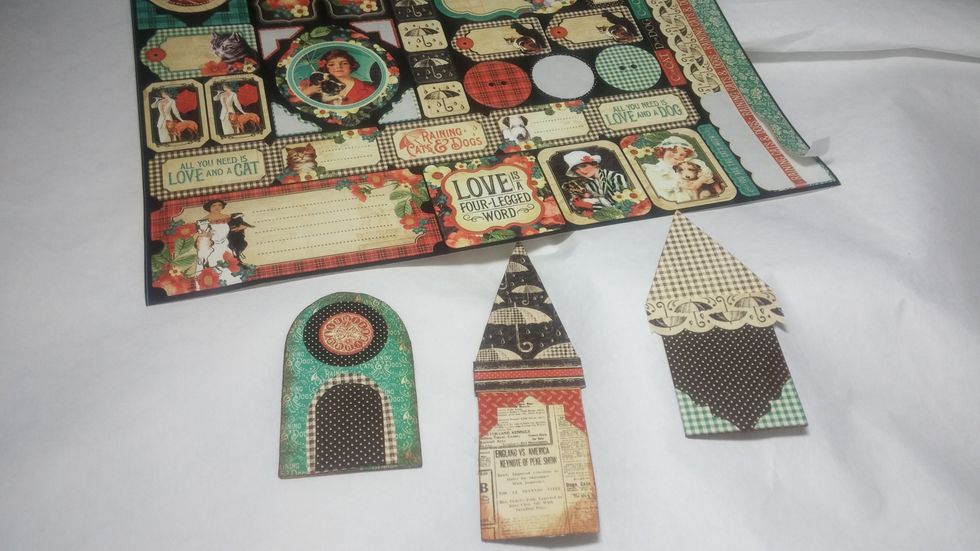
I also added a few sticker elements to contribute to the layered look of the houses.
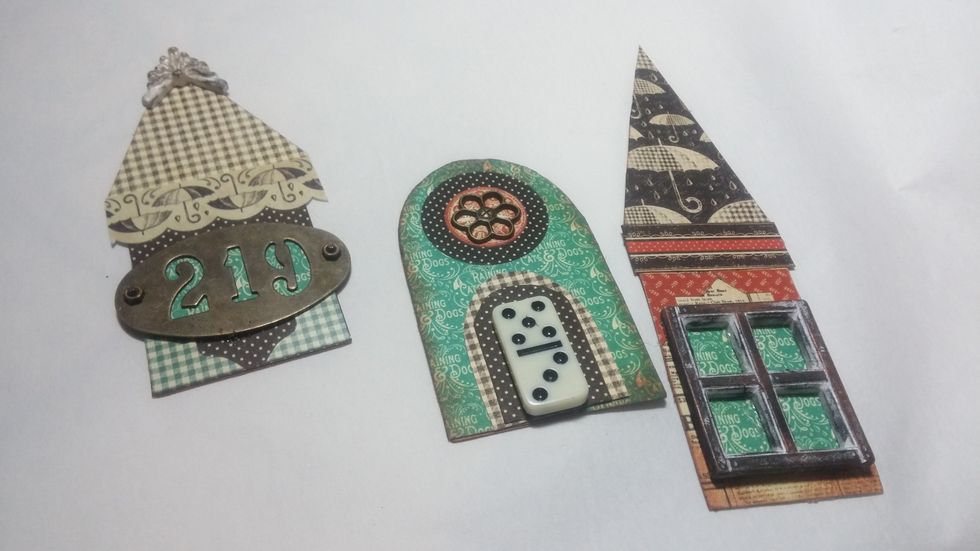
Now for the metal embellishments and mixed media additions. I chose a small domino for a door and a resin window I aged with gilders paste.
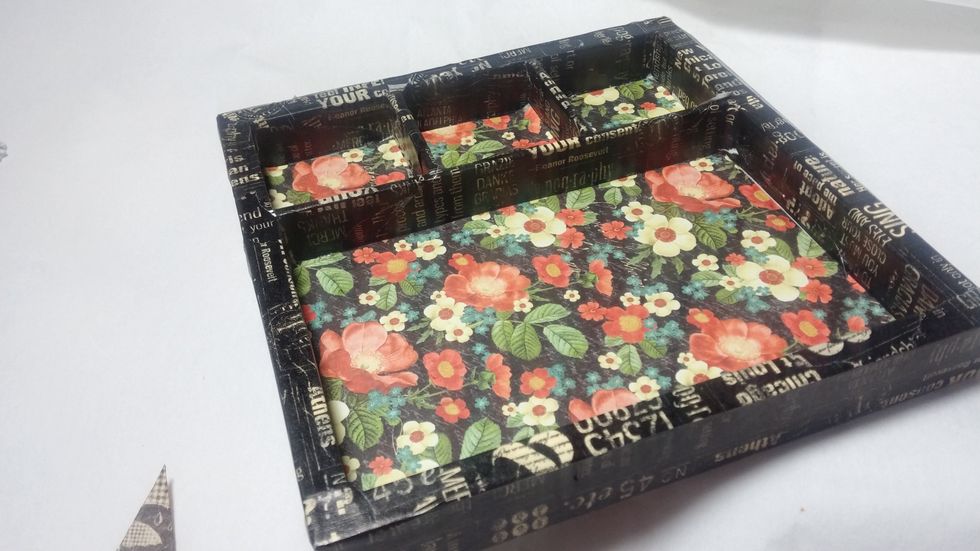
Prepare the rest of the shadow box by lining it with paper. Here I chose the bold floral as I wanted to create a whimsical feel to the project.
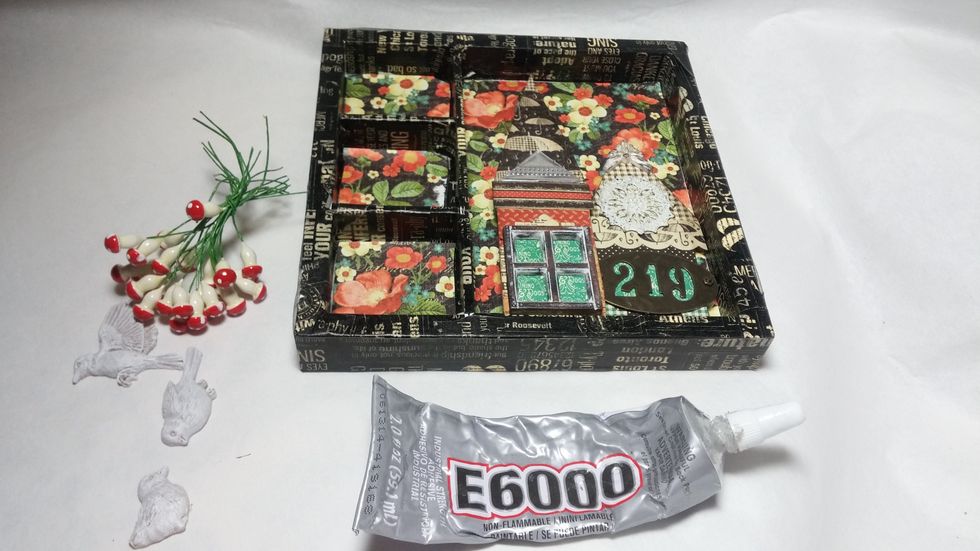
Now start to play with your focal pieces. I discovered that only two of my houses would fit inside at this point. Use a heavy duty glue like E6000 to adhere the elements.

I love the texture of the moss, as well as it's ability to hide imperfections. I layered it on with E6000.
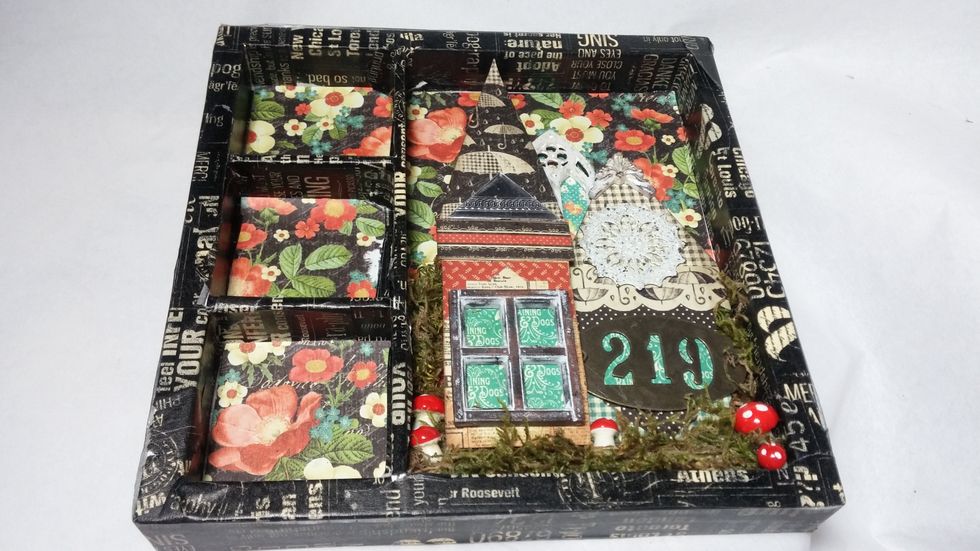
Keep adding layers to the piece. I love these little red mushrooms, so I decided to pepper them throughout the whole collage.
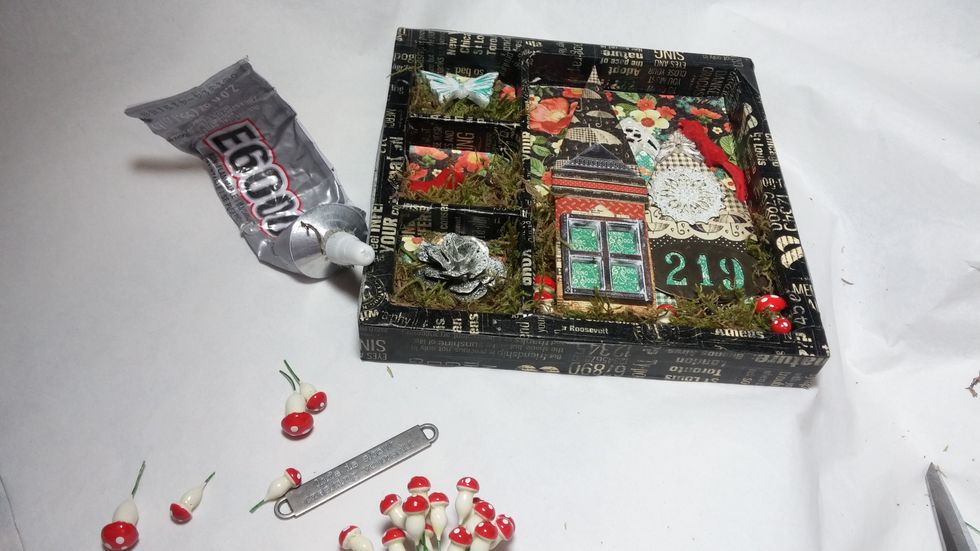
I always experiment with objects as I add them. Make sure to strive for balance as you work.
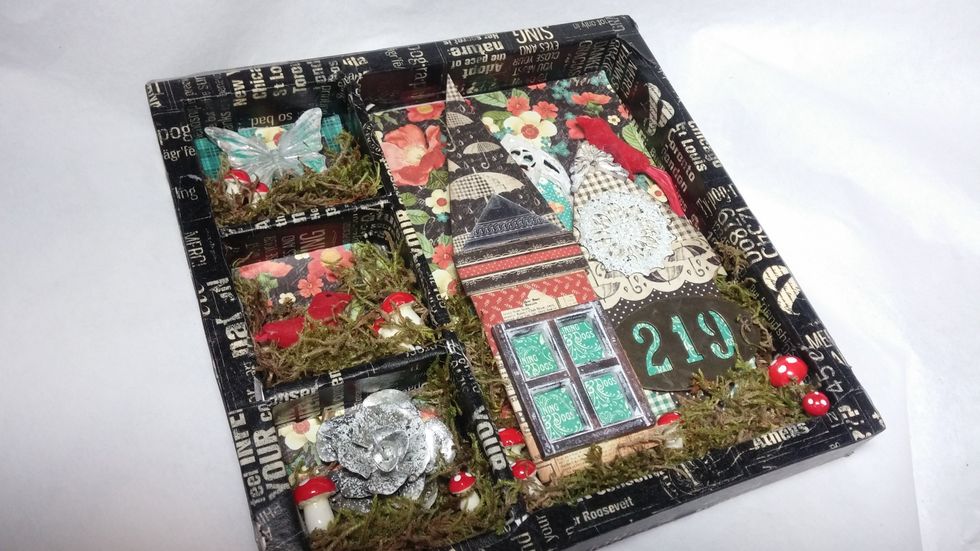
I went in and added more moss to cover some of the extra glue and ensure a deeply layerd look.
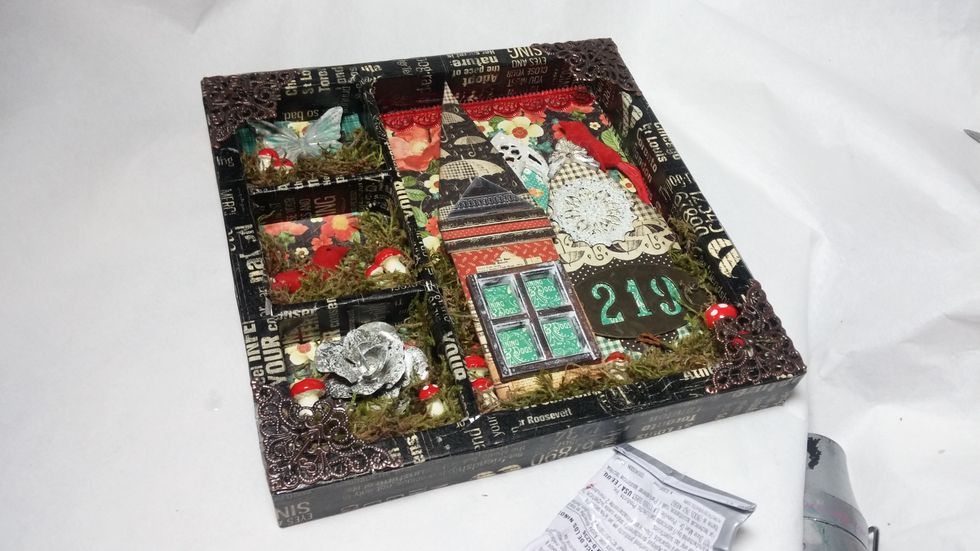
To add a finished edge, I glued down some metal filigree corners. I love how these frame out the assemblage.
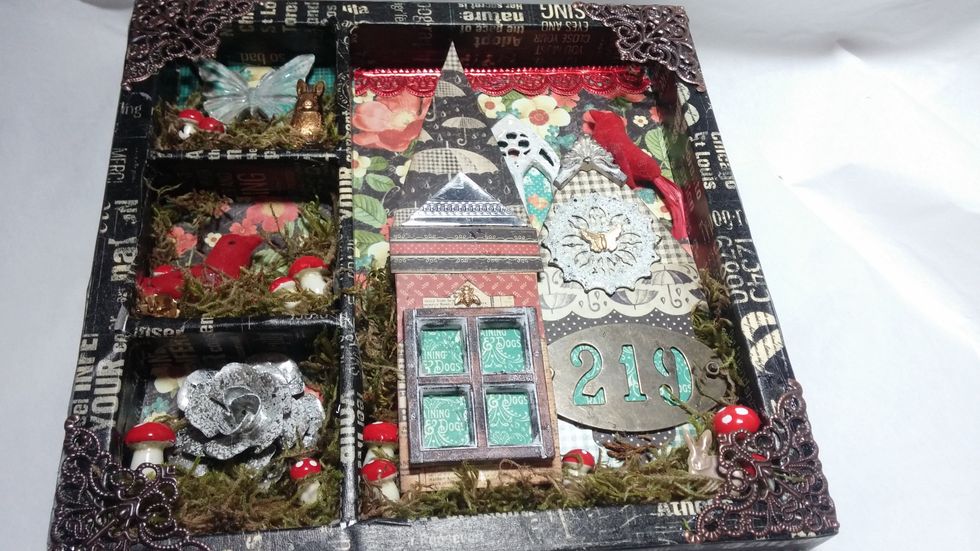
Last, I added a few more special finishing touches. Tiny brass elements (isn't that bunny cute) and some red Dresden borders add those special detailed touches that make this piece interesting.
Now enjoy your lovely piece of whimsical home decor!