The Conversation (0)
Sign Up
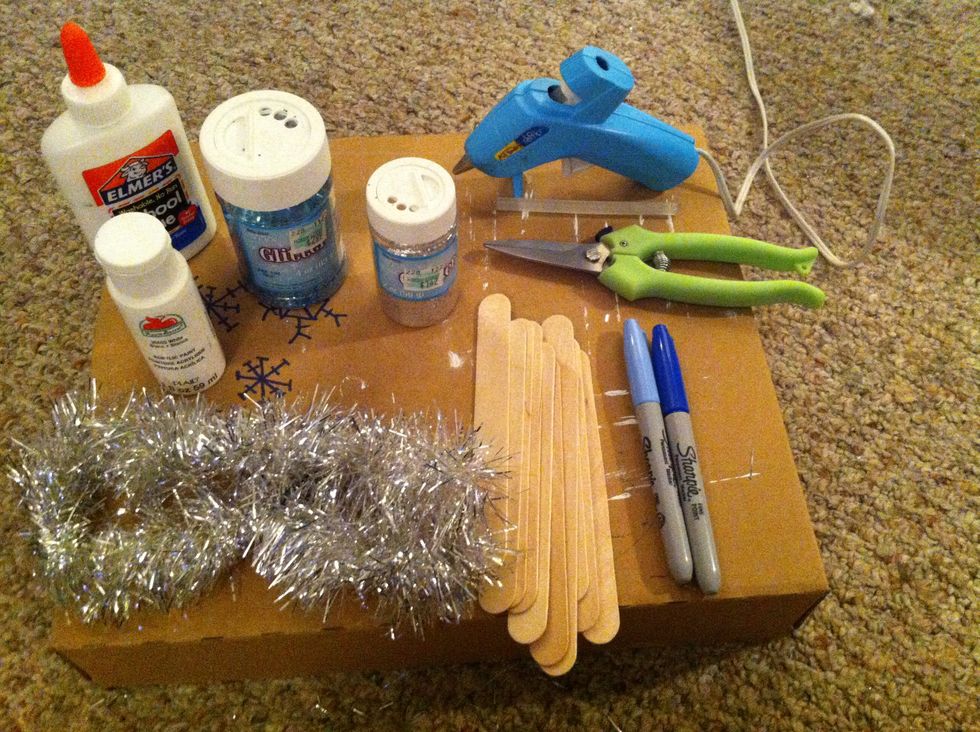
Gather your supplies! Its time to get crafty!

First things first, take your 10 popsicle sticks and use 4 to start building a frame for your sign.
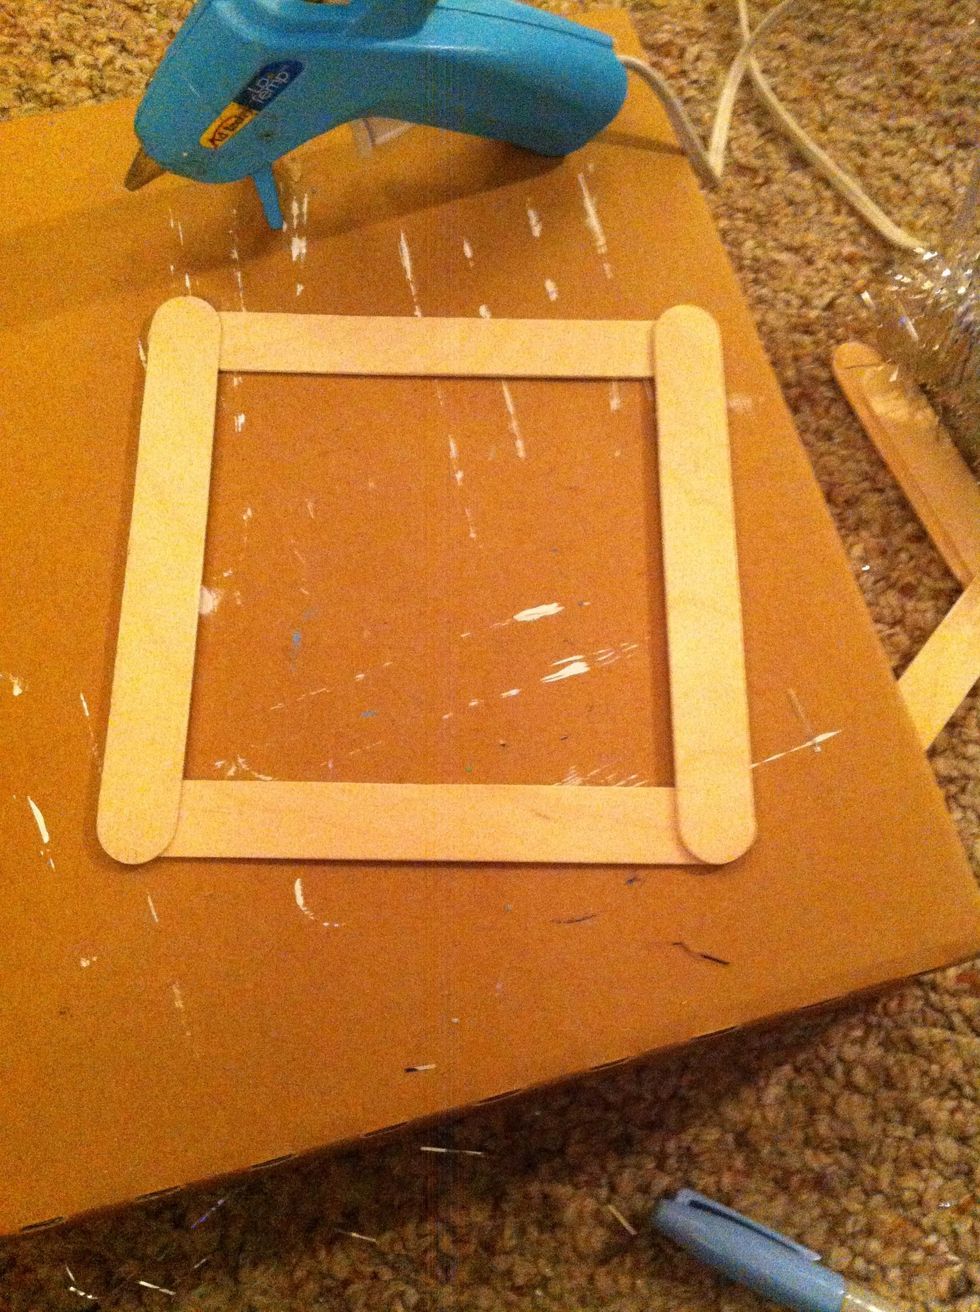

Be aware of your placement. You are using the outside sticks as your frame. So you are technically building your sign from back to front by the time you are finished.
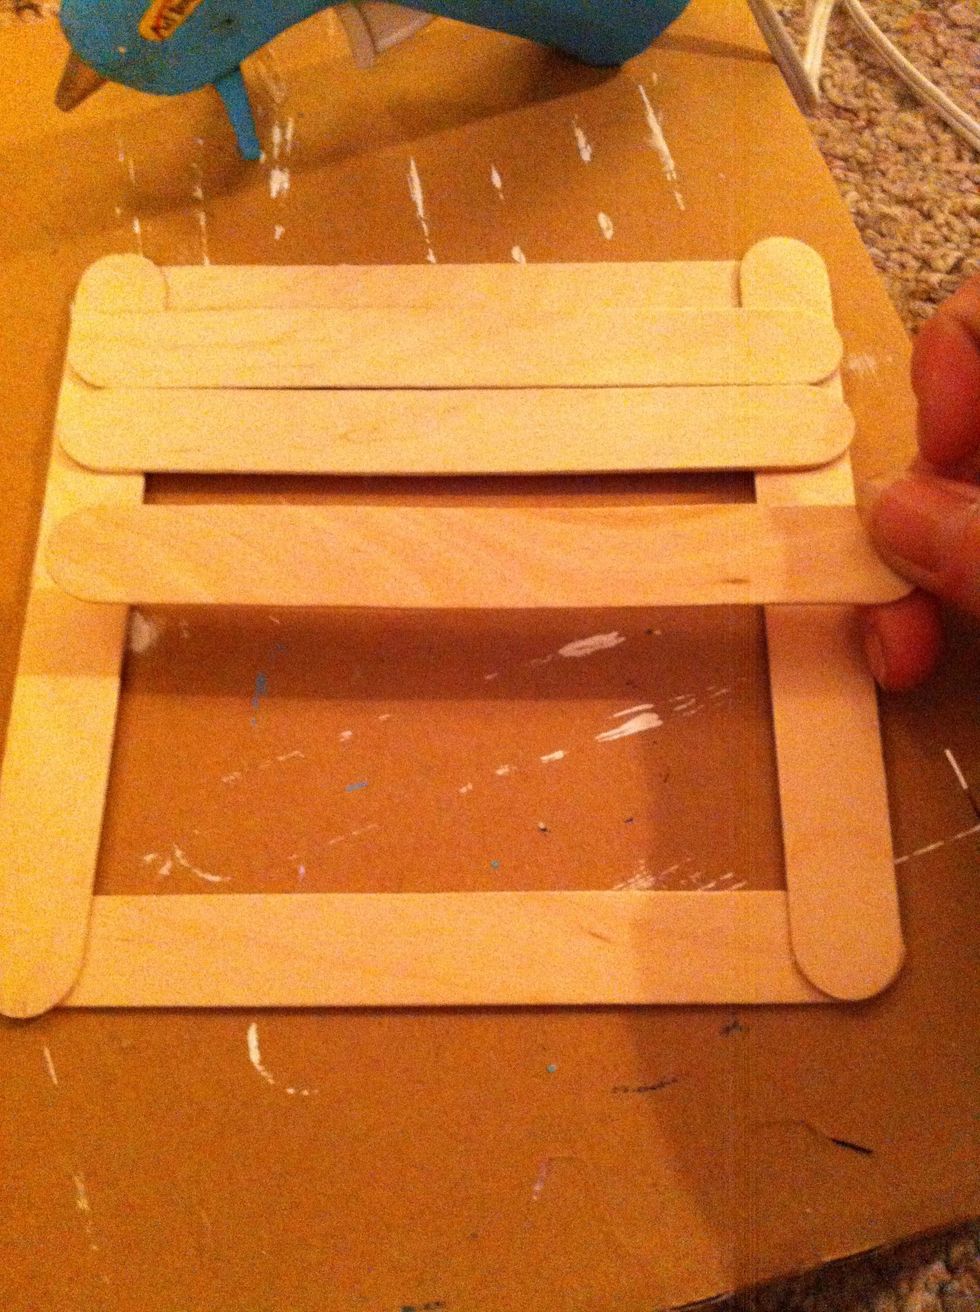
Continue placing the remaining 6 Sticks to the back of your sign.

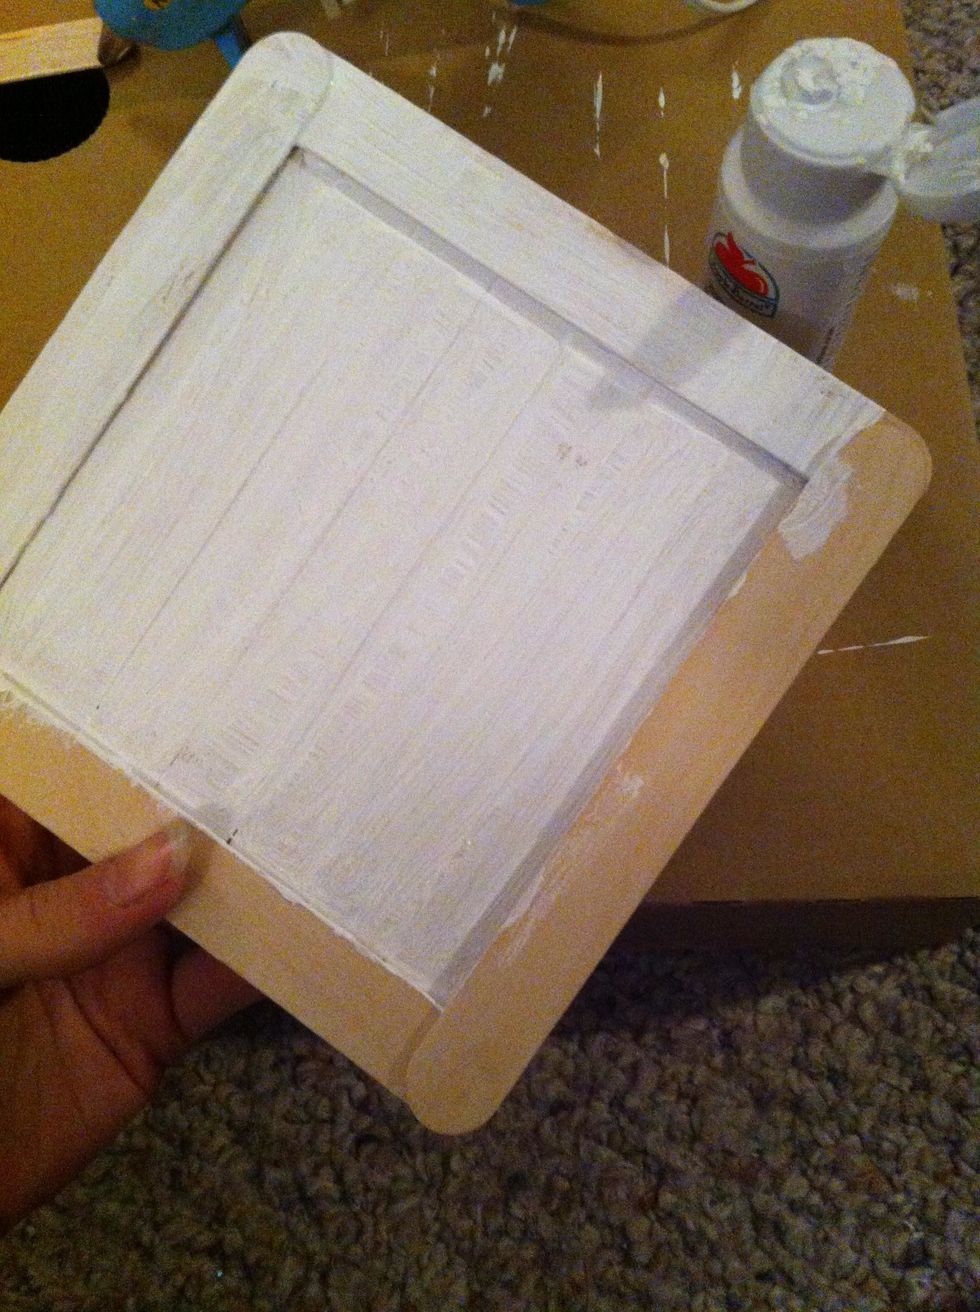
Once you have finished placing and gluing the sticks, flip it over and begin to paint it. You can use what ever color you would like. I chose white.

It will probably take 2 coats to cover it well. It did for me.
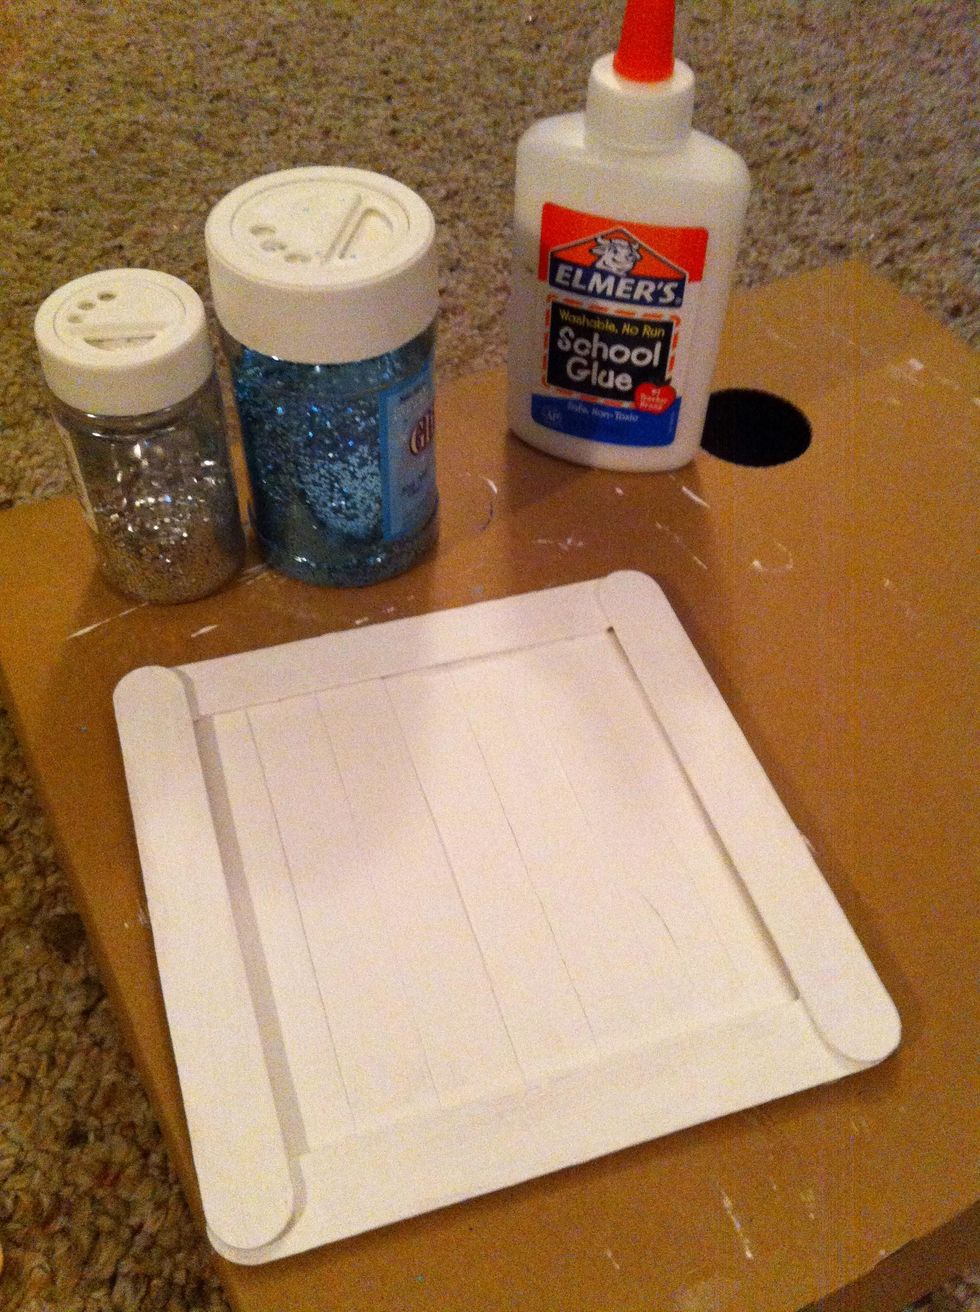
Choose your glitter color and grab your Elmer's glue. Time to make it look like a Fairy exploded everywhere!
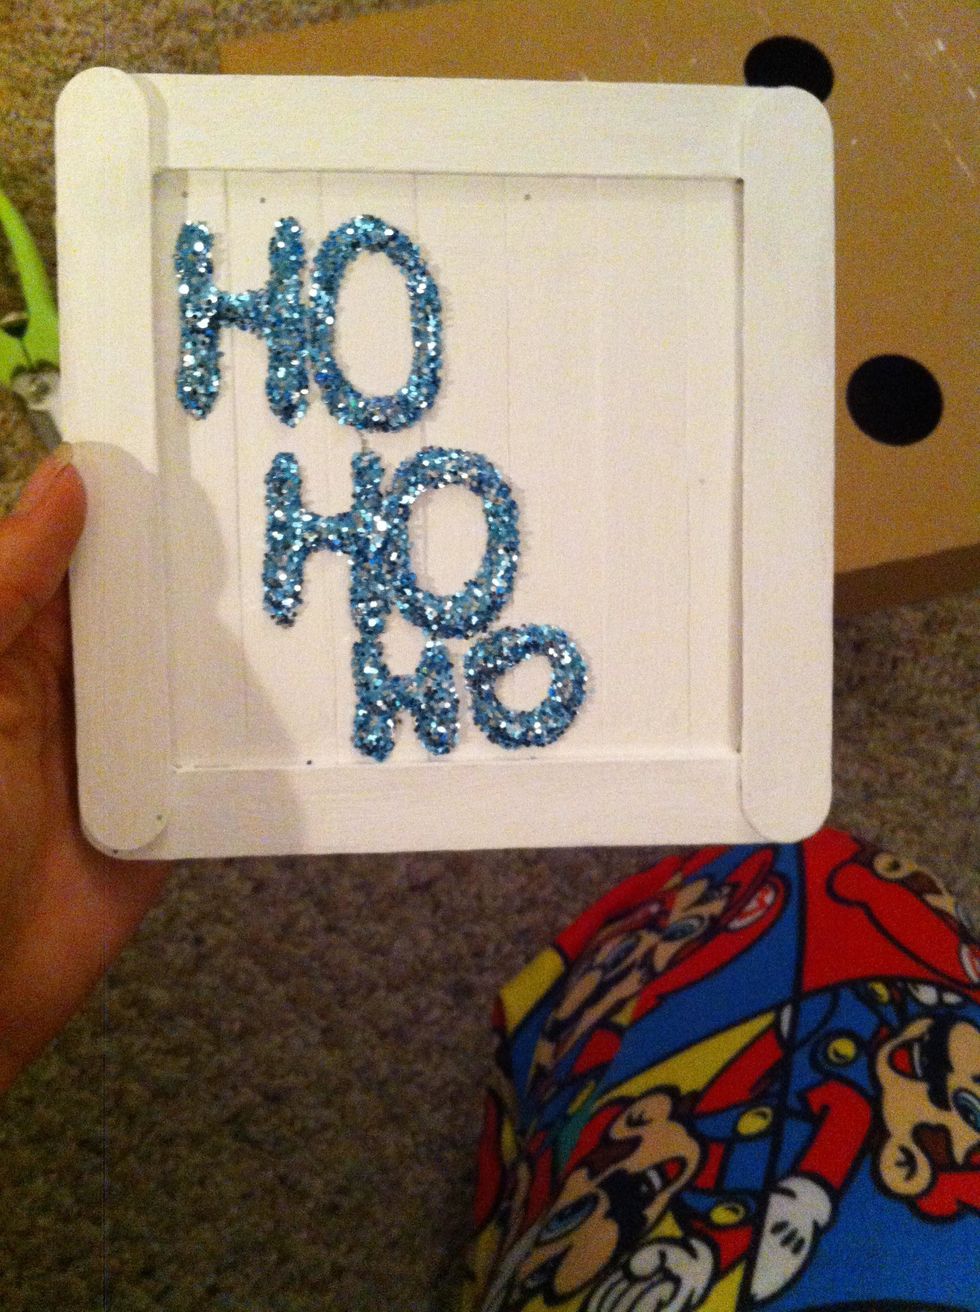
Think of a Holiday saying or phrase that you like and write it out in Elmer's glue. Then cover it in glitter and dust off the excess.
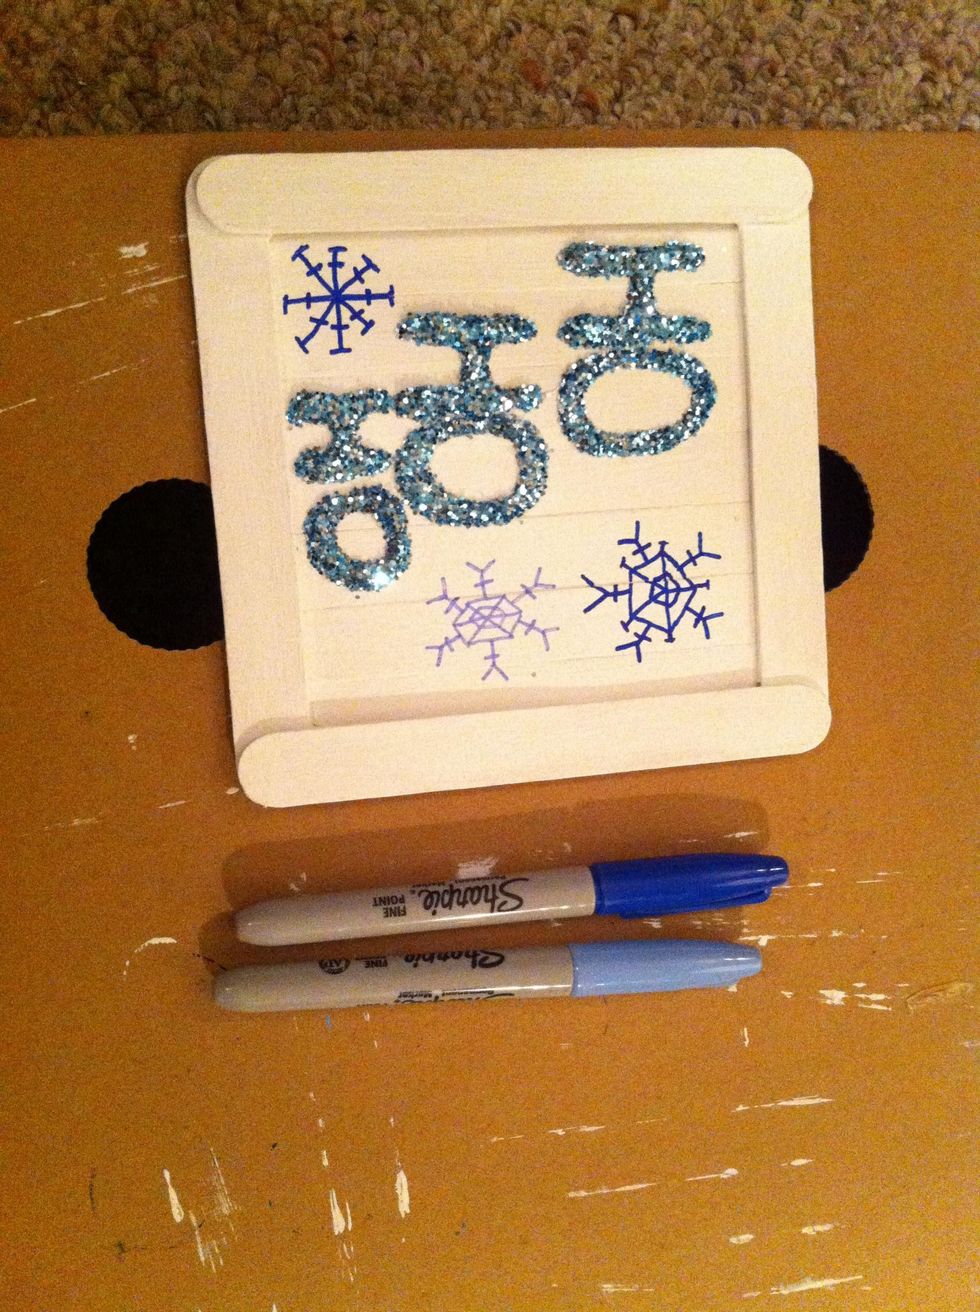
I used Sharpies, but you can use paint pens too. Draw some seasonal pictures on your sign. I chose snowflakes!

We're almost done! Time to add the garland to finish this off! Hot glue the garland to the outside of the frame.
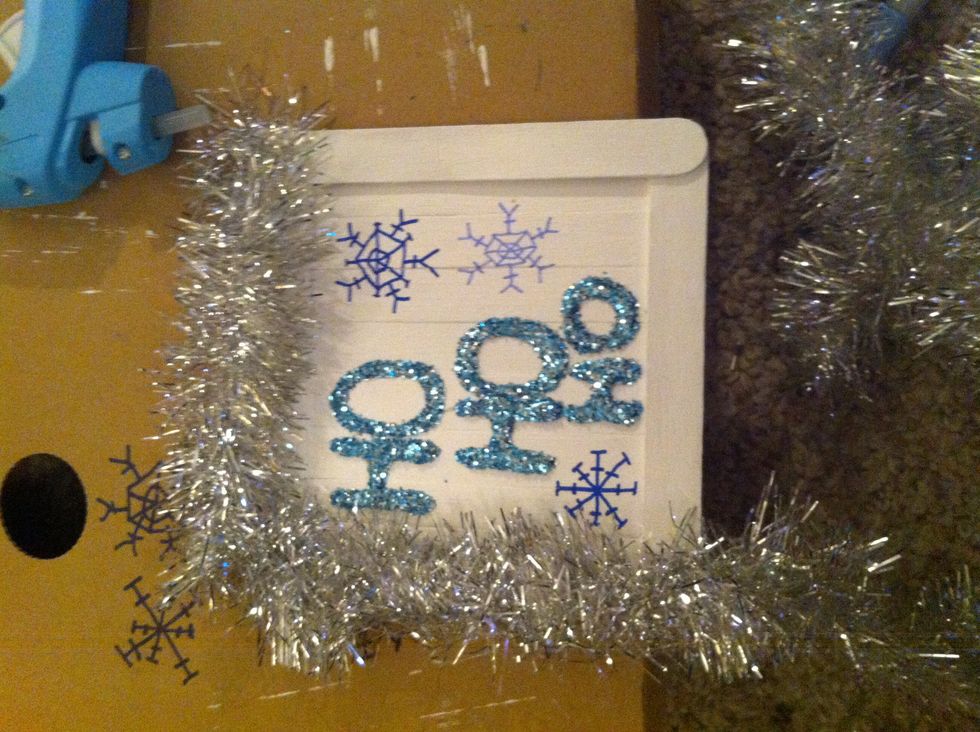
I cut each side individually. It made it easier for placement.
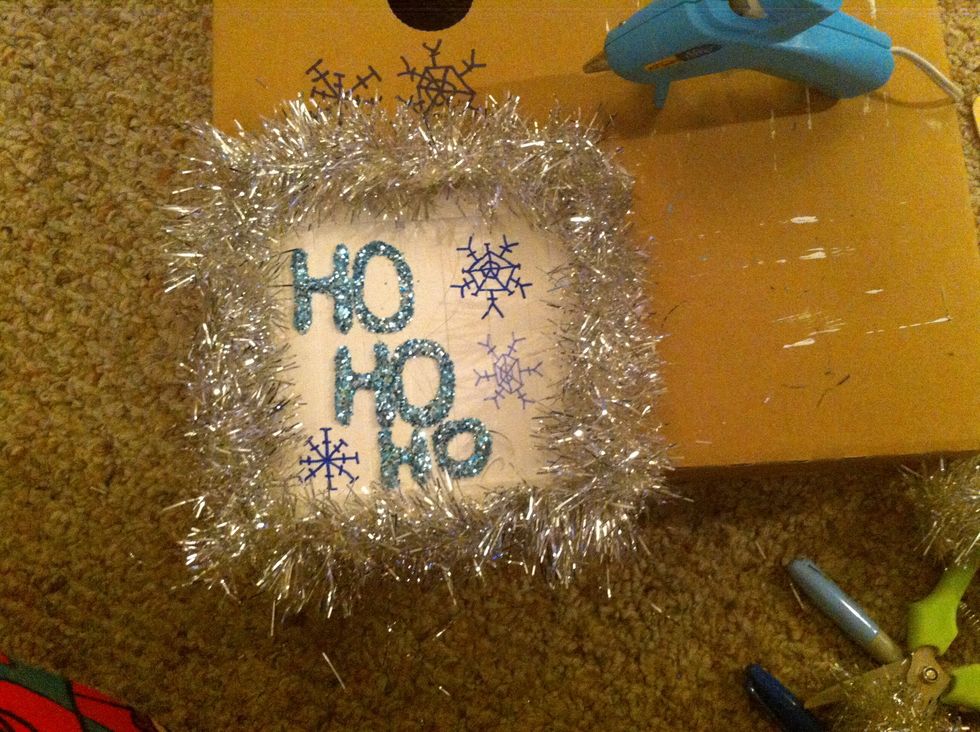
And there you have it! A simple Holiday sign. I plan to put mine on the mantle. Enjoy! :)