The Conversation (0)
Sign Up
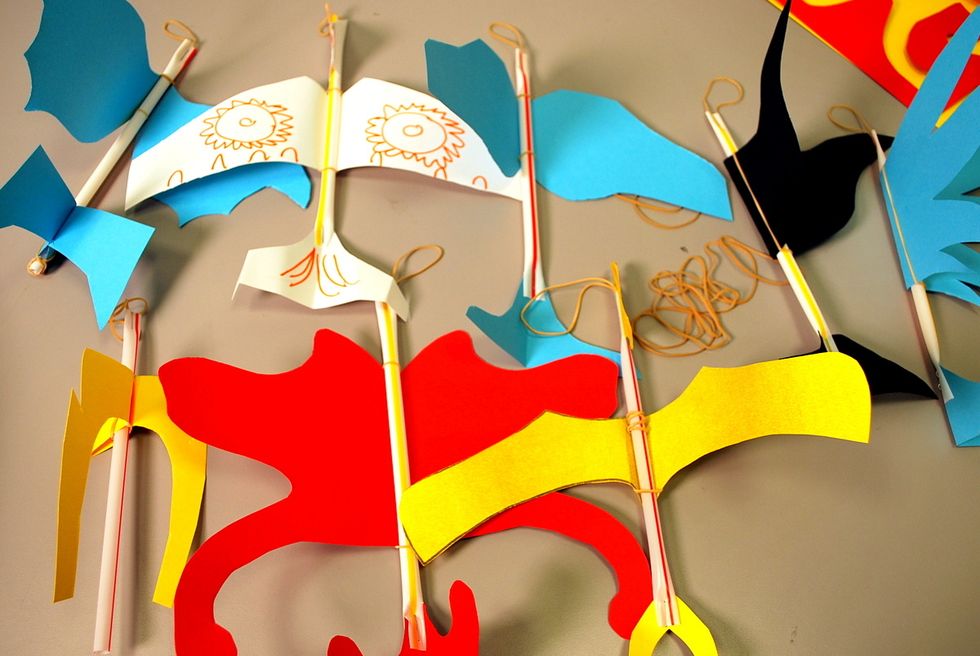
Here are some wonderful examples of Slingshot Gliders! It's great to have a few pre-made gliders as examples.
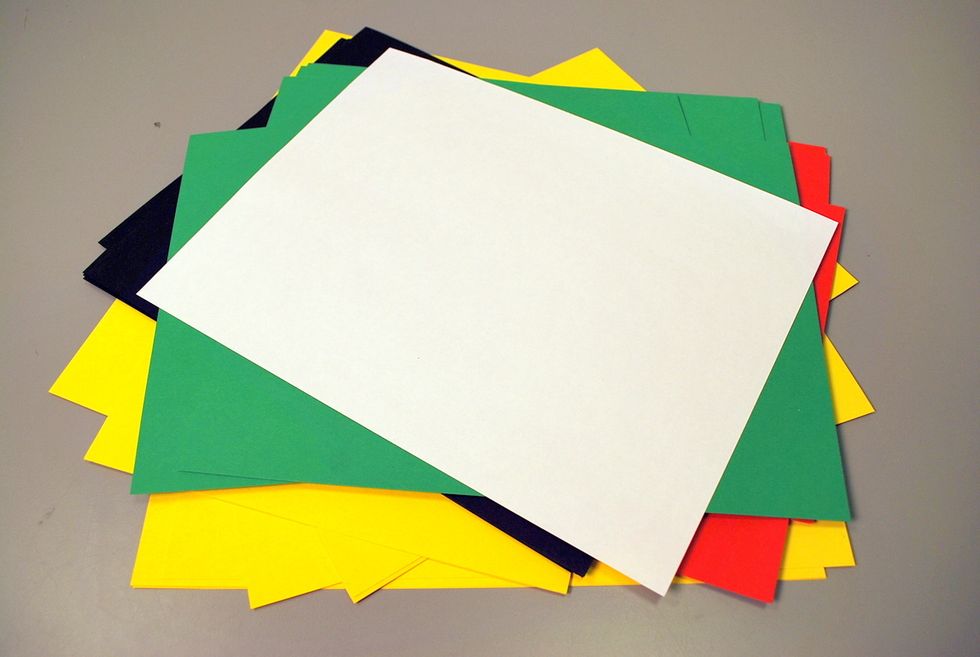
We love using brightly colored blank cover stock. (You can create a template by outlining wings and a tail on a 1/2 side of the folded paper)
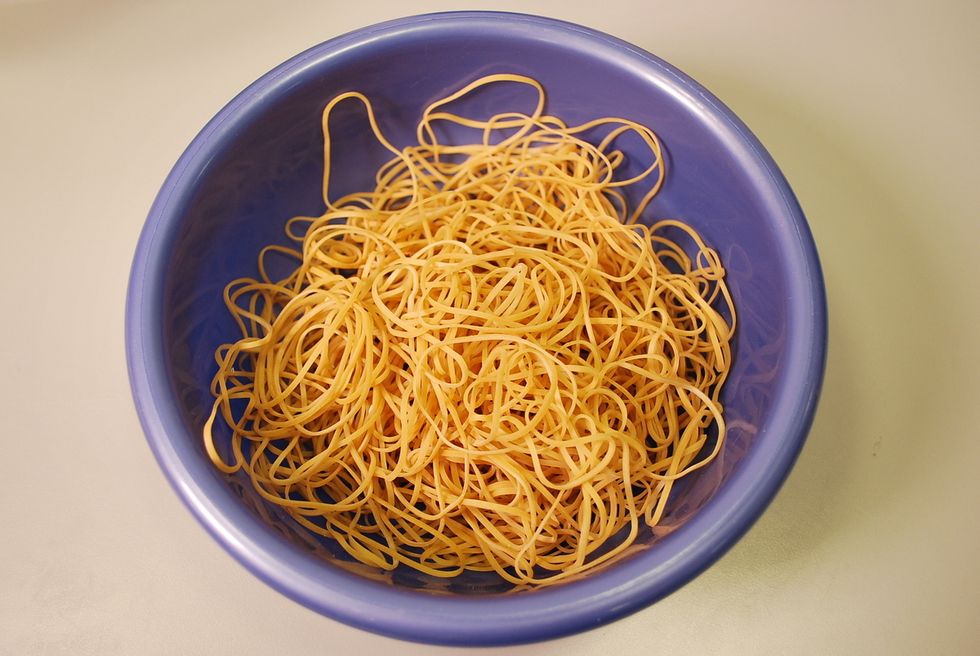
Regular thin rubber bands

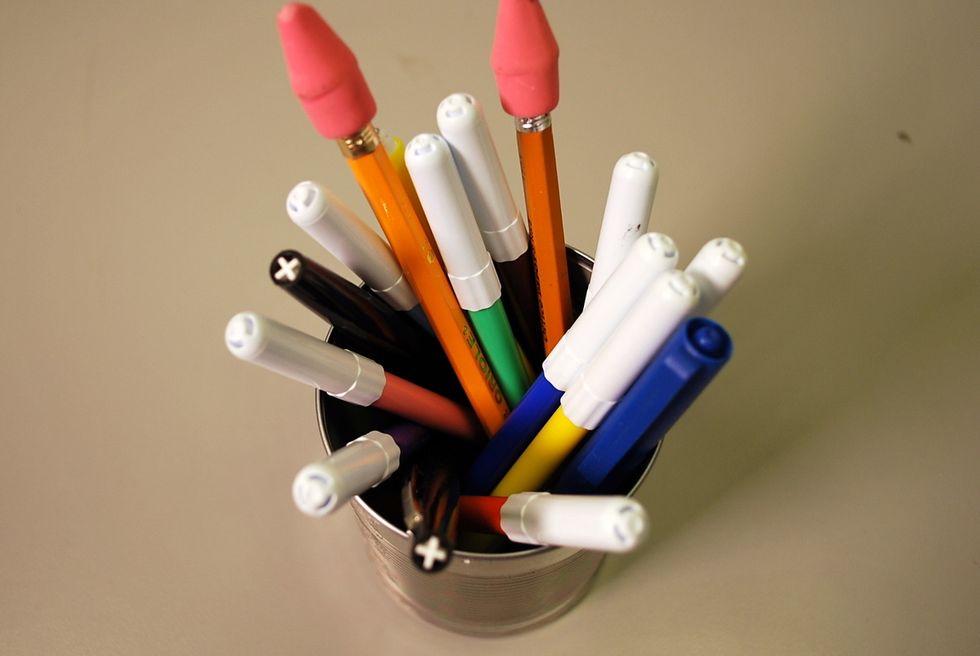
Pens and pencils to decorate
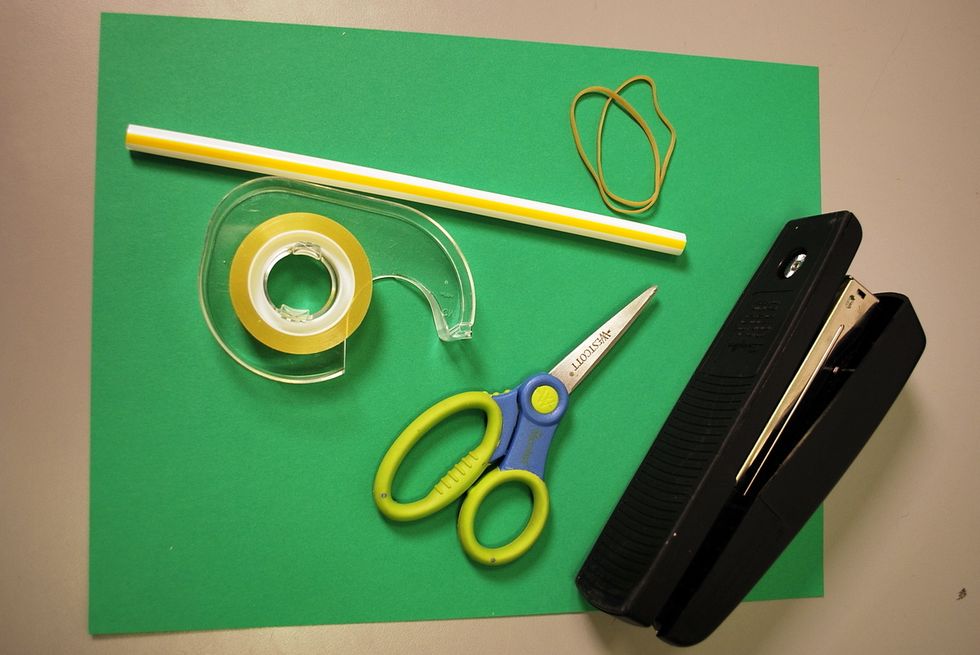
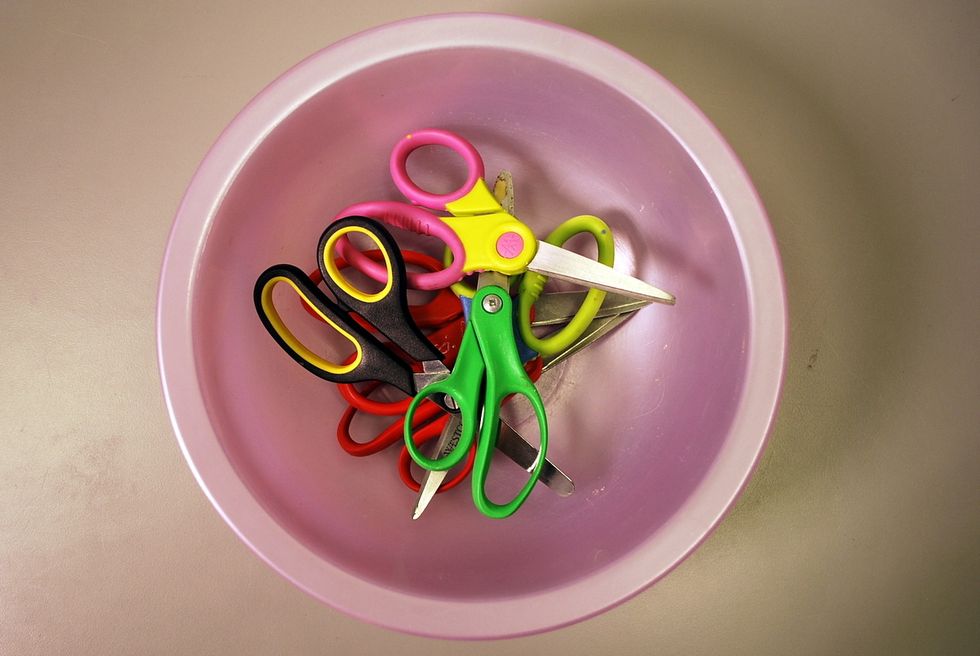
To get started you'll need paper, a staw, two rubber bands, scissors and a stapler.
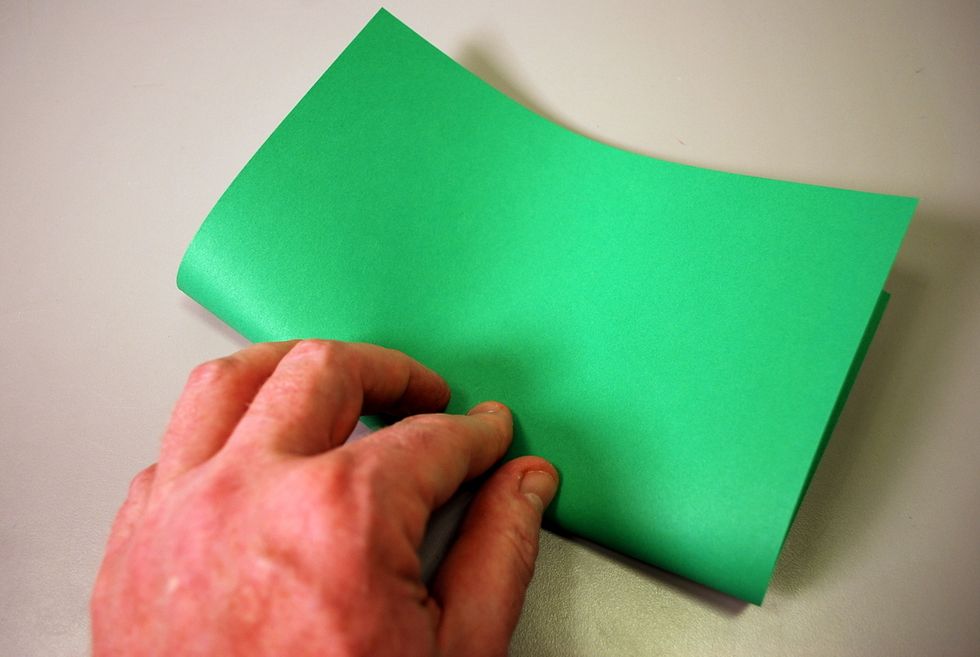
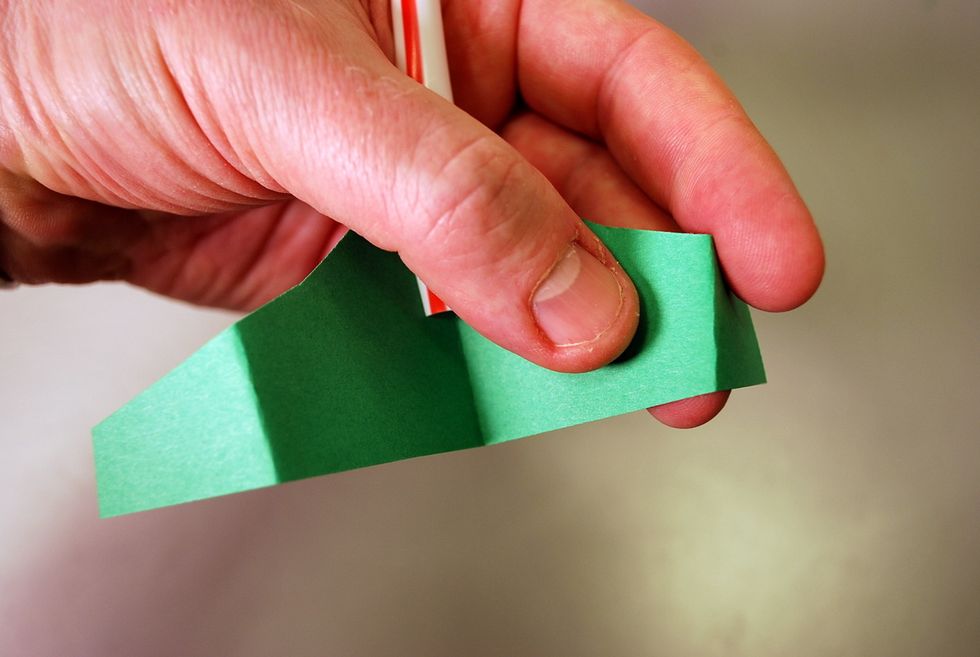
Fold the piece of cover stock in half - "hamburger" style.
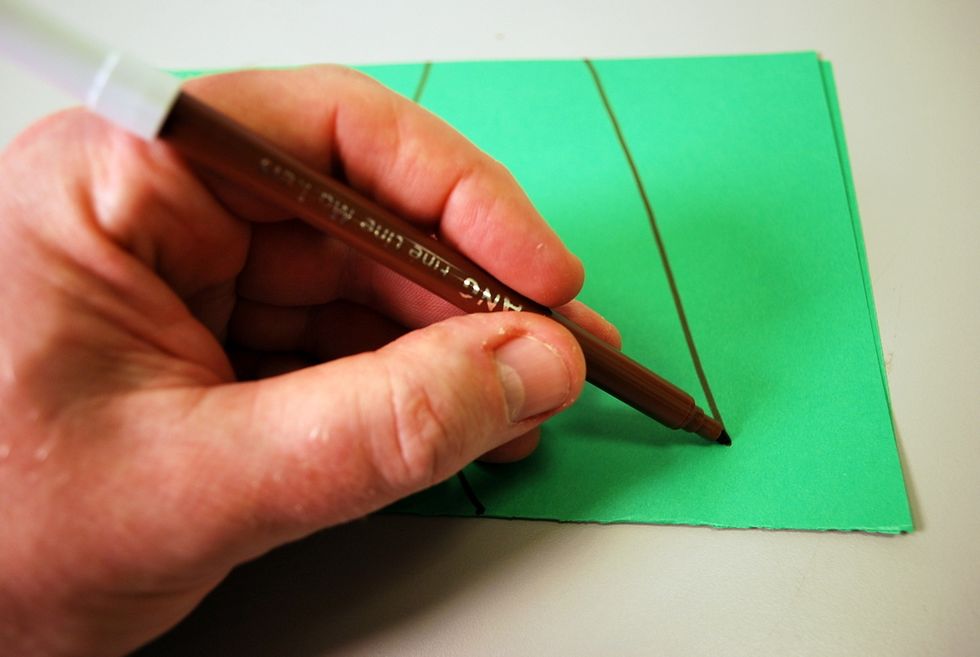
You can cut freehand or draw a wing and a tail shape on the folded paper.
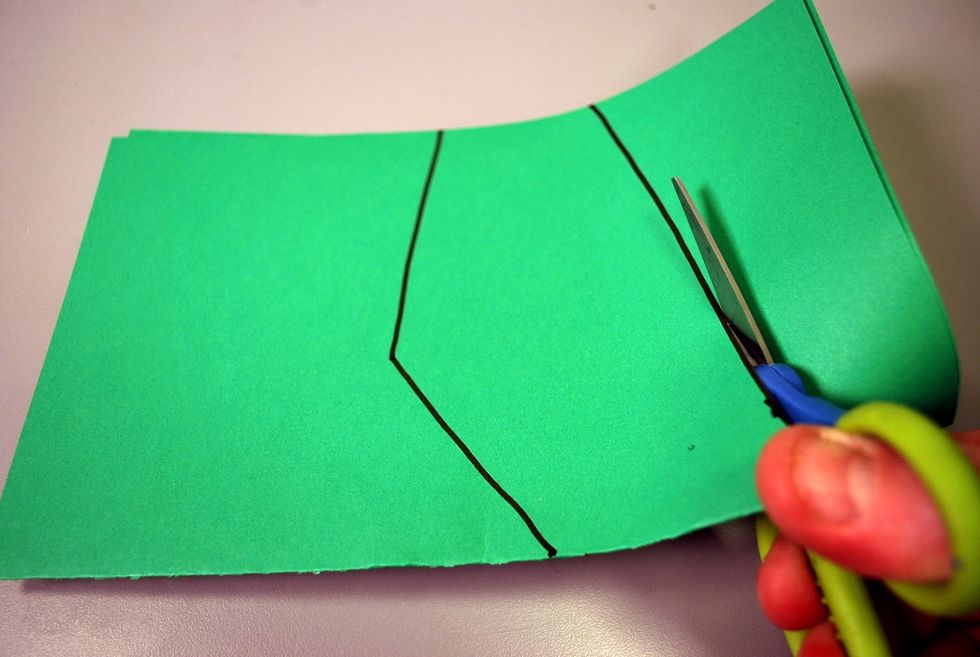
Cut them out of the same piece of folded paper
Make sure not to cut through the paper fold connecting the two wing parts or the sides of the tail.
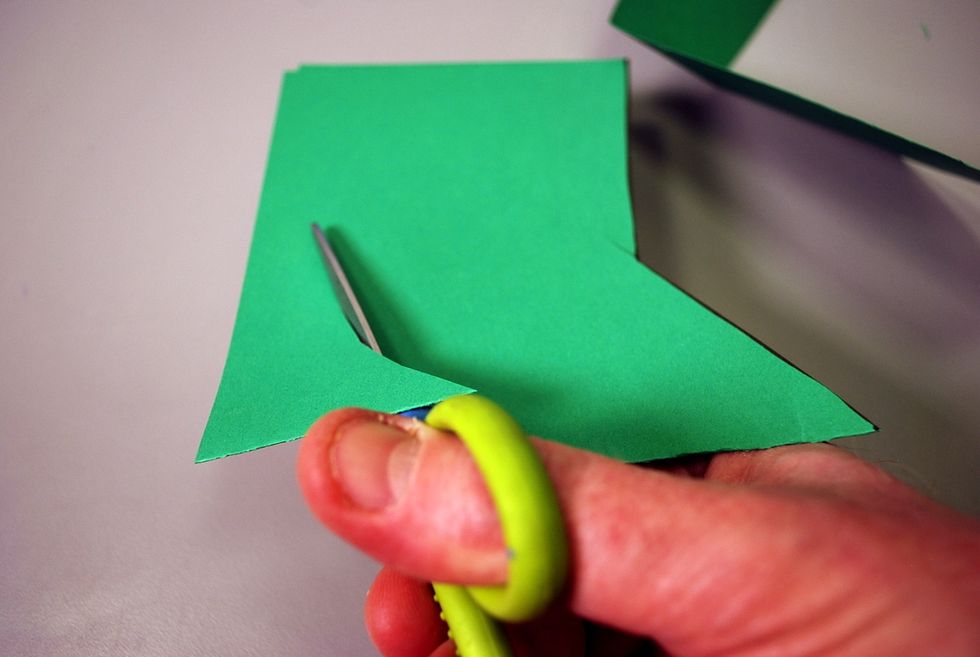
Cutting the tail.
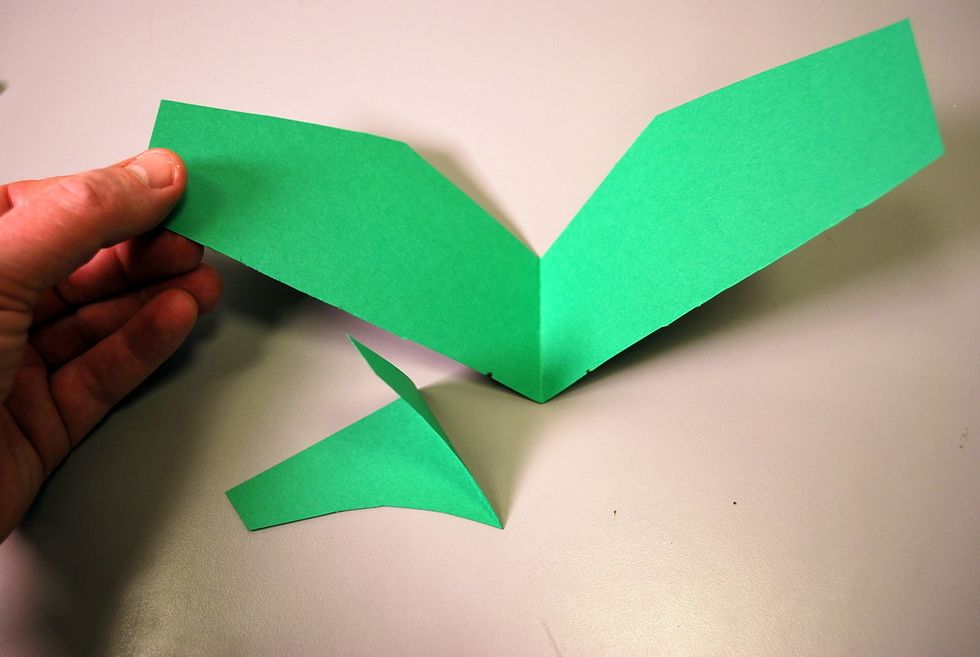
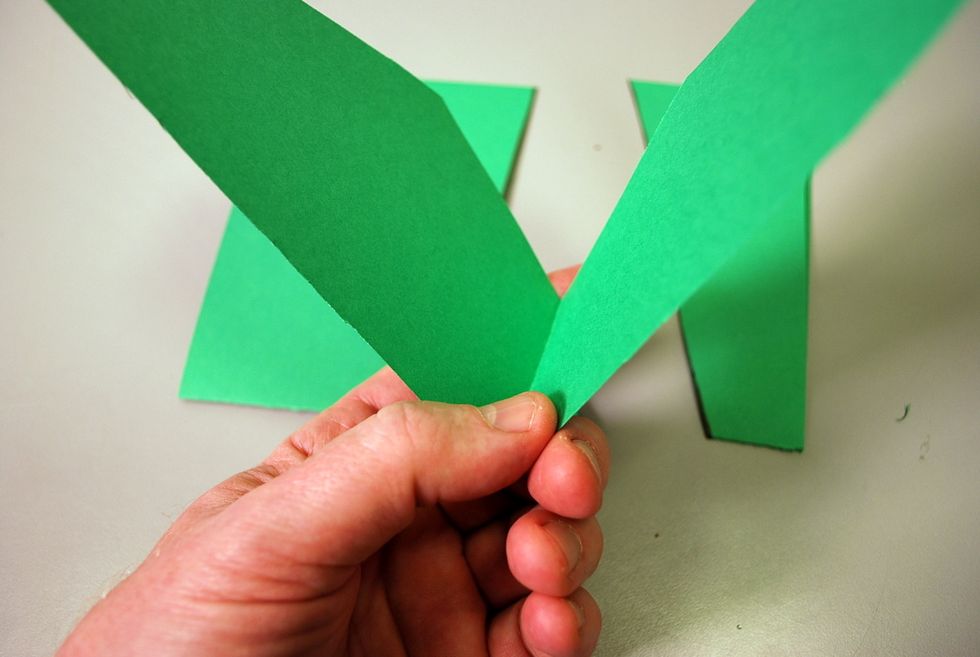
Now you should have a pair of wings and a tail
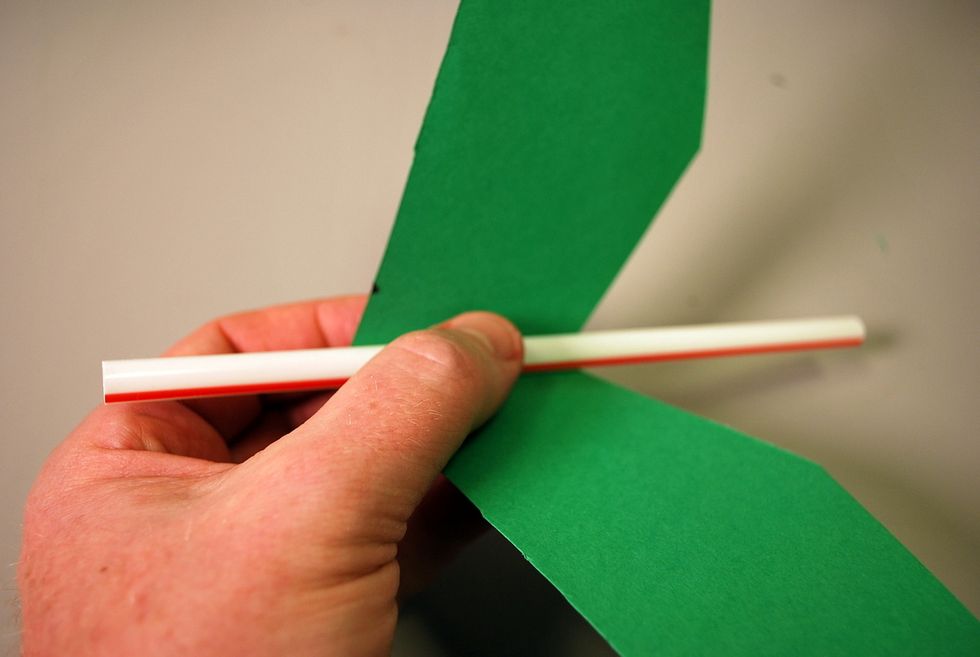
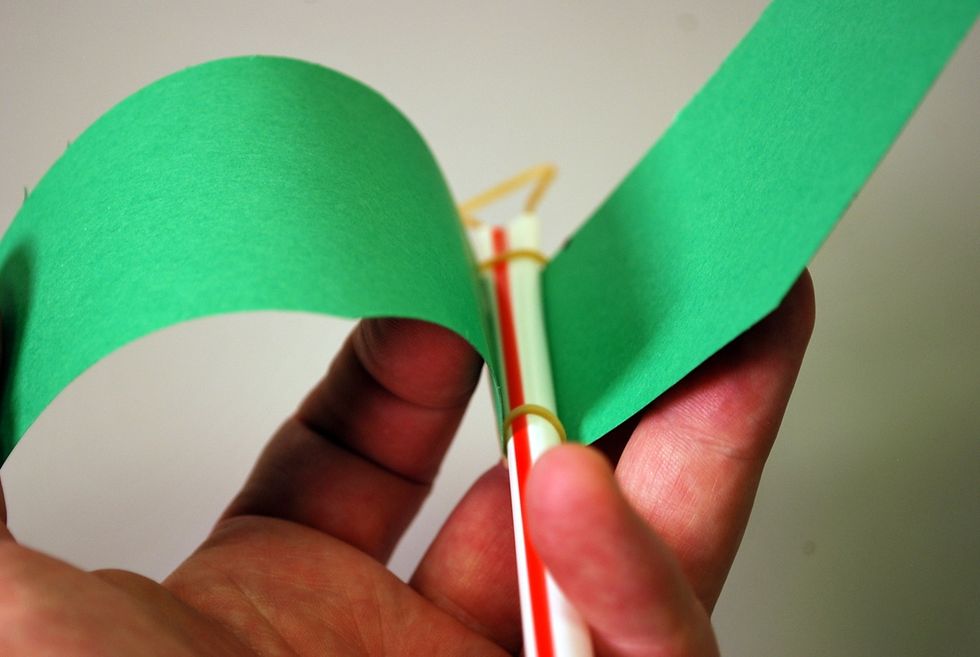
Unfold the wings then place a straw inside of the fold.

Slide one end of the rubber band on the straw down to the wing.
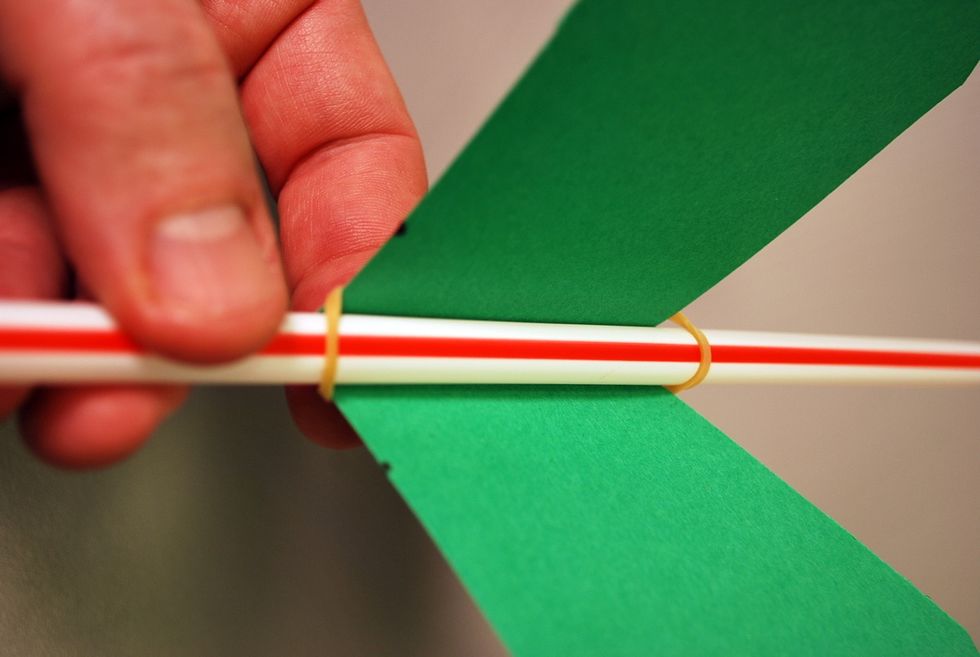
Then, stretch the rubber band over the paper fold in back and around the other end of the straw.
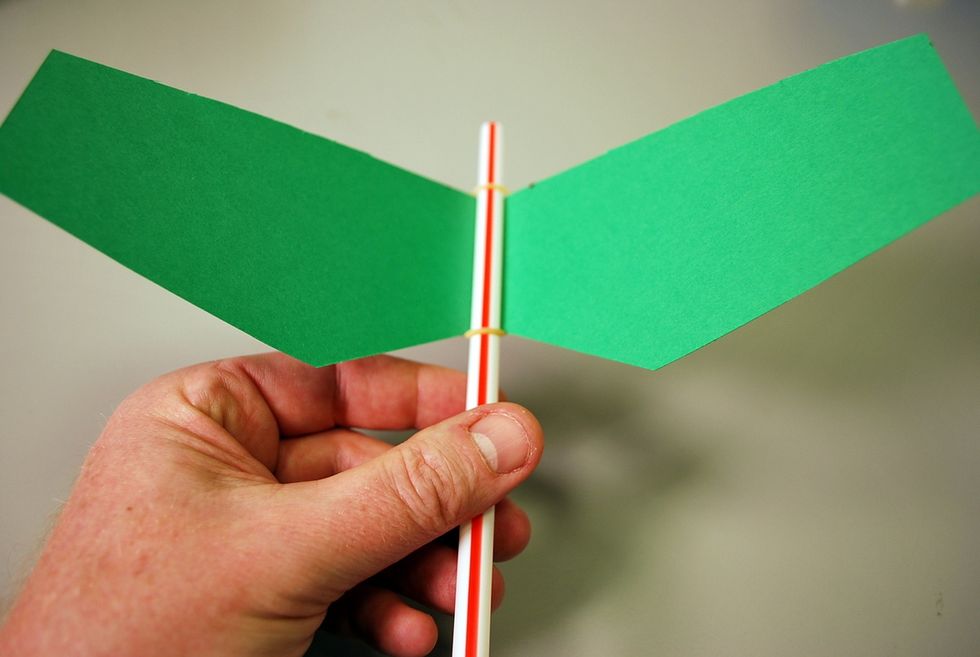
This is a great way to hold the wings in place!
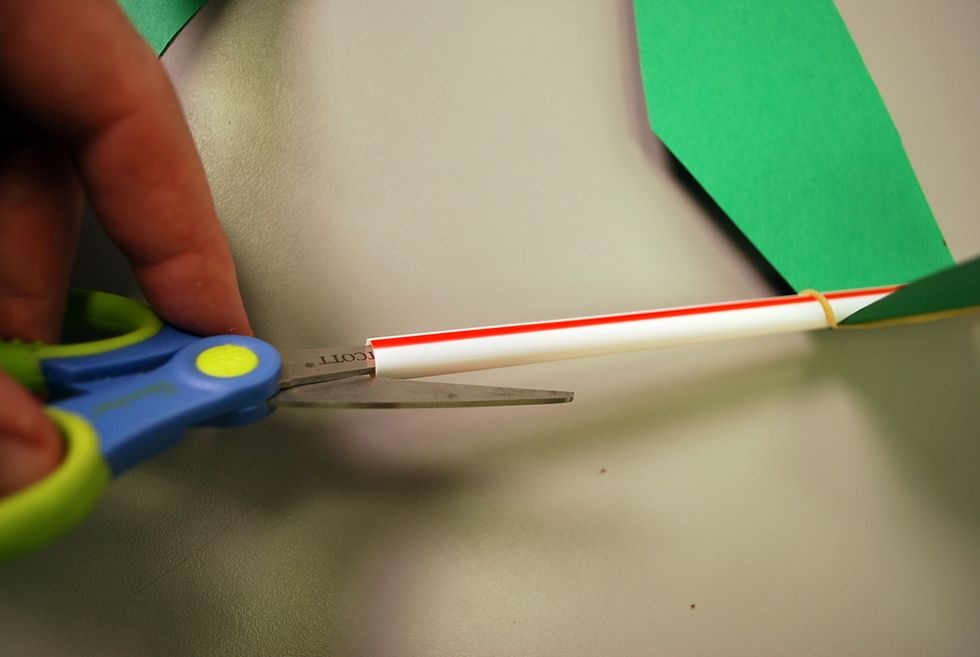
On the back end of the straw (based on what direction you put the wings) snip the end of the straw (about half an inch)
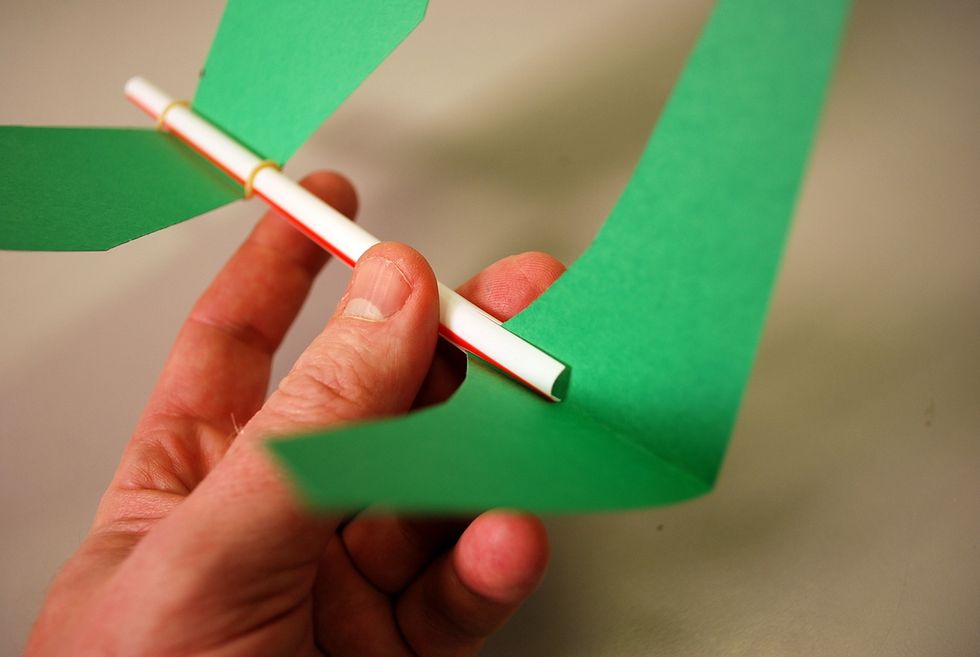
Slide the tail inside the cut staw.
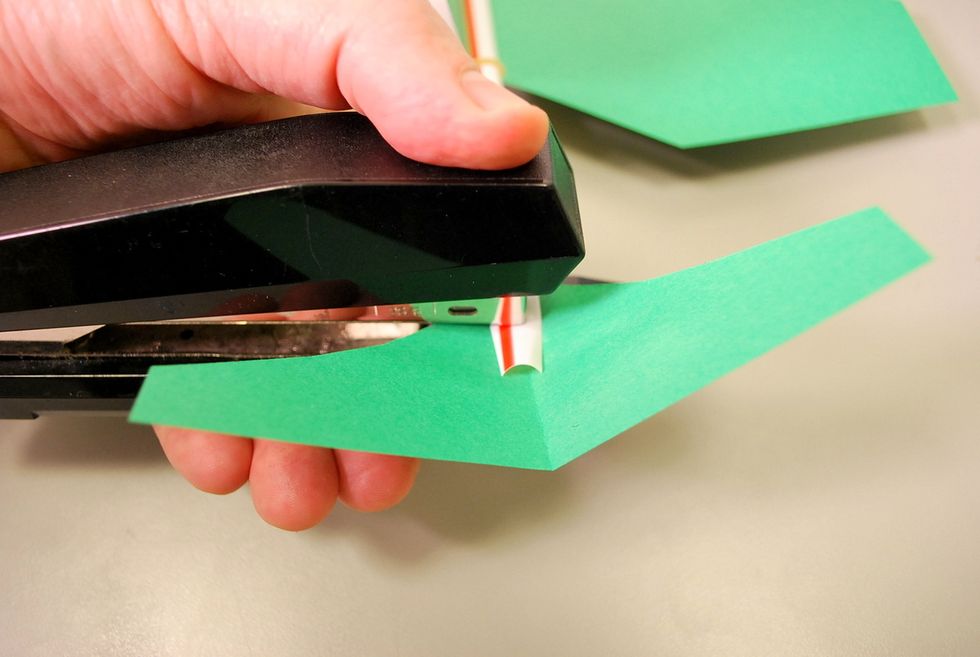
Once you have the tail in place, staple it through the straw end
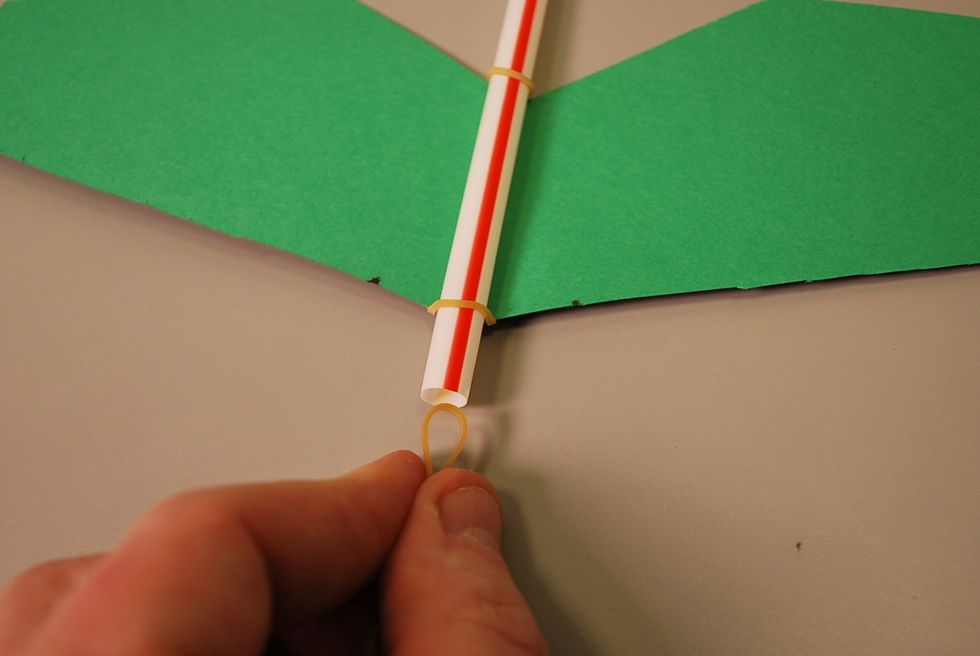
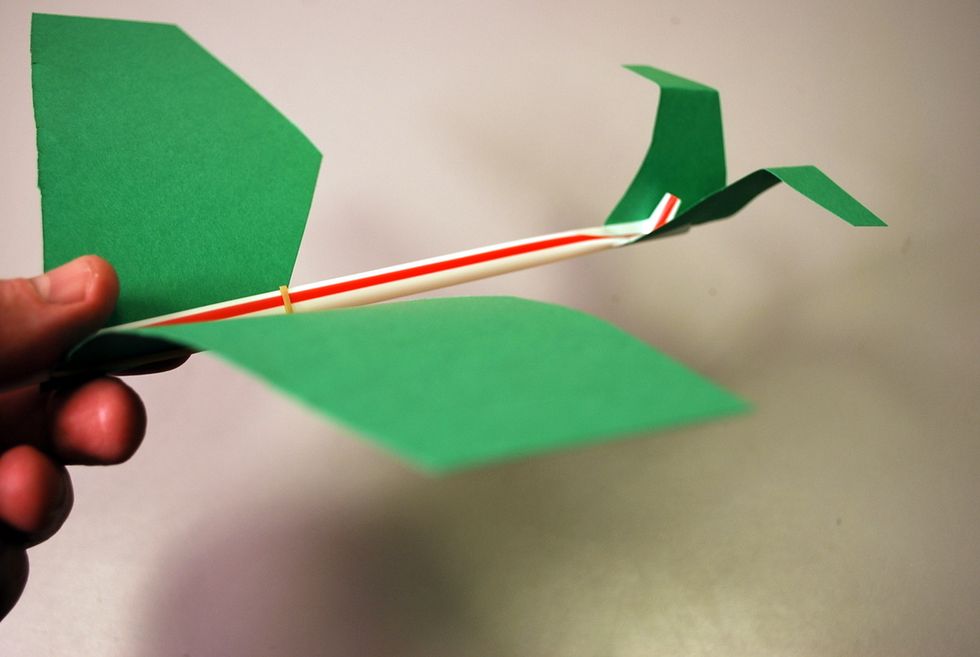
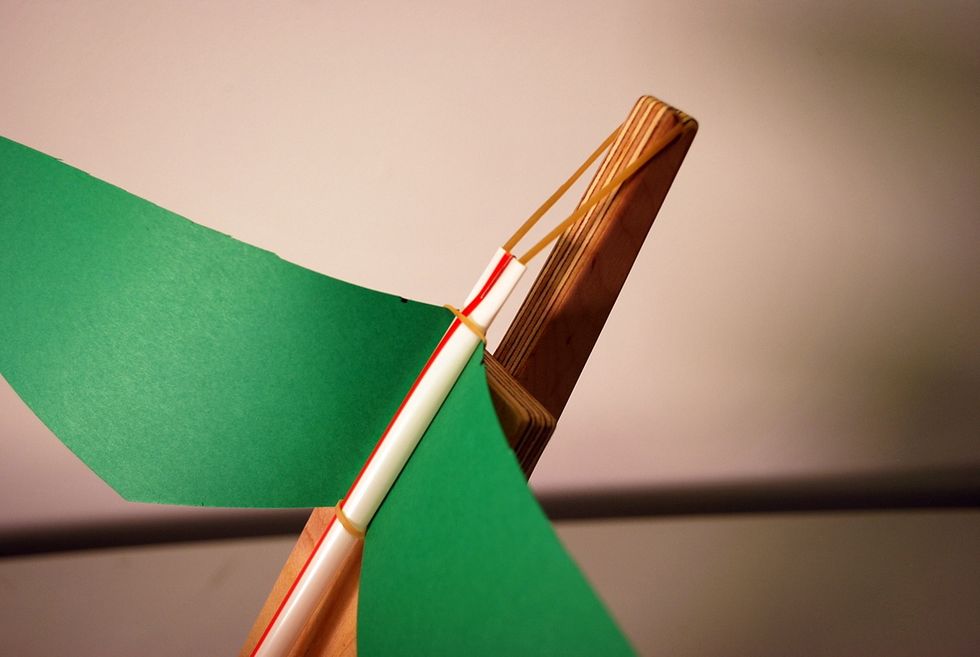
Place rubber band for launching into the other end (the front) and staple it in place
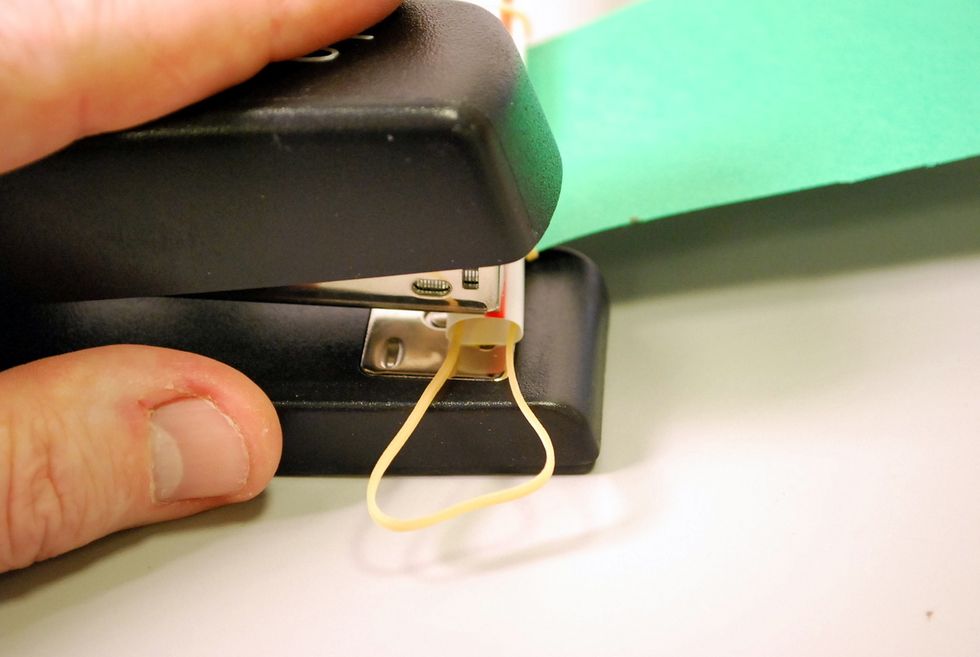
We try to staple in the center of the straw and not through the rubber band.
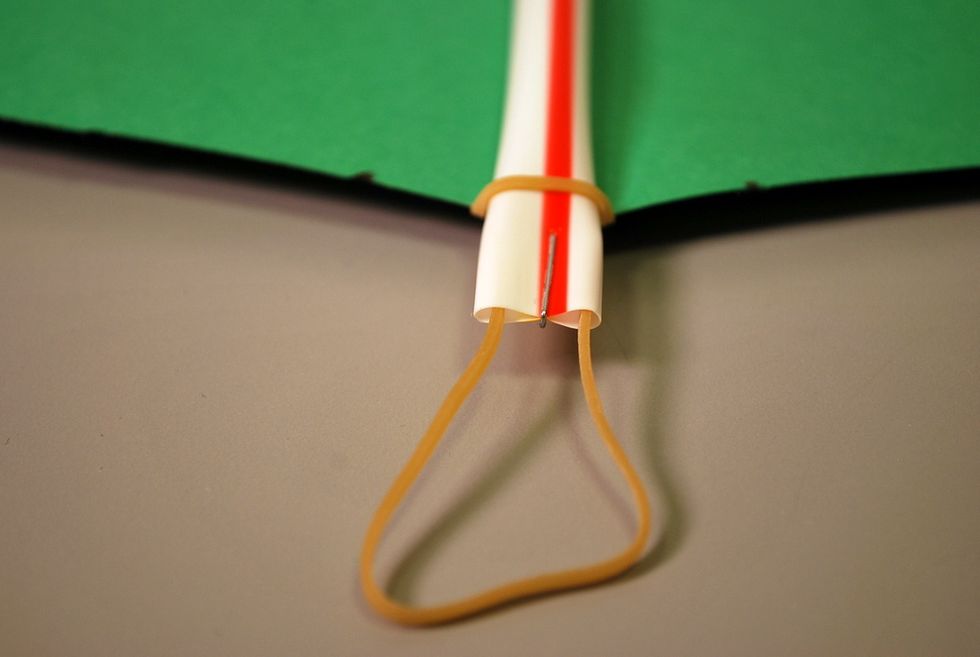
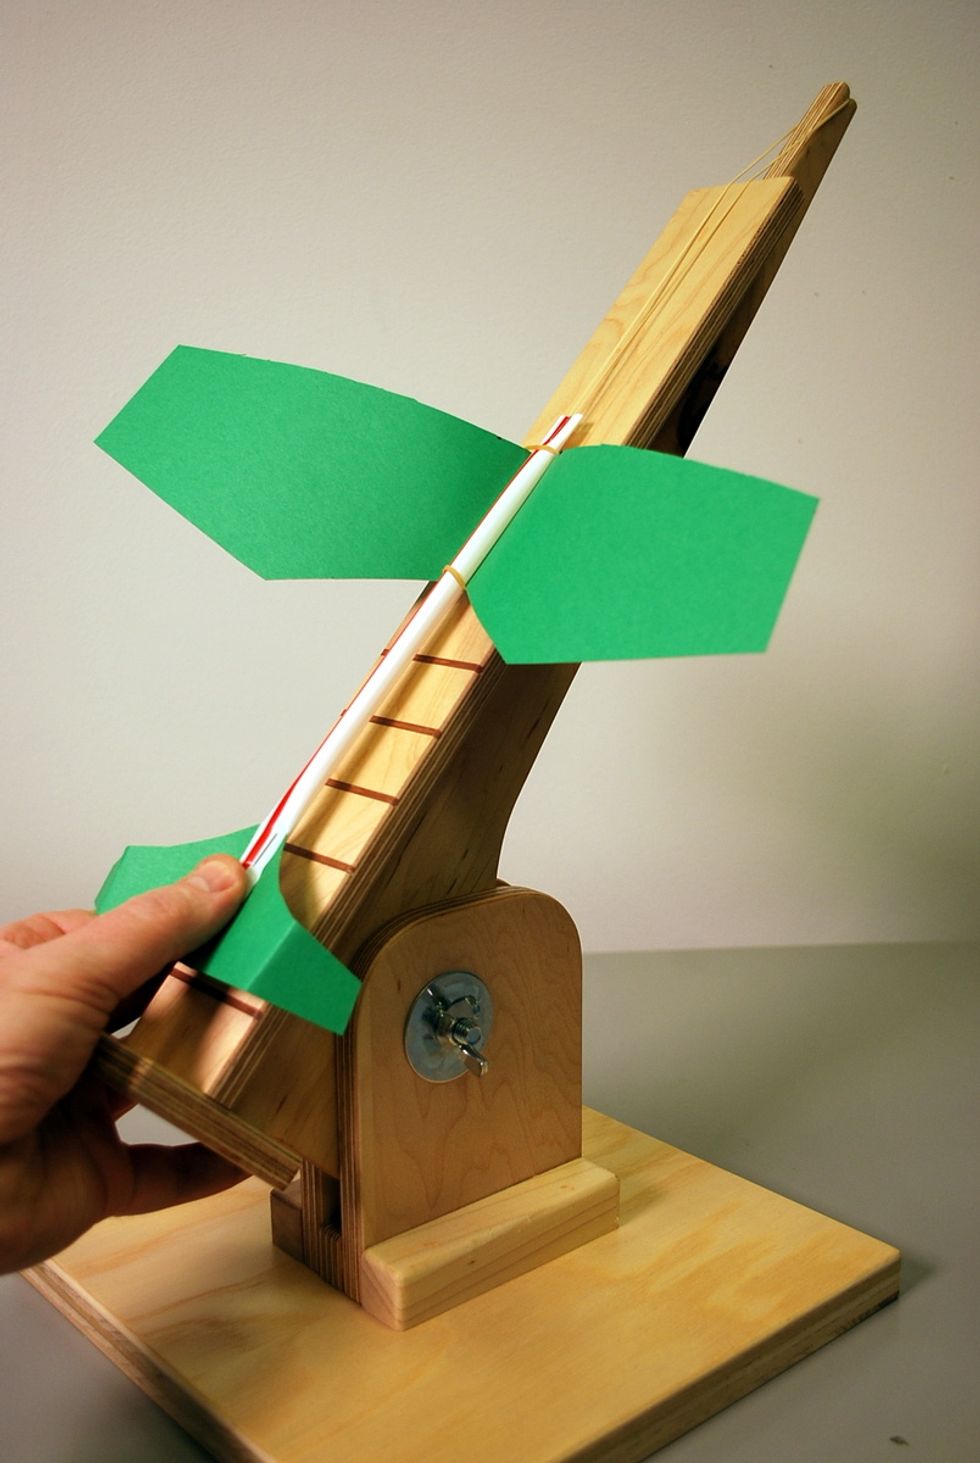
It should look similar to this image
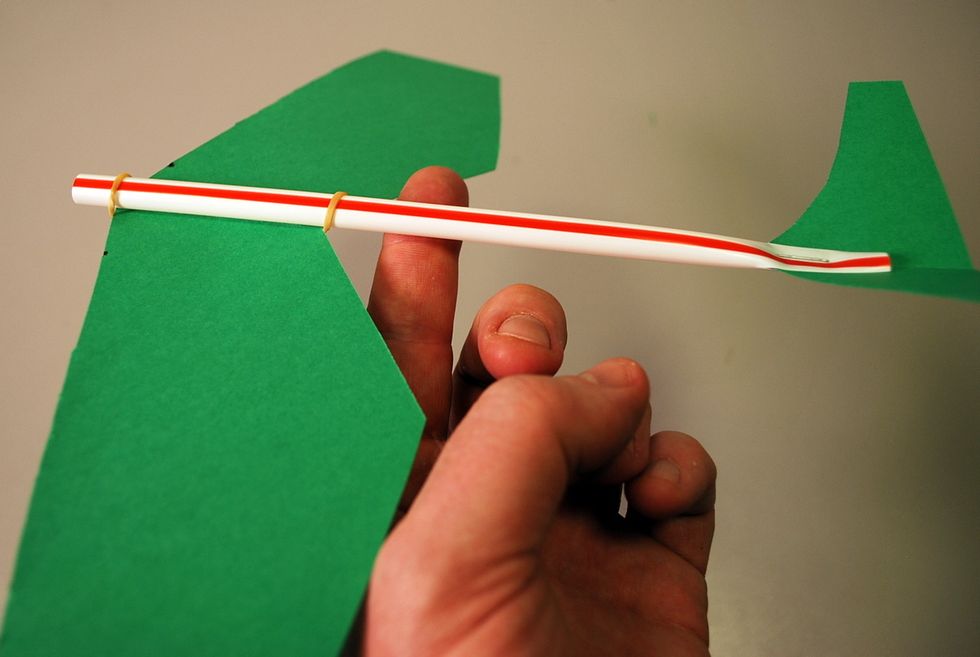
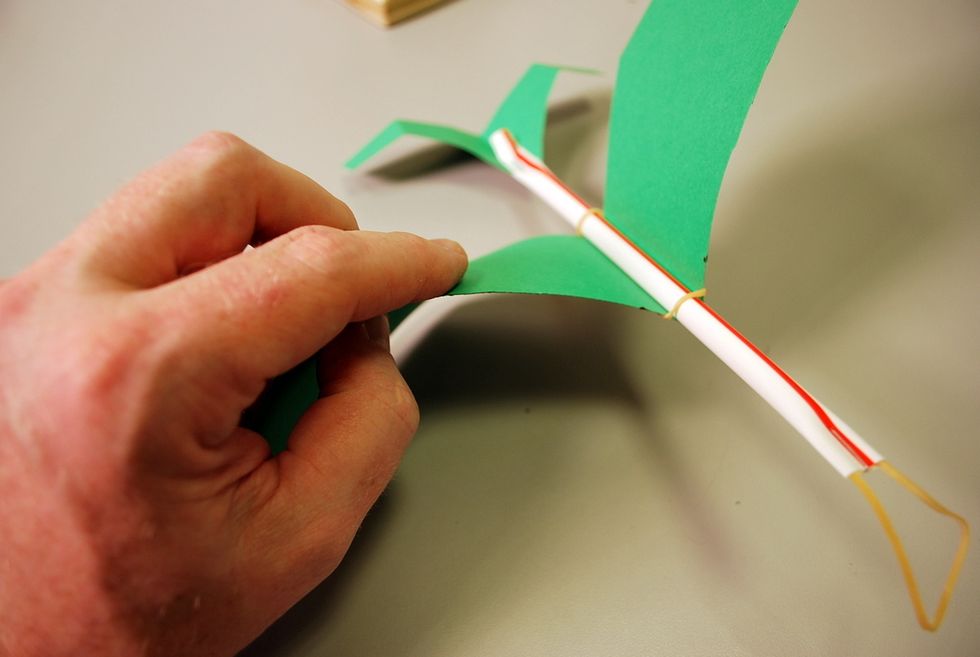
Some final adjustments: Balance your glider by resting it on your finger and moving the wings until they are centered and the glider does not tip off.
Curve the wings to create more lift, and add folds to the tail to create changes in the shape of them that you can use to control flight direction.
Make final adjustments to the wing and tail surfaces.
You should be ready to test!
You might add a little curve and twist to the wings.

We build wooden launchers for using in our program (you can use a ruler or even your thumb). The launchers are clamped down at the corner of a table using quick-release clamps

Once it’s clamped down, adjust the angle upwards. There are thumbscrews for hand tightening.
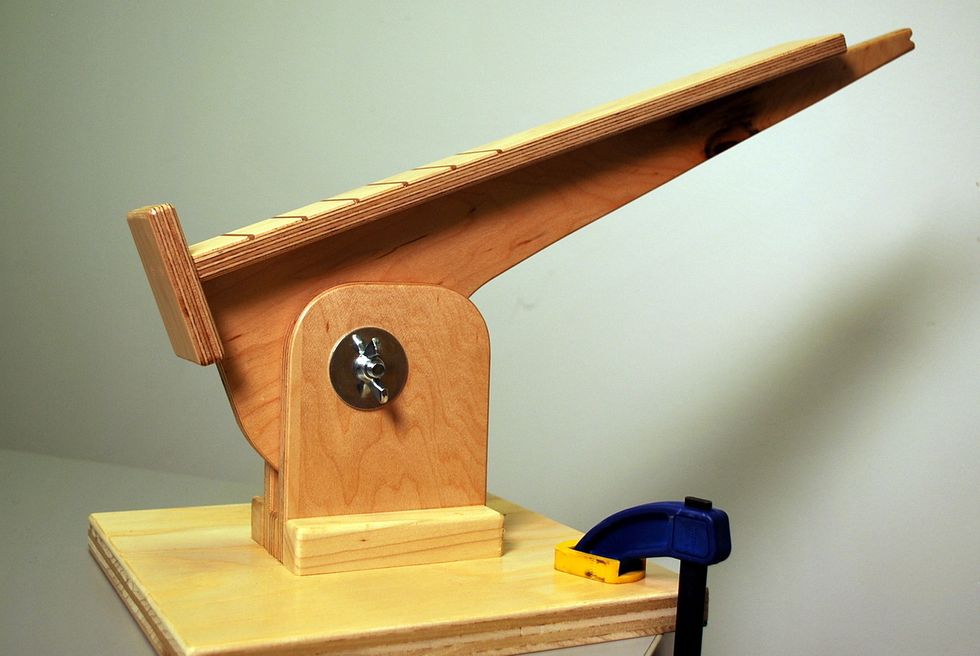
We try to point it above the average height of a 6-year-old (42”) as a precaution against kids walking into gliders being launched or the launcher themselves.
Align the rubber band with the notch at the end of the launcher.
Pull the glider back slowly and release!