The Conversation (0)
Sign Up
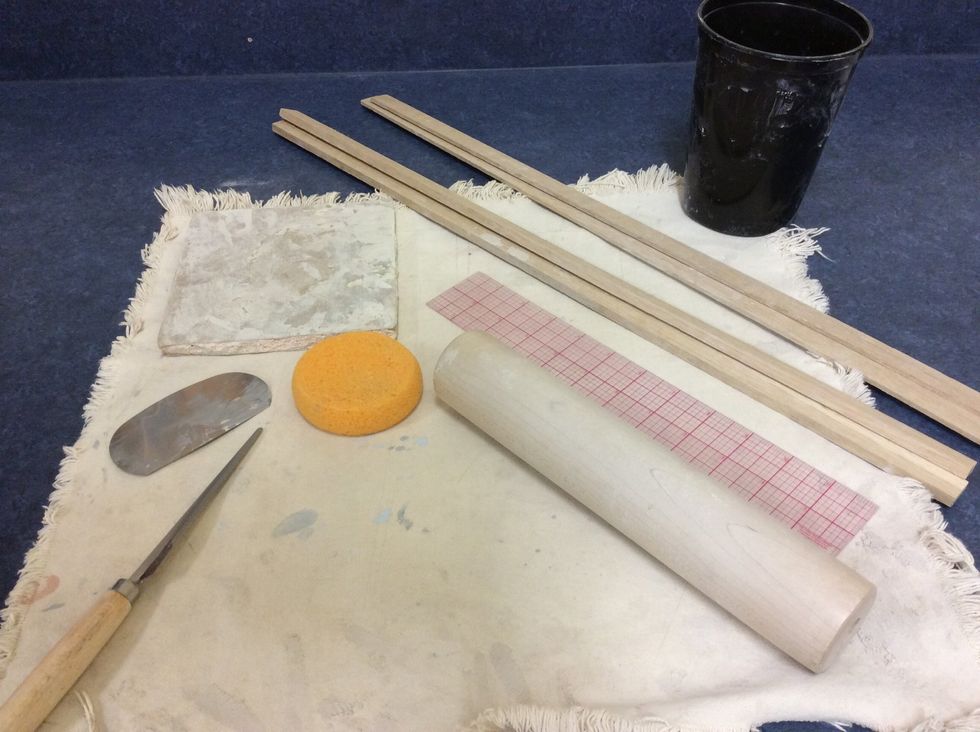
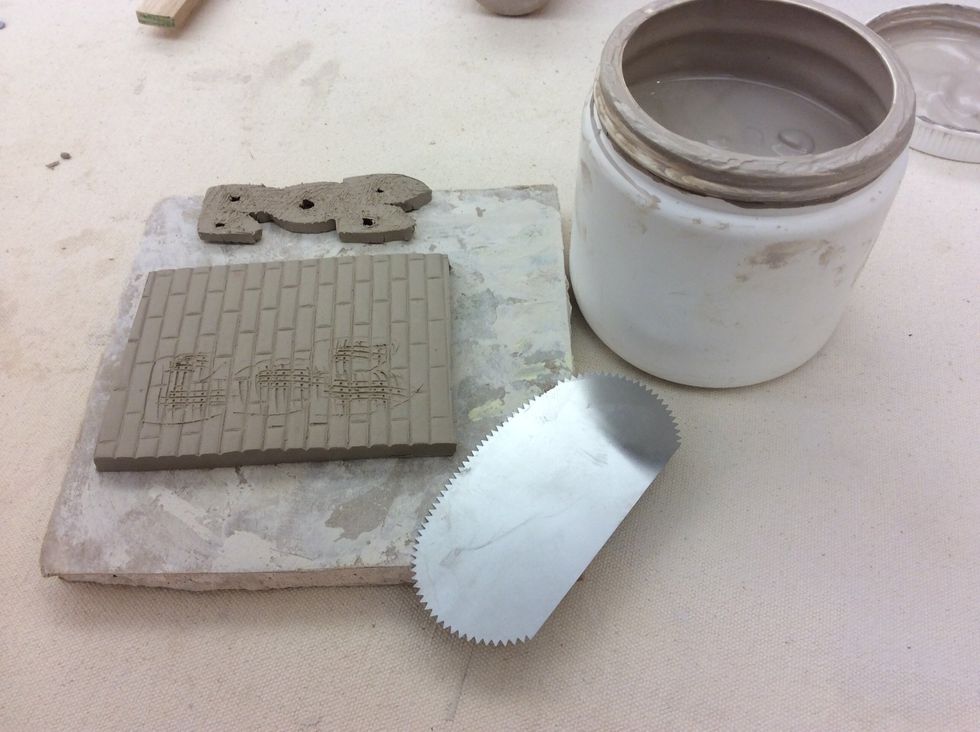
Gather your materials
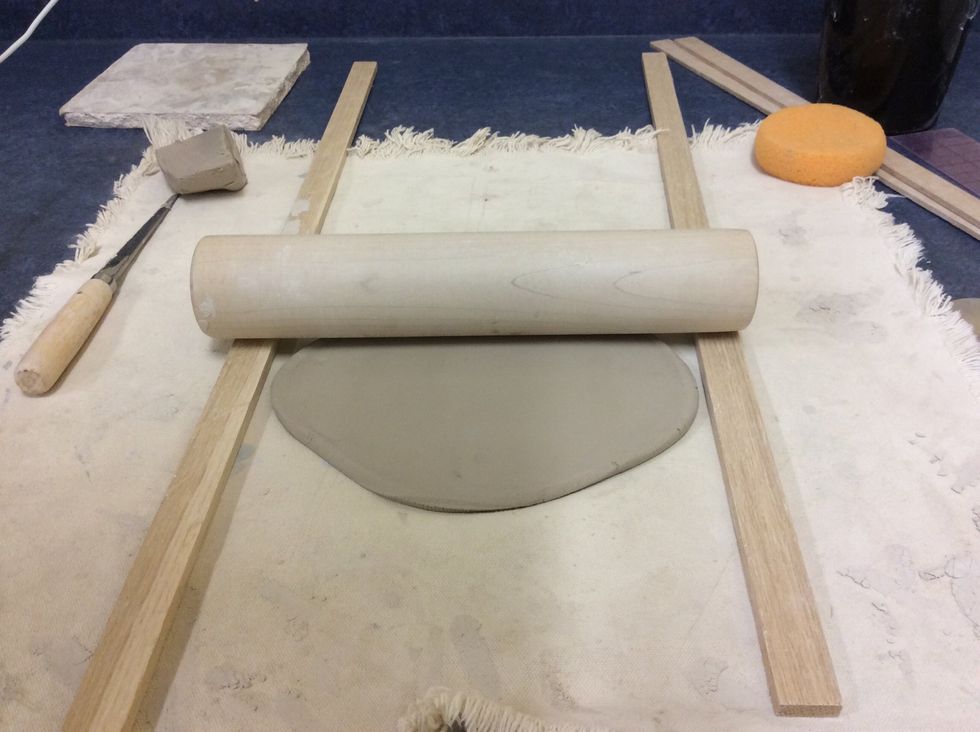
Flatted your clay by flipping it on to your table. Then using your 1/4" wood slats, roll the clay to an even thickness. Be sure to roll the clay vertically then horizontally.
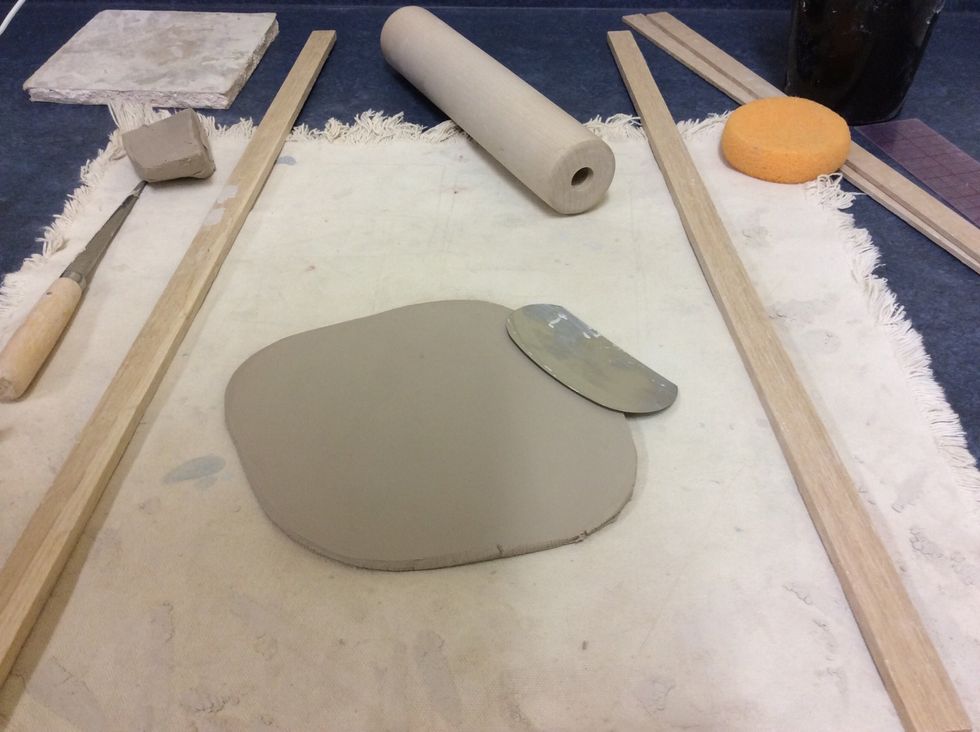
Smooth the clay with a metal rib on both sides.

Cut your tile to a 4" x 7" rectangle. Measure twice, cut once!
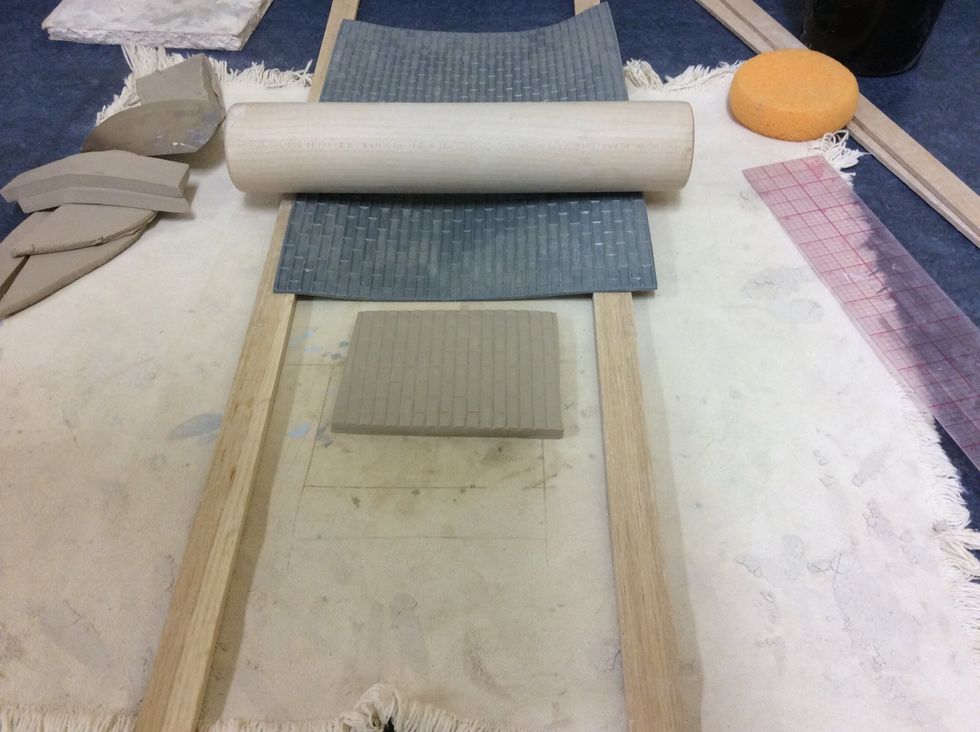
Using your desired texture mat, roll the clay again with the texture mat over the clay and wood slats. Keep your tile with an even thickness!
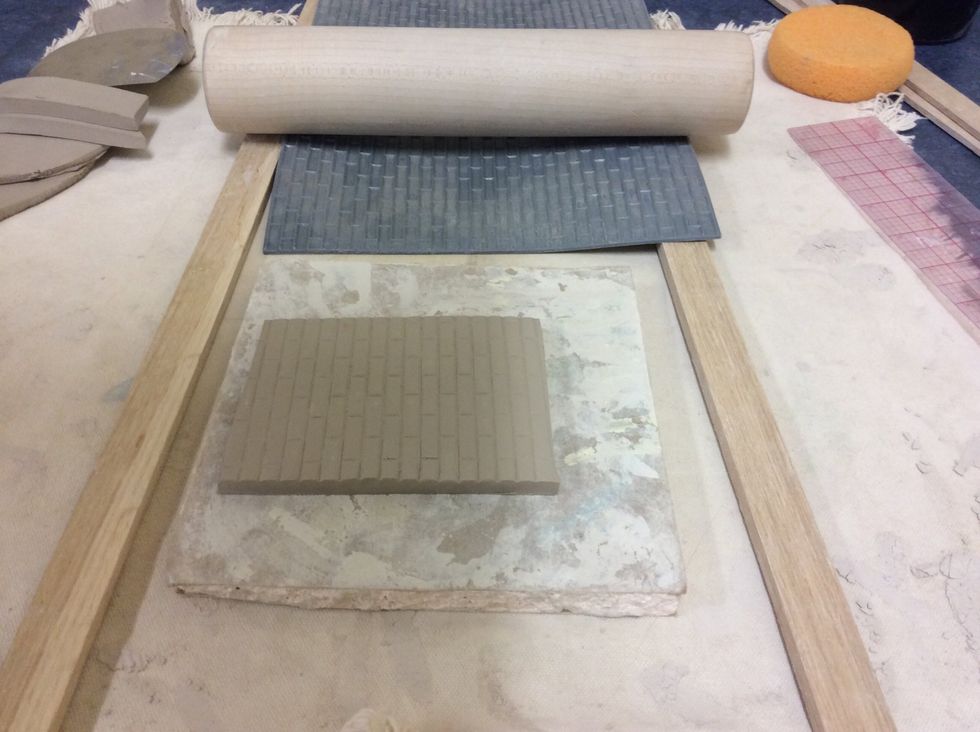
Round and smooth your edges.
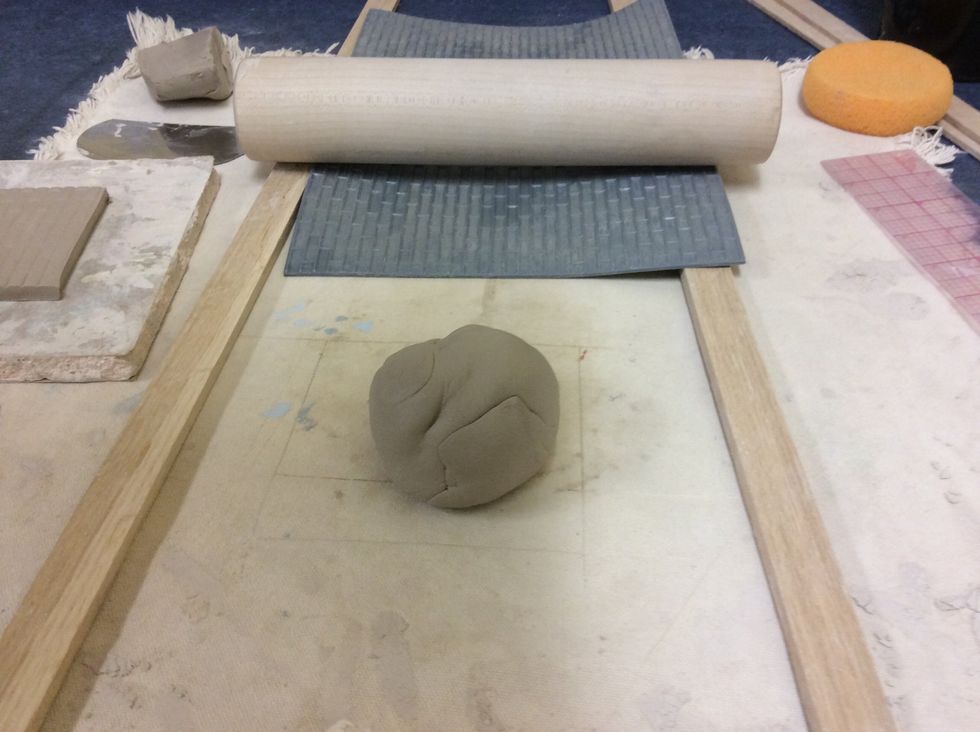
Ball up any scrap clay. You will roll this out using the 1/8" slats to make your letters. Be sure to smooth your clay on both sides when you are done.

Draw your name in block or bubble letters. The thicker the letters the better! Using a needle tool poke through your design on to the clay to transfer your image.
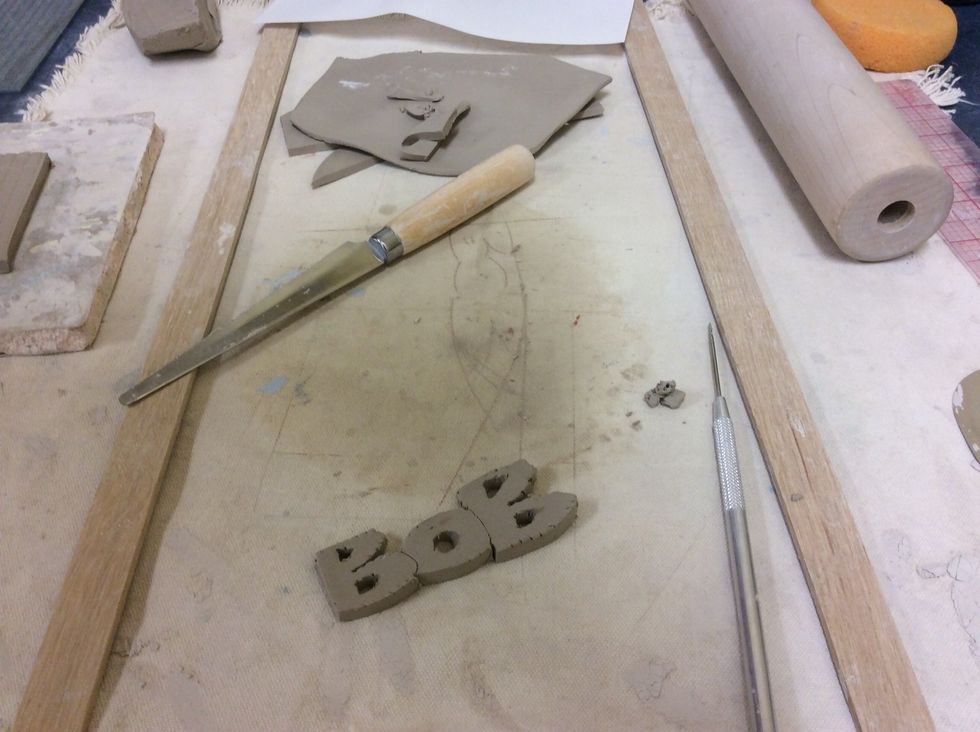
Using the fettling knife, cut your letters out of the clay. You may need to use the needle tool to cut out shapes inside the letters.
Wait for them to become leather hard - either a couple of hours or over night in a plastic bag. Keep your tile on the wareboard while you are waiting.
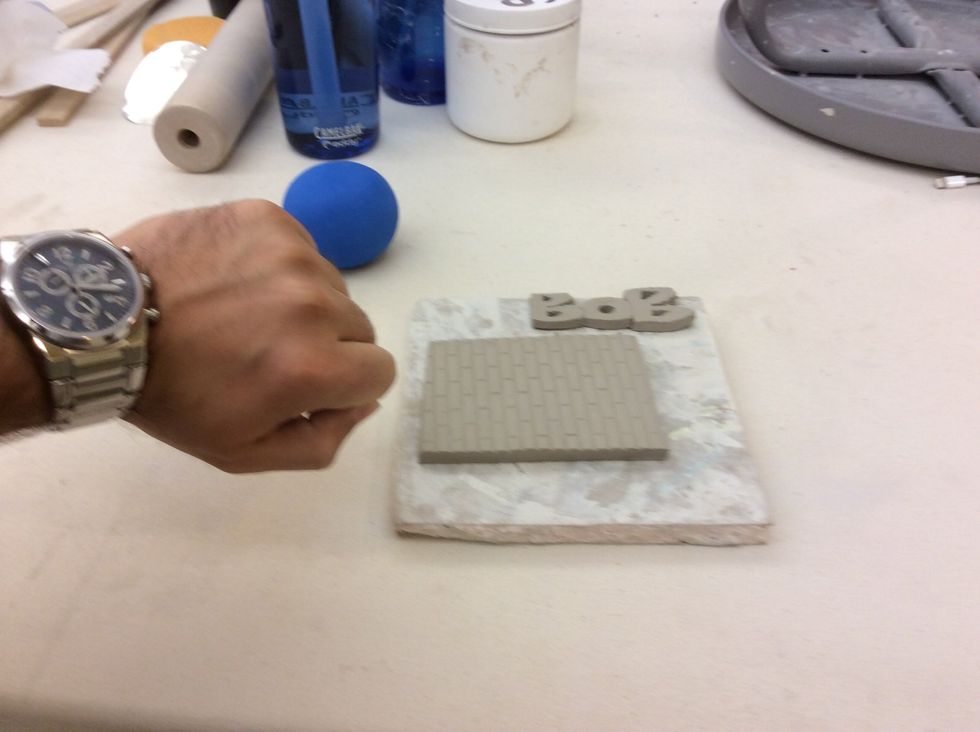
Slip and score your tile and the back of the letters to join them together.
Smooth smooth smooth! Get all the edges smoothed into the tile and clean up the insides. Be careful not to smooth out your texture!

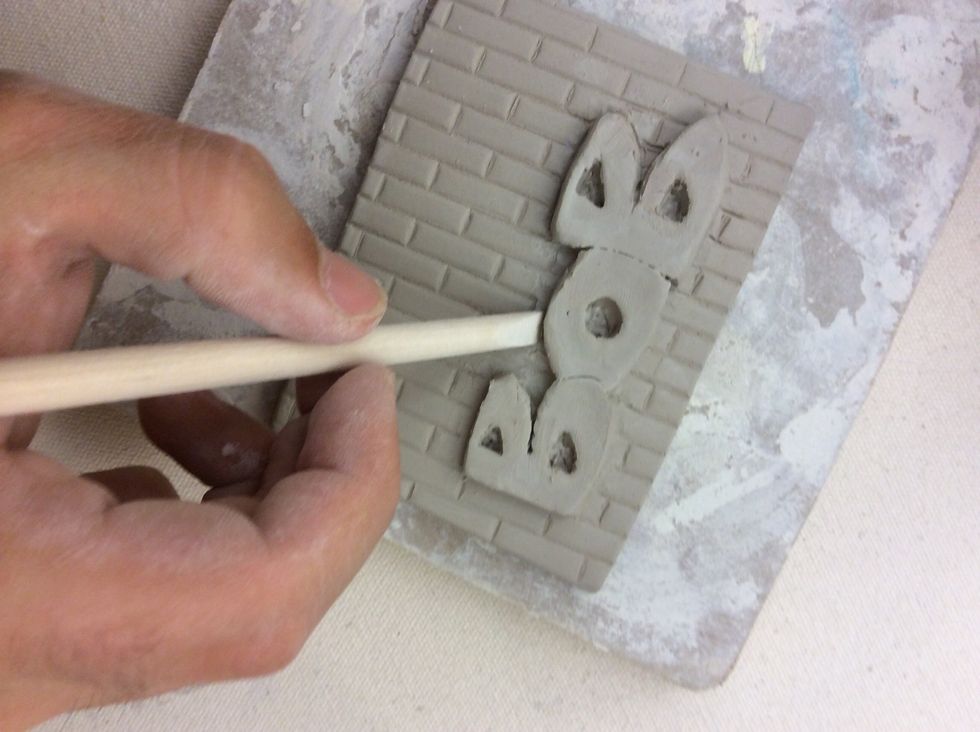
Add some definition to your letters and smooth all your edges.

Add some pizazz! More stamping or cutting out other shapes. Make it yours! Allow it to dry slowly, loosely wrapped in plastic in a safe place (like your locker.)