The Conversation (1)
Sign Up
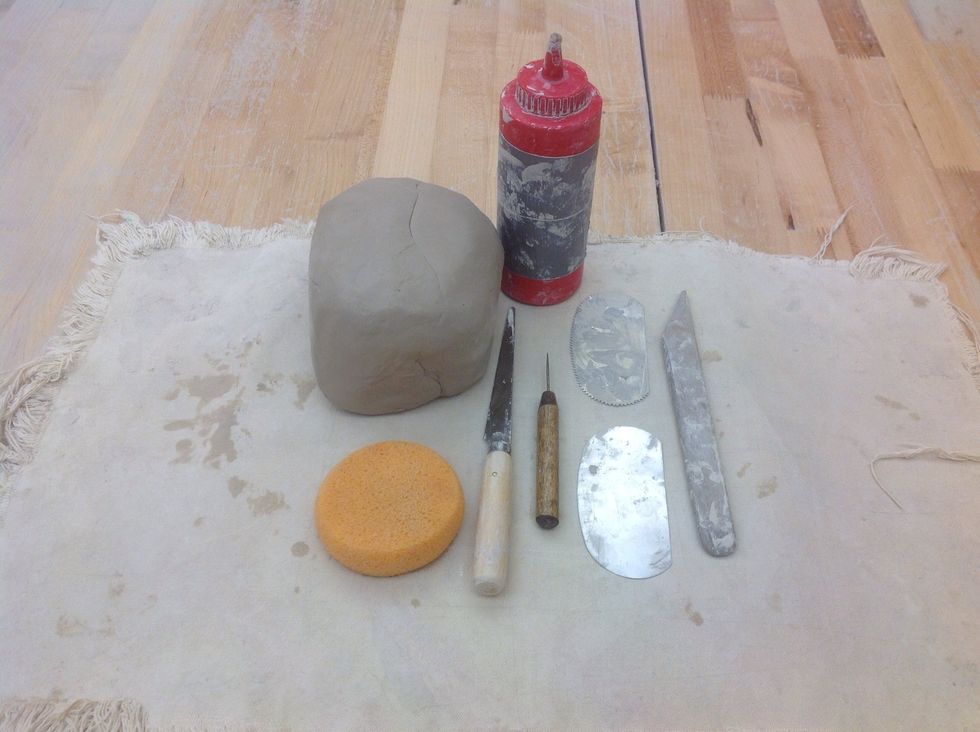
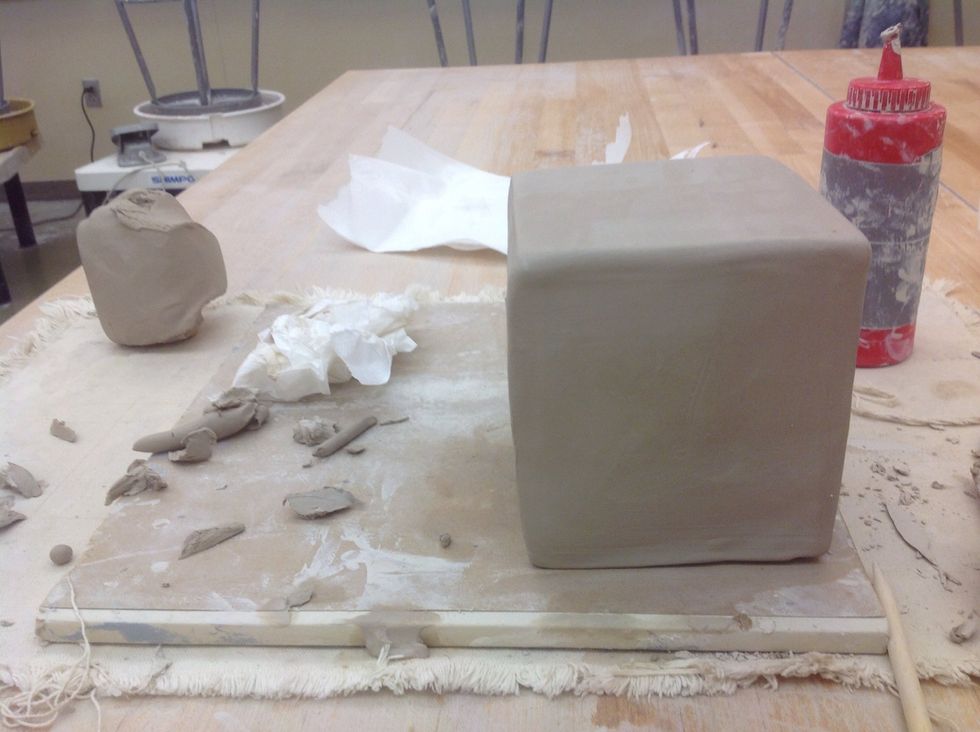
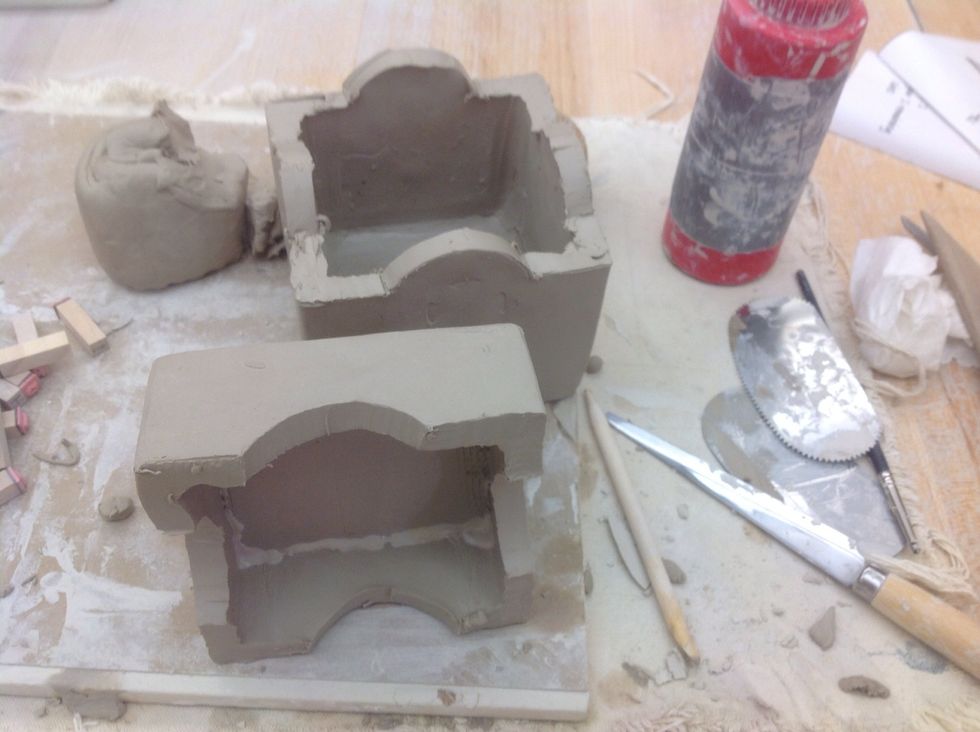
Gather your supplies.

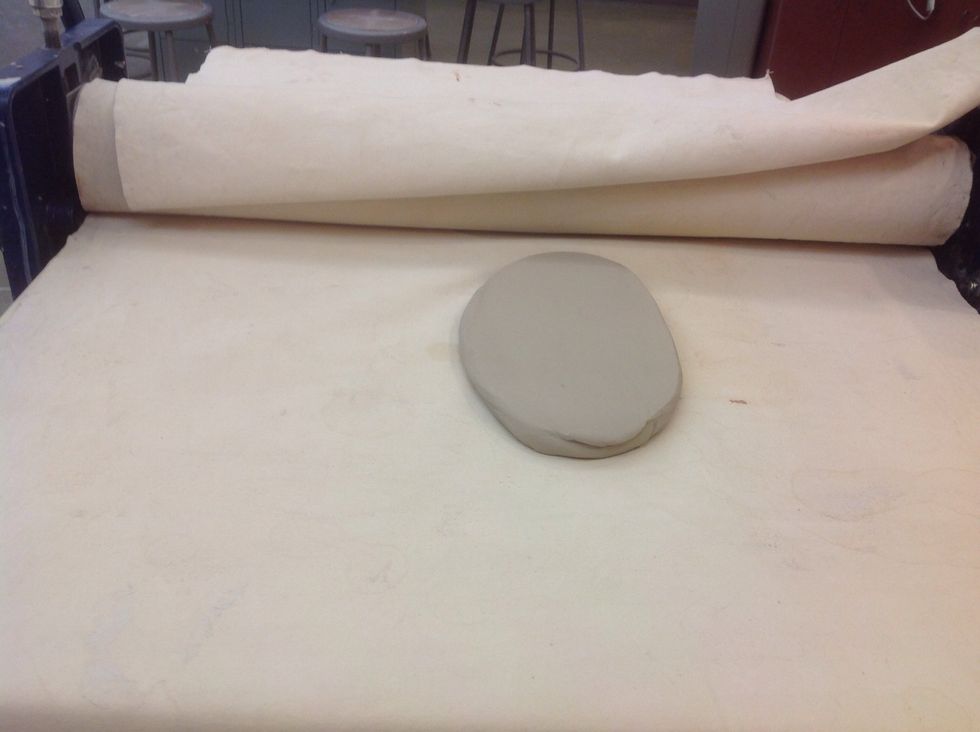
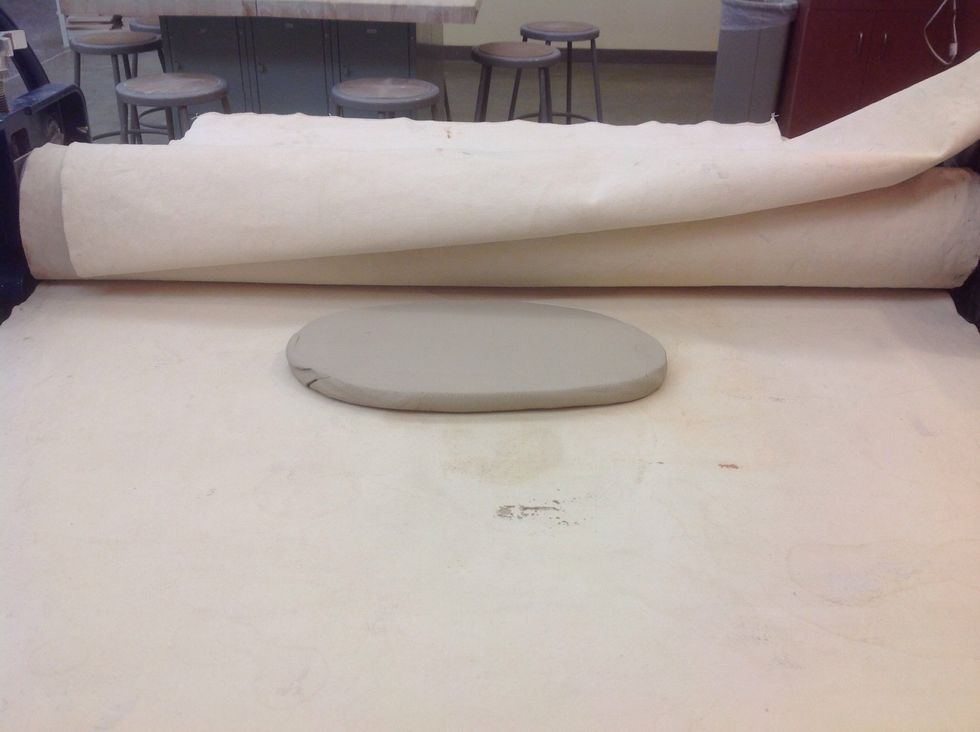
Make your ball of clay into a wedge shape.

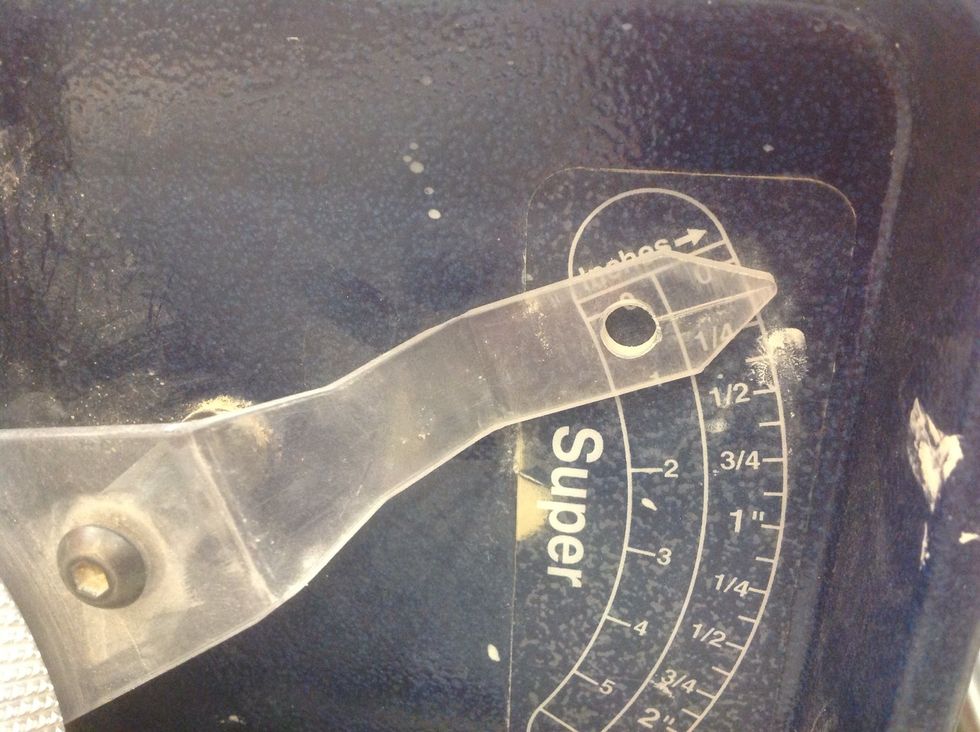
Set the slab roller to 1/2"
Roll the clay through the slab roller.
Turn the clay so the long edge is against the roller.
Set the slab roller to 1/8".
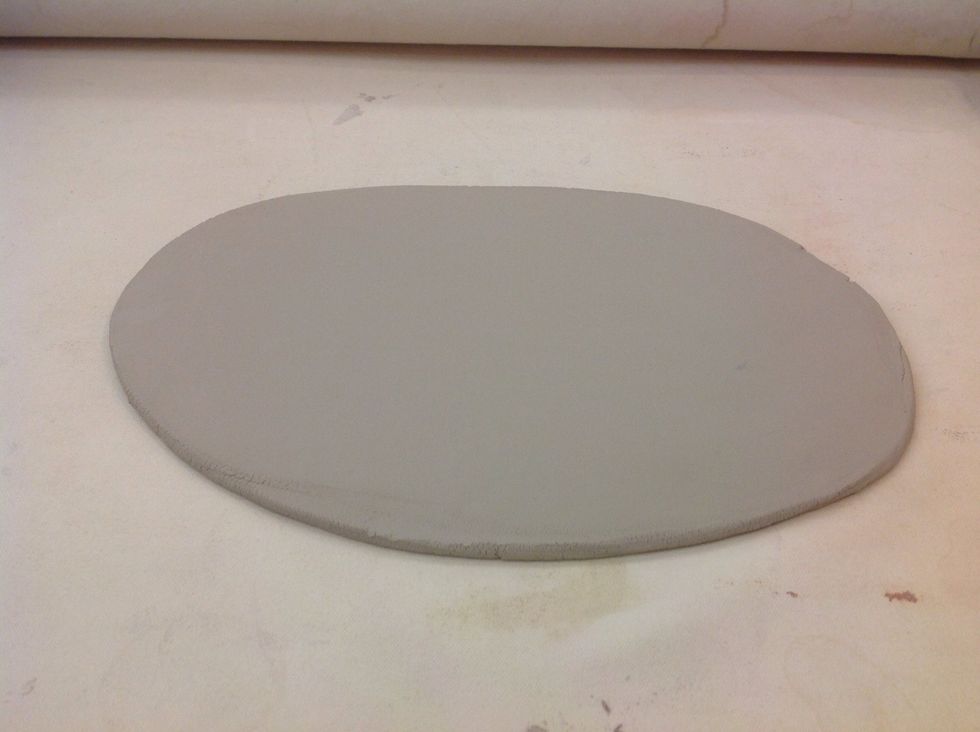
Roll the clay through again.
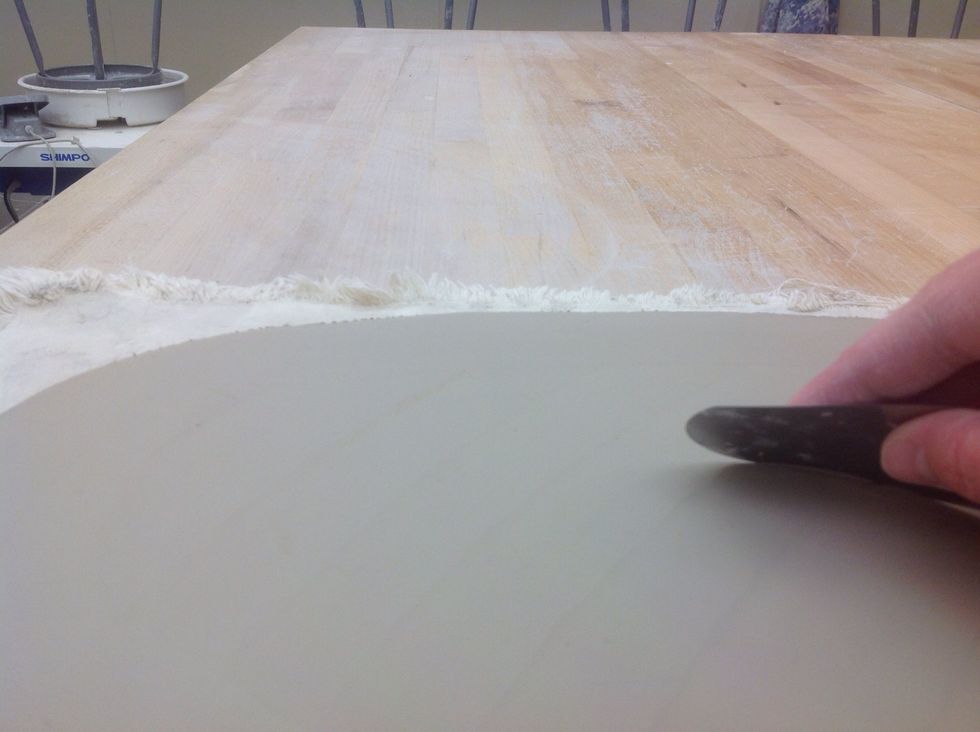
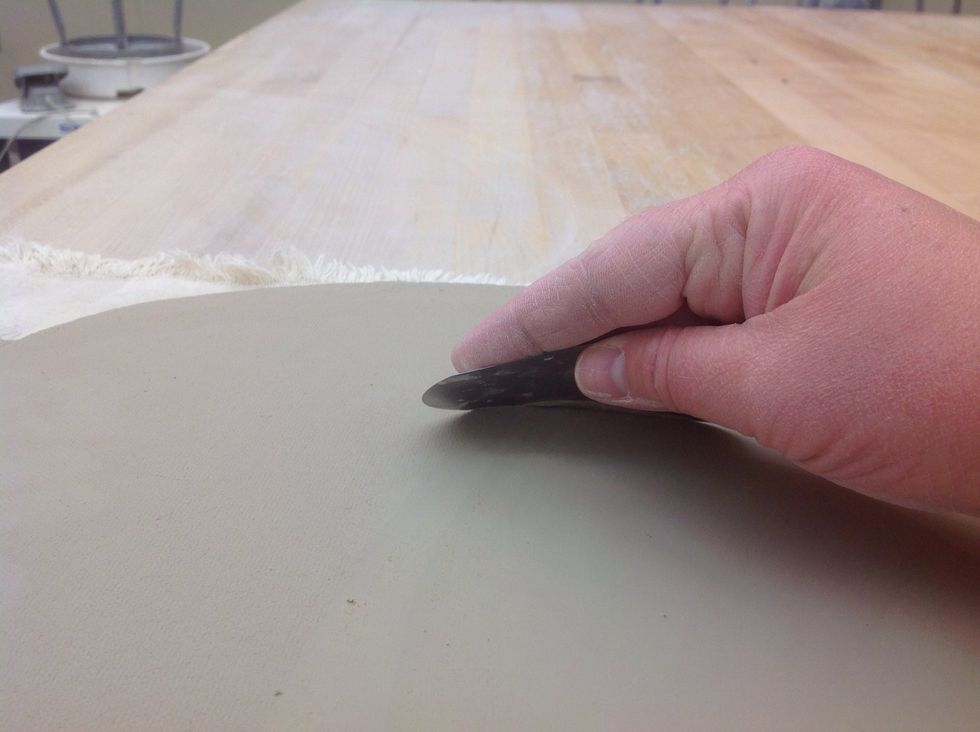
Take the clay back to your table and smooth it with a metal rib.

Flip it over.
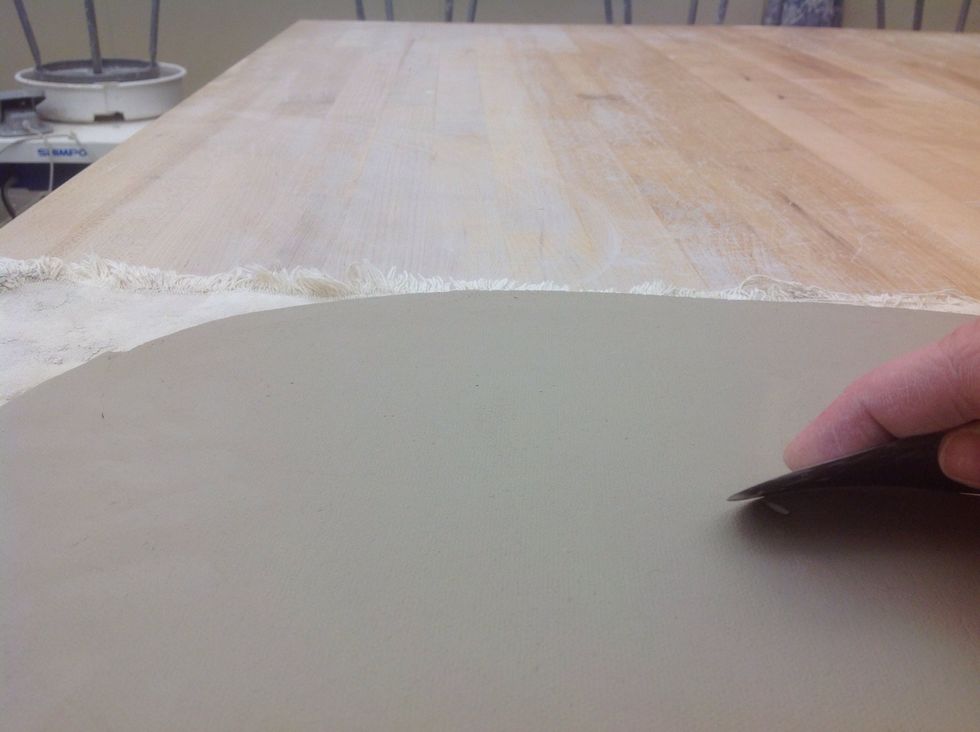
Smooth the other side with a metal rib.
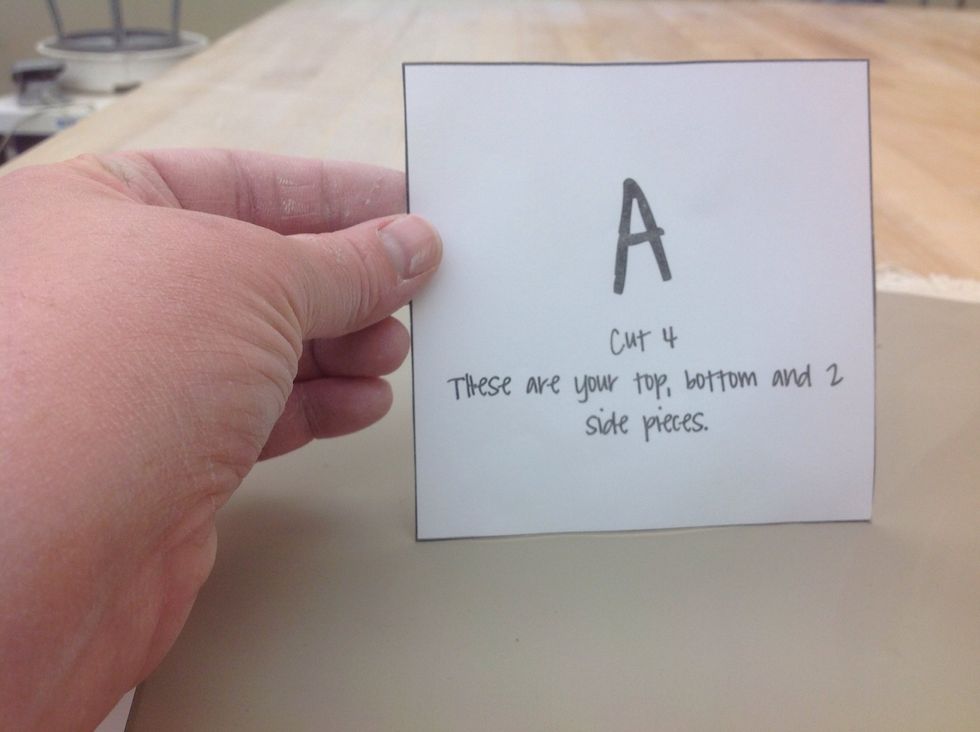
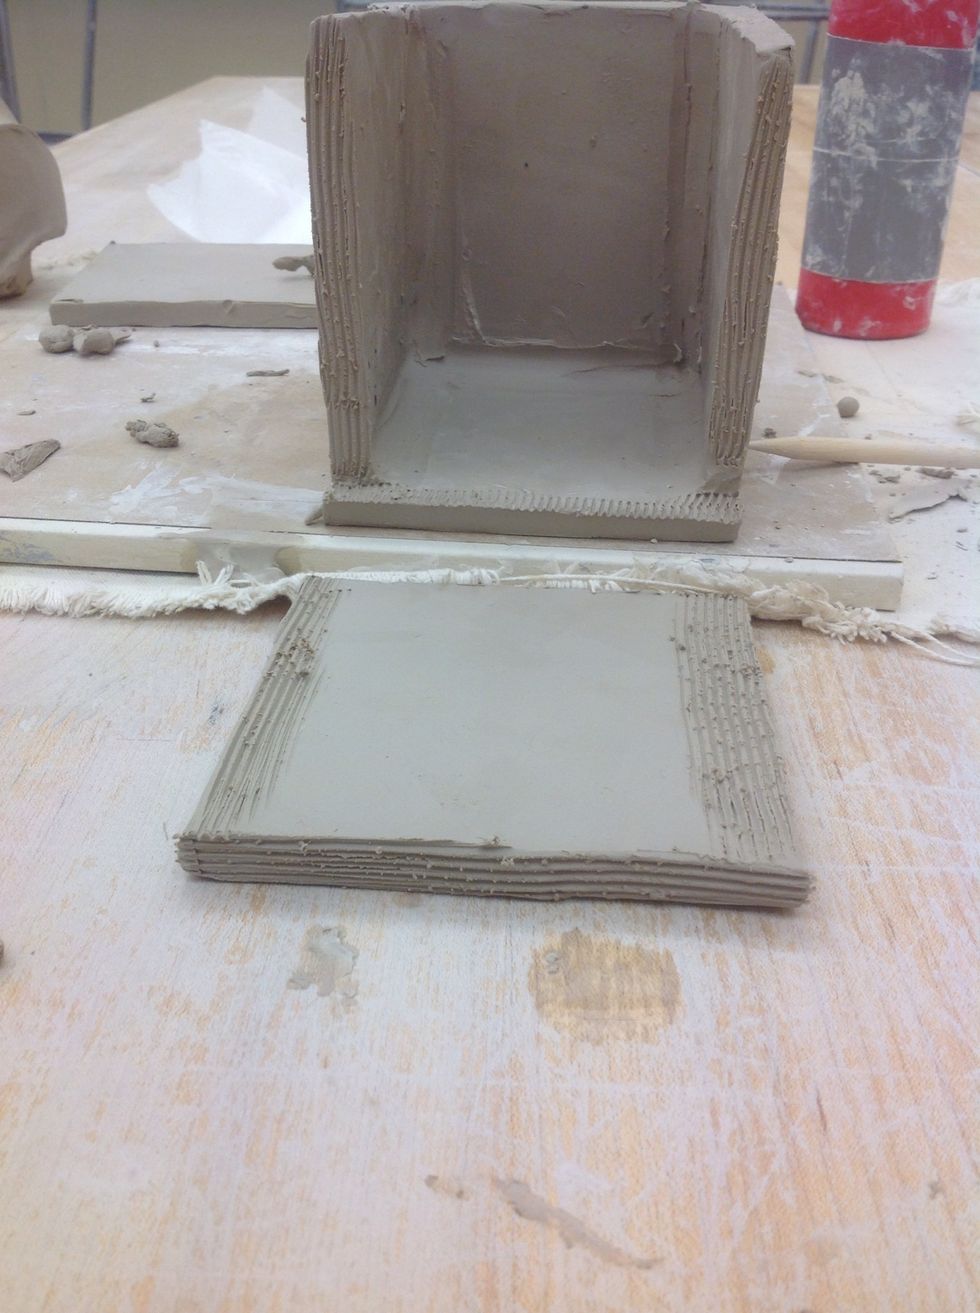
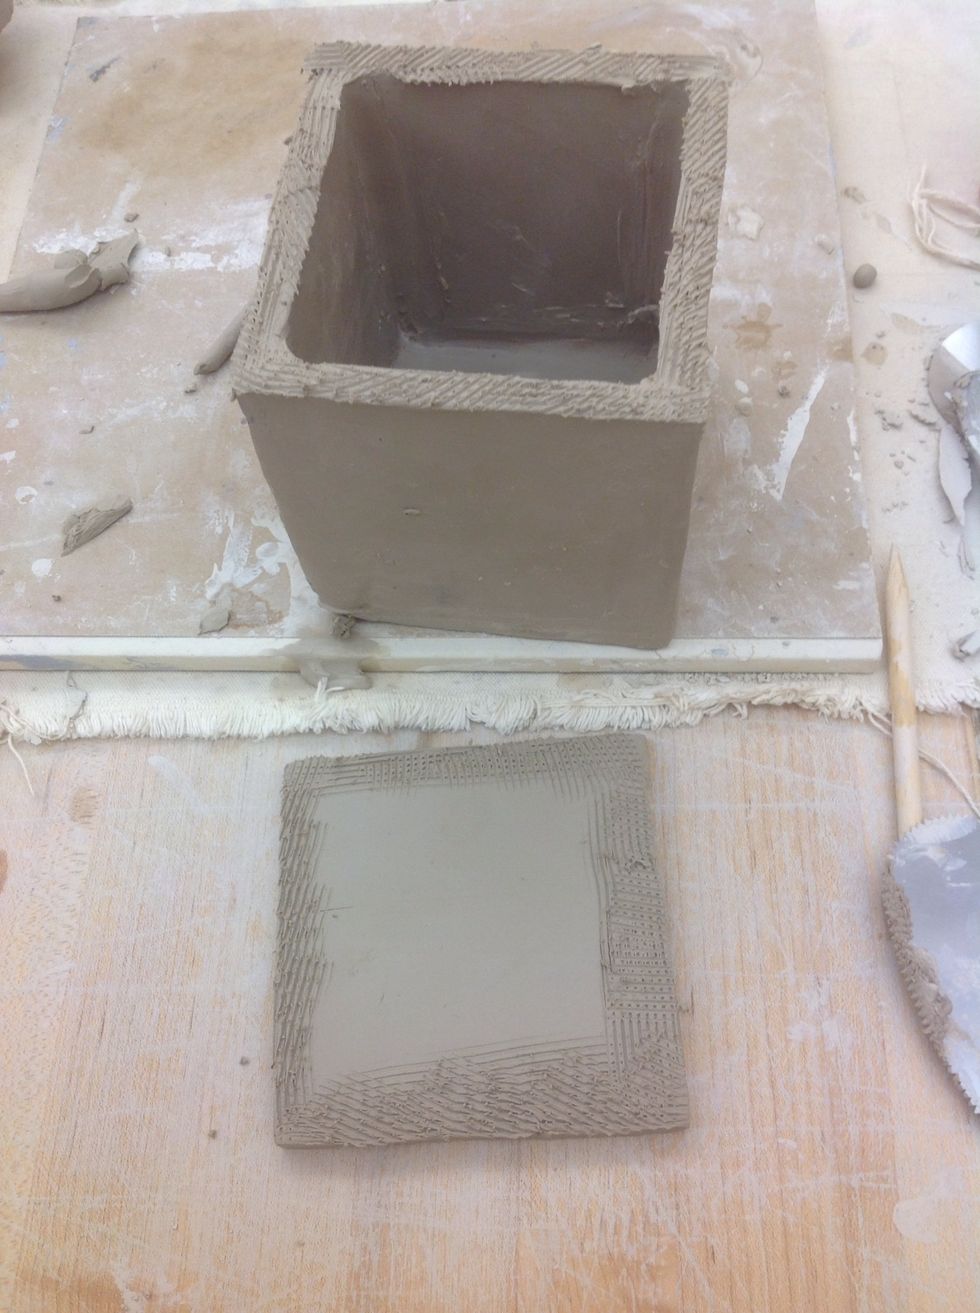
Cut 4 "A" pieces from the pattern. 4"x4" square.
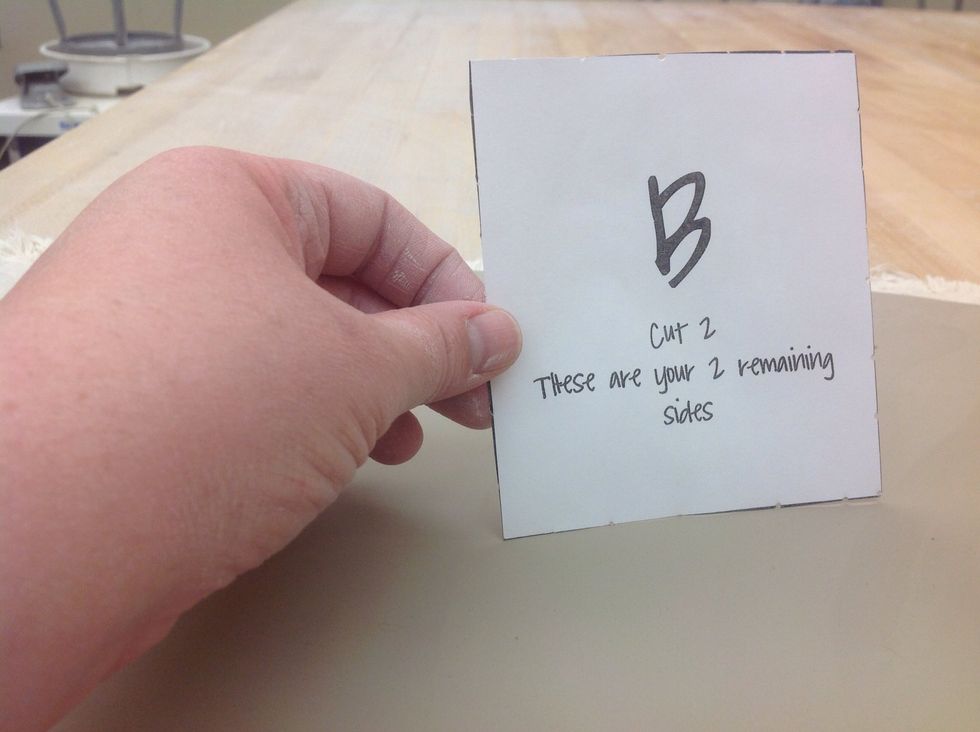
Cut 2 "B" pieces. 4" x 3 1/2" rectangle.
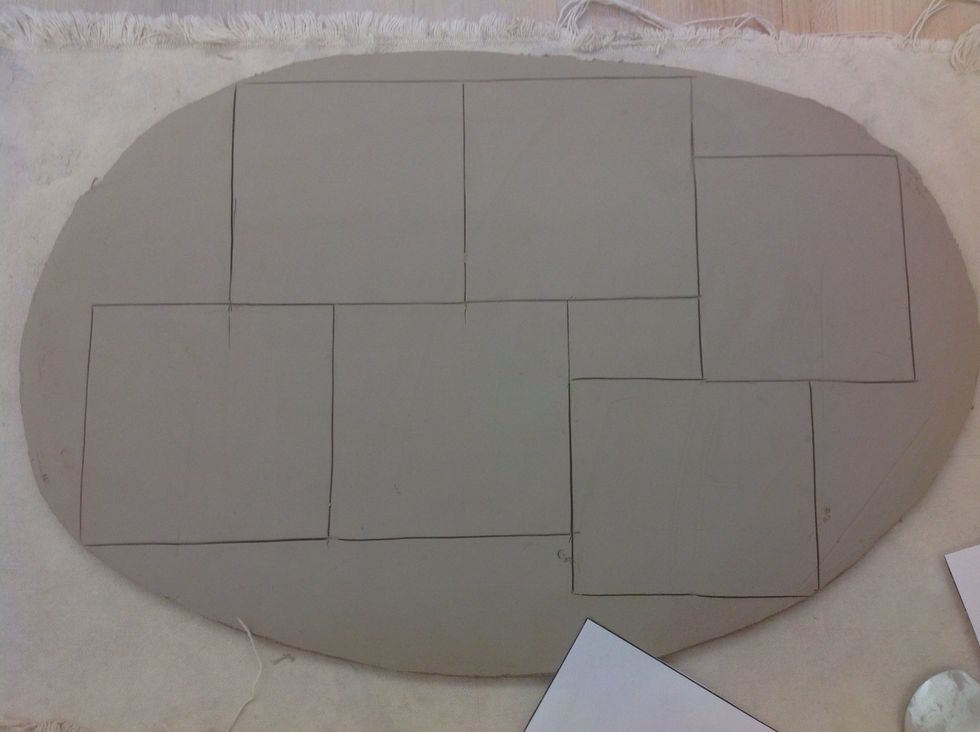
Try to minimize the space by placing your patterns down and tracing before cutting. Put pieces side by side if necessary.
Cut out the pieces. Keep the sides as straight as possible.
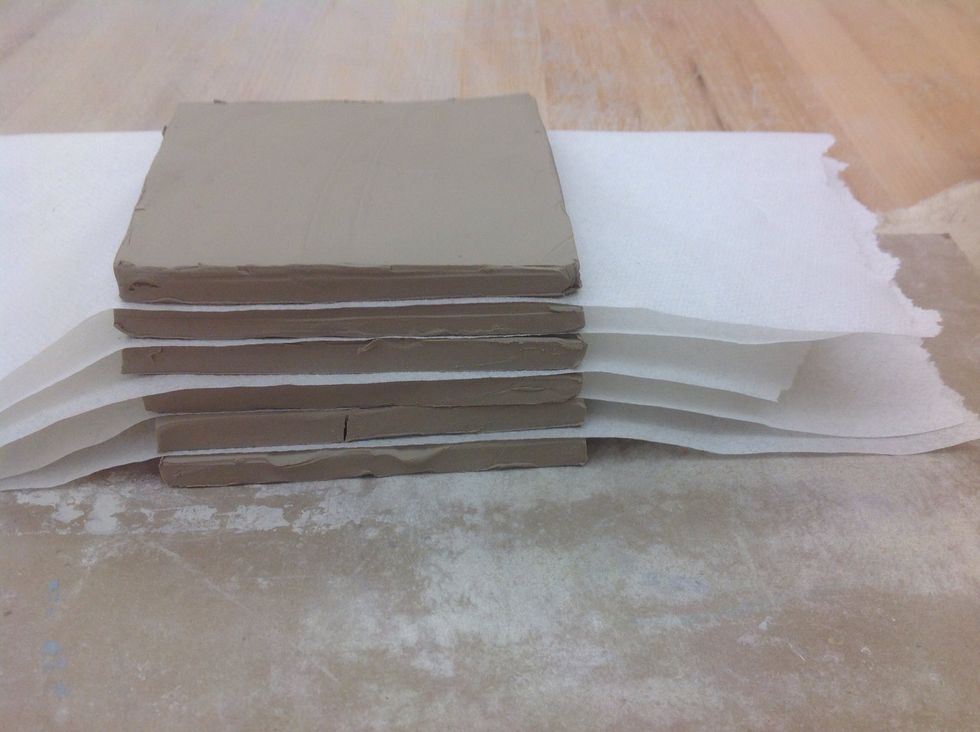
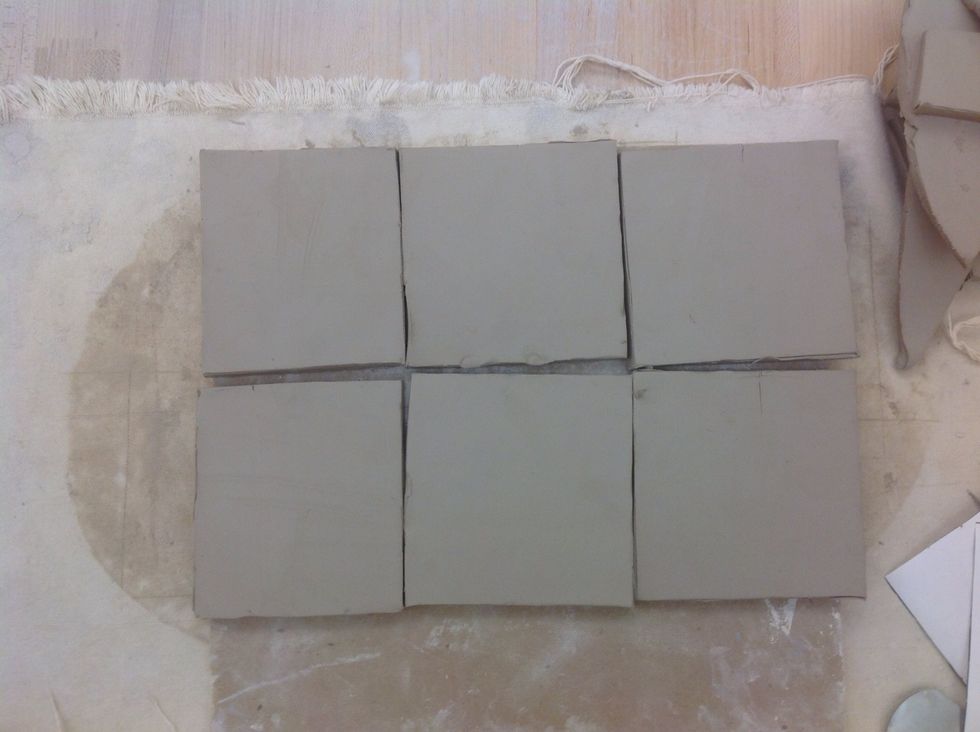
Stack pieces with paper in between them. Allow pieces to become leather hard before building.
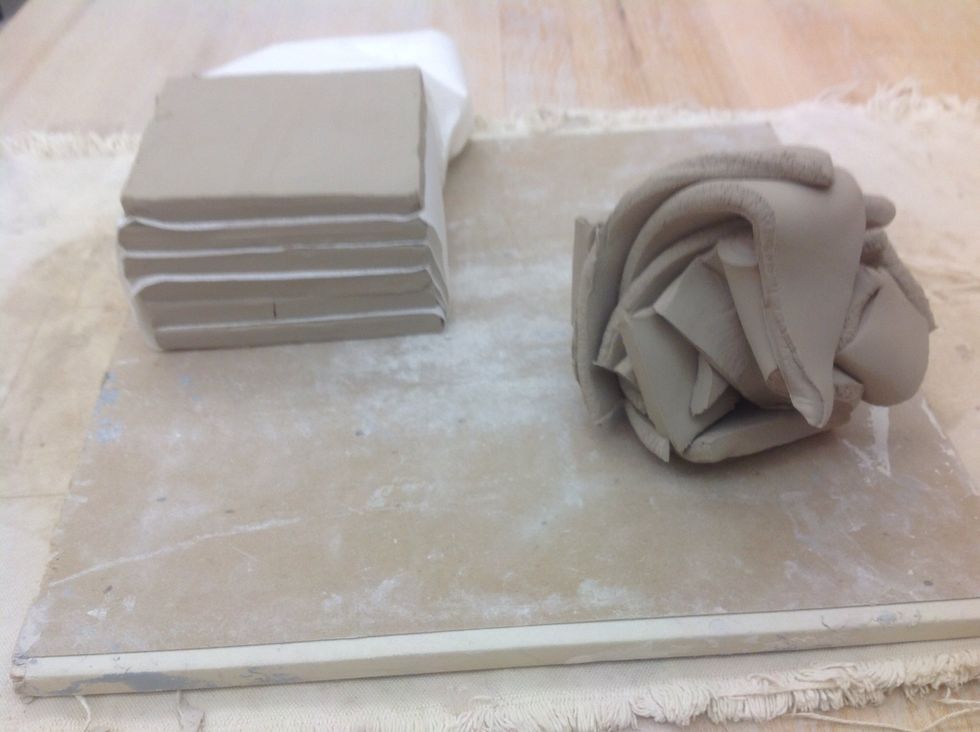
Scrap clay can be wedged to use for building and decoration.
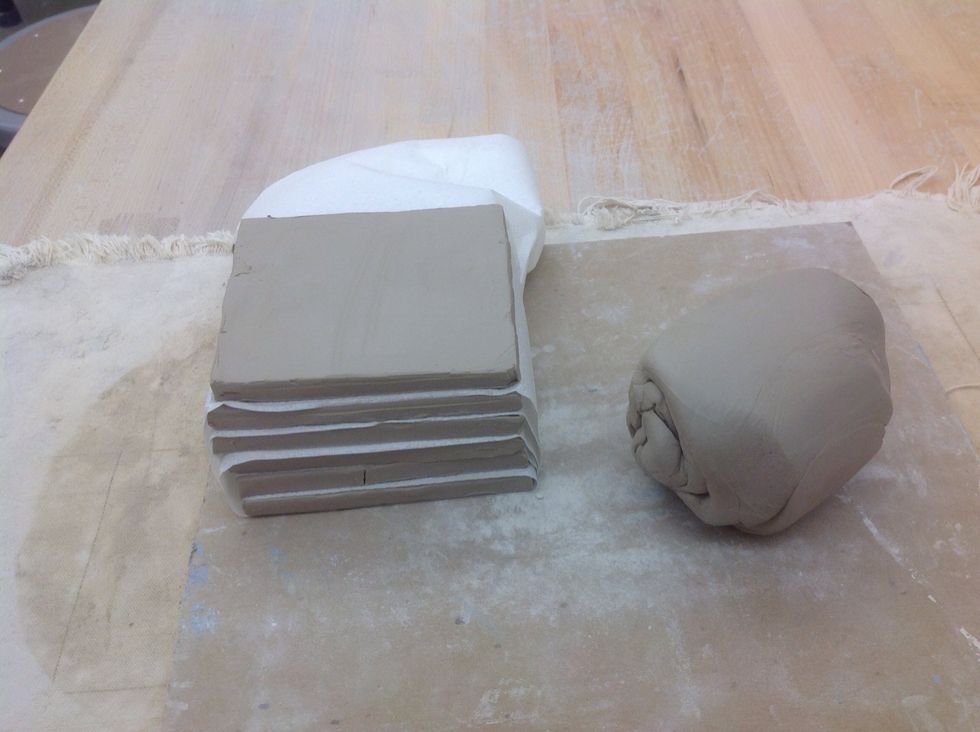
Wedged clay and stack are wrapped in plastic over night.
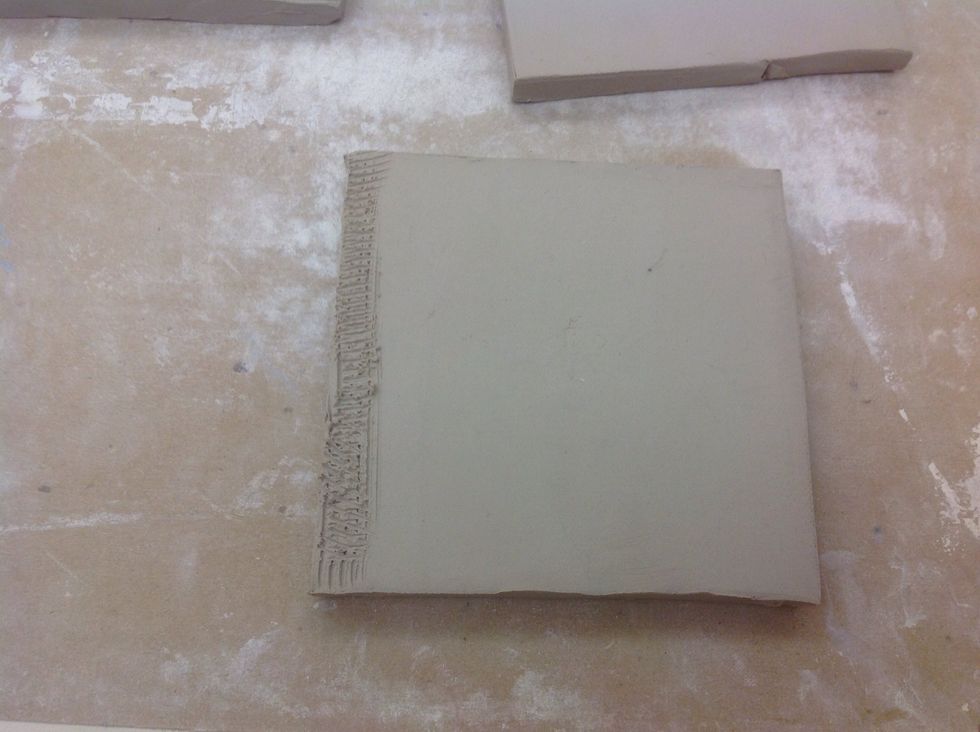
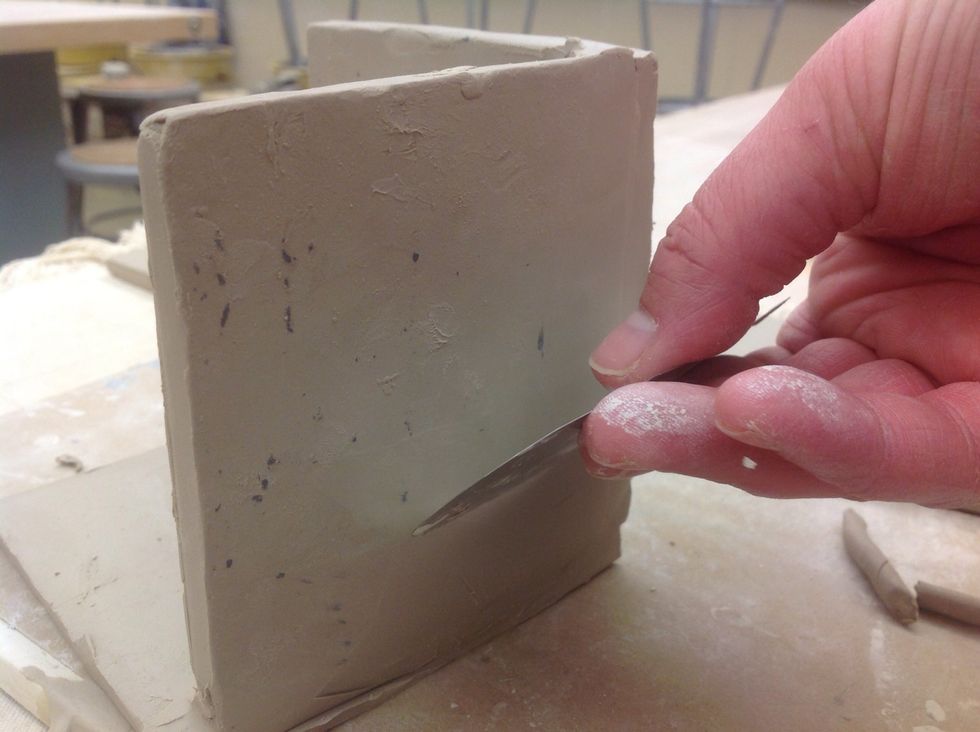
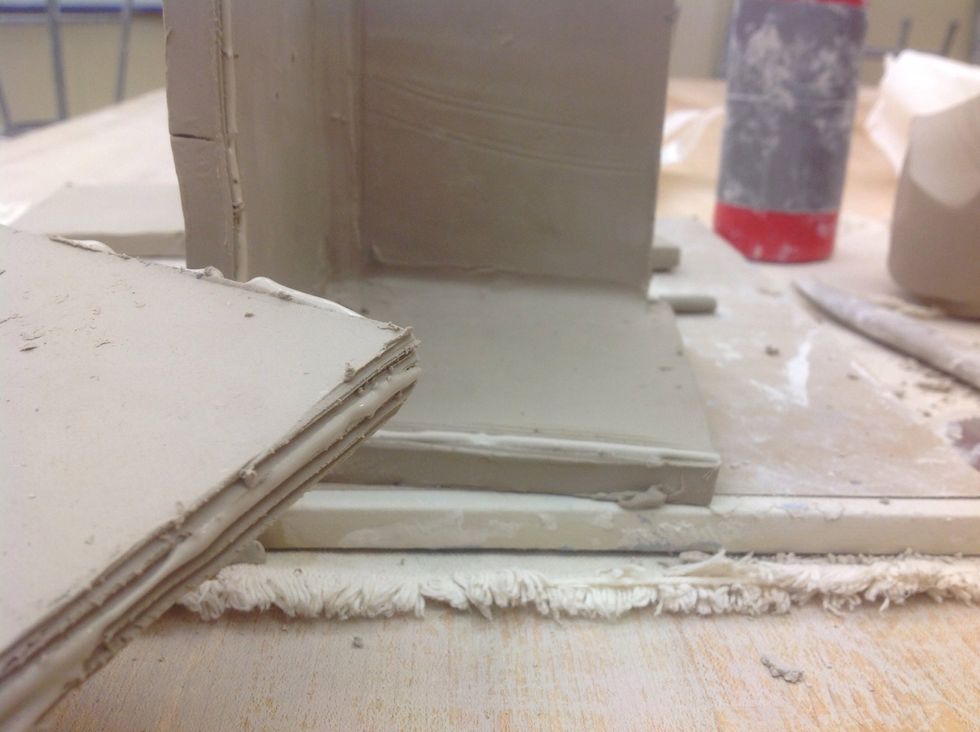
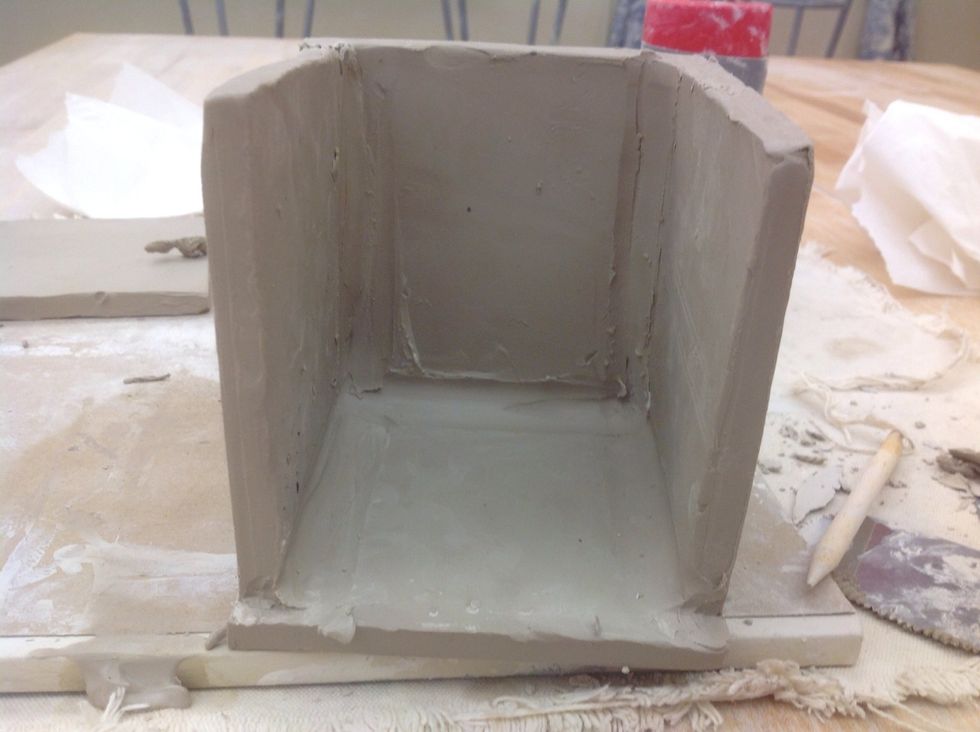
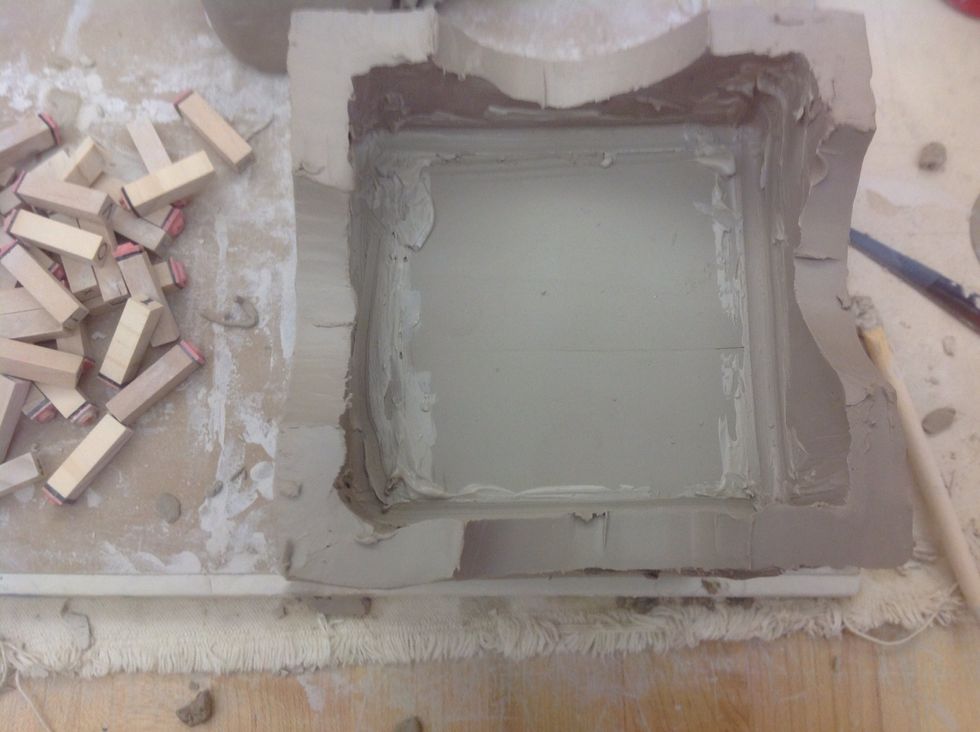
When clay is leatherhard, take an "A" side and slip and score on side.
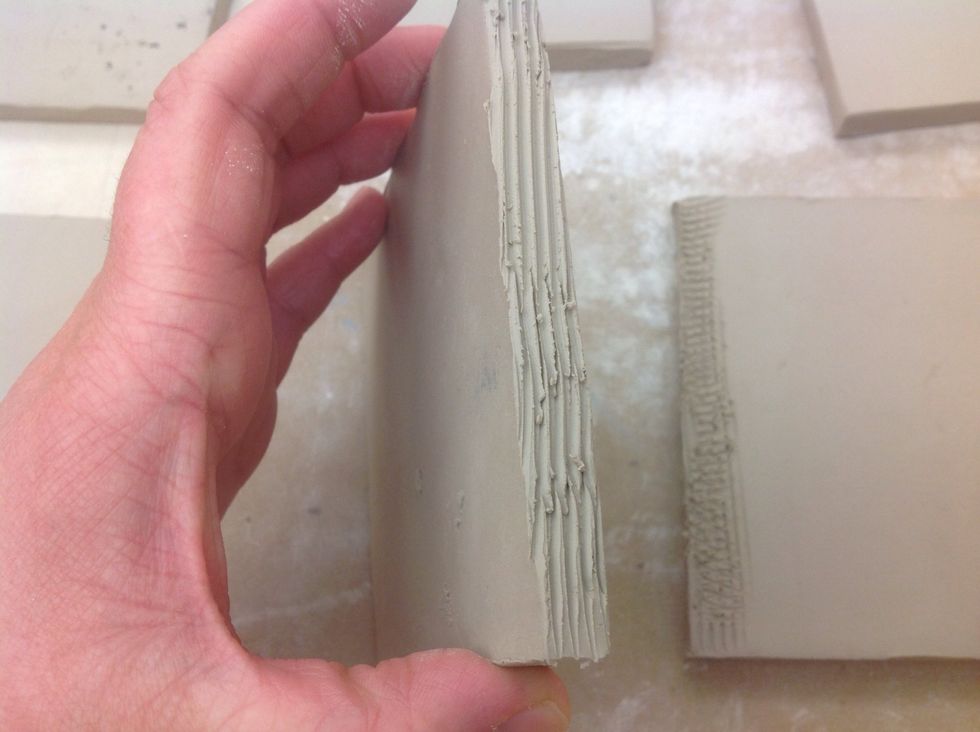
Take another "A" side and slip and score the edge.
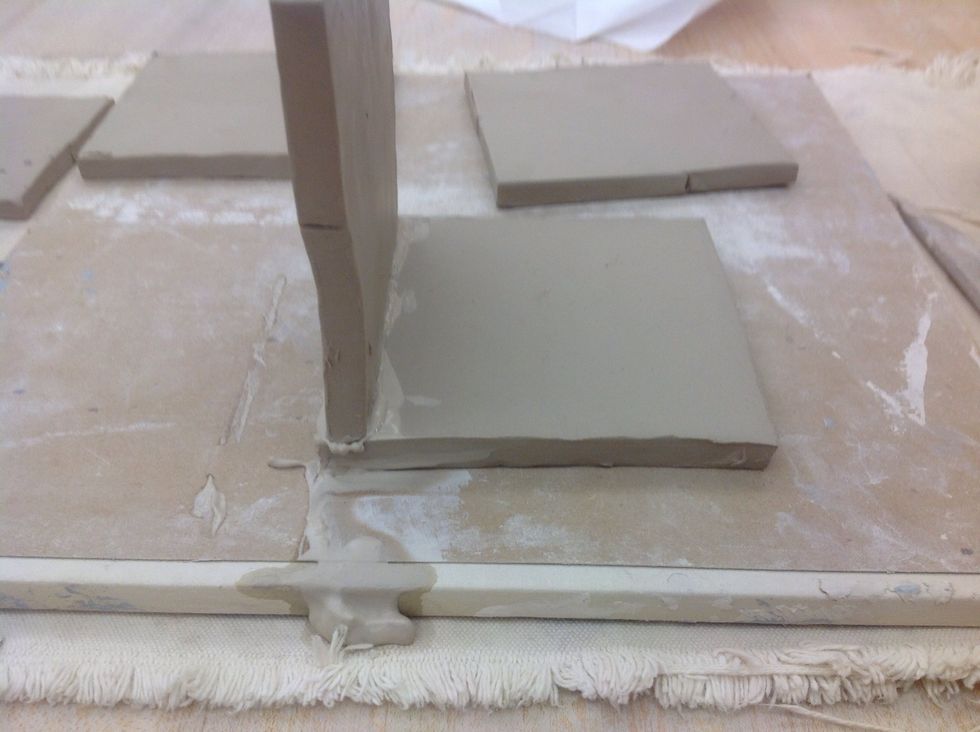
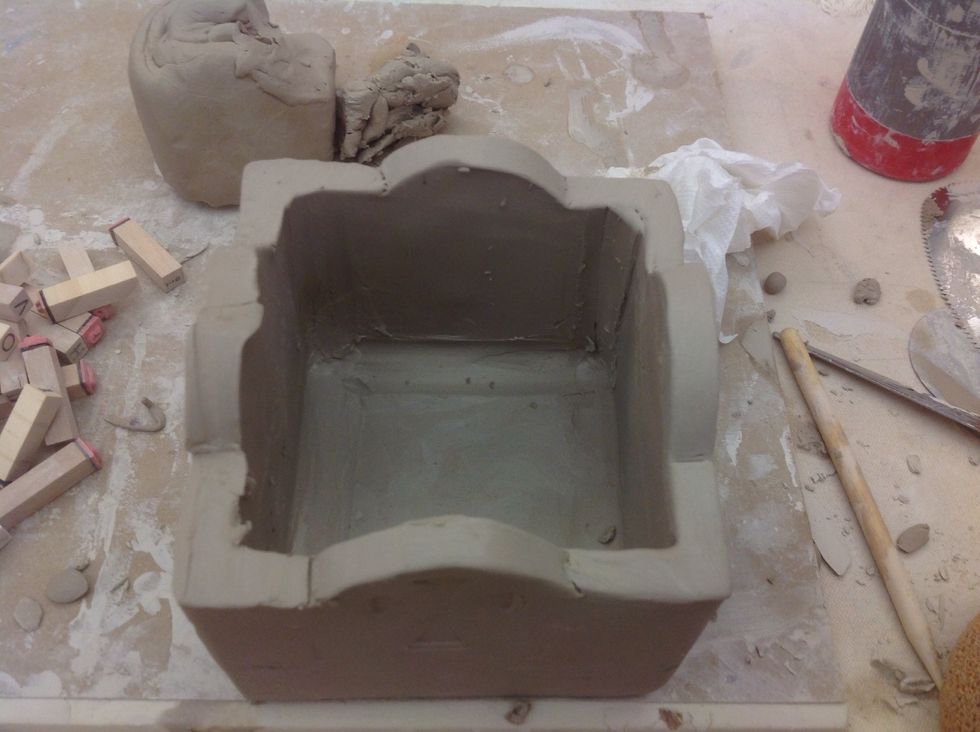
Gently but firmly press the edge on one "A" side to the top of the other "A" side.
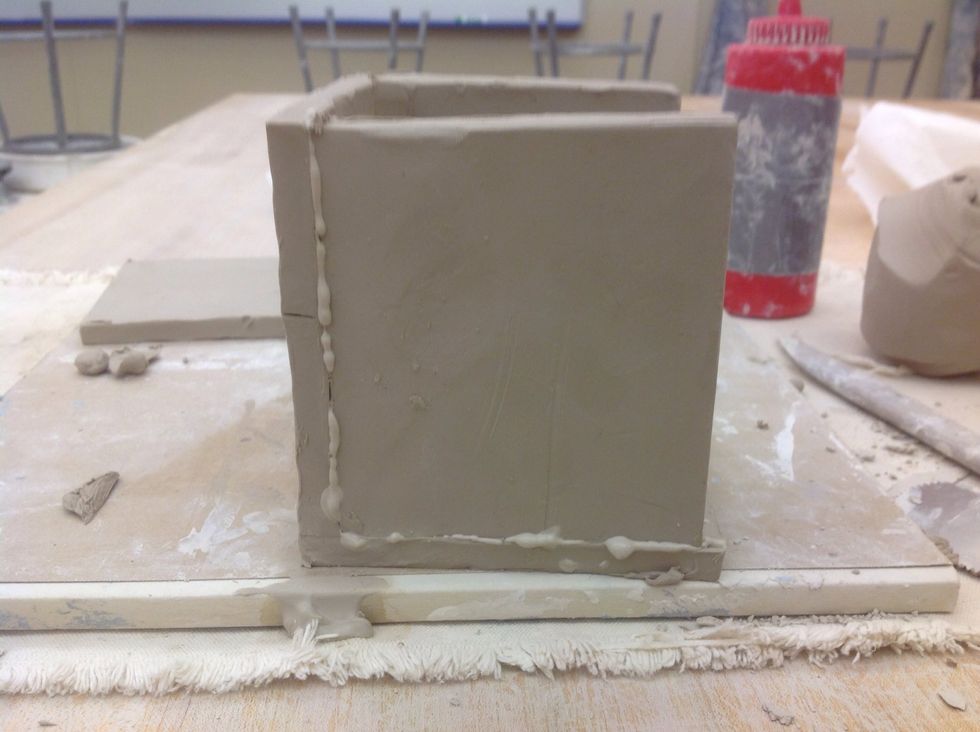
Stitch the two pieces together with a wood tool.
Add a moist snake of clay to the joint do the two pieces.
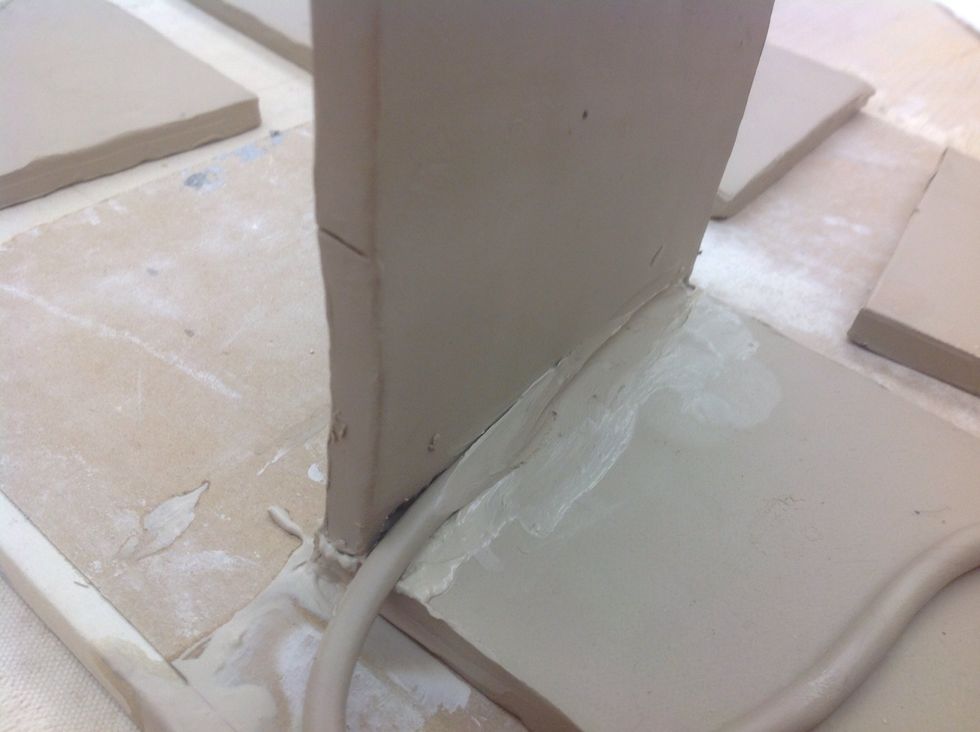
Smooth coil to seal the joints.
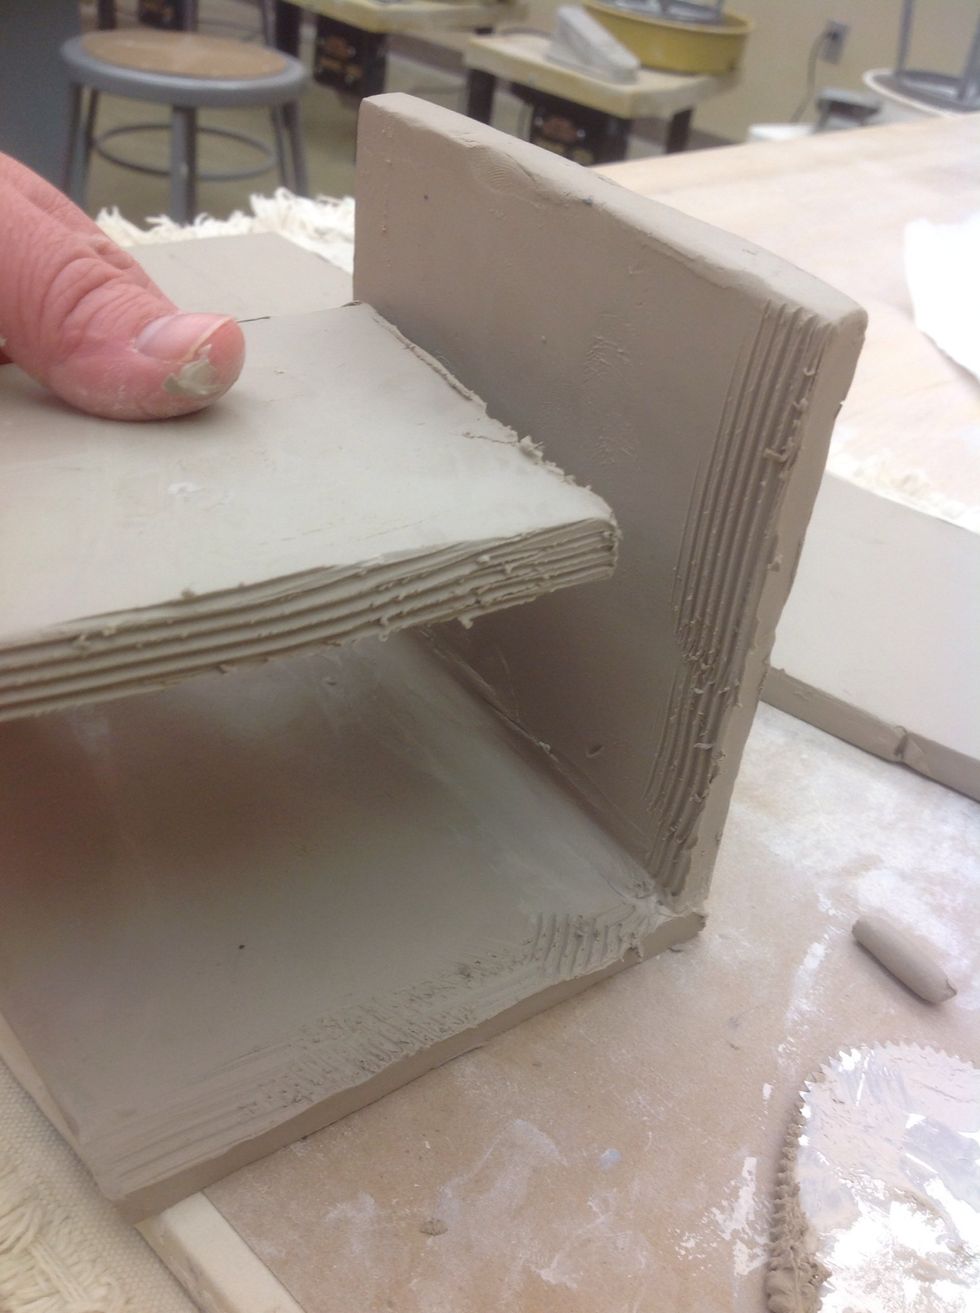
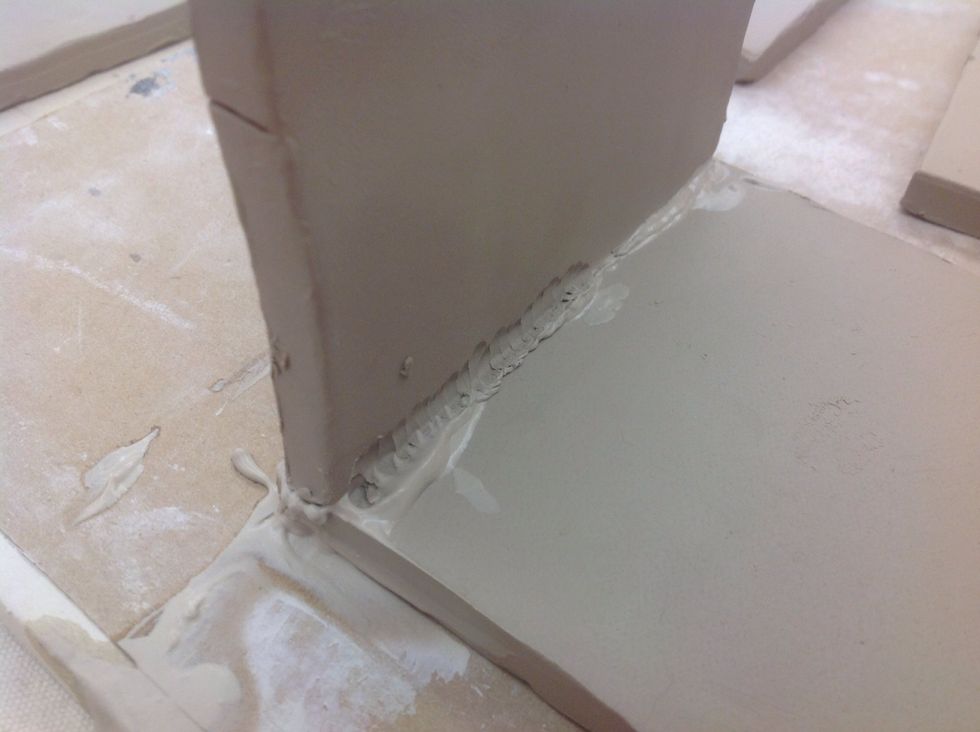
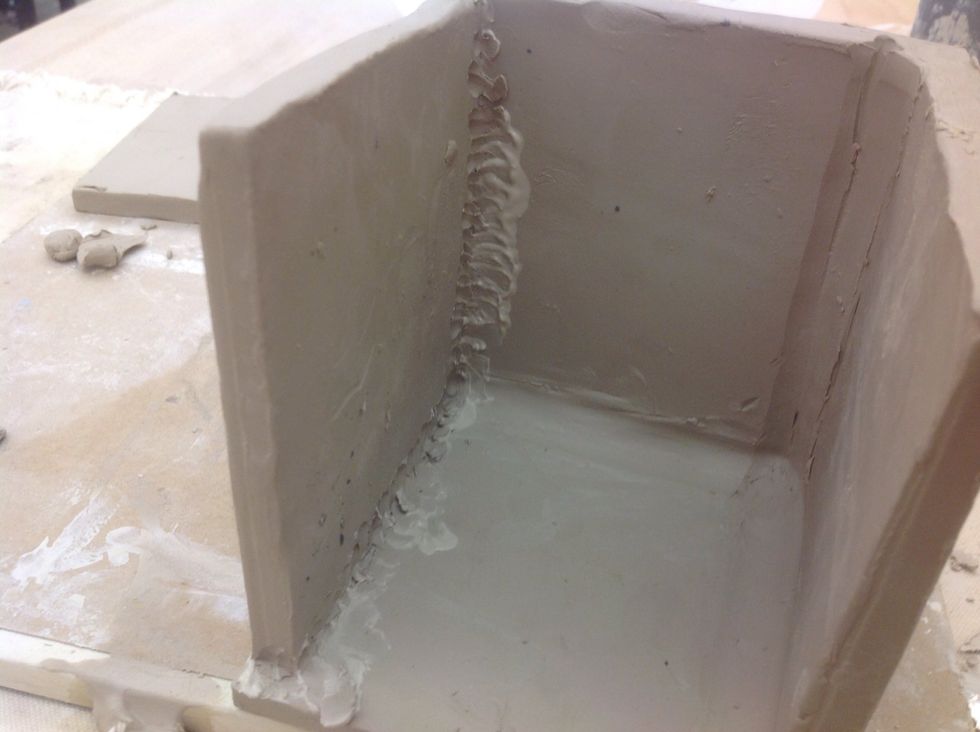
Take a "B" piece and slip and score two edges and the sides of both A pieces.
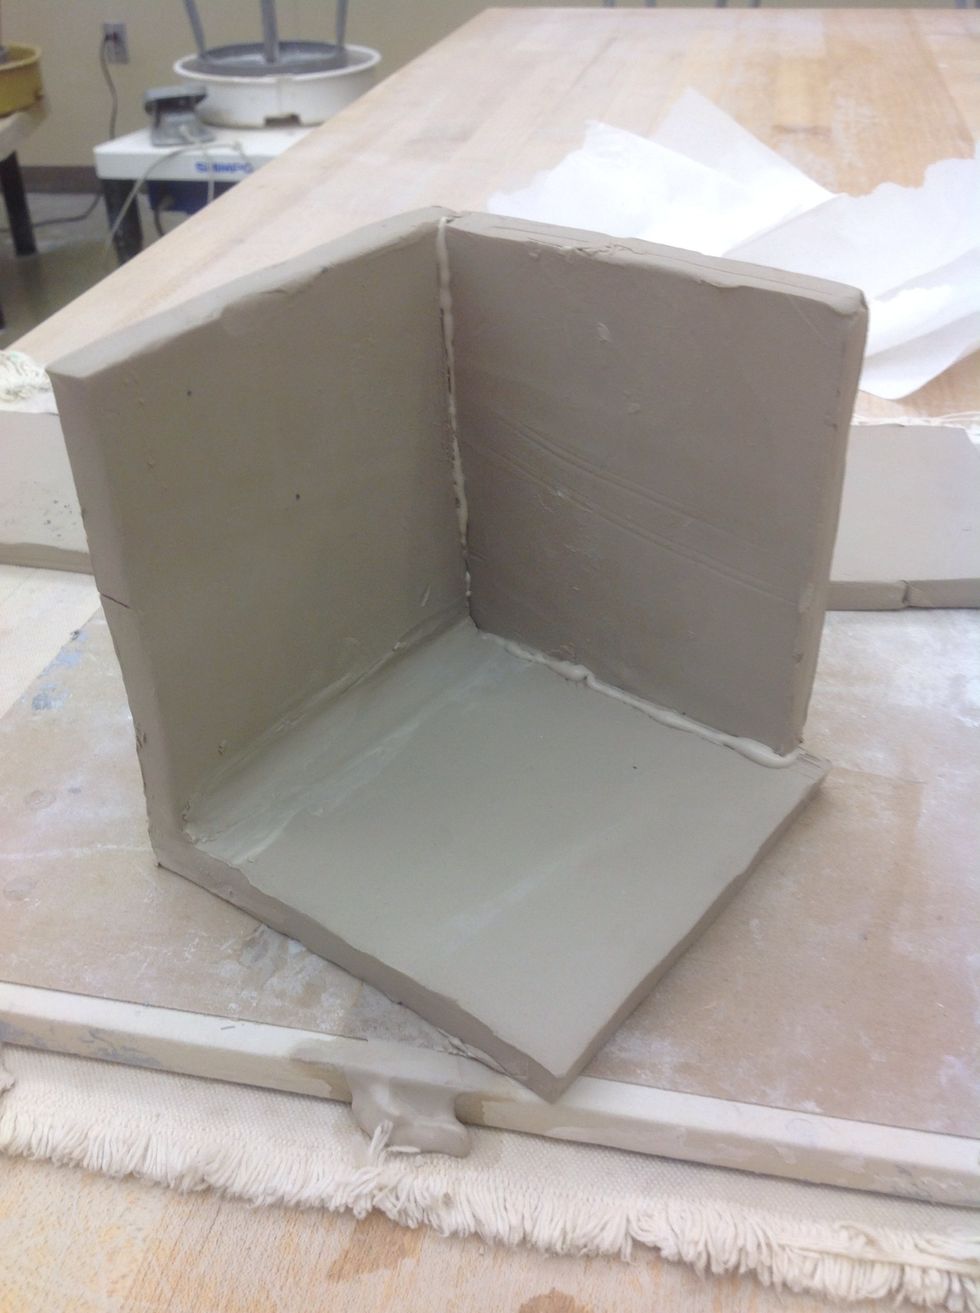
Gently but firmly press the B piece to the corner of the two A pieces. Stitch the B piece in.
Smooth the outside of the attachment with a metal rib.
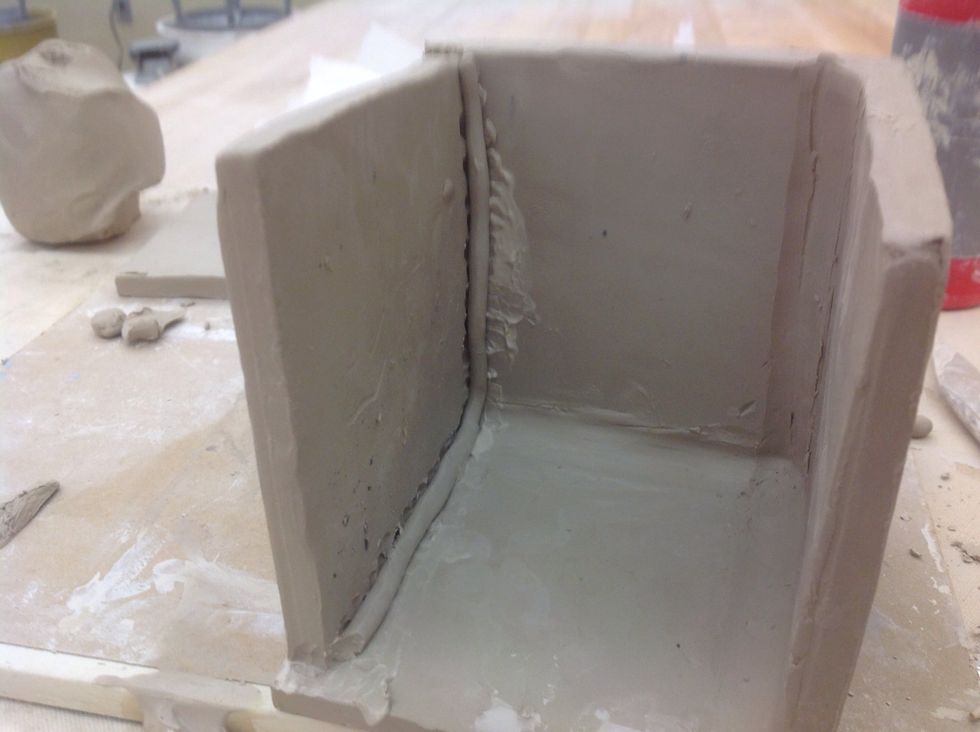
Repeat on the opposite side with the other B piece.
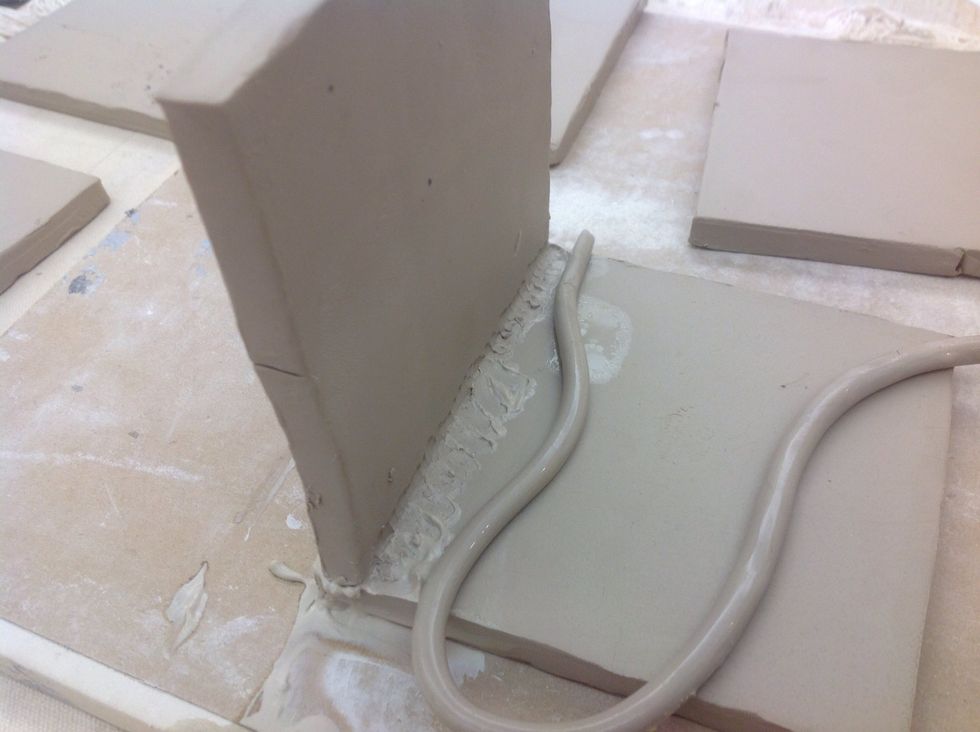
If slip oozes out, scrape with a metal rib.
Stitch the B piece to the A pieces.
Add a coil and smooth.
Smooth all the joints before attaching the last two pieces.
Slip and score another "A" piece on the edge and two sides. Slip and score the place where it will attach on the box.
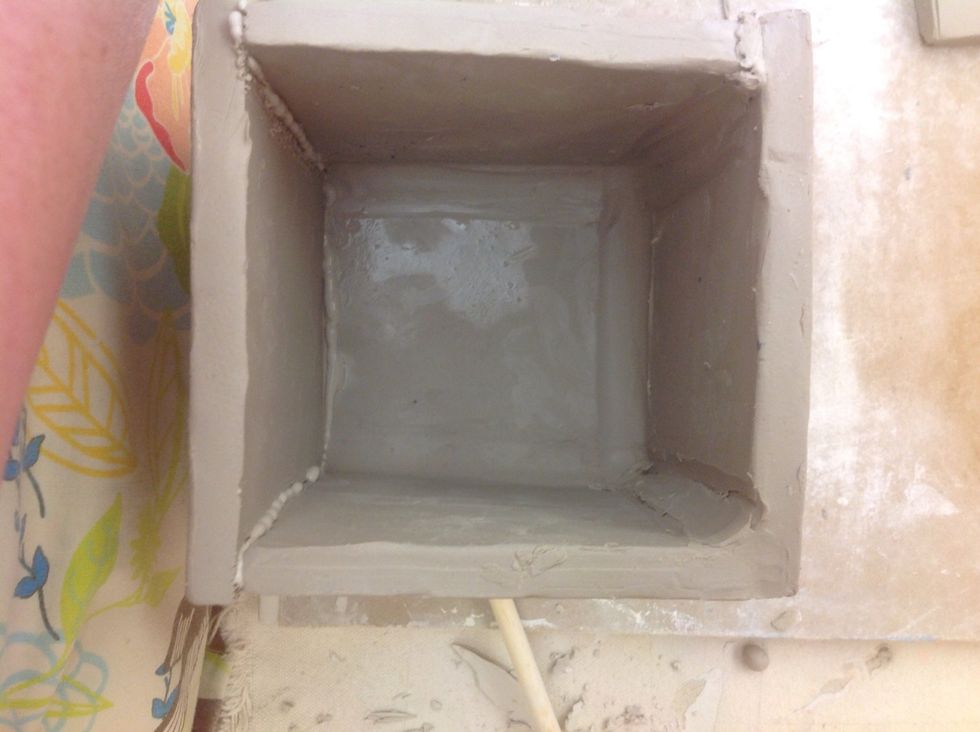
Press gently but firmly so that the two A pieces sandwich the B pieces.
Stitch the pieces together and smooth in a coil.
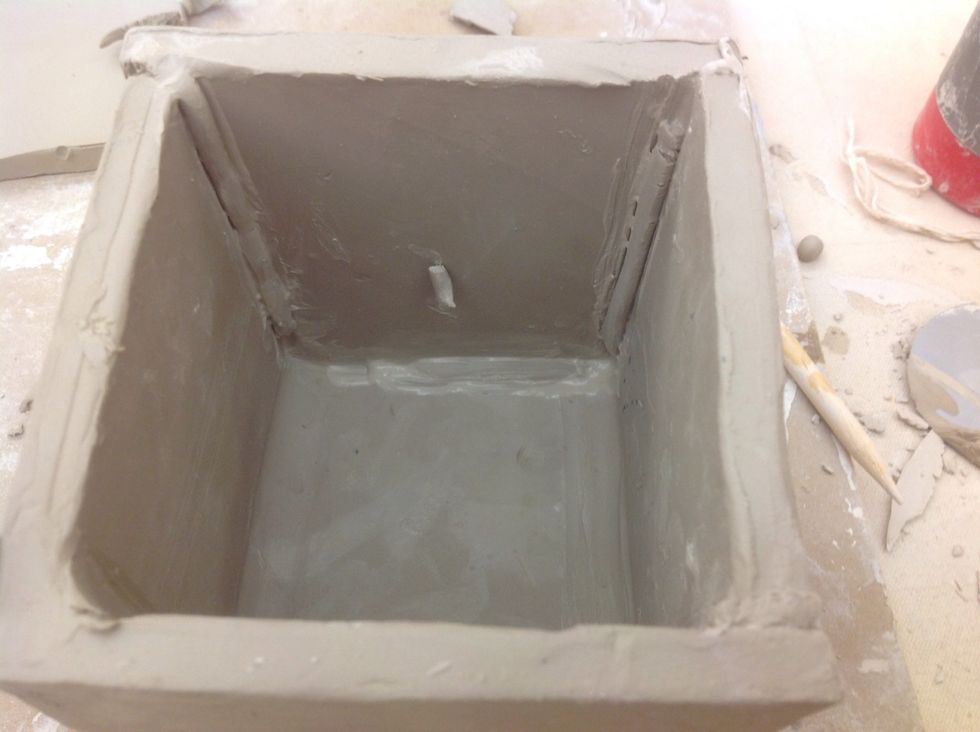
Take the last A pieces and slip and score the sides. Slip and score the edges of the box where the A piece will attach.
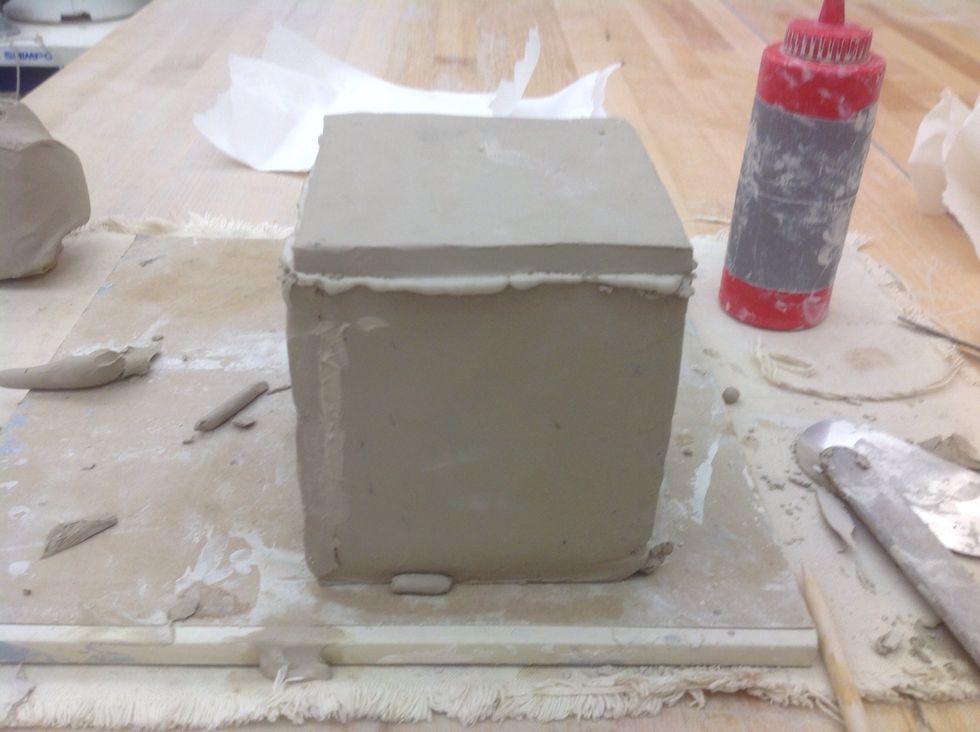
Firmly but gently press together.
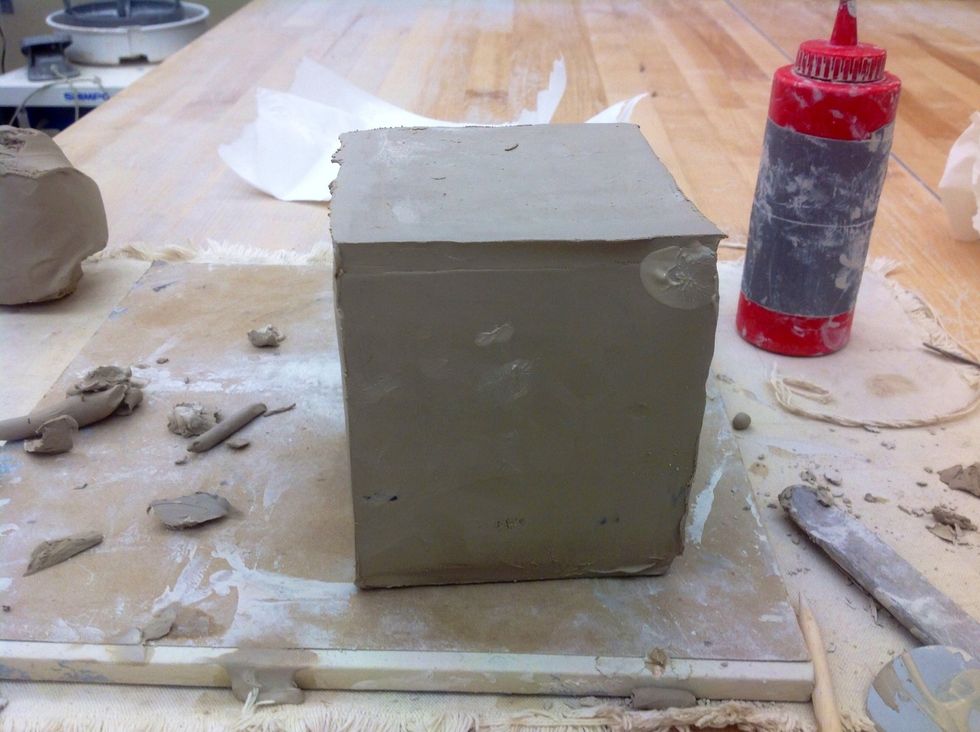
Smooth with a metal rib so that the seams are invisible.
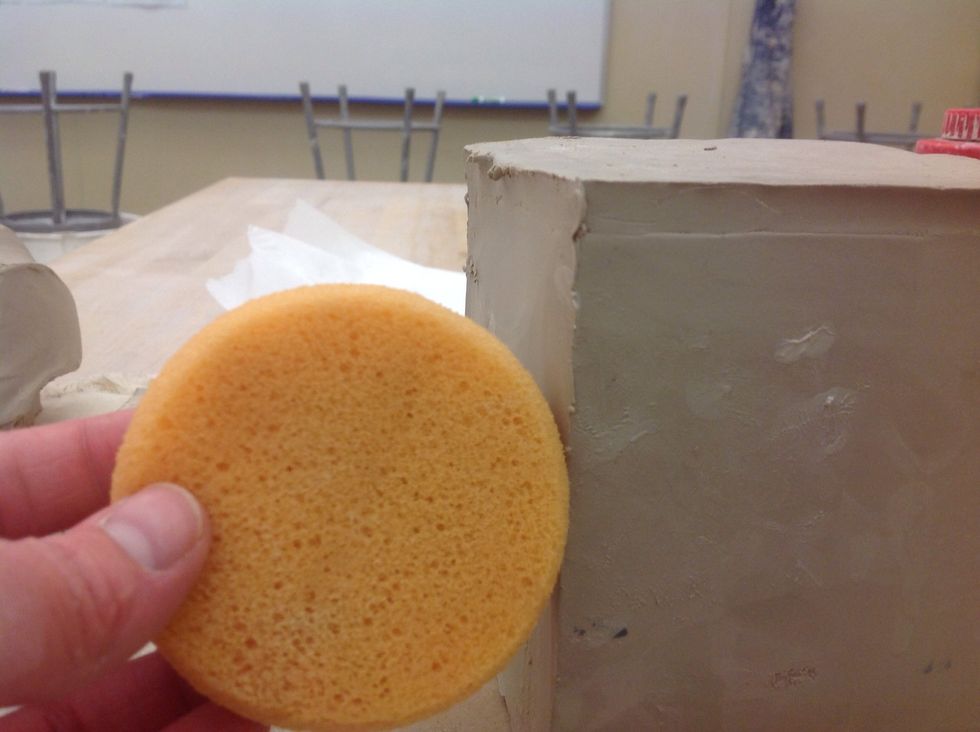
Smooth edges with a sponge; everything should be round and smooth.
Keep smoothing.
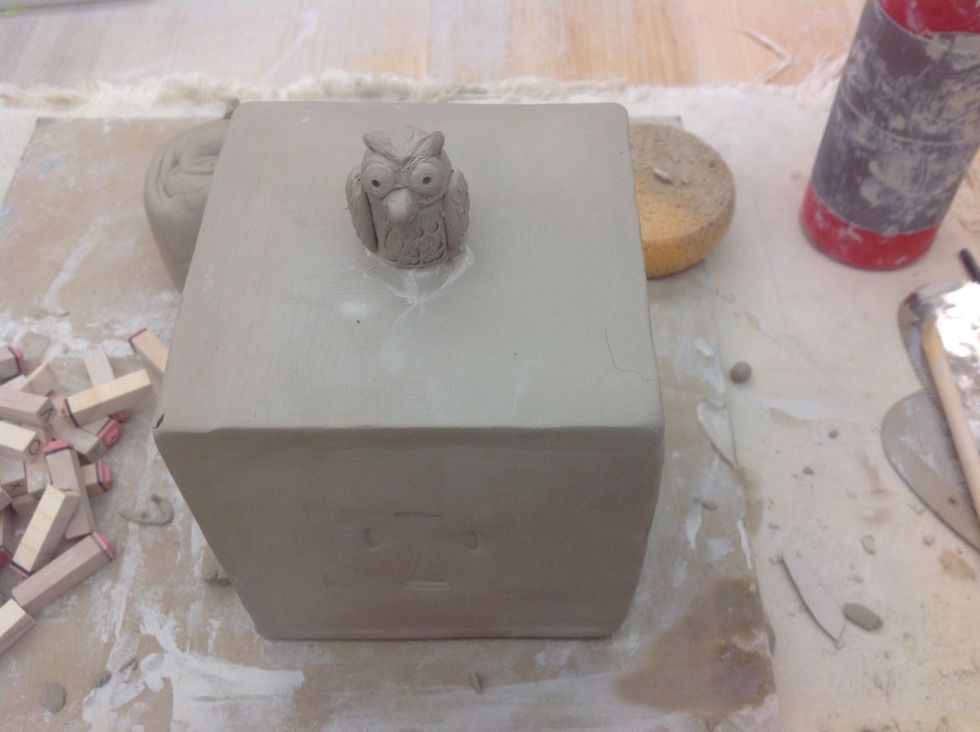
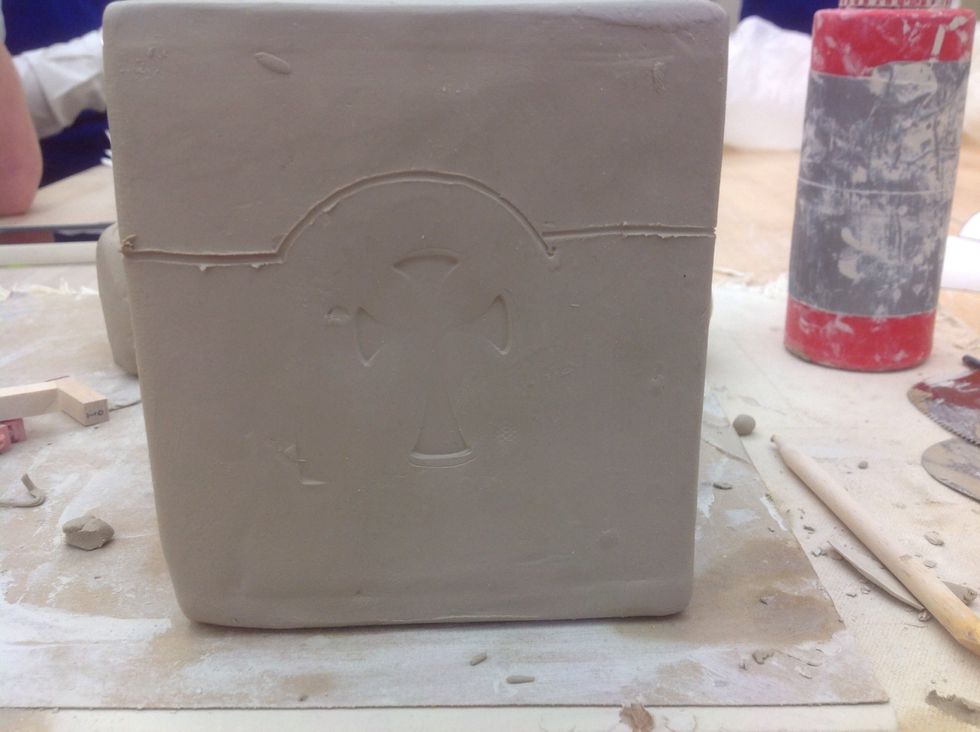
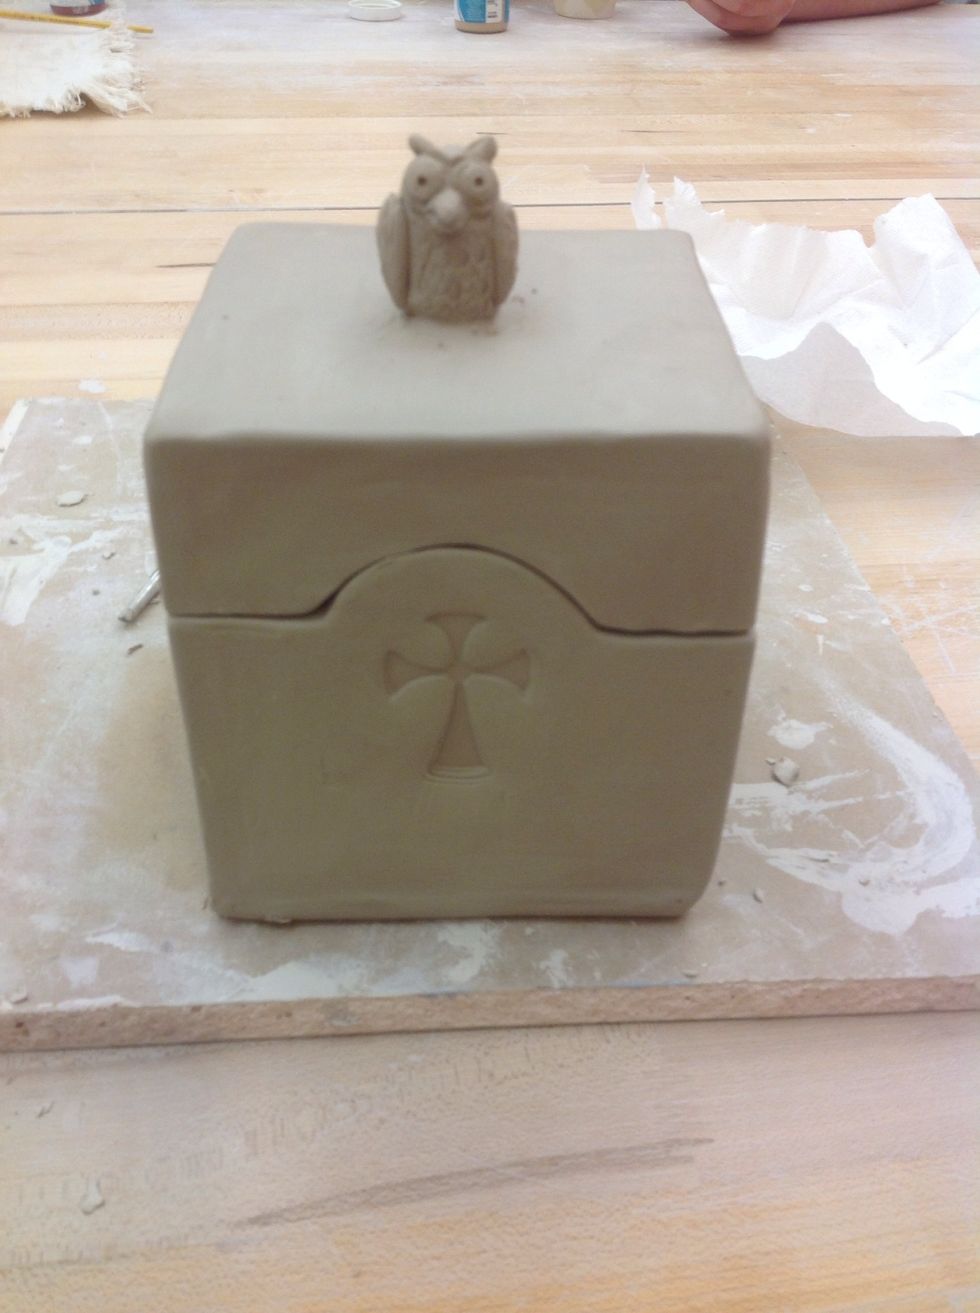
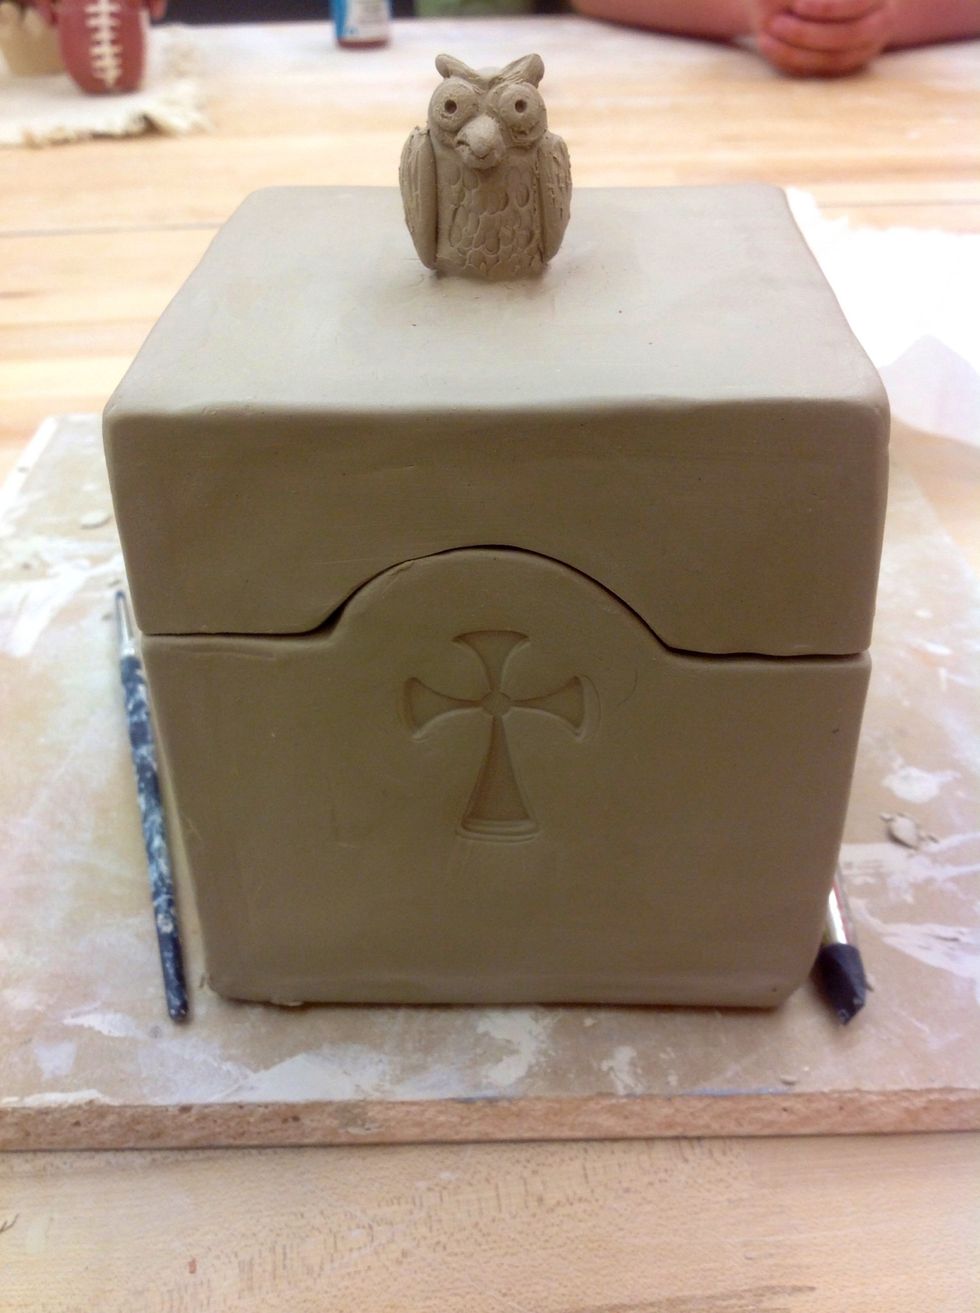
Attach a decorative topper and decorations to the sides.
Draw a line around the box to mark where the lid will be cut.
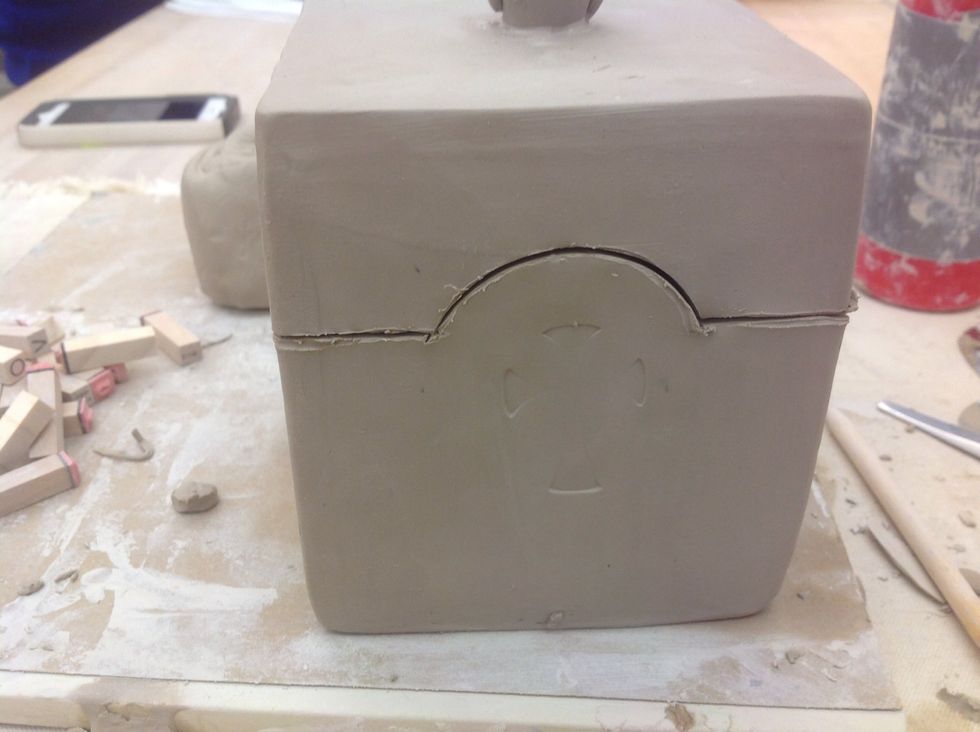
Using the knife, carefully cut through the clay all the way around.
Make sure your cuts are clean and even.
Stitch and smooth the inside of the top.
Smooth all the edges with a sponge. Be careful not to change the shape so the lid fits back on.
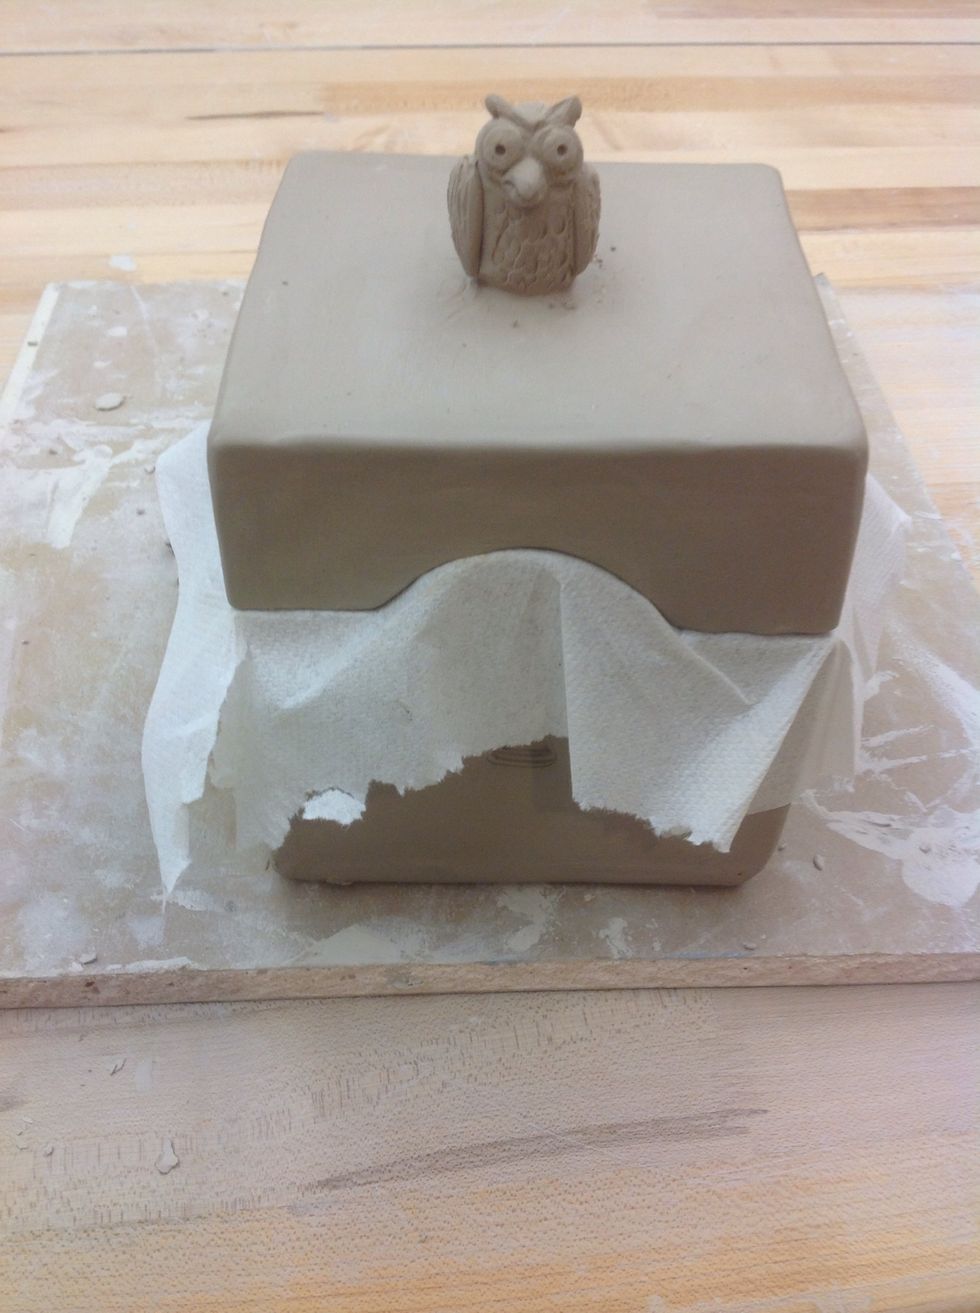
Use a paper towel to keep the lid from sticking to the box as it dries.
Check to make sure the lid fits well.
Allow to become bone dry before firing. Glaze and fire again!