The Conversation (0)
Sign Up
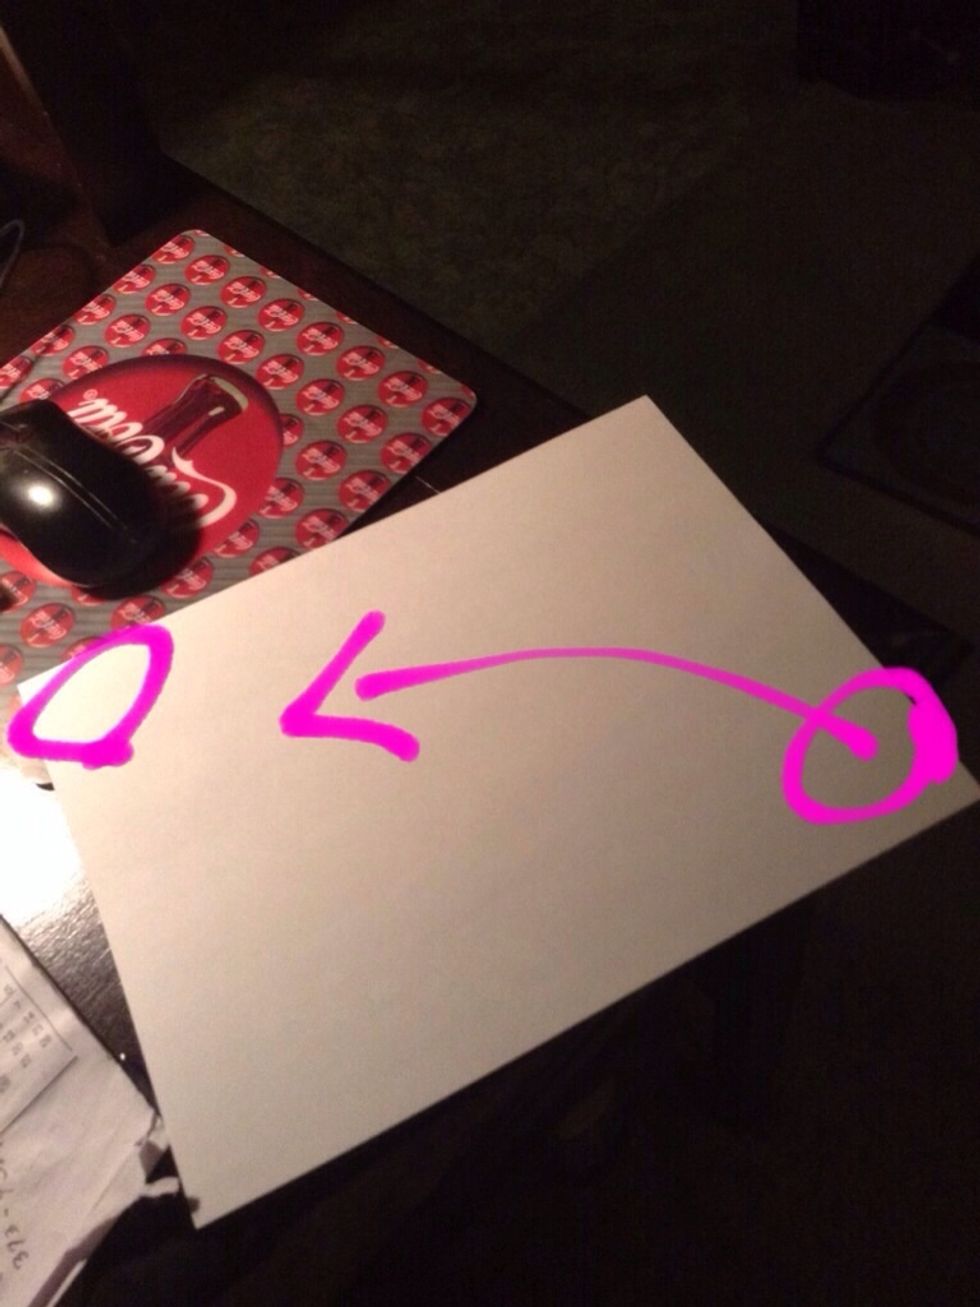
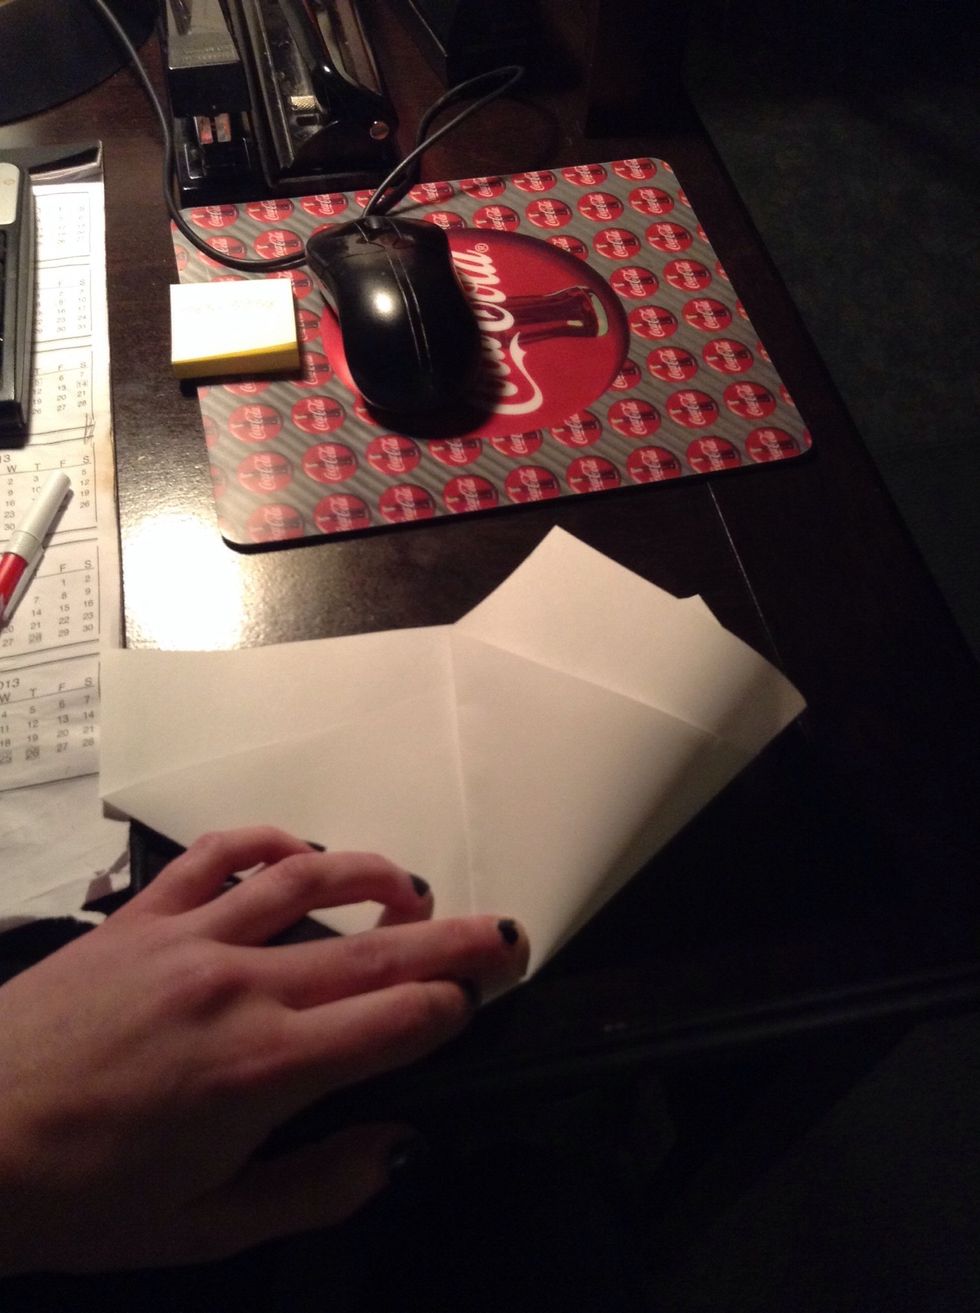
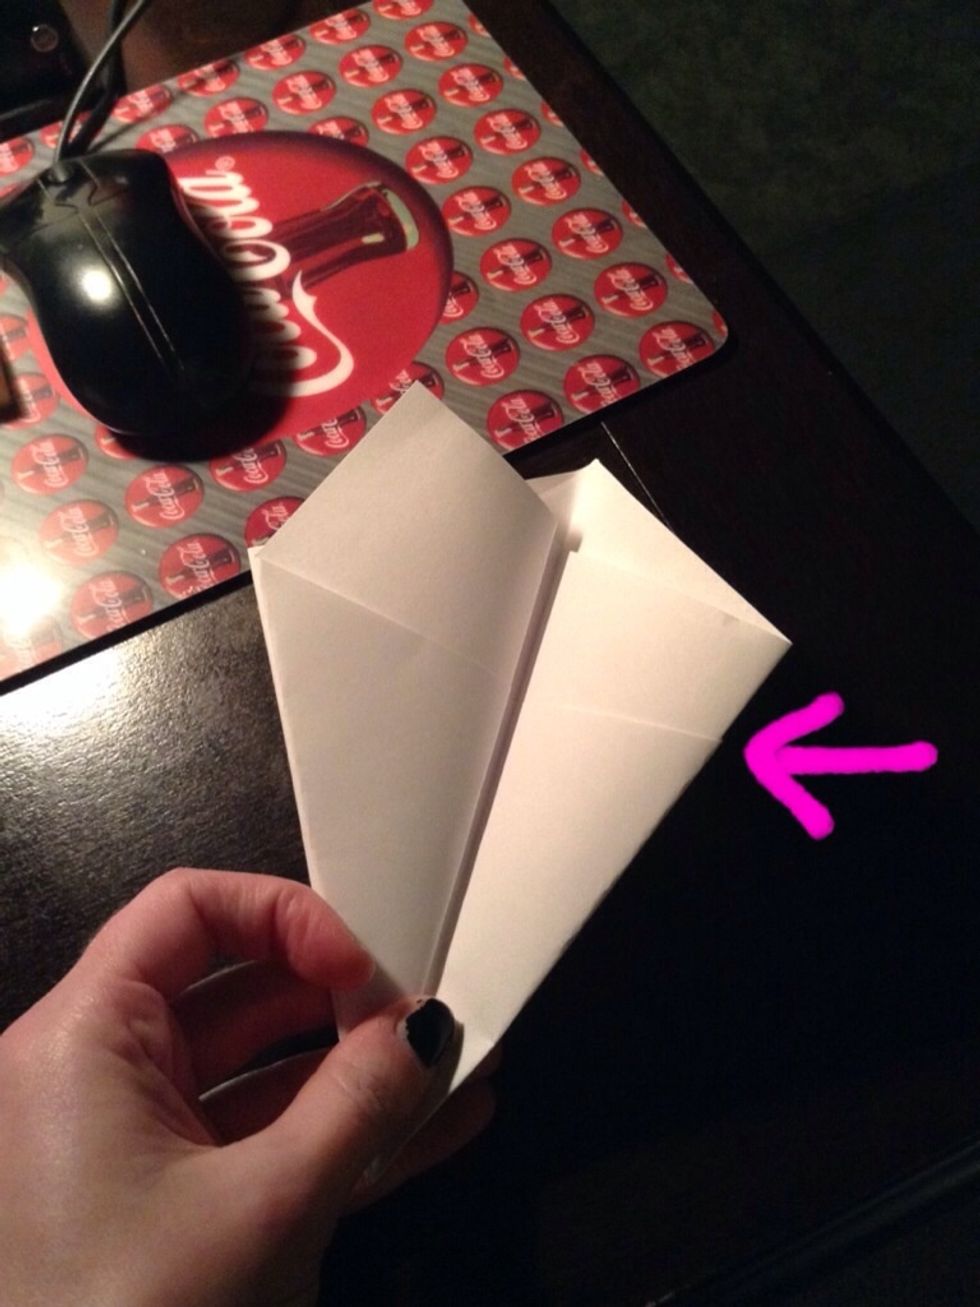
Start by taking the opposite corners of the paper together, so that the corners match up and you get...

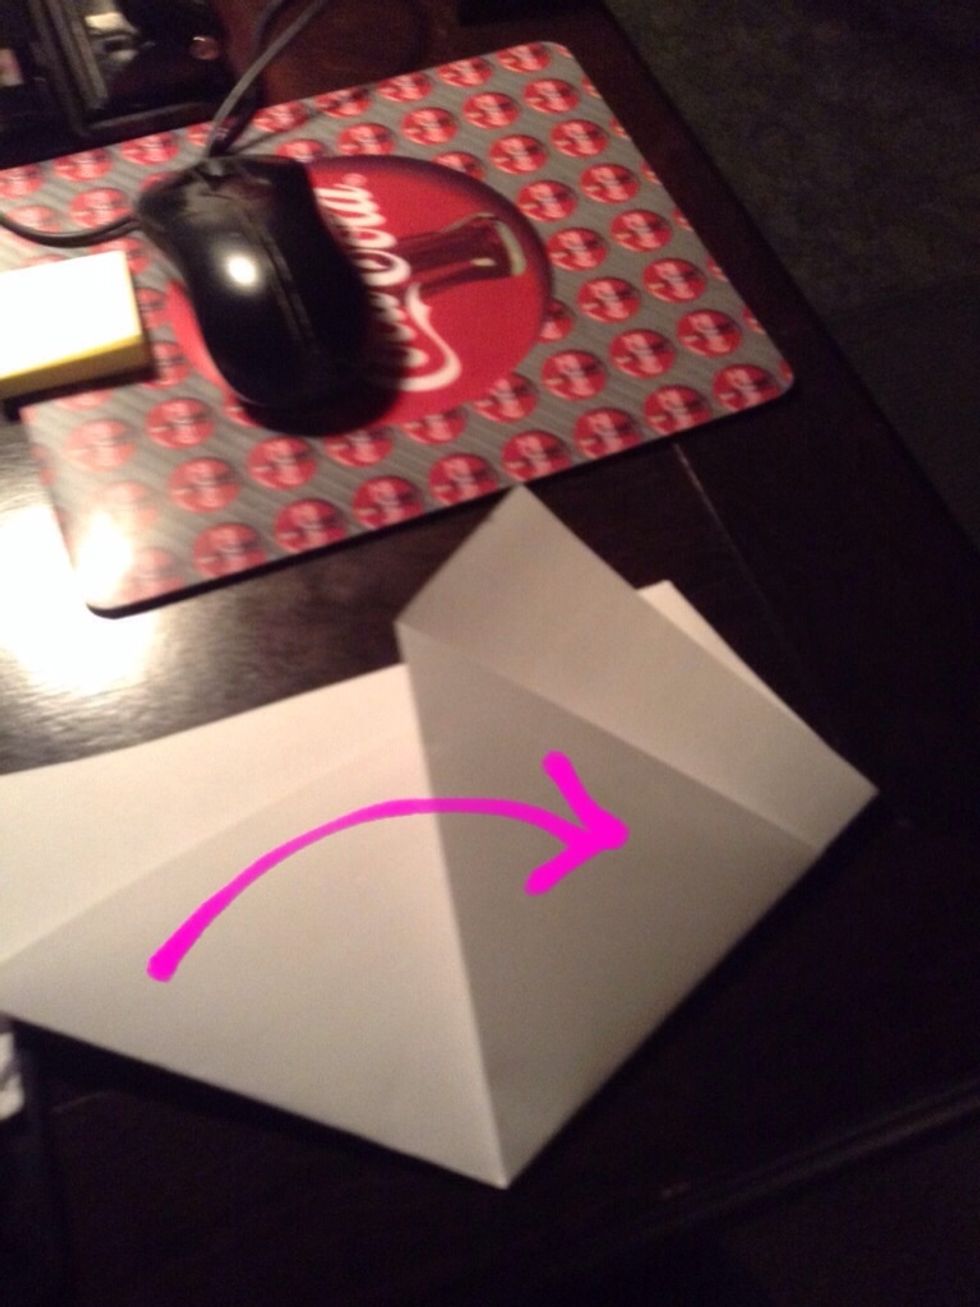
This! Now take the two opposite corners and fold together but DO NOT fully crease the fold! See the next photo
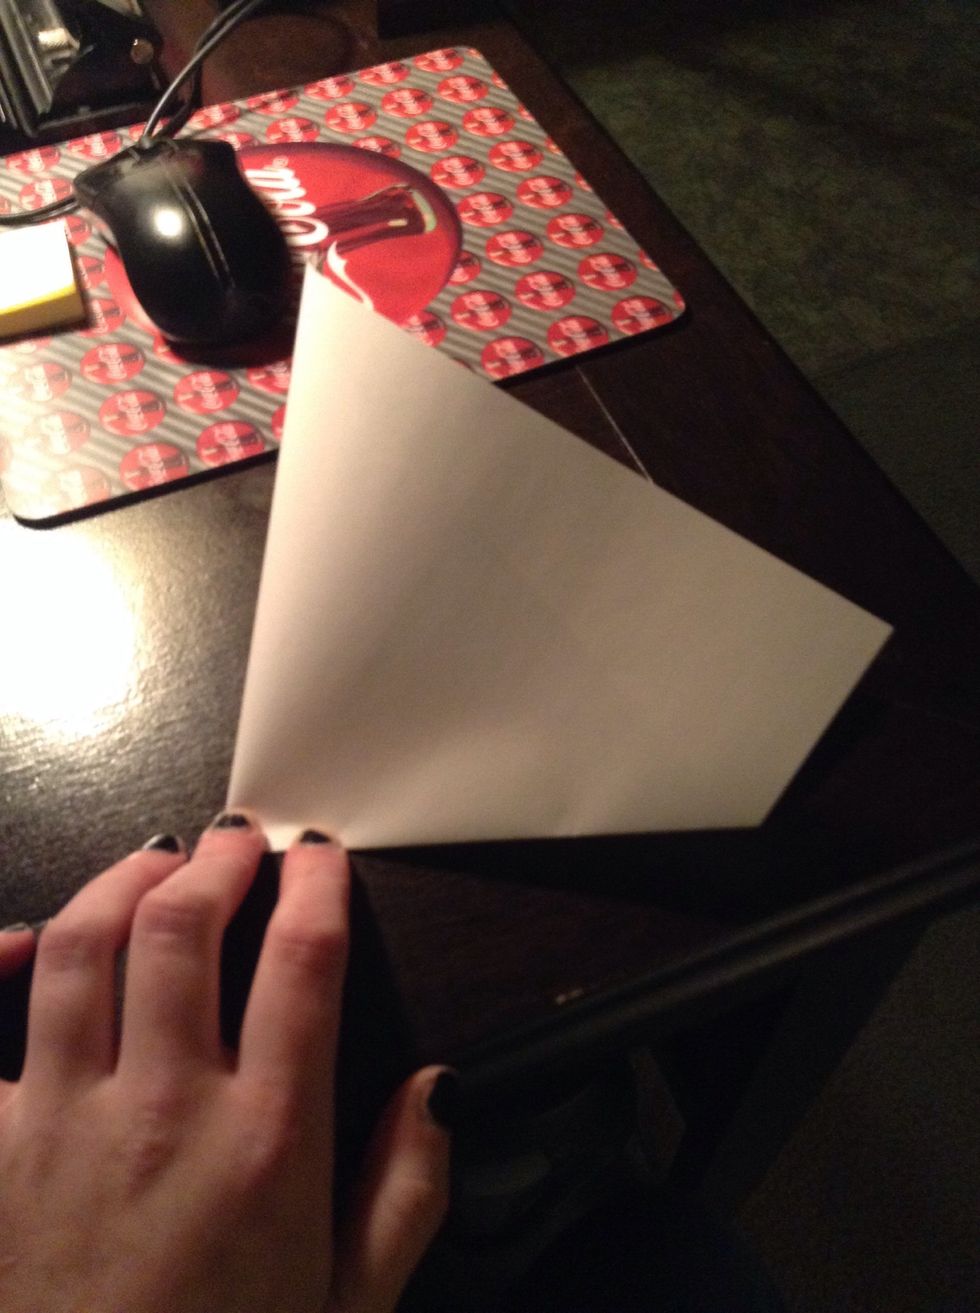
Just push down to create a small crease at the bottom to mark the middle
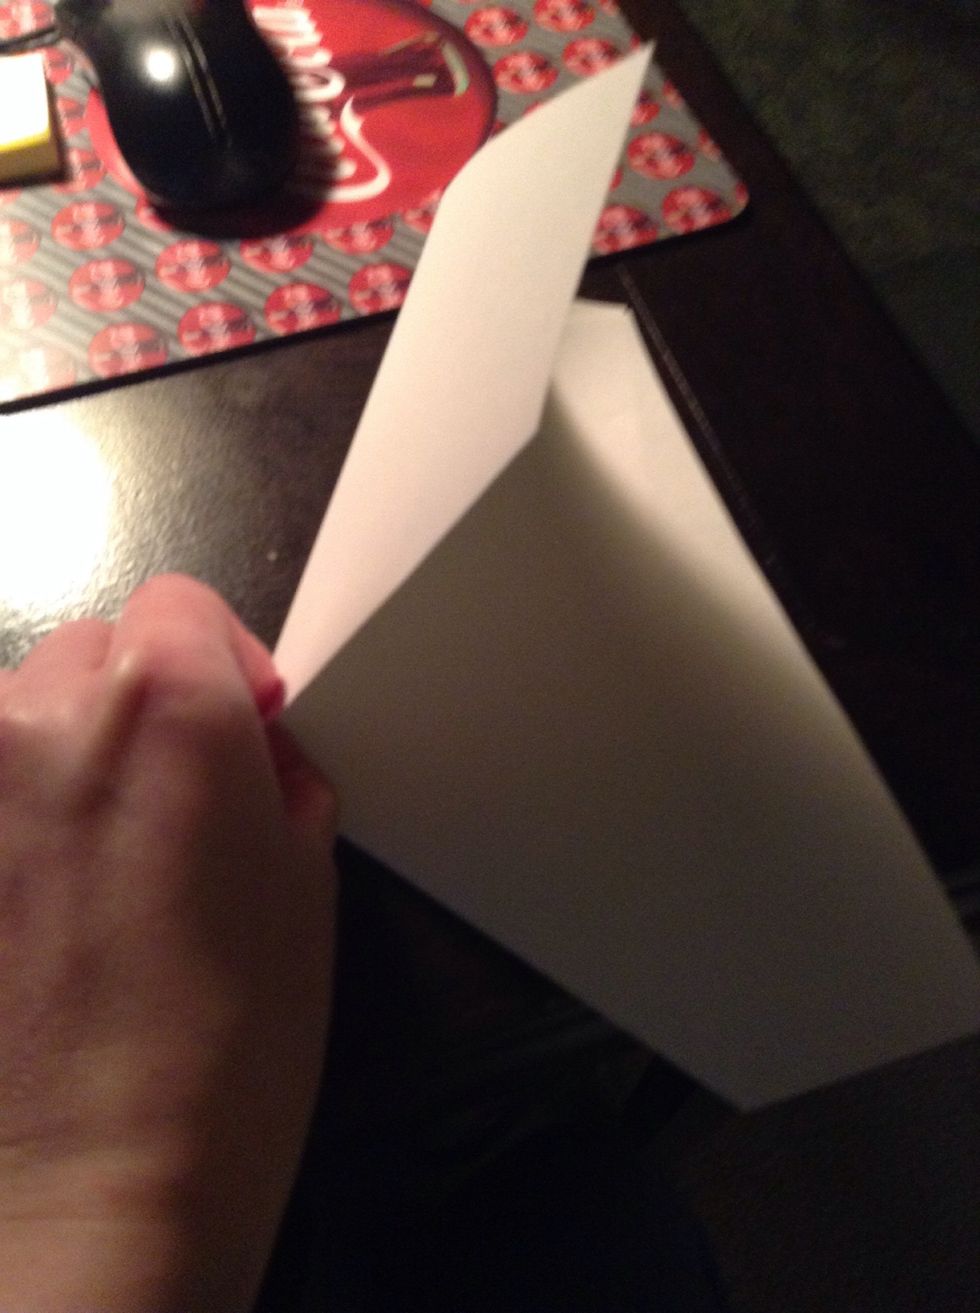
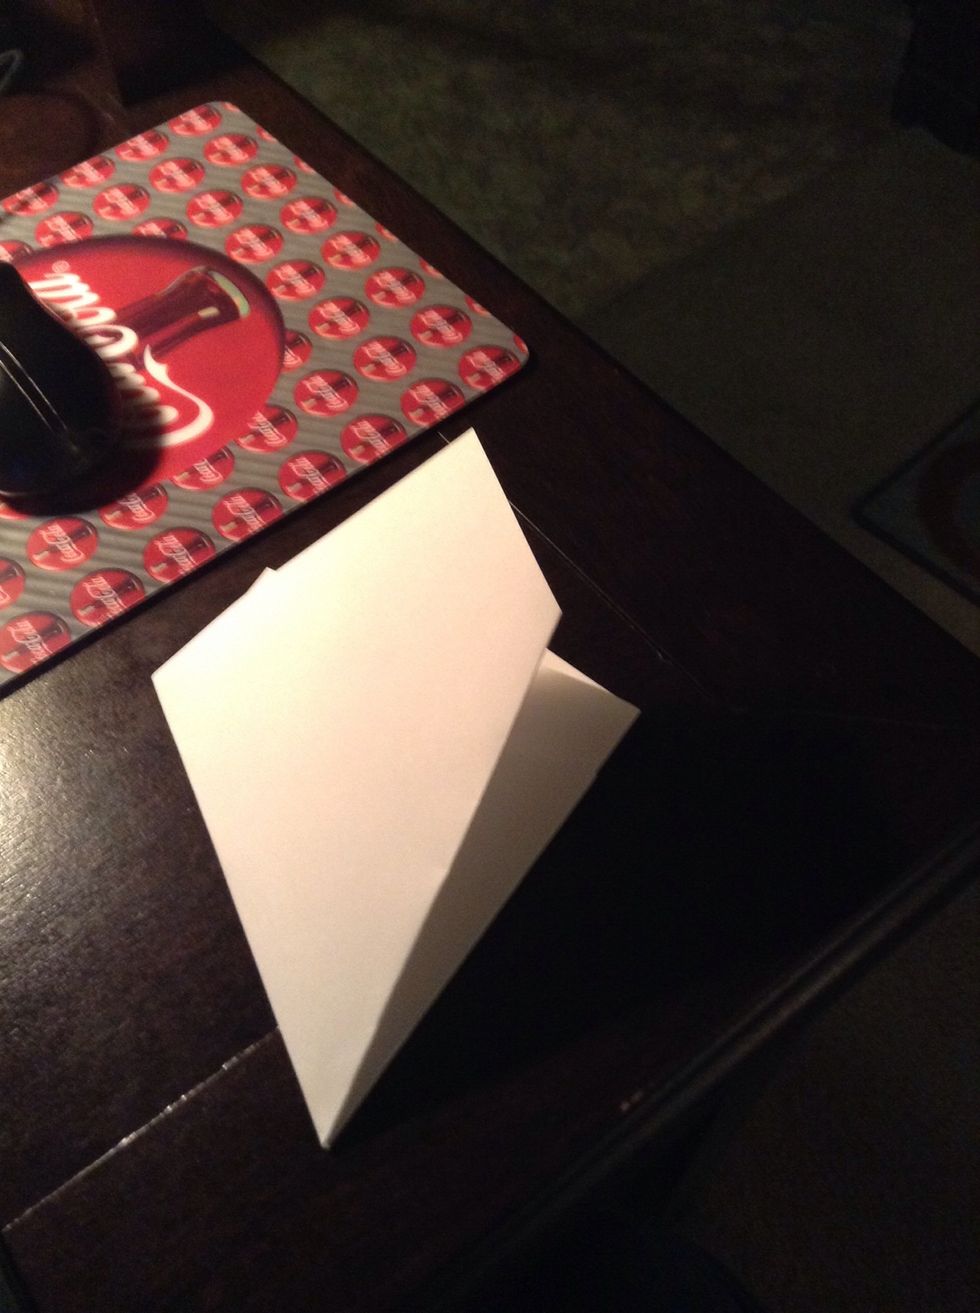
Unfold
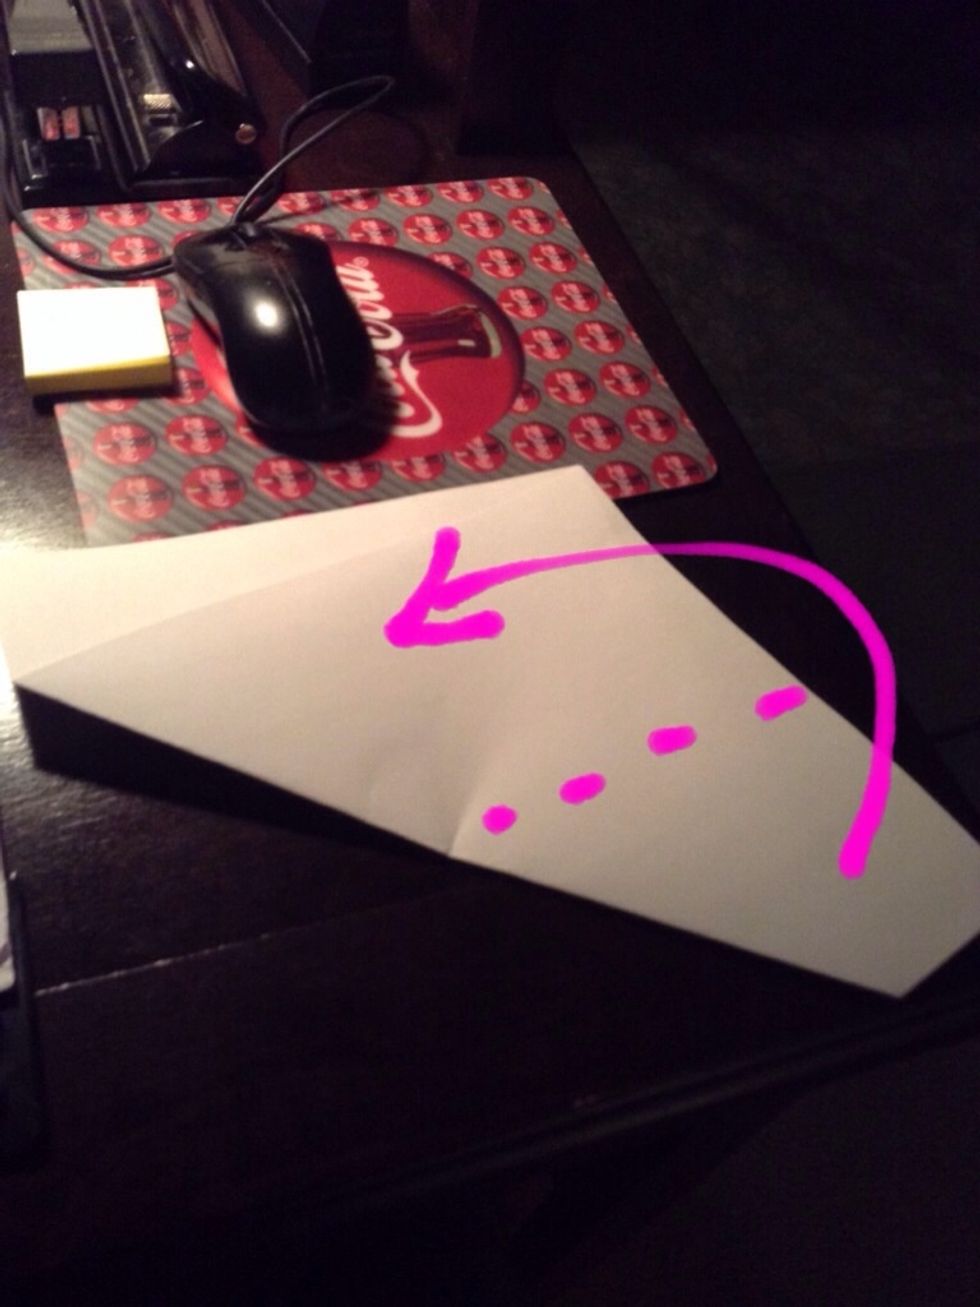
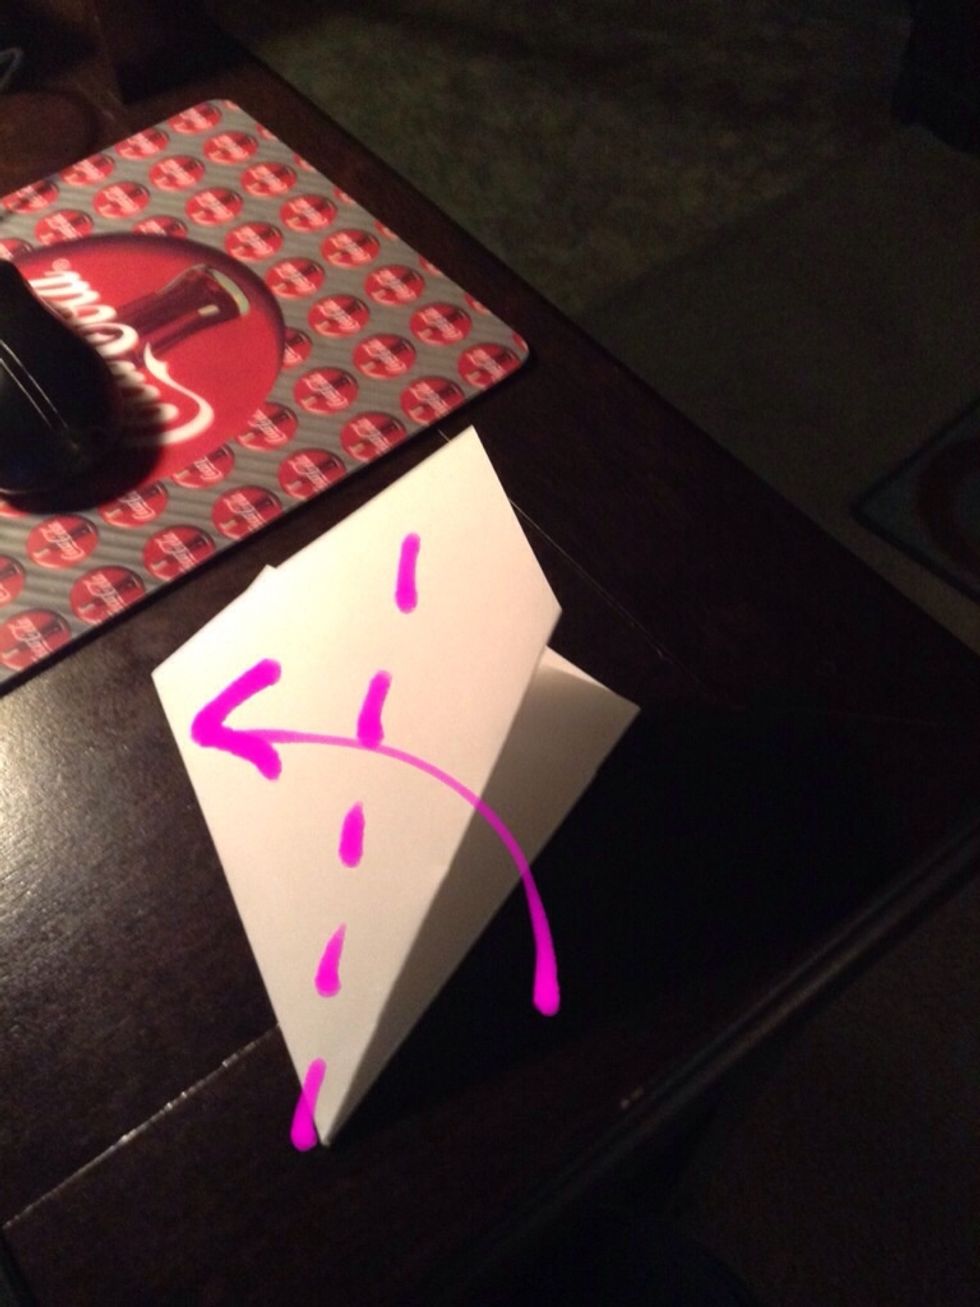
Should look like this (see the crease at the bottom?), the crease is a marker for your next fold. Basically you'll fold the paper in thirds. It's not exact, you kind of have to eyeball it!
This is about right
Now fold the other side over, so you have one pie-piece looking shape
Ta da!

Unfolded just to show that the folds make it into equal thirds (really sixths altogether)
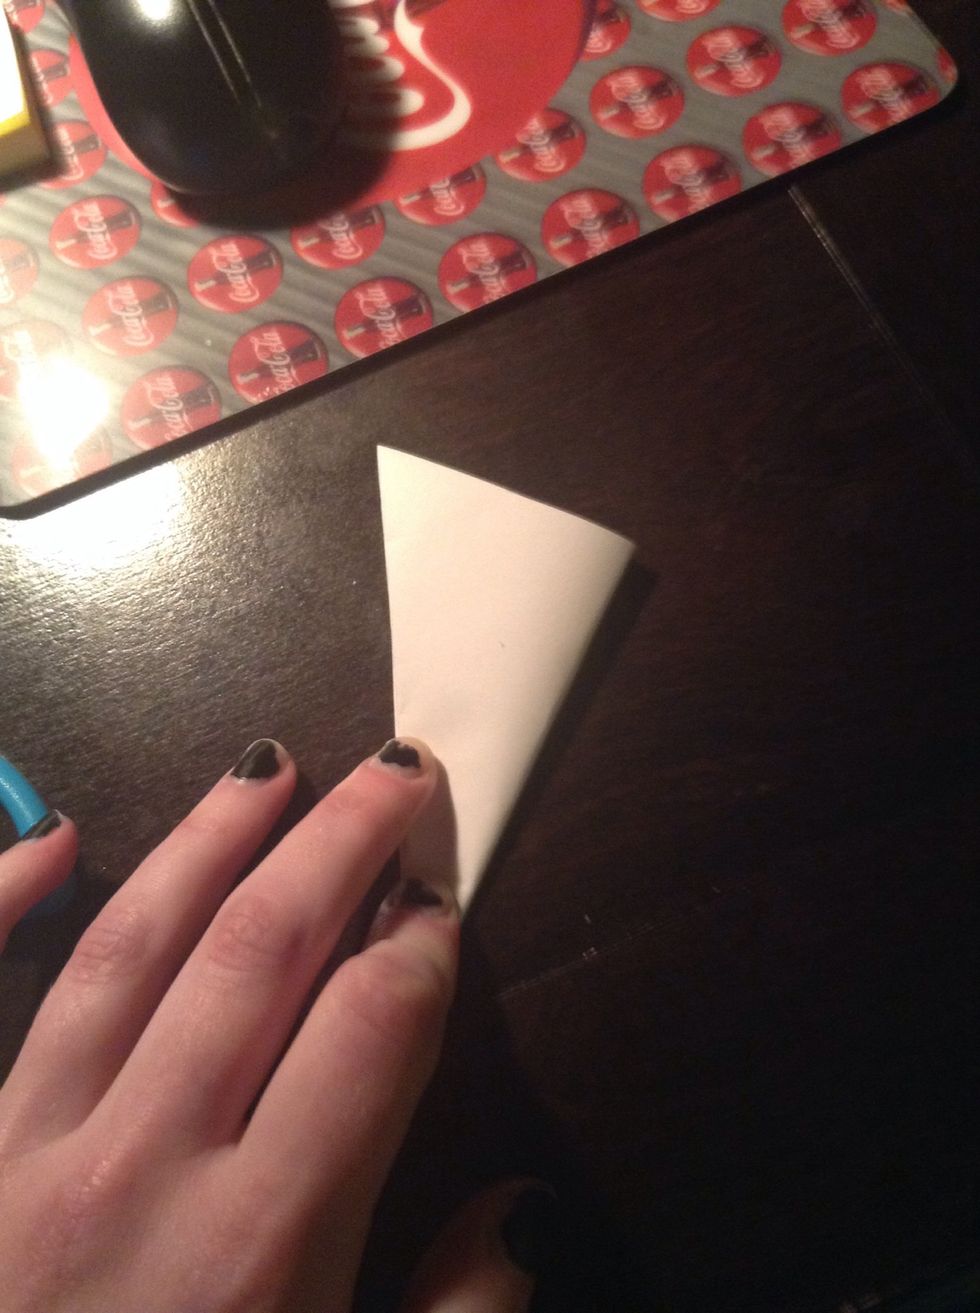
Take your pie-piece shape in half

Smaller pie-piece!
Unfold to find where the smallest edge is, then fold back up and cut to that length. This step isn't necessary but it prevent you from having some of your design missing in the end
Cut!

The point will end up as the middle of your snowflake. Cut a design into it, be creative!
The end furthest from the point will be the outside. Make it really squiggly, anything goes

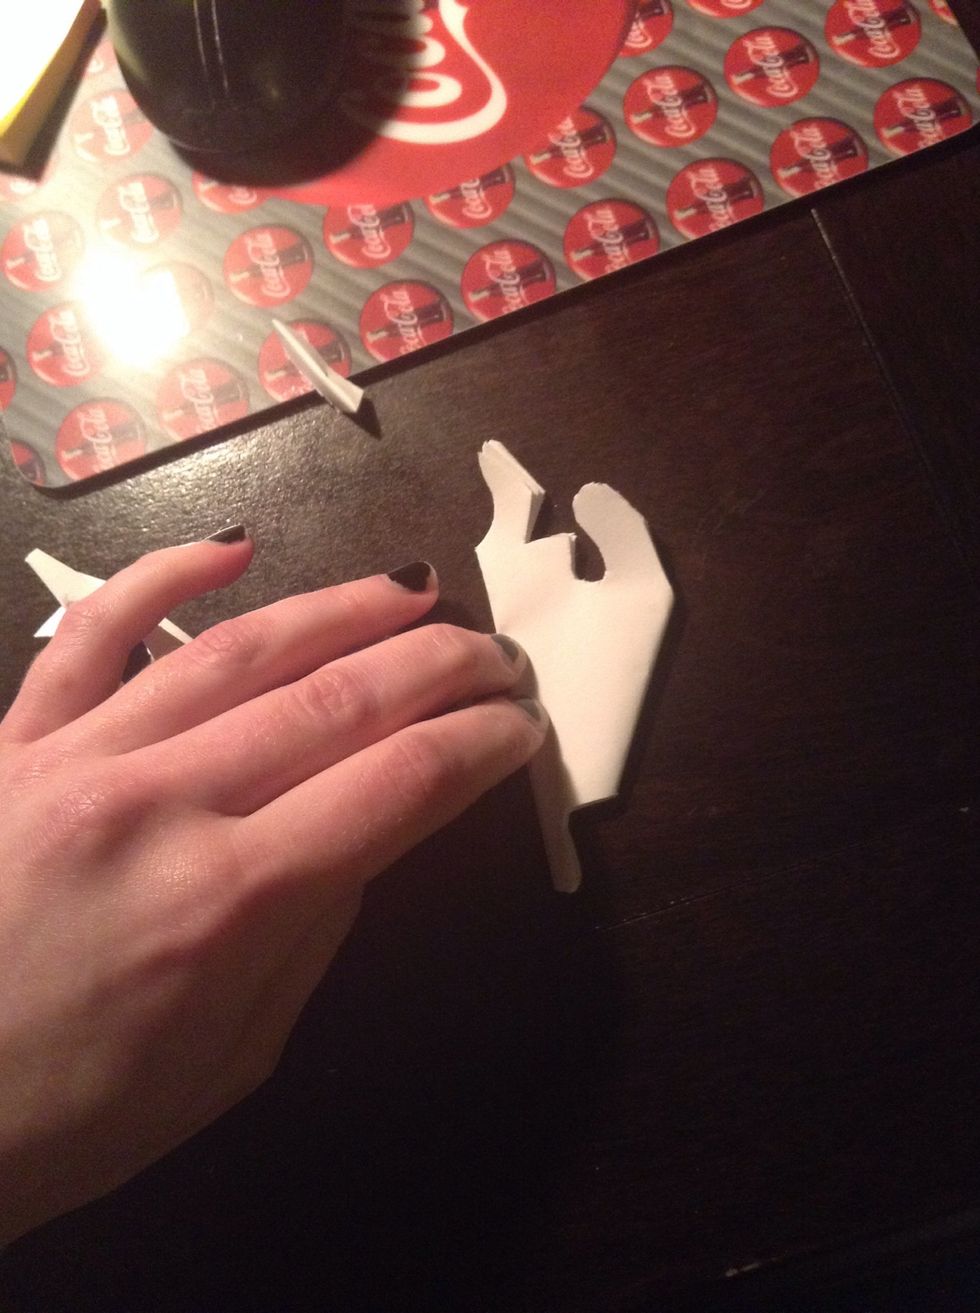
Cut shapes from the sides. The only rule is don't cut through an entire folded side, or the snowflake will fall apart
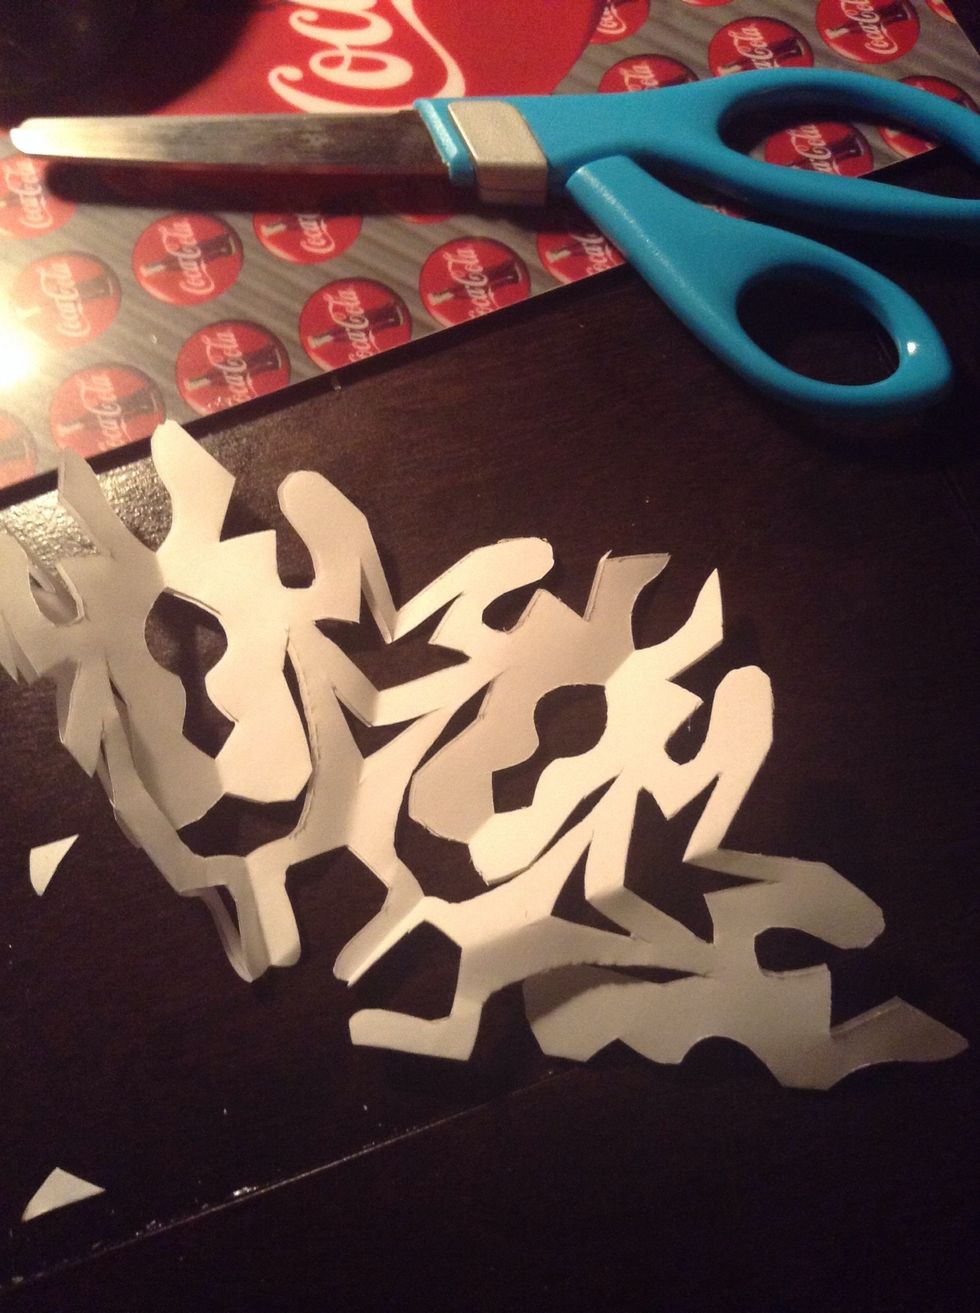
Begin unfolding to view...
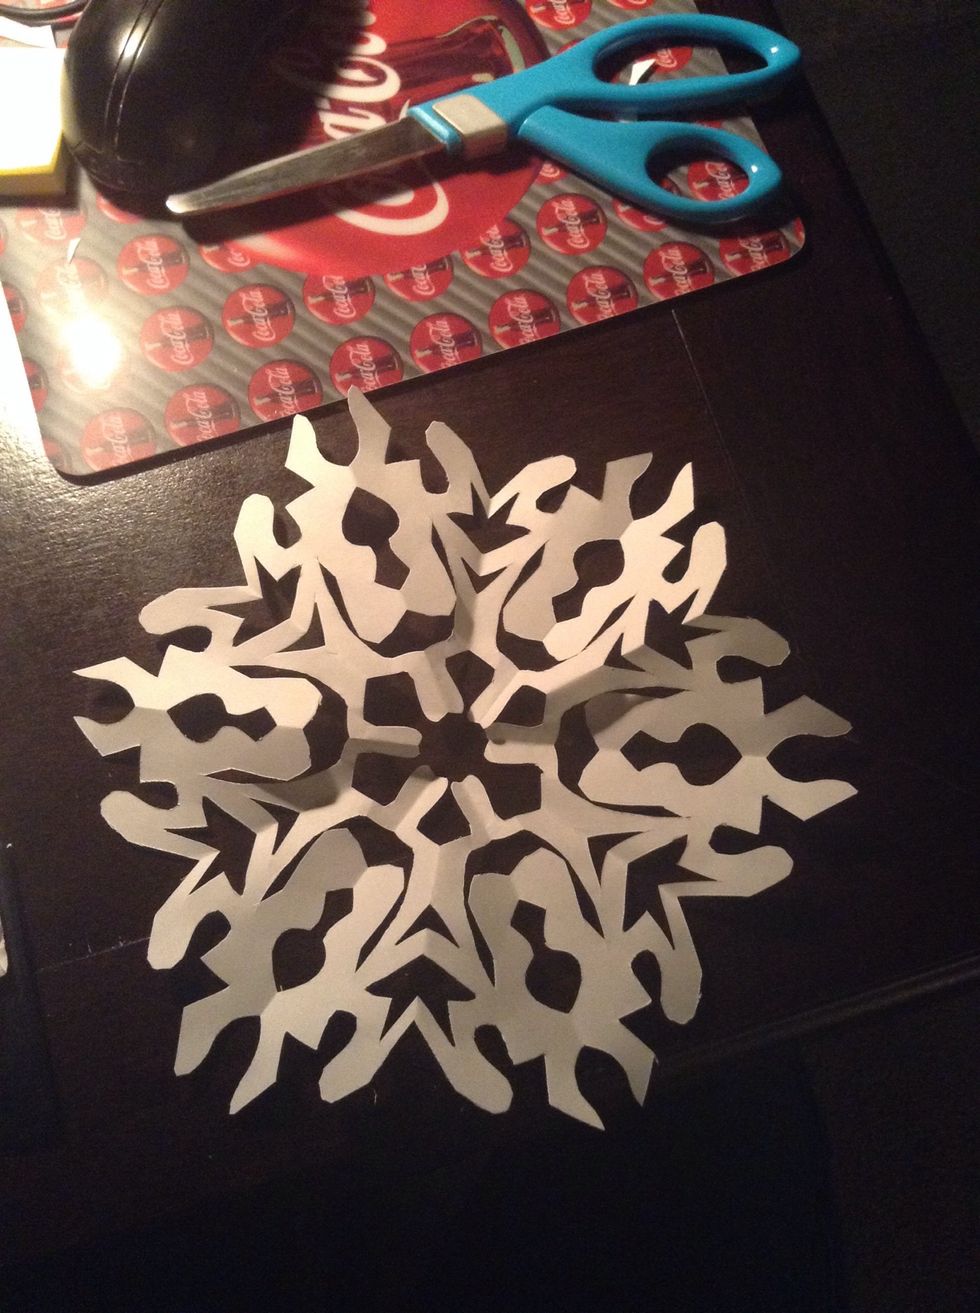
... your unique creation! No two are ever alike :)