The Conversation (0)
Sign Up
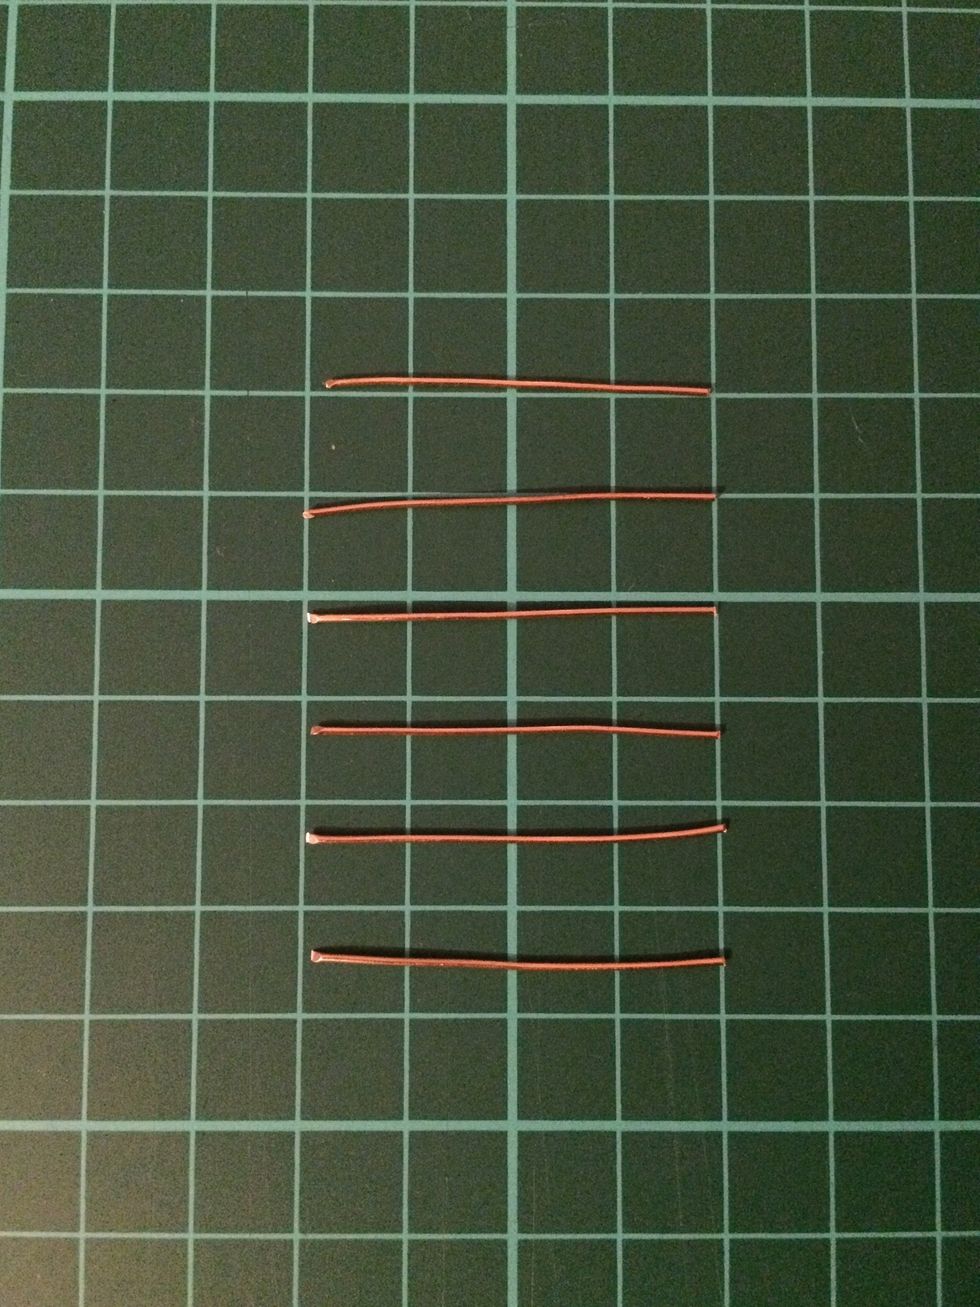
Using the flush cutter, cut the 0.4mm thick wire into five 4cm long pieces. These will be used to wire wrap your beads.
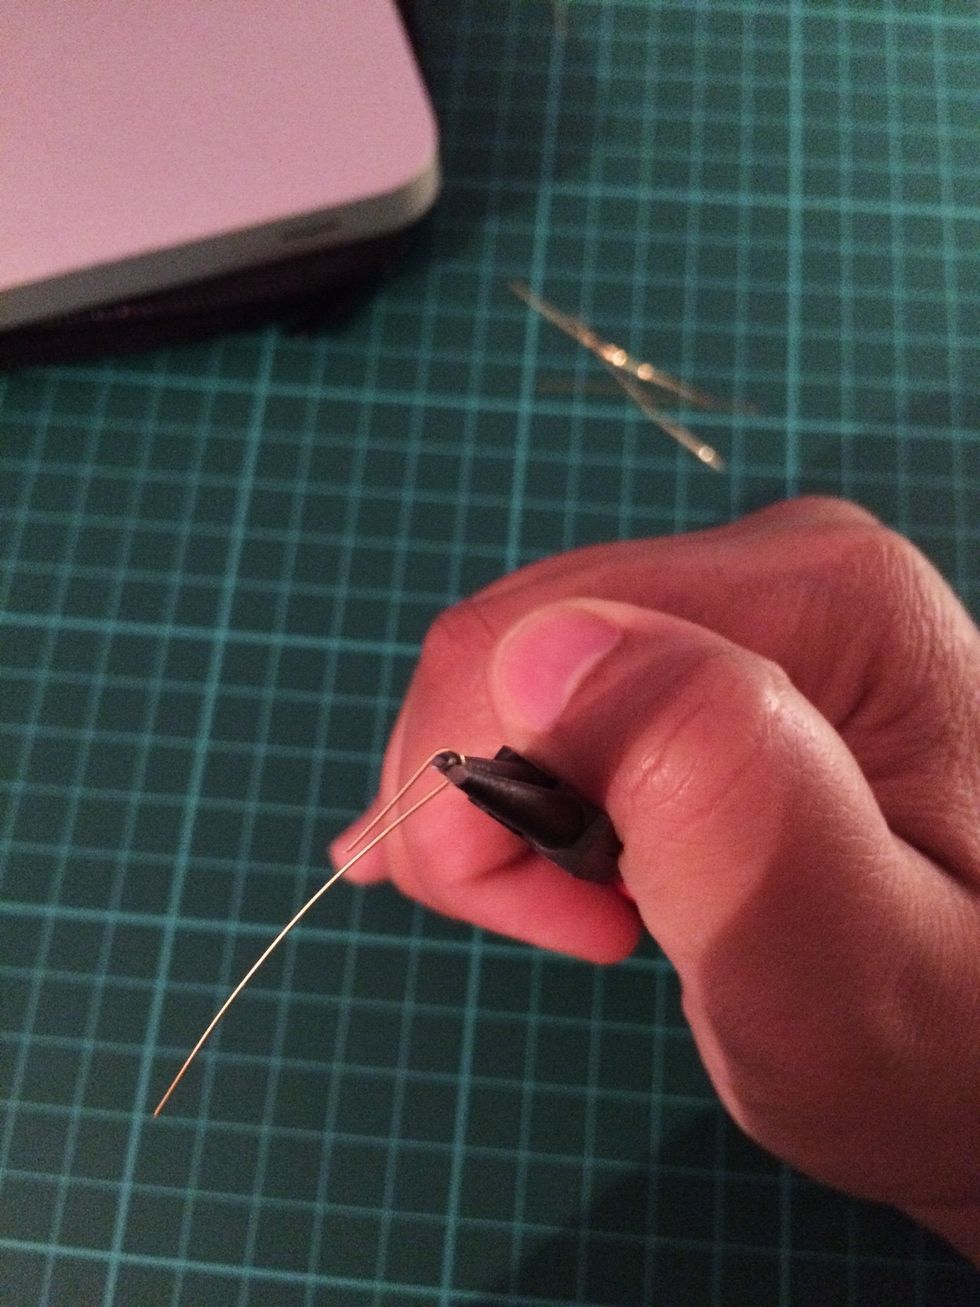
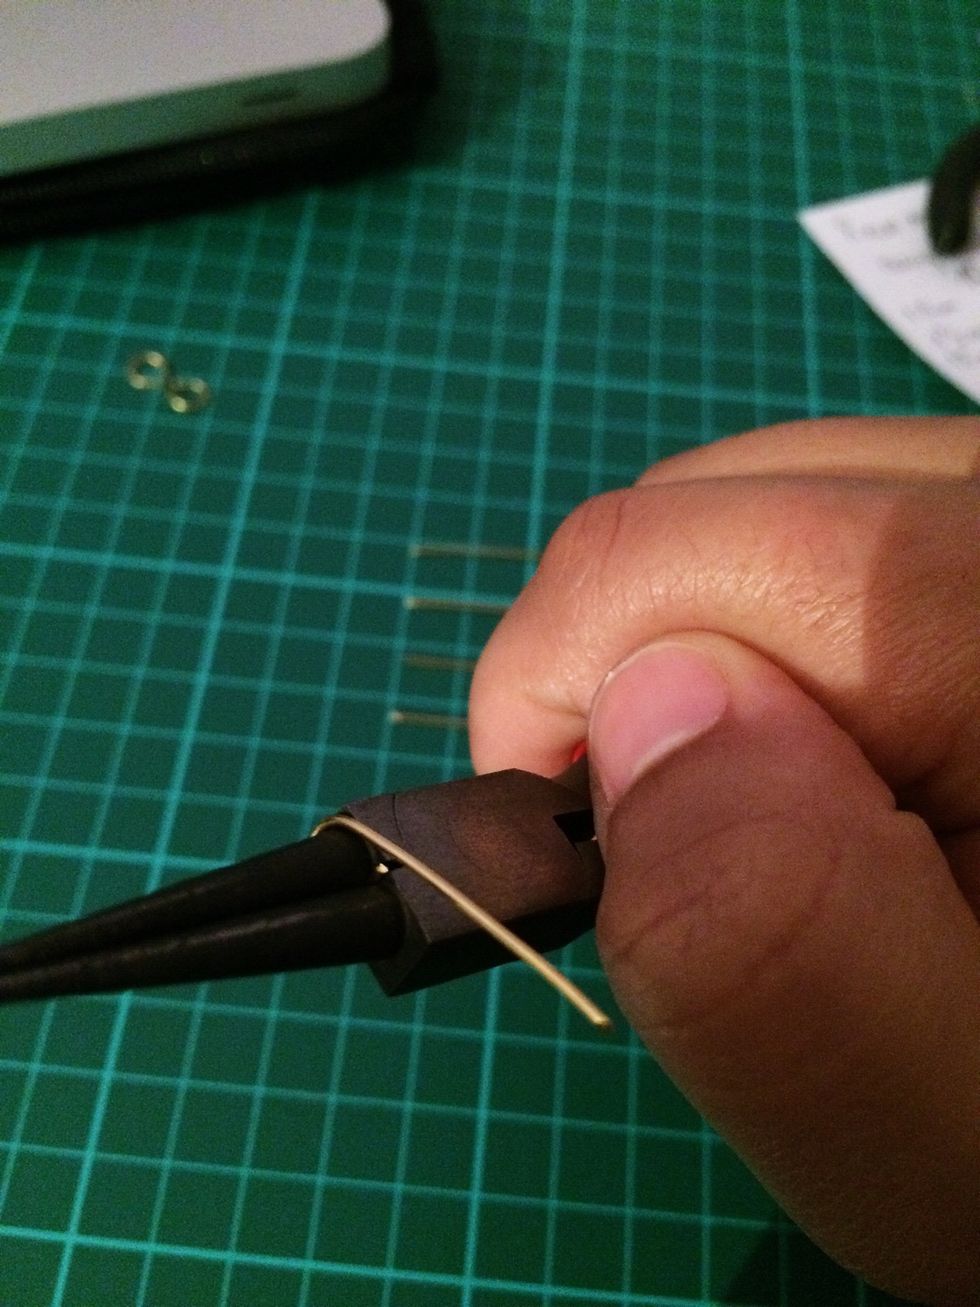
Using your round nose pliers, wrap the wire around the tip at about 1cm down the wire. Wrap the piece around the bottom of the loop.
Press down on the end of the wire using the chain nose pliers to make sure it is secure.
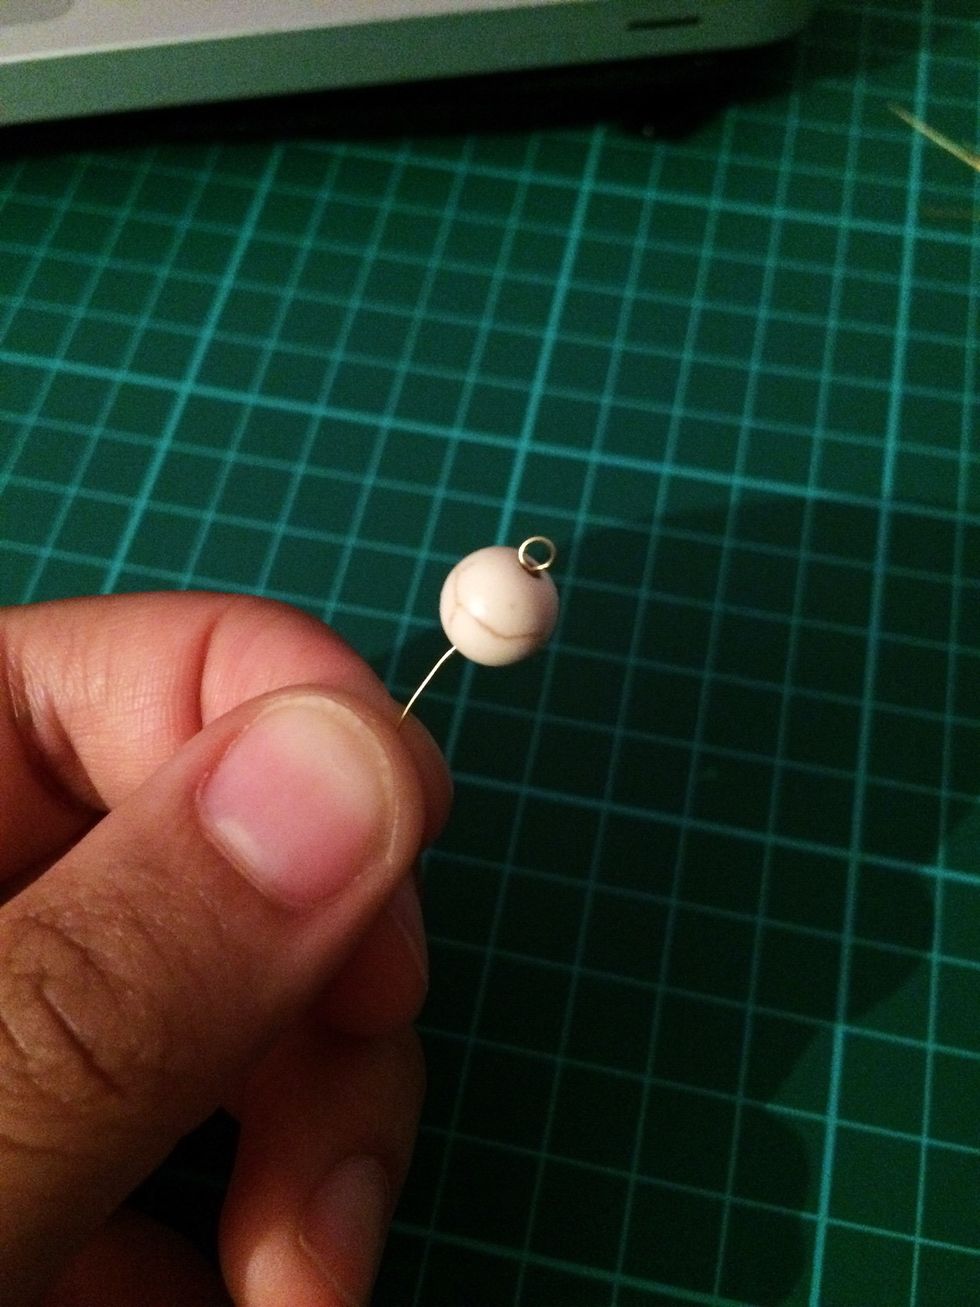
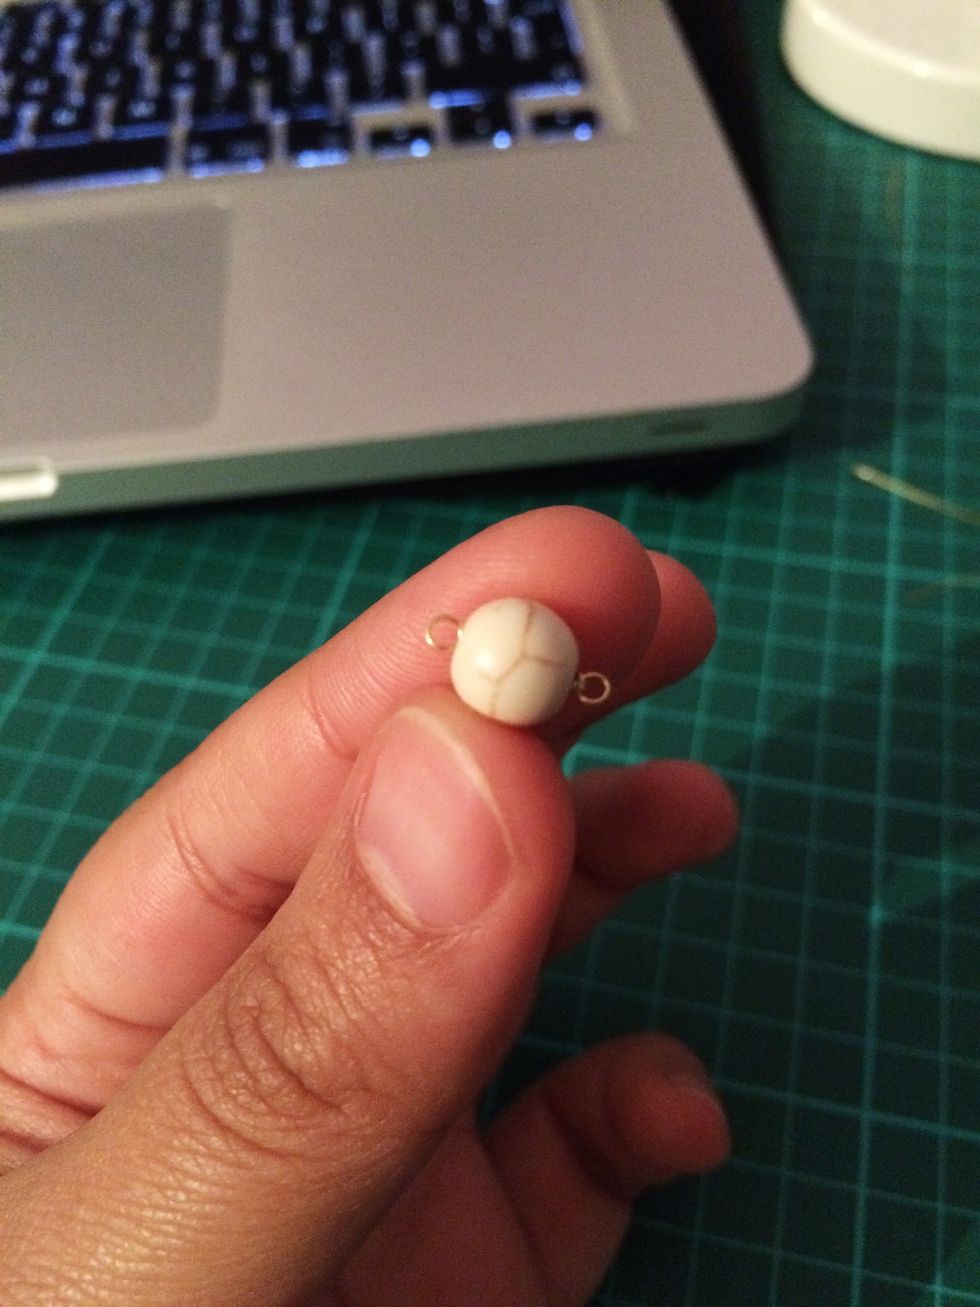
Put your bead through the wire and push it up so that you can't the see the wrapping, only the end loop.
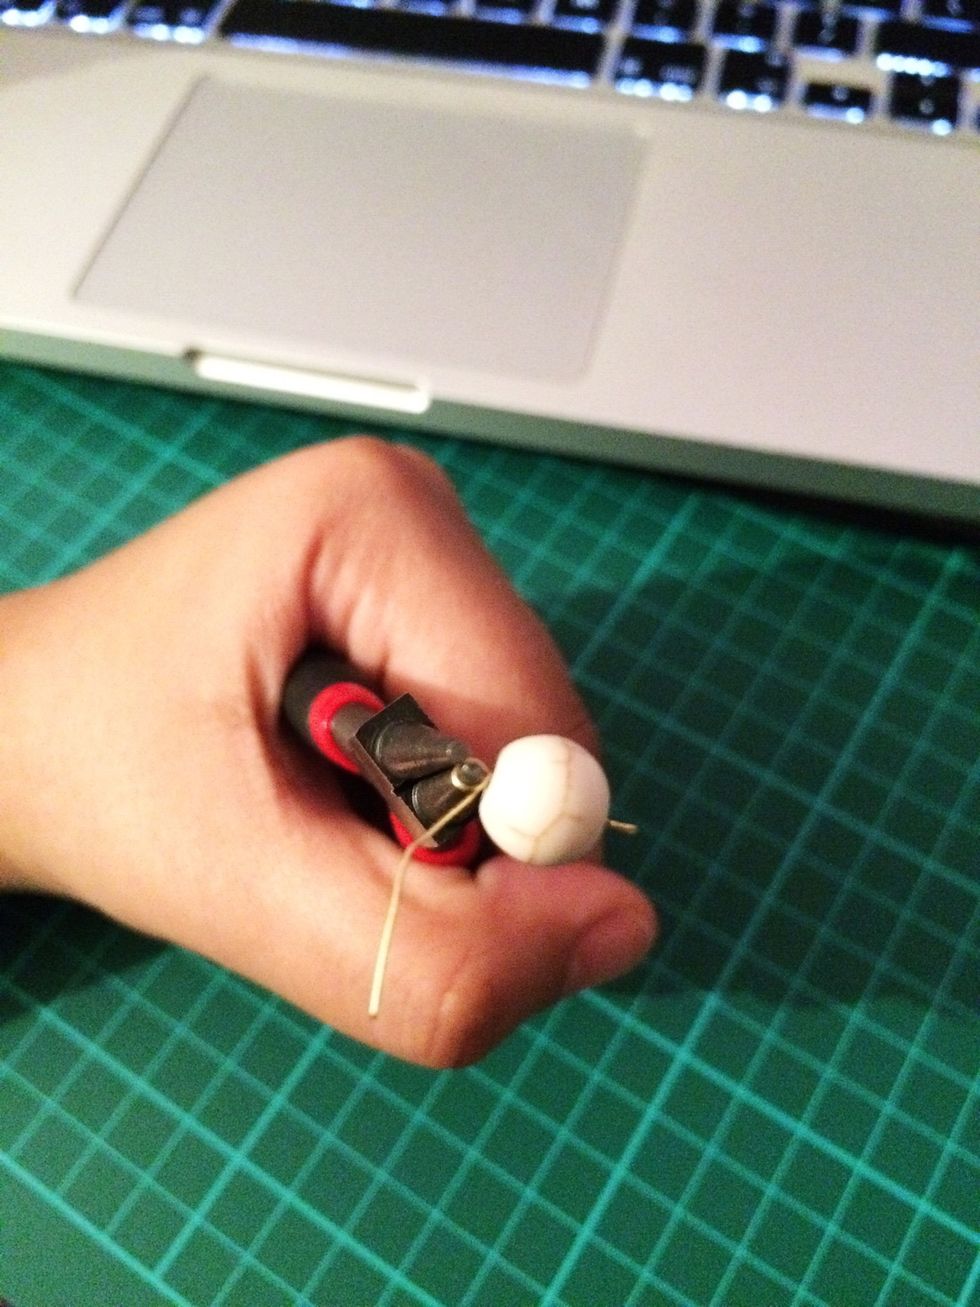
Place the round nose pliers as close to the bead as you can and wrap the wire the same as the first side as many time as possible. Cut any excess wire.
Do this for the other 5 beads with the remaining pieces of 4cm wire you previously cut.
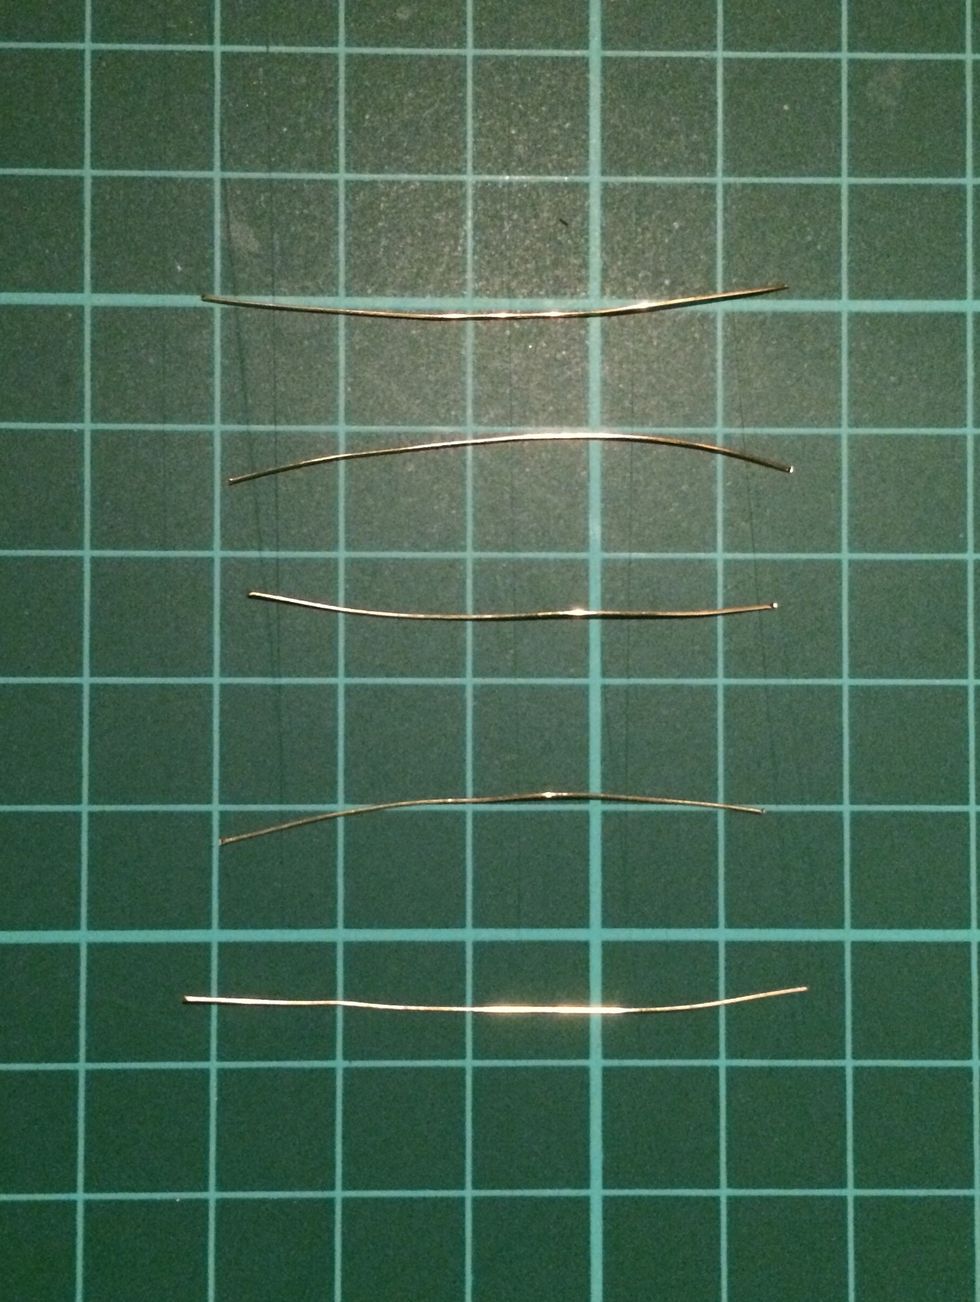
Using the flush cutter, cut the 0.8mm thick wire into six 2.5cm long pieces. These will be used to create infinity shaped links. Keep the remaining 10cm of wire for the clasp.
Place the end of the wire in between the round nose pliers on the largest part of the pliers and wrap it all the way around until it creates a loop.
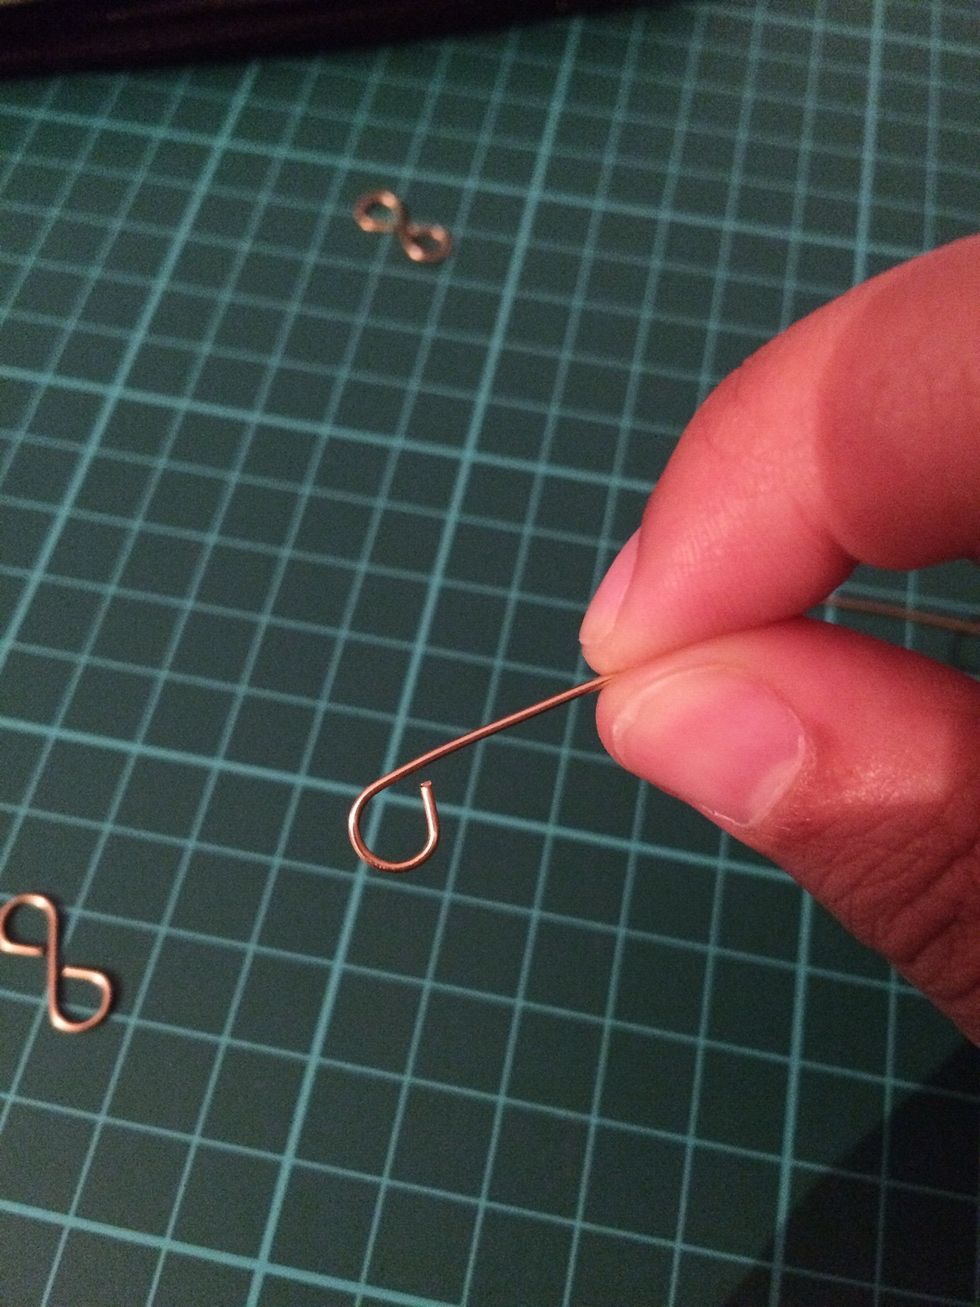
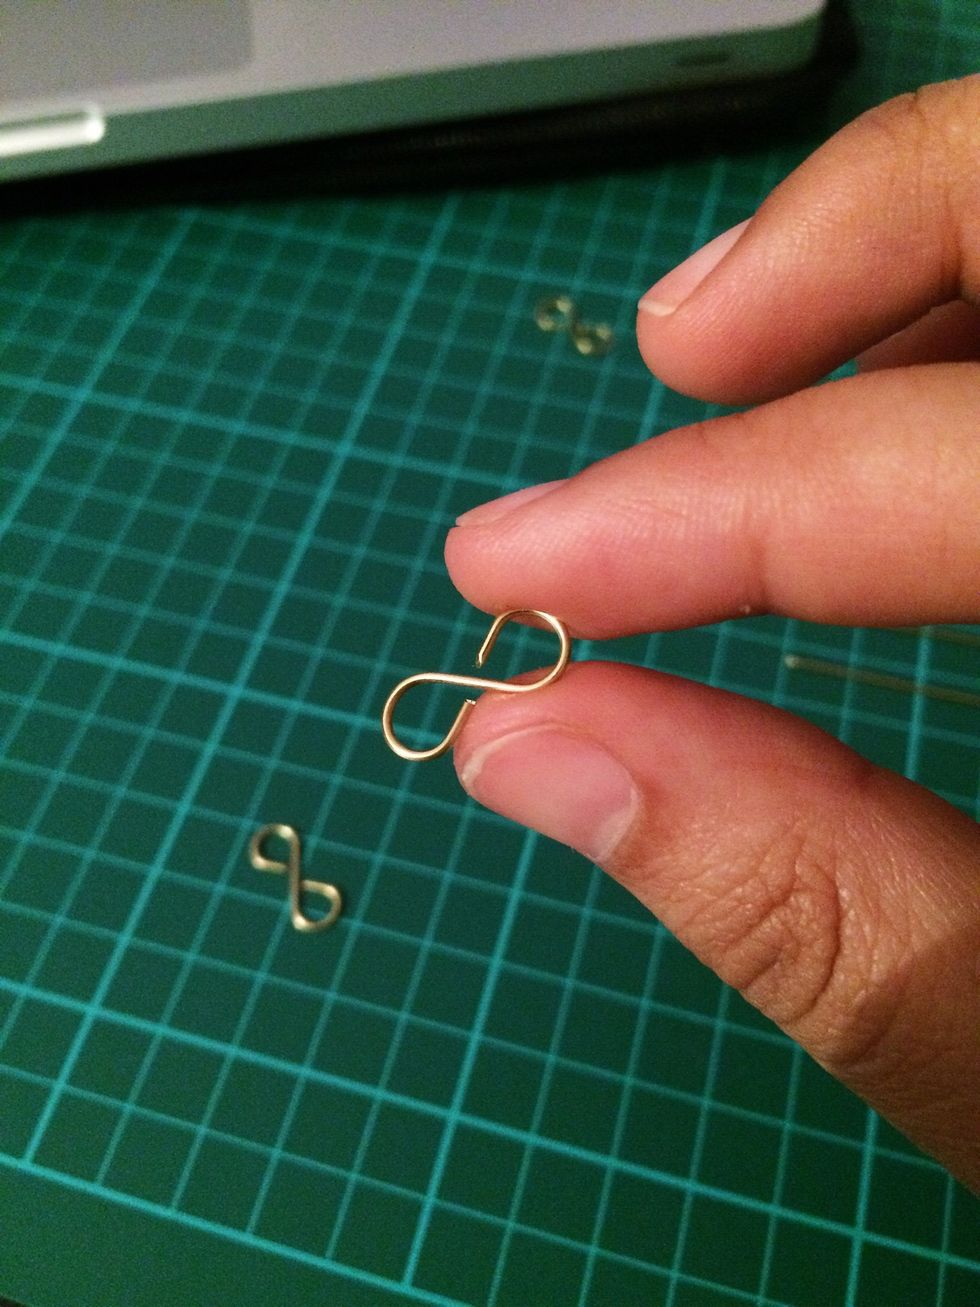
Do the same on the other end of the wire but wrap it in the opposite direction. You will end up with an infinity shaped link.
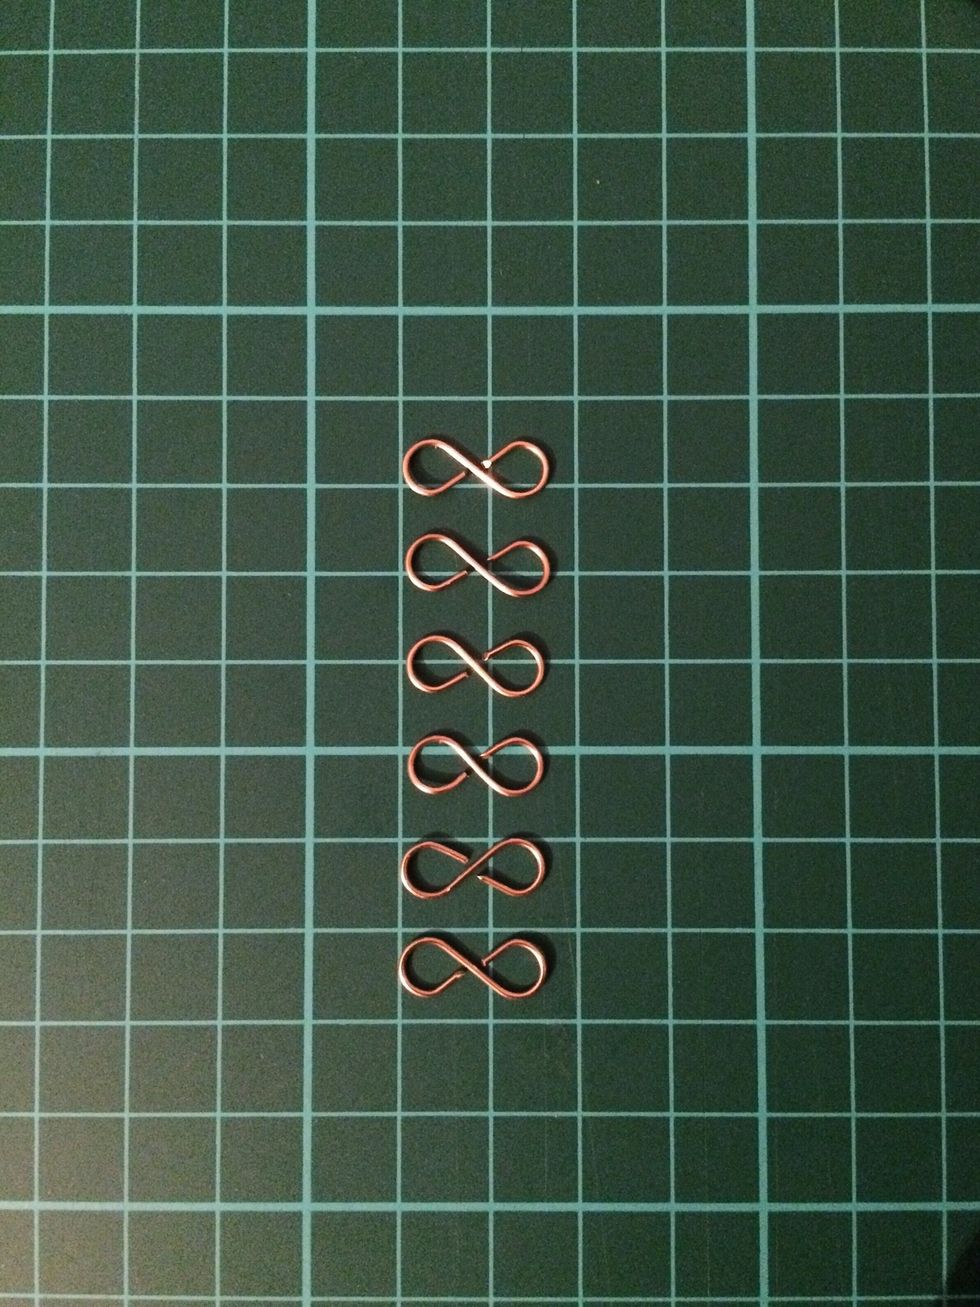
Make 6 of these. *Gently push down on each of them with your finger to make sure there are no gaps so the jump rings don't fall off.*
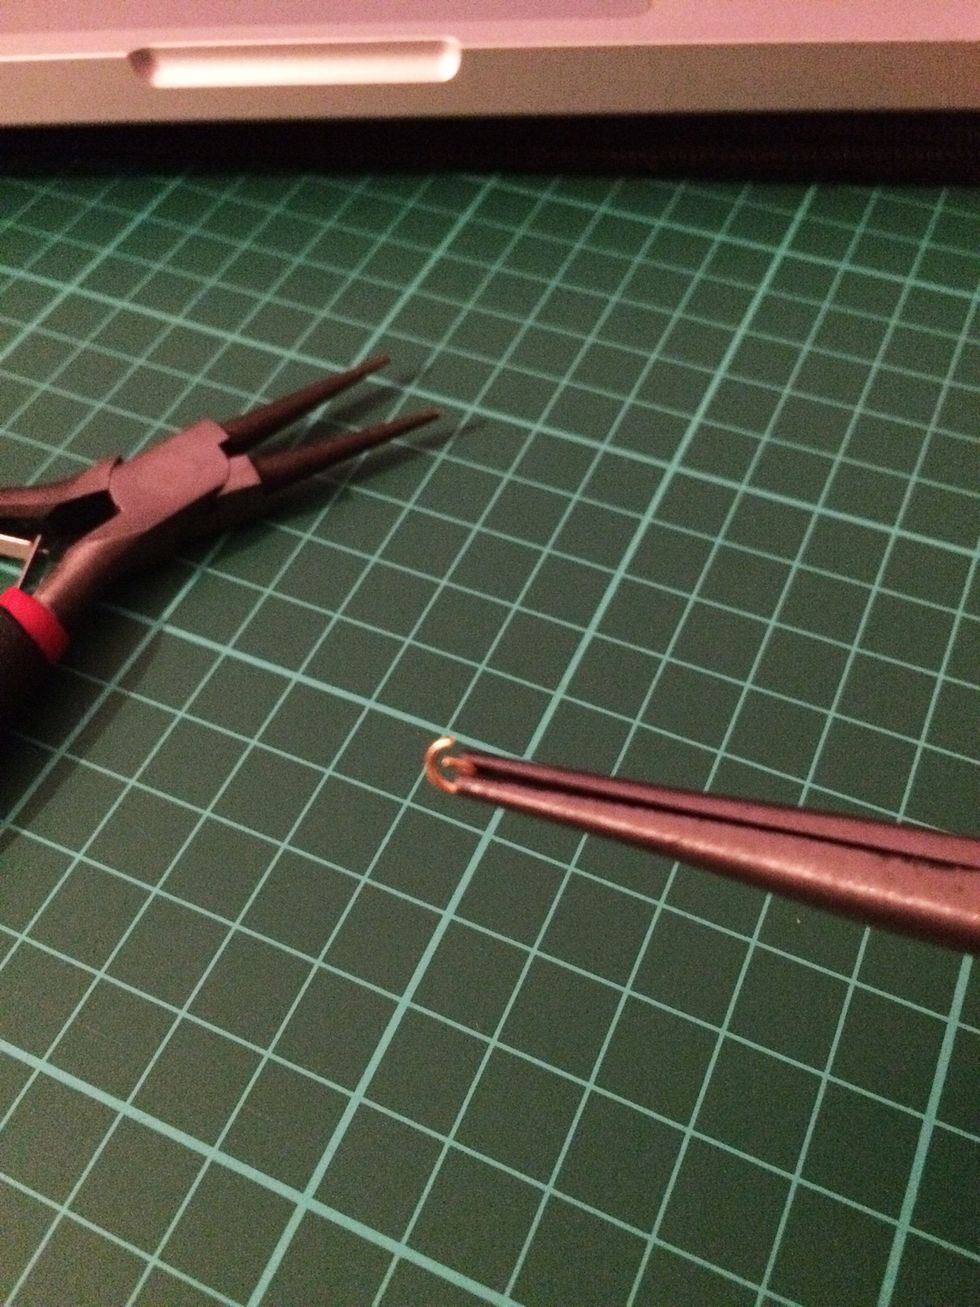
Using your chain nose and round nose pliers, open a jump ring, making sure to pull one of the pliers in your direction and the other in the opposite direction as to not distort the ring's shape.
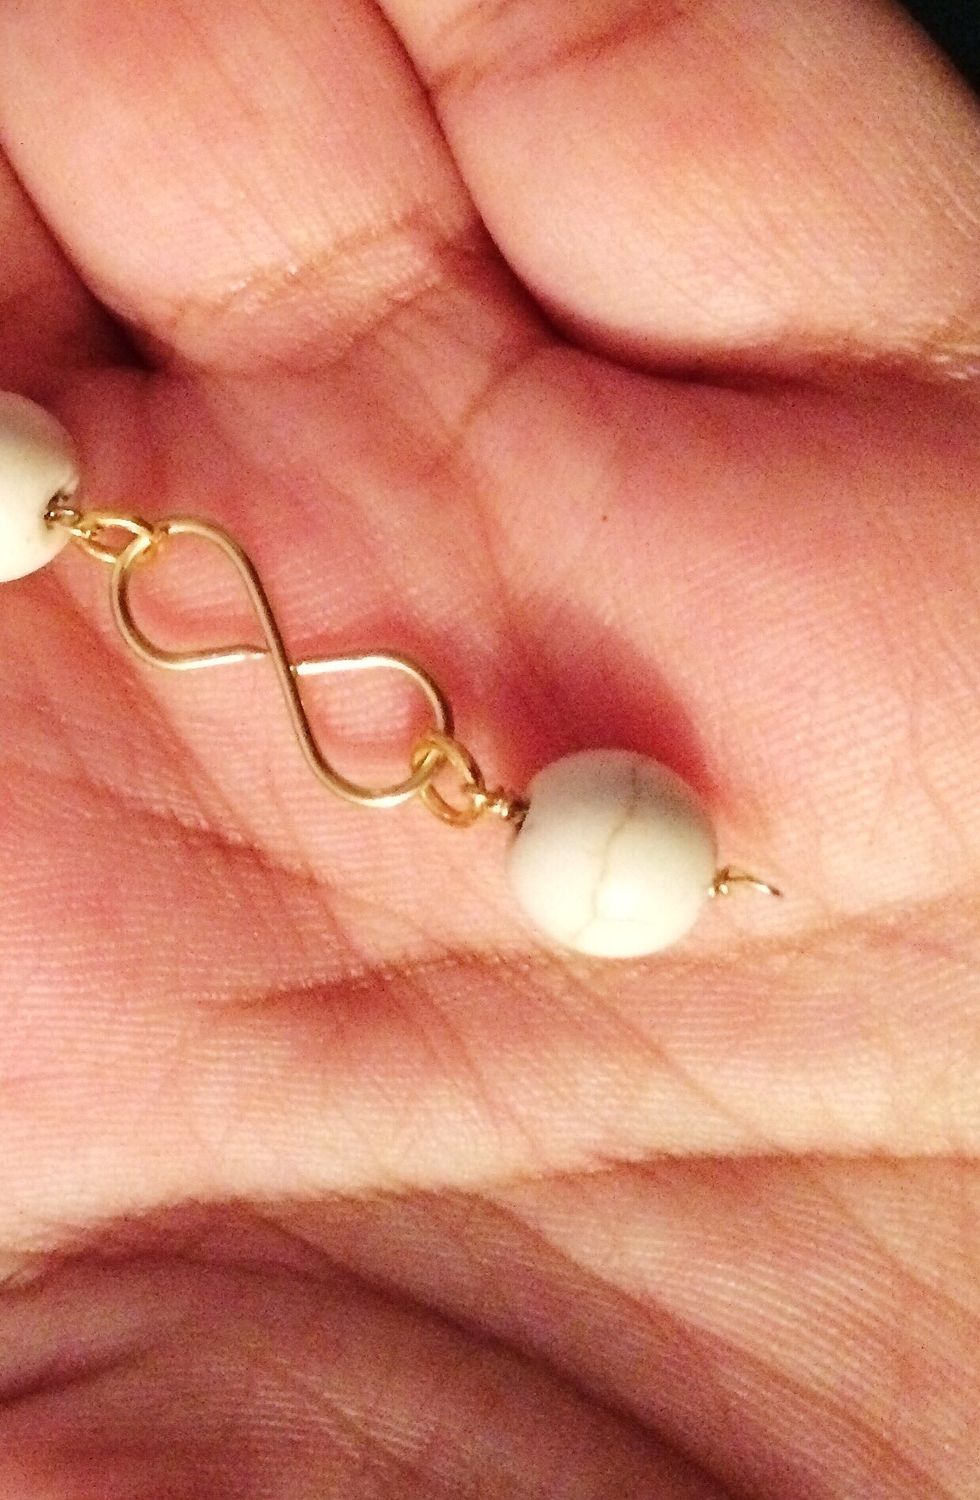
Close the jump ring in the same way and start putting all of the components together, connecting the wrapped beads with the infinity links using jump rings.
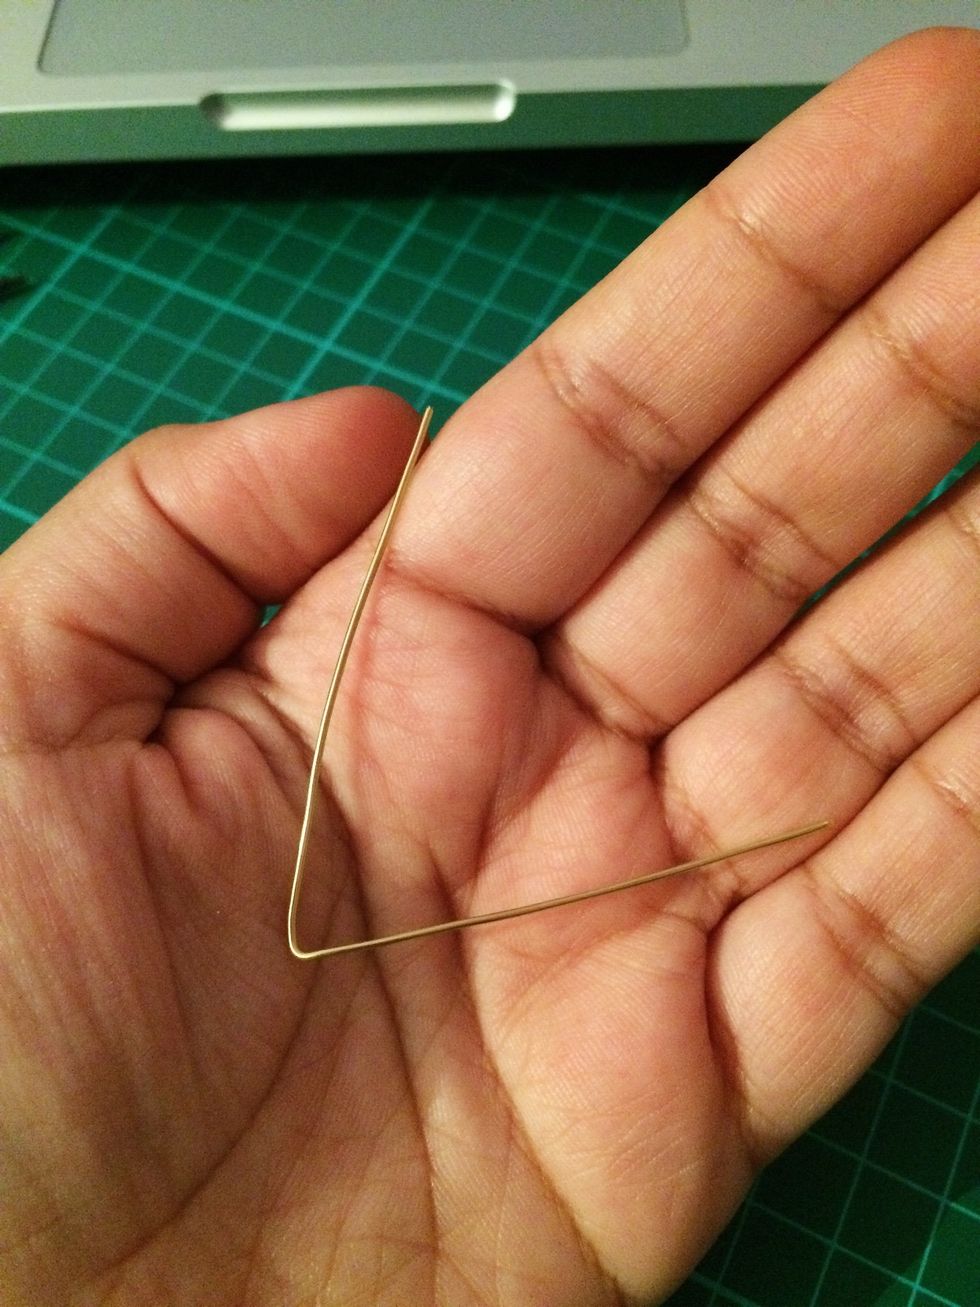
Once you have connected all of the components, get the remaining 10 cm piece of 0.8mm thick wire, and fold it in half equally.
On the curved end, using the nylon pliers, gently push both sides together. This can be fiddly, but be patient and try to be as gentle as you can while trying to get them as close as you can.
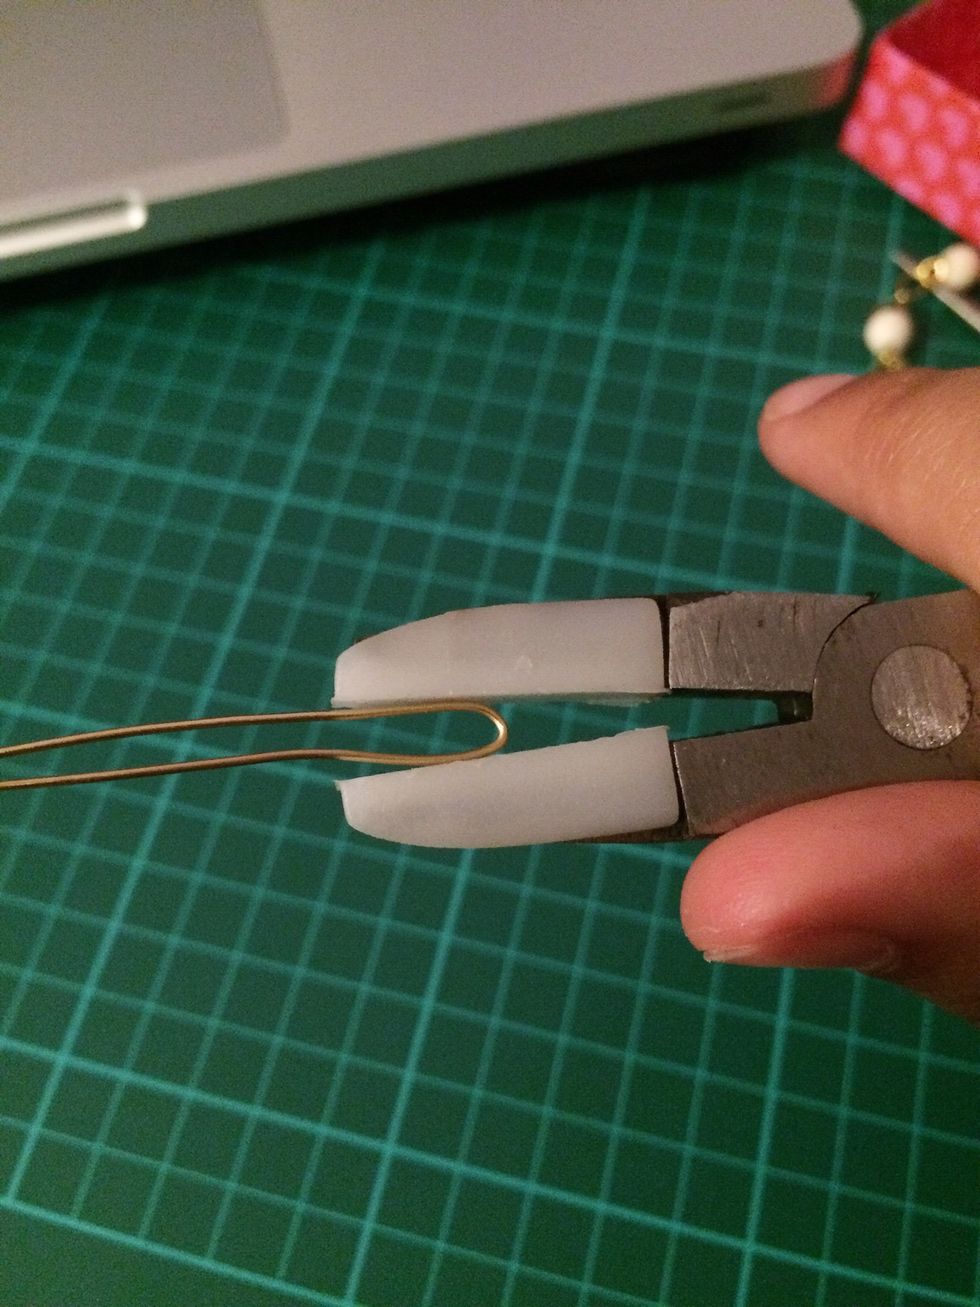
Using the round nose pliers, about 2cm down the curved side of the wire, bend it inwards without looping it completely. In sort of a hook shape.
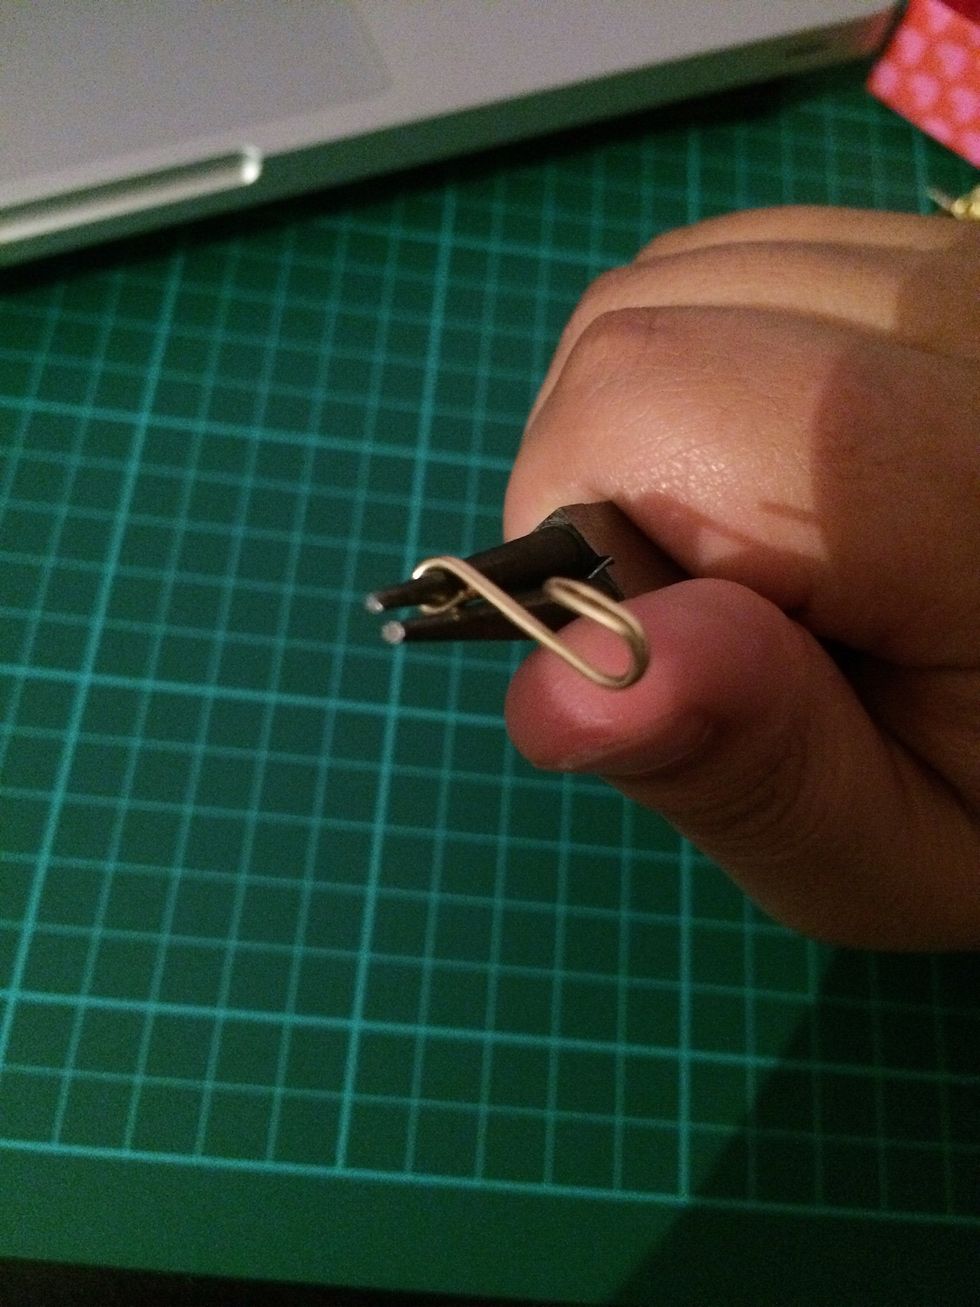
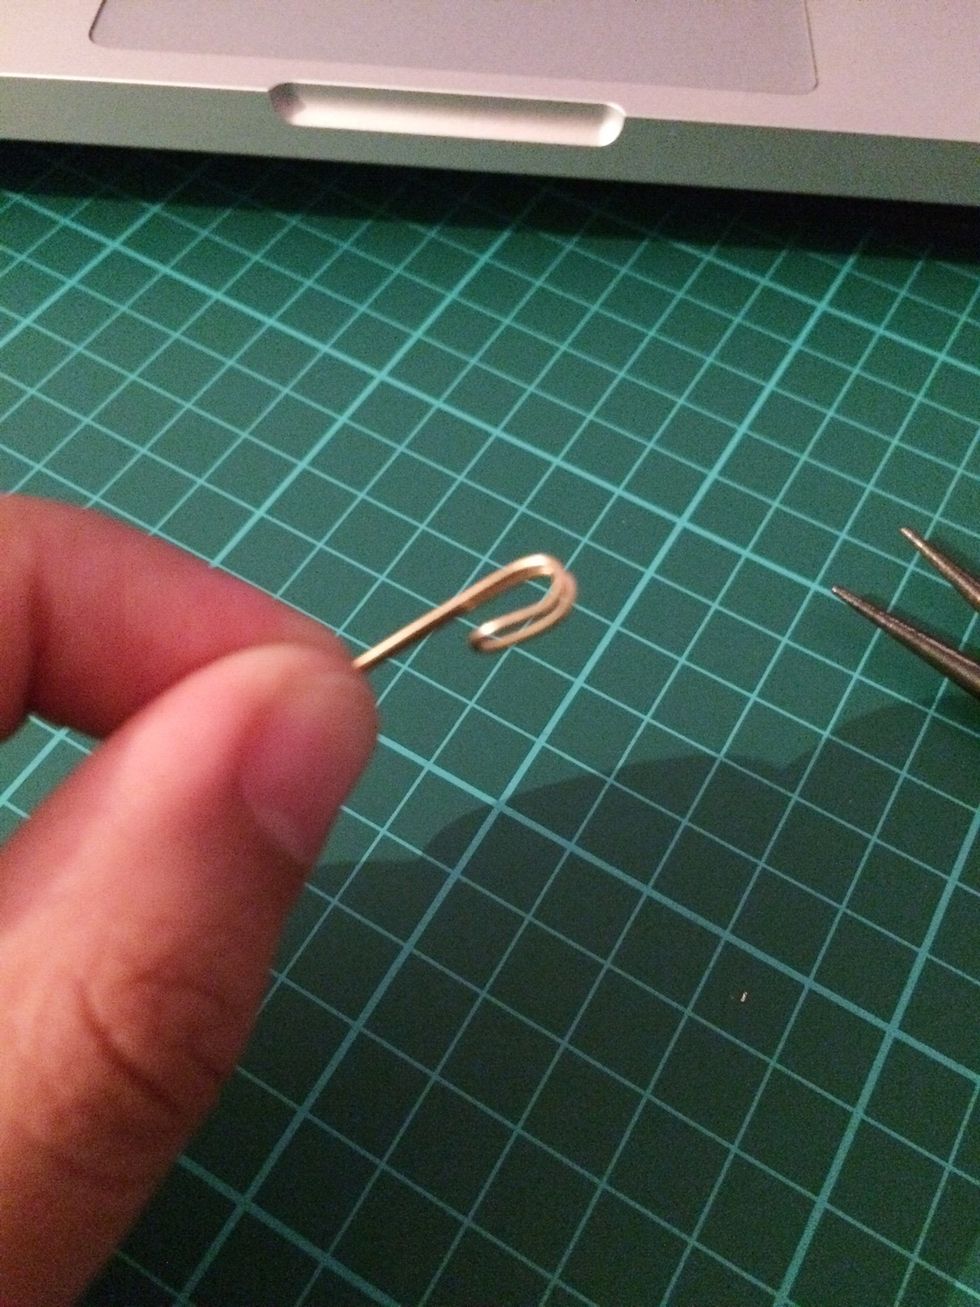
Decide how long you want your clasp to be and cut off the excess. Wrap the non curved end of the clasp into a loop in the opposite direction of the hook.
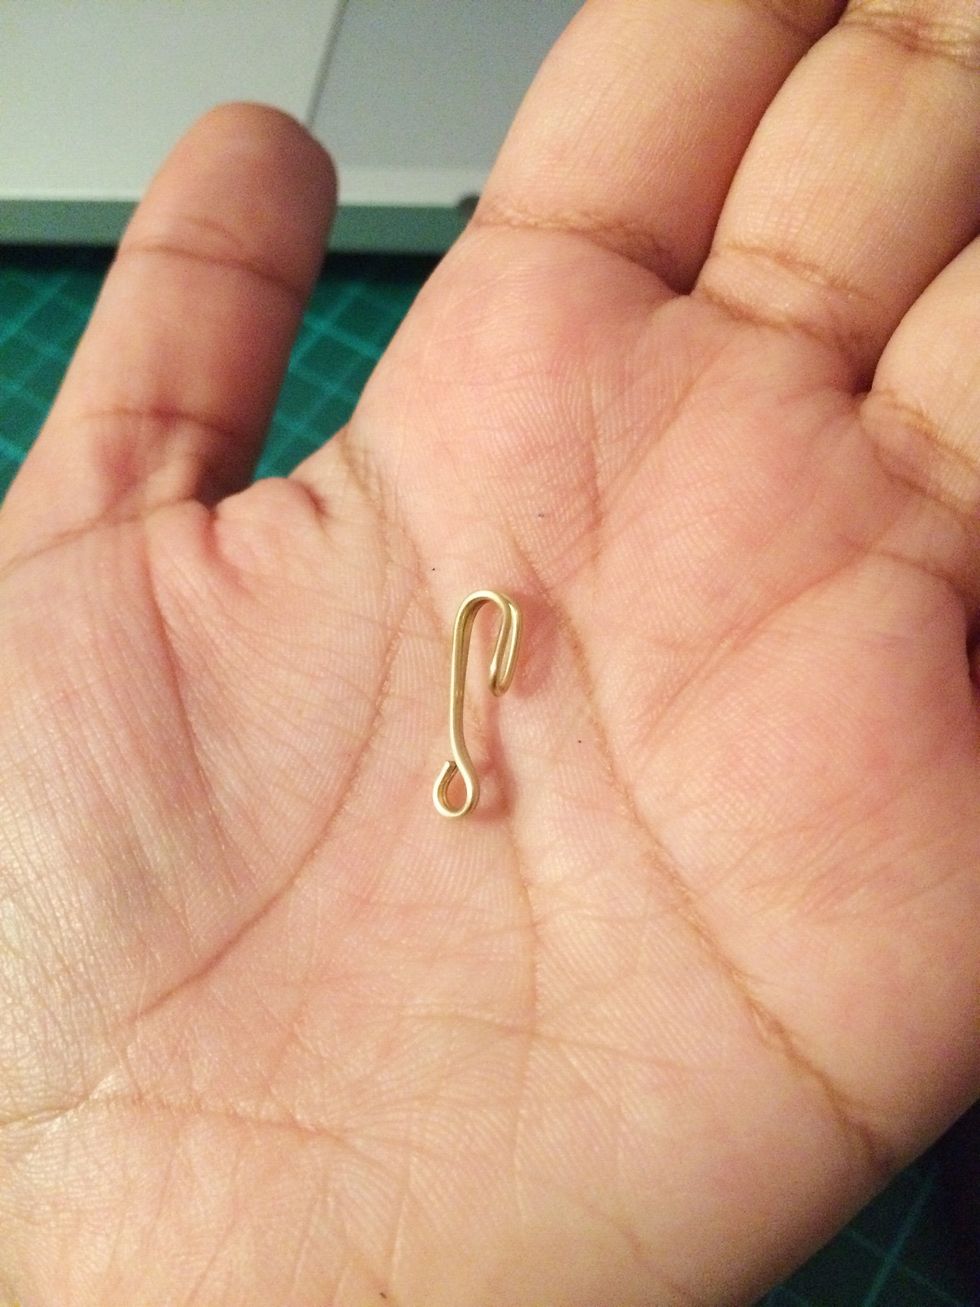
You may want to curve the clasp inwards just above the loop to give it a cleaner, drip shaped look.
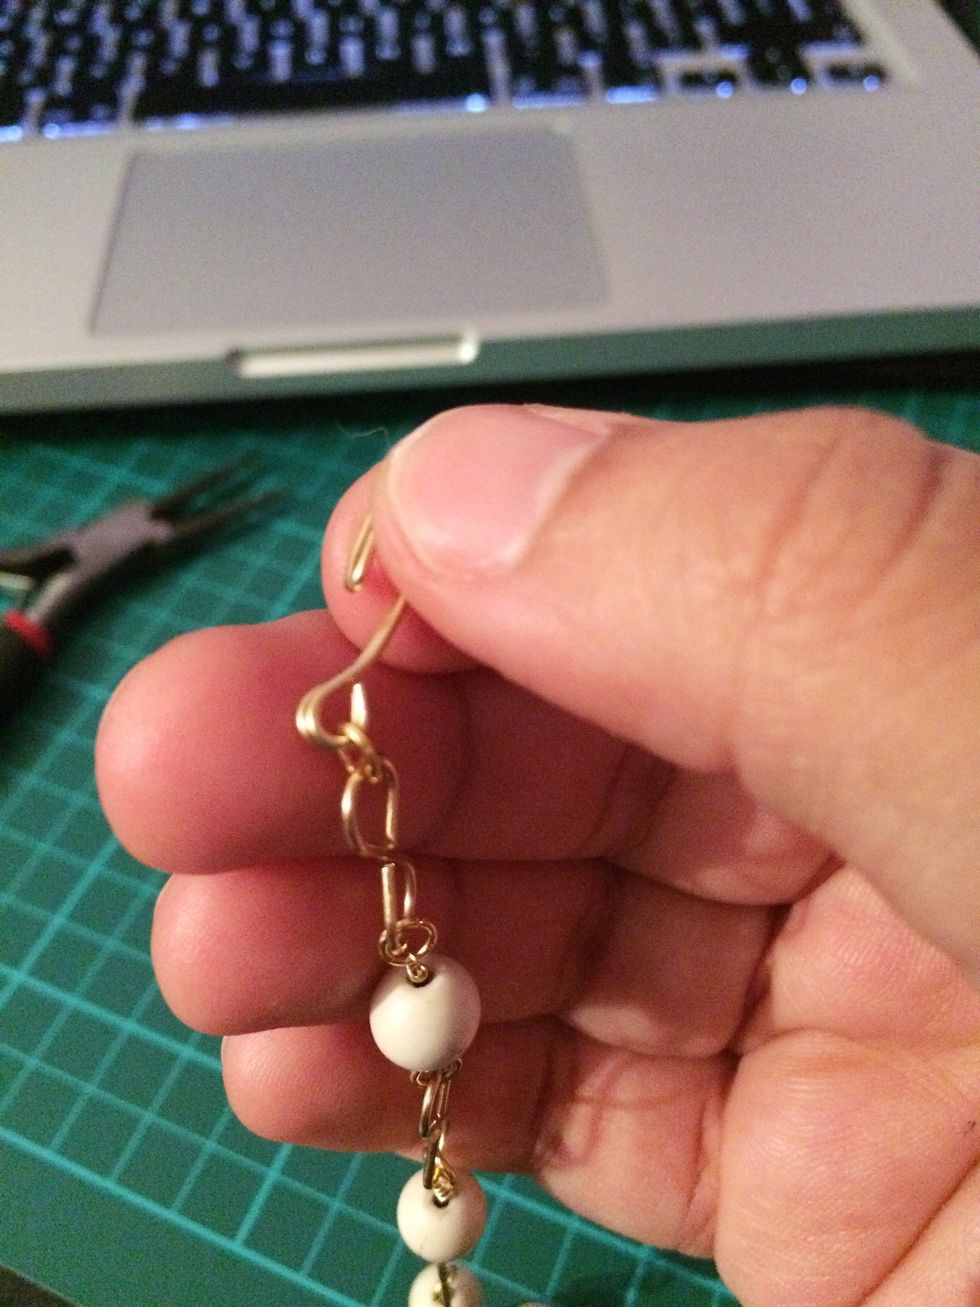
Using a jump ring, connect one of the links to the clasp.

There you have it! Don't forget, you can be as creative with your beads and wire choice as you like, you could even use these steps to create a necklace!