The Conversation (0)
Sign Up

I recommend using 6-12 strands for this pattern. I start with a loop, so I cut half as many strands as there are in the bracelet. You can start without a loop and use more colors.
The length varies based on wrist circumference and amount of strands, but I measure strands from the tip of my outstretched arm to the opposite side of my chest (roughly 40"). Don't forget to double.
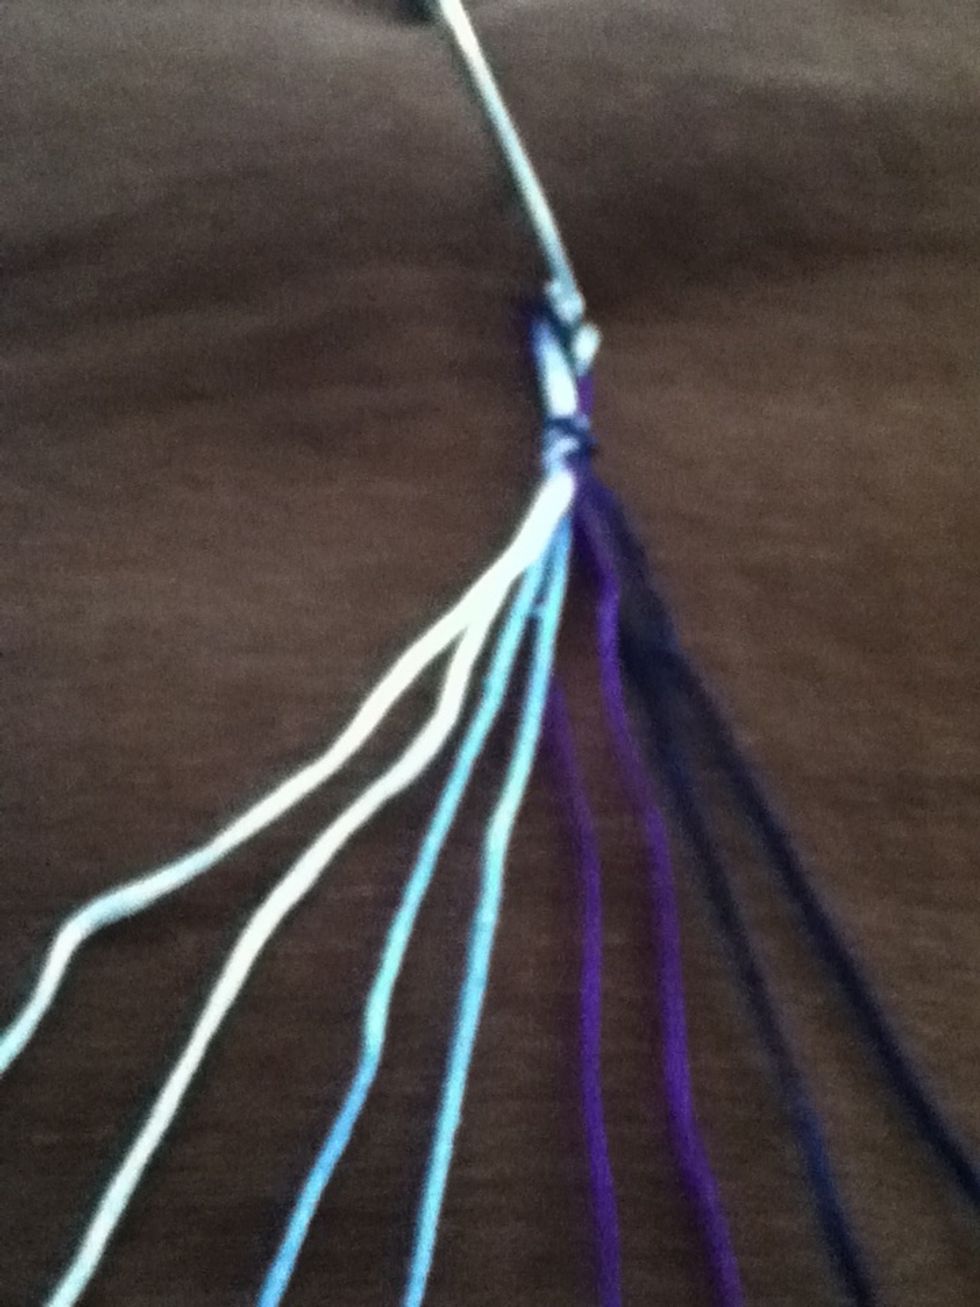
Tie a knot leaving a loop large enough to fit over the button (or knot and braid a few inches if you're not using the button). Separate your threads.
You will start with the left most strand and continue using this thread until it crosses the entire width of the bracelet.
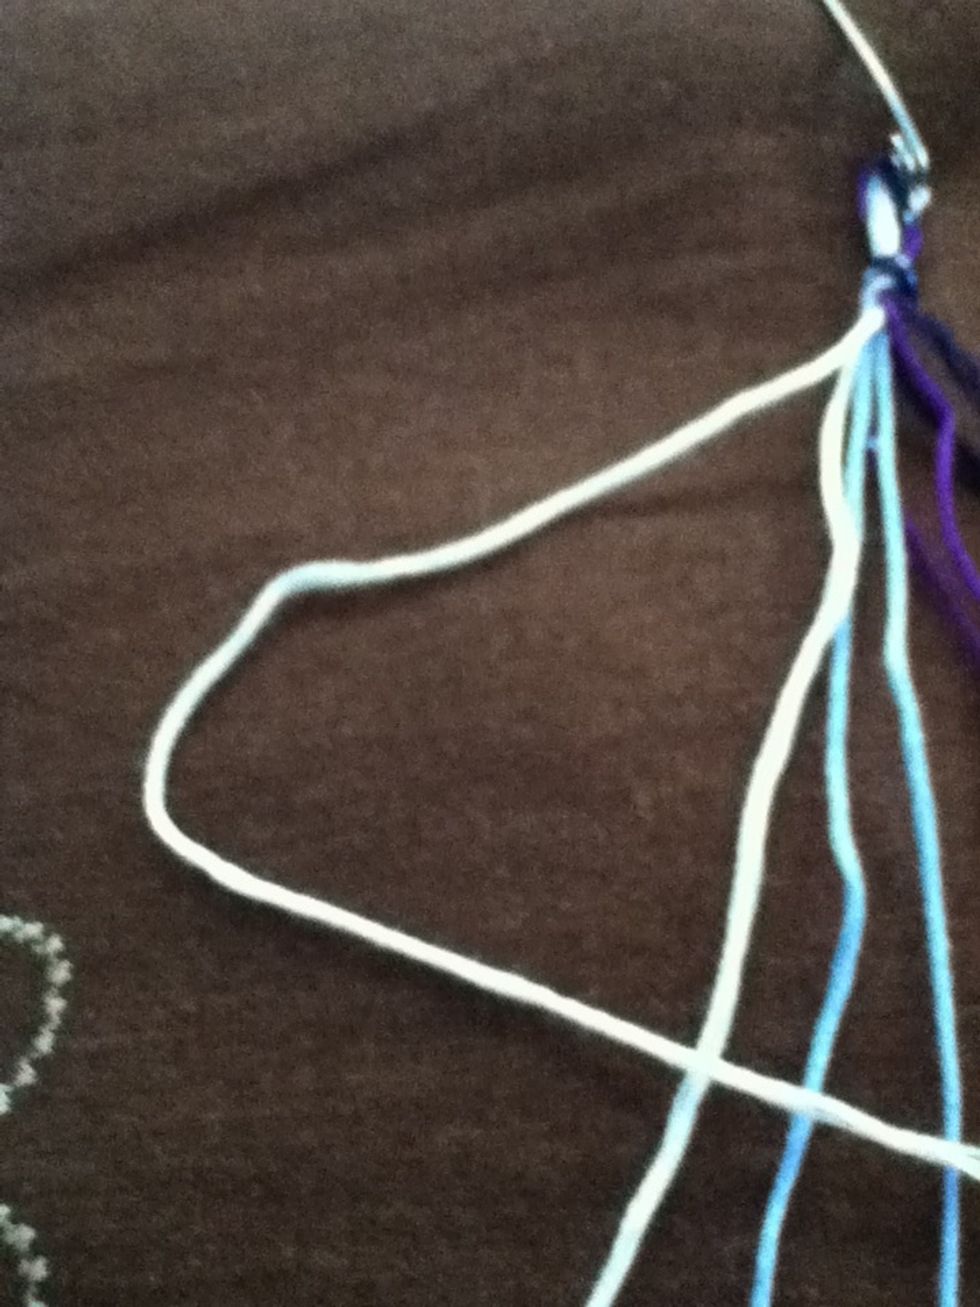
Make a "4" with your left most strand.
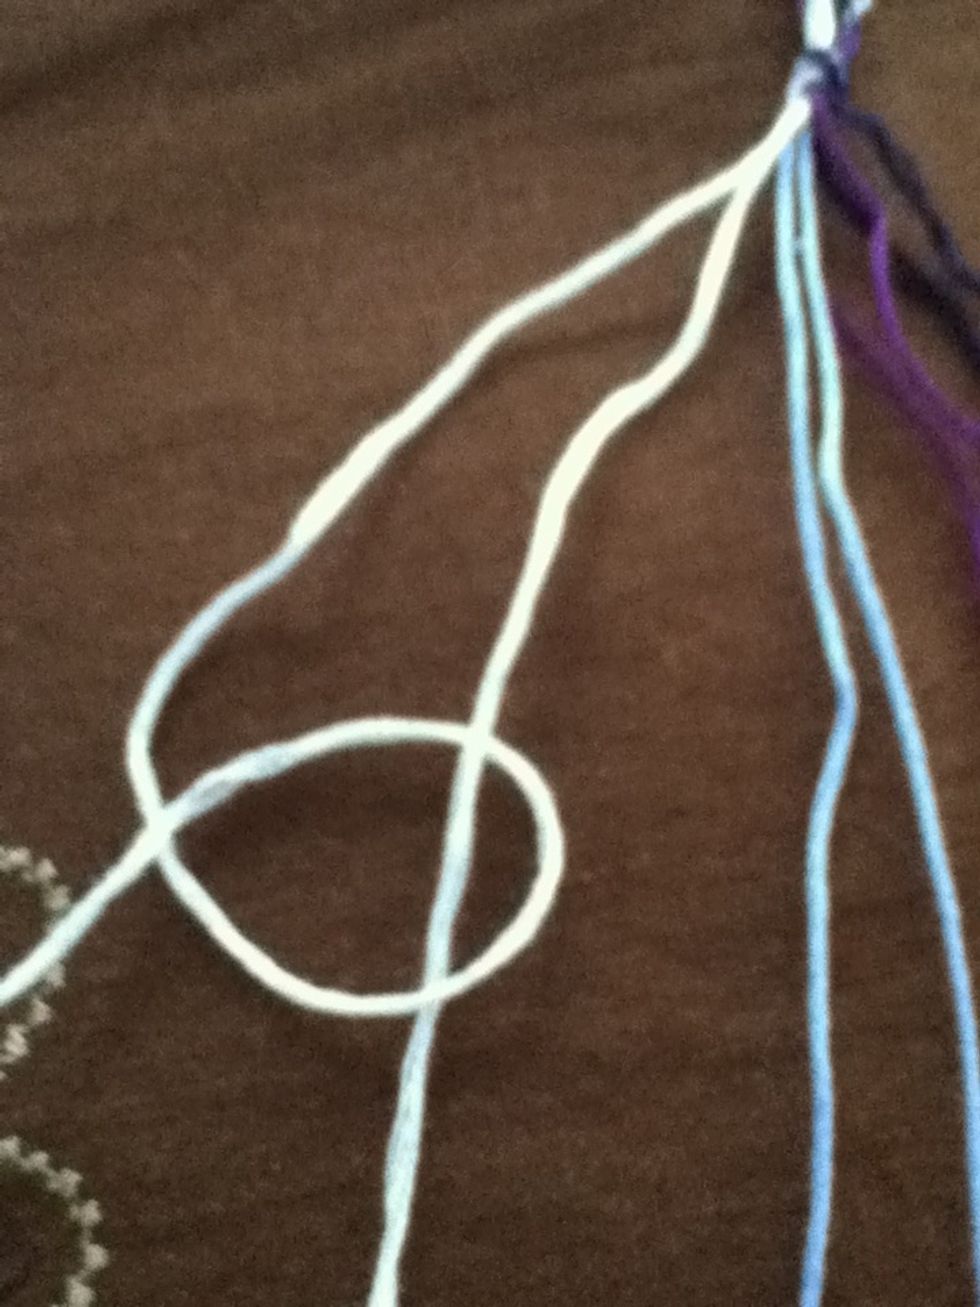
Bring left thread over the strand to the immediate right and then back over itself.

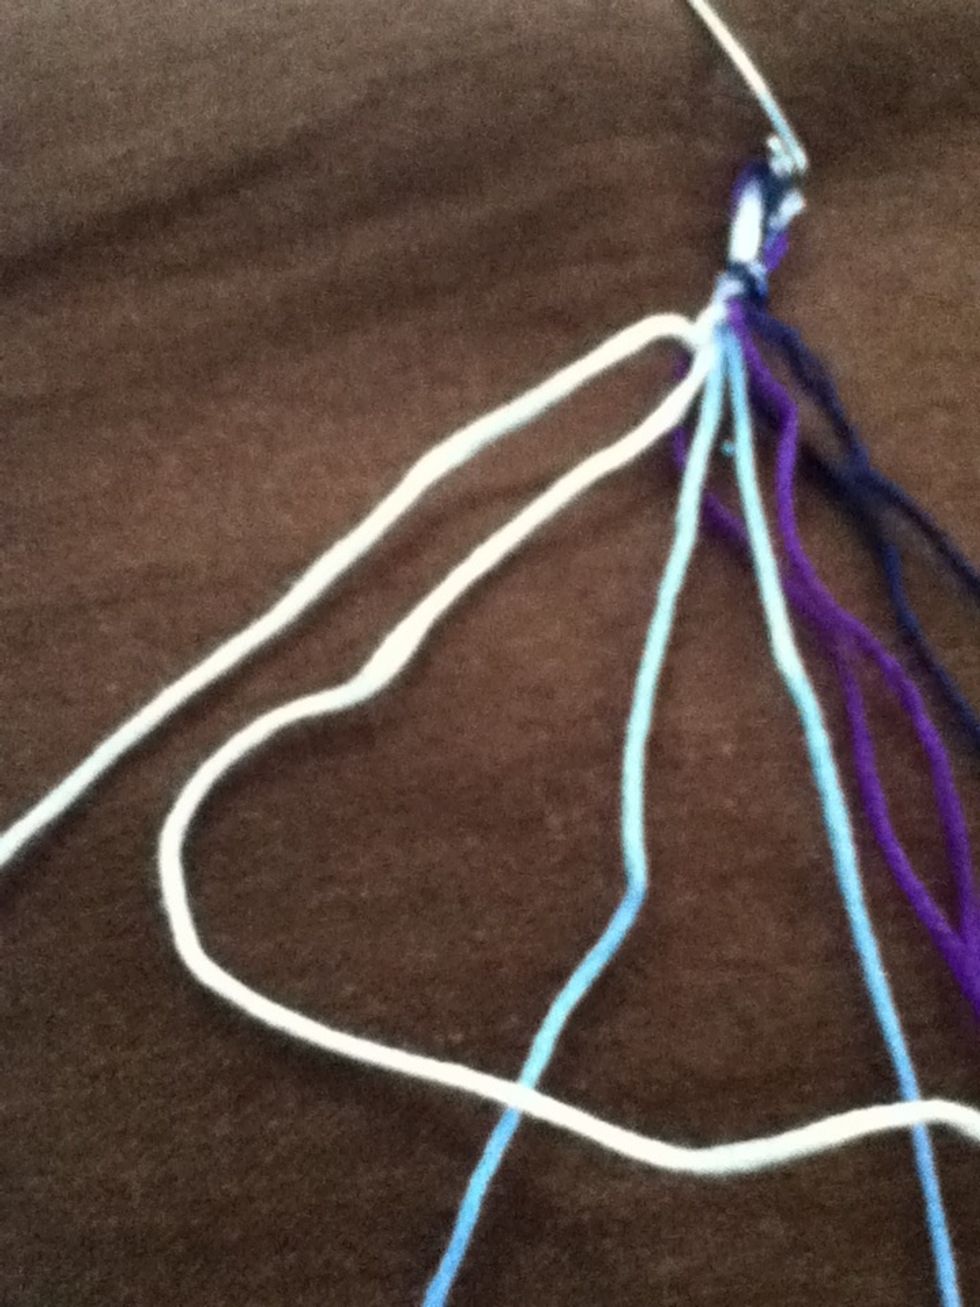
Pull knot to the top. This is a forward knot. Repeat using same two strands.
You will always tie two forward knots. This will bring the left hand strand to the right.
Using the strand that you started with, repeat the forward -> foward pattern until the strand is now the right most thread.

When the first strand reaches the end, start a new row with the now leftmost strand.
The pattern will emerge after a few rows.

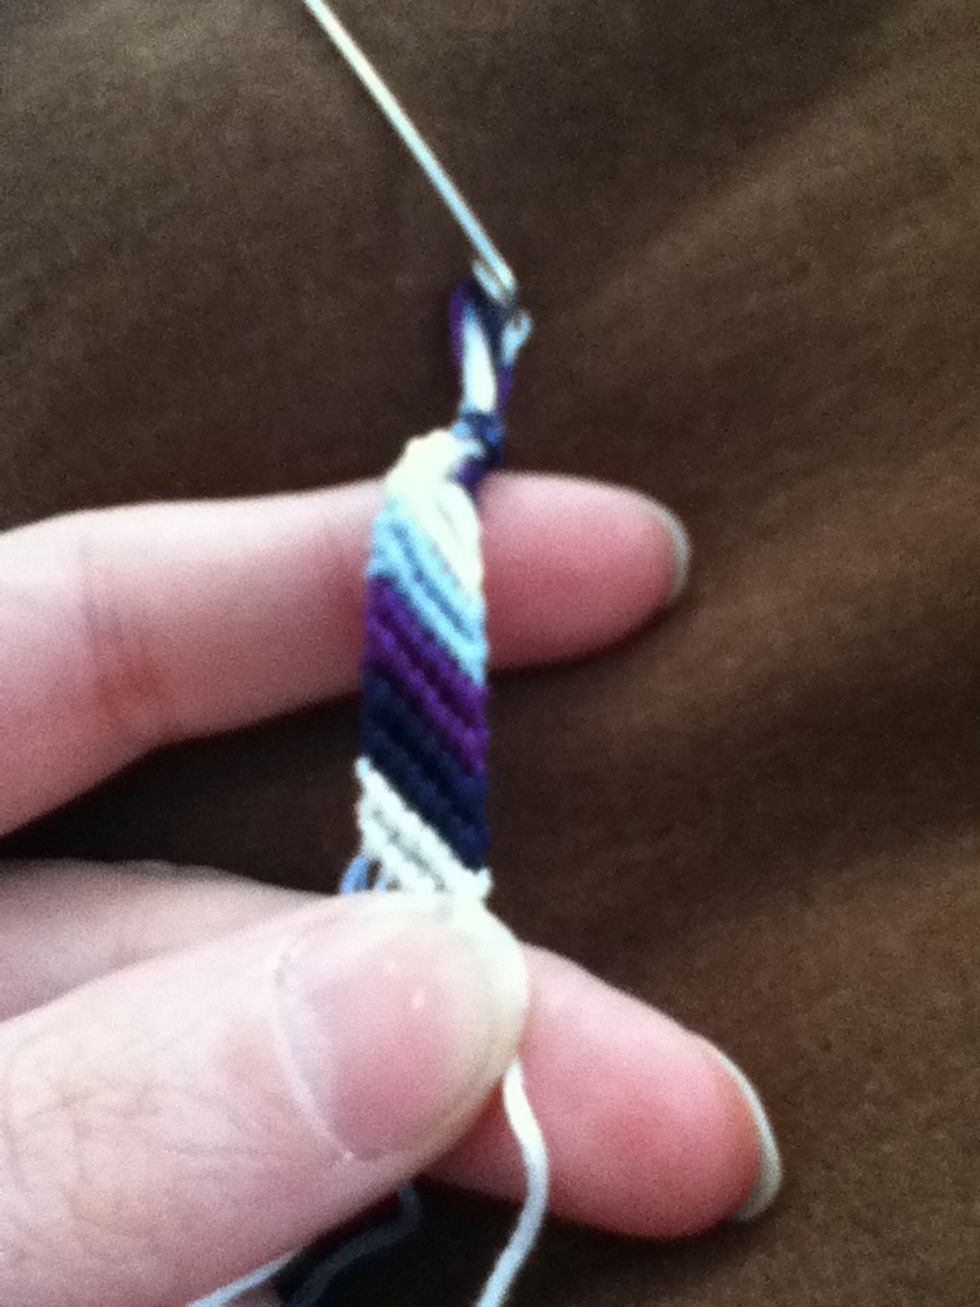
When the bracelet is the desired length, tie a knot.
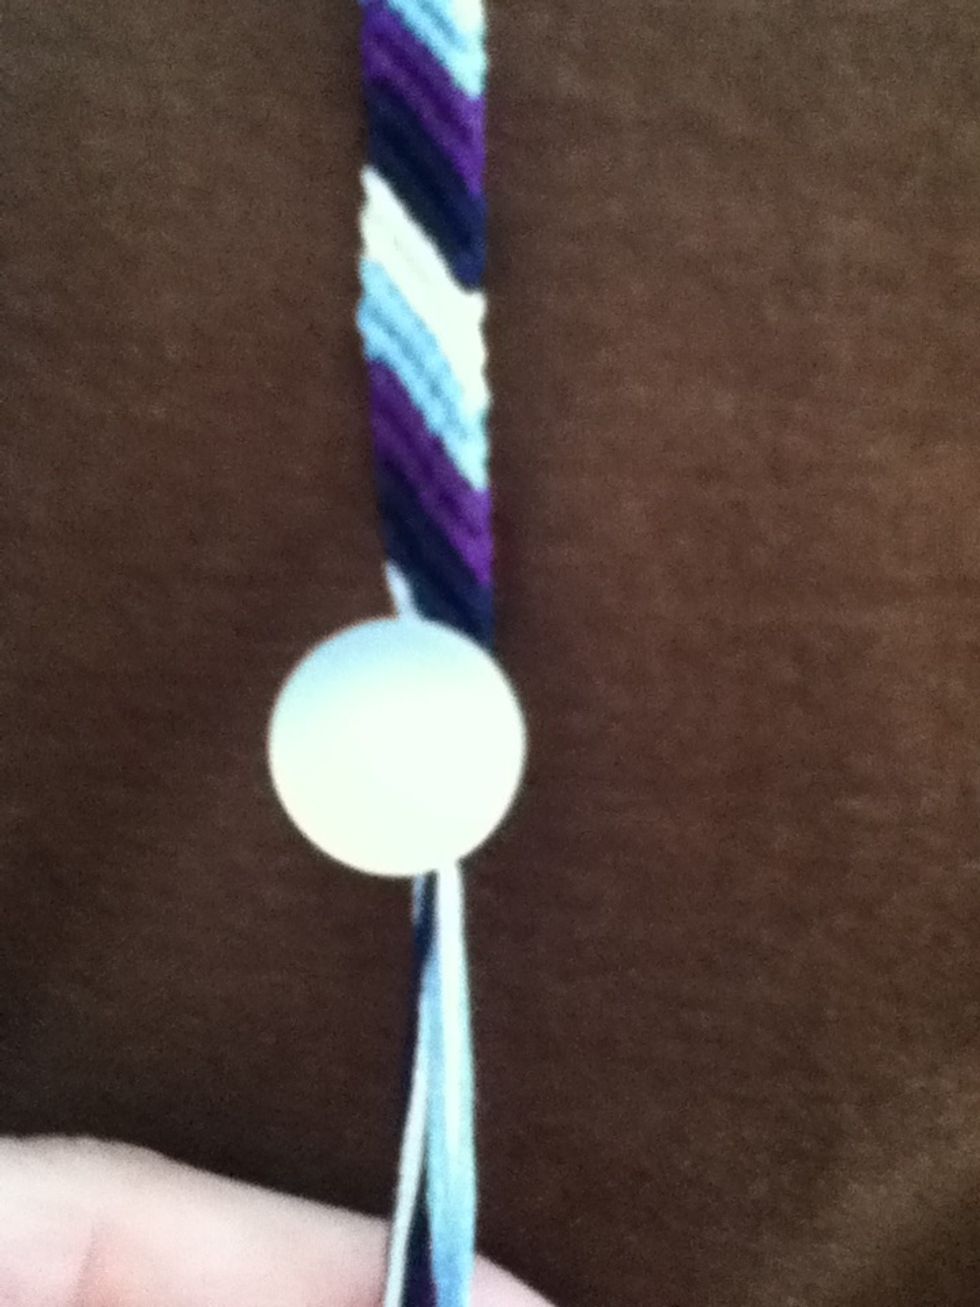
Thread on the button and tie it off.
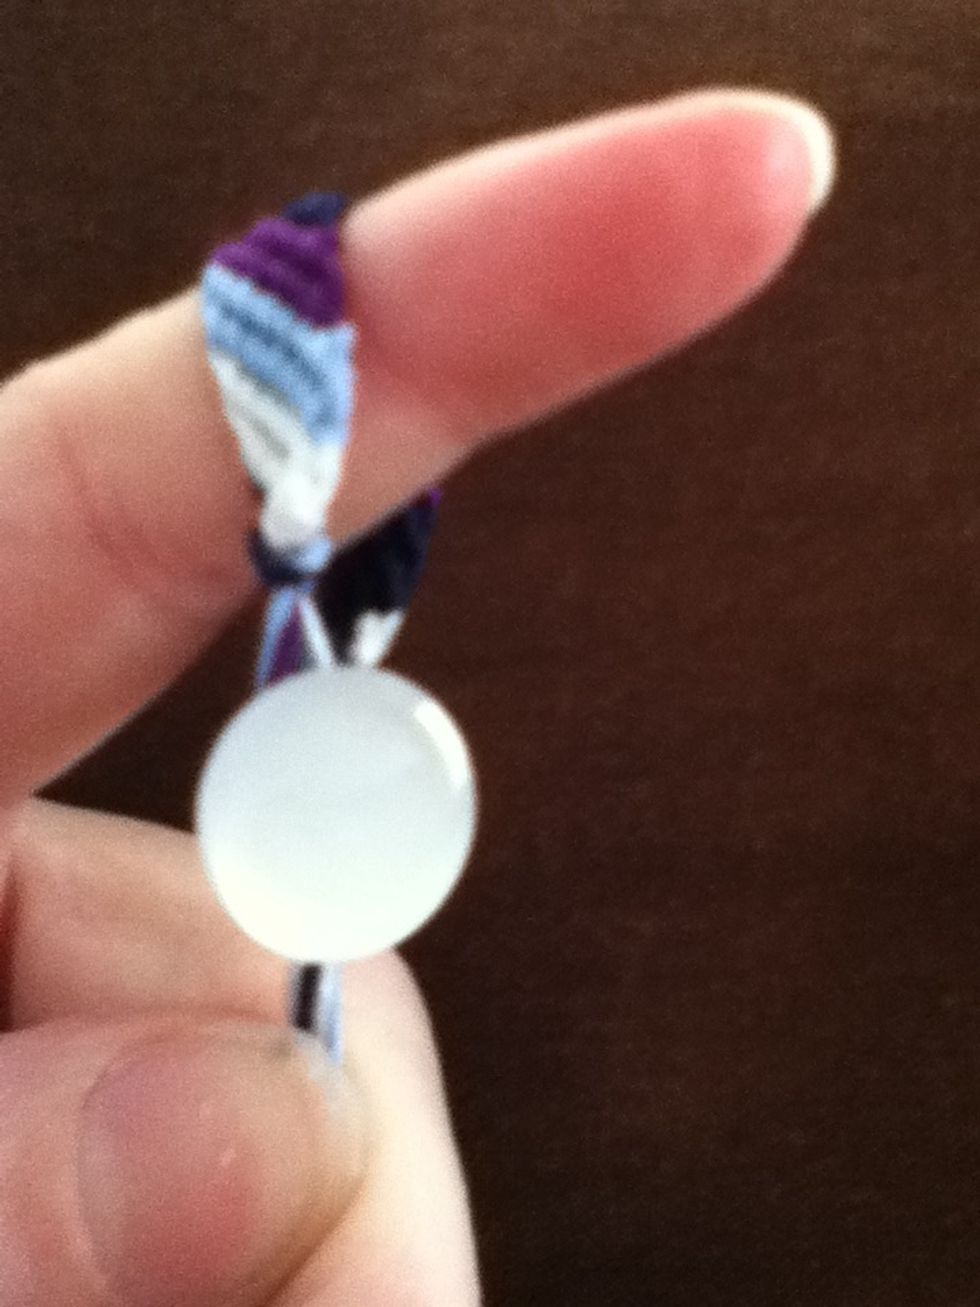
To put the bracelet on, thread the button through the loop. If you are not using a button, tie off and braid a few inches. Tie ends together to put the bracelet on.
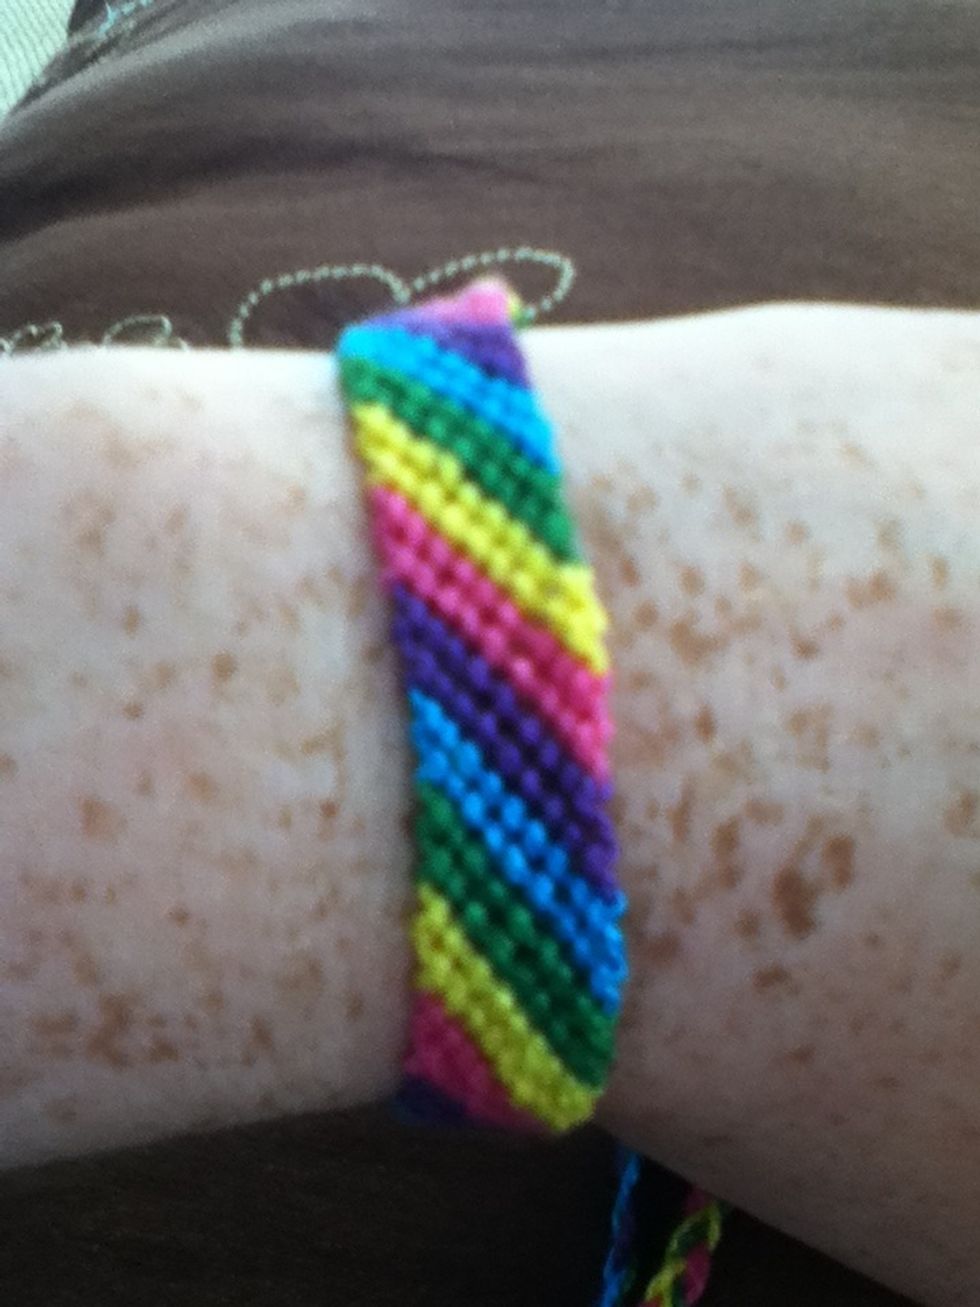
Enjoy.
If the bracelet begins to twist, you are either forgetting to tie both forward knots or you are pulling the knots too tightly.