The Conversation (0)
Sign Up
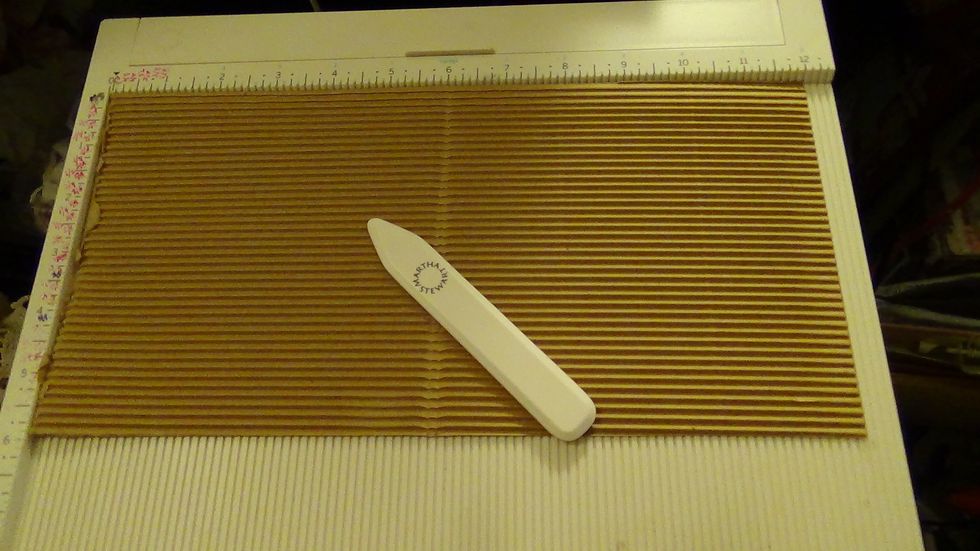
You can either take a 12X12 sheet of corrugated paper , cut it in half and score it in half.
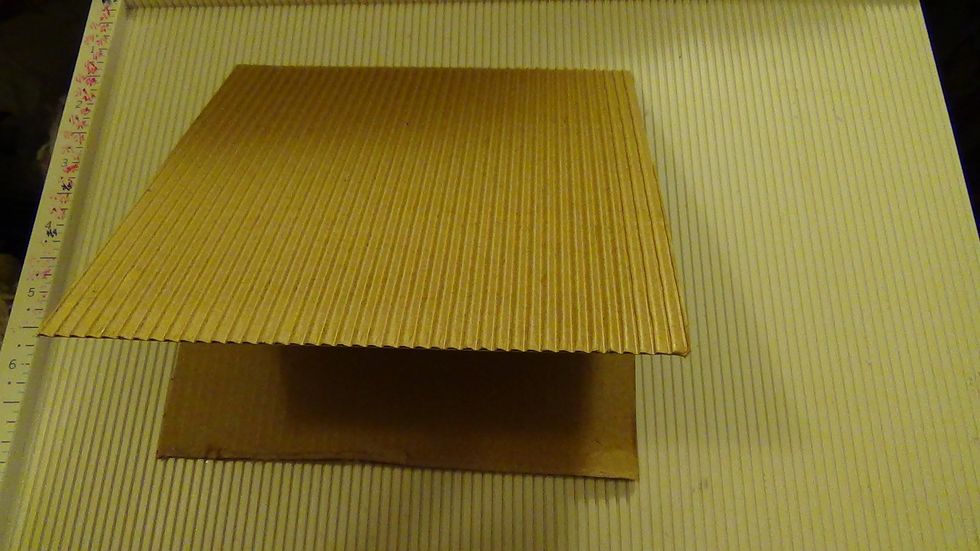
This will be the base that I used, you can also just use one 6x6 piece or corrugated paper or chipboard as well.
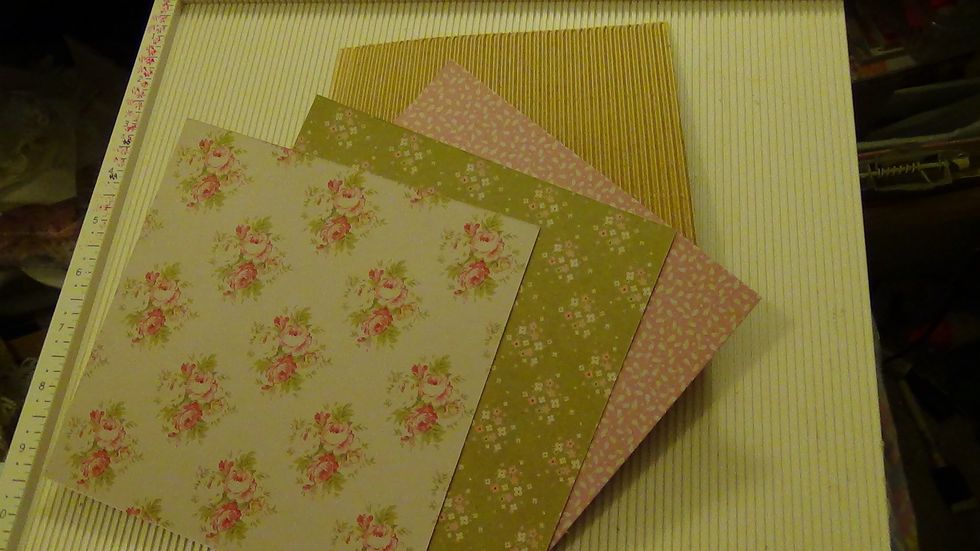
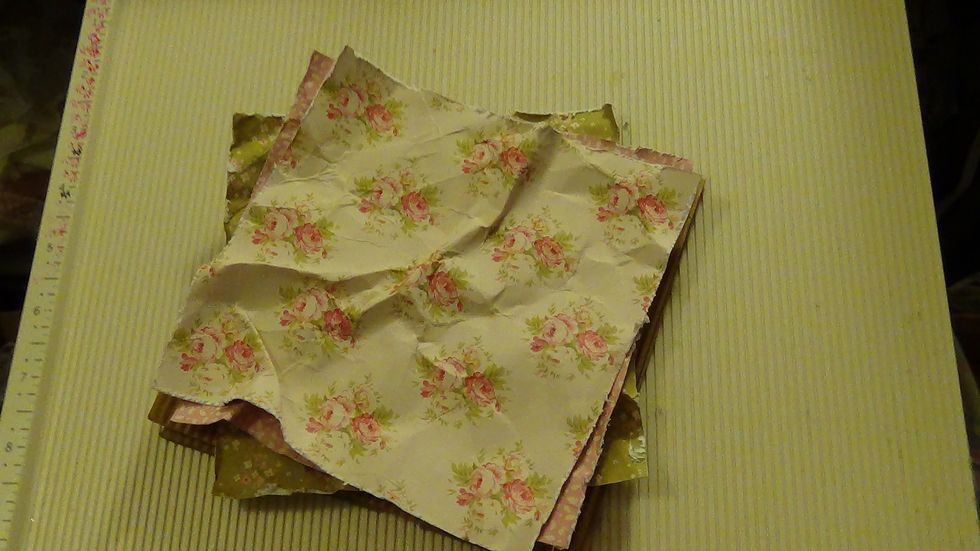
I chose 3 papers from the Tilda collection.
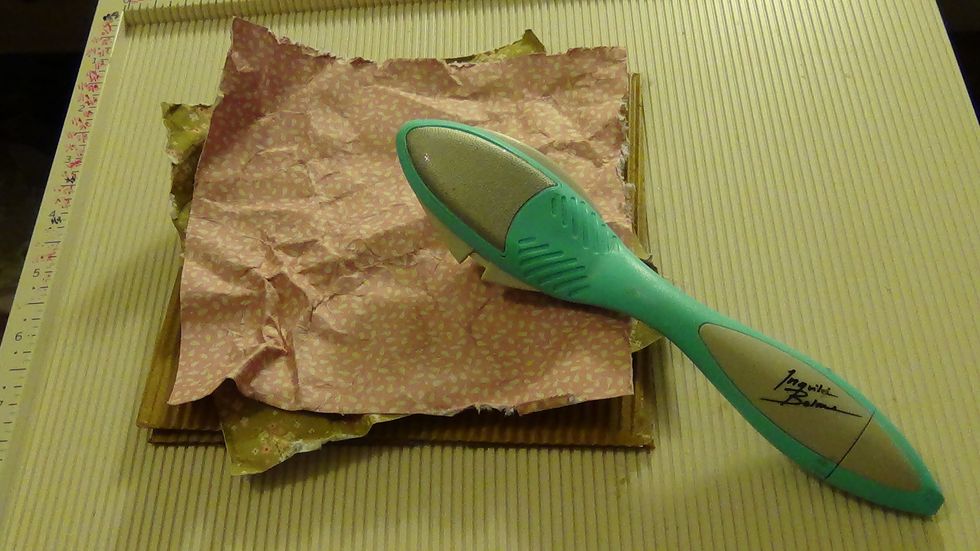
I then used my distress tool on the edges of my papers ** Note: You have the option to use distress ink if you like. Or go over some spots with gesso using dry brush method.
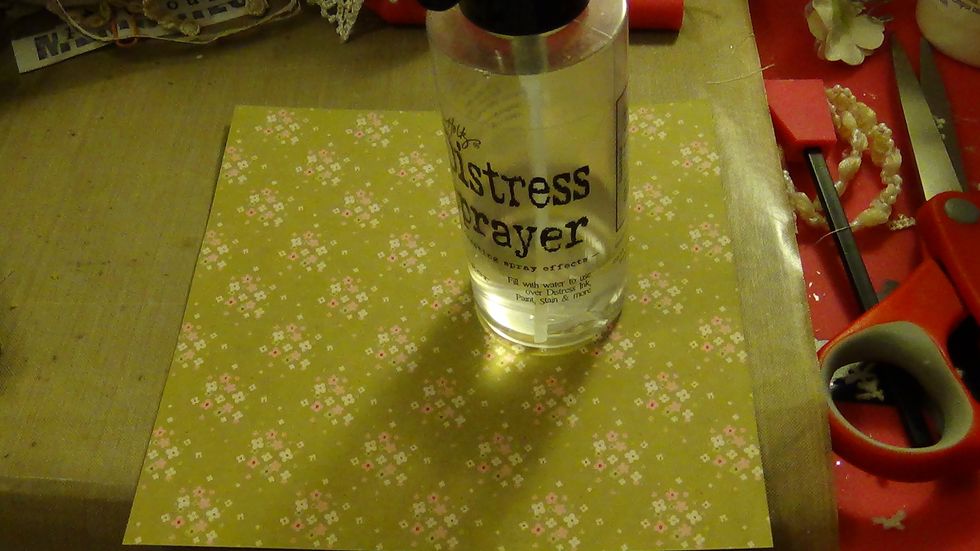
You have the option to use a sprayer to dampen the paper and crunch it up to give it a more worn, distressed look.
After you choose in what order you want you papers to go, you can start by adhering using Fabri tac or also your hot glue gun. While adhering the papers, I don't put them in straight order.
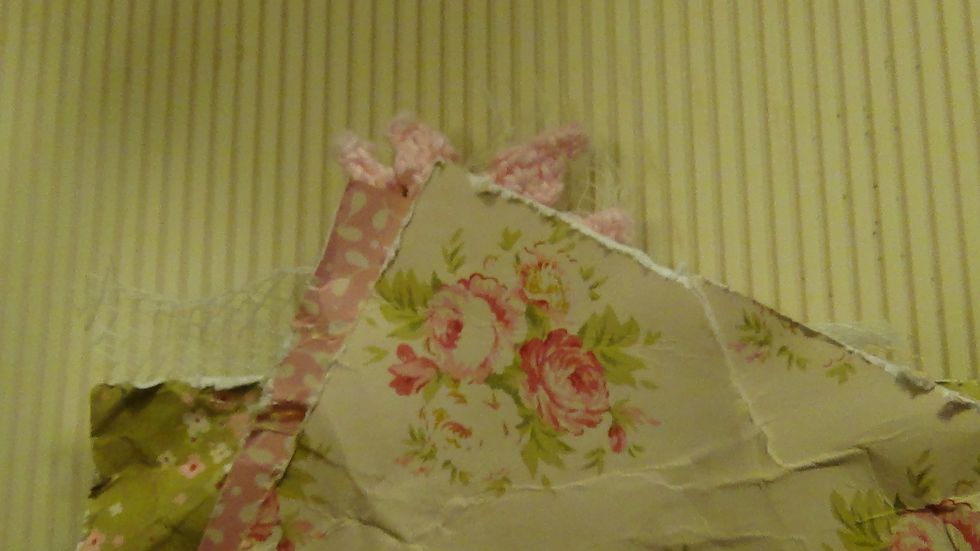
I tucked in a small pink doily from my stash, I also tucked in some cheesecloth on that corner and the bottom right corner as well.
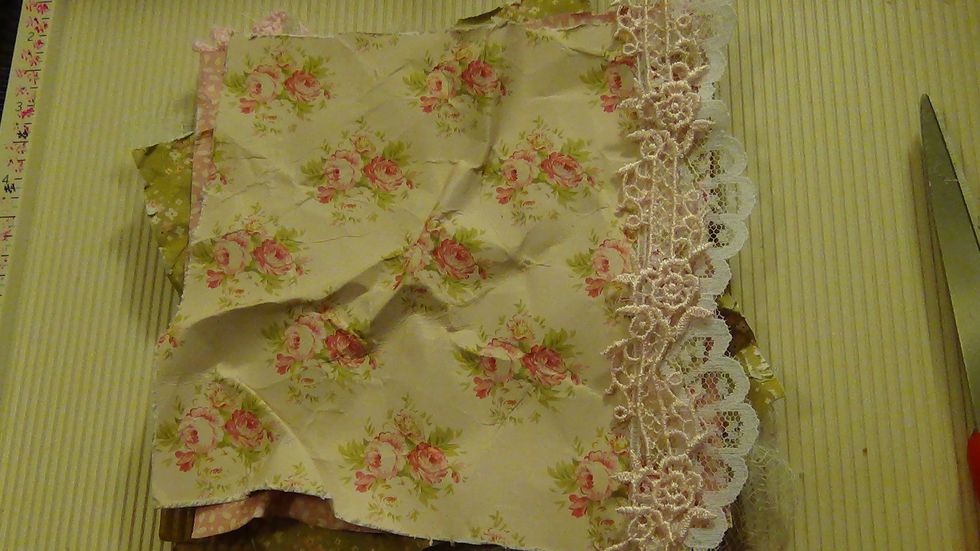
I then began adding some laces, the white scalloped one is from the November kit from FlairByMe, and the pink flowered/vine one is from my stash.
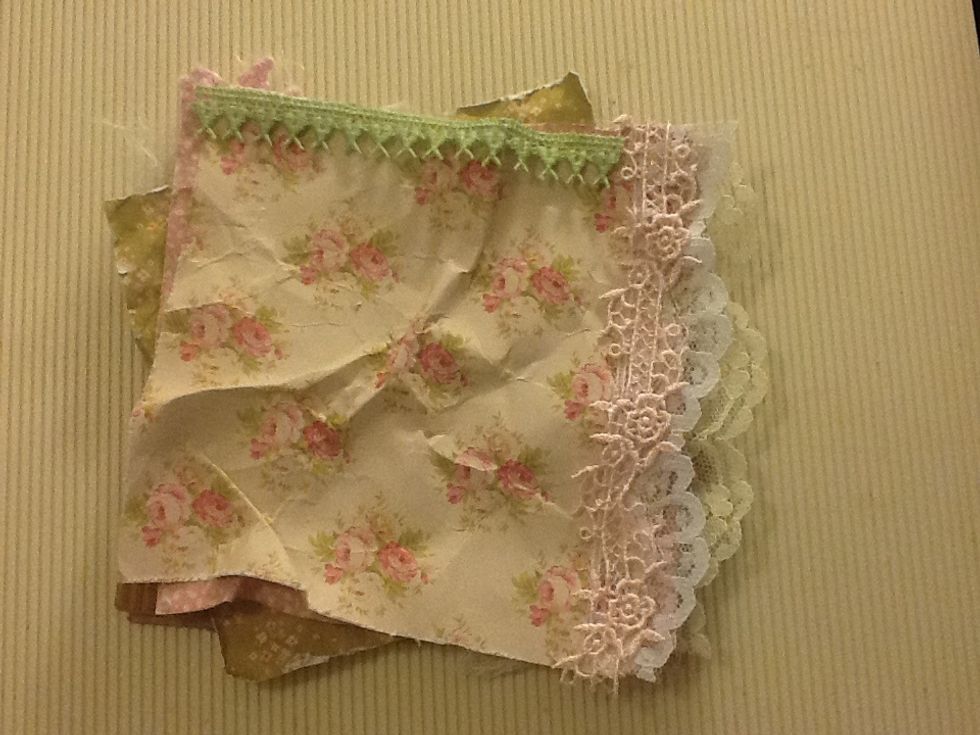
I decided to add the ivory scalloped trim from my kit underneath the white scalloped one, I thought it added more dimension. I also added the cute green heart trim from last months kit on top.

I then picked out the flowers I wanted to use on this project. I love the cute flower applique from my kit, I cut it in half. Adhered the buttons to the rosettes from the kit. Added a white flower too
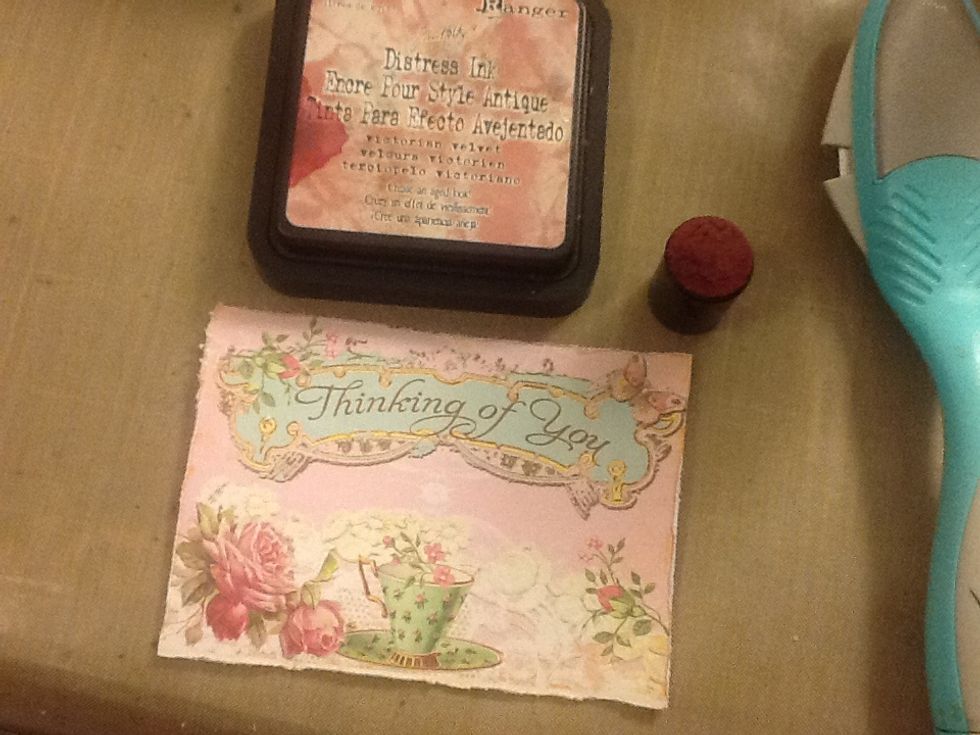
I then picked out my sentiment for my card. I used Victorian Velvet to distress the edges and used my distressing tool along the edges as well.
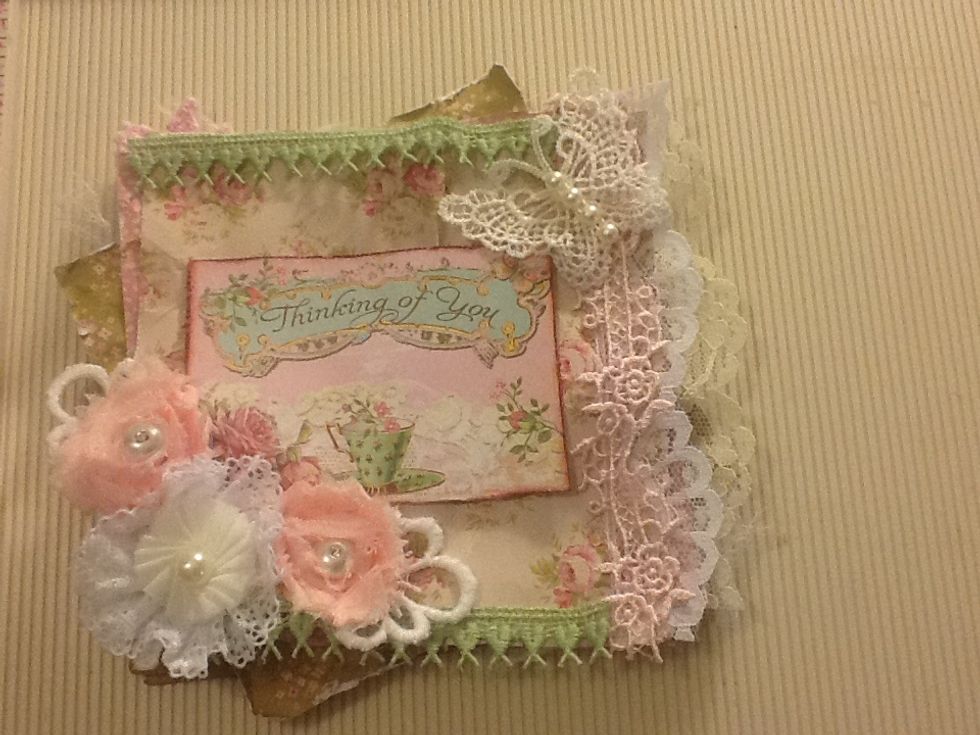
I adhered the flowers in the left corner using the flower applique that I used as leaves on the rosette flowers. Last I used a butterflly applique from my stash on the top corner with flatback pearls.