The Conversation (0)
Sign Up
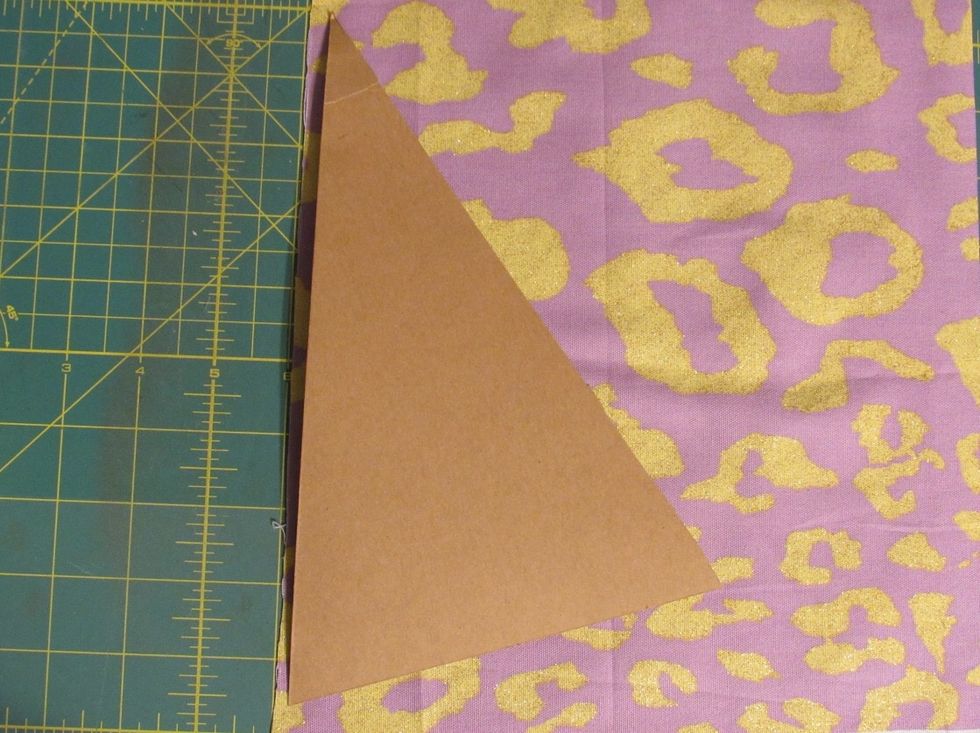
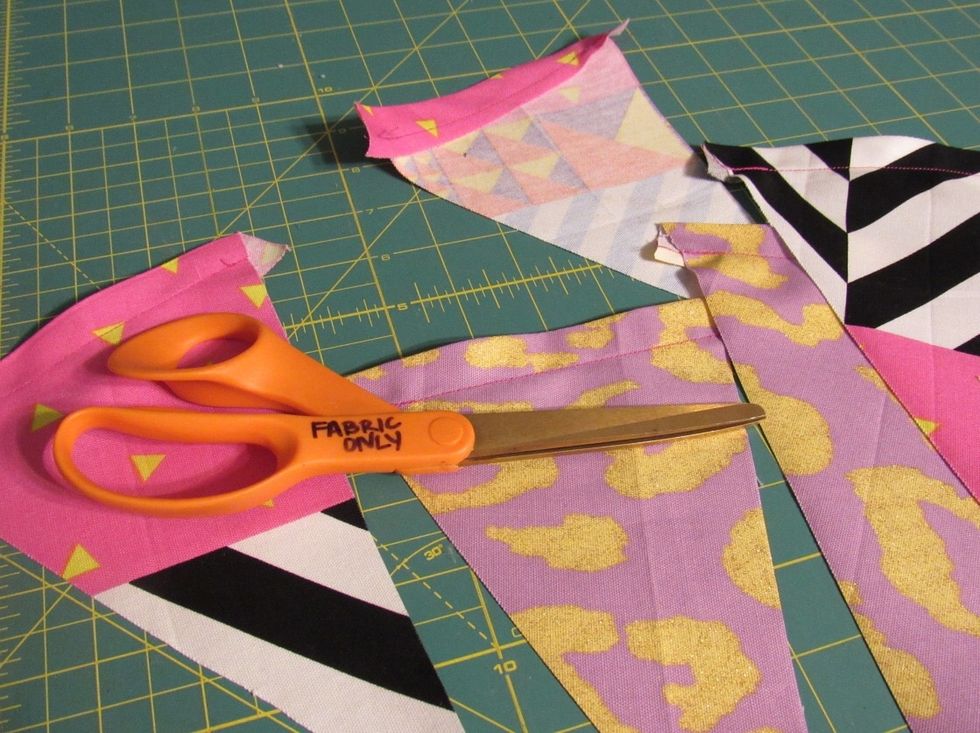
Use pennant flag template to cut designated number of flags you want for you project.
I opted for an unfinished look and wanted to keep the number low in order to use it to stage in Instagram photos (one can never have too many props).
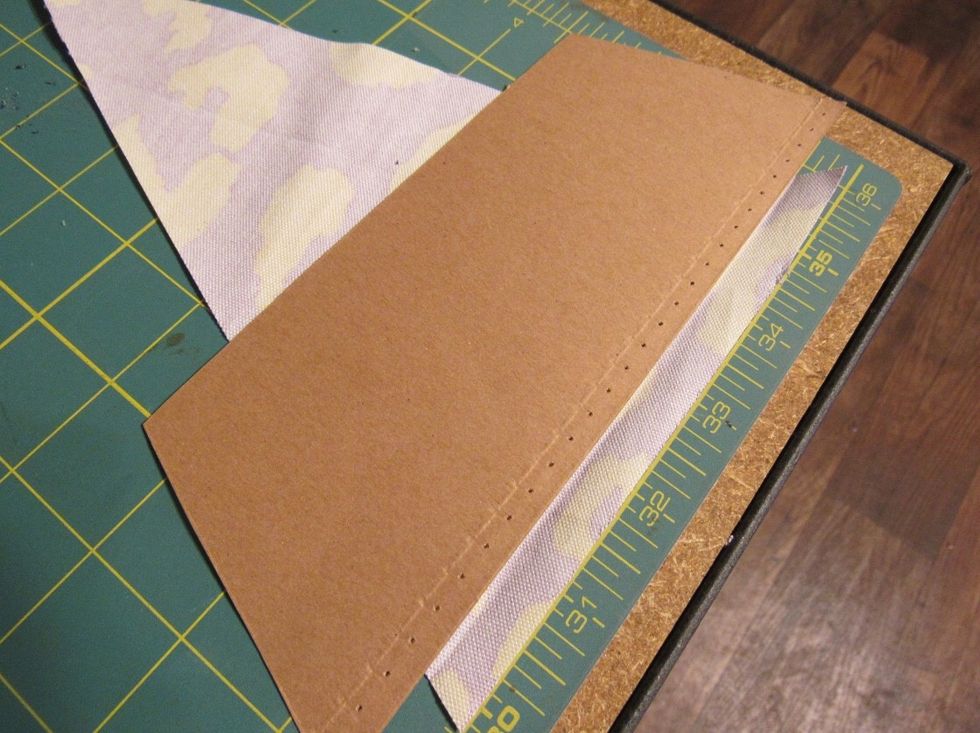
Once all flags are cut, measure about an inch and a half to fold over to thread the baker’s twine through. Repeat this for each pennant flag.
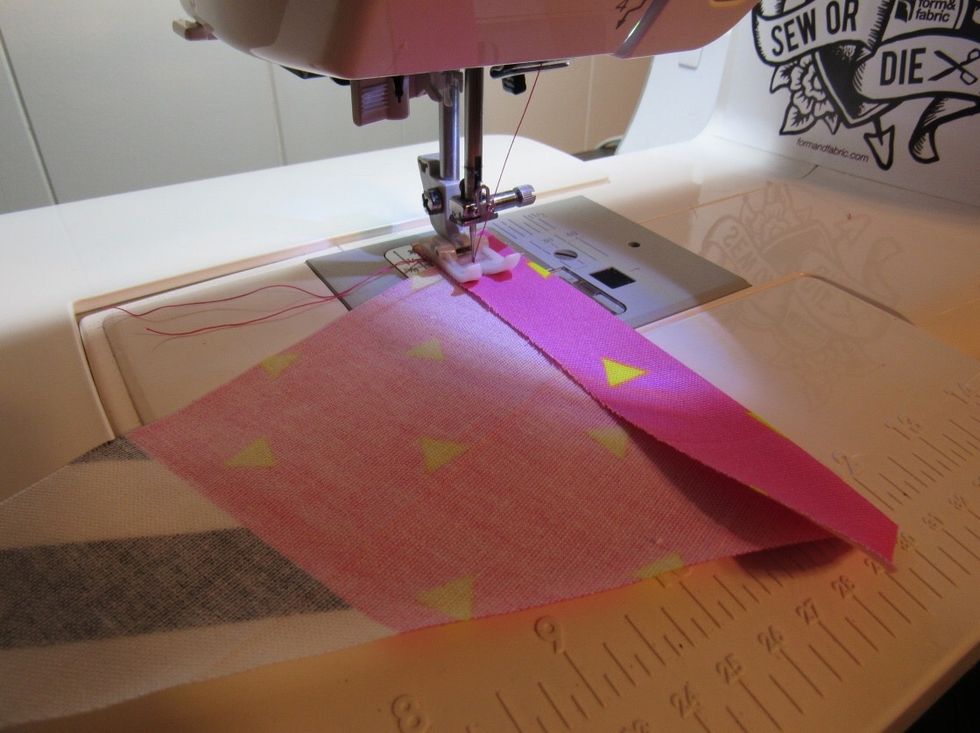
Press with iron or pin with sewing pins – I recommend pressing with the iron, it’s much easier to sew it. Use about 1/4 seam allowance and sew each pennant flag.
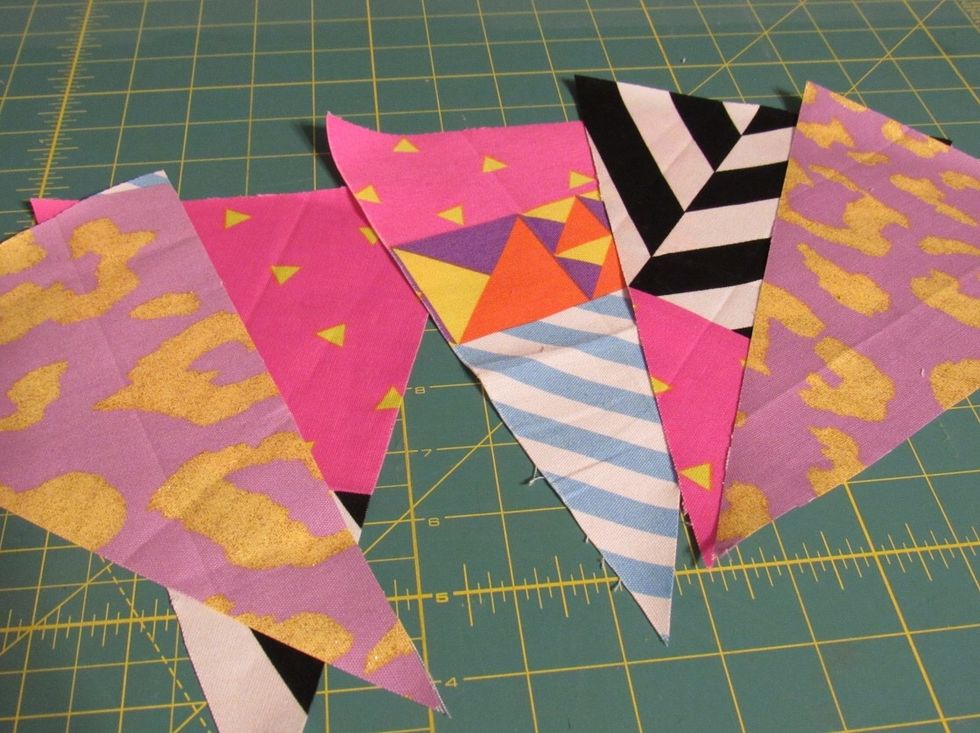
Trim excess pieces of fabric from pennant flags and organize them into whatever manner you want to display them on baker’s twine.
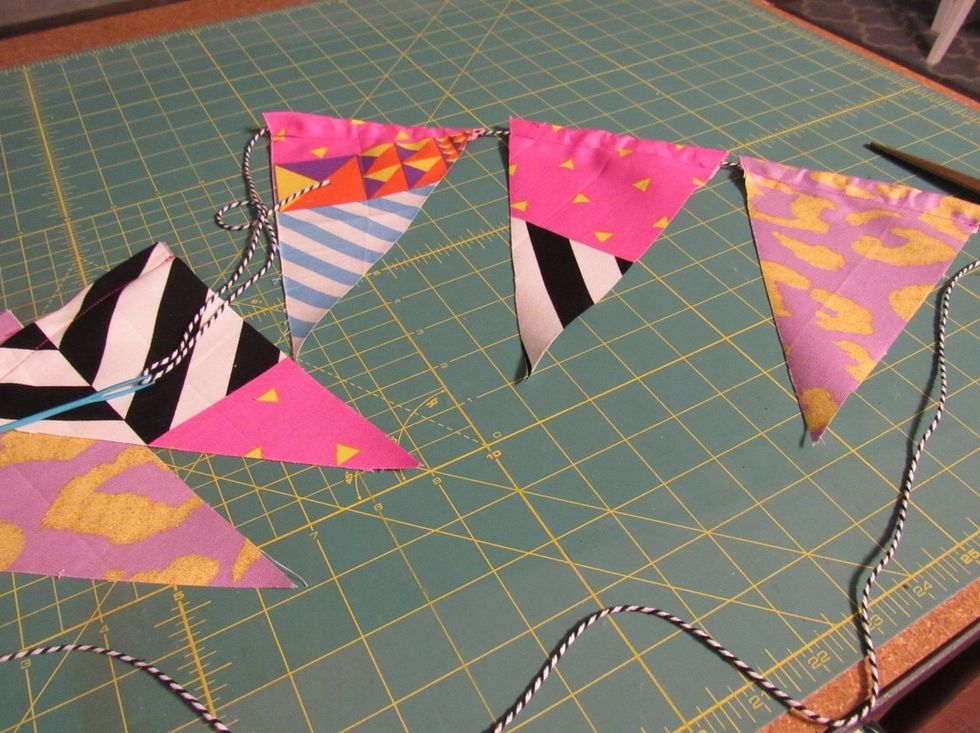
Thread baker’s twine through the top of each pennant flag and space out to your liking.
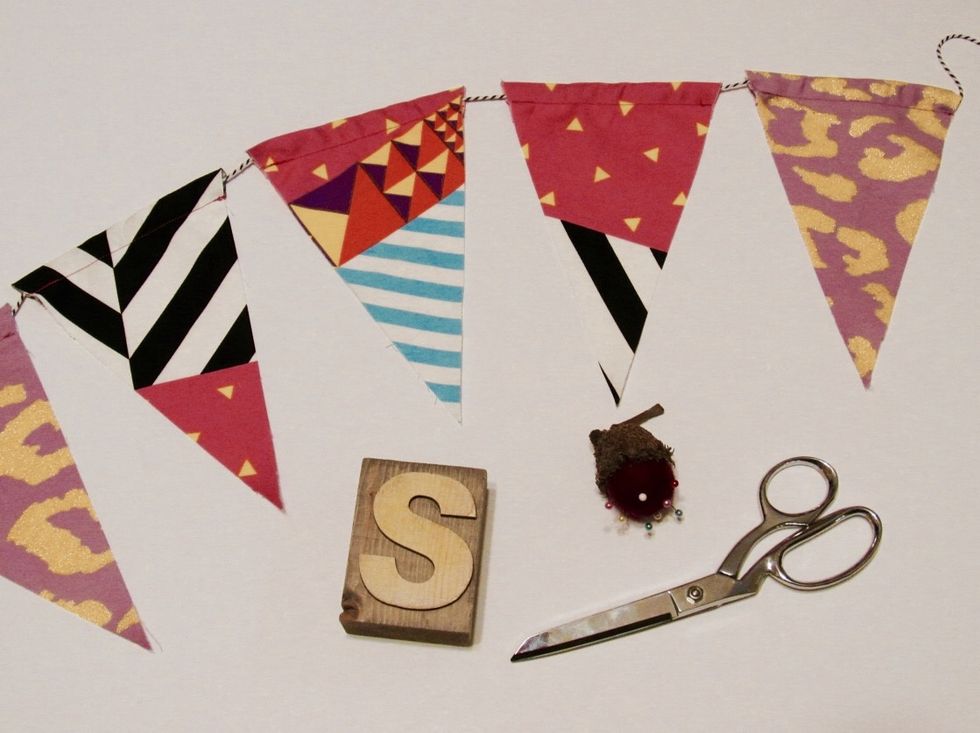
Snap those instagram photos, hang it in your house, or make another!