The Conversation (0)
Sign Up
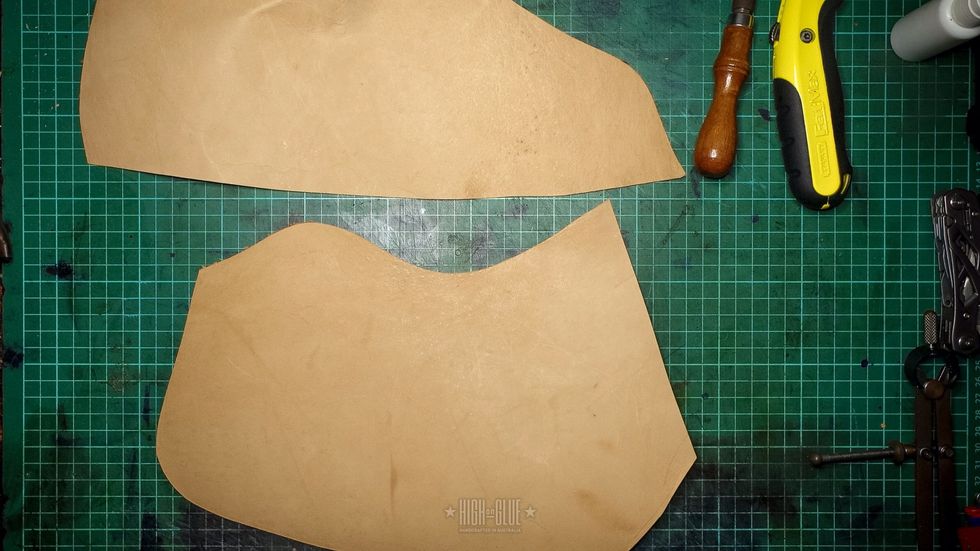
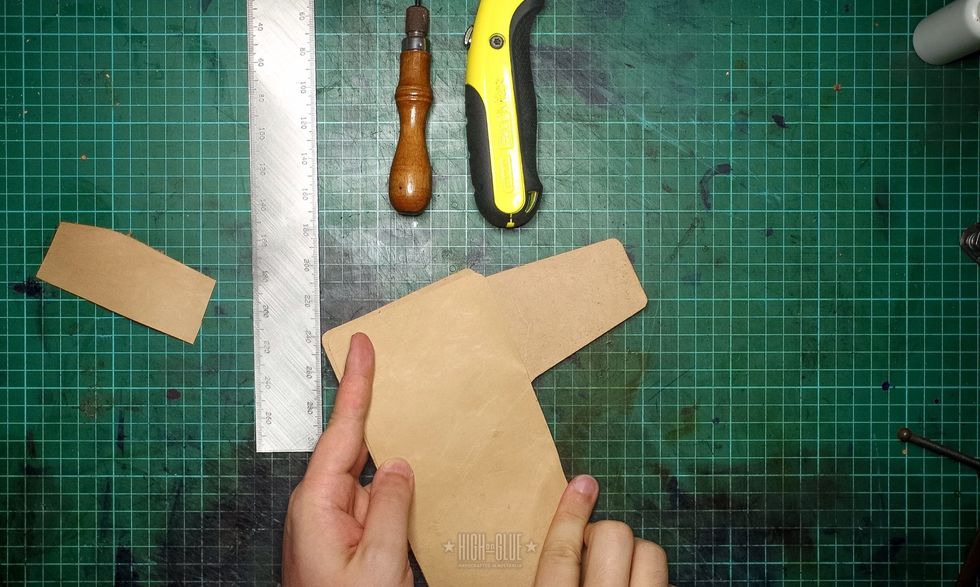
I'm using some kangaroo leather. It’s about 1mm thick and it’s got a great feel to it. This wallet design would work with any similarly thin leather.
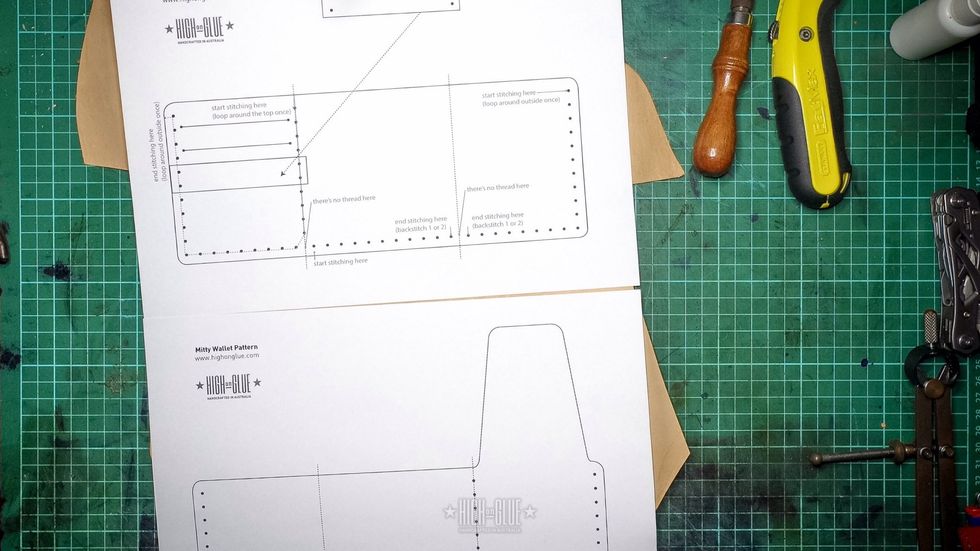
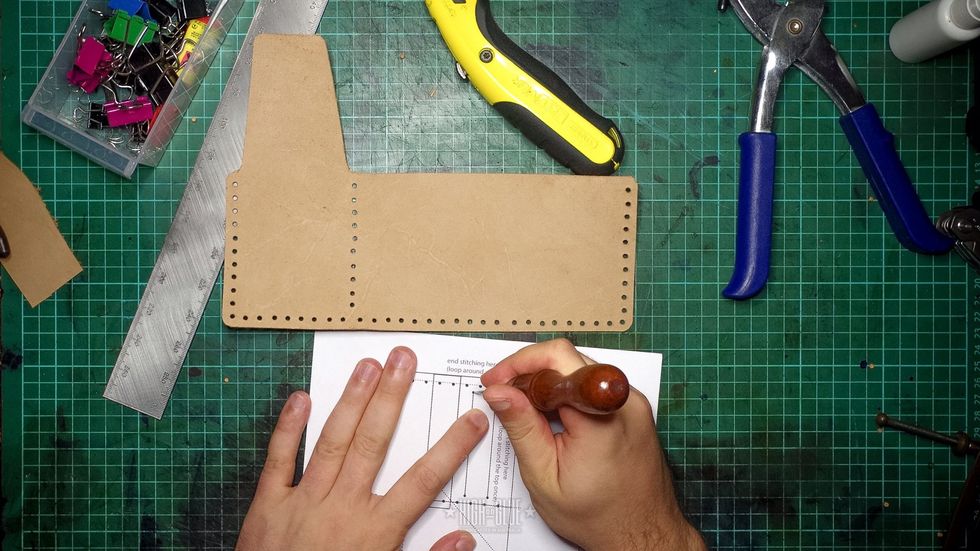
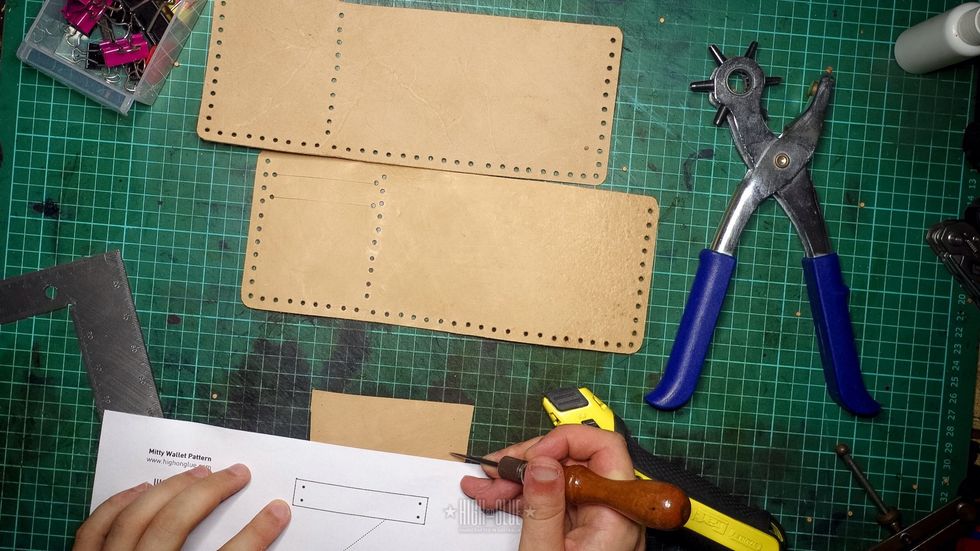
Print out pattern - This pattern should give you all the instructions needed to make the wallet. Make sure you print it at 100%
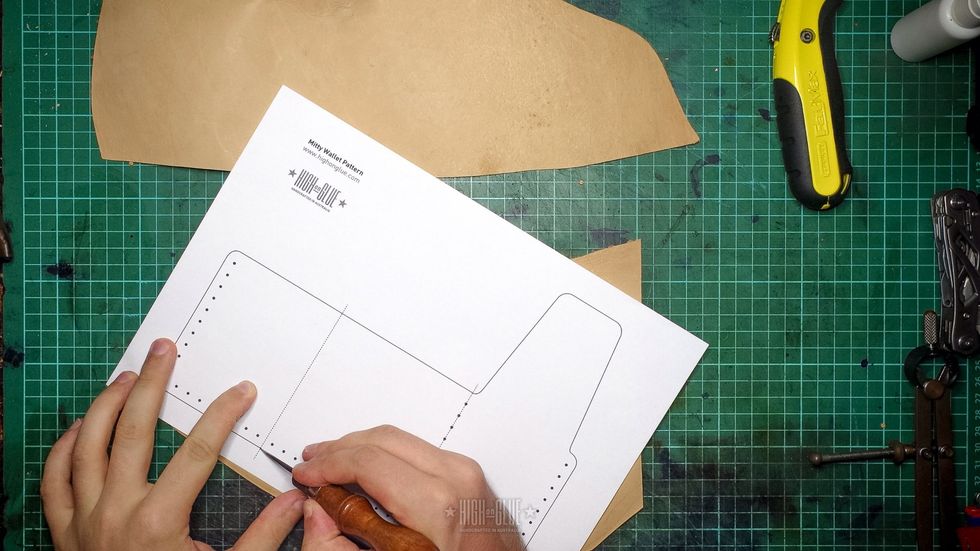
Trace the pattern including the stitching hole markings (on one side)
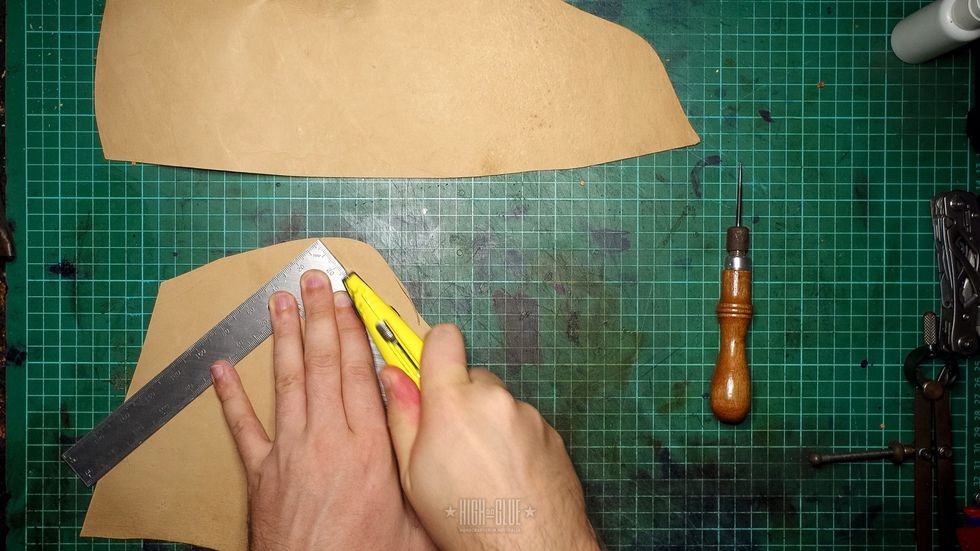
Cut out the pieces with a sharp knife.
Put the pieces together and use some binder clips to keep them aligned for the next step.
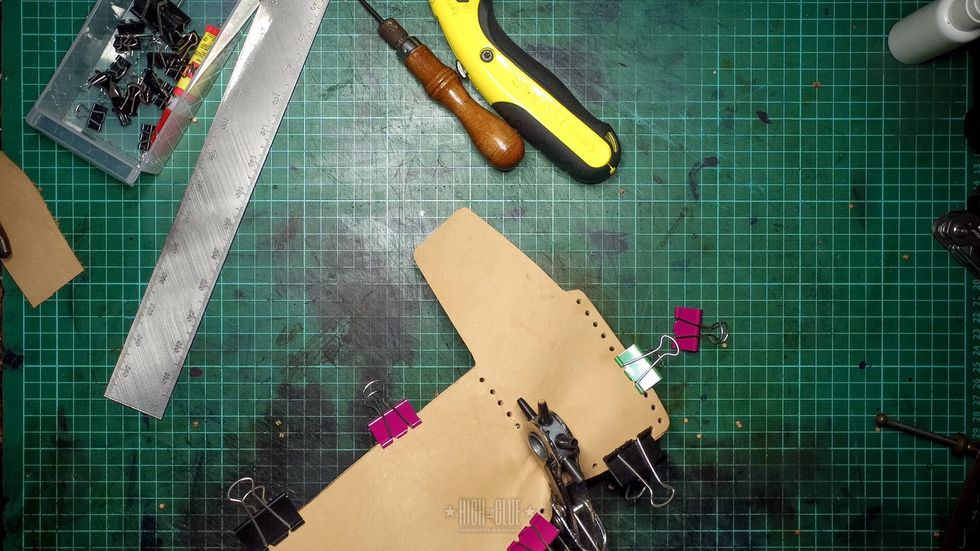
Punch the holes into both pieces at the same time.
Mark the card slots. Be careful to not get it too close to the main stitching holes punched in the previous step
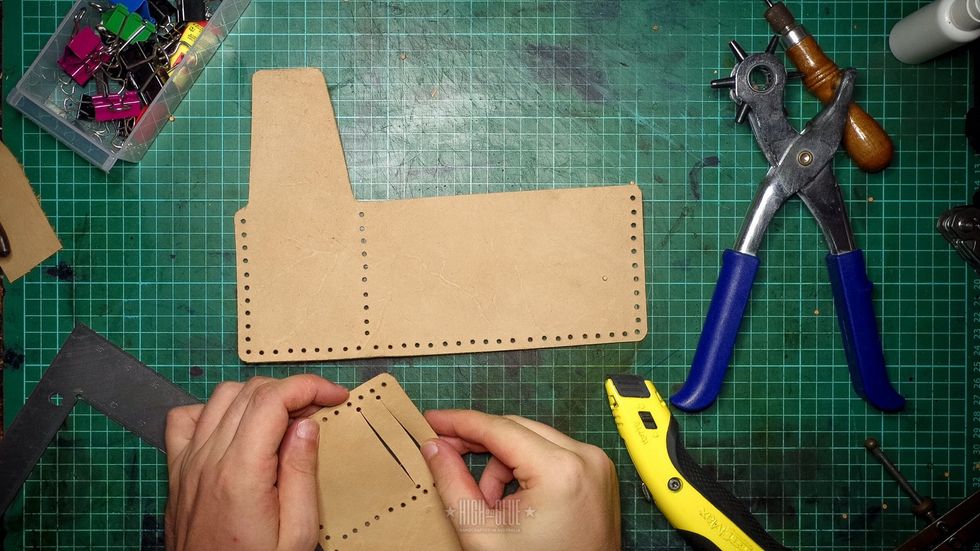
Punch the card slot holes and cut them to create the slots.
Cut out the strip that holds the flap down. We’ll align the stitching holes in the next step
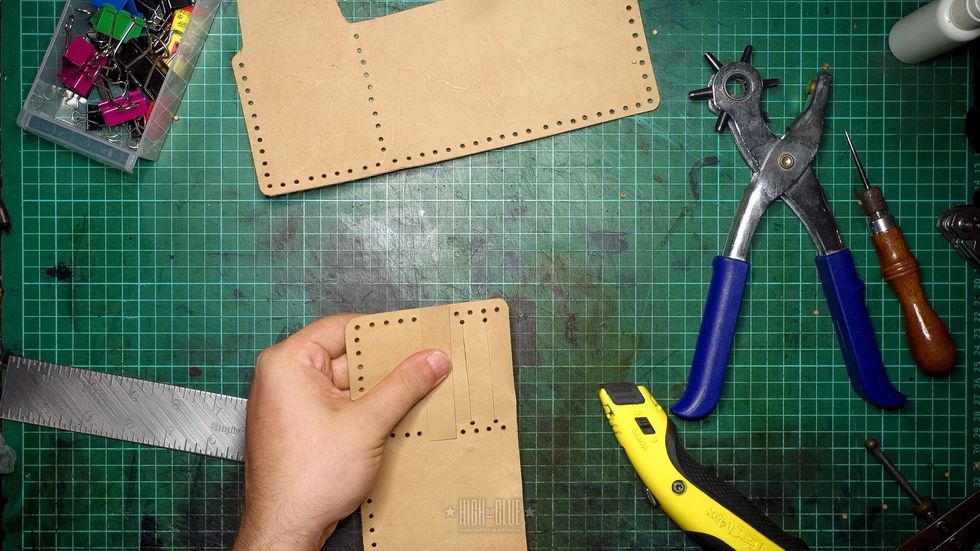
Hold the strip one hole from the bottom card slot, mark the position of the 2 holes you’ll need on either side and punch them. Make sure that you leave enough space between holes.
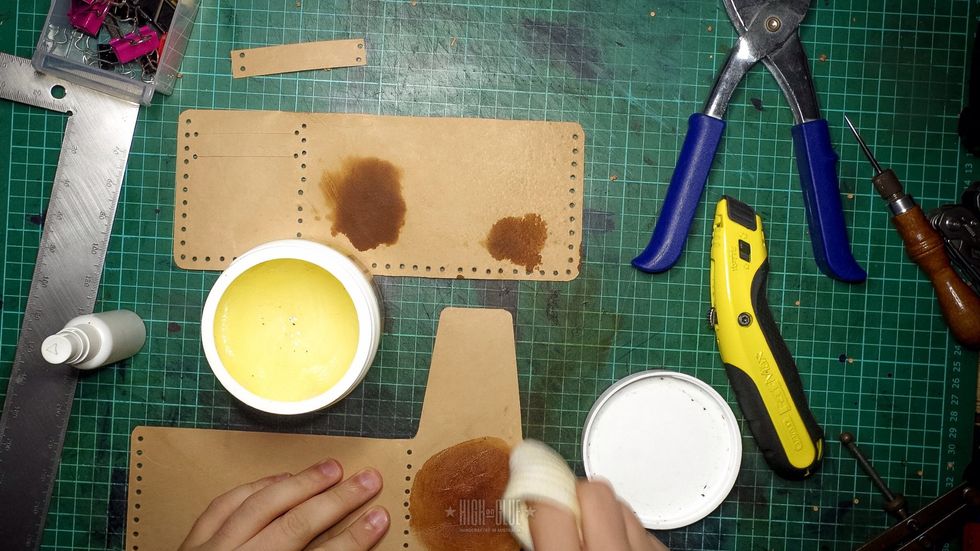
I’m adding some leather conditioner and oil to finish and seal the leather before stitching (optional)
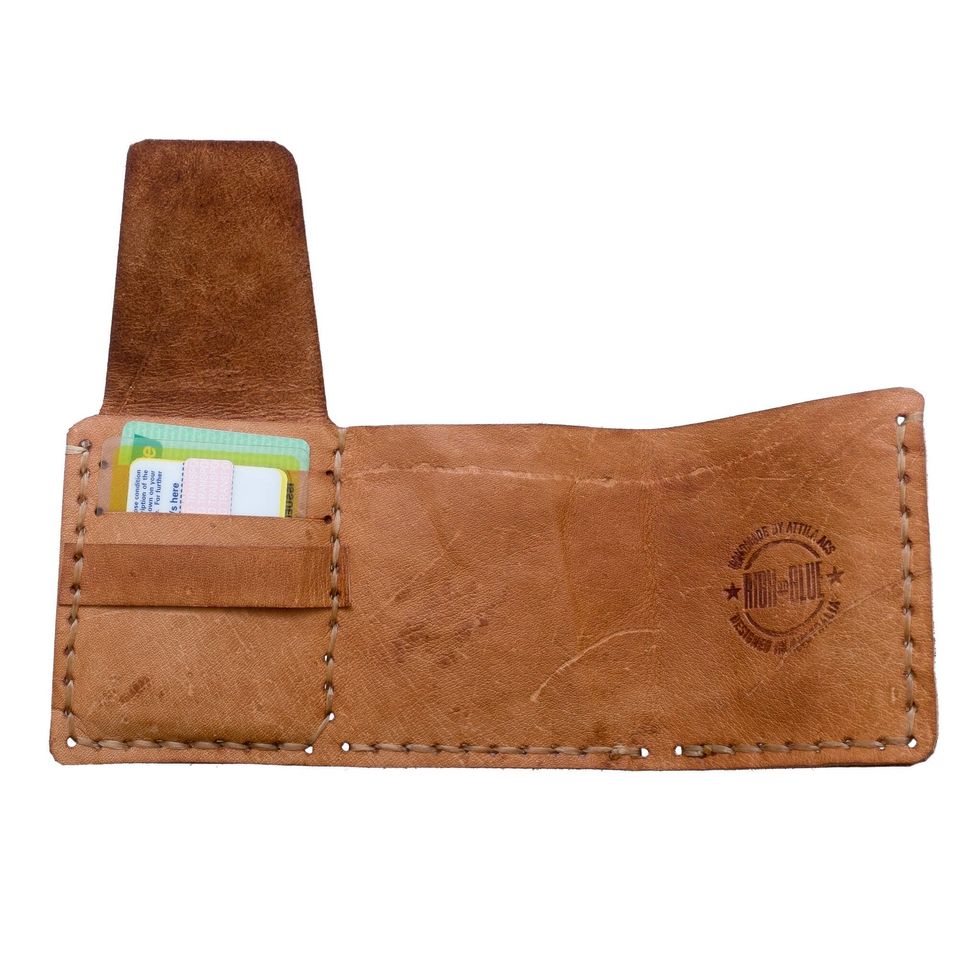
The pattern has all details you’ll need for the correct stitching pattern. Visit my hand sewing guide for a detailed description of how to sew by hand. I used artificial sinew for this wallet.
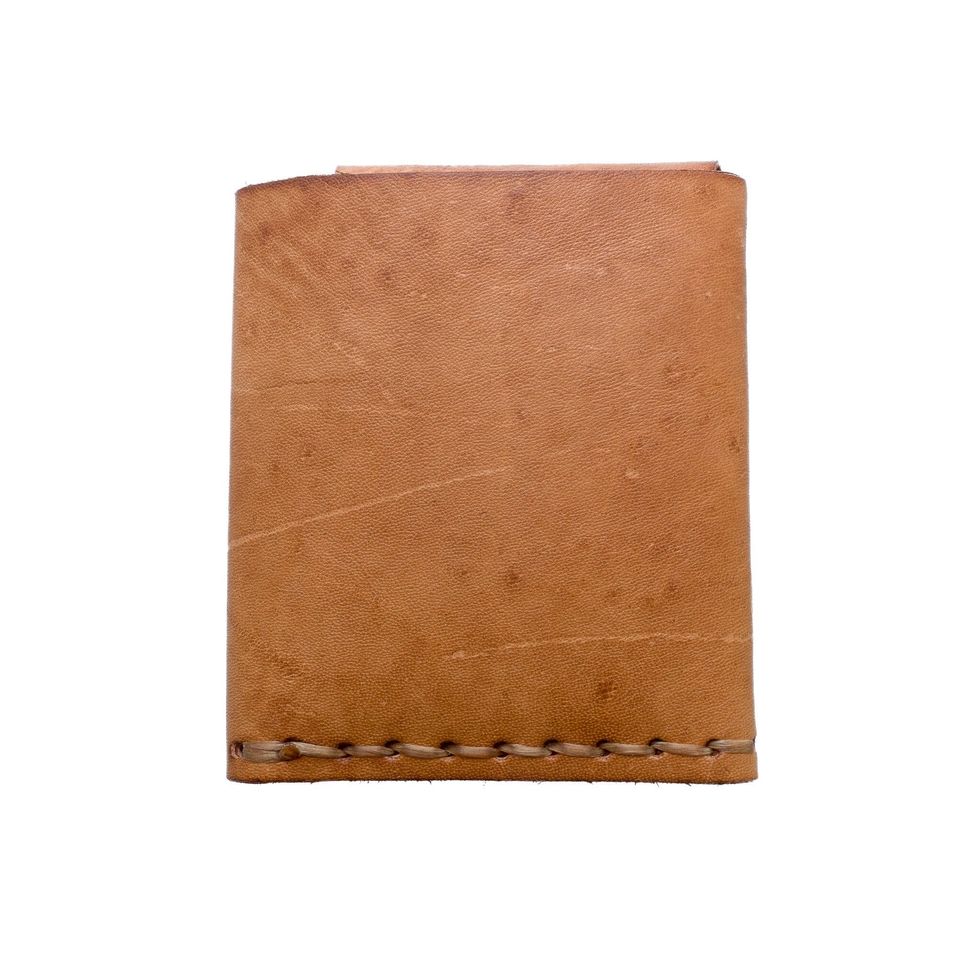
Lovely textured leather
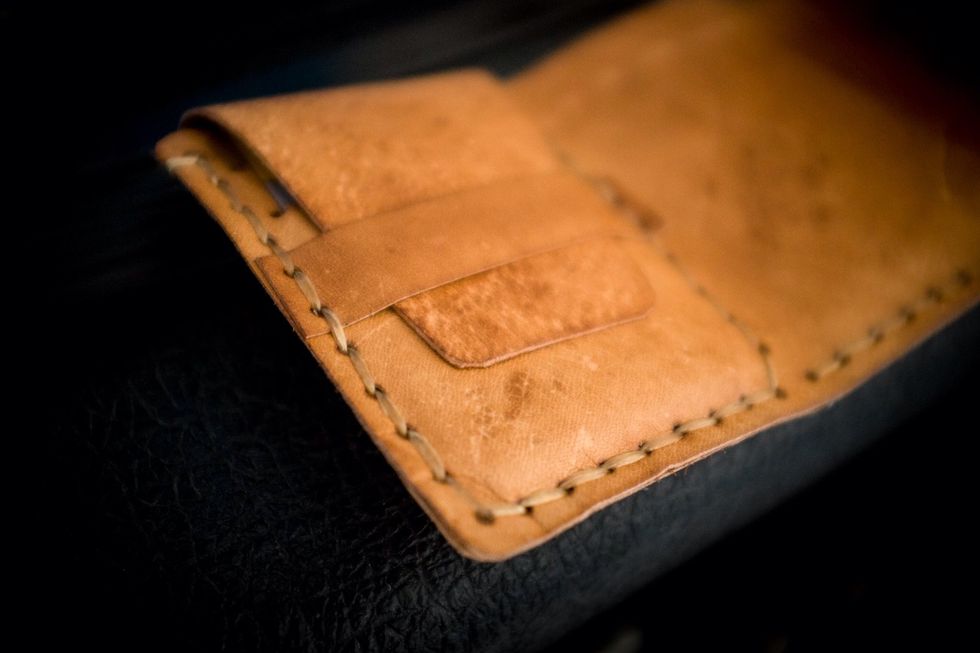
Stitching and hand-cut style!