The Conversation (0)
Sign Up

Cut a cardstock base 5.5 x 6.5"
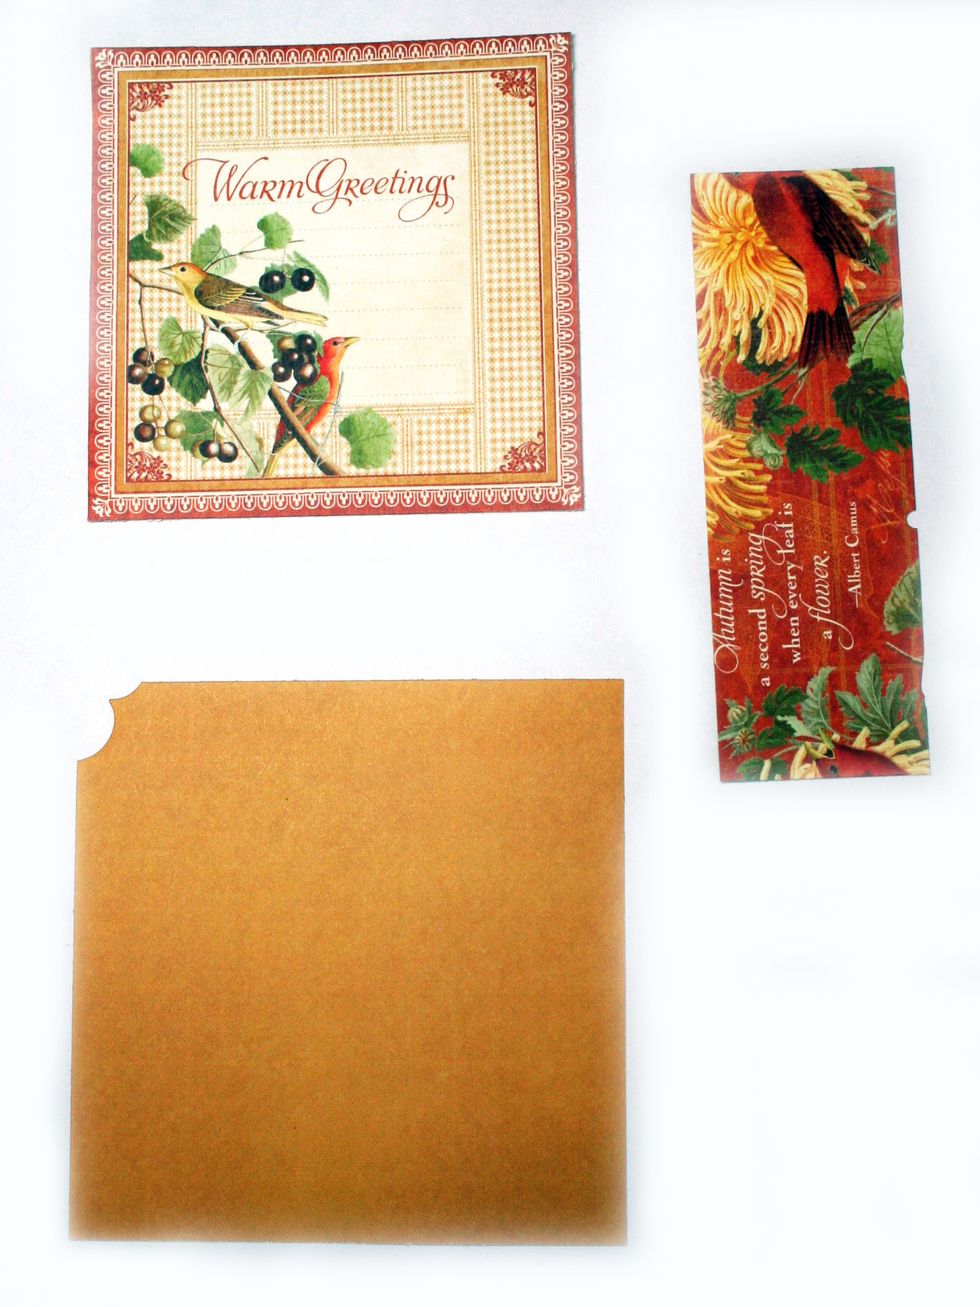
Cut our the Warm Greetings image from the November Cut Apart page. Cut a patterned piece to 1.5 x 5" and cut a solid that is 4 x 4.5" .
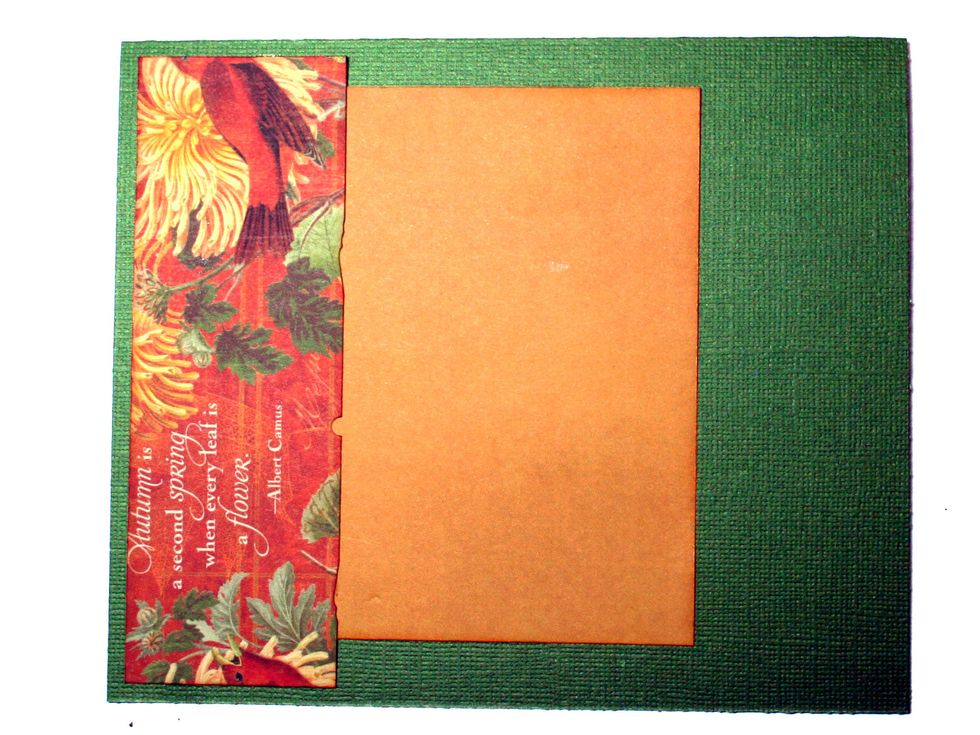
Adhere the yellow solid paper to the card base about 2" from the right side and then adhere the patterned piece over top the yellow solid about 1/4" from the edge.
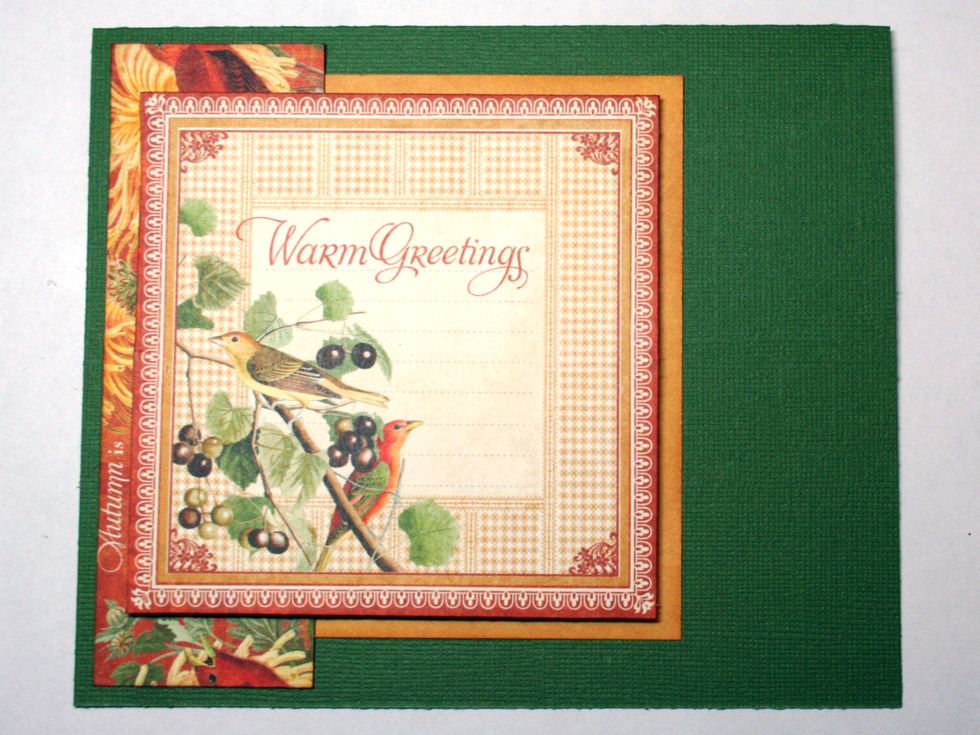
Use foam tape or cardboard to pop up the cut apart and adhere over the previous layers as shown.

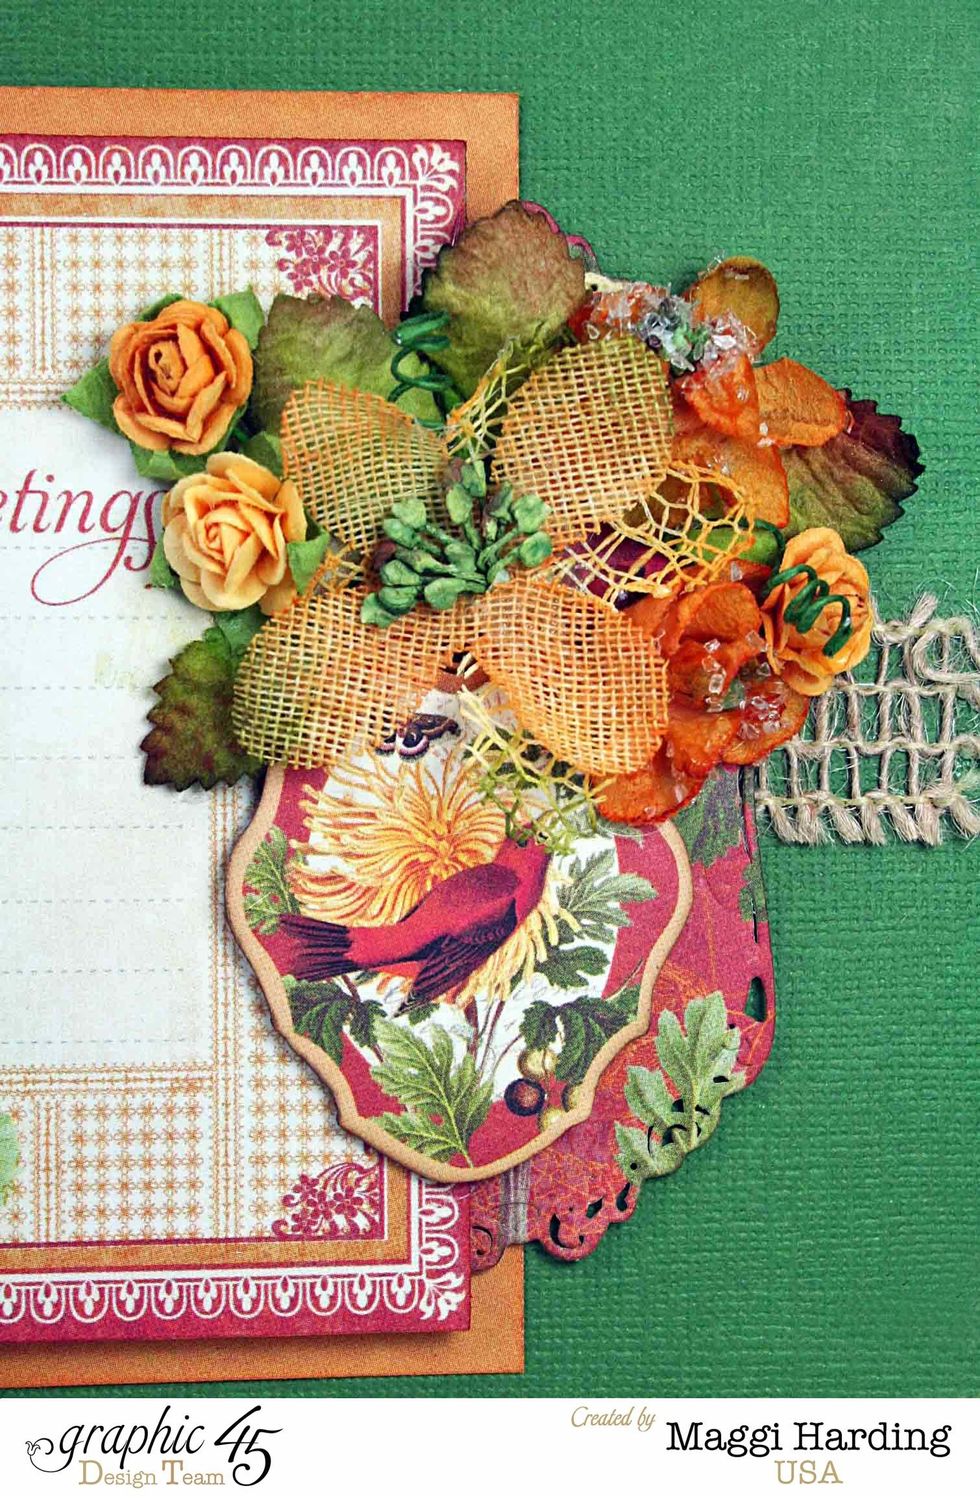
Cut two small pieces of burlap trim and adhere, centering from top to bottom.tuck the ends under the paper layers. Die cut a label that is about 4" long from the patterned paper and adhere as shown.
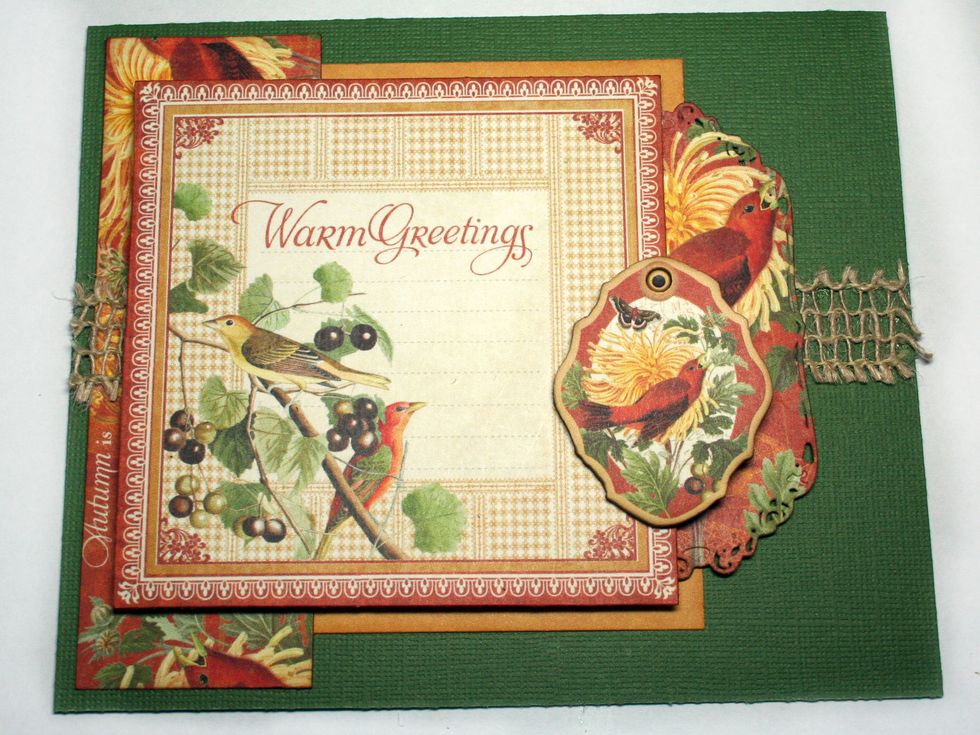
Glue the chipboard piece as shown.

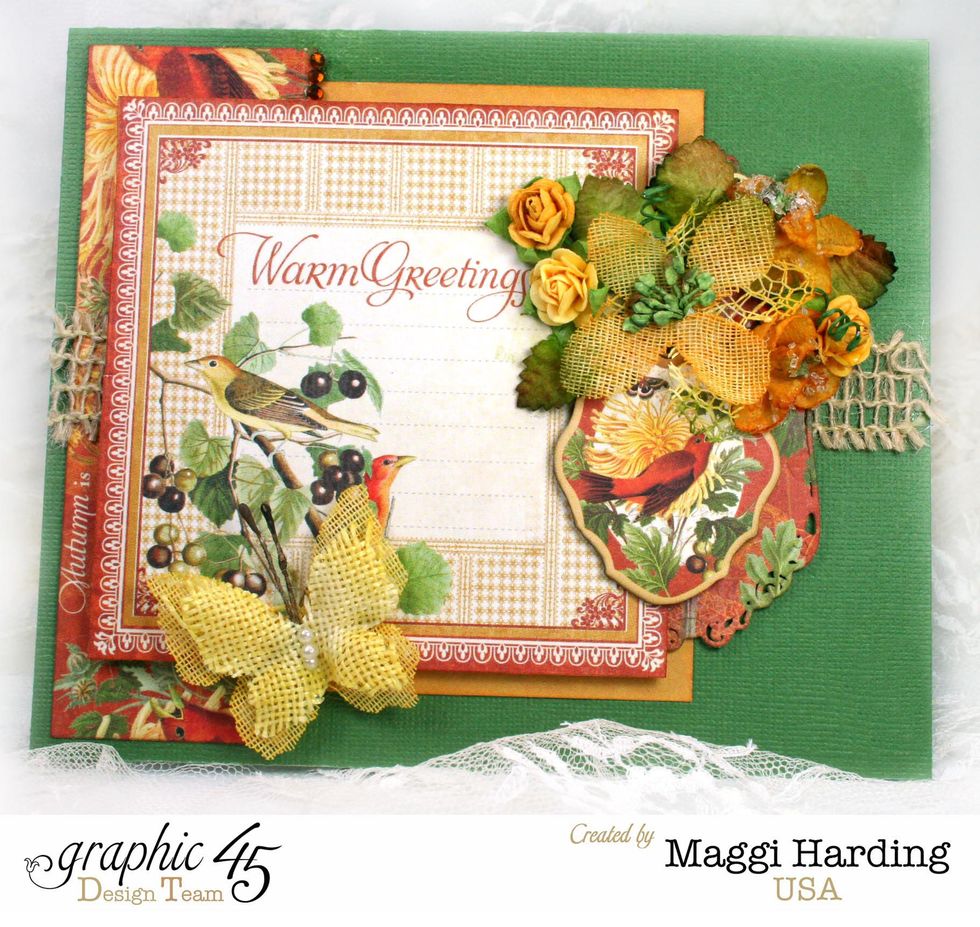
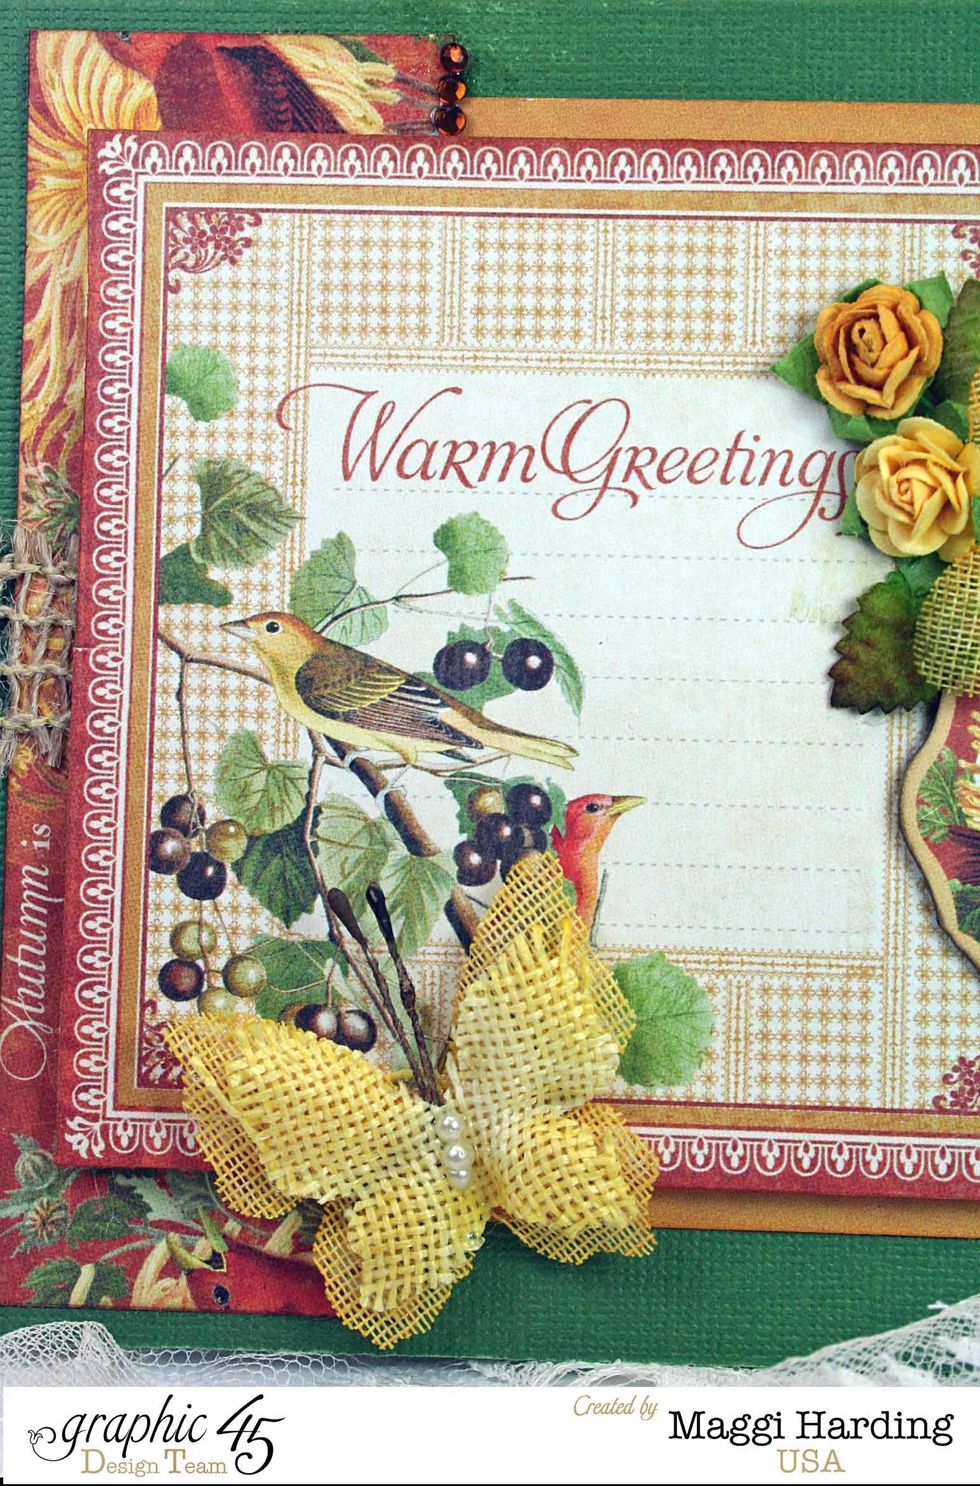
Embellish with flowers and a butterfly.
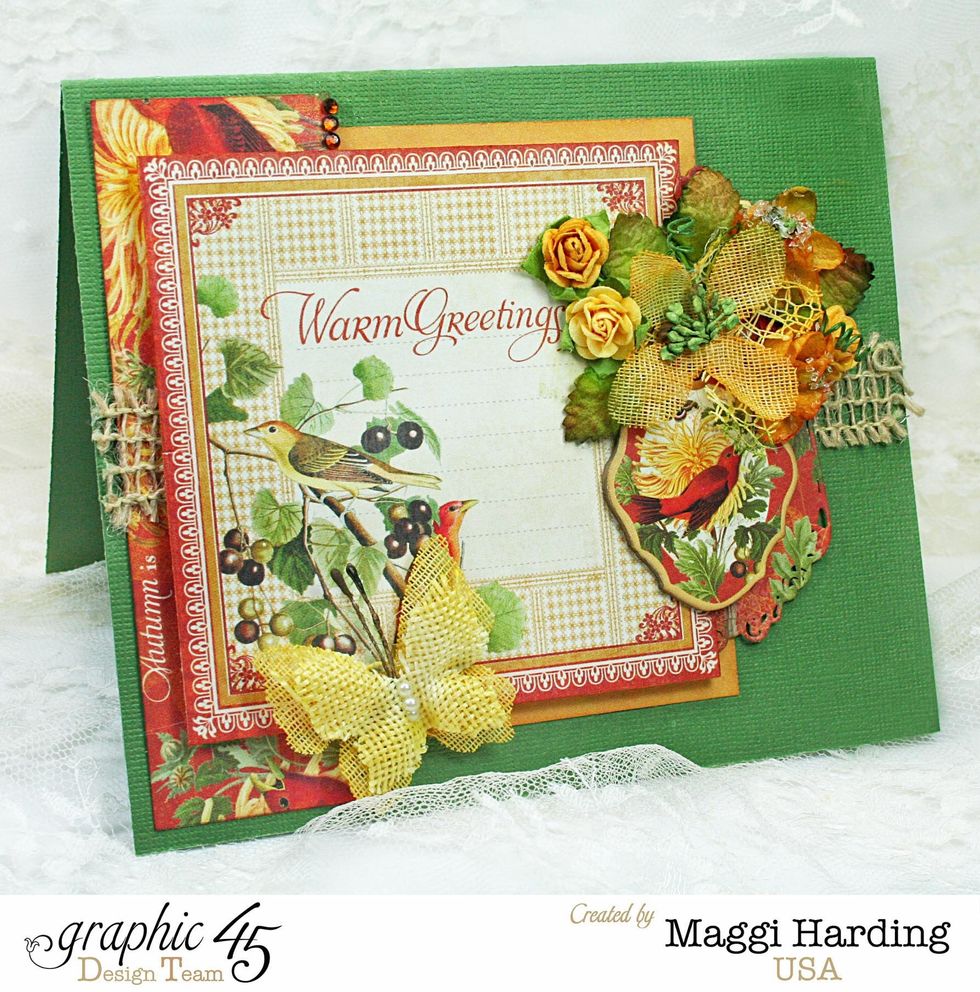
Finished card.