How to make a simple henna design
Love hennas? Never done one before? Learn how to do this beautiful henna design with simple steps.
1113
STEPS
TOOLS
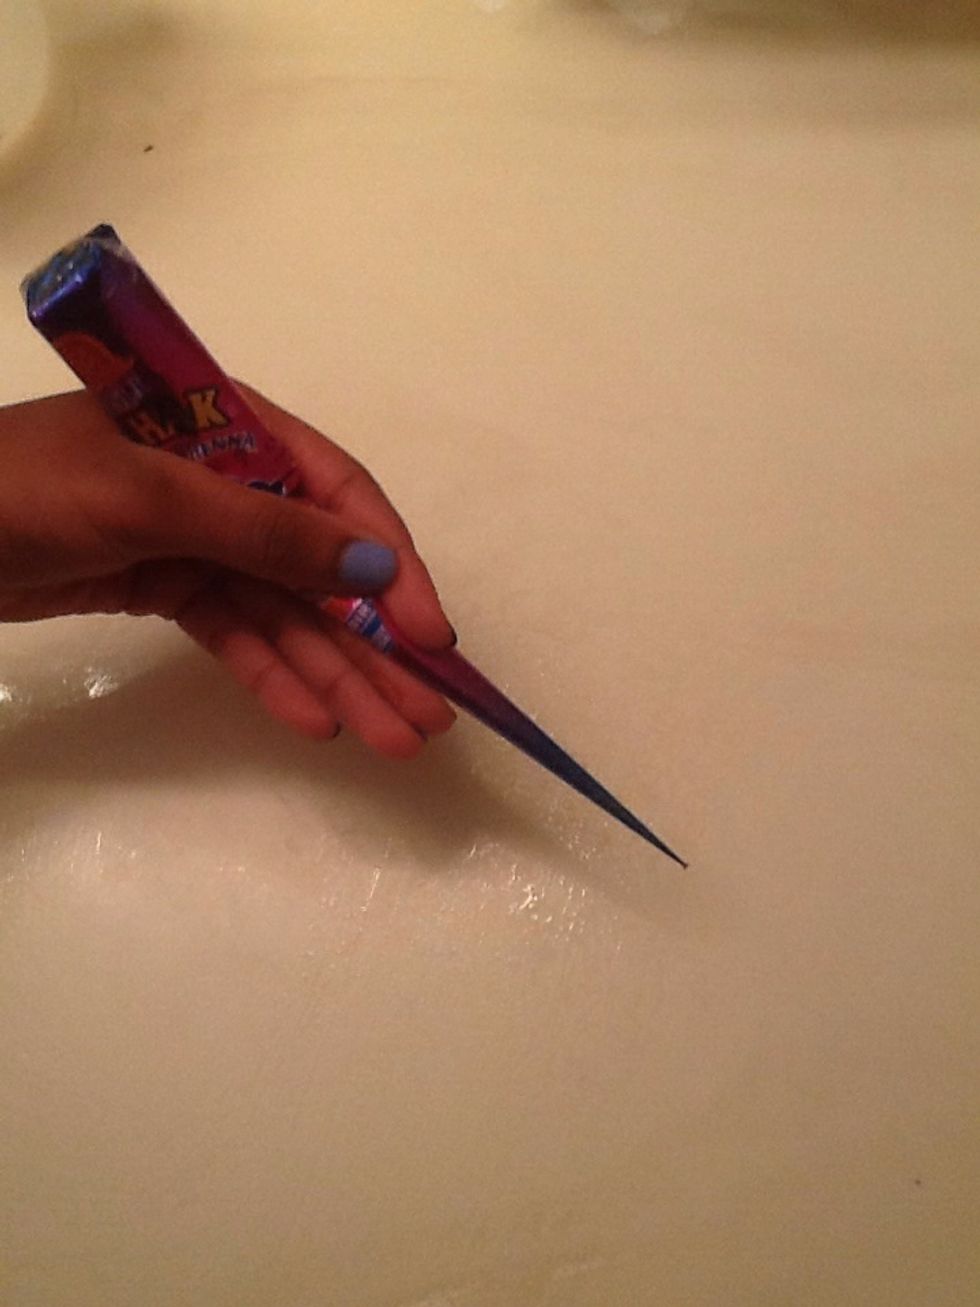
When holding the tube, hold it in the middle and hold it like you would hold a pencil.
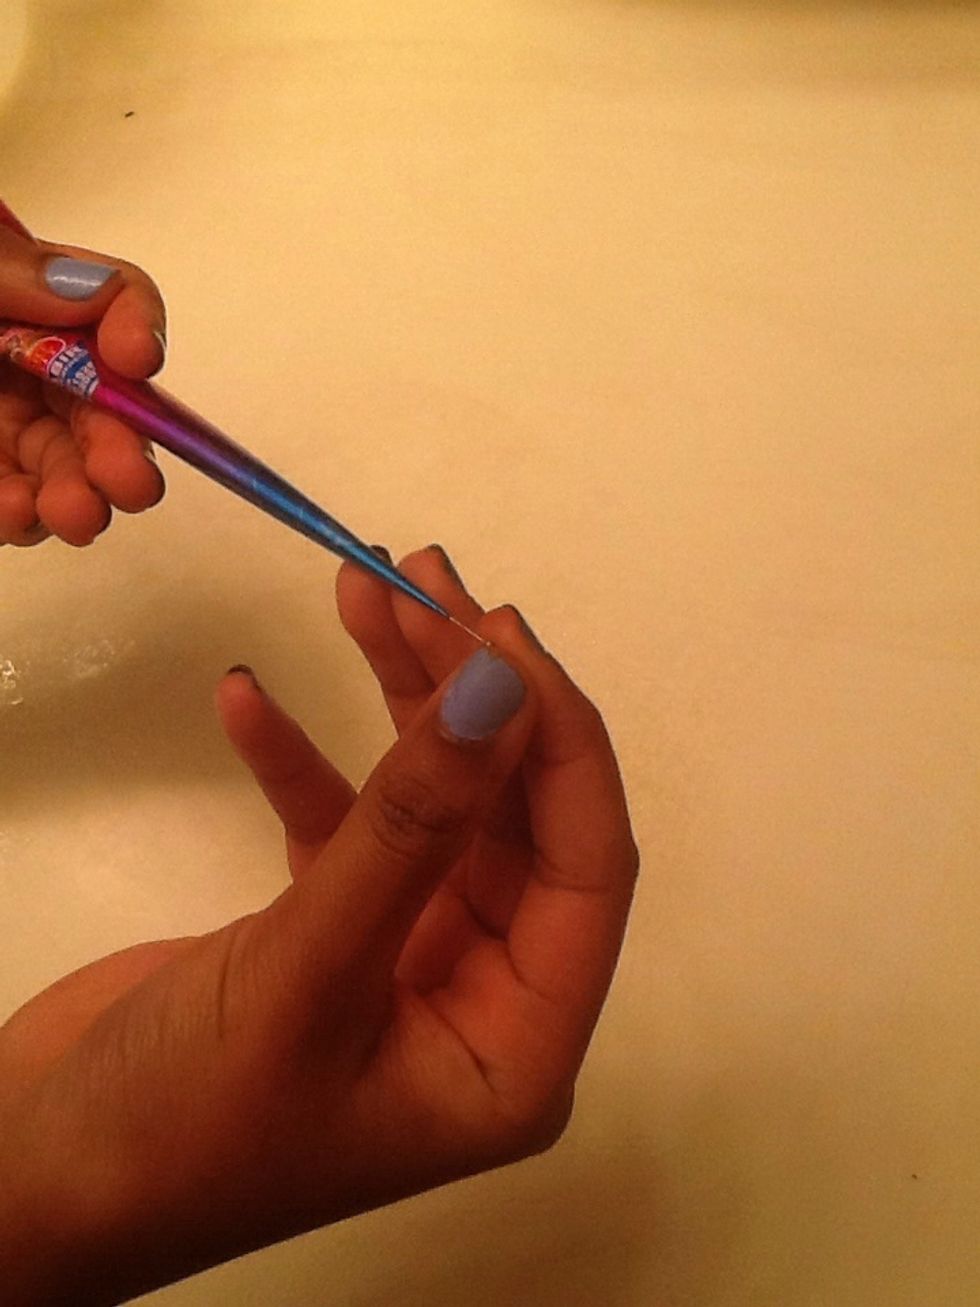
Take the pin out of the tip of the tube
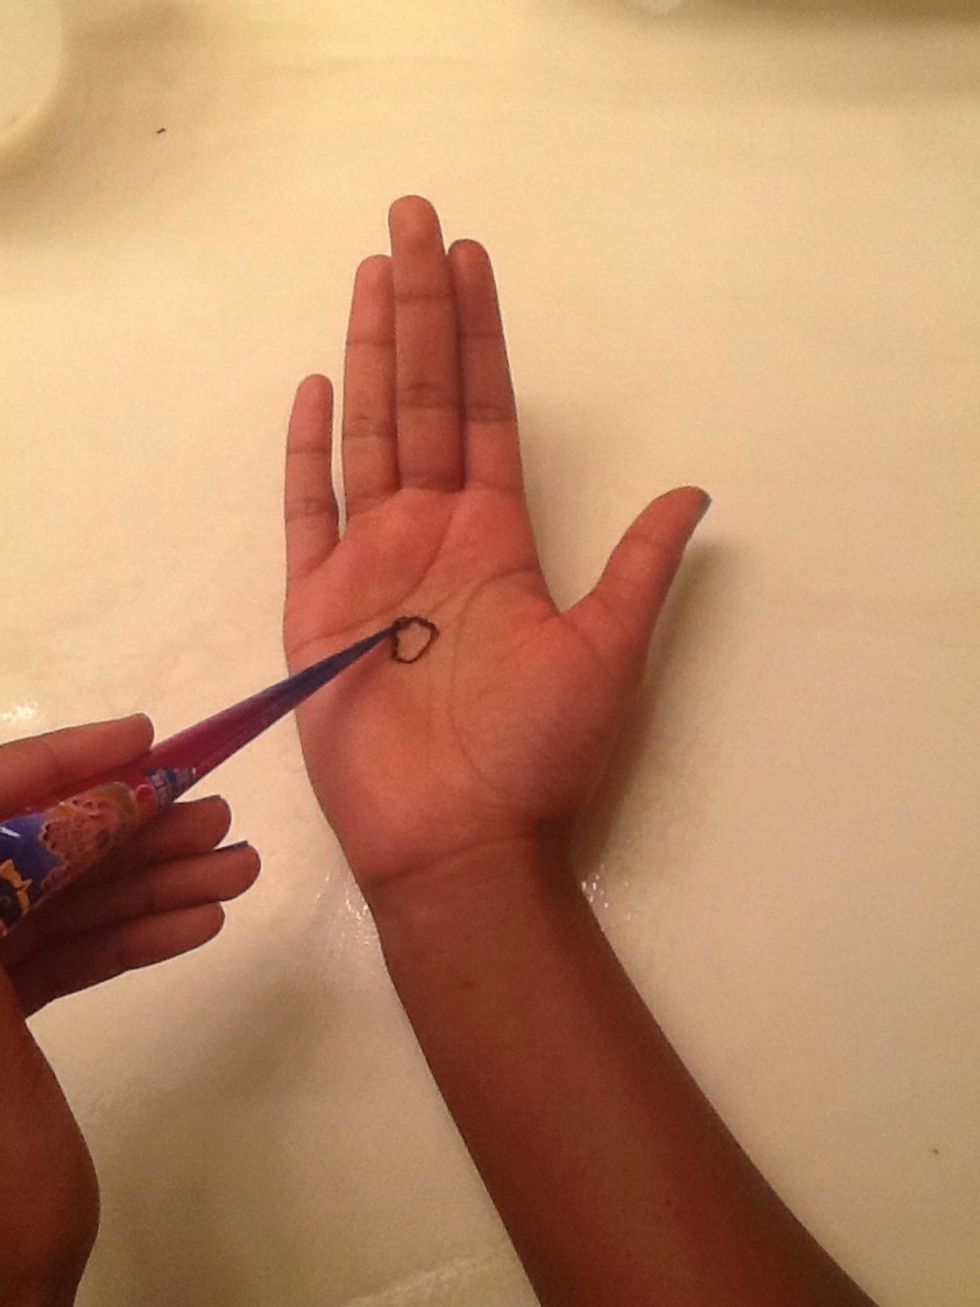
First draw a circle about 3/4 of an inch wide in the middle of your hand.
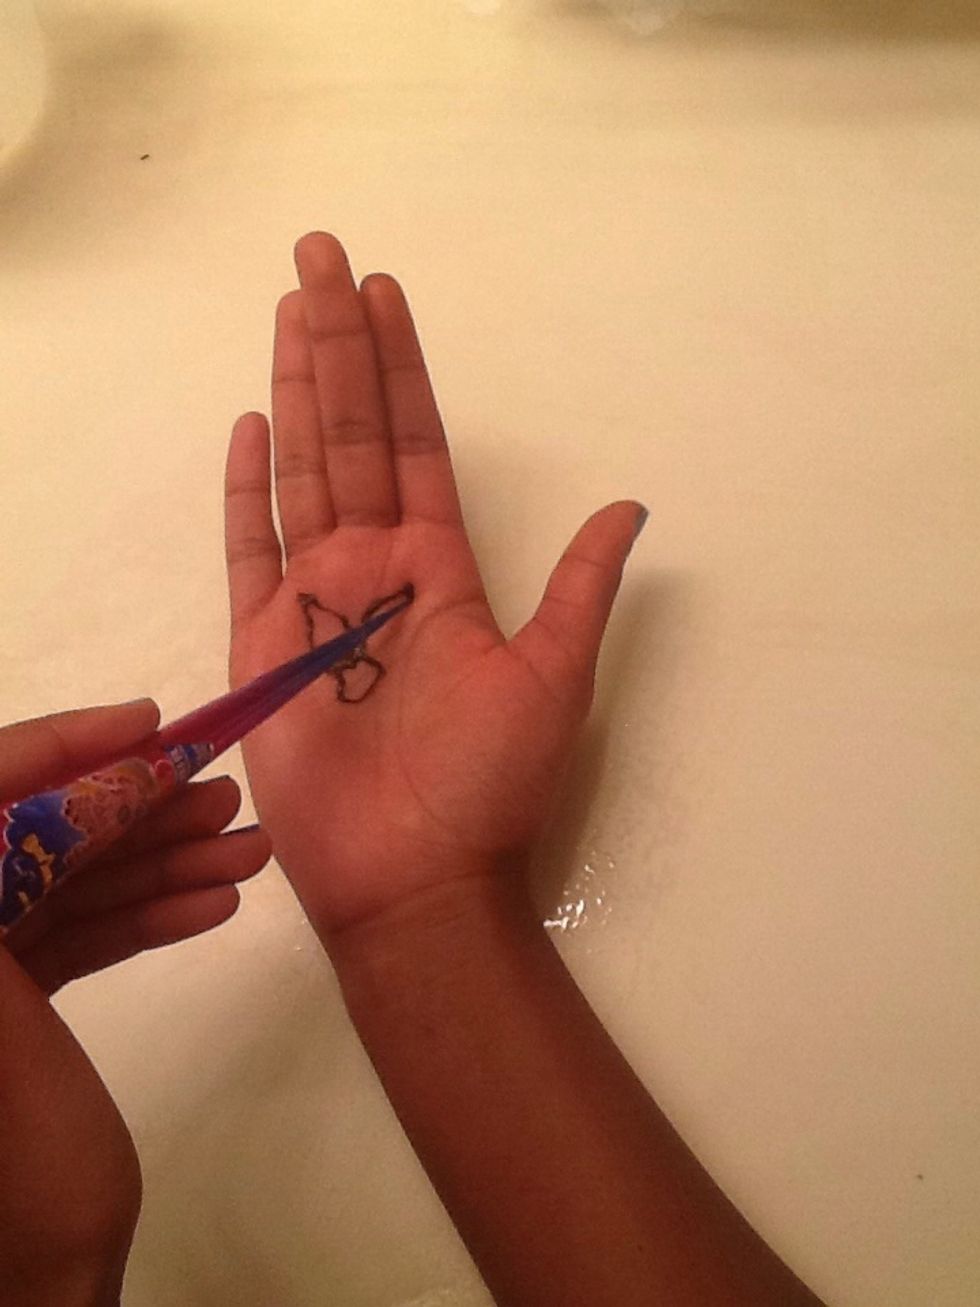
Second, draw the petals. Make the bottom part the petals wide and get narrower towards the tip. Draw 5 circles around the circle.
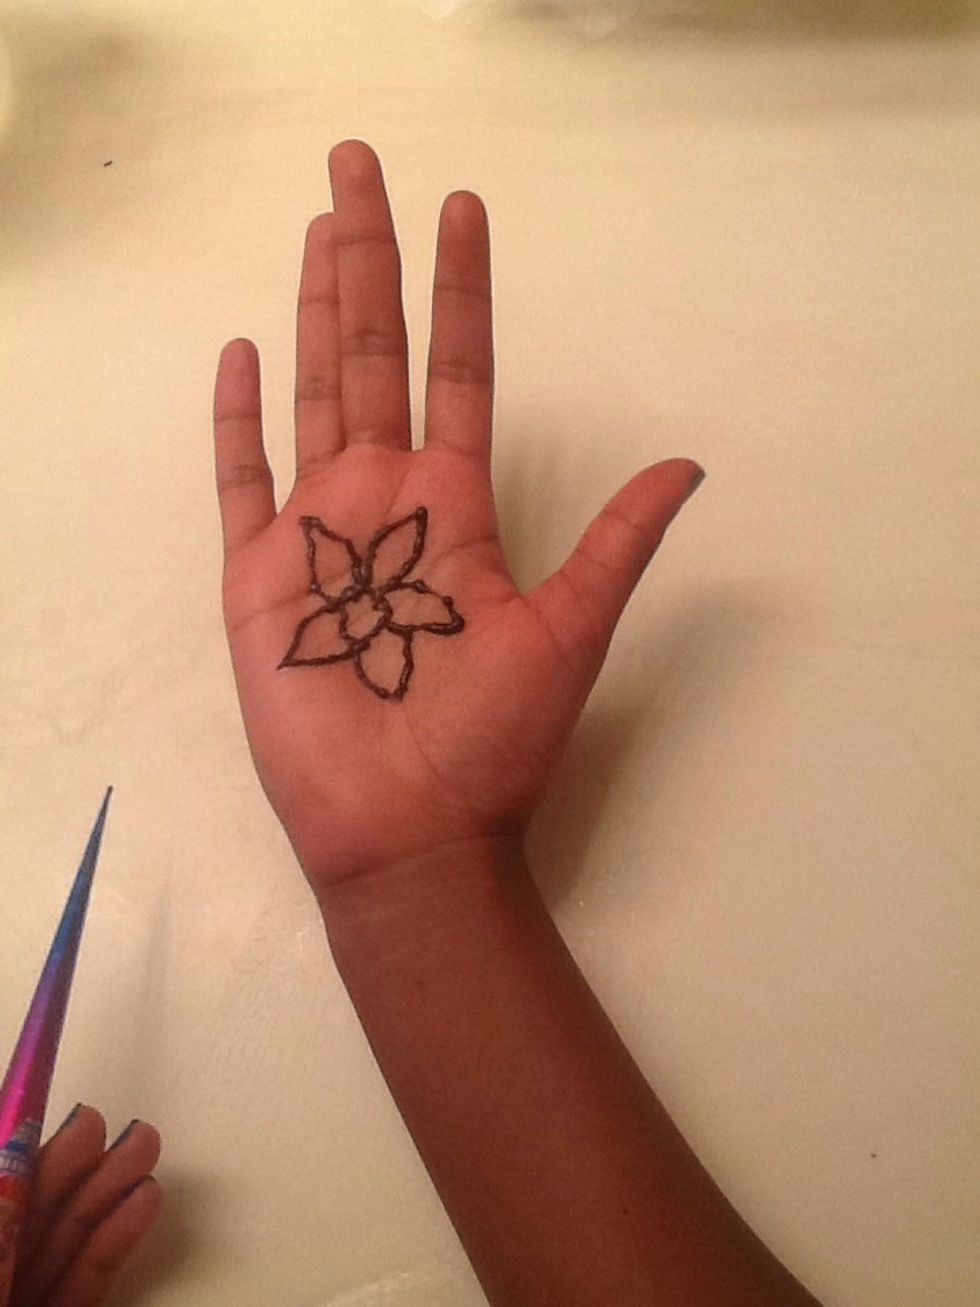
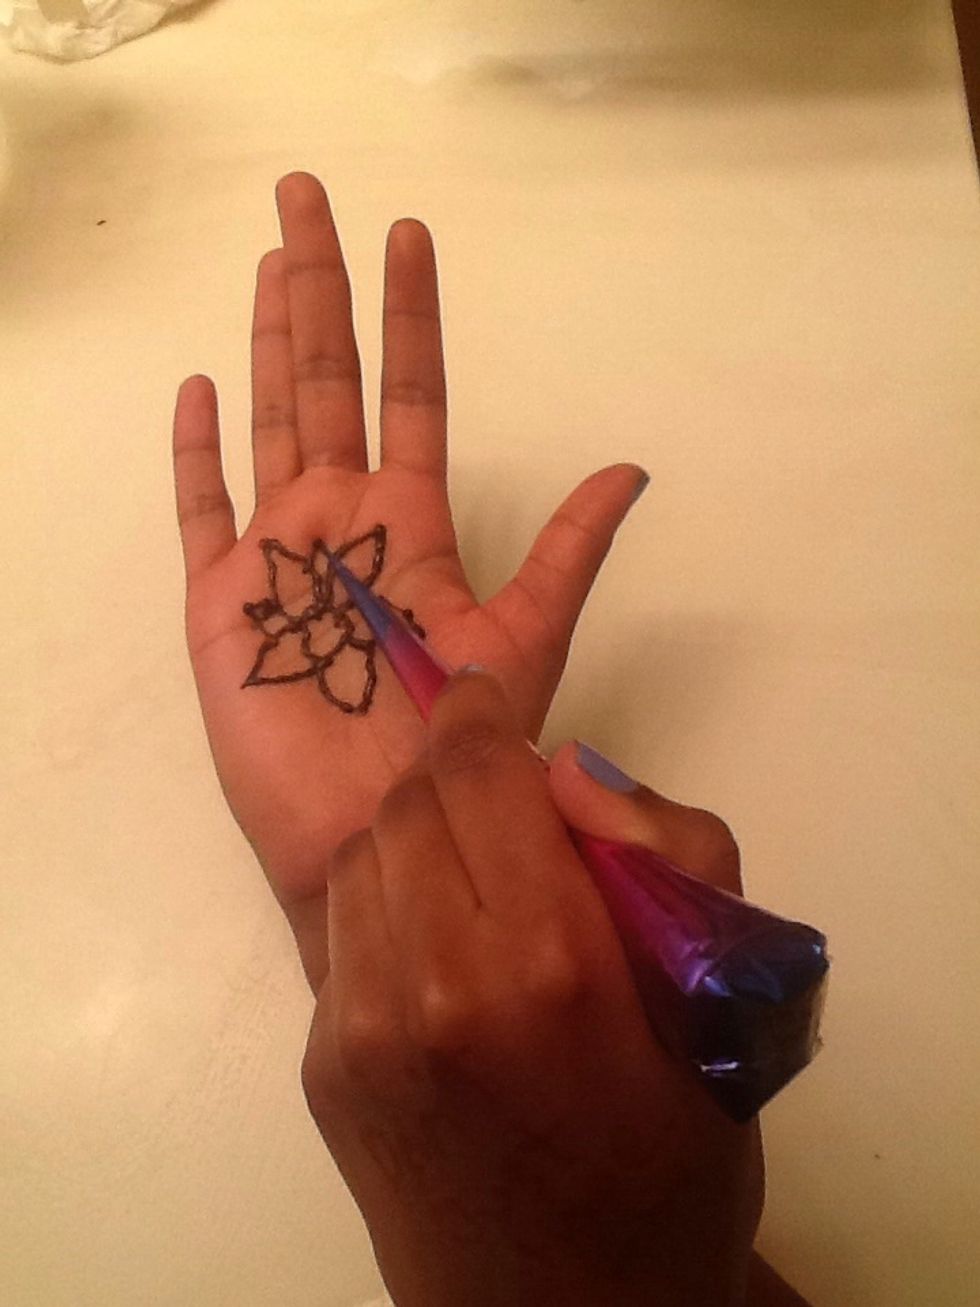
Next, draw slightly smaller petals between the petals you drew in the step before.

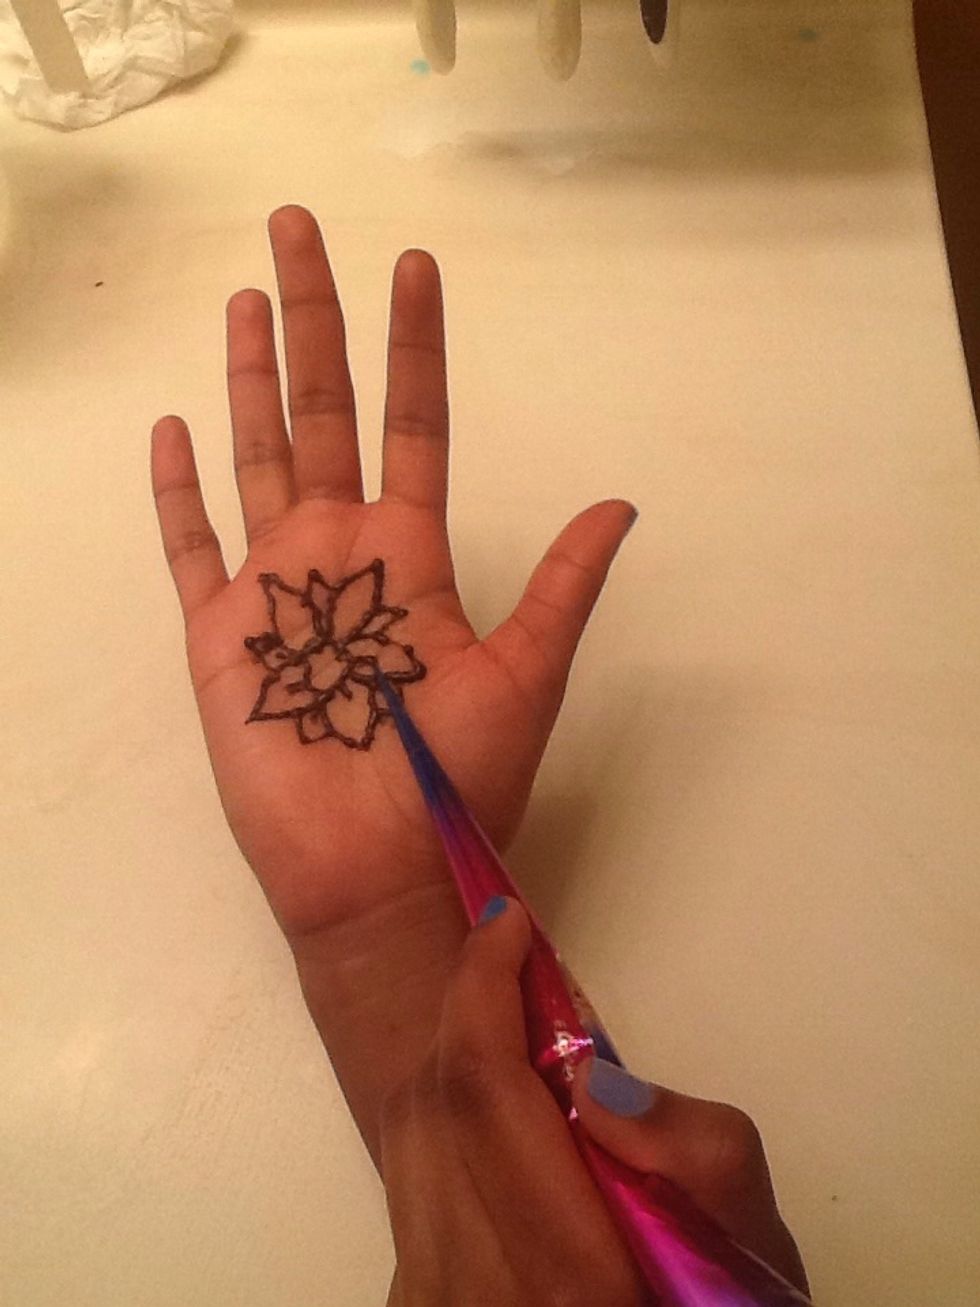
Draw a line starting at the circle going up one third of the way up the petal.

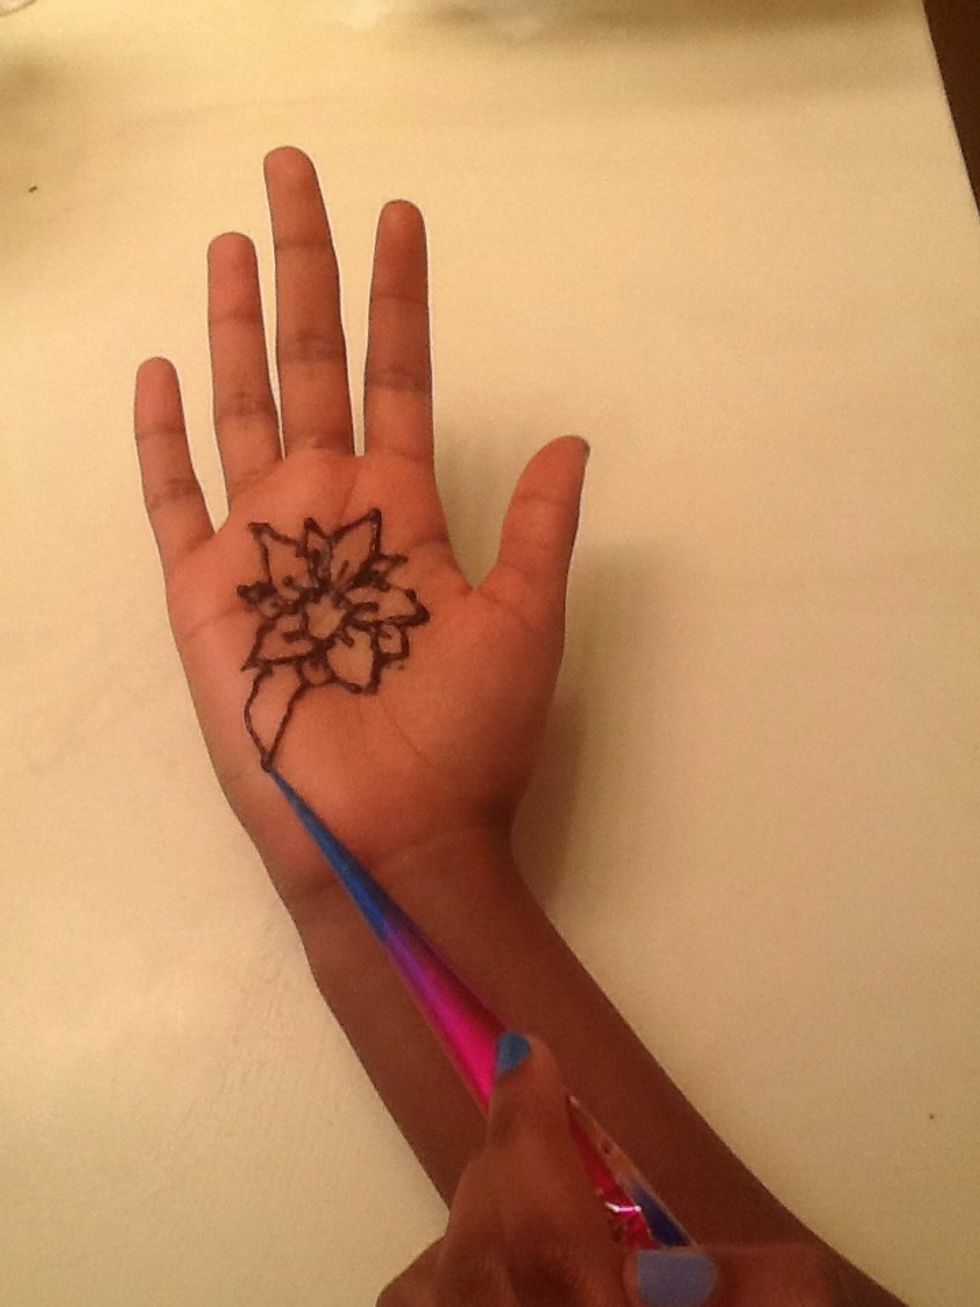
Start drawing a leaf coming out of any two petals.
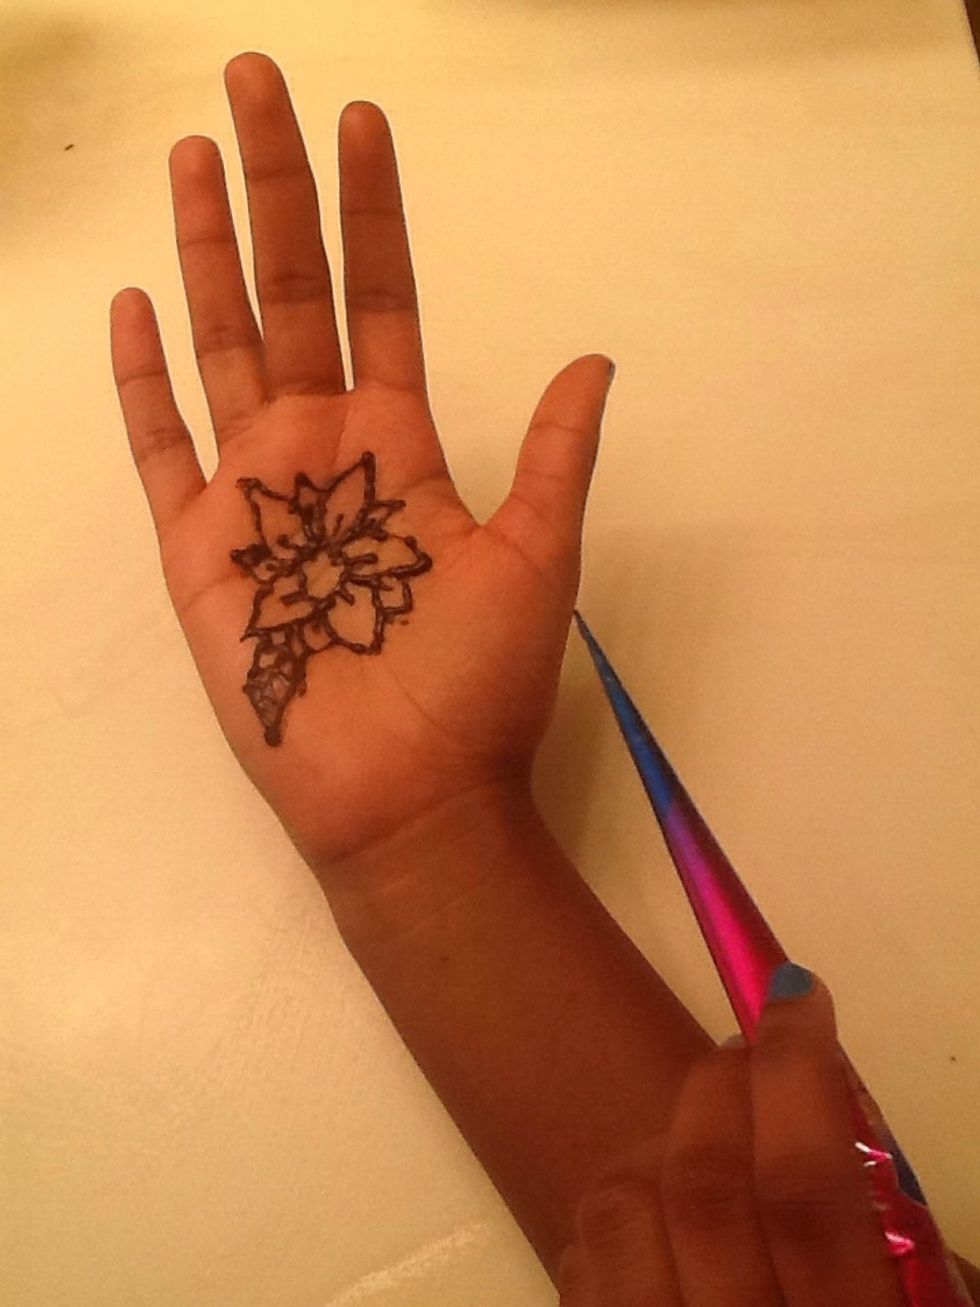
Draw a line going up the middle of the leaf. Add little lines going to the side of the leaf coming from the line in the middle. Try your best to make the leaf symmetric.
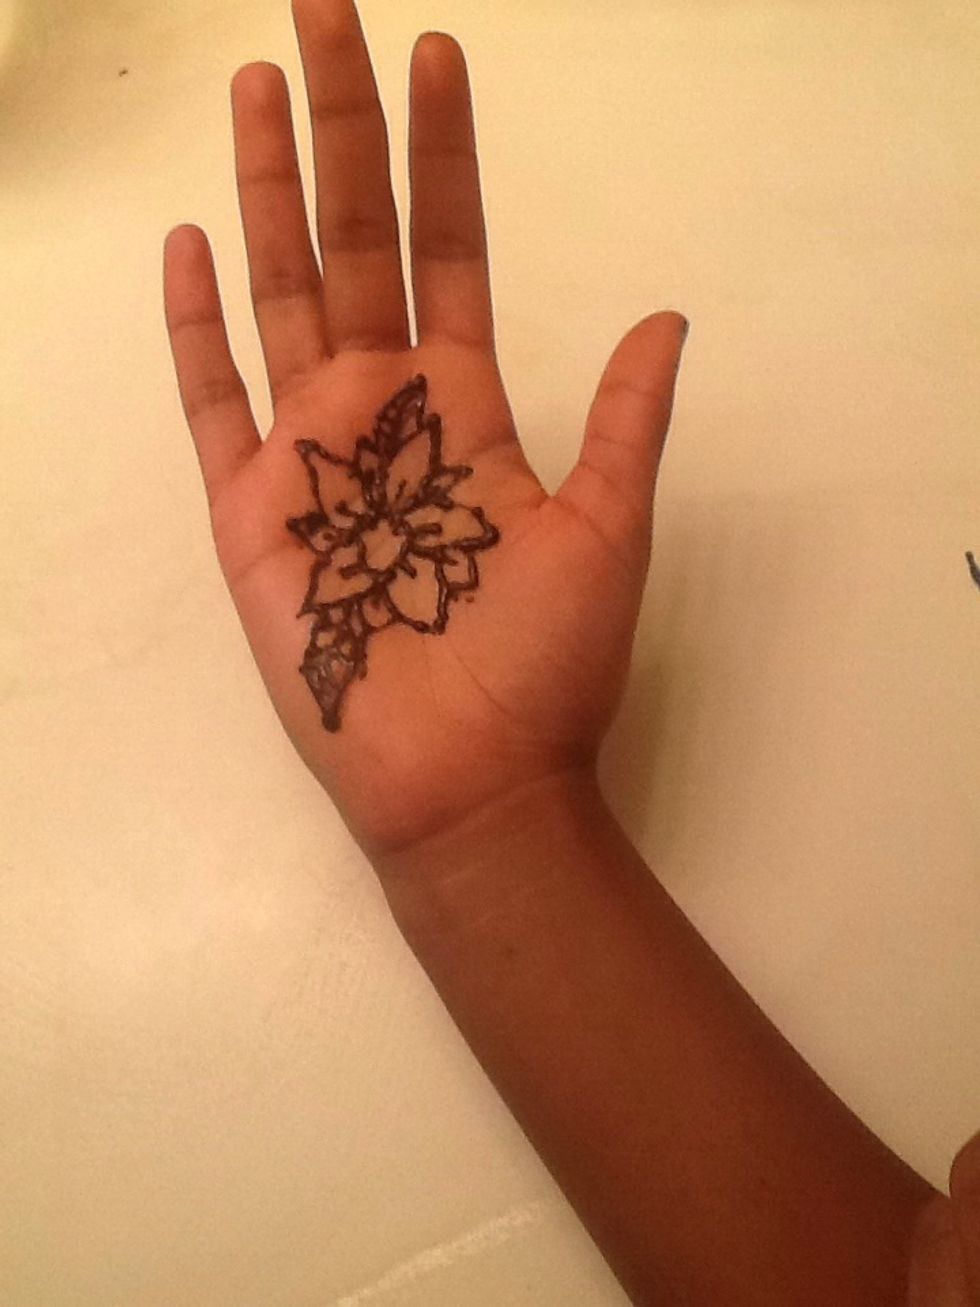
Repeat the step before making the leaf on the opposite side of the flower.
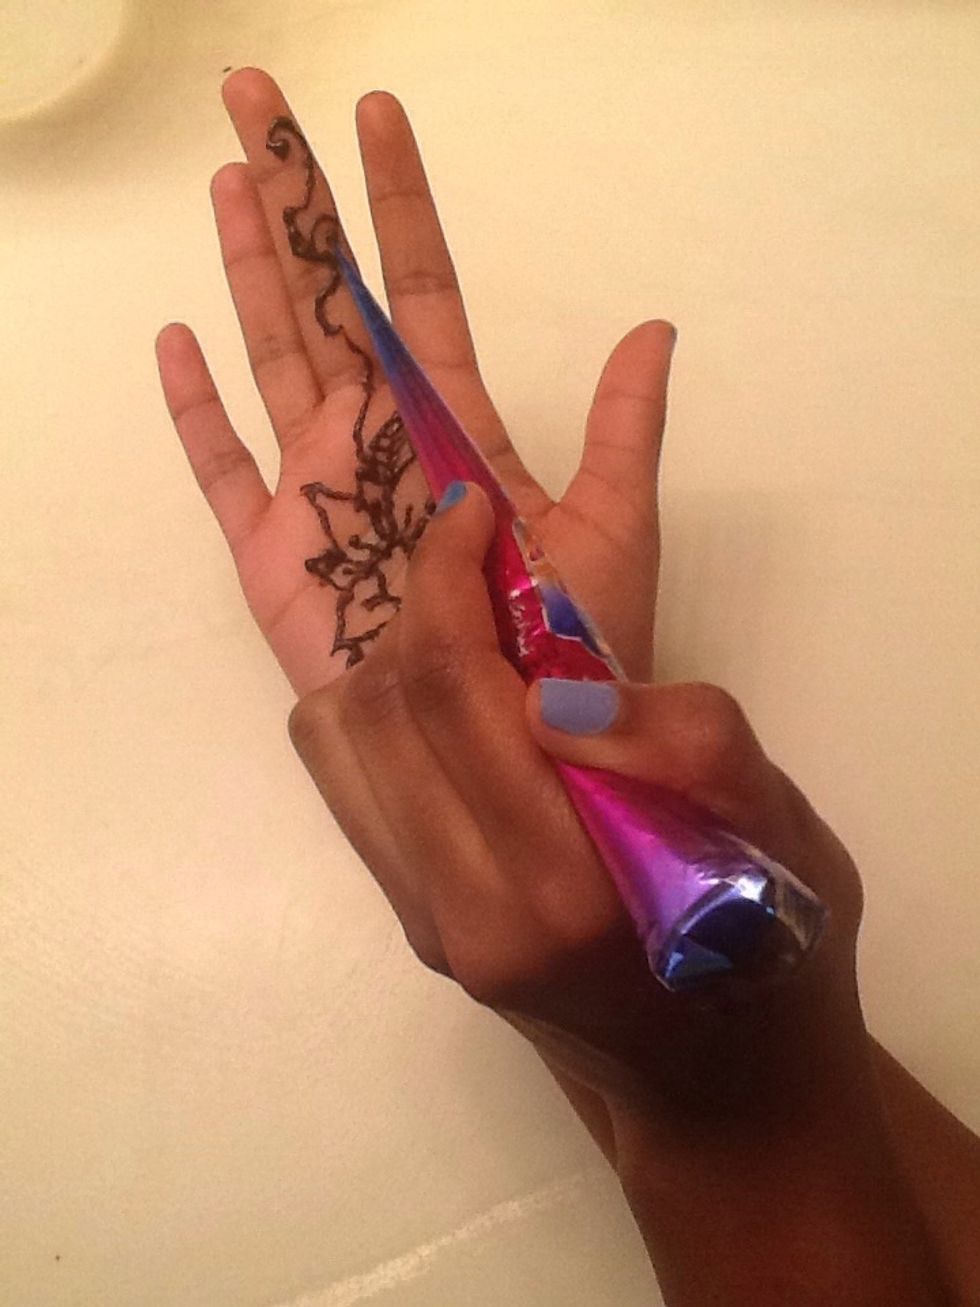
Next draw a curvy line coming from anywhere from the flower to the tip of your middle finger. Make little curves coming out from the line.
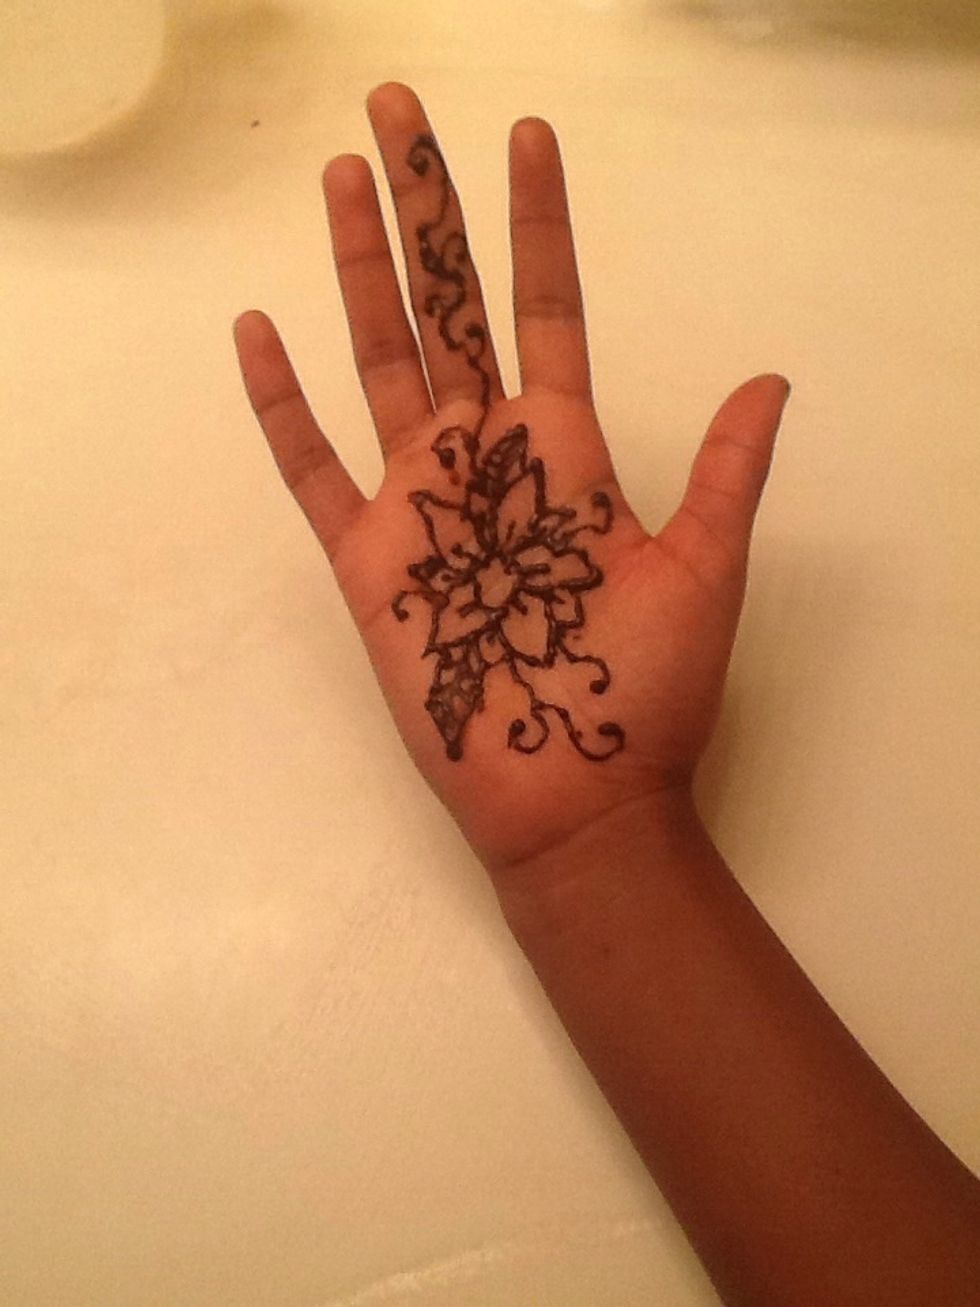
Next, draw more curves but, coming out of the flower. Push more on the tube at the ends of your curves.
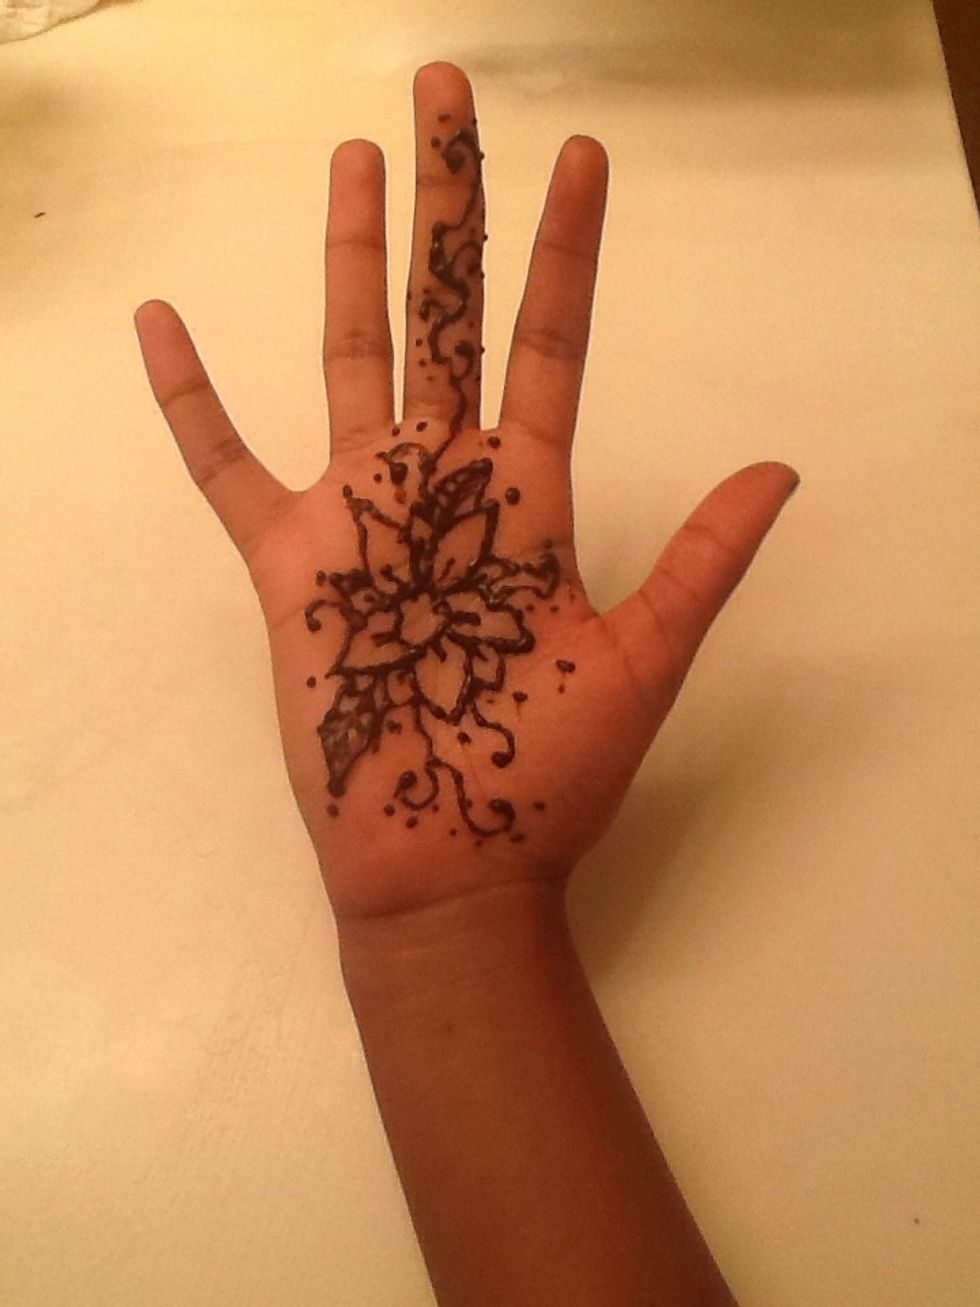
Then, draw dots on top of each petal and anywhere around the curves.
Wait for about 20 minutes.
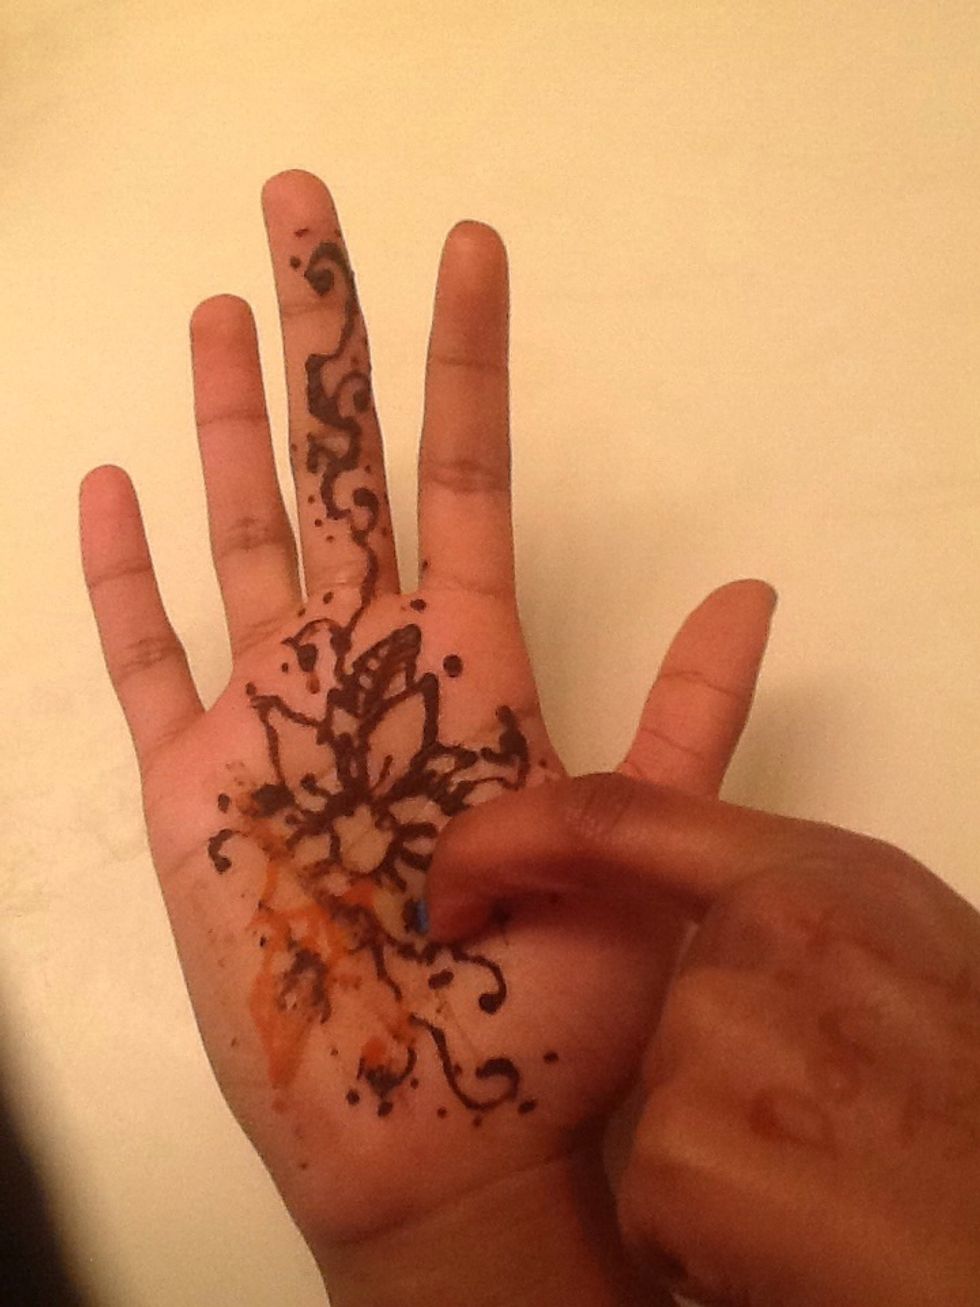
When you start to see cracks in the ink, scratch it off. It's okay if there are places where it isn't dry.
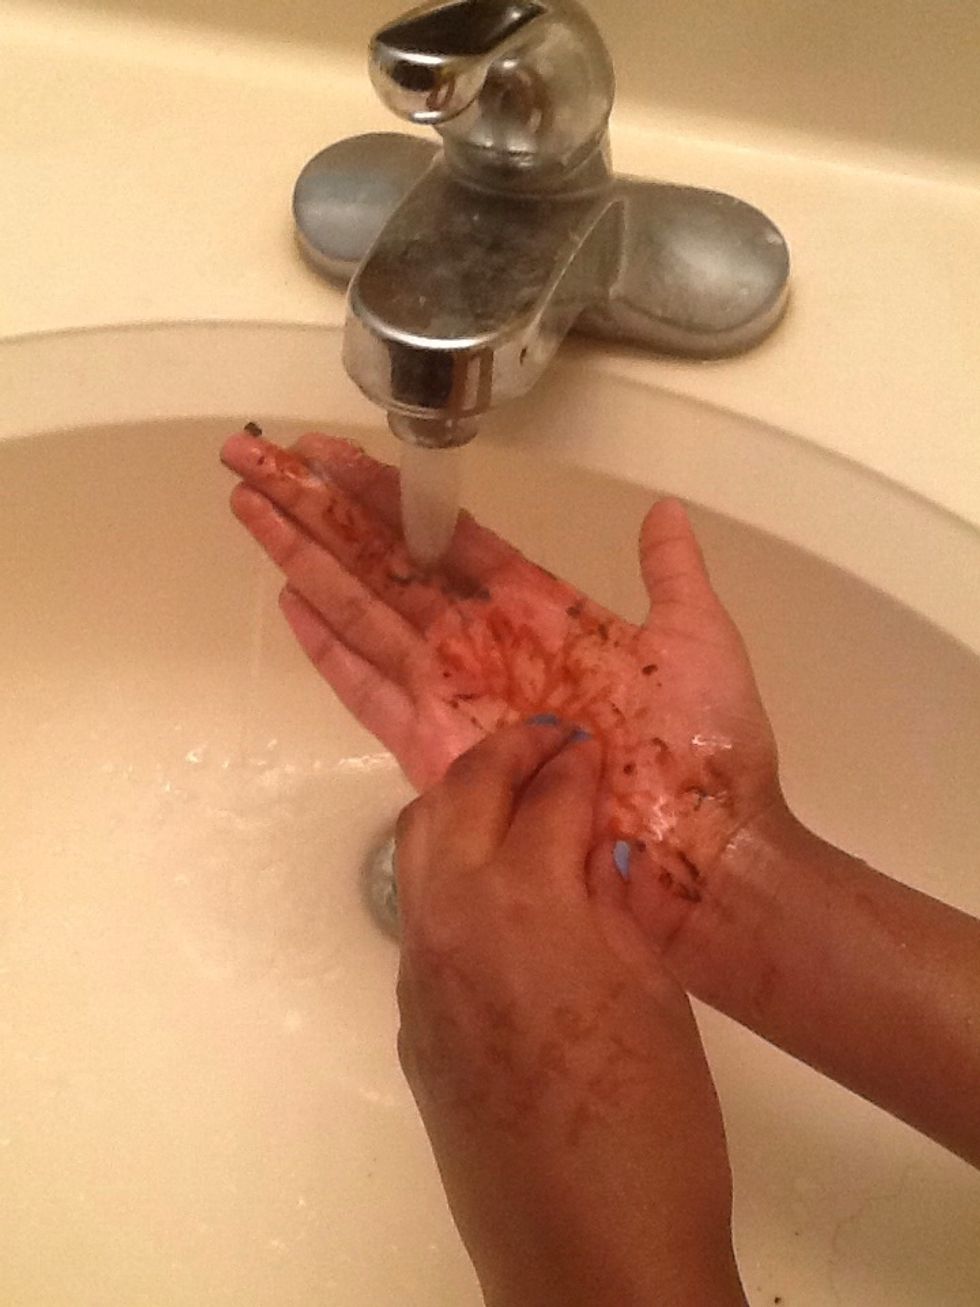
To make sure it is completely off, scratch your hand under water from the sink.
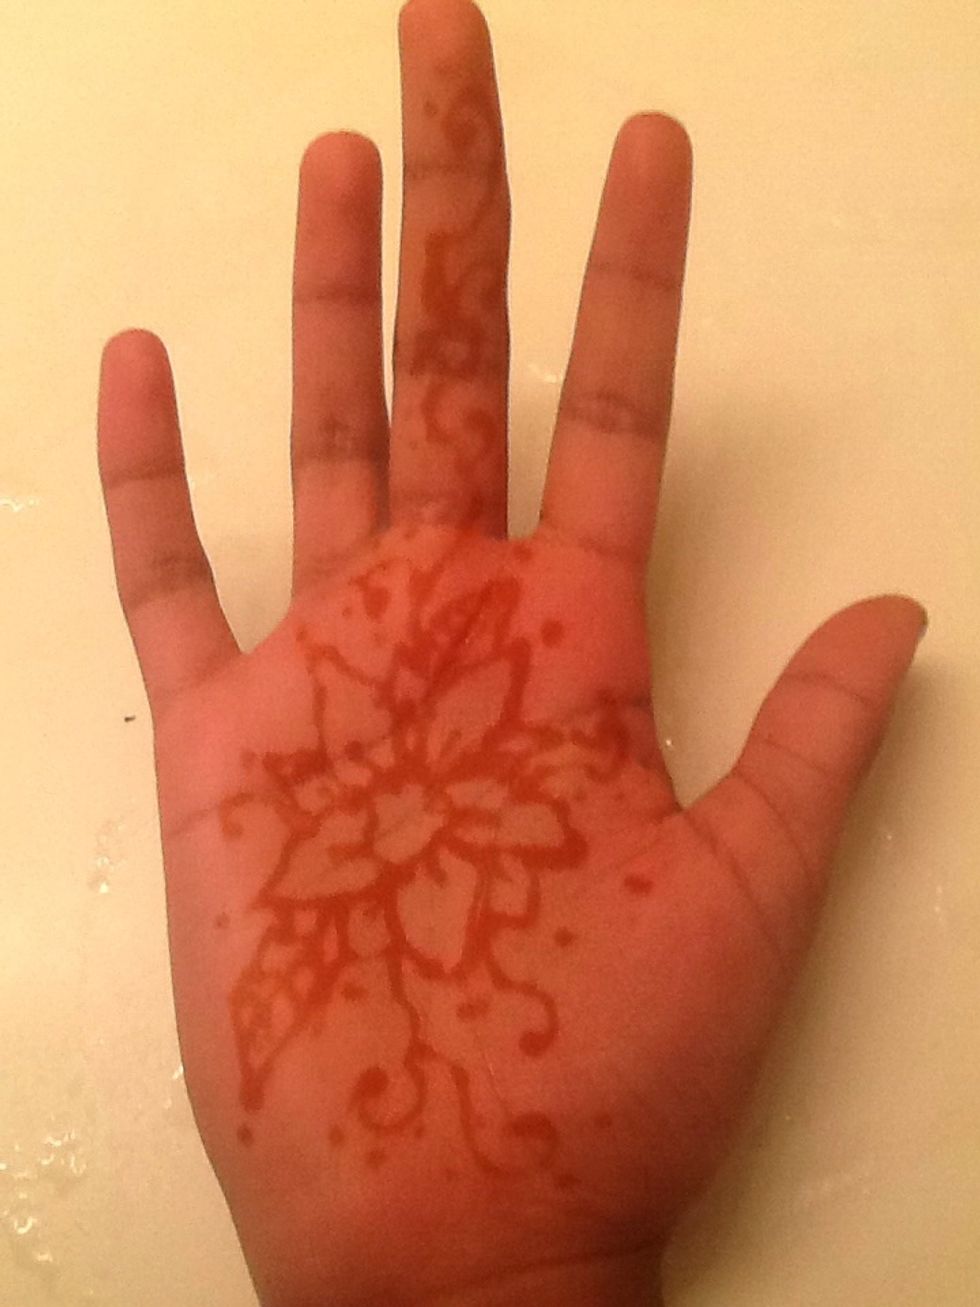
When you are done you should see the flower on your hand.
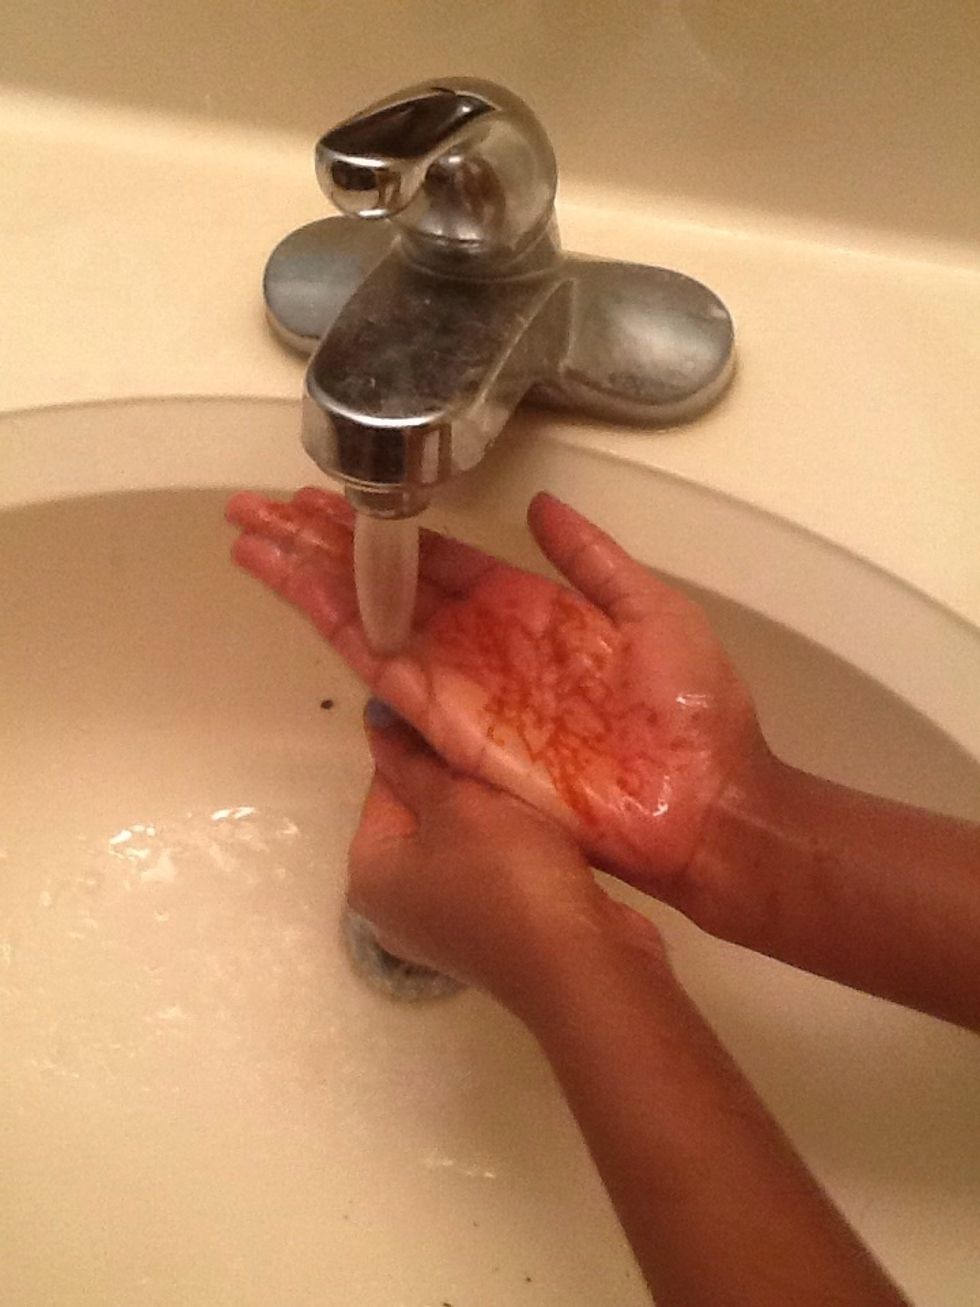
Finally, wash your hands with soap and water to help get rid of the smell.
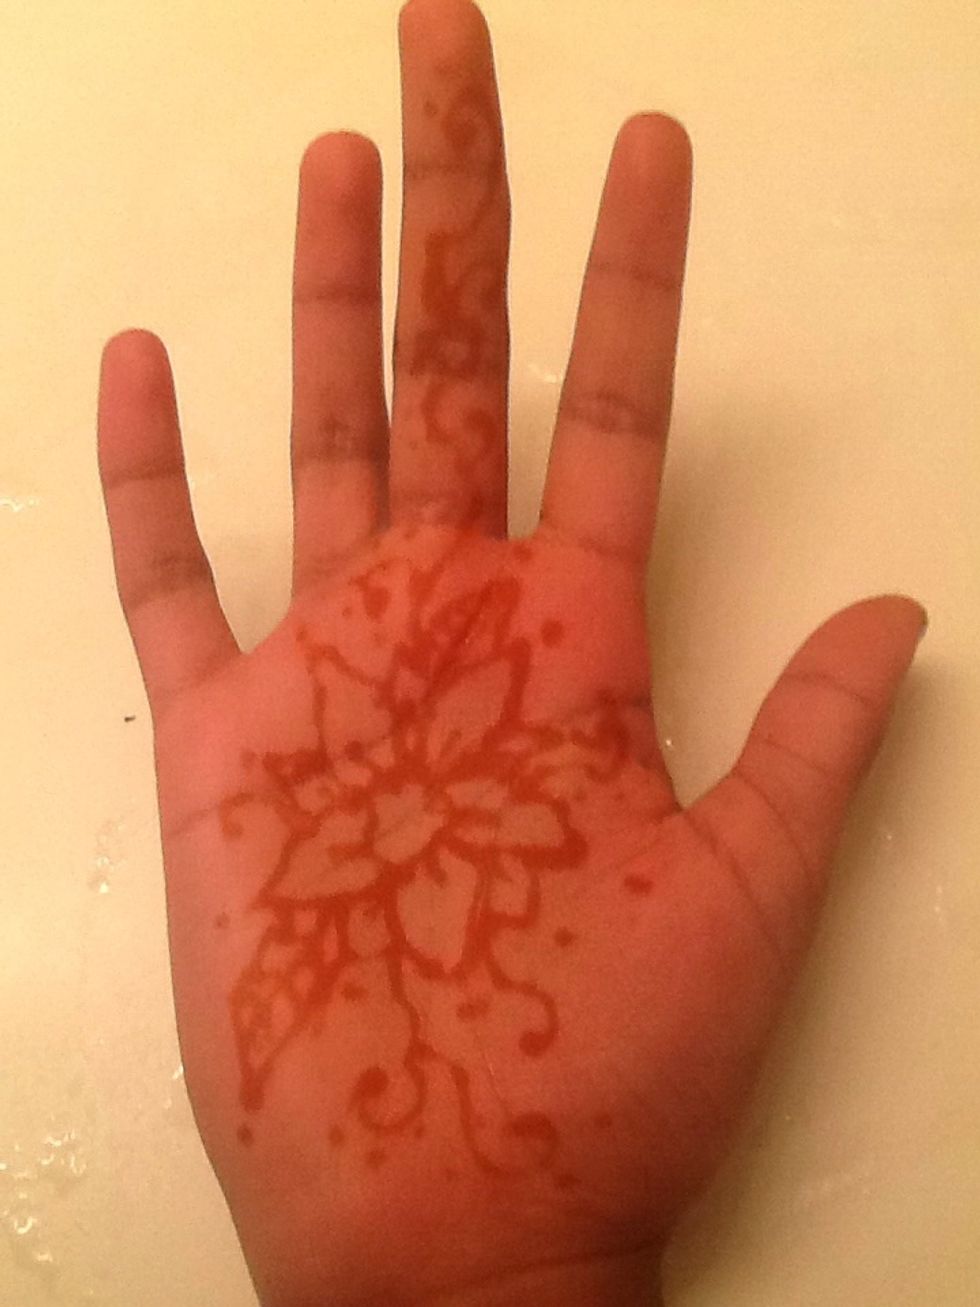
ALL DONE!
- 1.0 Tube of Henna
The Conversation (0)
Sign Up