The Conversation (0)
Sign Up
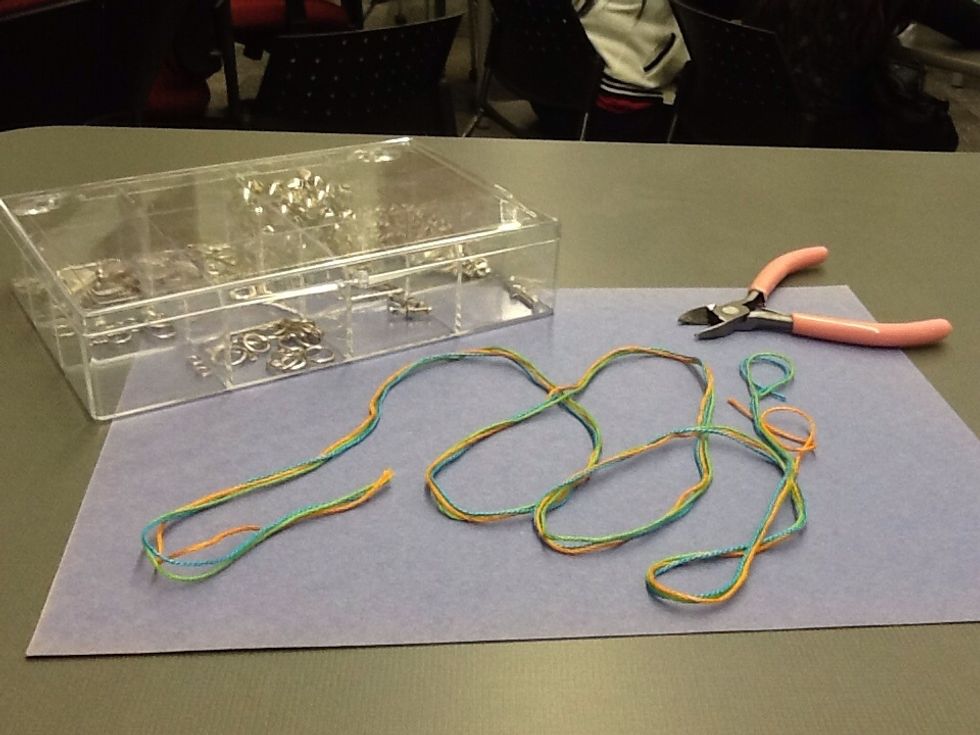
Materials: embroidery threads (three colours of your choice each 4ft in length)
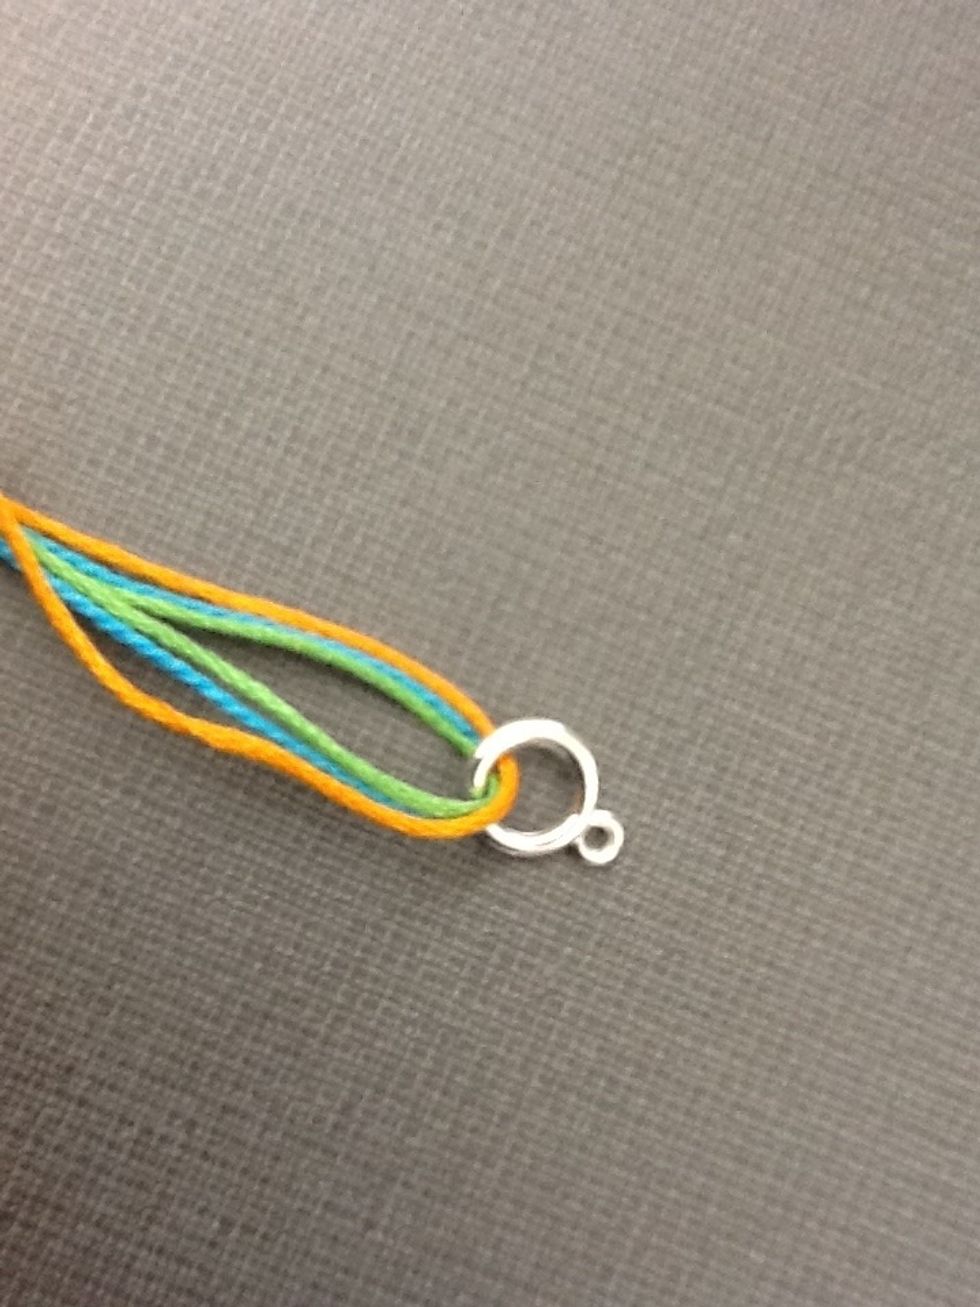
Put the 3 strands of thread through a small metal ring
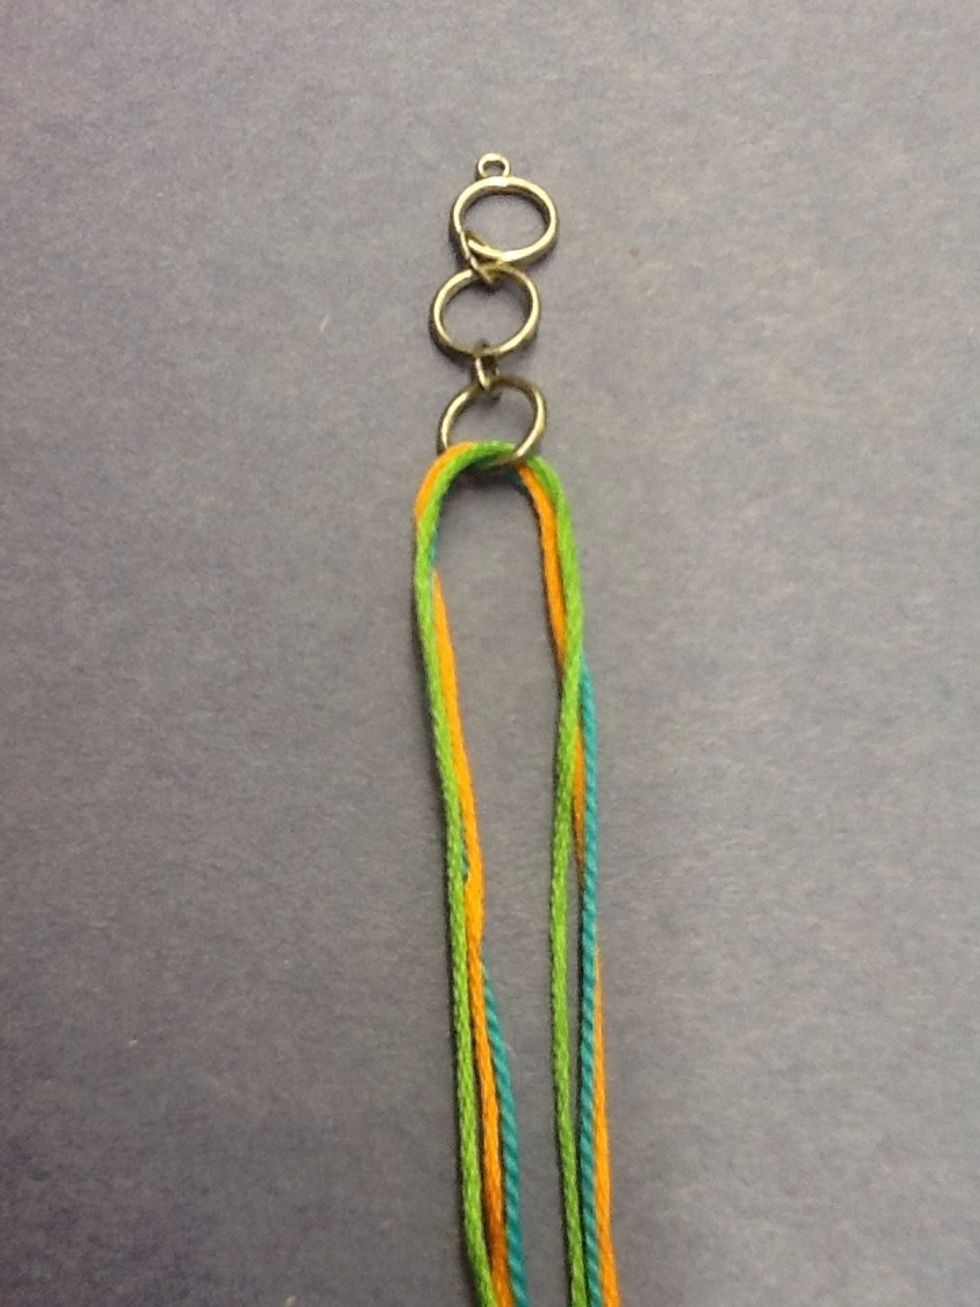
If you like, you may add more rings for more bling! Both sides of the thread should be even.
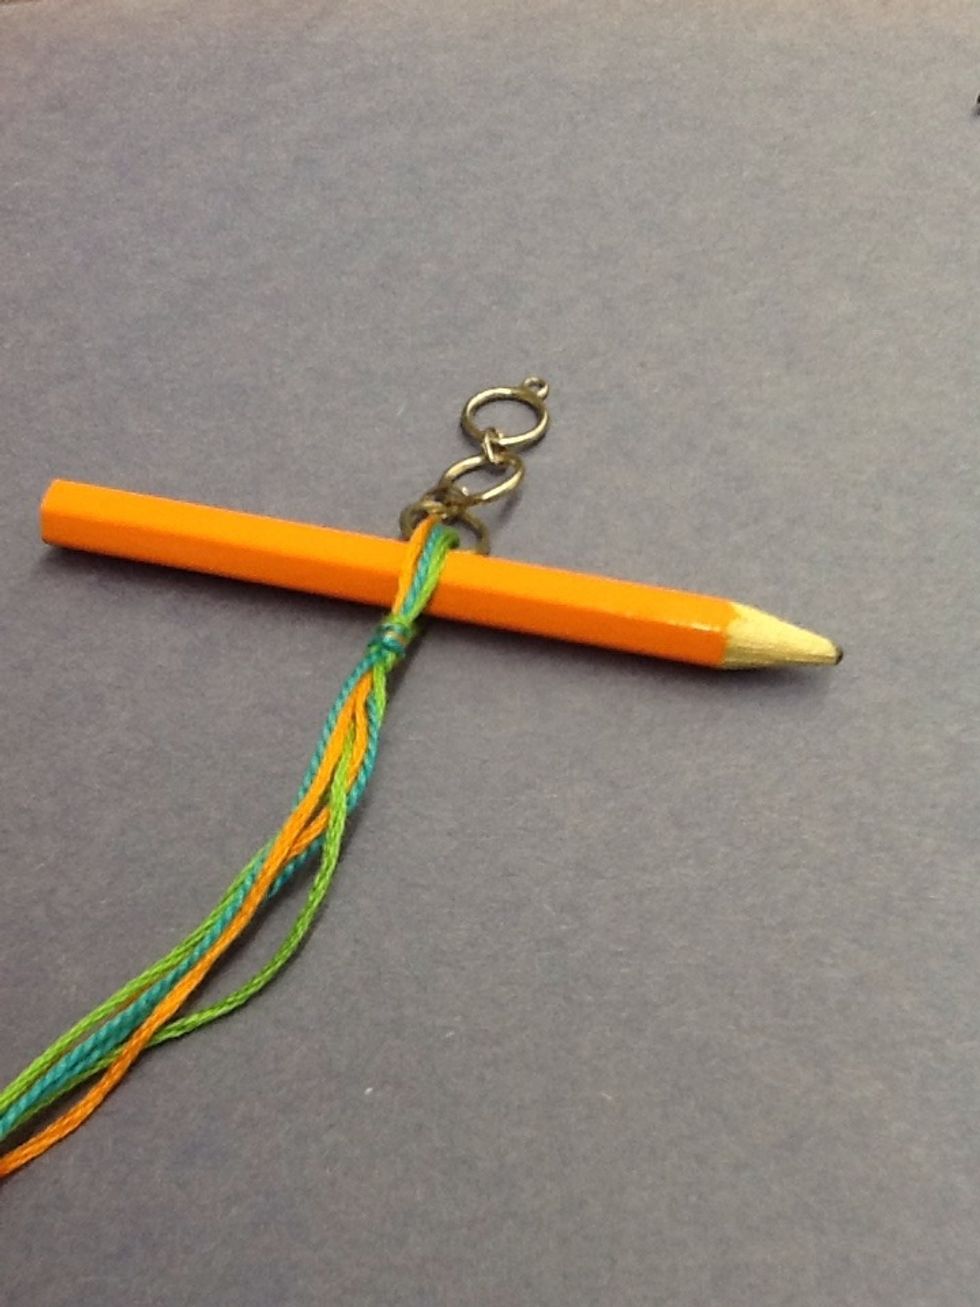
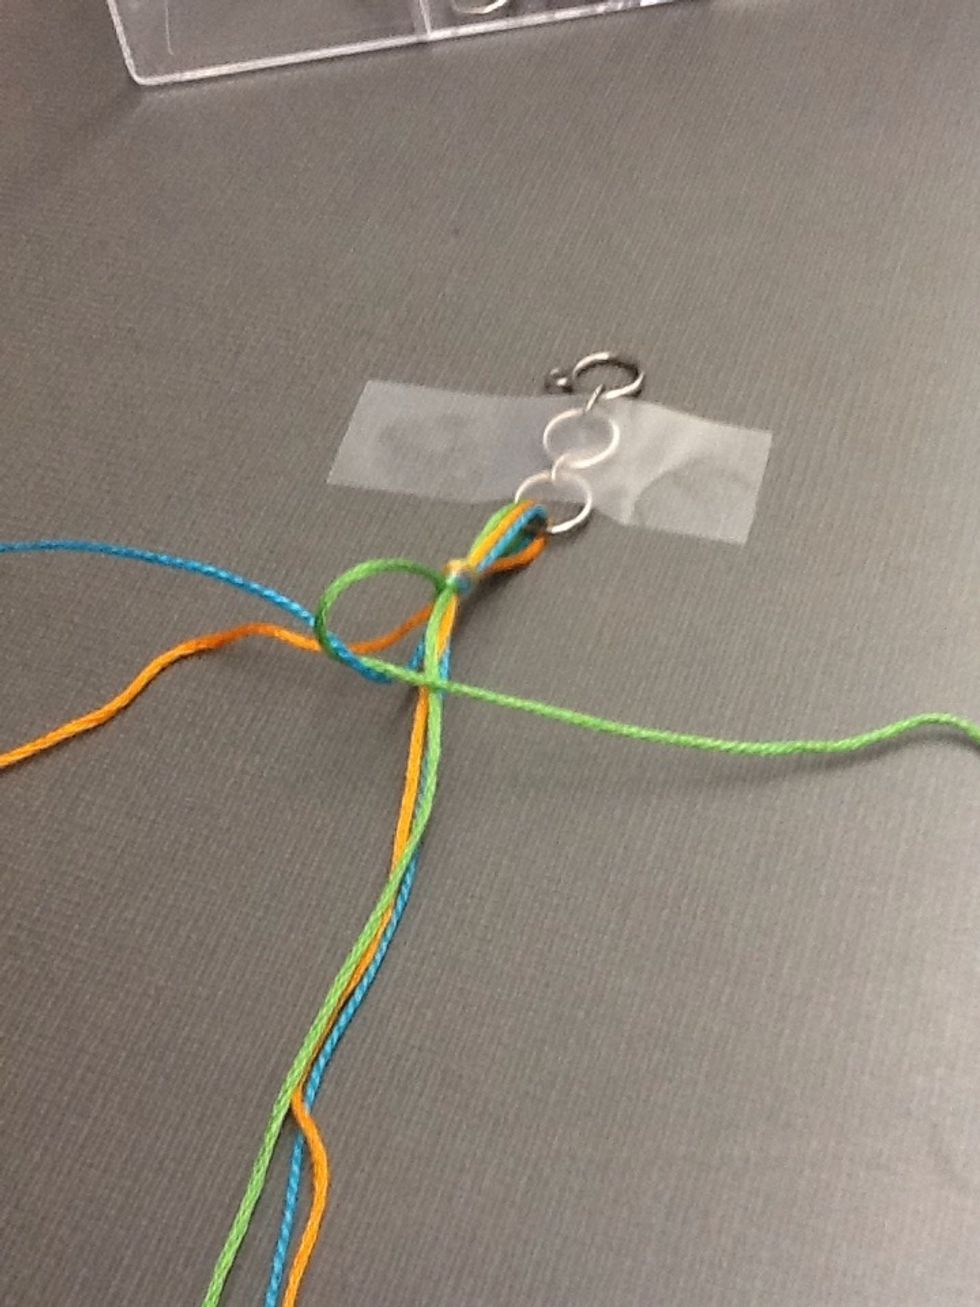
Divide the threads evenly and put a pencil in the middle, then tie a knot.
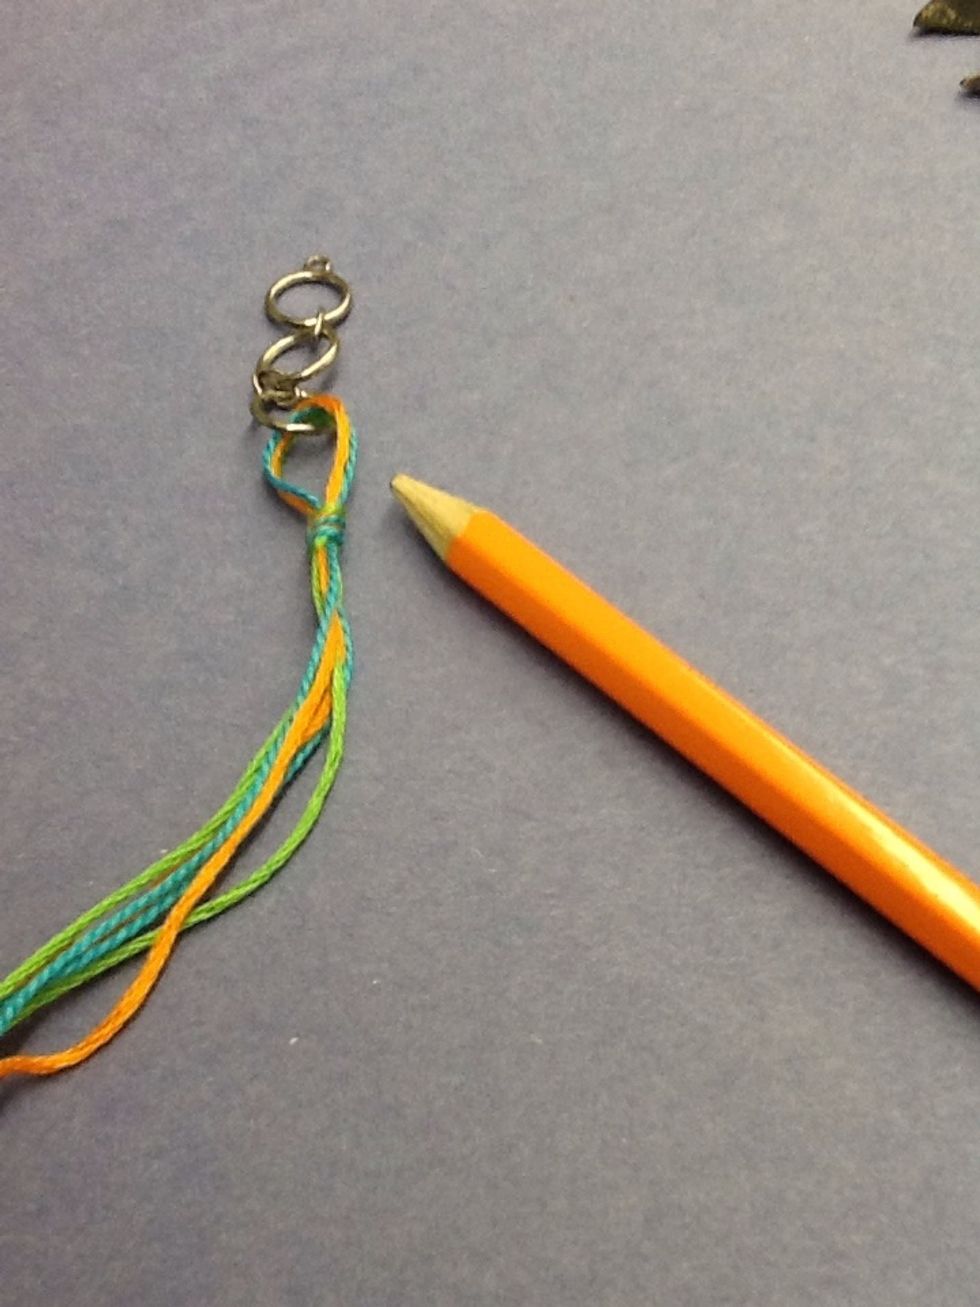
Slide out the pencil and now you have a loop.
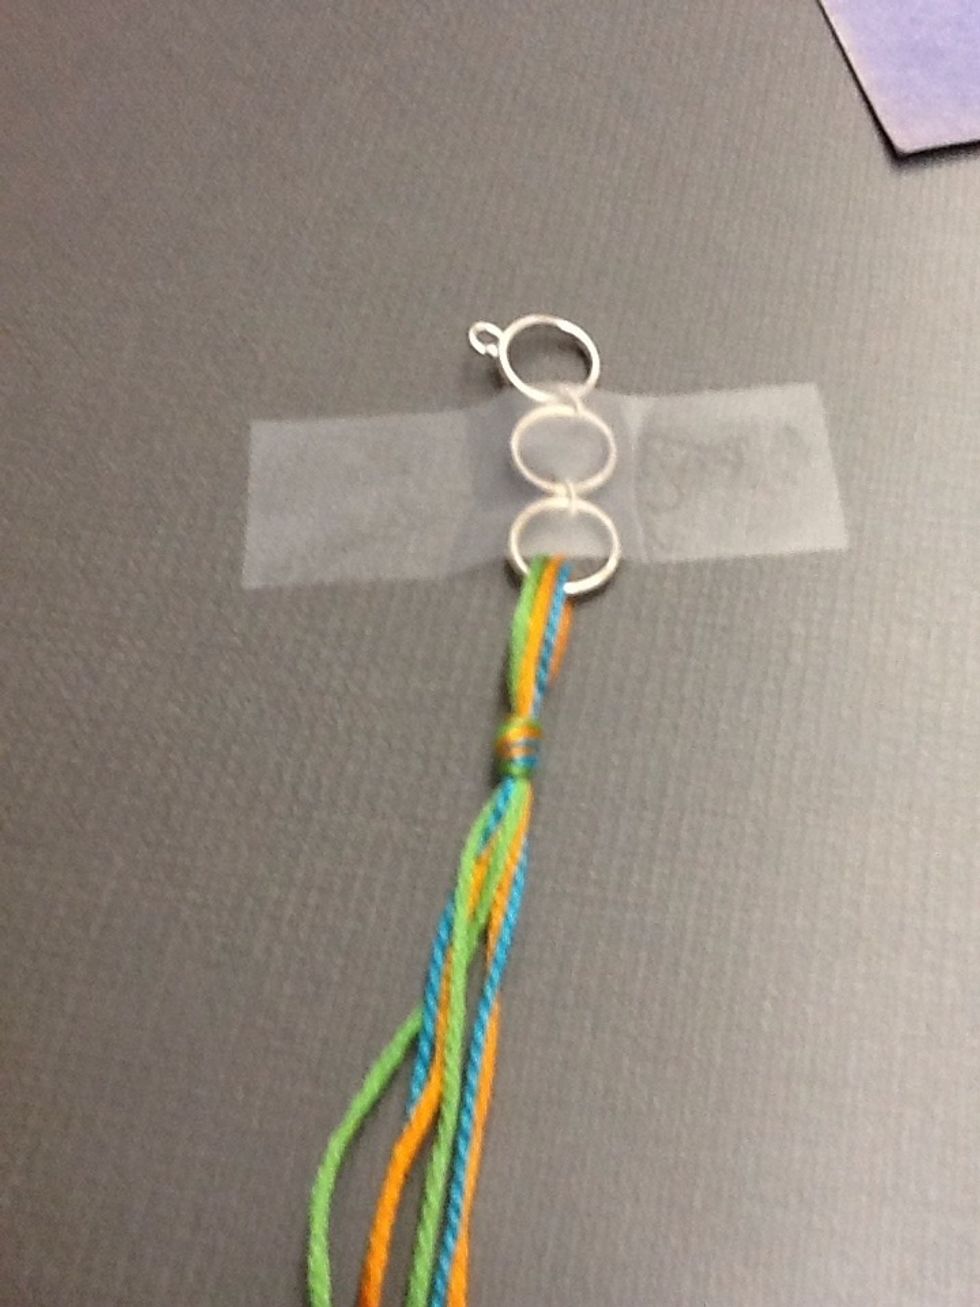
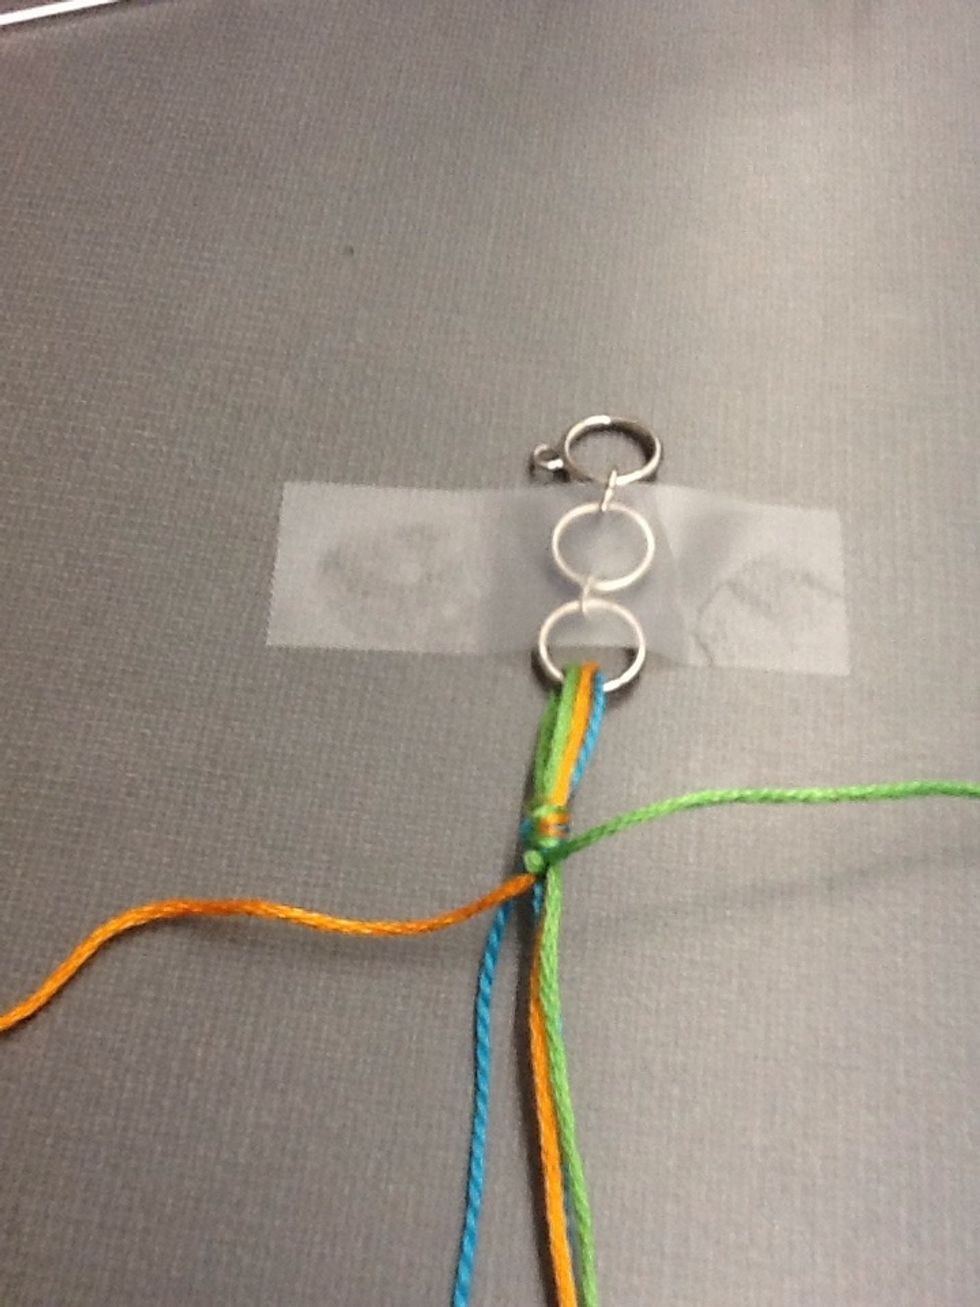
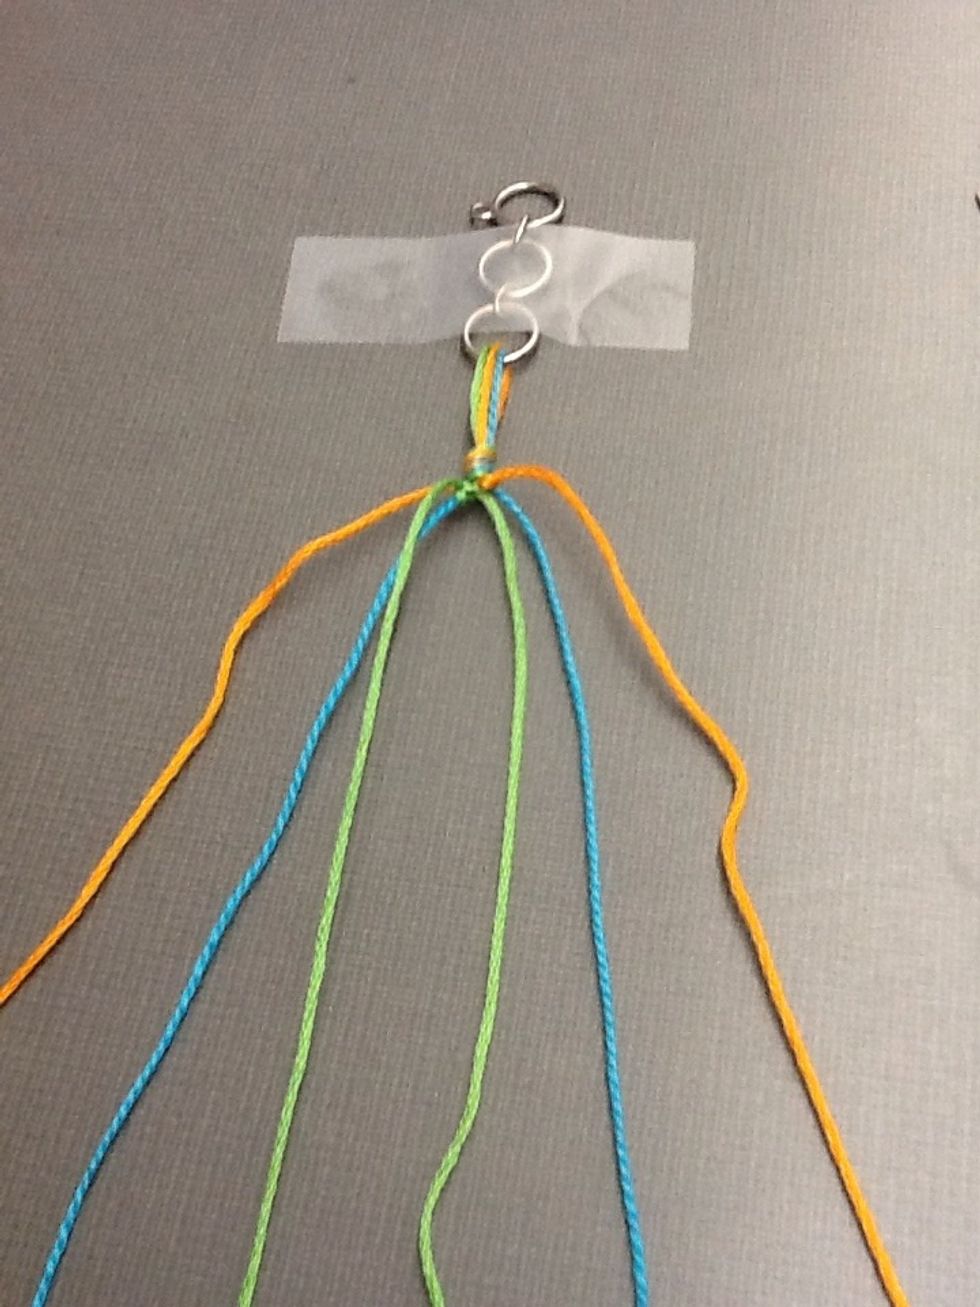
Tape down the ring or rings. Secure them to a table or any flat surface.
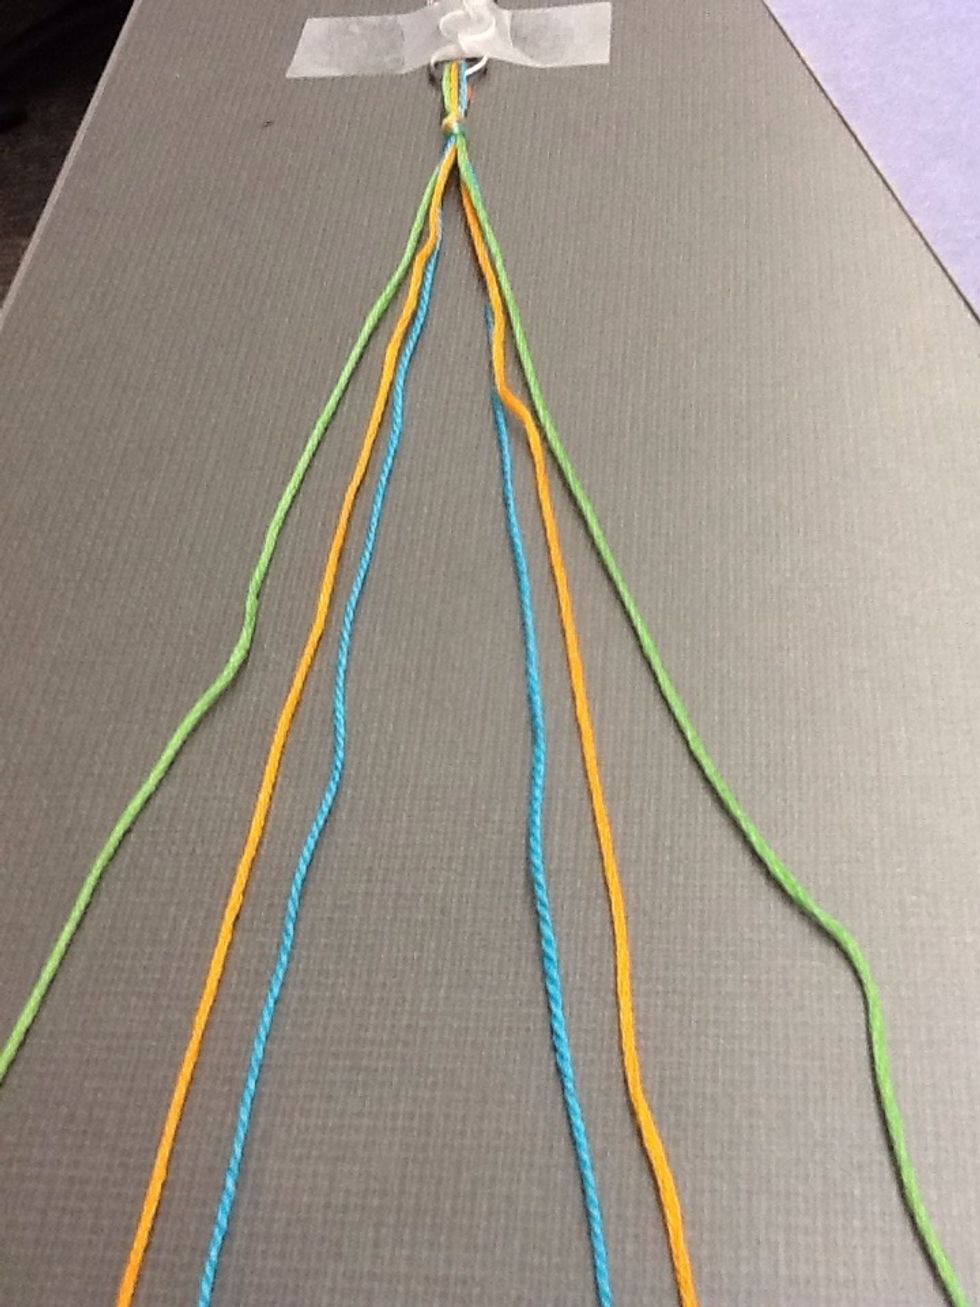
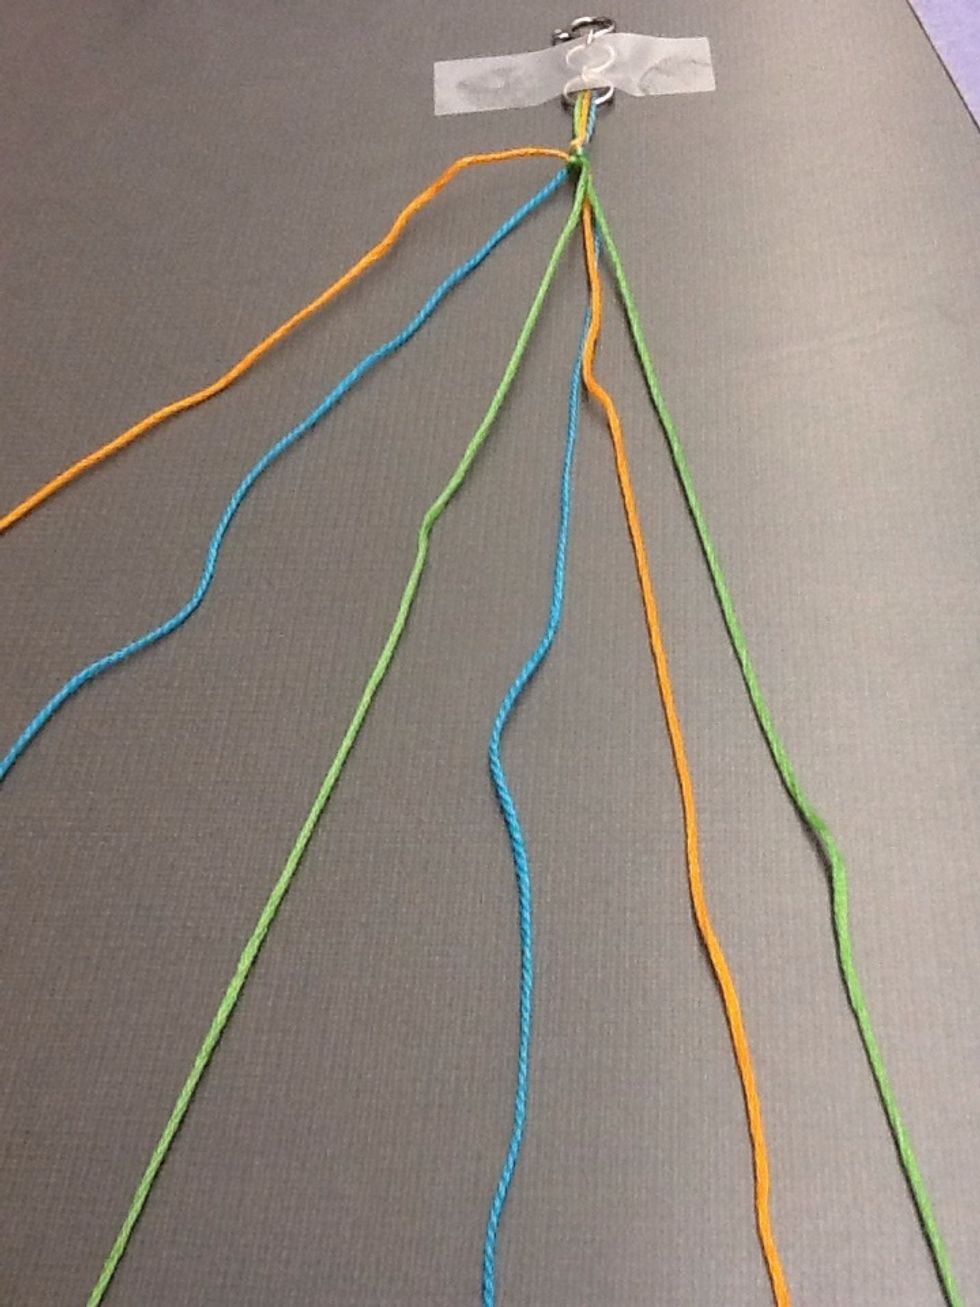
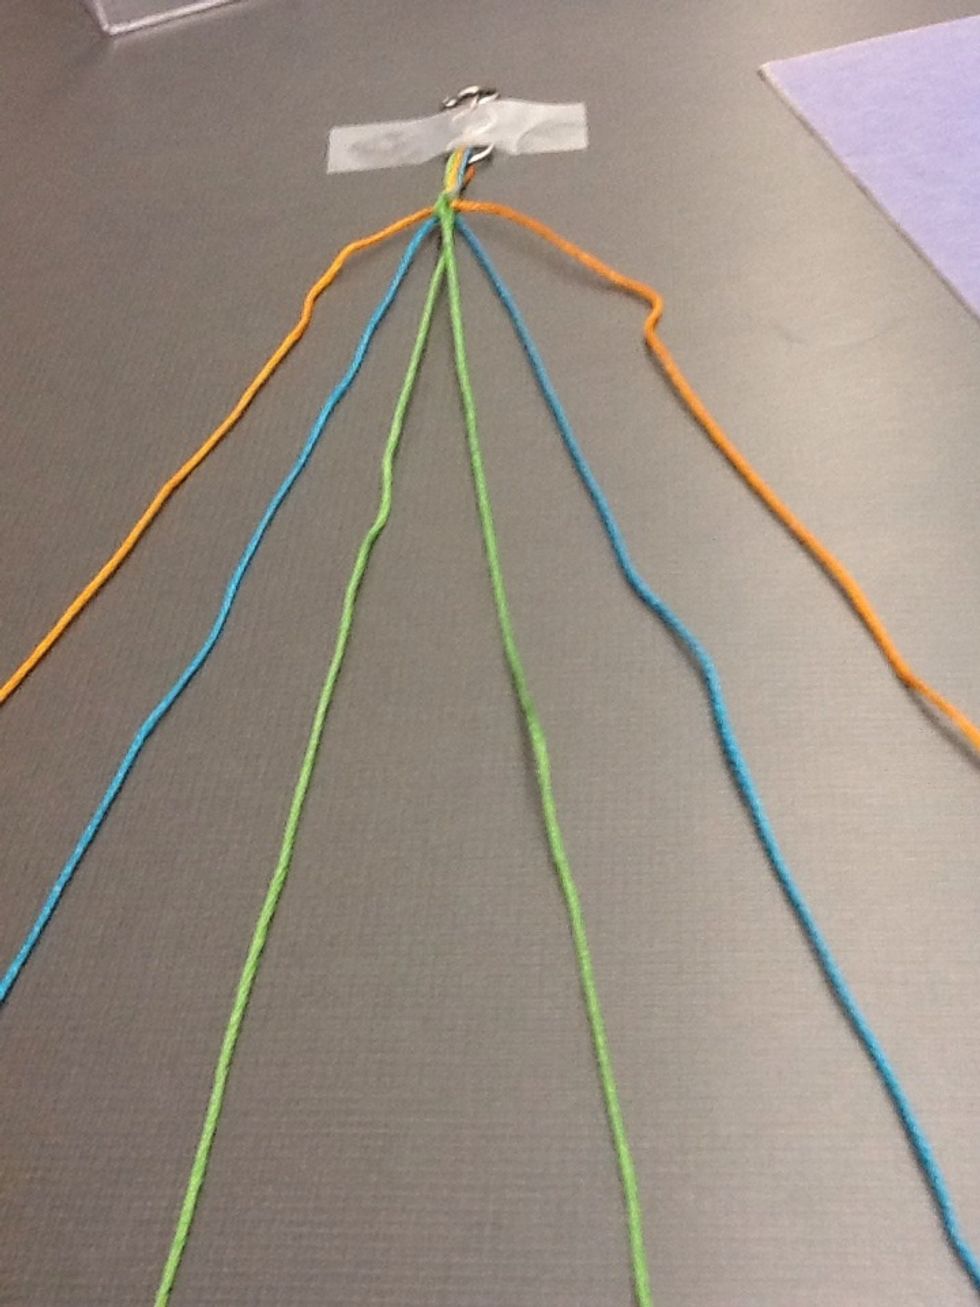
Divide the thread evenly with three colours on each side. Make sure the colours are in the same order for both sides - as if it was mirrored.
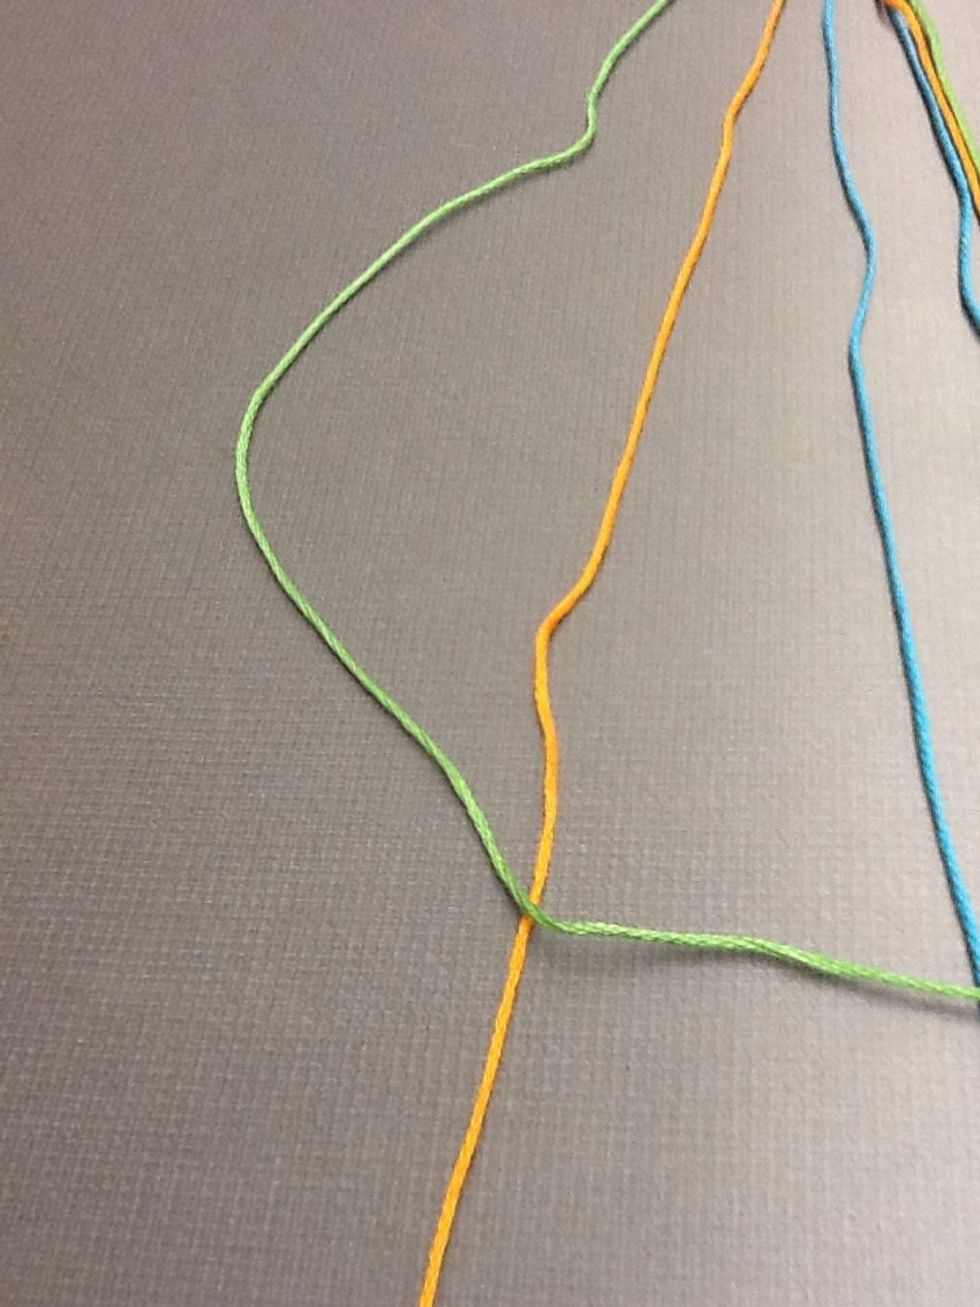
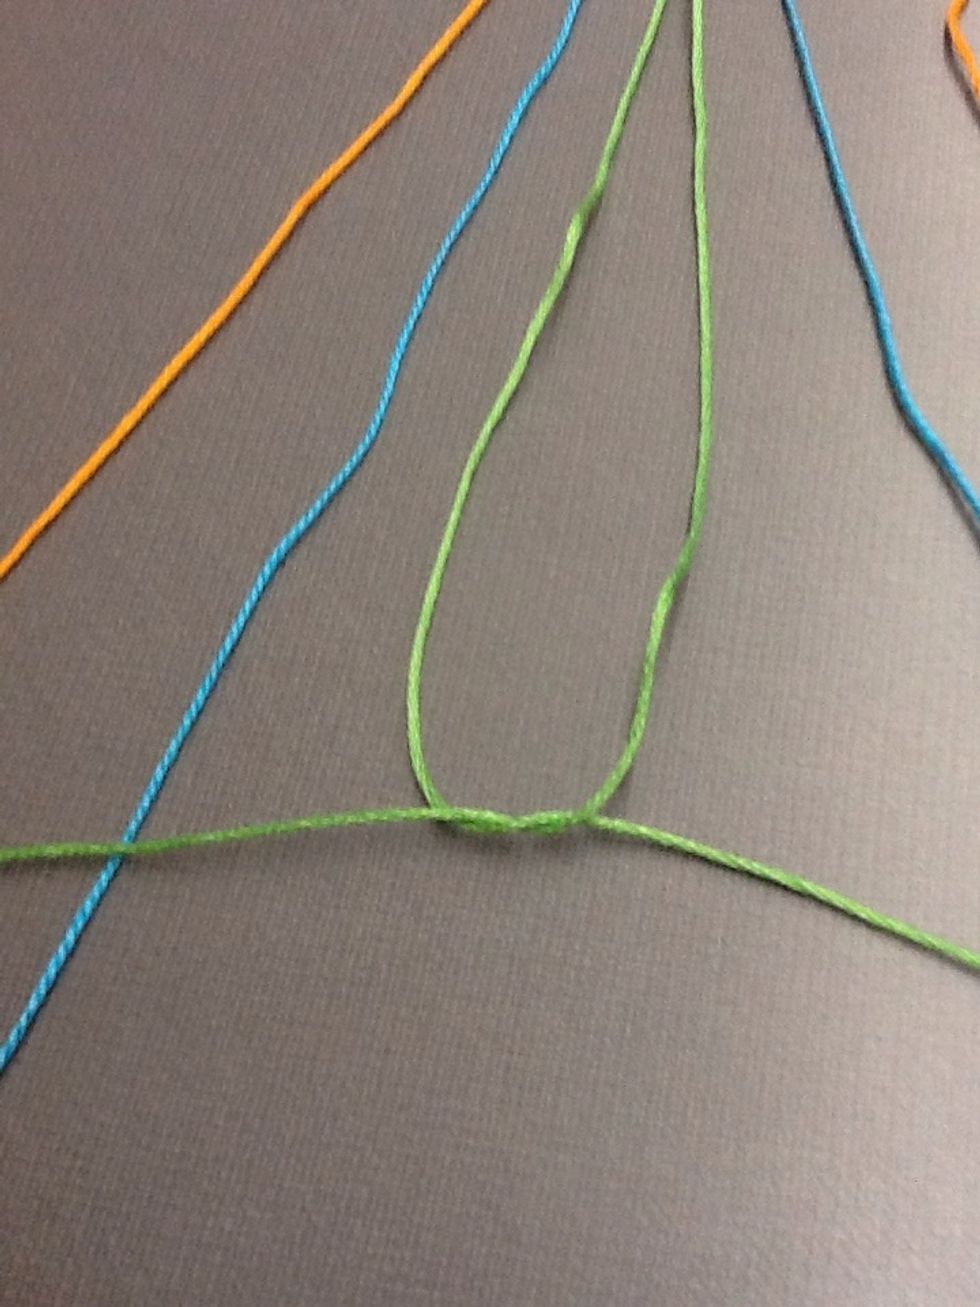
Working from the outside in, put the very first colour on the outside (green), over the string beside it (orange)
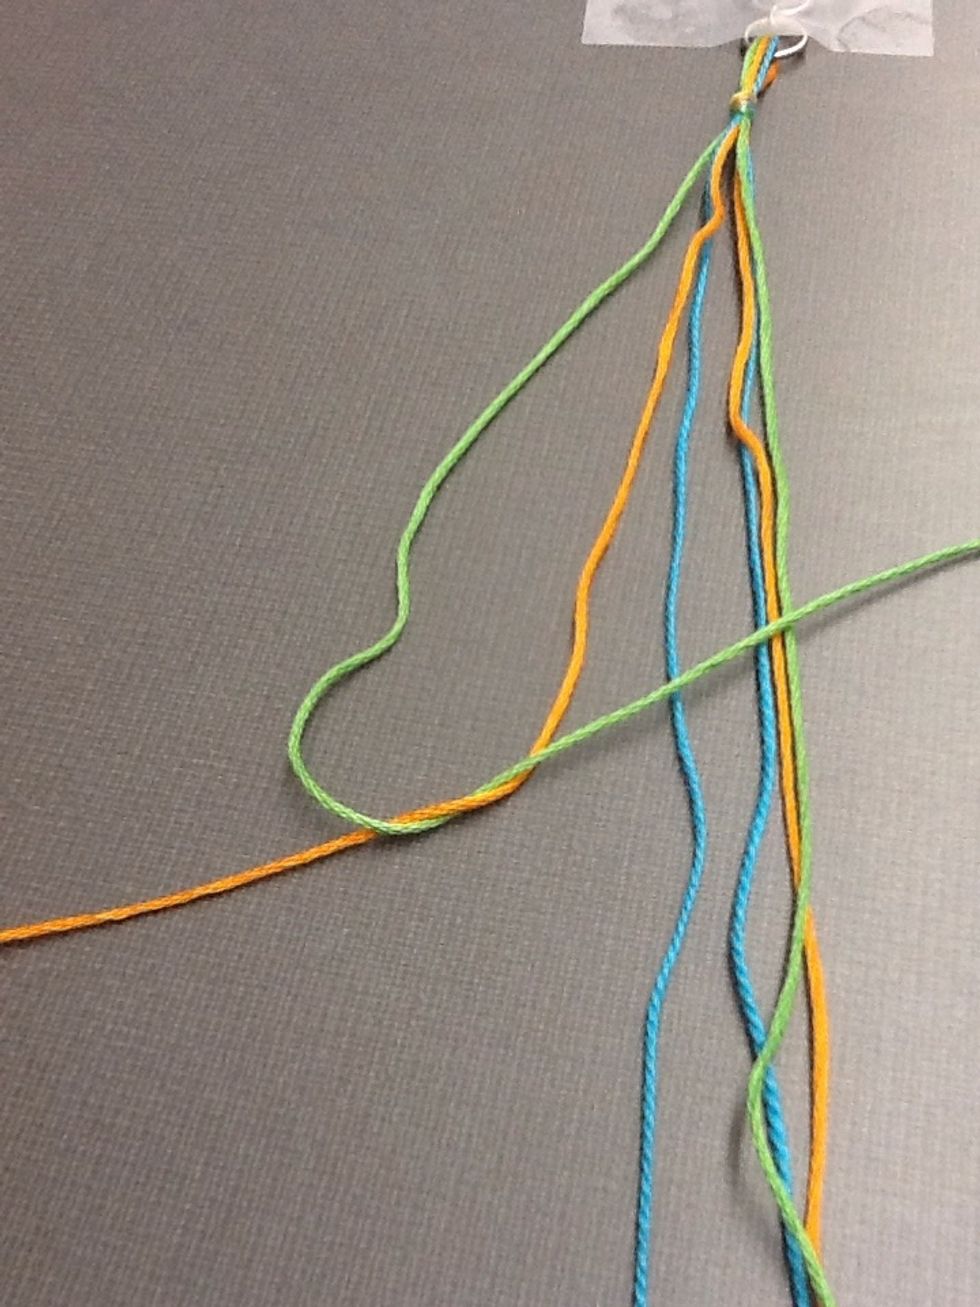
Then tie a knot and pull the string up
Make sure the knot reaches the very top
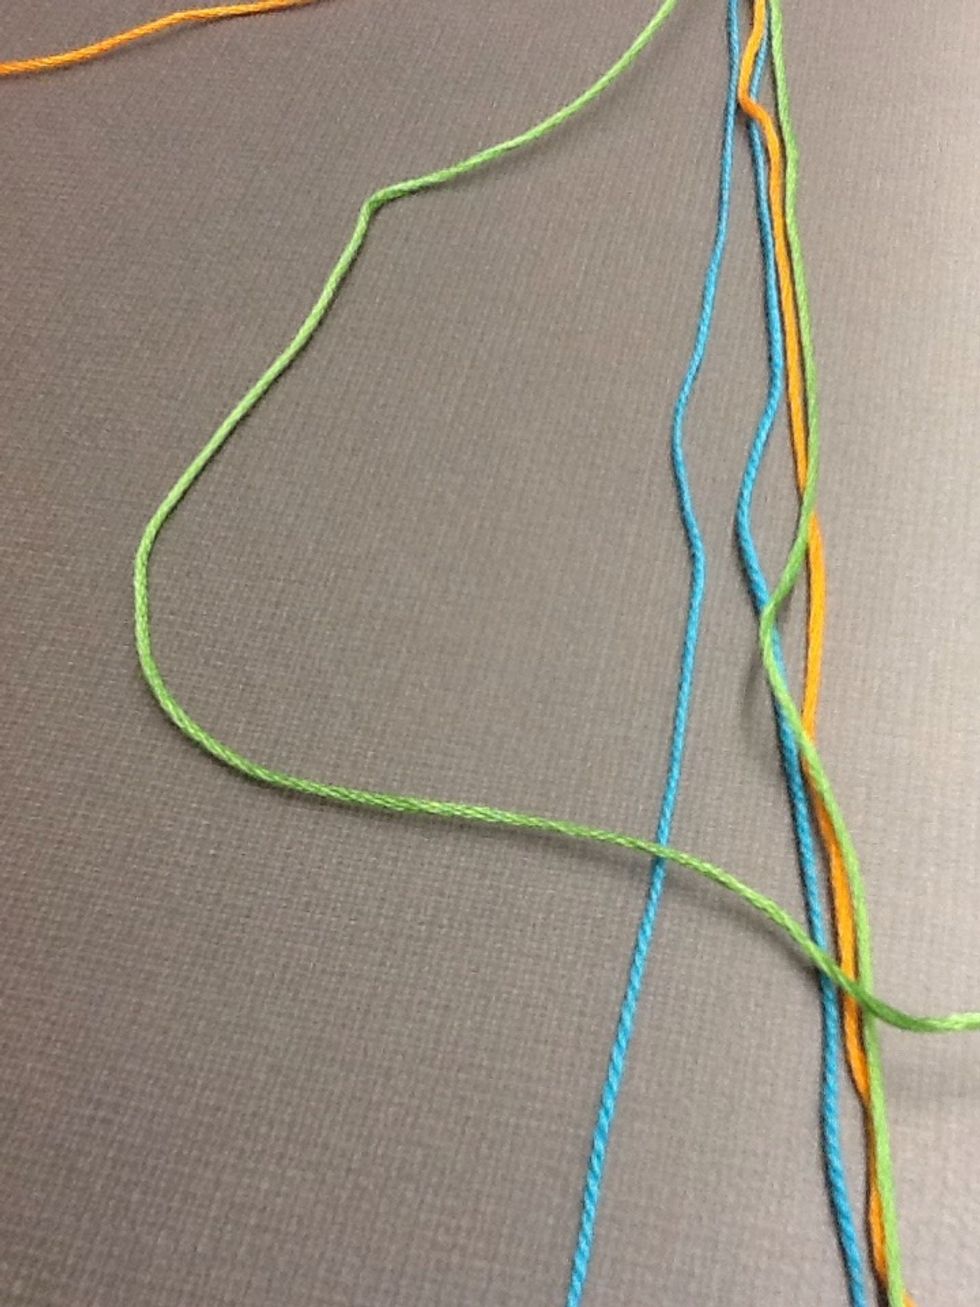
Then put the the first colour(green) over the third string(blue)
Then tie a knot
Again make sure it reaches to the very top
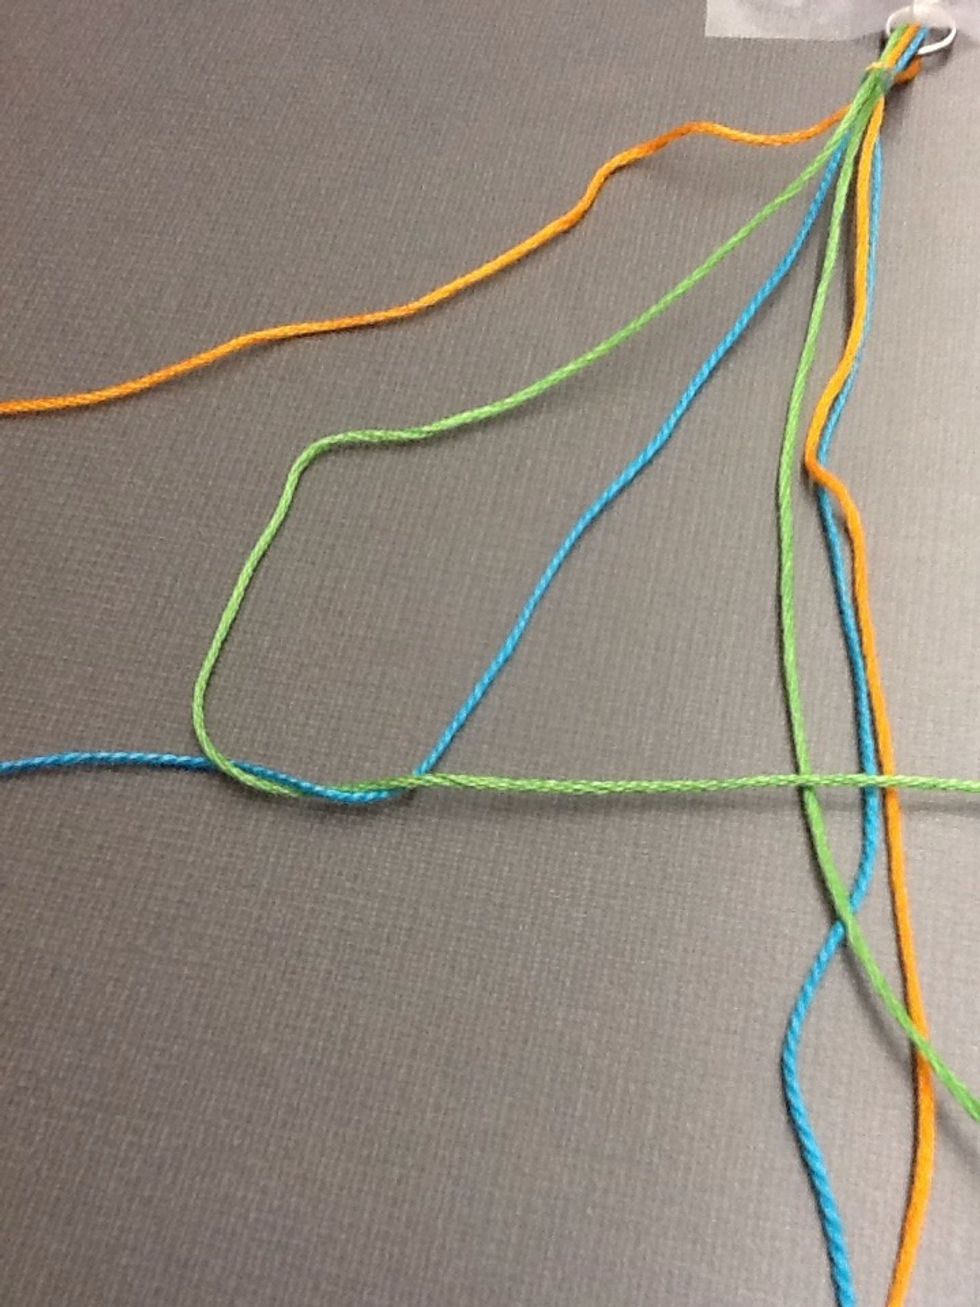
Now, the outside colour (on one side), is now in the center

Now start doing the same thing to the other side. Working from the outside in, place the green string over the second colour(orange) then tie a knot

Do the same to the third colour (blue) then tie a knot
Now both greens should be hanging in the middle
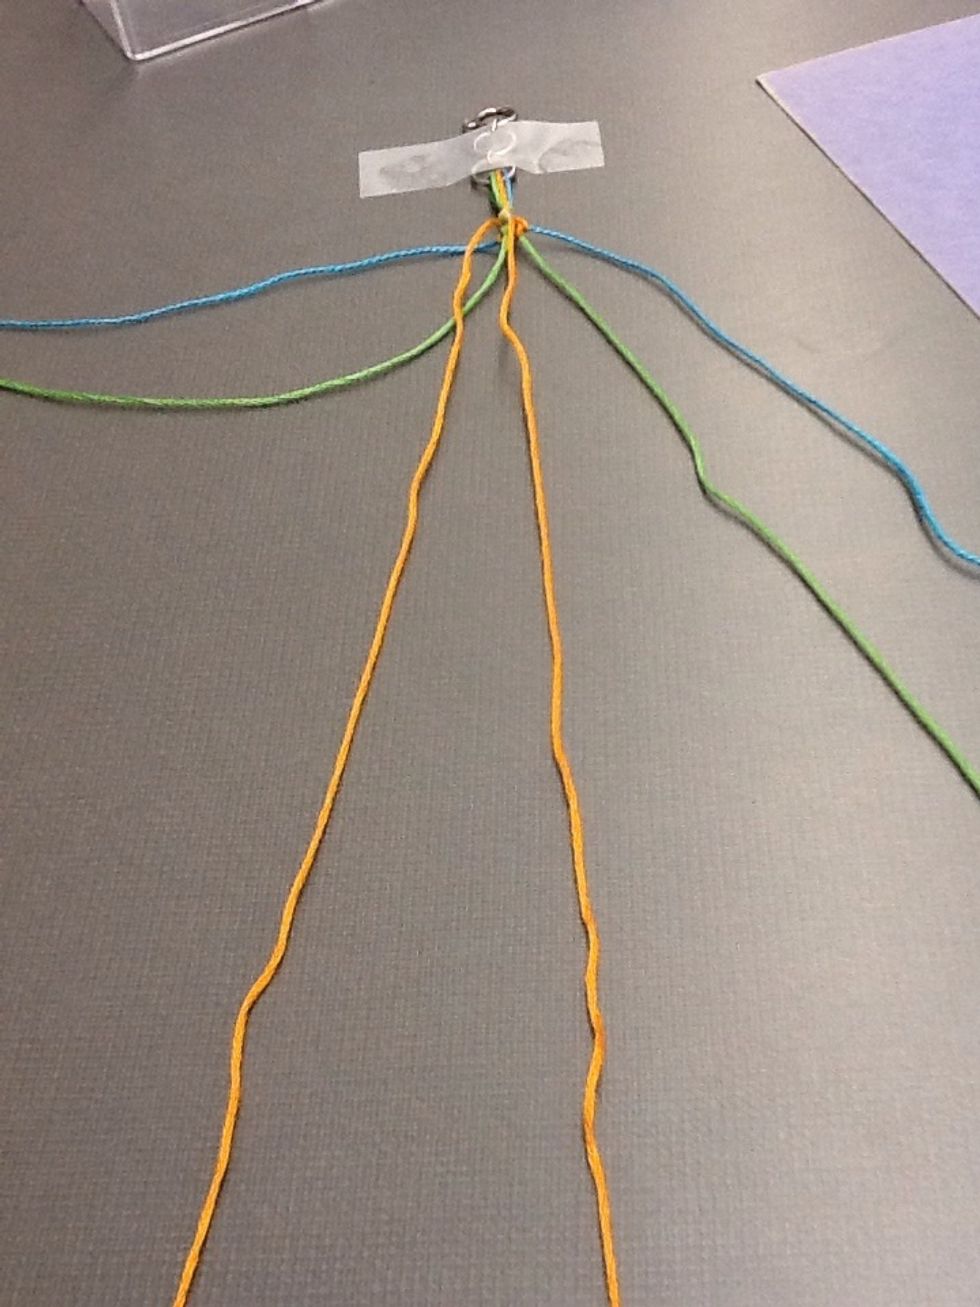
Now tie a knot using both greens. Tie the knot two times.
The top should look like this
Next you will repeat the steps on the left and the right until you have the outer colour in the middle again. Keep repeating these steps over and over until you reach the desired length
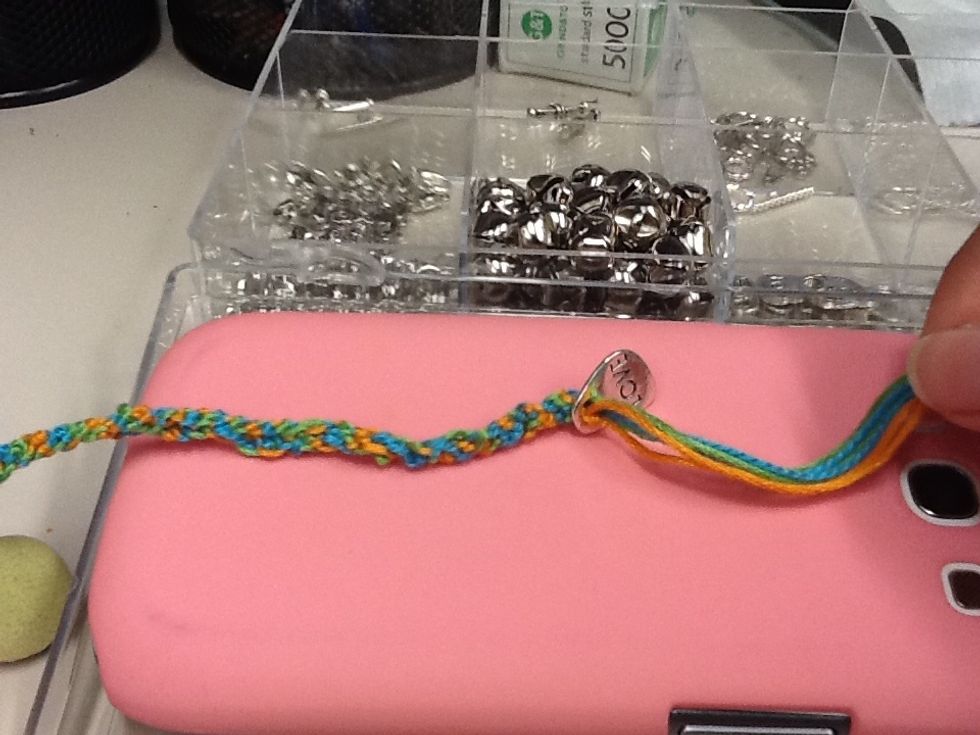
Once you have reached the desired length, you can put any accessories at its end.
Now you should secure the bracelet and the accessories by tying a knot
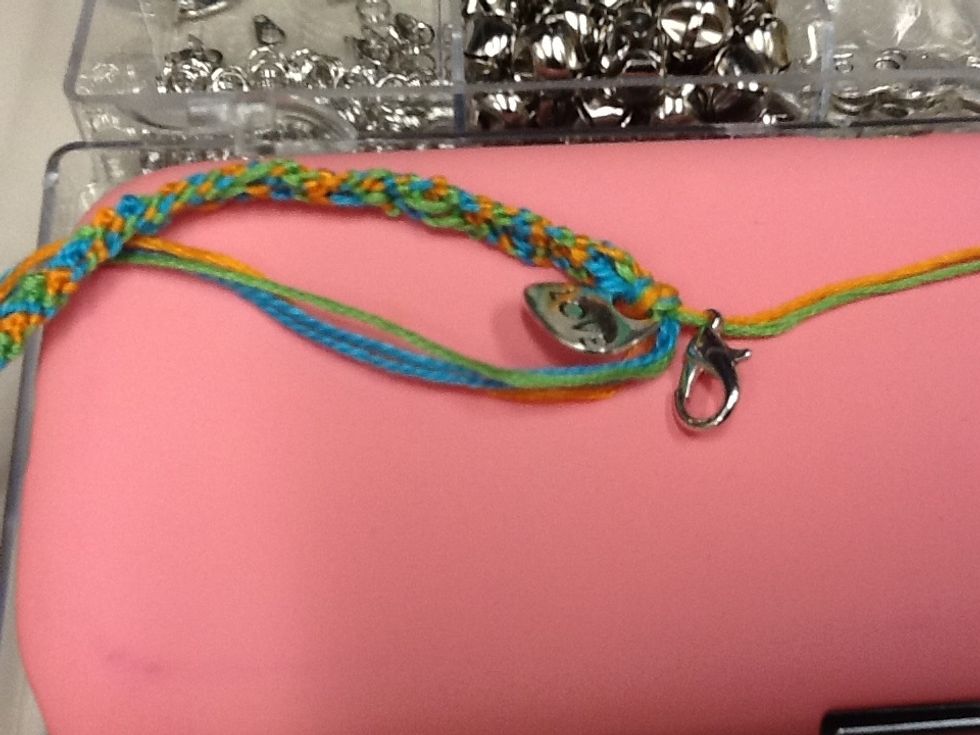
Make sure it is secure
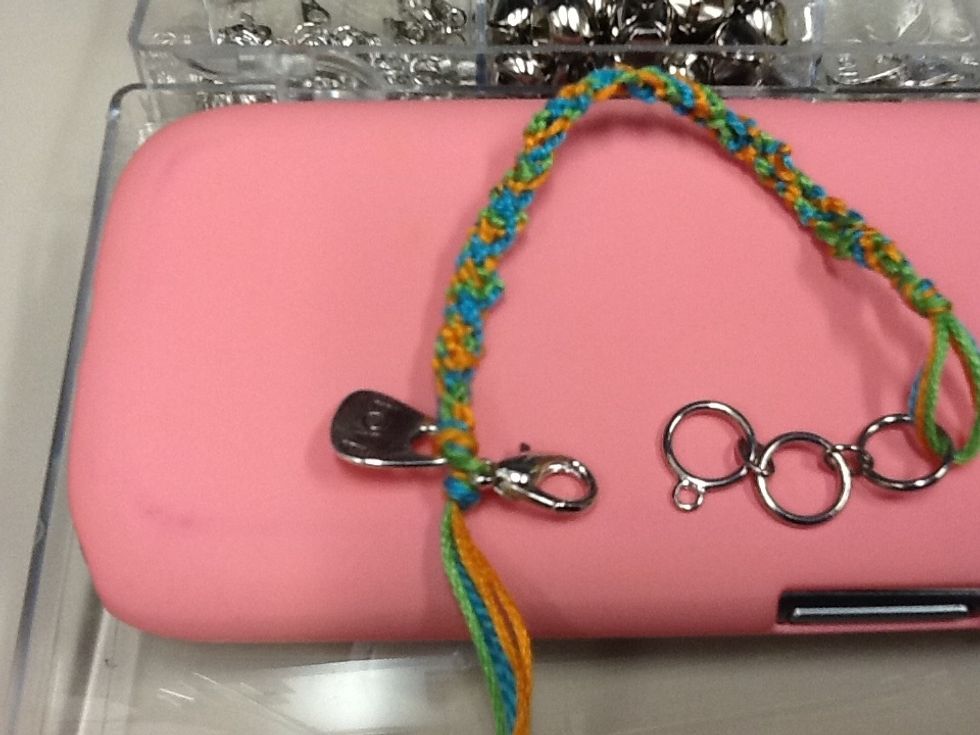
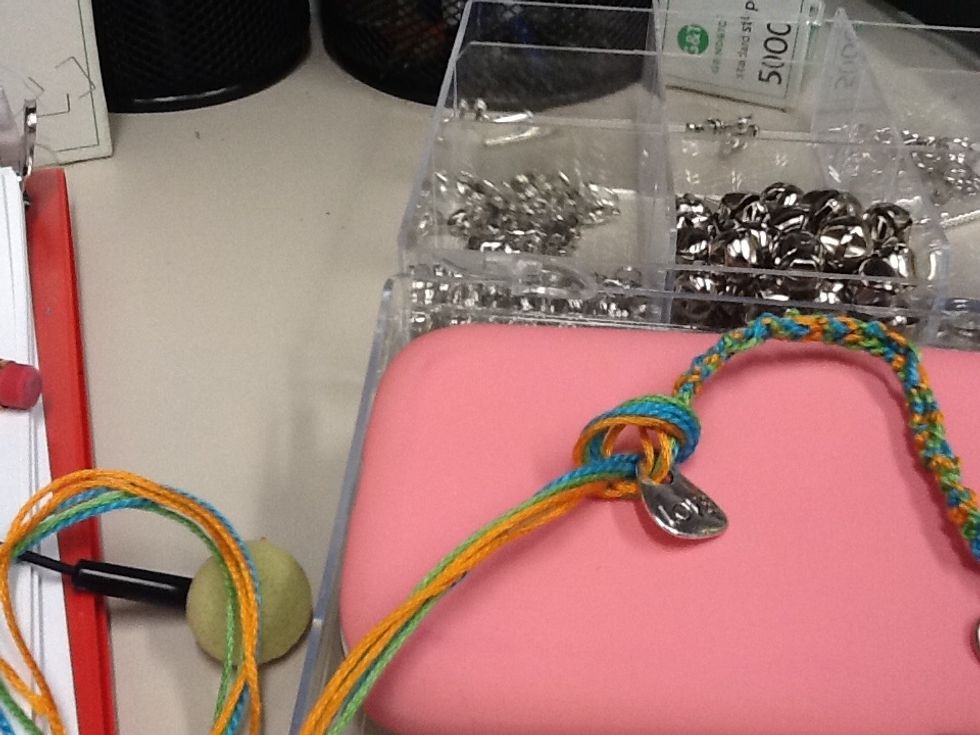
Then you can add any clasp or a toggle at the end and secure it with a knot
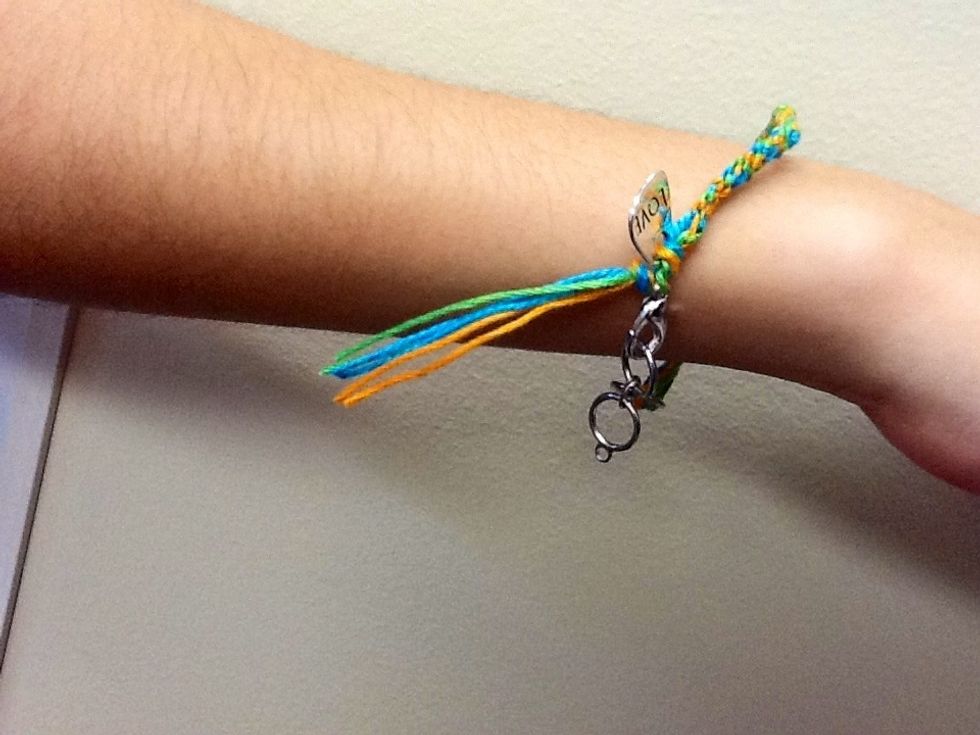
Snip off the excess thread at your desired length (leave them long, cut them, or braid them)
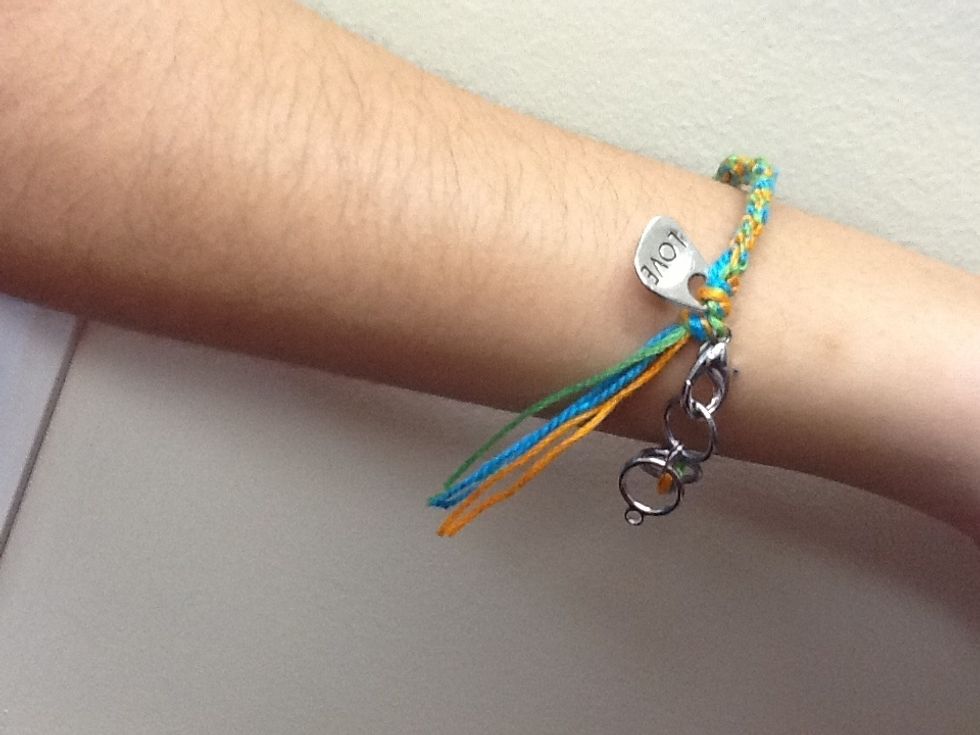
Done!