The Conversation (0)
Sign Up
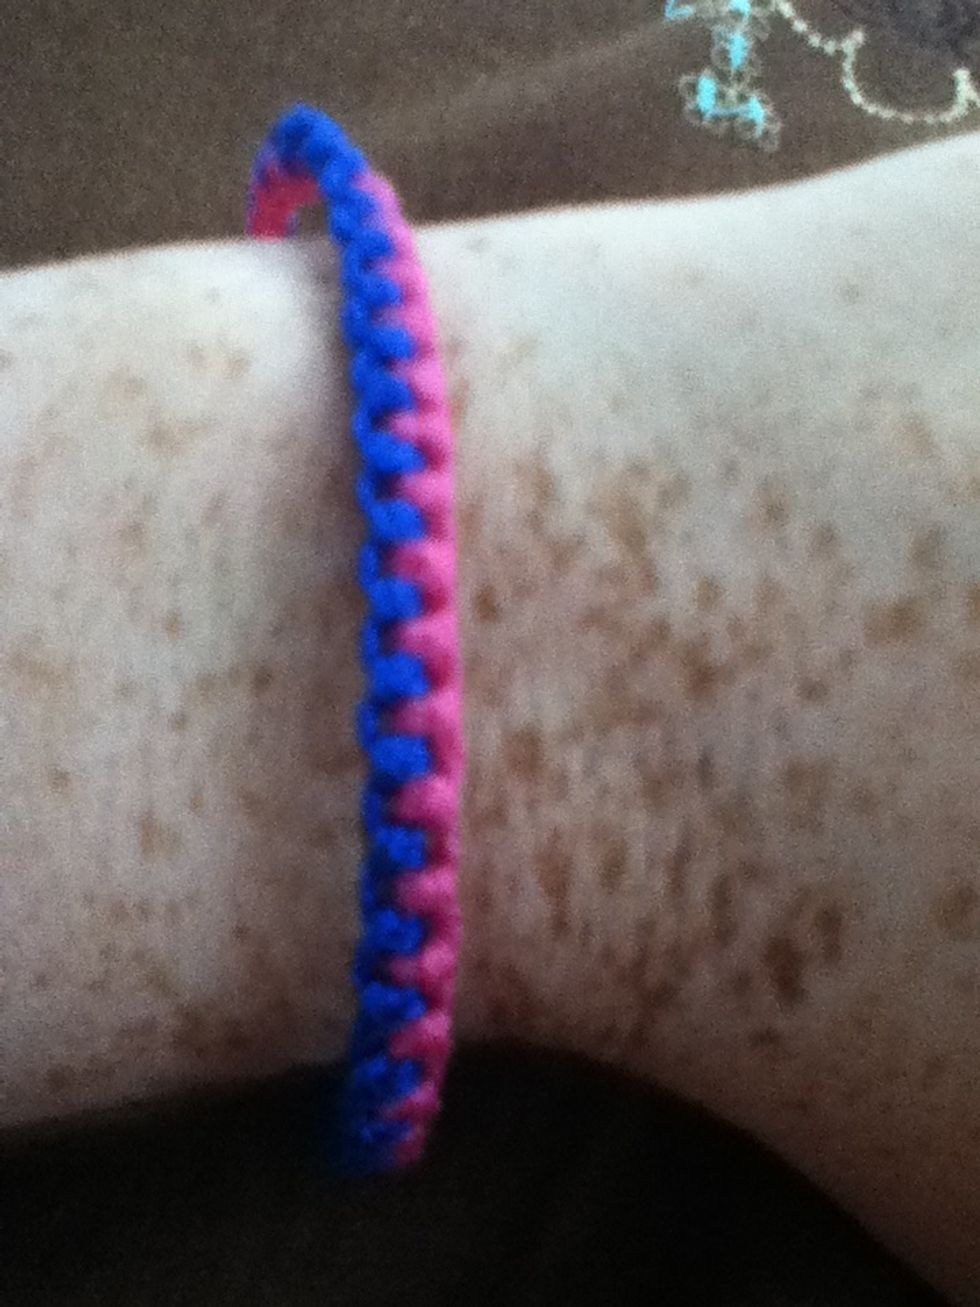
This is a fairly easy pattern, but it may be difficult for kids under 5 because it requires some dexterity.
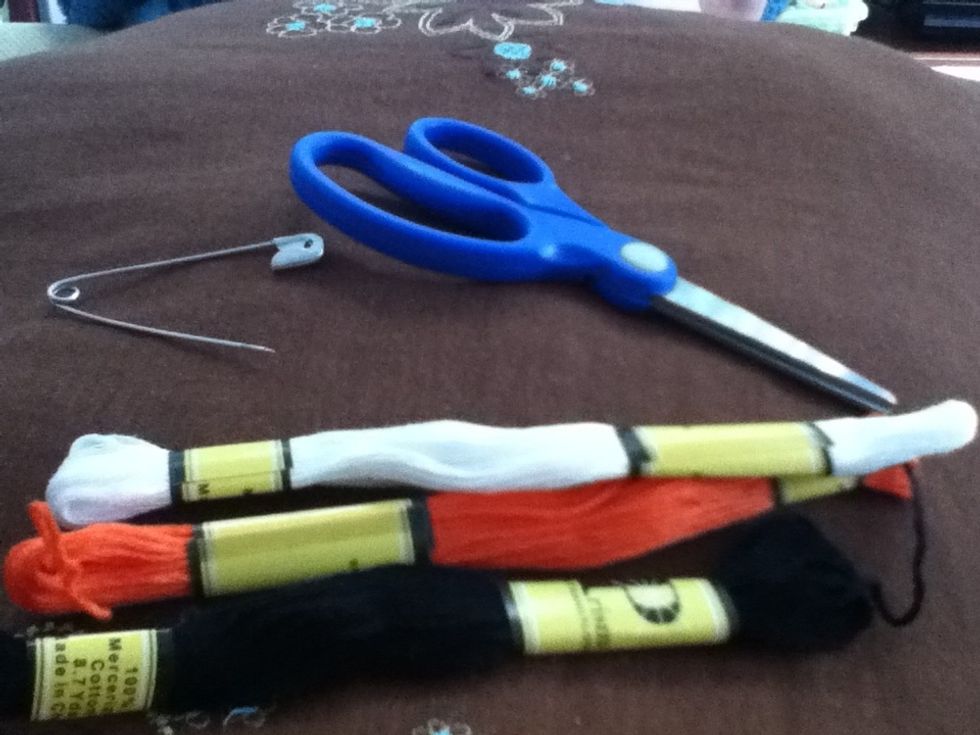
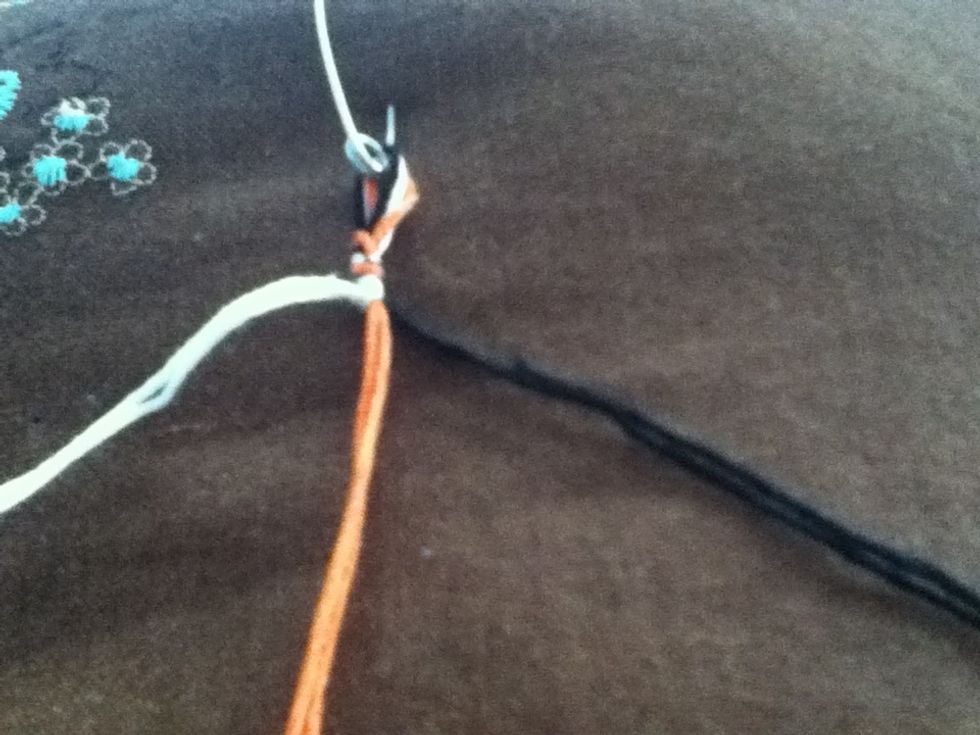
This design uses 3 strands of floss, but only 2 are seen in the main design. Cut the first (unseen) strand about 4 times the desired length of your bracelet.
Cut 2 more strands of different colors about 10 times the desired length of the bracelet. When in doubt, cut more than you think you will need.
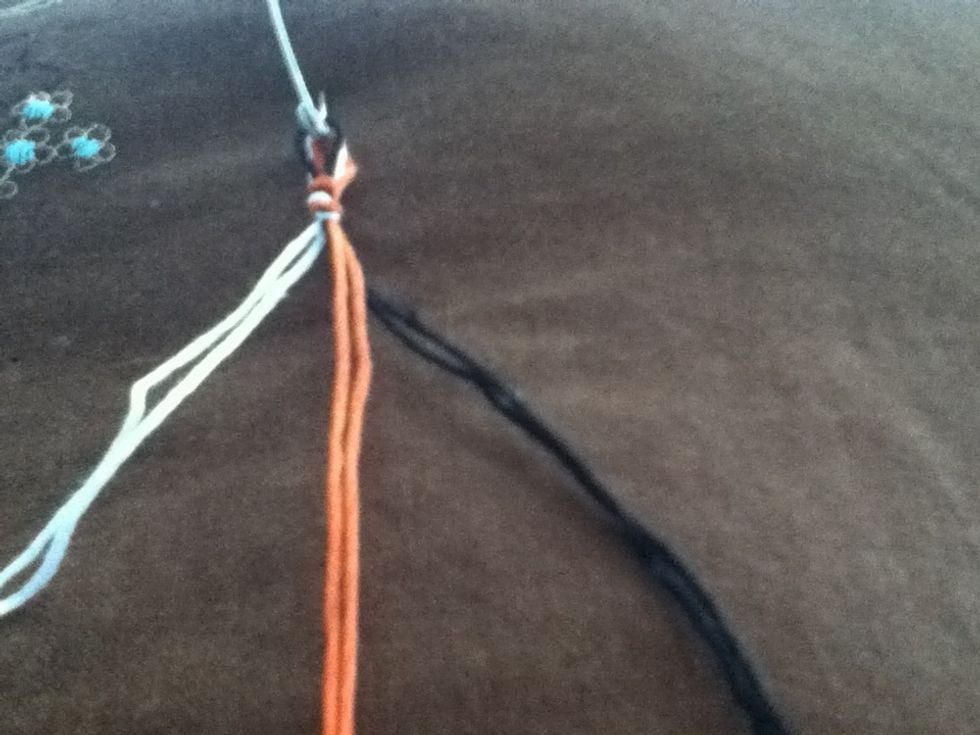
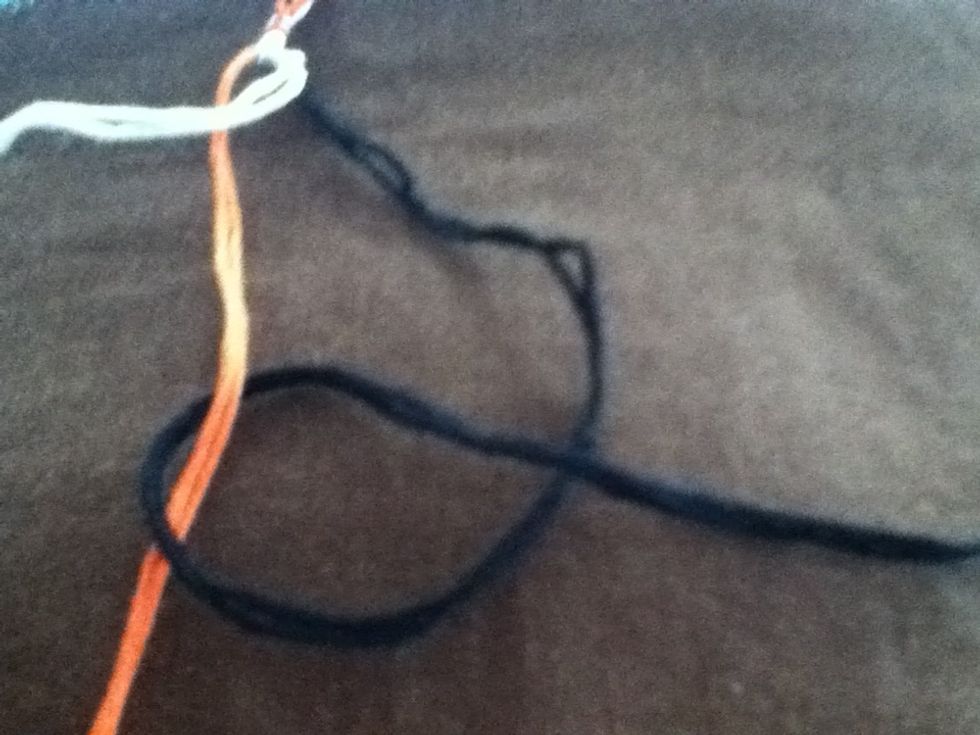
Double up your threads and tie a knot leaving a loop. Use the safety pin to attach to a pillow or other work surface. Divide thread by color. My orange thread is the center/unseen thread.
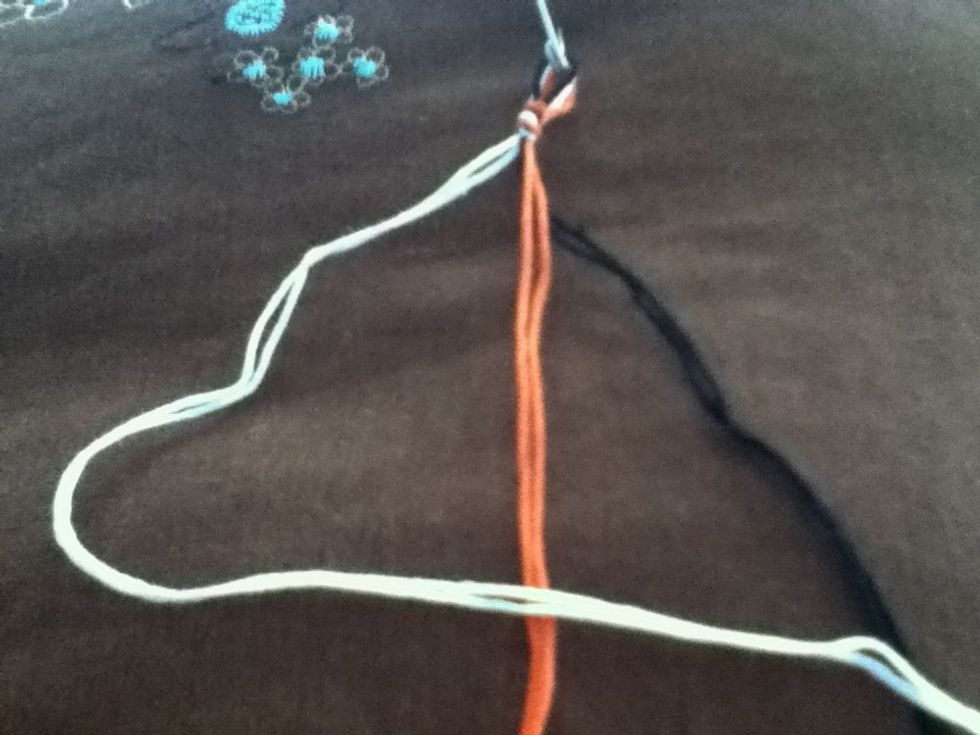
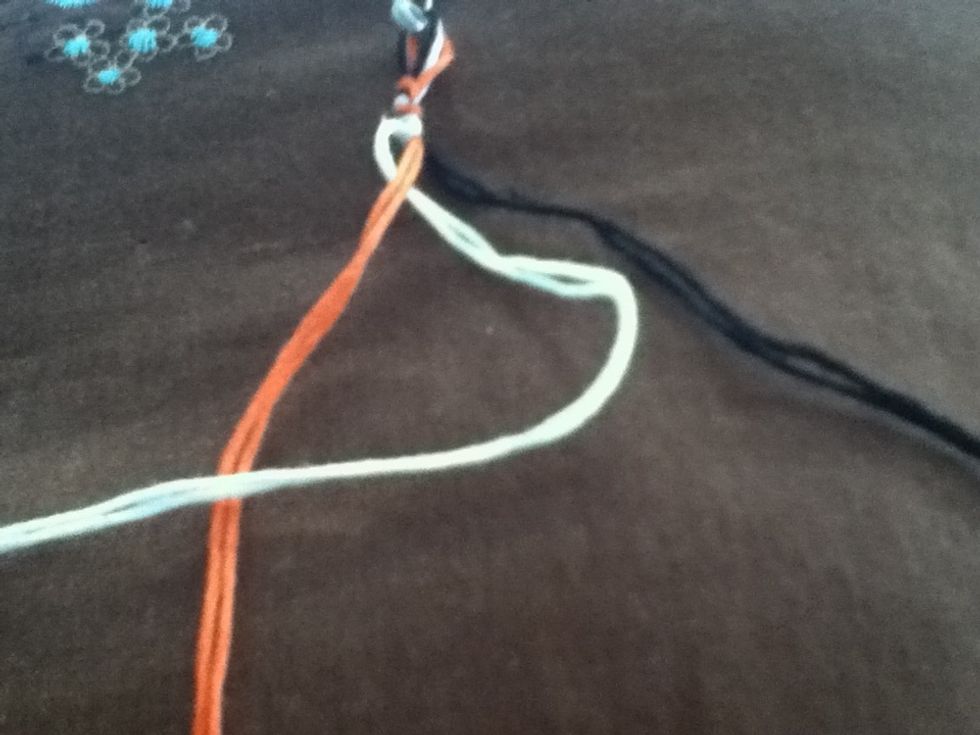
Make a "4" shape with your left thread.
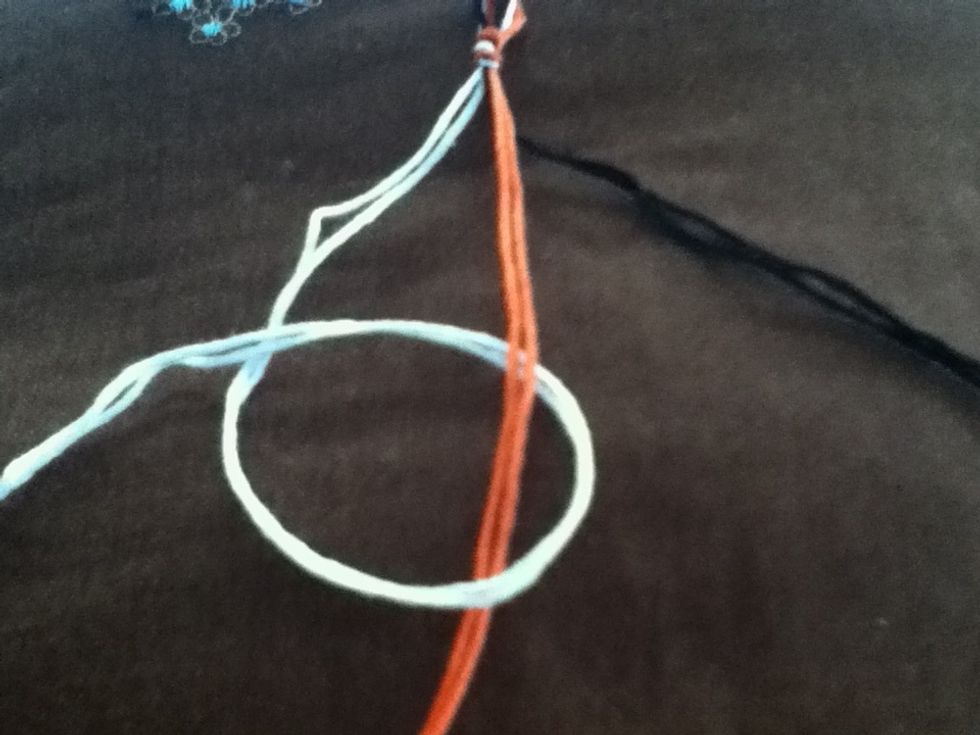
Bring the end of the thread under the center string and over itself. This is a forward knot.
Pull you knot firmly to the top.
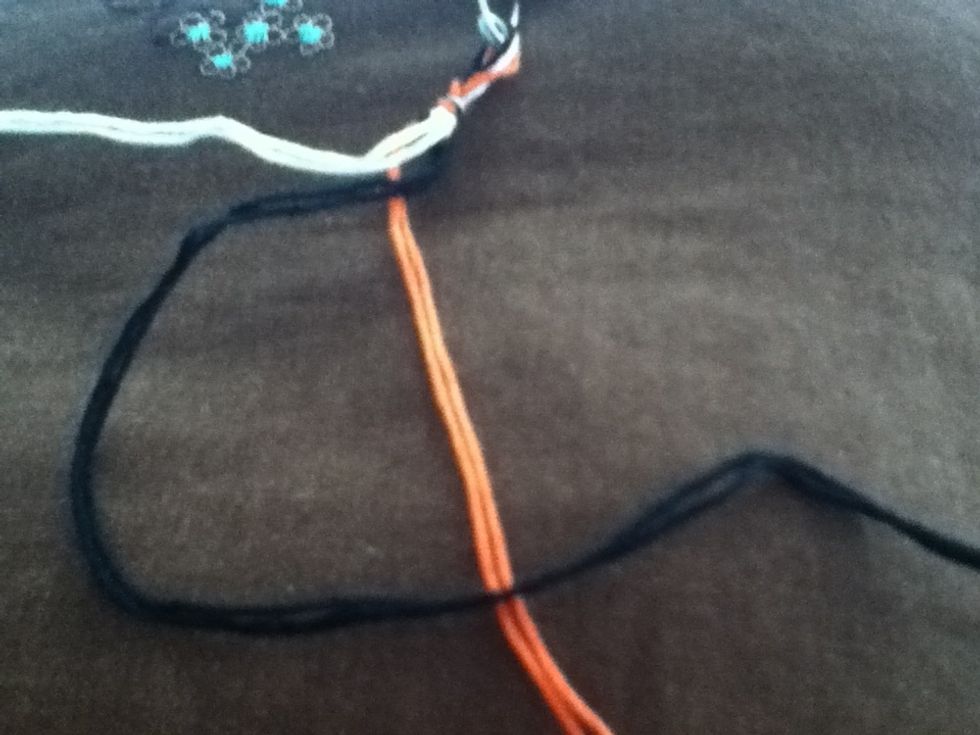
Make a "p" shape with your left thread.
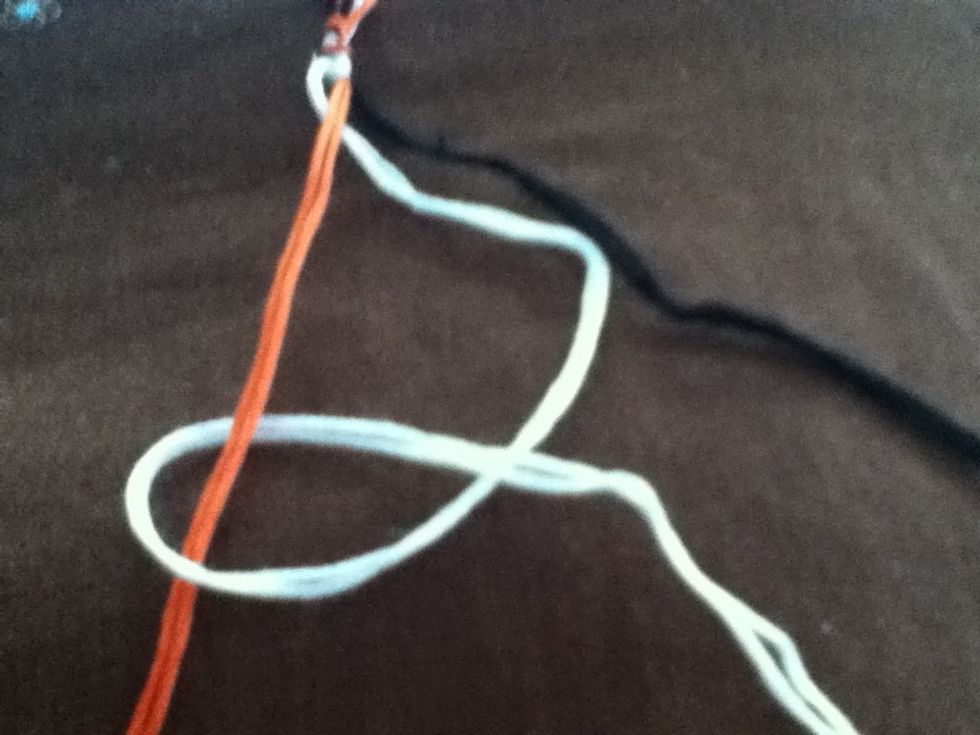
Bring the end of the thread under the center thread and over itself. This is a reverse/backward knot. Being knot firmly to top.
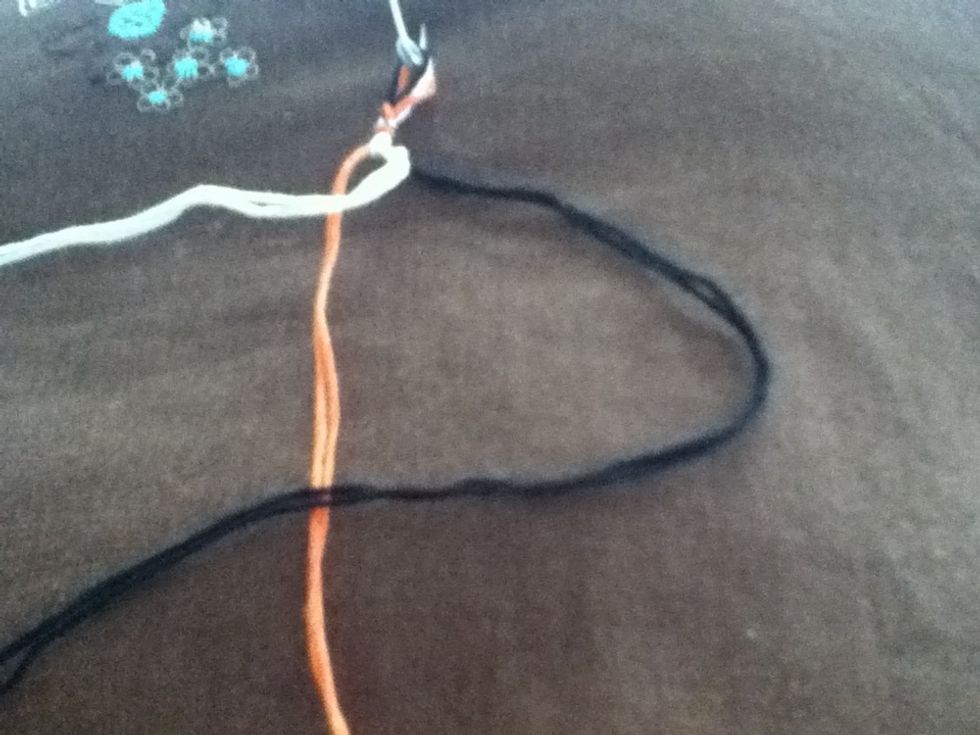
Make a "p" with the right thread.
Bring end of thread under center thread and over itself. This is another backward knot. Pull knot to top.
Make a "4" with the right thread.

Bring end undef center and over itself. This is another forward knot. Pull knot to top.
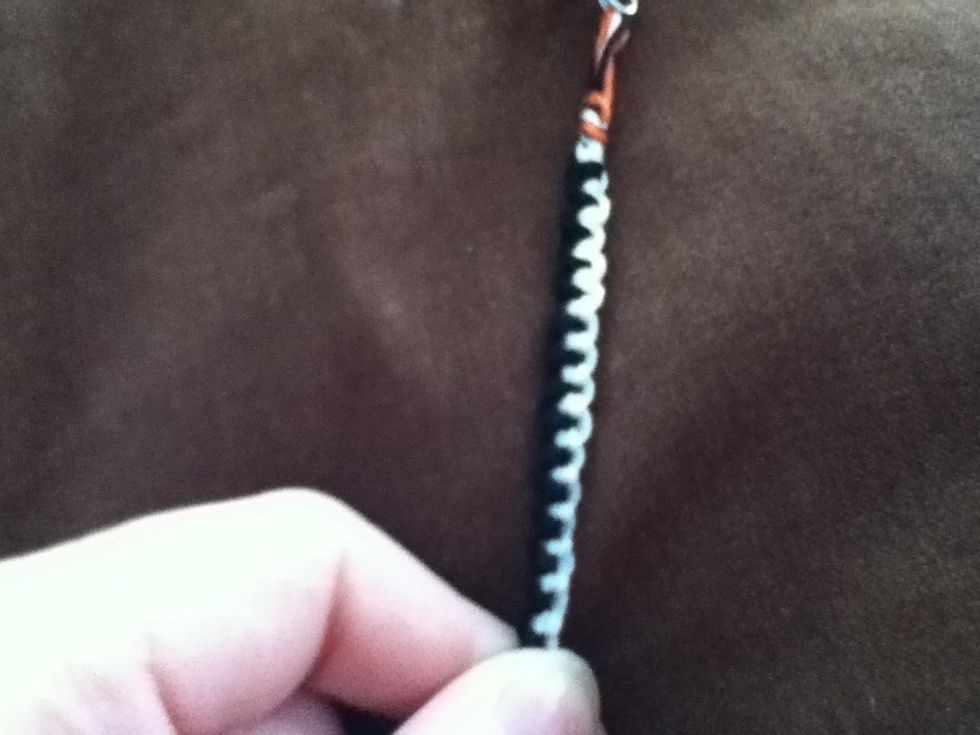
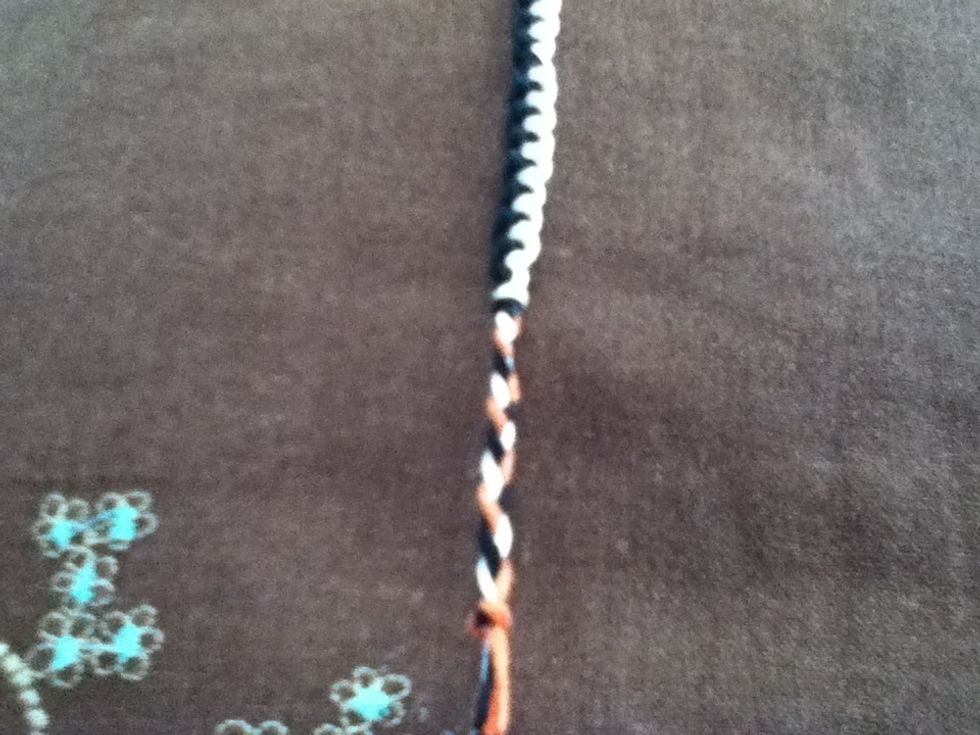
Repeat Left - foward -> backward Right - backward -> foward Until desired length is reached.
One option to finish the bracelet it knot the end and braid a few inches. Thread braid through starting loop and tie on your wrist.
If you want a removable bracelet. Thread a button or toggle on and tie a knot. Slip button through starting loop to put on the bracelet.
Enjoy.