The Conversation (0)
Sign Up
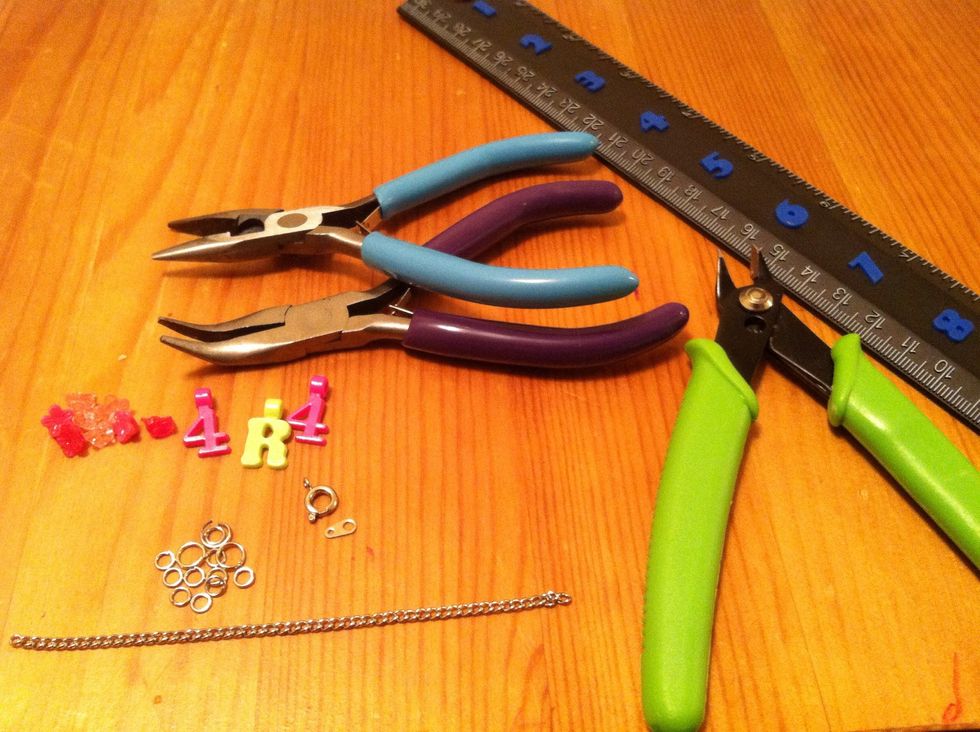
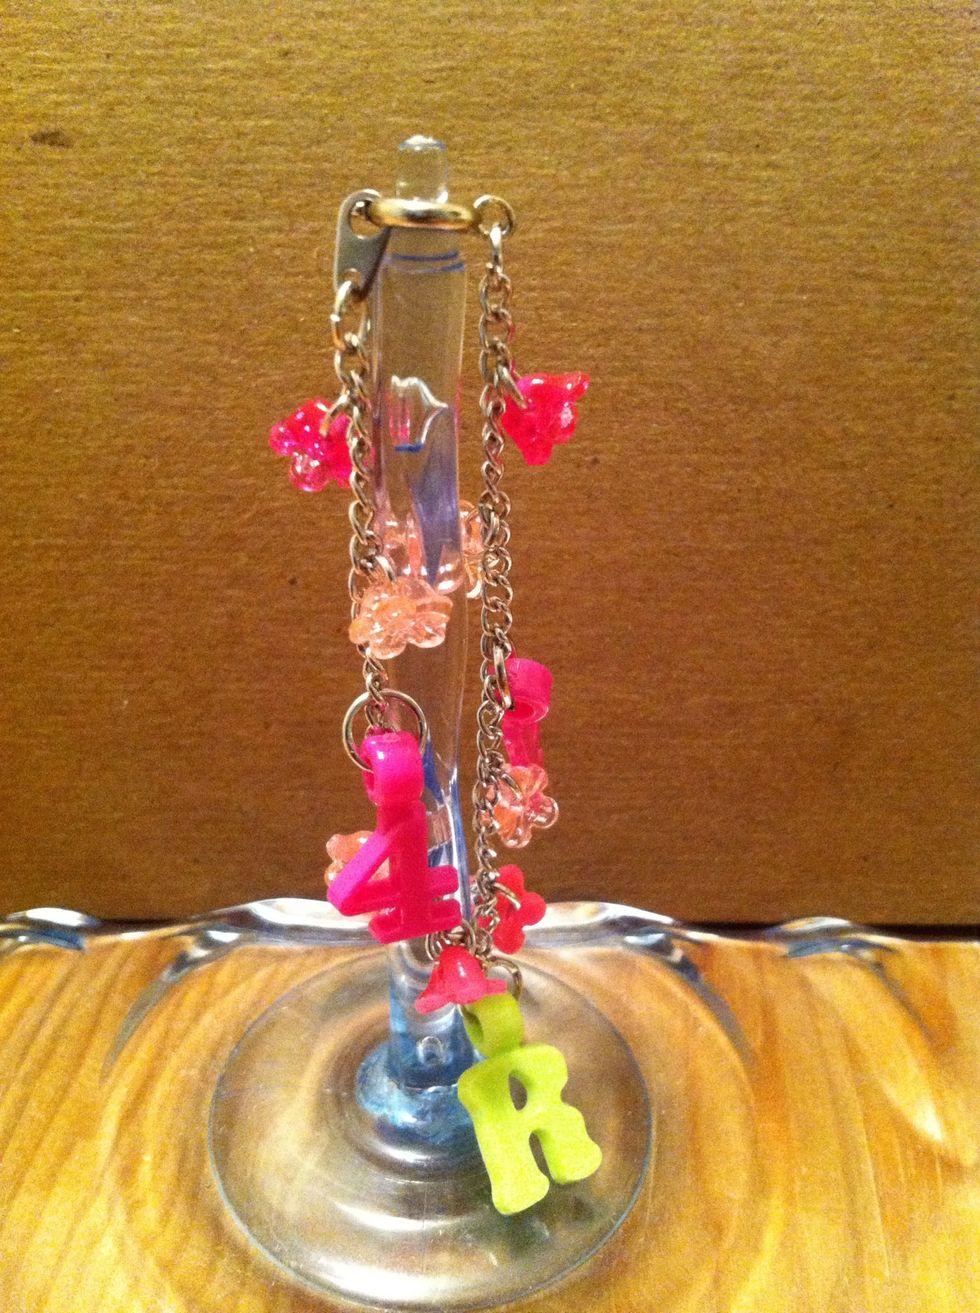
This is for a small child so I'm using some bright colorful plastic beads
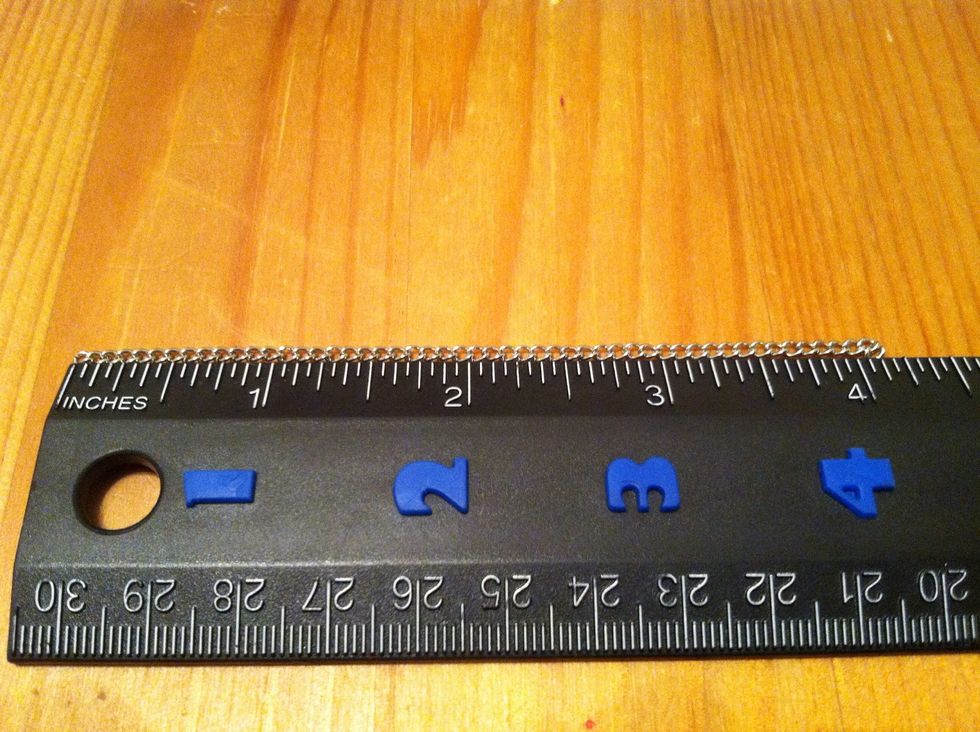
Measure the wrist and make your chain about 1/2 inch shorter. A good standard size if you're making a surprise is 6inches before the clasp.
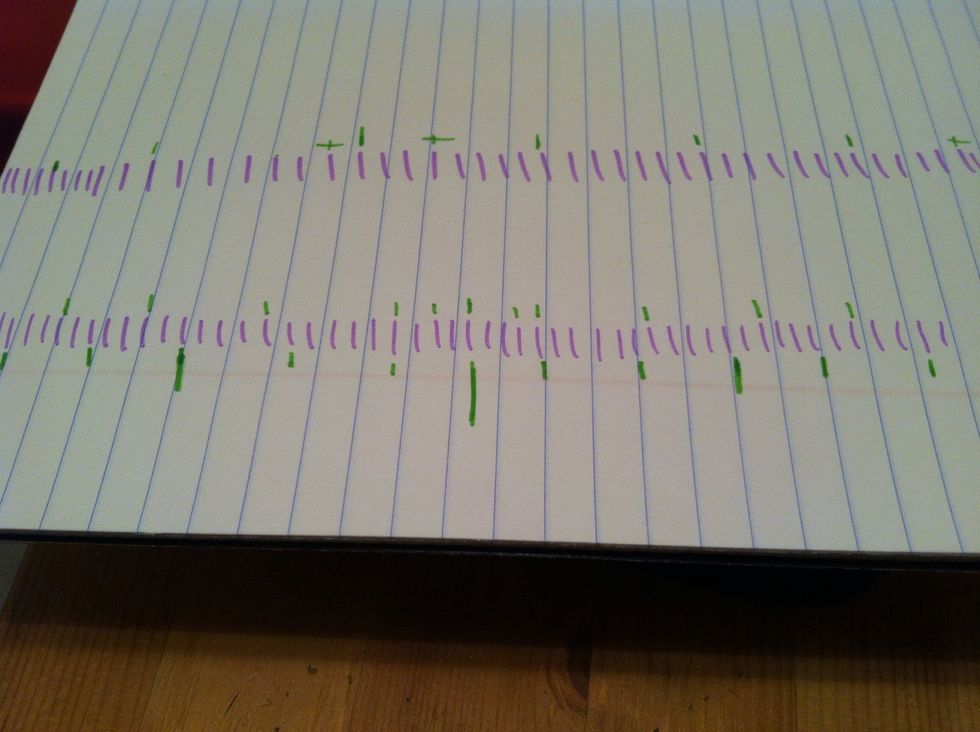
Plan your design. This step is not very specific. Just feel it out, use whatever method works for you. I used a series of colored lines to plan mine.
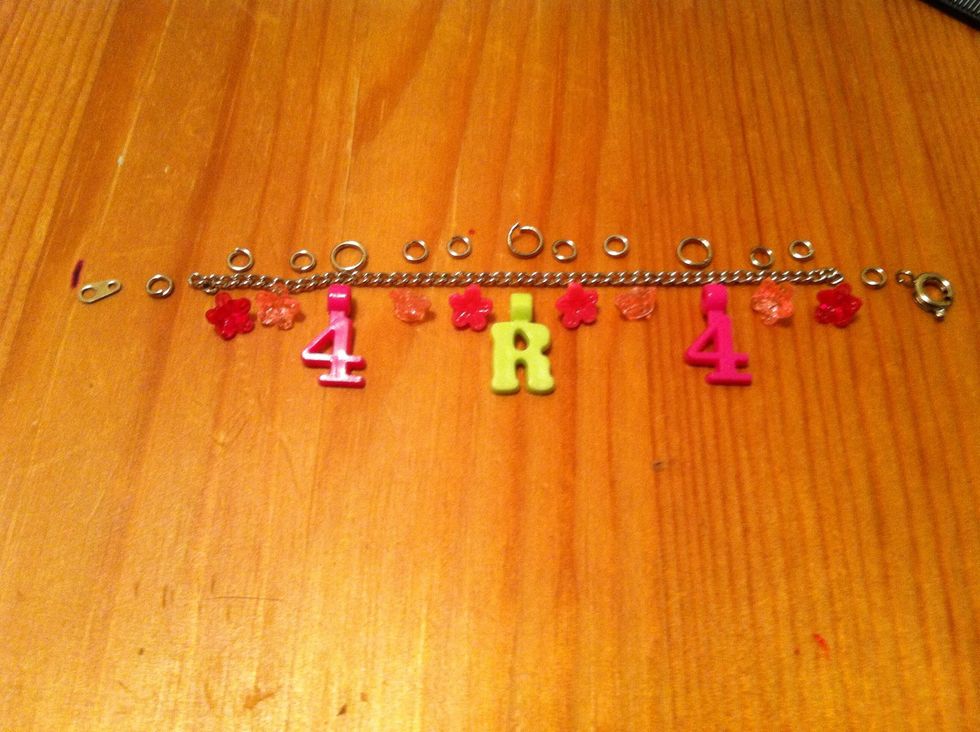
Lay it out and make sure there is enough room for your design.
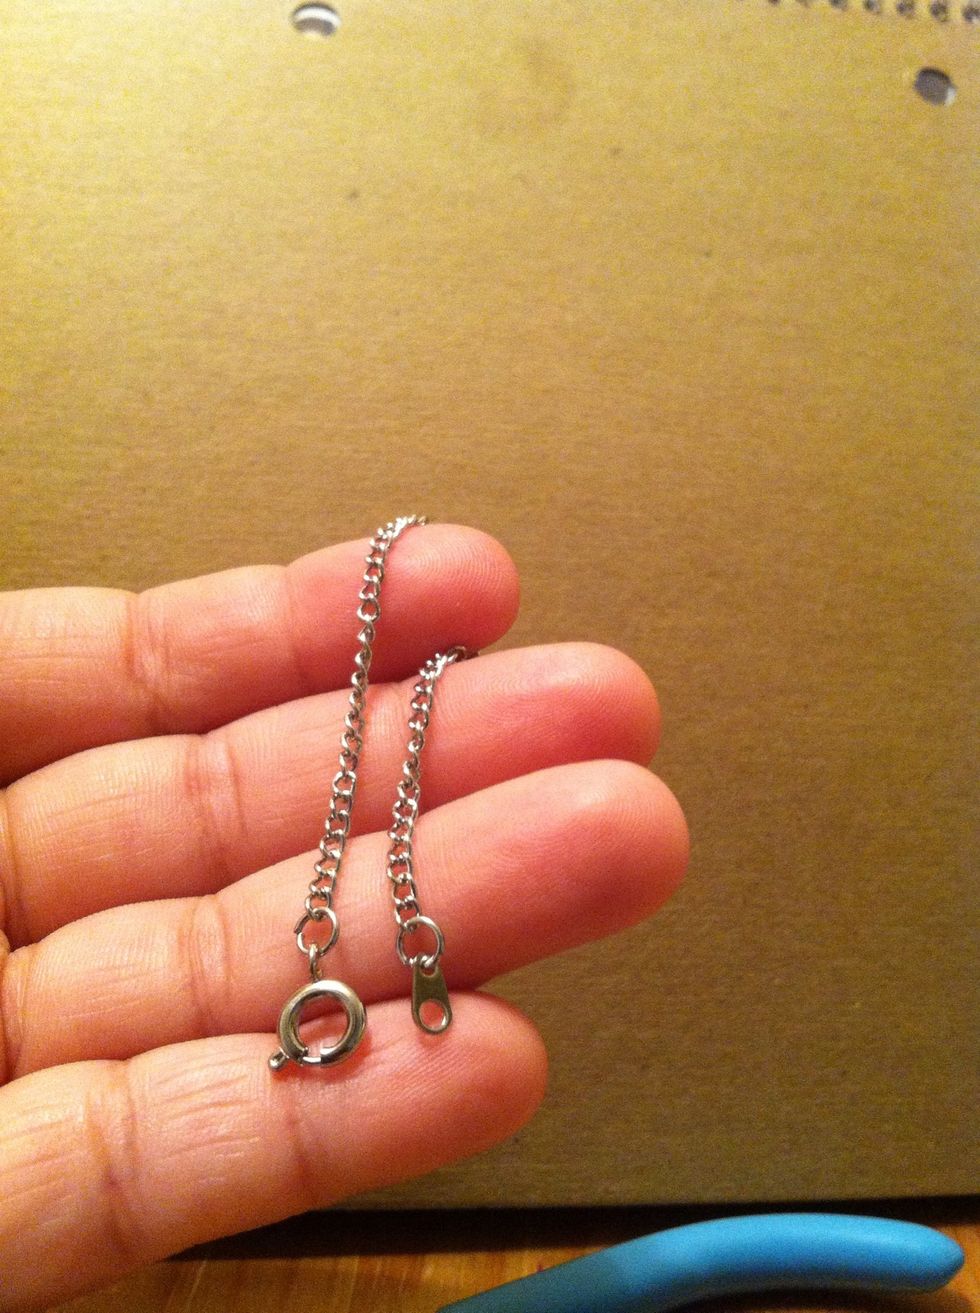
Do this on both ends
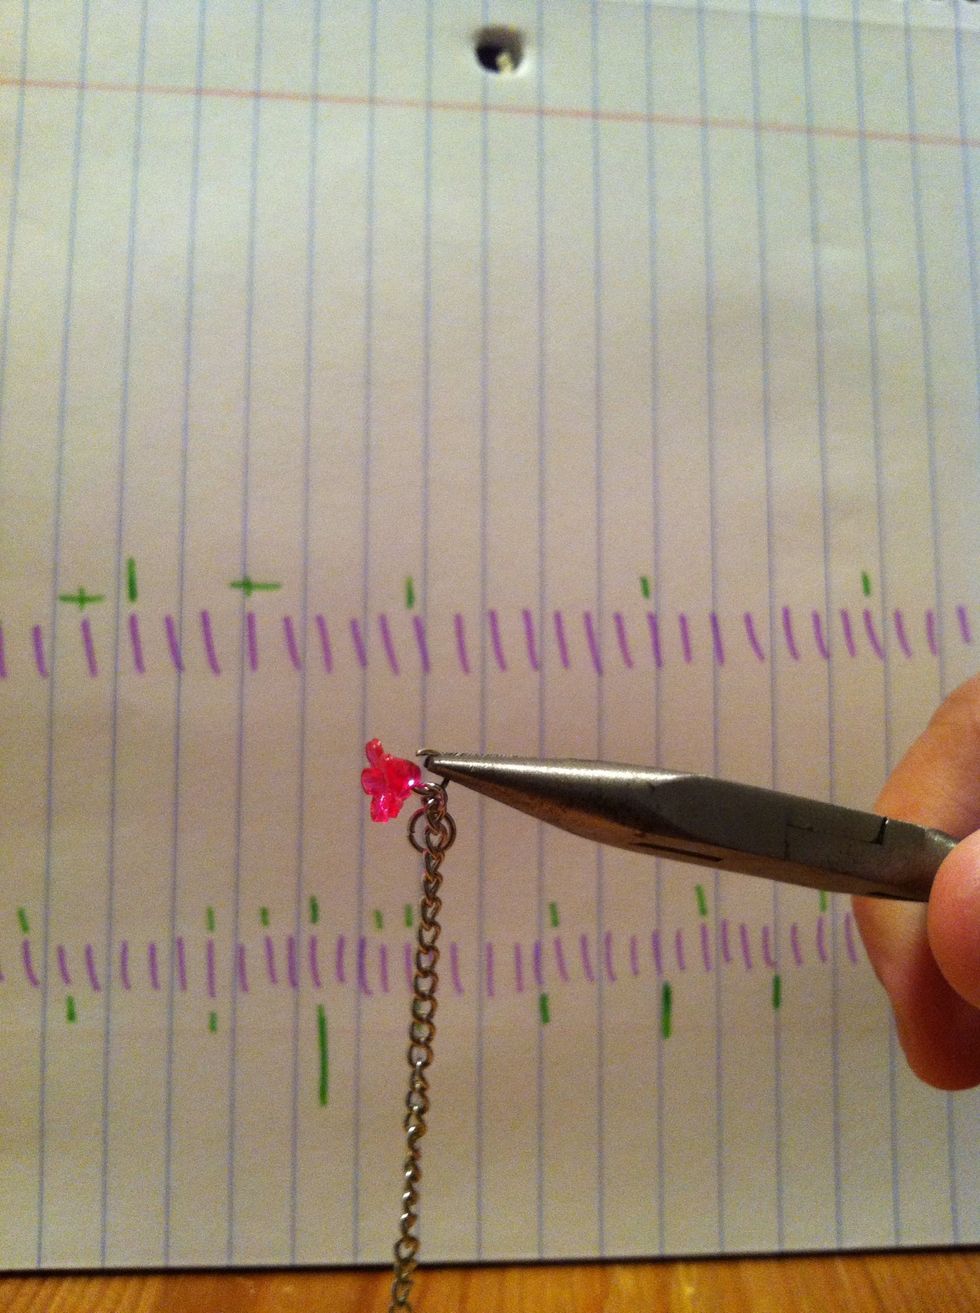
Begin adding your beads to your jump rings.
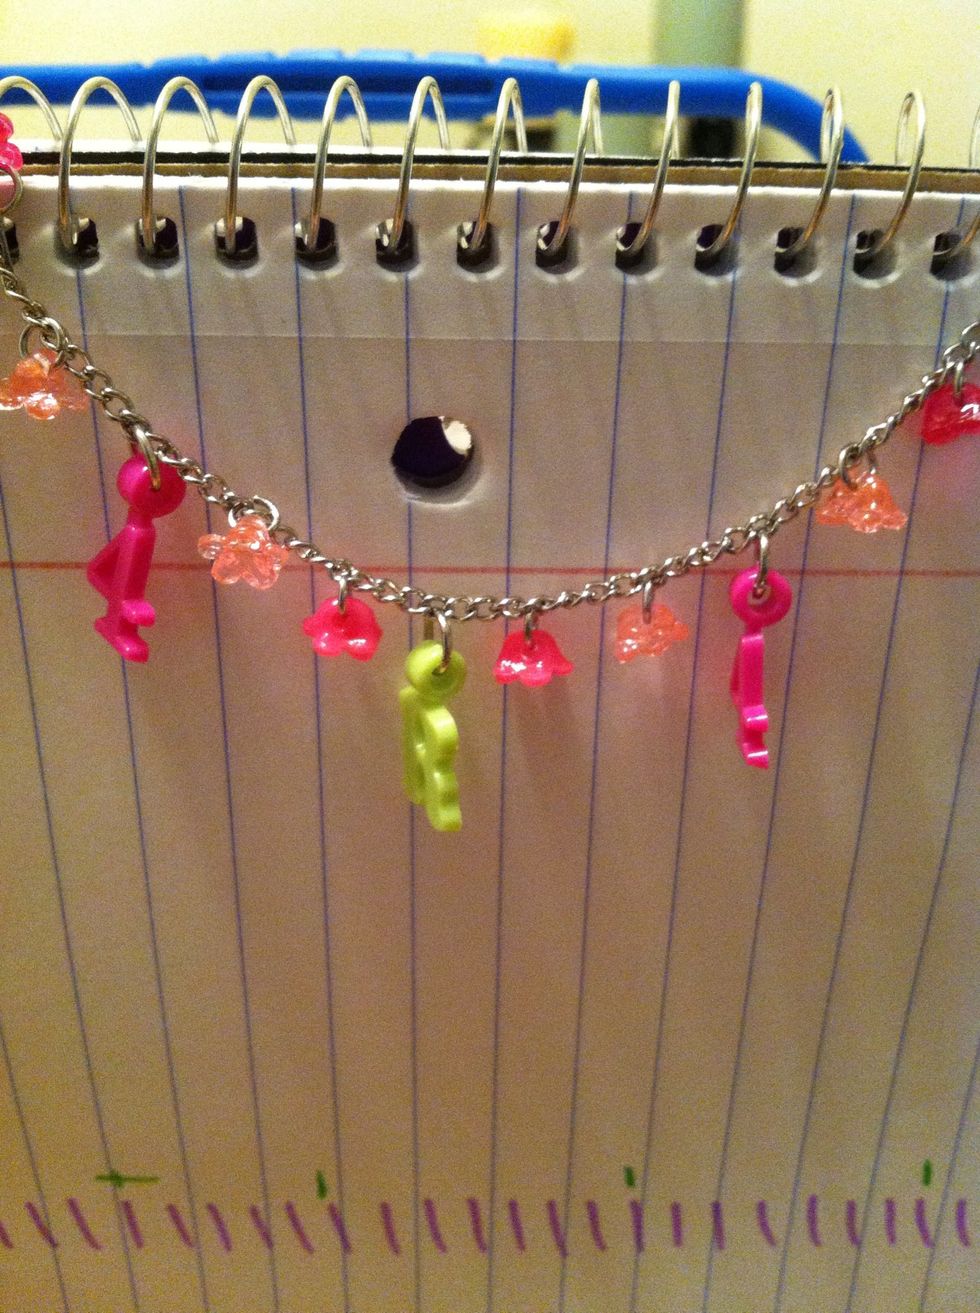
Hang in your chosen pattern
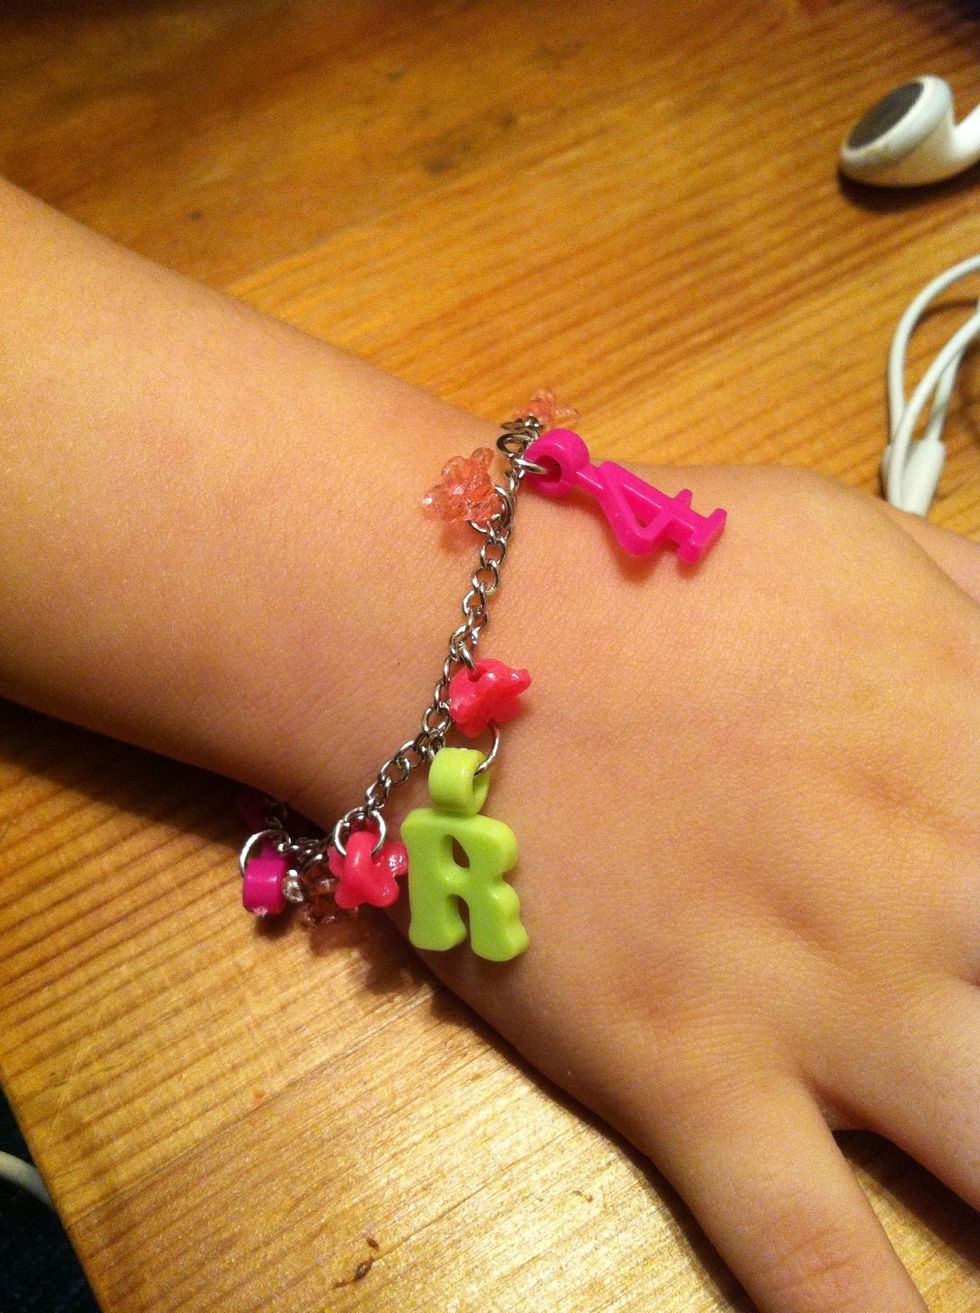
Once all the beads or charms are added, try it on!
If it's too long, you can use the wire cutters to cut out two small equal sections from either end. Use the pliers to open a chain link and attach it back together just like the jump rings. Enjoy!