The Conversation (0)
Sign Up
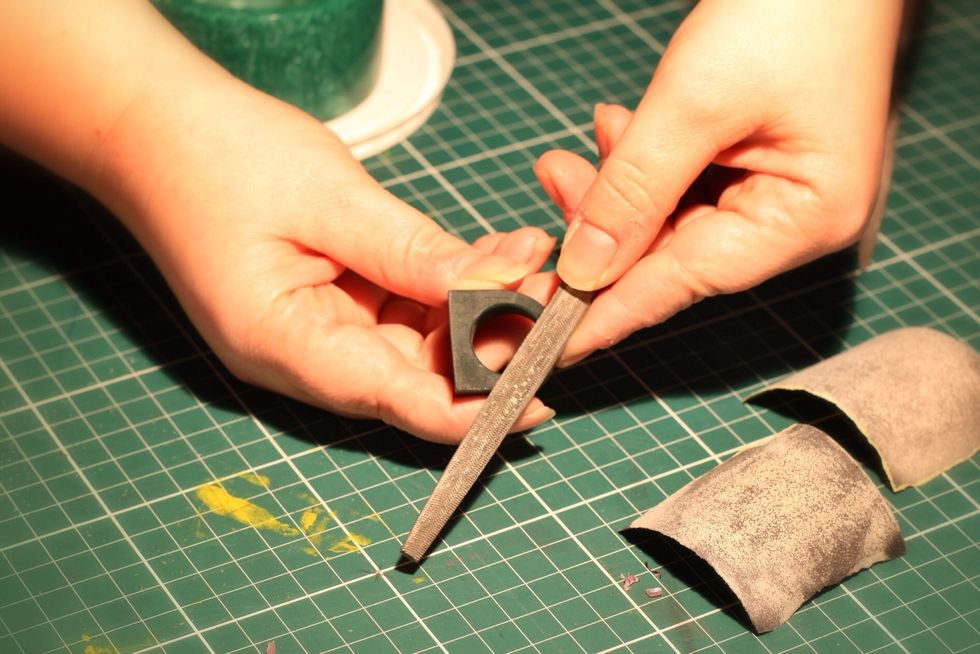
Choose your pieces to cast. These can be made from any dry, firm material such as metal, plastic, polymer clays or wax. Prepare the surface and edges- this will save polishing time on cast pieces.
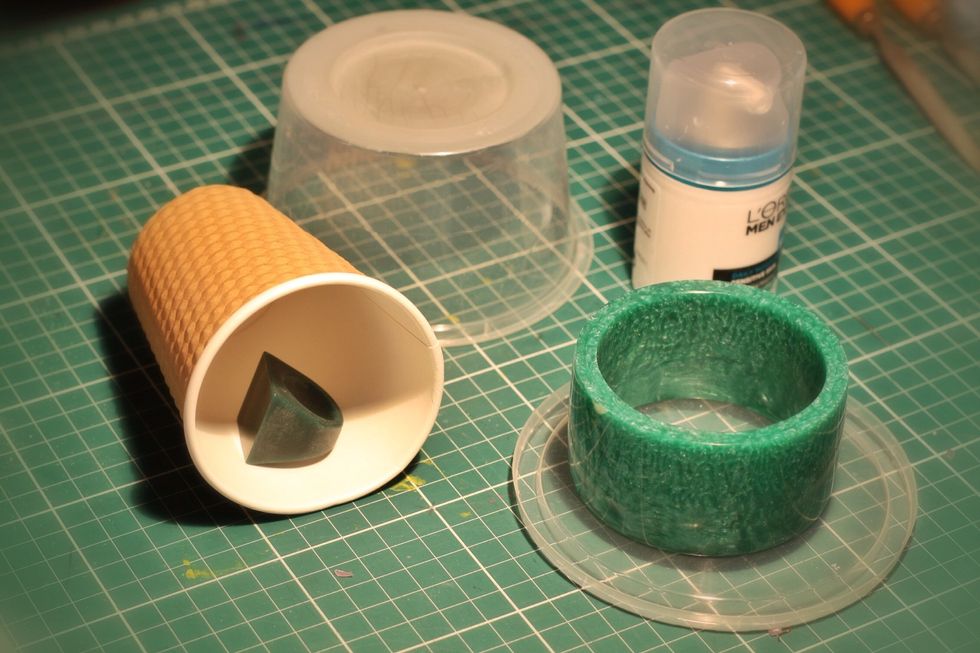
Collect plastic or paper containers to fit your pieces with around 5-10mm clearance- too thick and you waste silicone and make castings hard to remove.
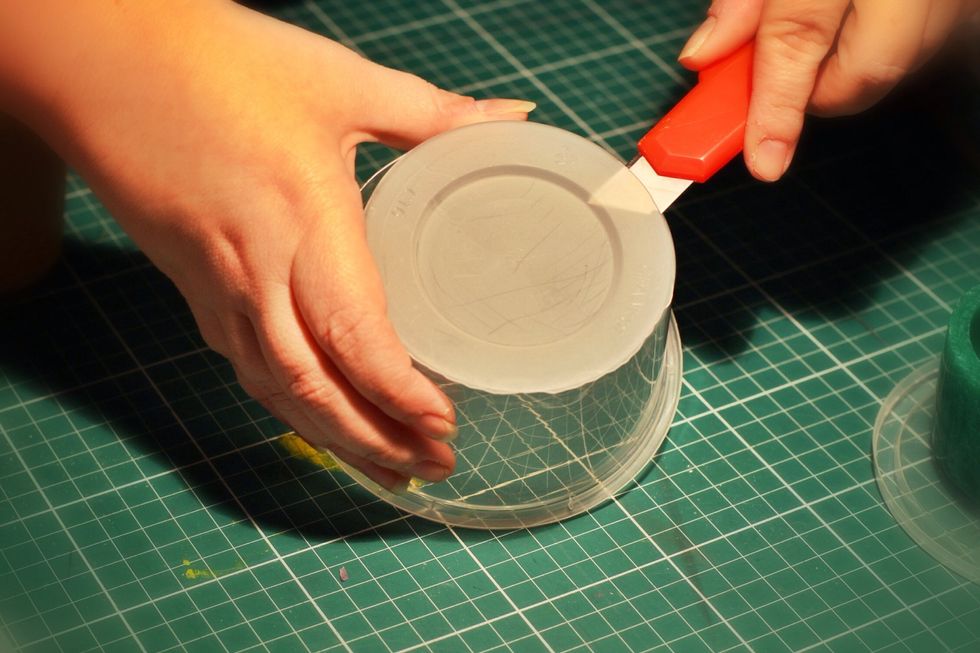
Cut the base from lidded containers. The casting piece will be attached to the lid.
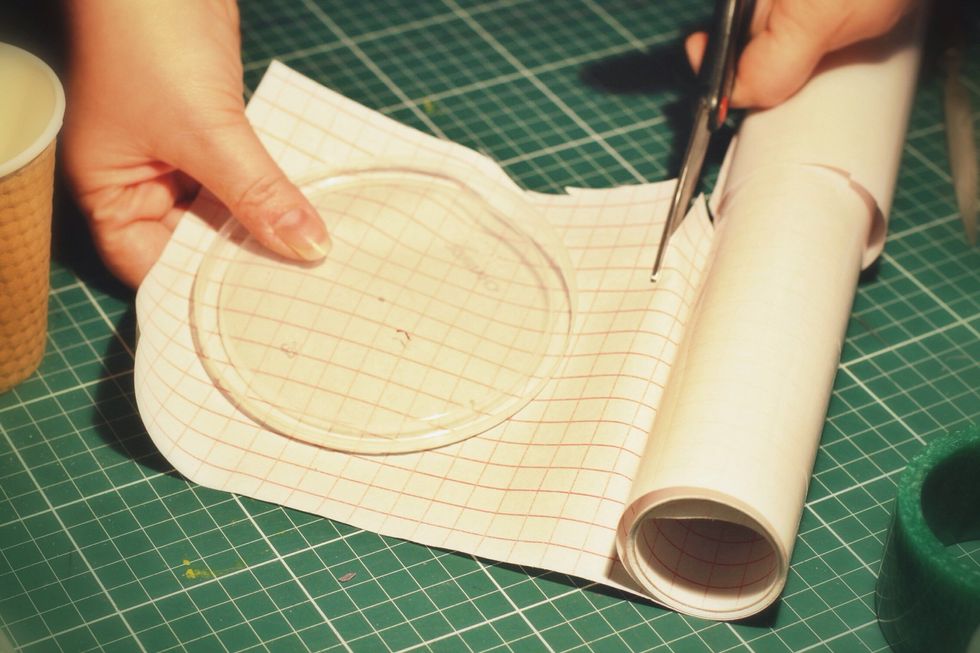
Cut your double sided adhesive plastic sheet to fit the base of cups or the lid of containers. Small pieces can be secured with double sided tape.

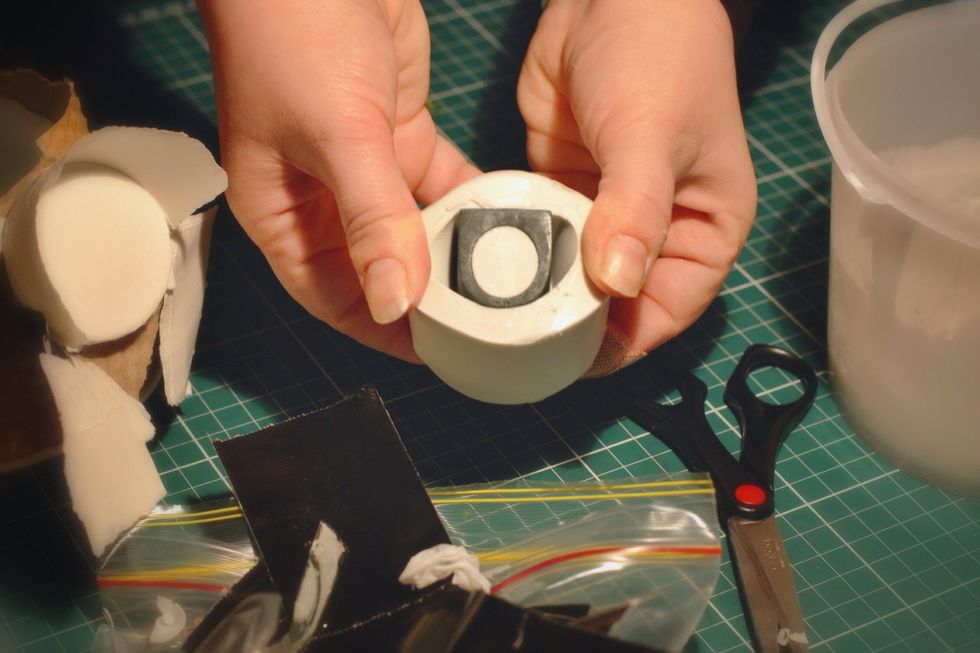
Attach the piece to the centre of the container lid or plastic cup base firmly.
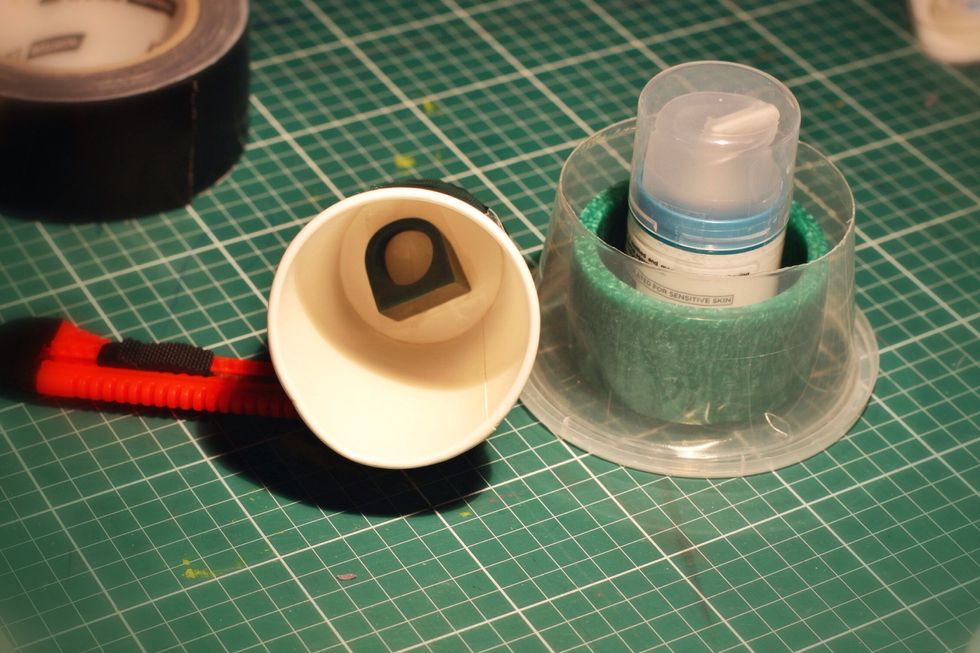
Remember to fill the centre of tubes or bangles with a crushable or tear-able container or polymer clay with 5-10mm clearance. Wrap any container of doubtful strength with duct tape.
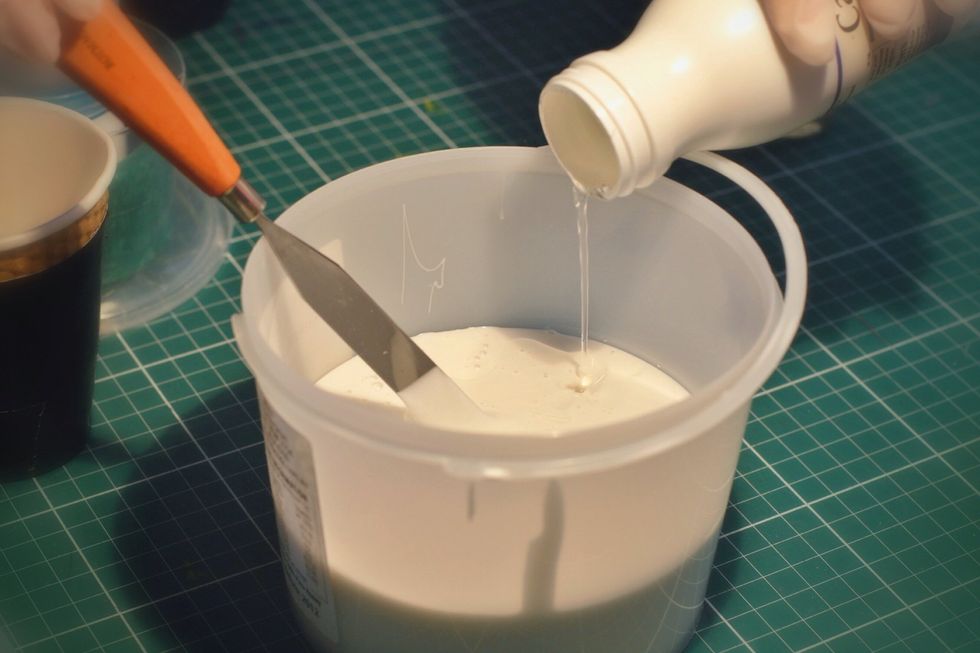
Mix your mould making silicone to the manufacturer's directions. Choose a brand and type to suit your purpose with the advice of your local retailer.
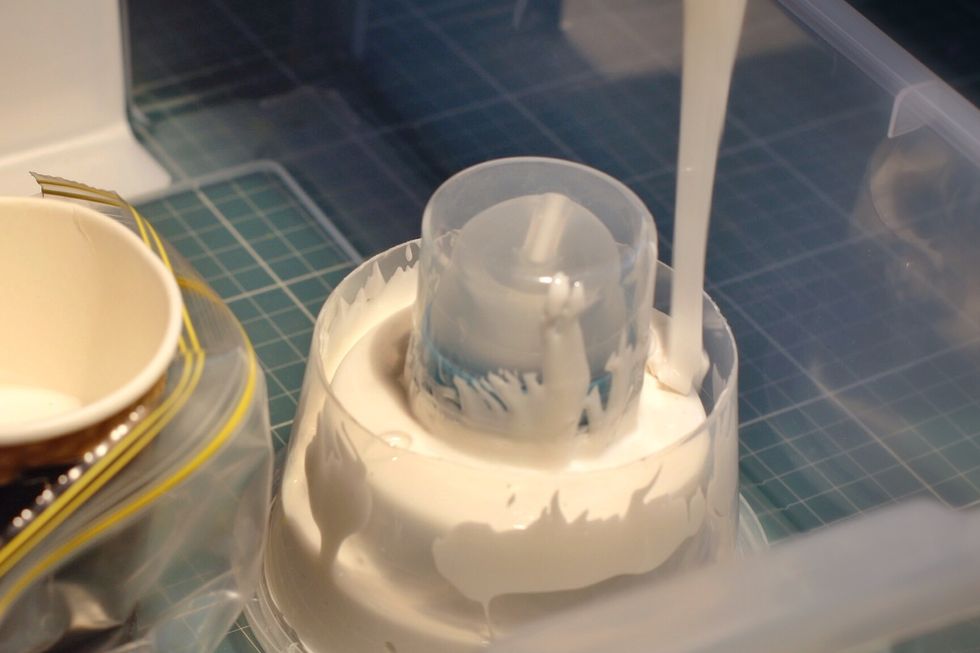
Pour your silicone in a long, thin stream to minimise air bubbles. Allow to cure for manufacturers recommended time.
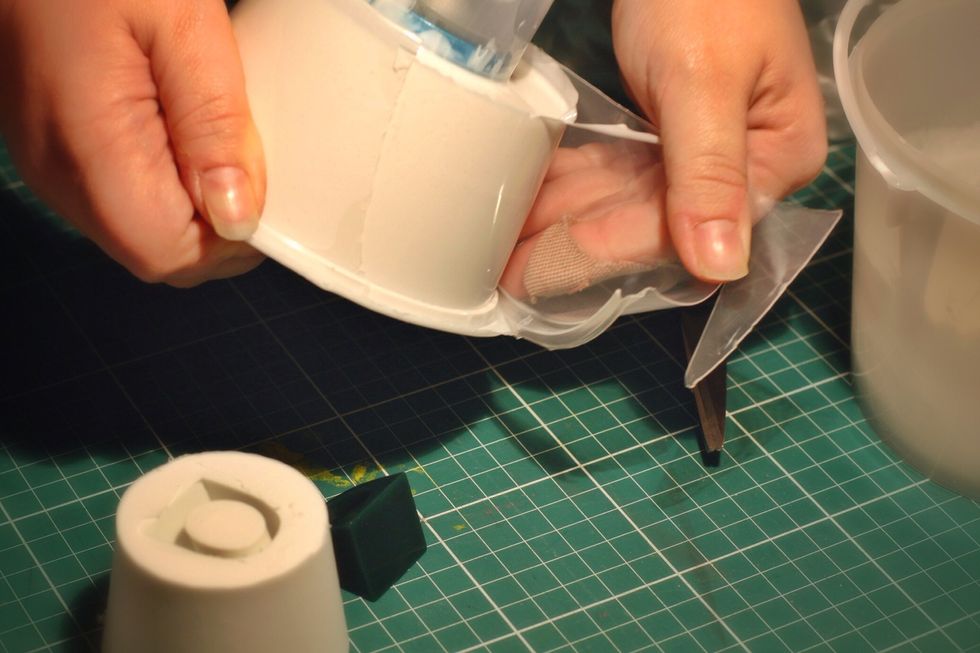
Remove the lid and peel away the plastic containers from the silicone.
Gently ease the silicone from around the edges of the cast object to break the seal, then pull out the cast object- don't worry, the silicone is quite robust.

Trim any excess silicone from the mould. You now have a finished mould ready to use.
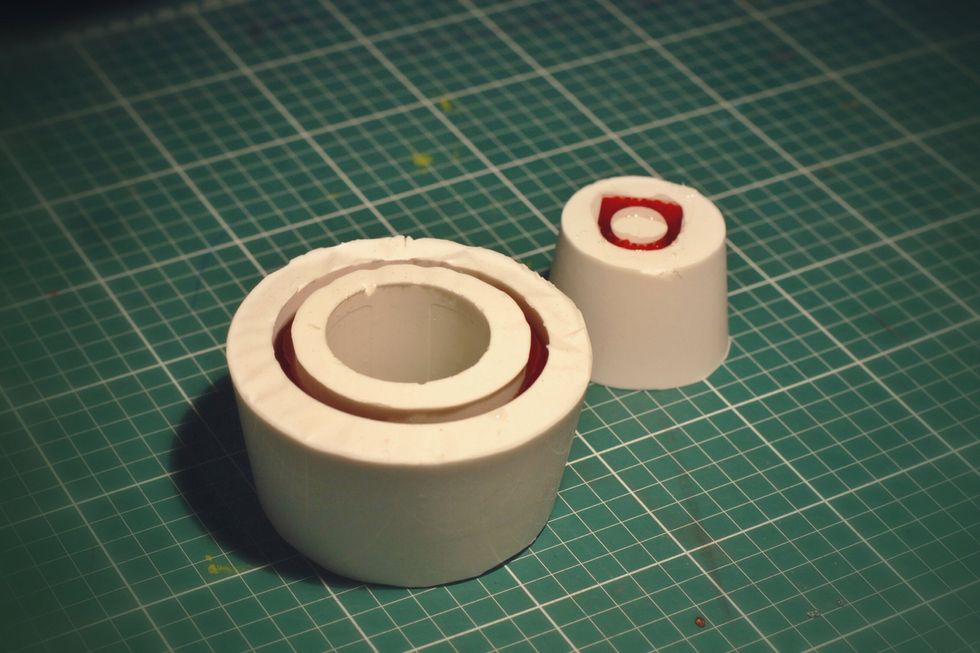
These moulds have been filled with epoxy resin and glass beads for their first casting.

The first casting, ready for polishing. Enjoy!