The Conversation (0)
Sign Up
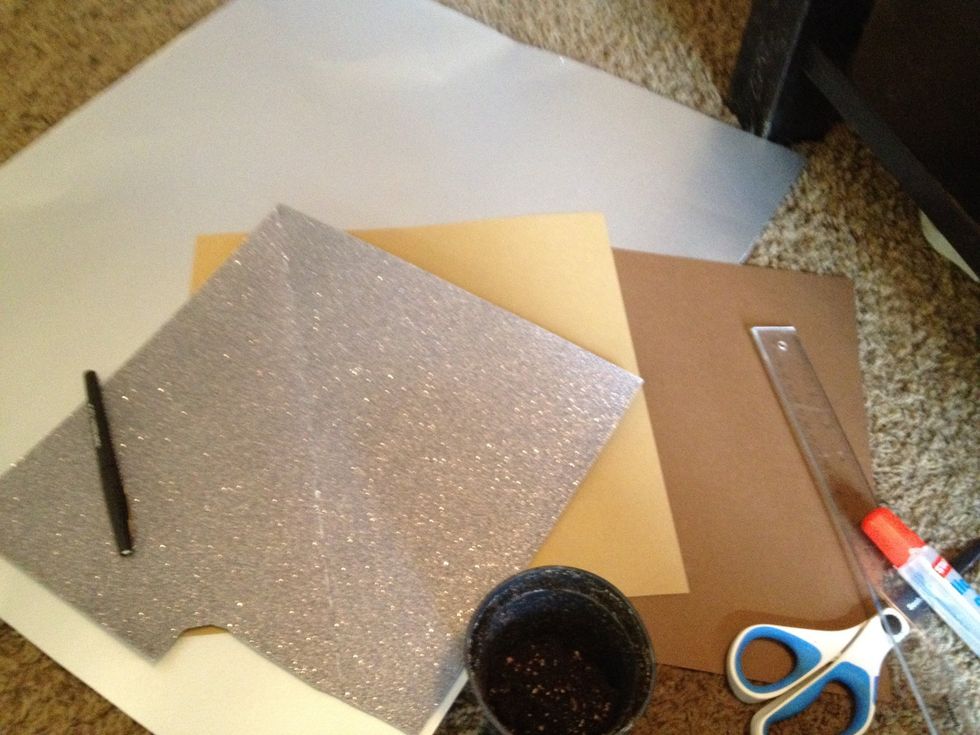
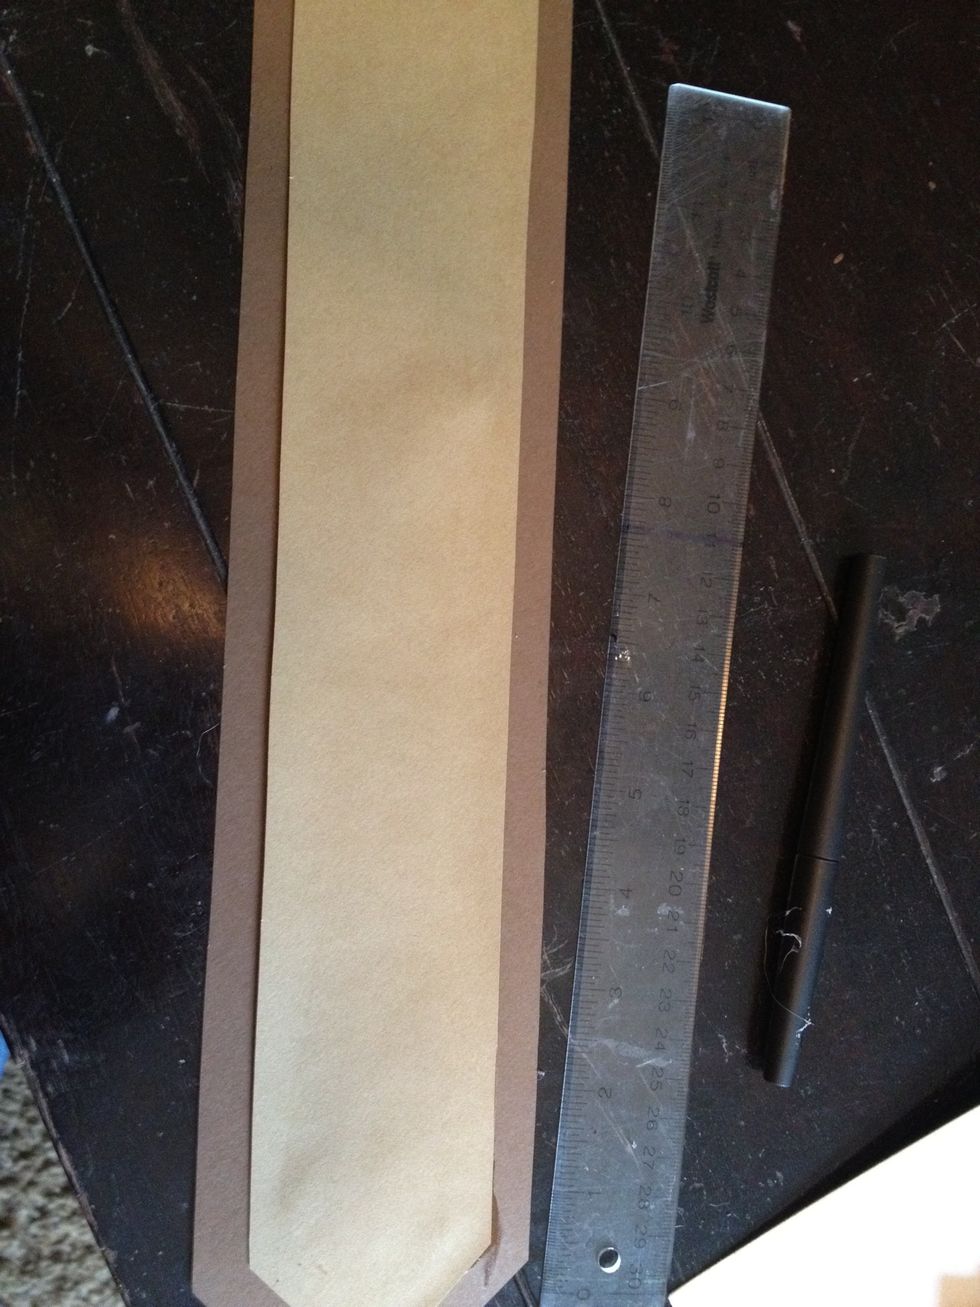
gather your supplies. I chose two shades of brown paper for the handle and shaft of the shovel, and a glittery silver and silver sheen paper for the blade.

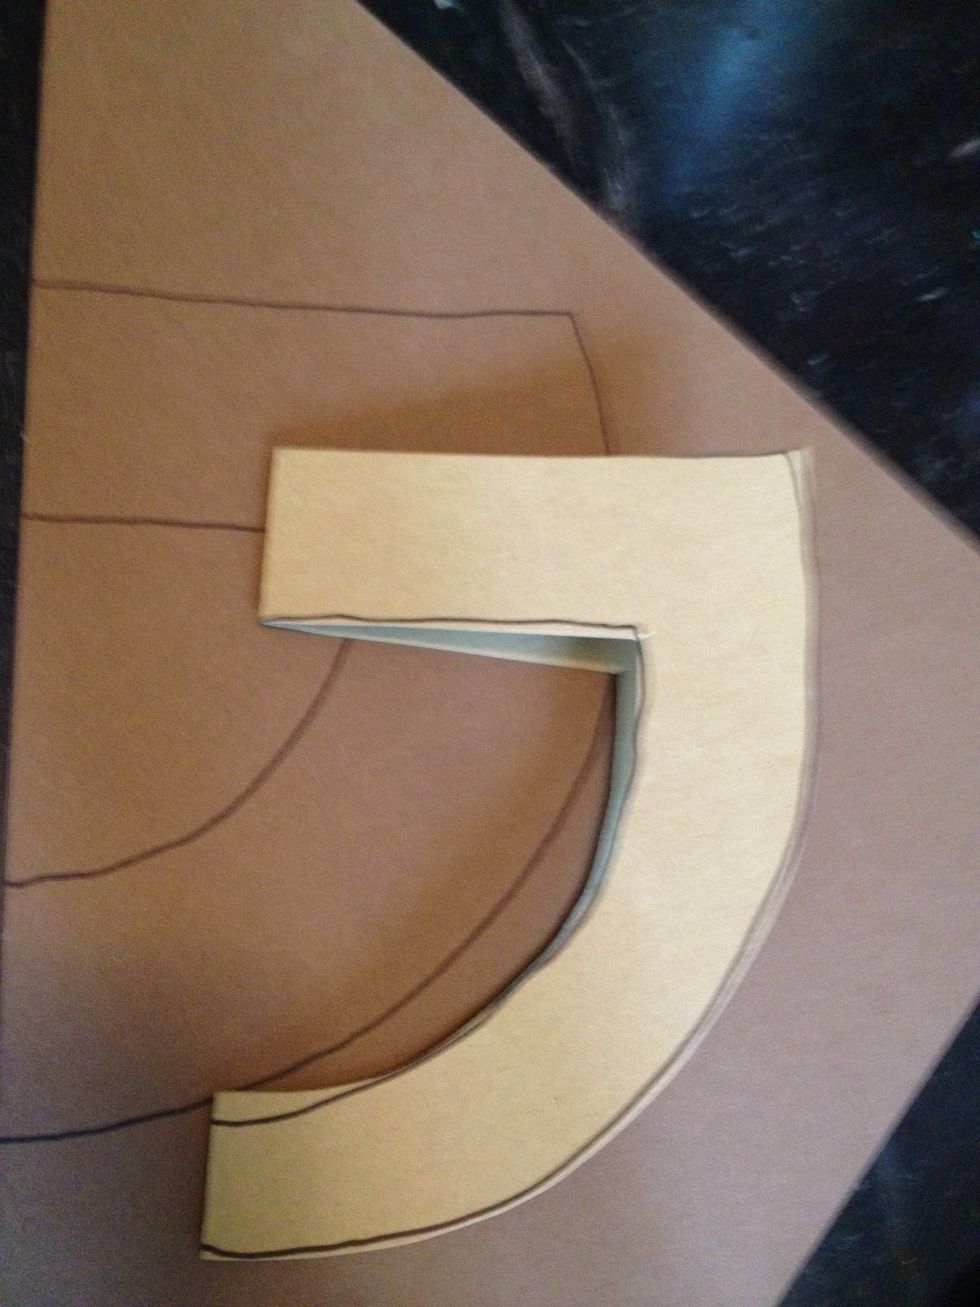
I used a template from google images to trace the outline of the spade on my glittery paper. then I cut out the spade.
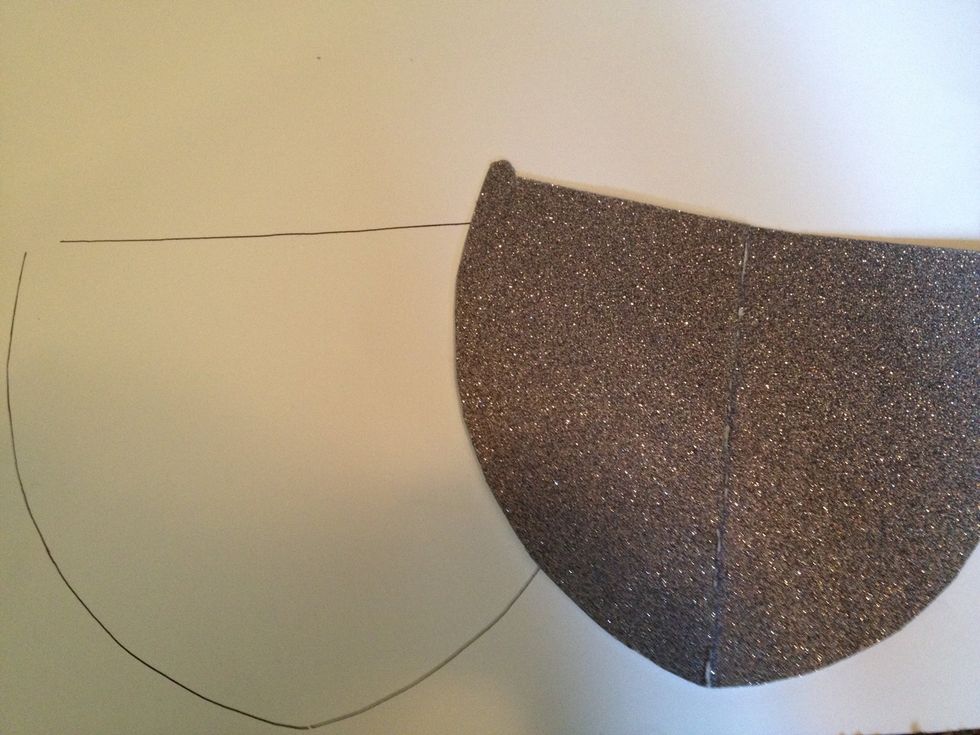
than I traced and cut a 1/2 inch smaller version of the spade onto the silvery sheened paper. note: I trace on the back so that if I cut it funky, the marker or pencil doesn't show up on the front.
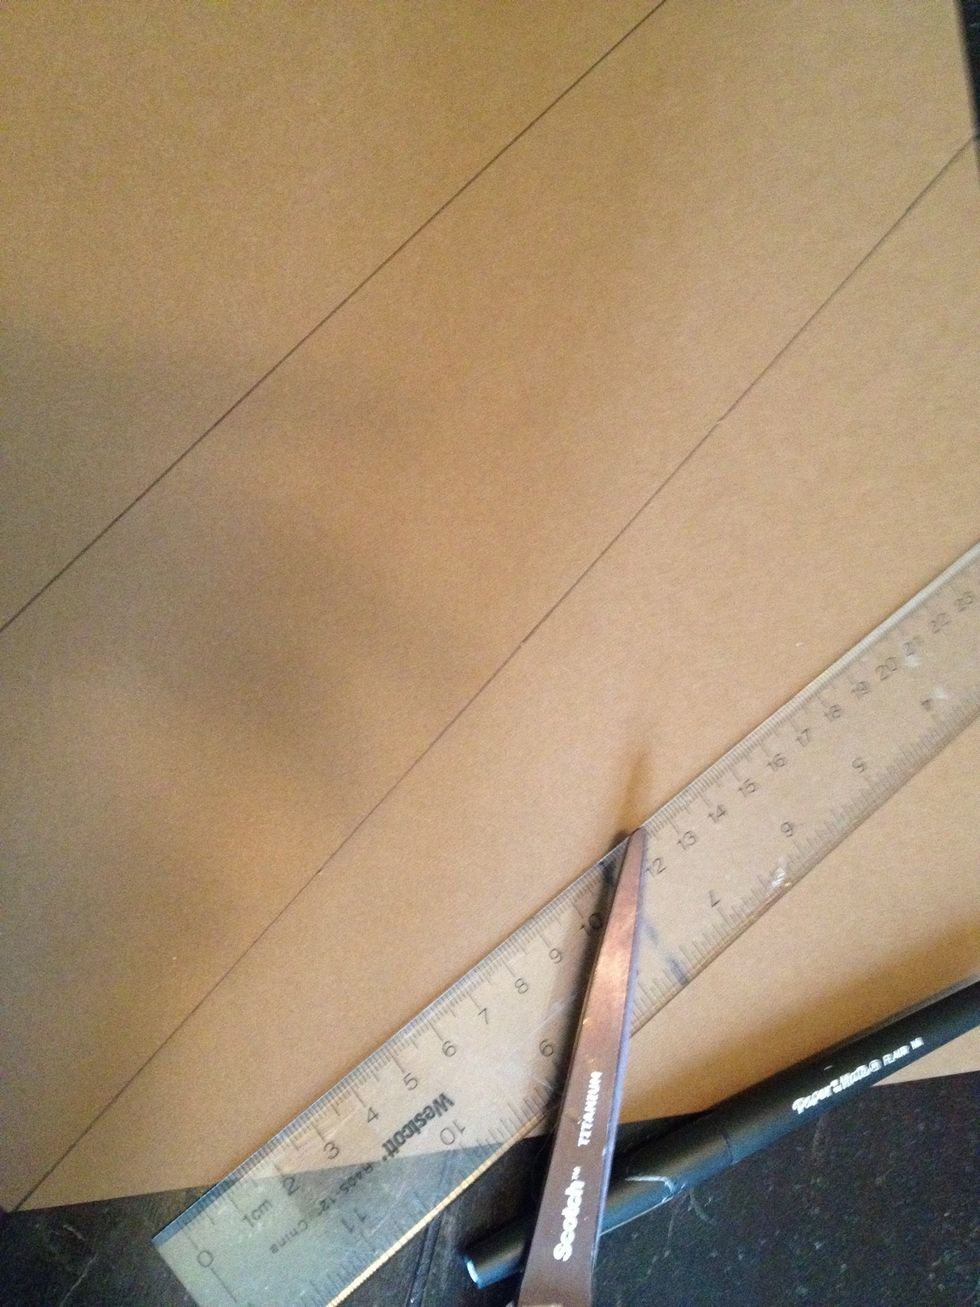
trace and cut a basic rectangle for the shaft of the shovel using your ruler. make sure it's size porportionate to the blade.
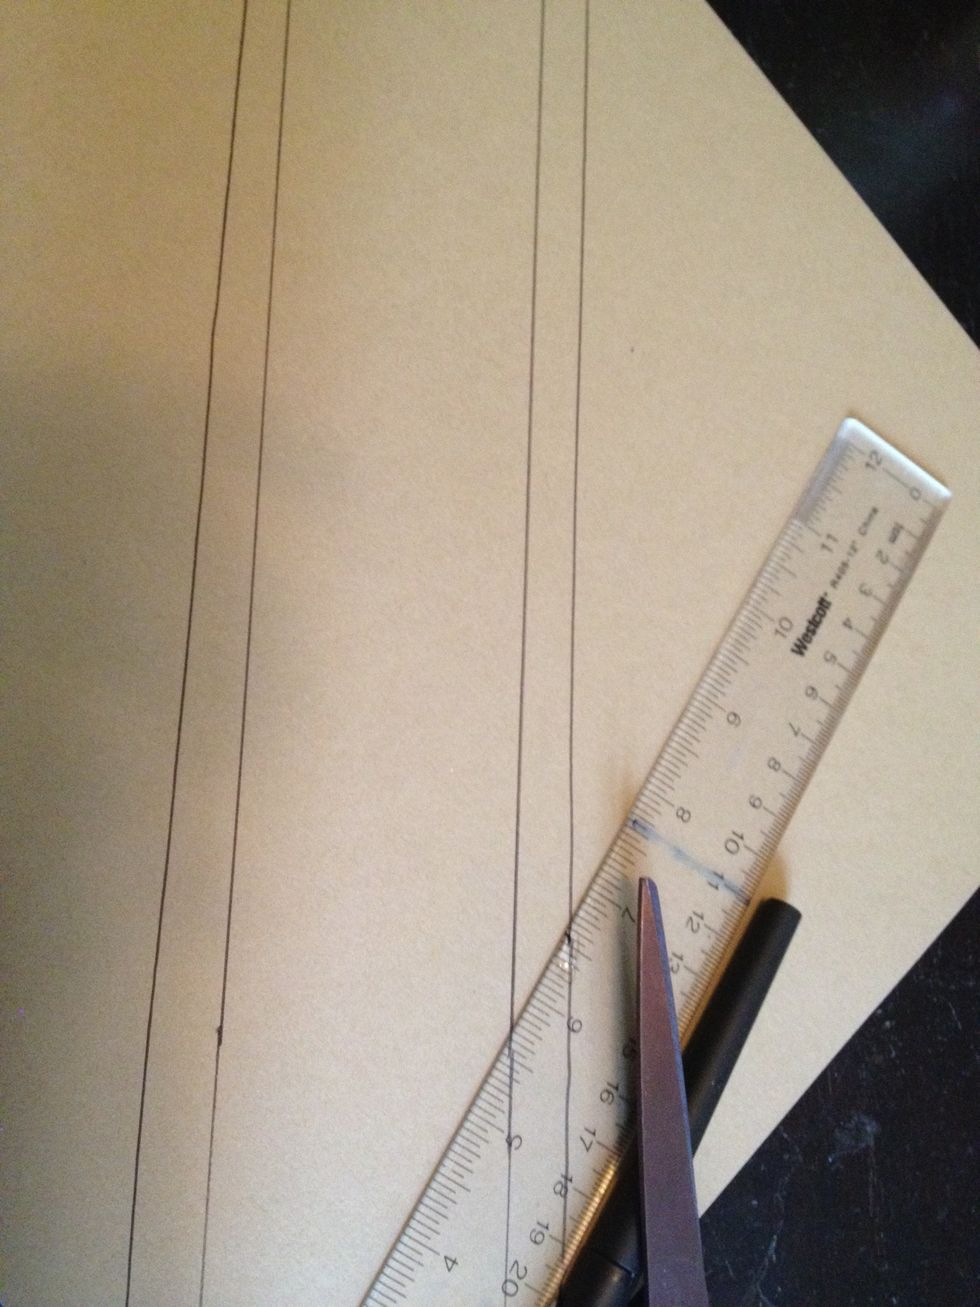
than trace and cut a smaller version of the rectangle (about a 1/2 inch smaller) on the lighter sheet of brown paper.
glue the smaller light brown rectangle to the bigger dark brown rectangle and place beneath a heavy object to set.
here's where it gets tricky: glue the shaft between the silver sheen paper and the glittery paper (this creates depth, interest, and stability.)
NOTE: place freshly glued portions beneath something heavy to set/dry. I like to use high school year books!
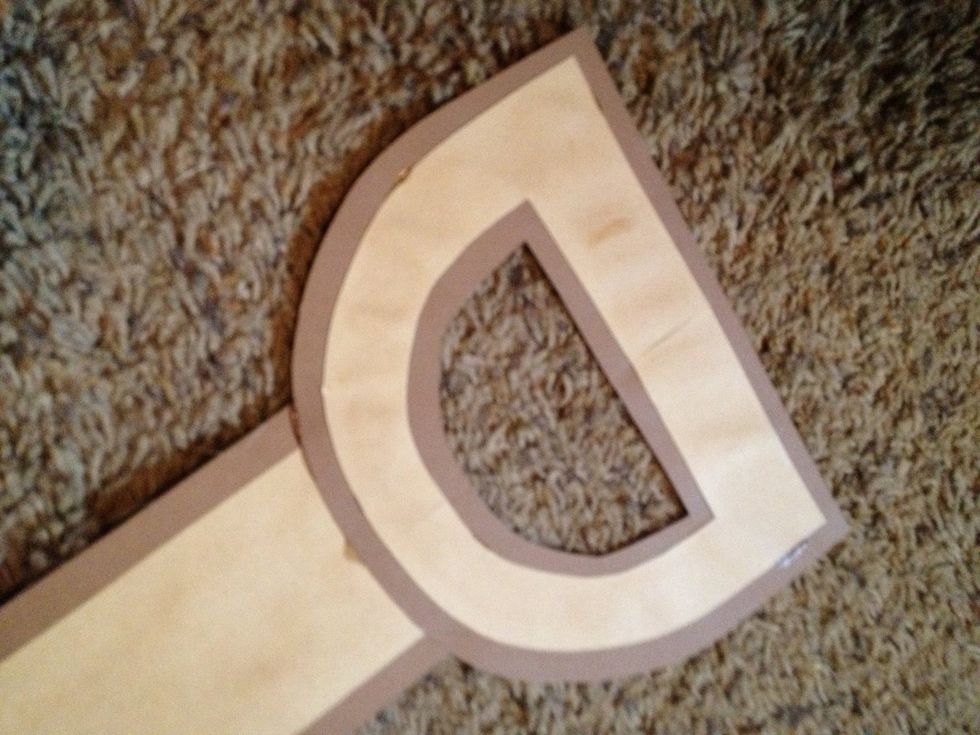
to create the handle, I folded a scrap of light brown paper and traced & cut a 'D' shape. than I traced the handle a 1/2 inch larger onto the dark brown paper and cut it out as well.
glue the two handles together (light brown on top,) glue to the shaft, and place beneath a heavy object to set.

put a lot of glue on the base of the shovel and scatter soil over the glue. don't shake immediately, let it set/dry first.
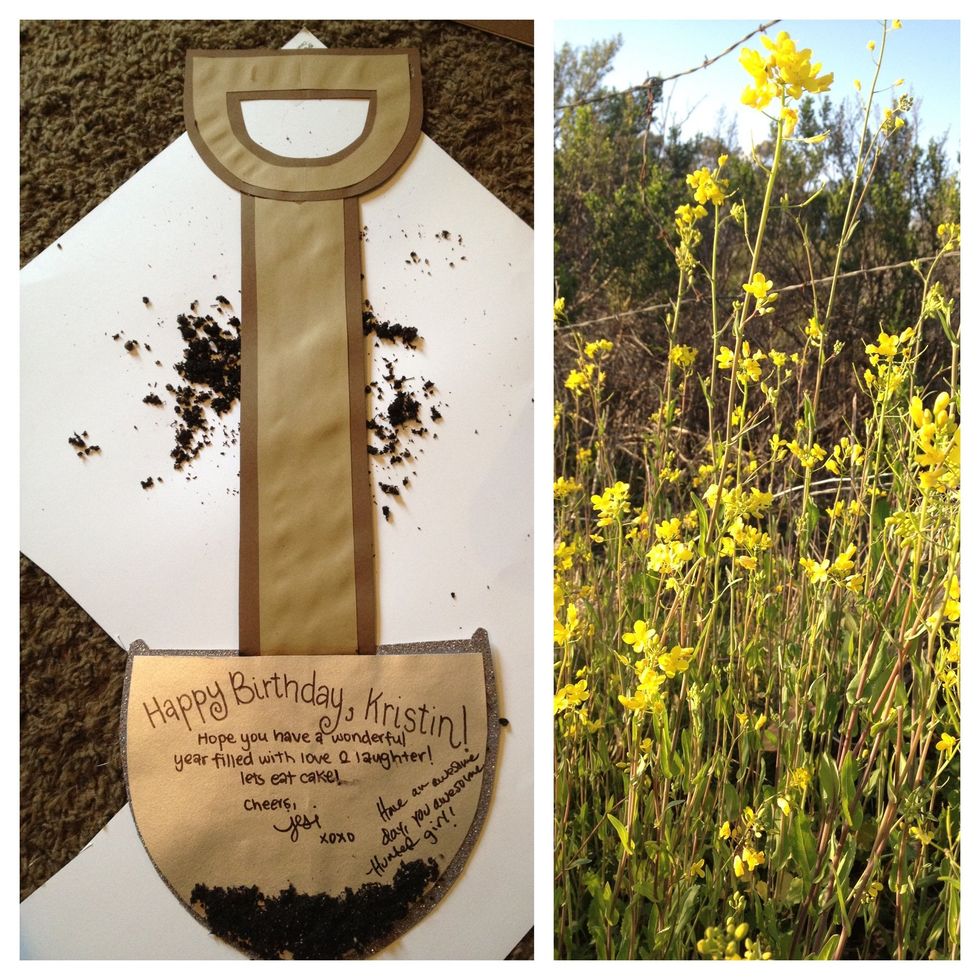
when soil and glue dries, shake lightly to remove excess. than write your message on the shovel blade! I hope your friend enjoys this personal gift!
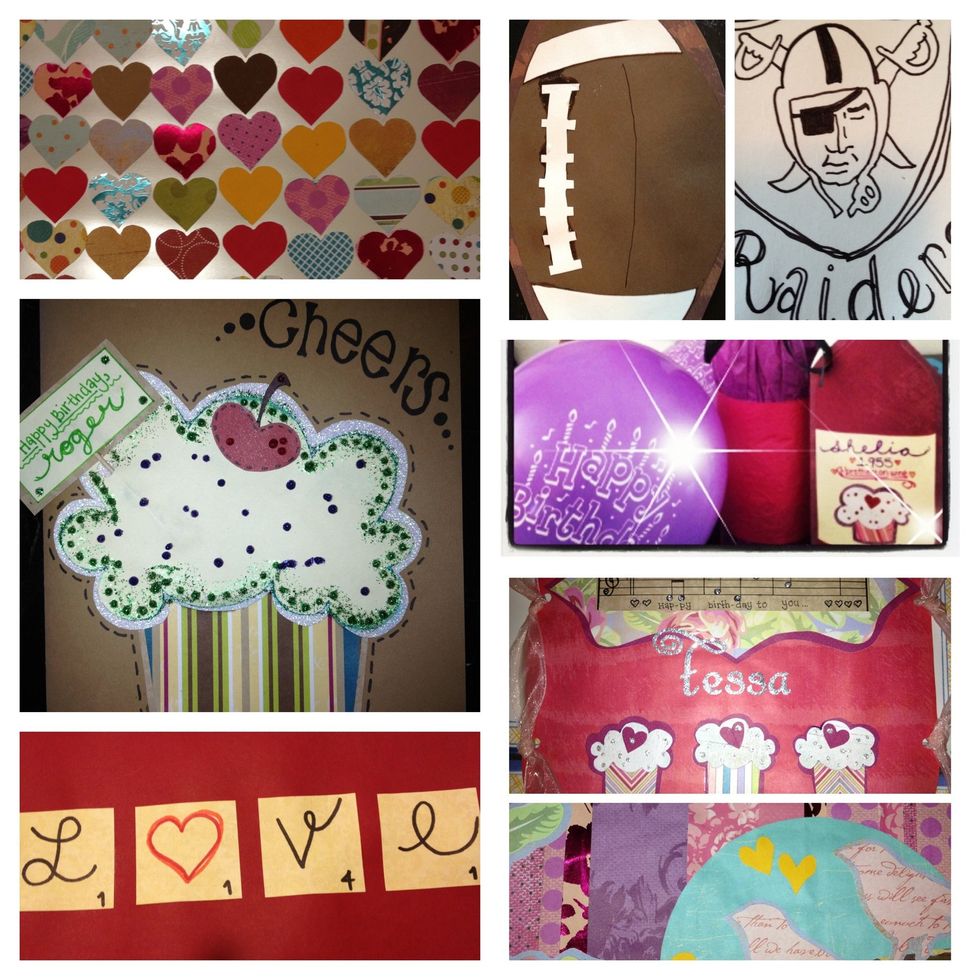
pictures of my other cards: 100 hearts for 100 days of marriage, cupcake, love scrabble tiles, a raider's card, a wine bottle, and music notes, cupcakes, and finches for my best friend's birthday!