The Conversation (0)
Sign Up
Trace the tag from inside the Washi Tape packaging onto design paper. Be sure to trace the center cut out. Trace a 2nd tag but do not trace the cutout. I'm using the A & B sides of Dazzling Diva.
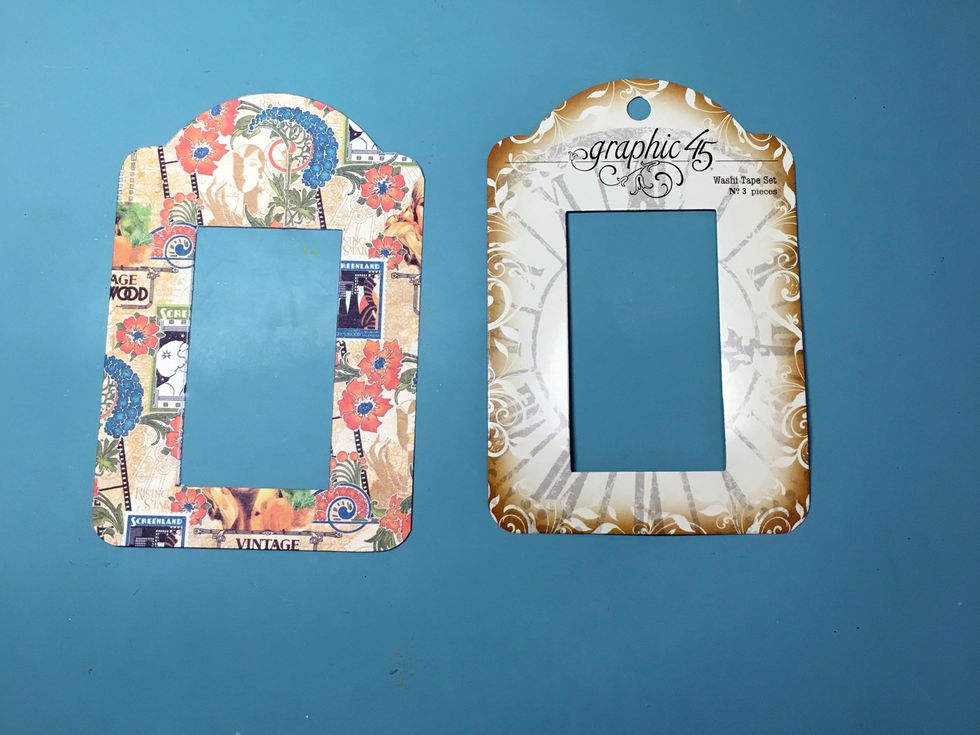
Mark & punch holes in the both traced tags. The center cut out tag is the front tag and the tag without the center cutout (not pictured) is the back tag. Ink the edges if desired.
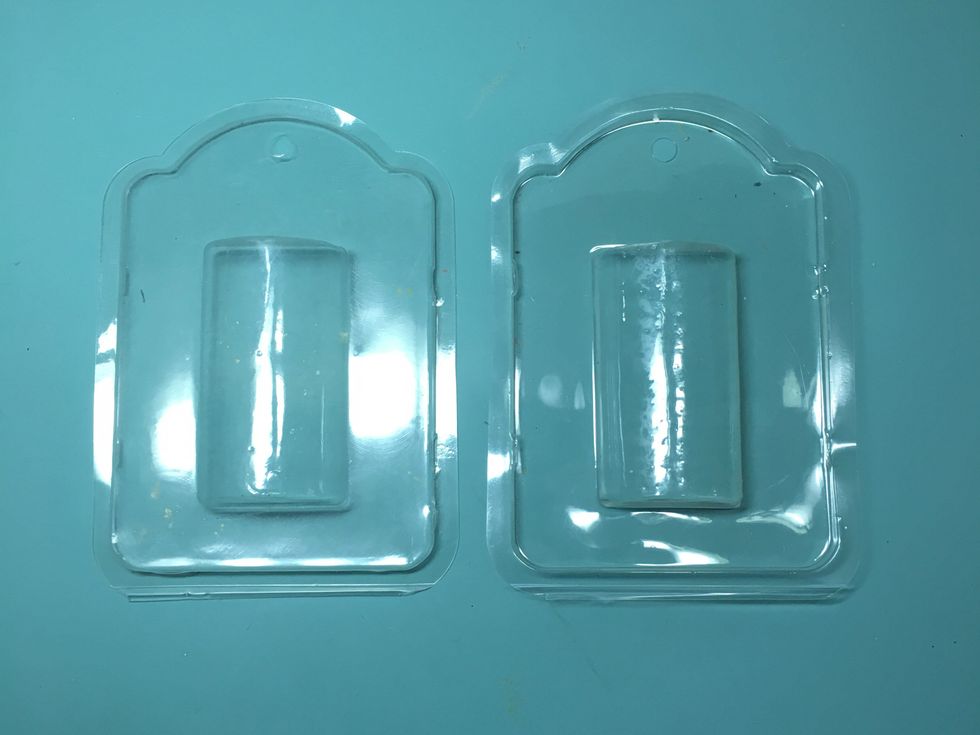
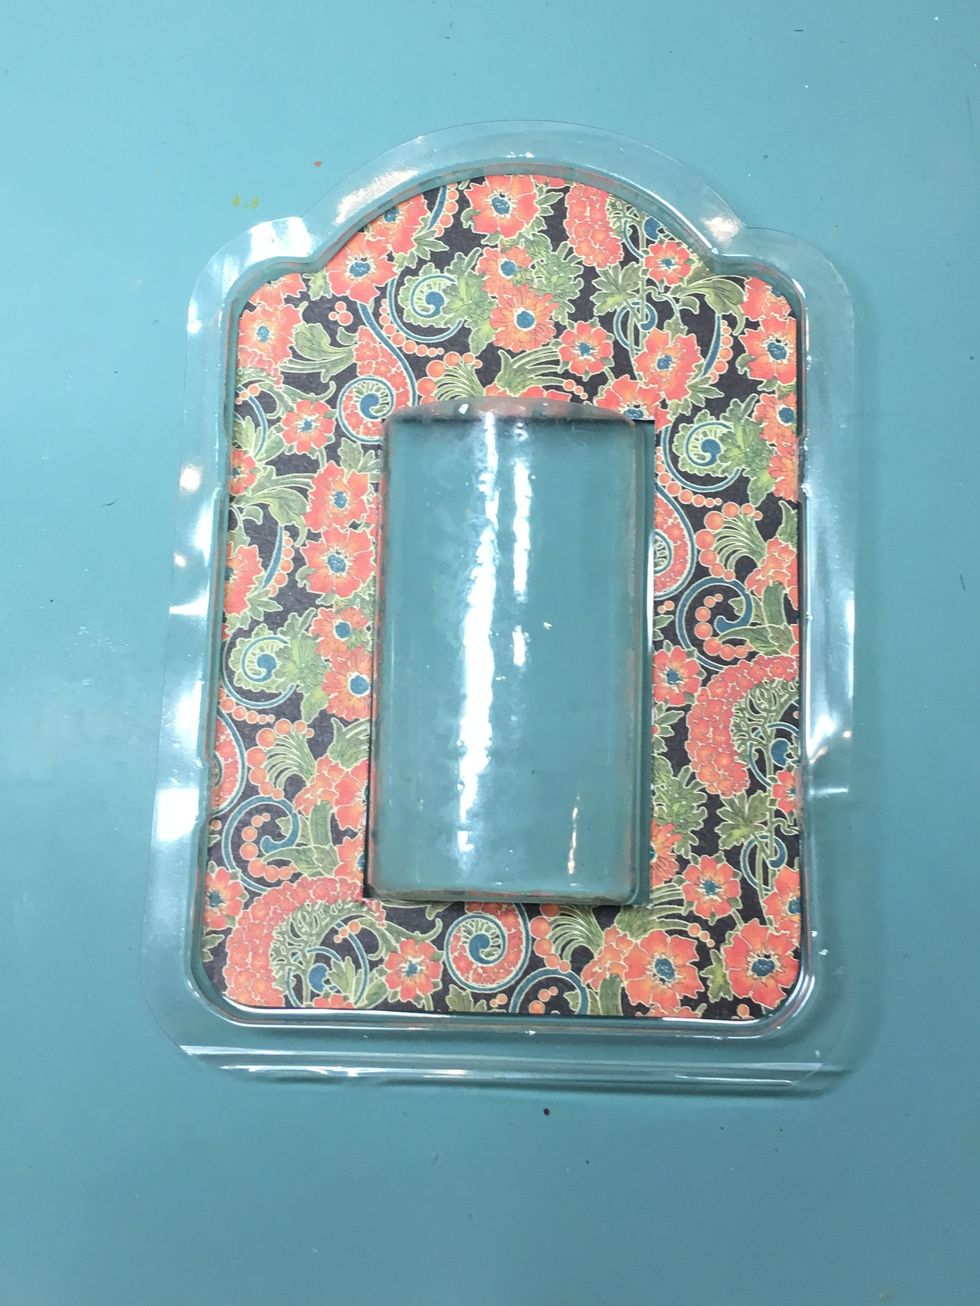
Take the plastic packaging from the Washi Tape & cut in 2 pieces along the bottom. Start with the left packaging where the tag base is raised. The tag base is inset on the packaging on the right.
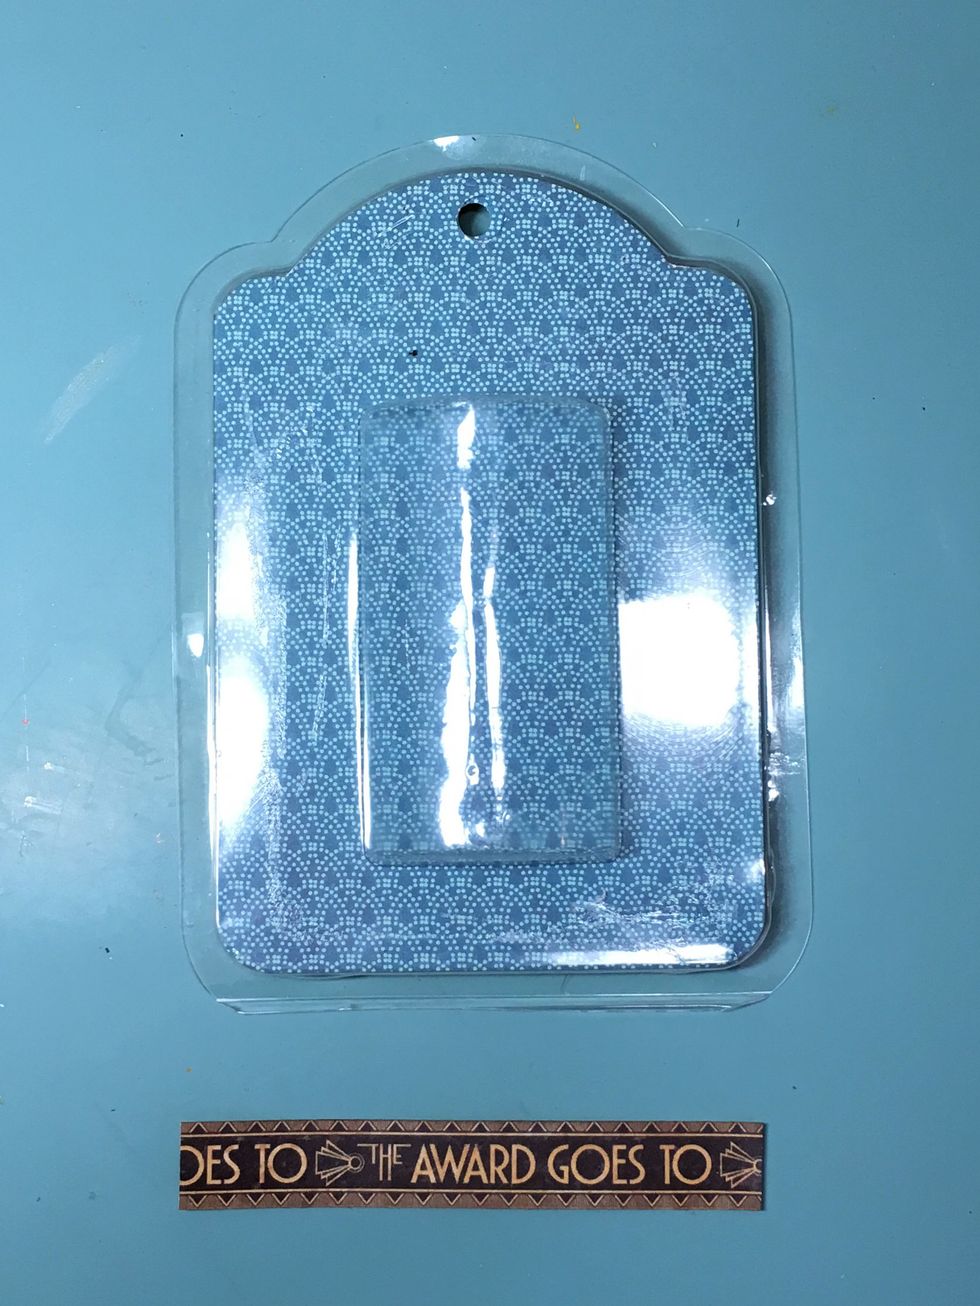
Cut a decorative strip from Glitz and Glamour design paper about 4" wide. In this photo you can see the backing fitted inside the plastic packaging.
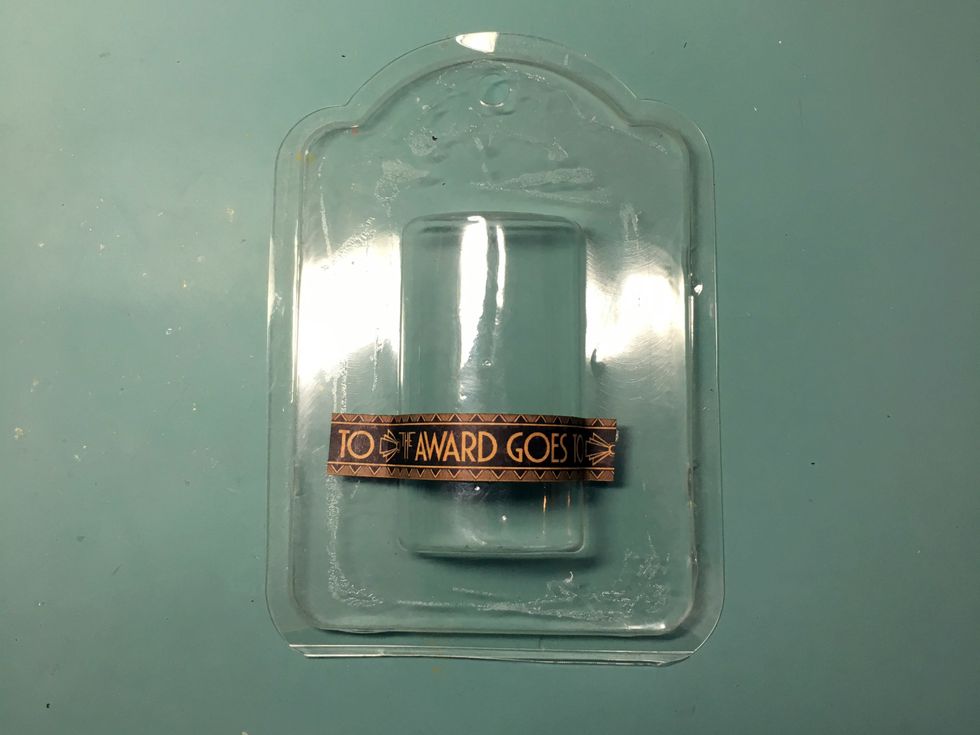
Glue the strip over the bumpout as shown.
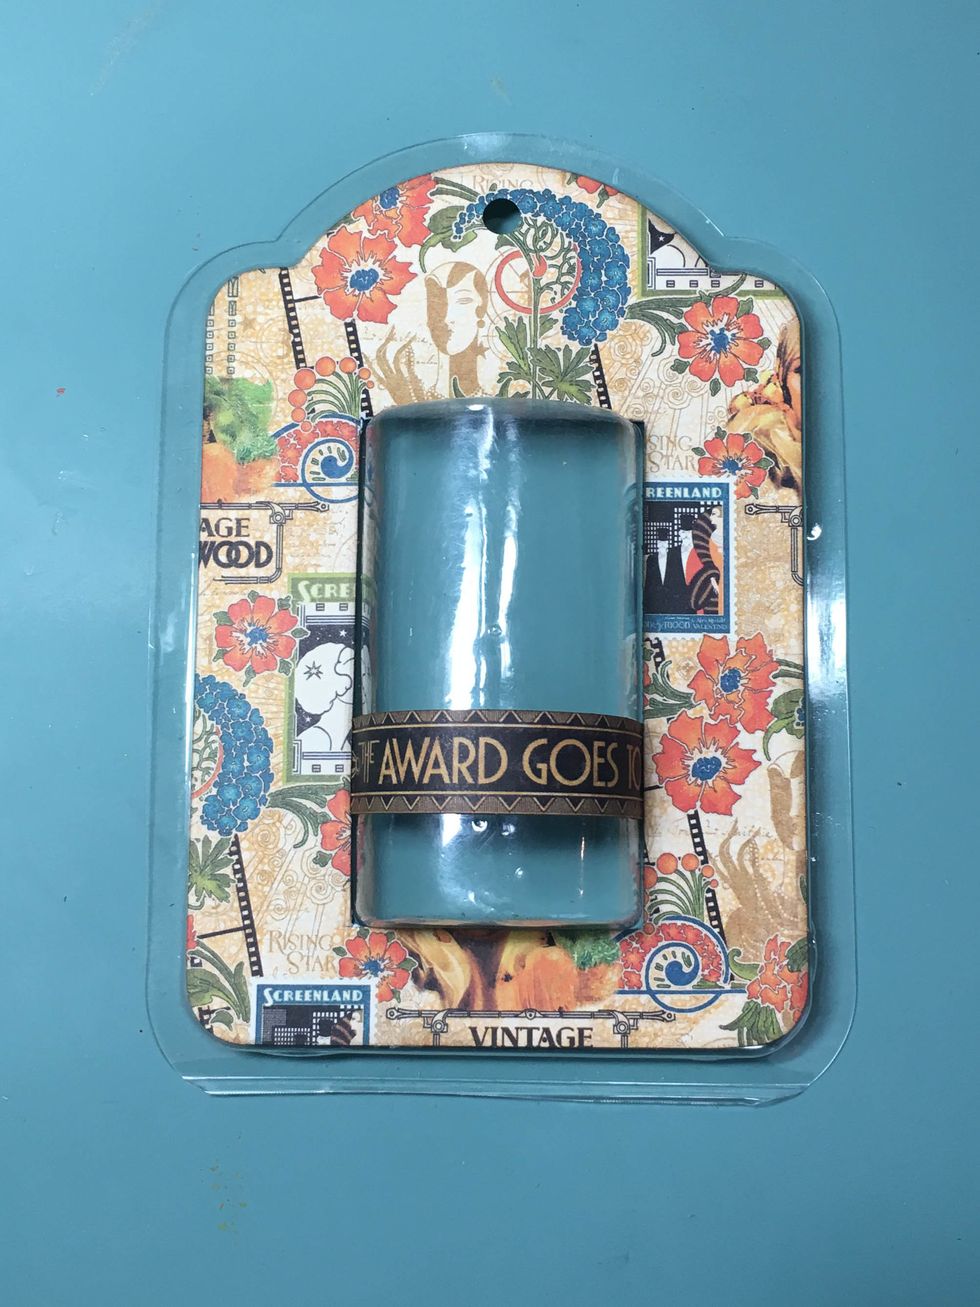
Now glue the tag that has the cutout on top of the plastic packaging. Fill the bumped out portion with shaker material and glue the 2nd tag to the backside. Embellish & you have a great shaker!
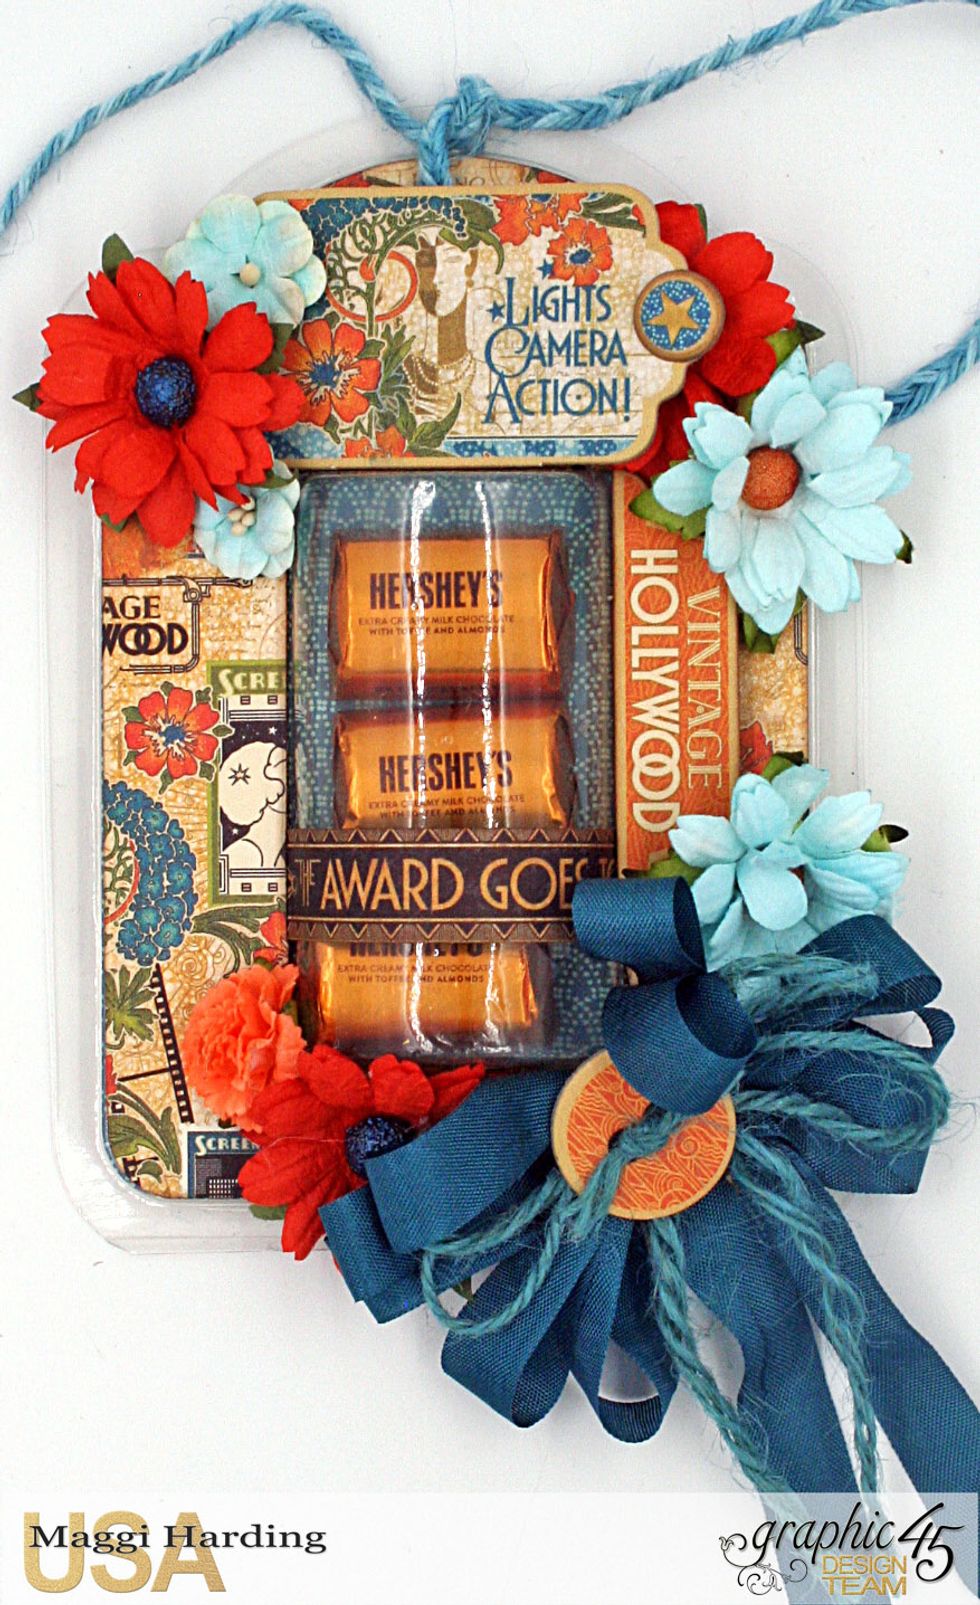
The shaker part is large enough to hold 3 nice pieces of chocolate! Embellish as you please with flowers, chipboard pieces and ribbon.
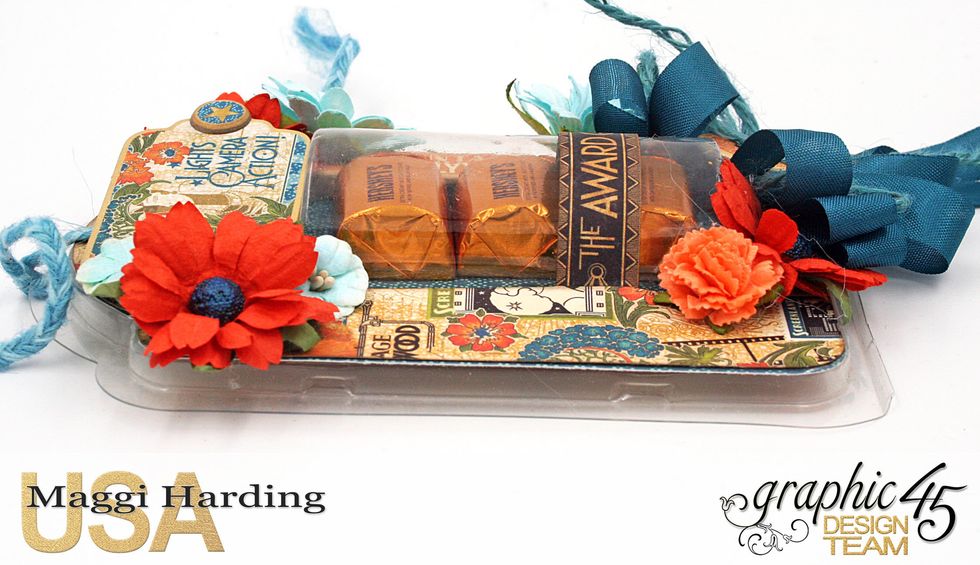
Side view of the tag.
For the 2nd shaker, cut out two tags, cut the center from one & leave the other whole. Glue the cutout tag inside the plastic packaging. I used Delightful Debut for the top.
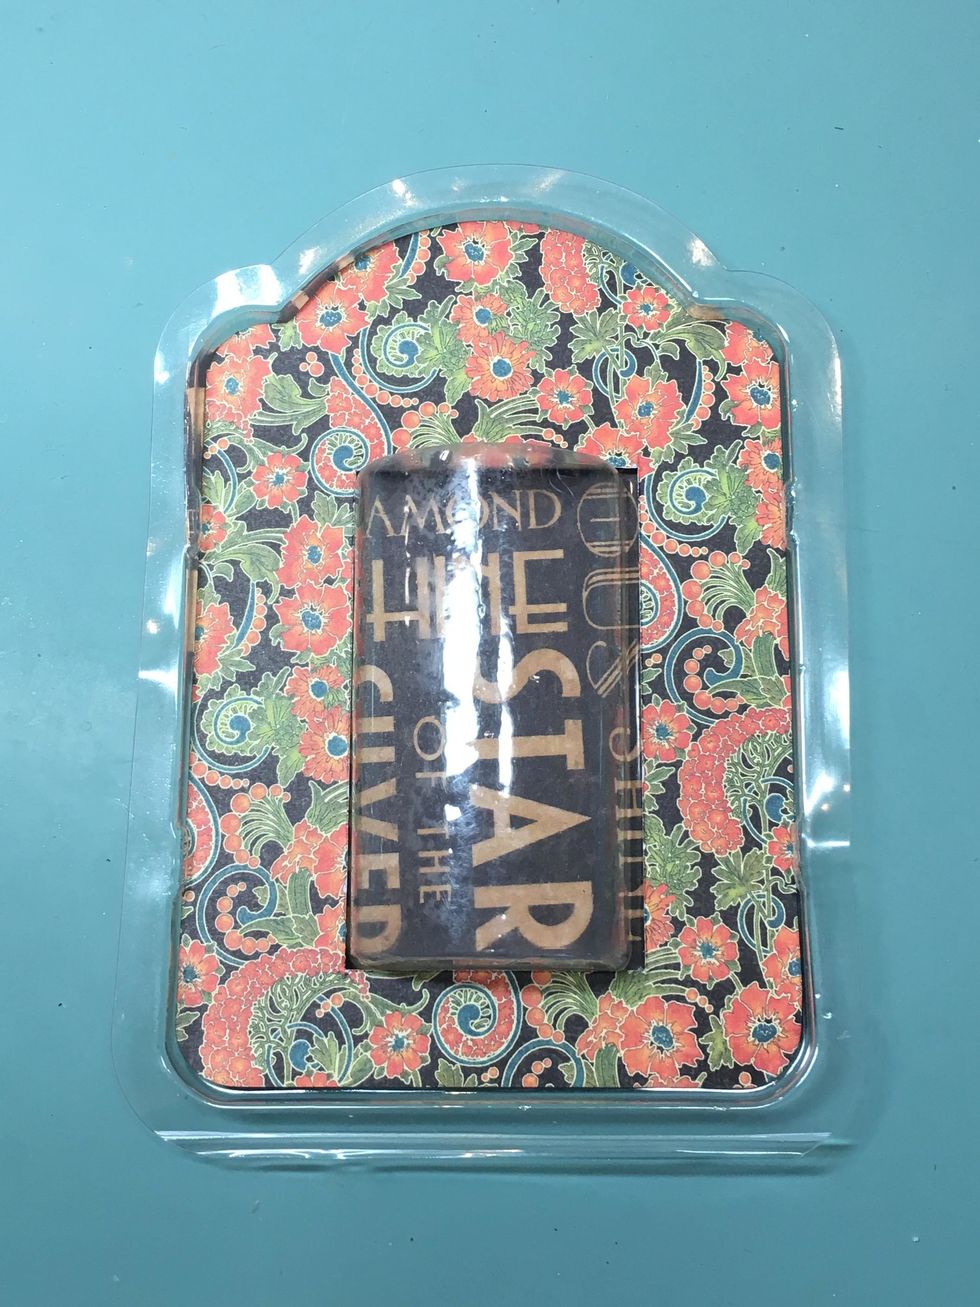
This is the basic tag before it is filled. You will need to turn the tag over, fill the center part with shaker material & glue the back in place. I used Silver Screen for the back.
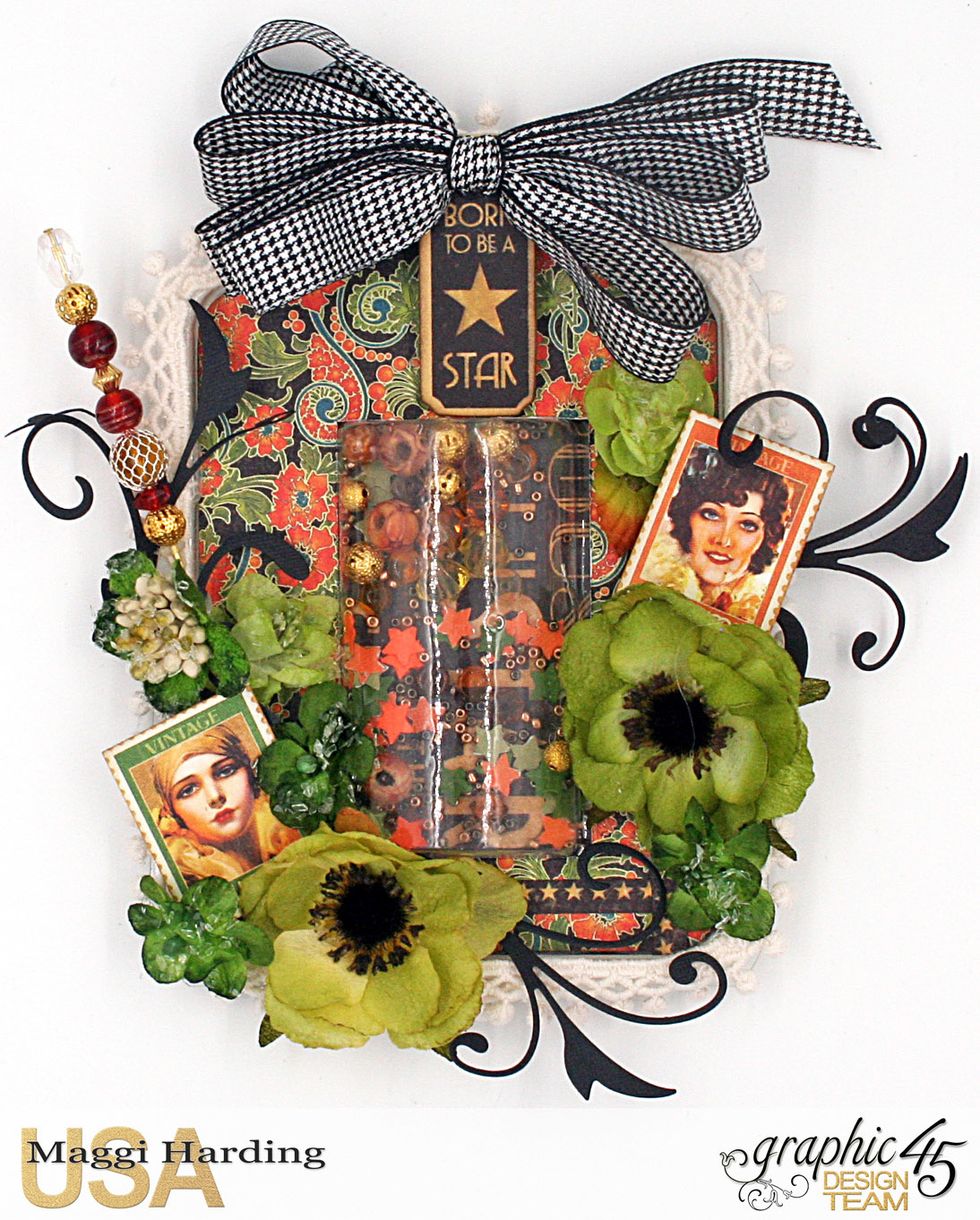
To make the outside of the tag more attractive, glue some small trim around the plastic edging of the tag. I used cream cotton crocheted lace.

Add flowers, ribbons, and trim to make your tag fun and pretty! You can use lots of things for shakers. I used beads and some punched stars.

I made the stick pin to add to the glam of the tag.

I design for Graphic 45, Creative Embellishments, Petaloo, & Cheery Lynn Designs. Tutorials on my blog:bit.ly/1Sem2J0. Pinterest:bit.ly/1HhWvOx Thanks so much! If you enjoyed this guide, please like.