The Conversation (0)
Sign Up
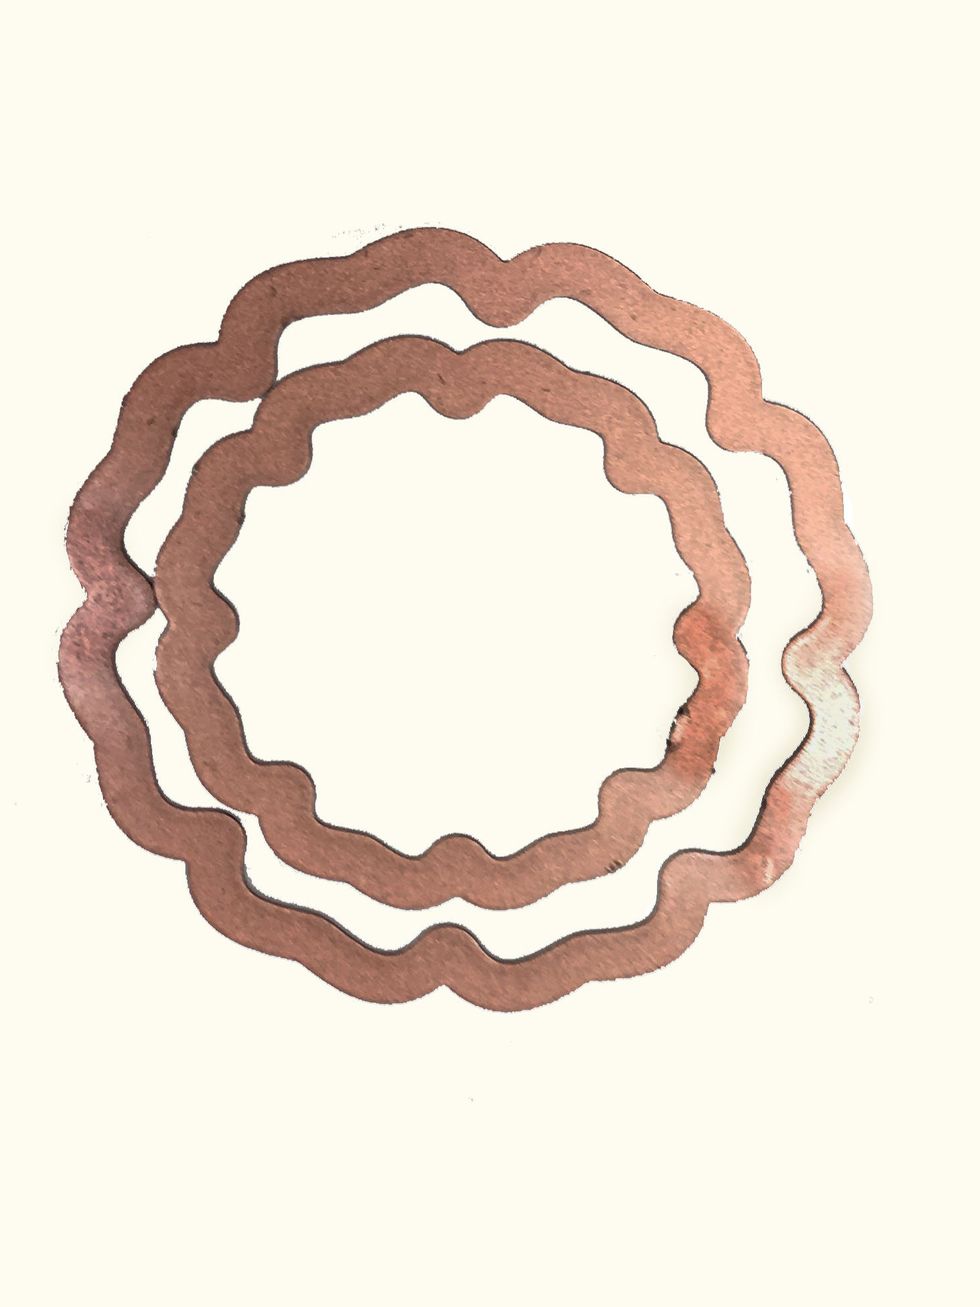
Let's start with making a shaker using a set of nested dies such as these Spellbinders Blossoms 3. You need two matching dies from a graduated set such as these.

The nested dies will allow you to cut a base piece (solid flower at the bottom) and a frame (at the top) where your shaker pieces will show through.
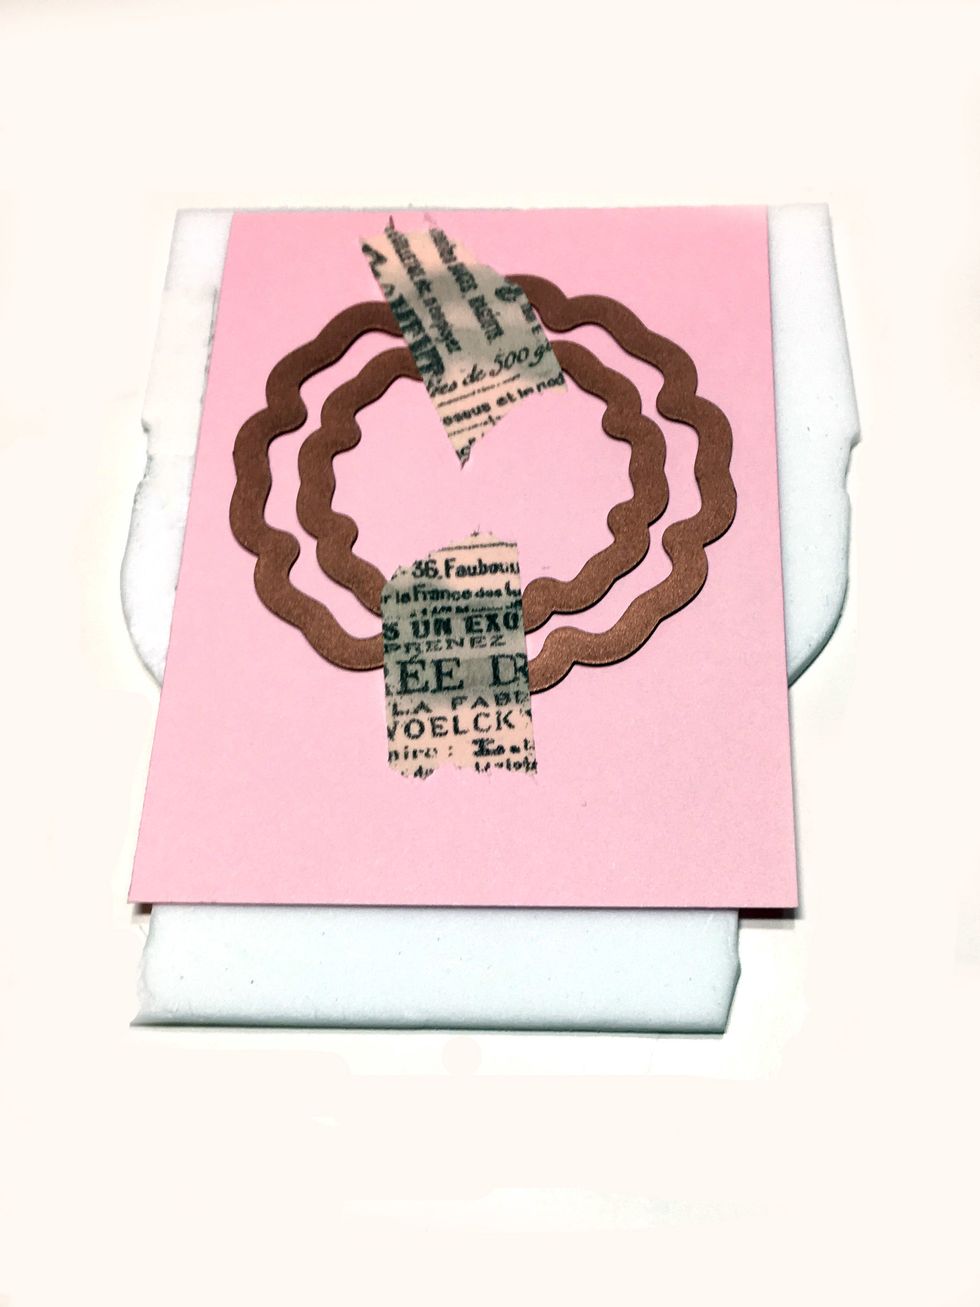
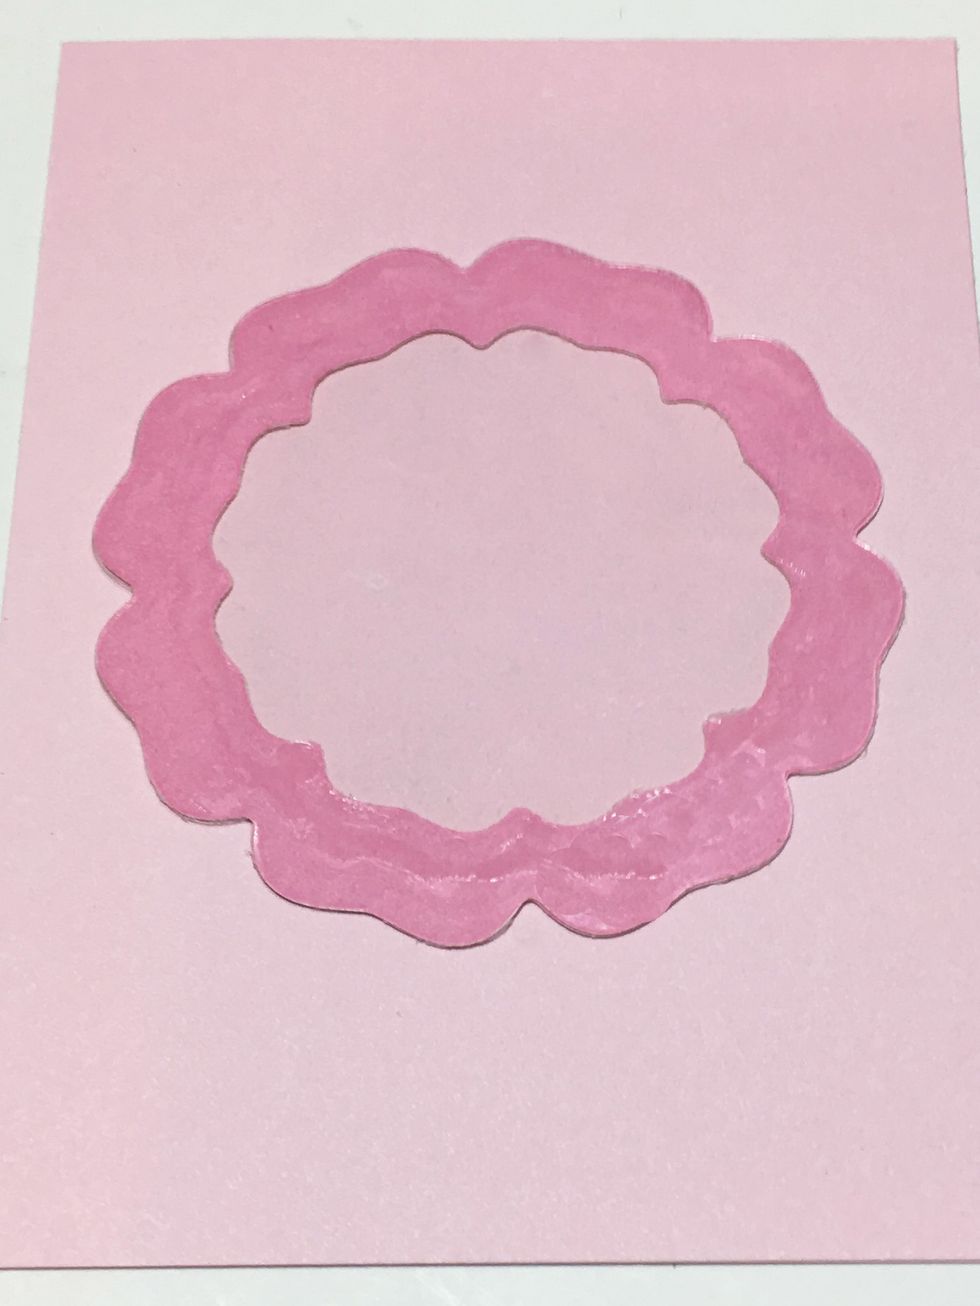
First let's cut the frame. I like to cut both the paper and the foam at the same time. Place paper over the foam & tape 2 nested dies down with removable tape so that you are diecutting a frame.
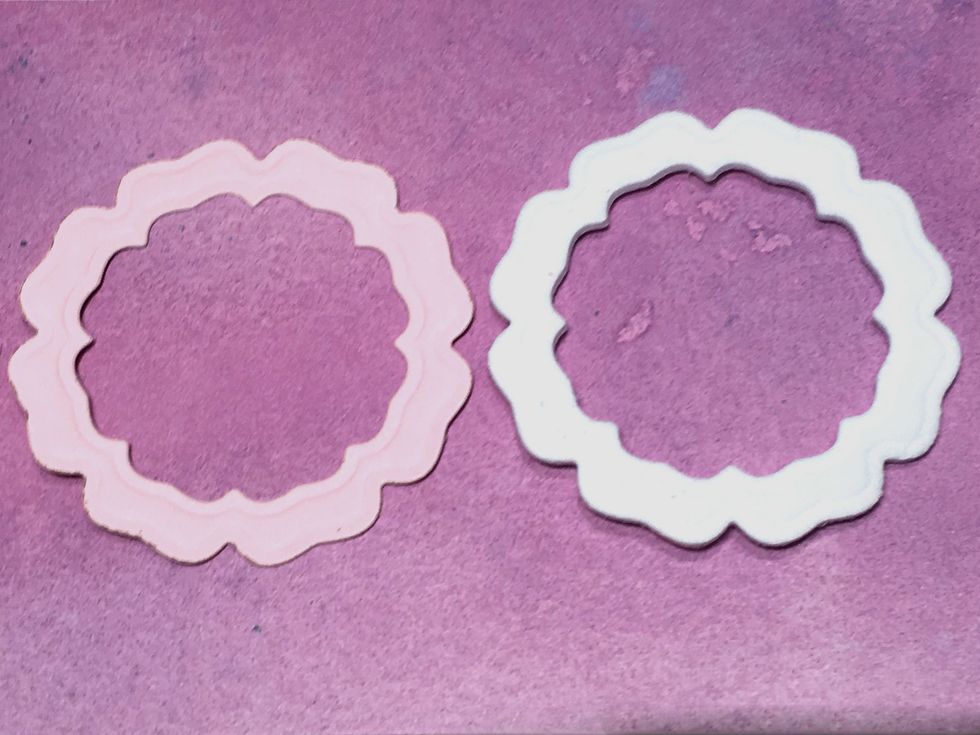
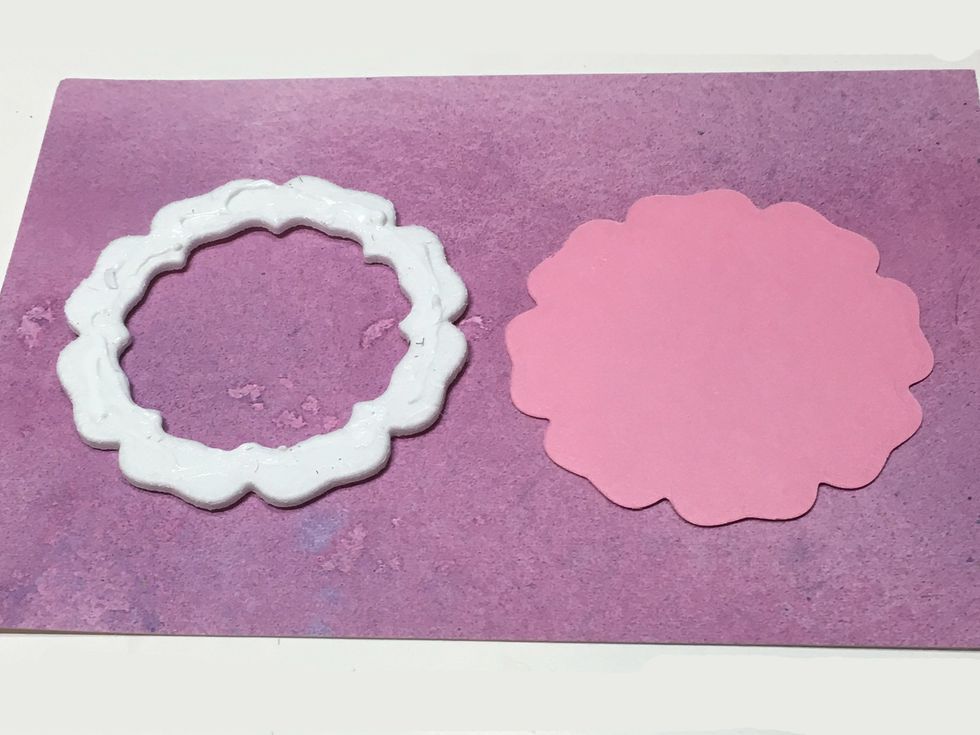
You should end up with paper and foam pieces like this.
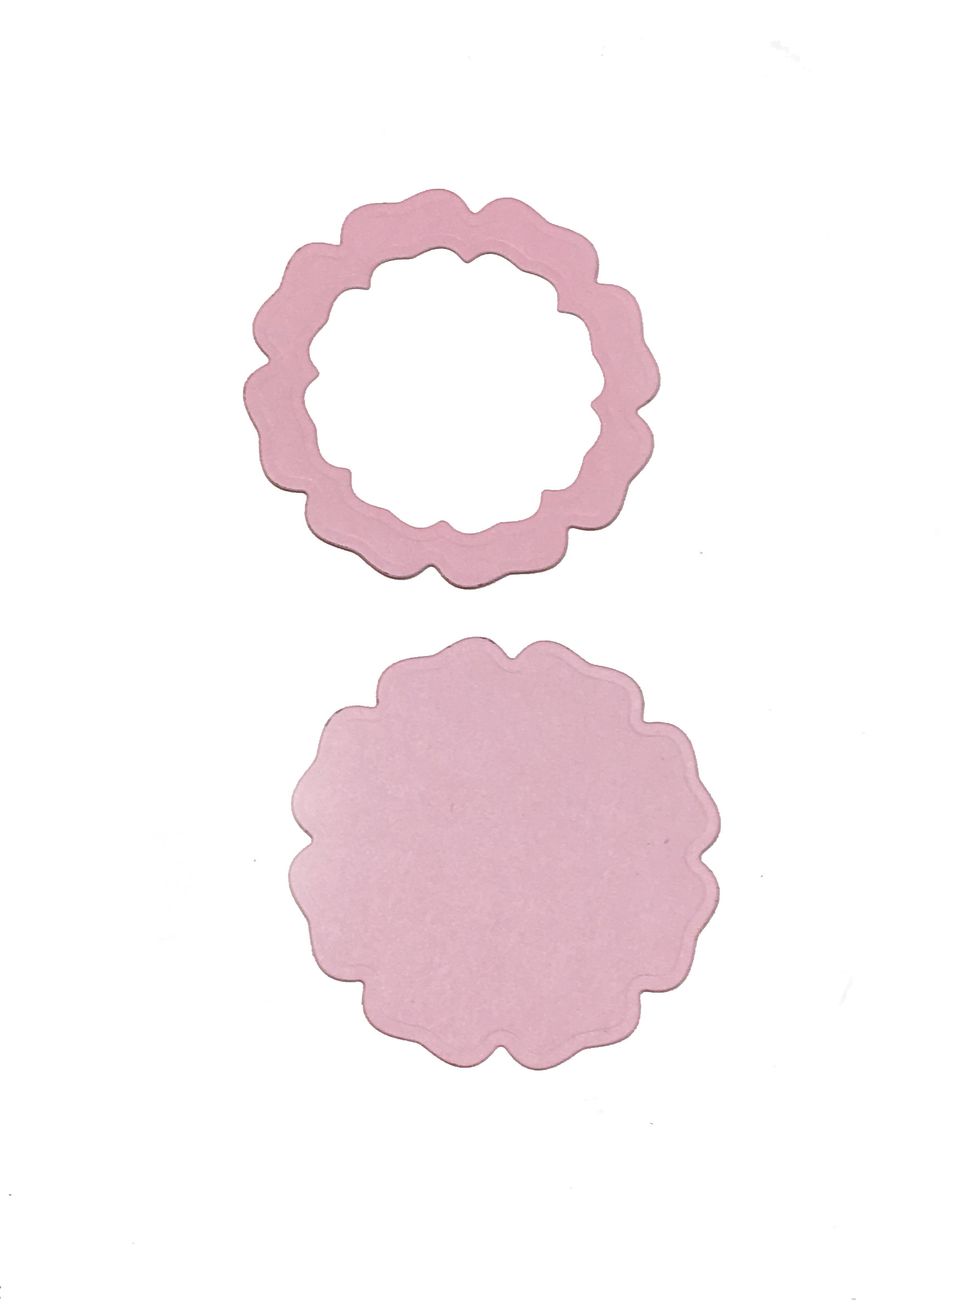
Then using the larger of the two dies, cut a base piece. Now you should have a base and a frame that fit perfectly on top of each other.

Using the larger of the two nested dies, cut a piece of acetate.
Now glue the piece of acetate to the frame. Be sure to spread the glue all over. You don't want any holes where your shakers can escape! I find a toothpick is a great tool for spreading the glue.
Glue the foam to the base, being sure to spread the glue all over so that the shaker pieces can not fall out. Clean off any glue that has oozed out and allow this to completely dry.
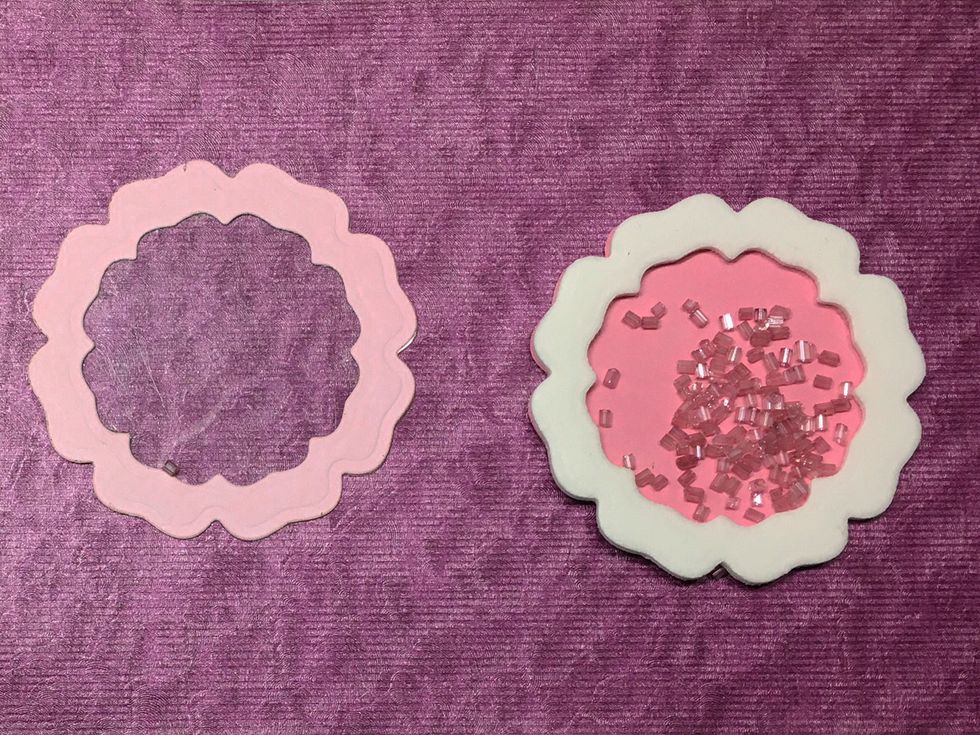
After the glue is dry, fill with tiny beads, rhinestones, sequins, confetti, etc. work well. (The shaker pieces will adhere to any glue that is not dry and of course, they won't shake!)
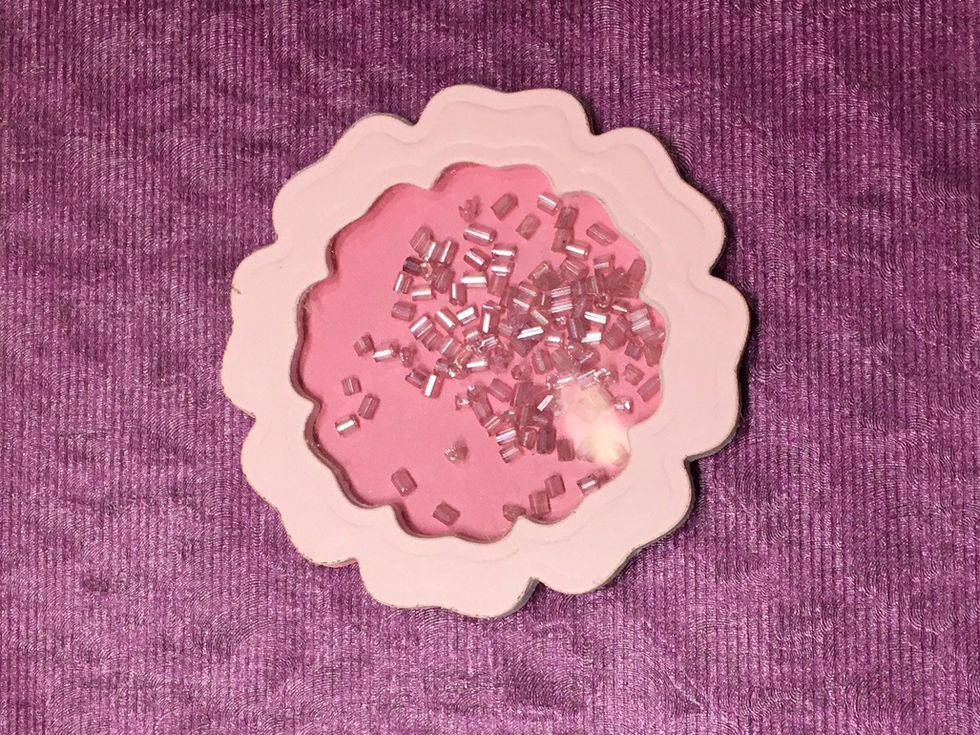
Now spread glue on top of the foam & glue on the top window frame. Now you have a shaker, but beware! Allow the glue to dry before shaking or some of your shakers may stick to the sides.
Now let's make a heart shaker using a dieset from Cheery Lynn Designs, made just for shakers. There are 2 dies in a set, 1 to cut the base piece & 1 to cut the frame. They fit perfectly together!
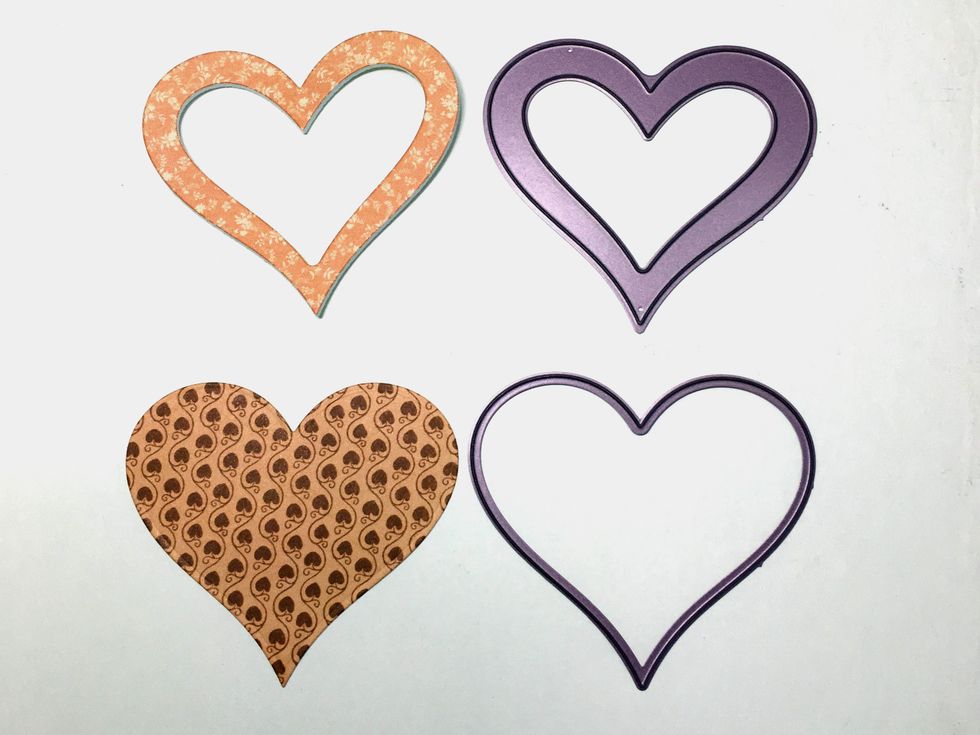
Cut a base, frame , foam and acetate as we did previously. I'm using paper from Graphic 45's Place in Time DCE.
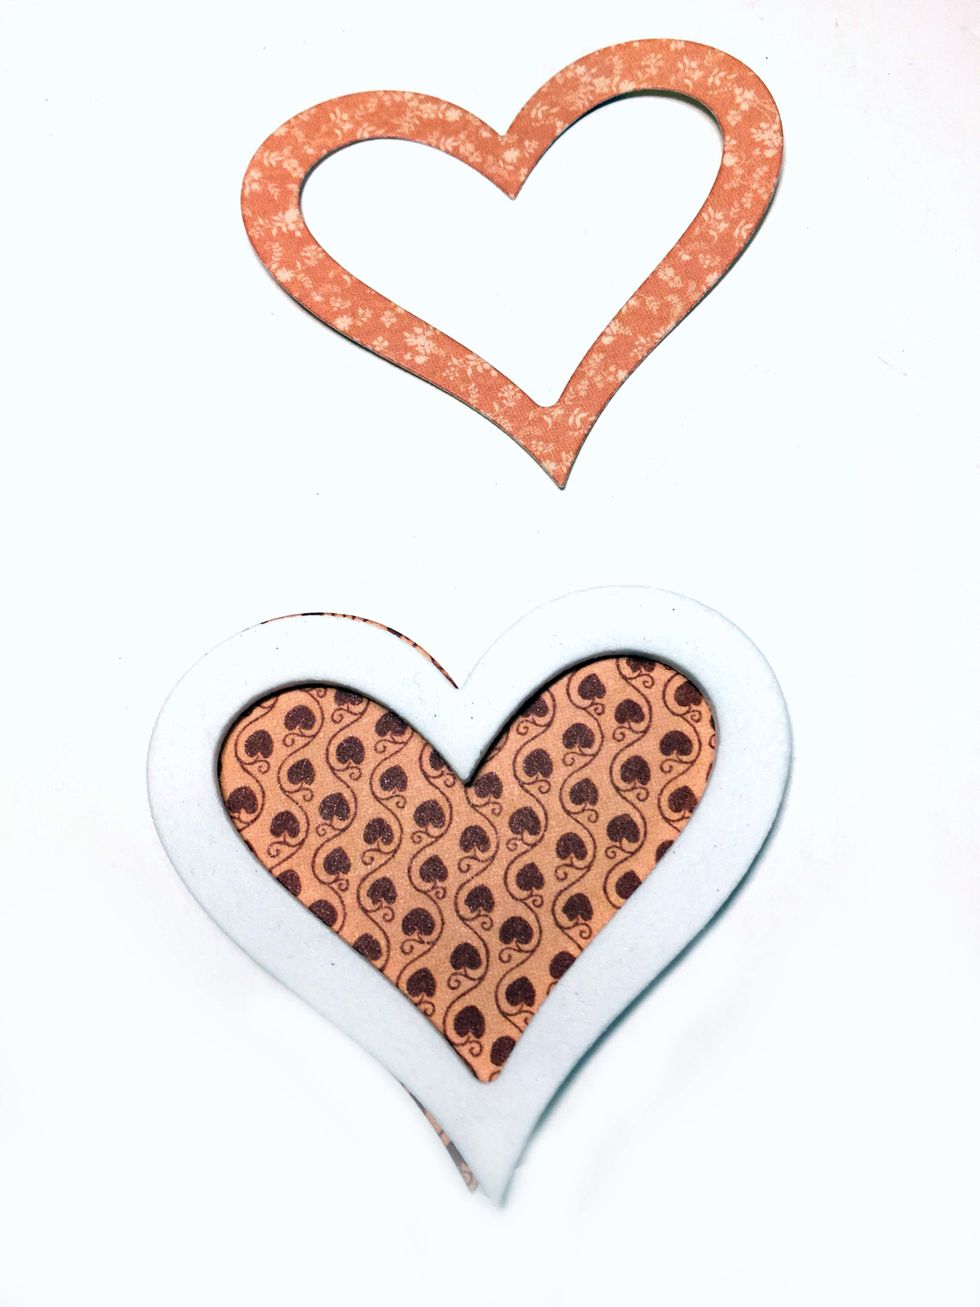
Adhere the foam to the bottom heart paper and the acetate to the frame heart just as we did in steps 7 & 8.
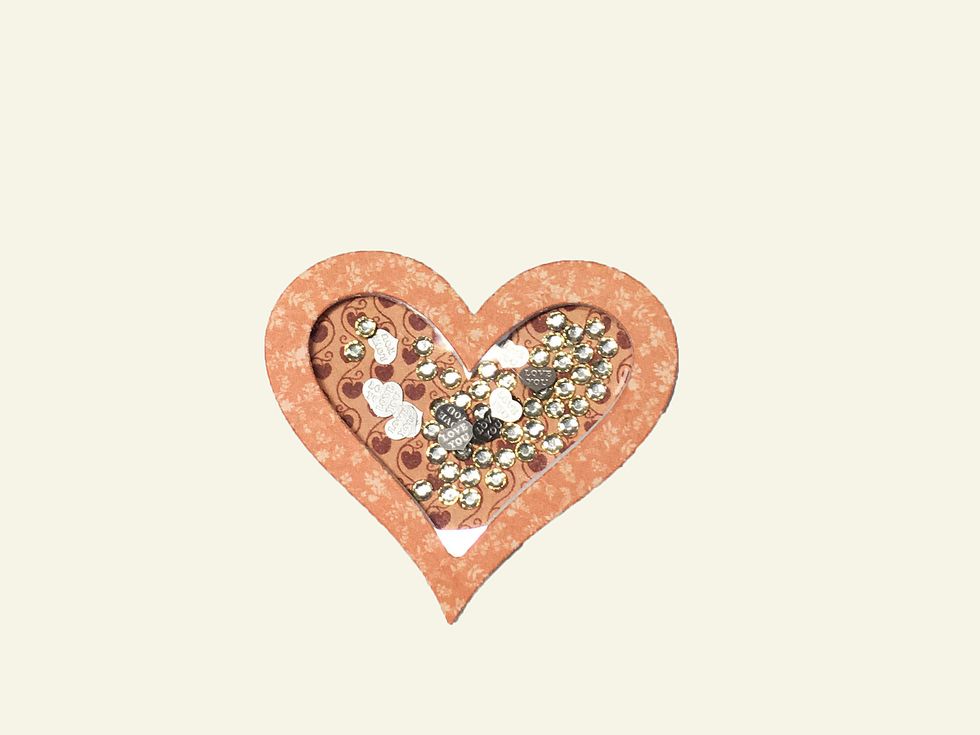
Fill the bottom with shaker pieces of your choice and then glue the frame heart on the top taking care to completely seal all around the heart. You don't want your shakers falling out!
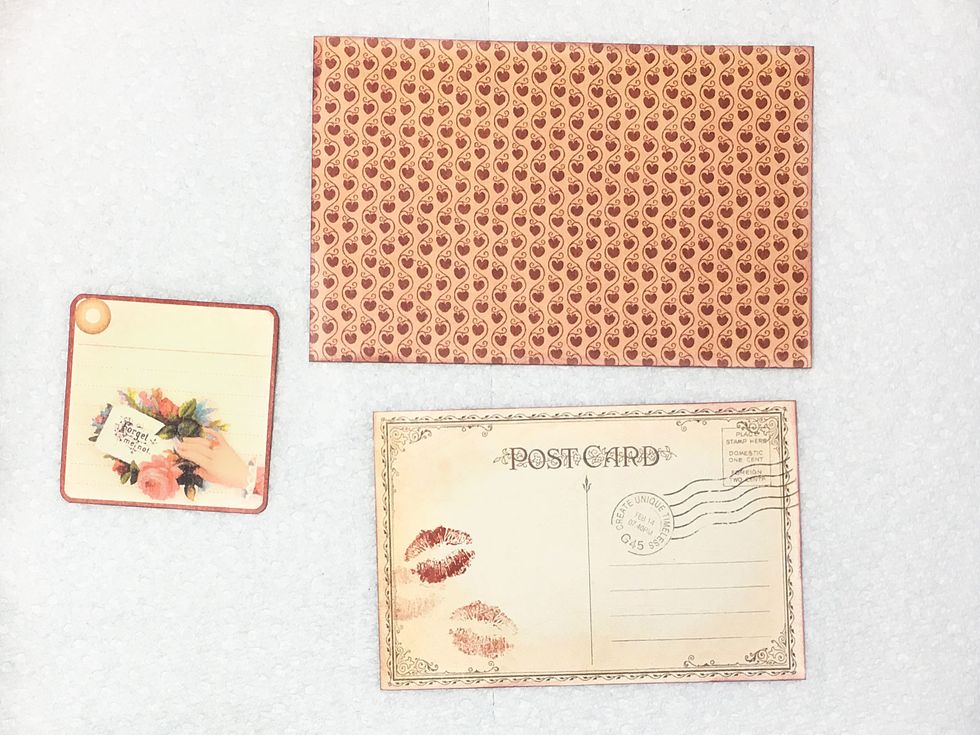
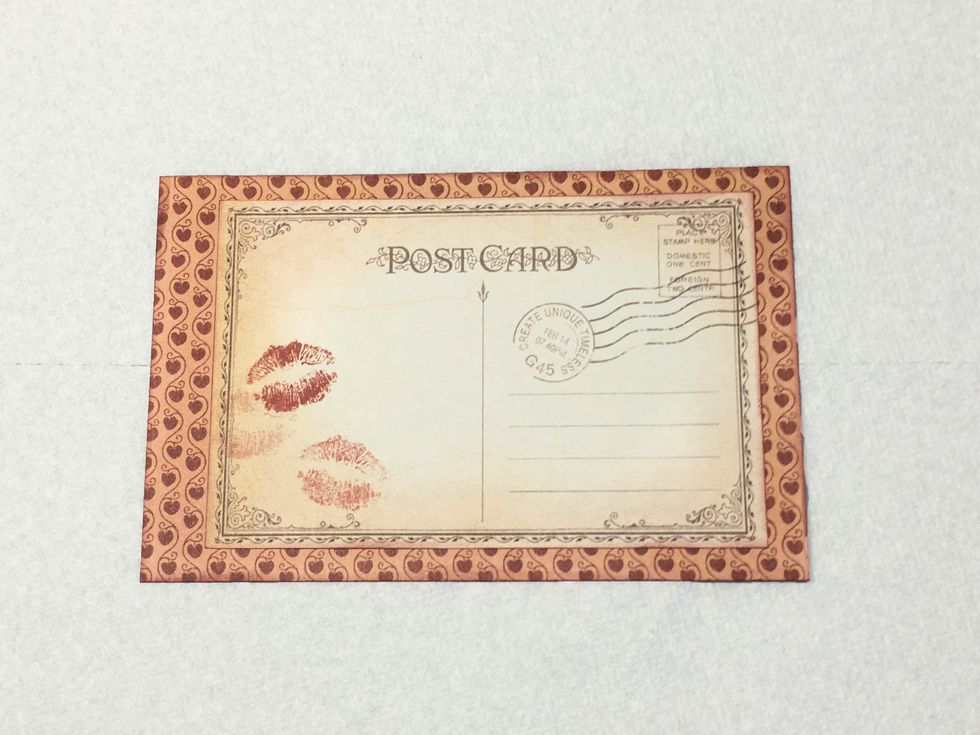
Now let's make a valentine! Locate the Post Card cut-apart shown & the smaller tag on the February Place in Time Cut-Aparts. Cut a rectangle 6" x 3 7/8" from design paper. Ink & distress as desired.
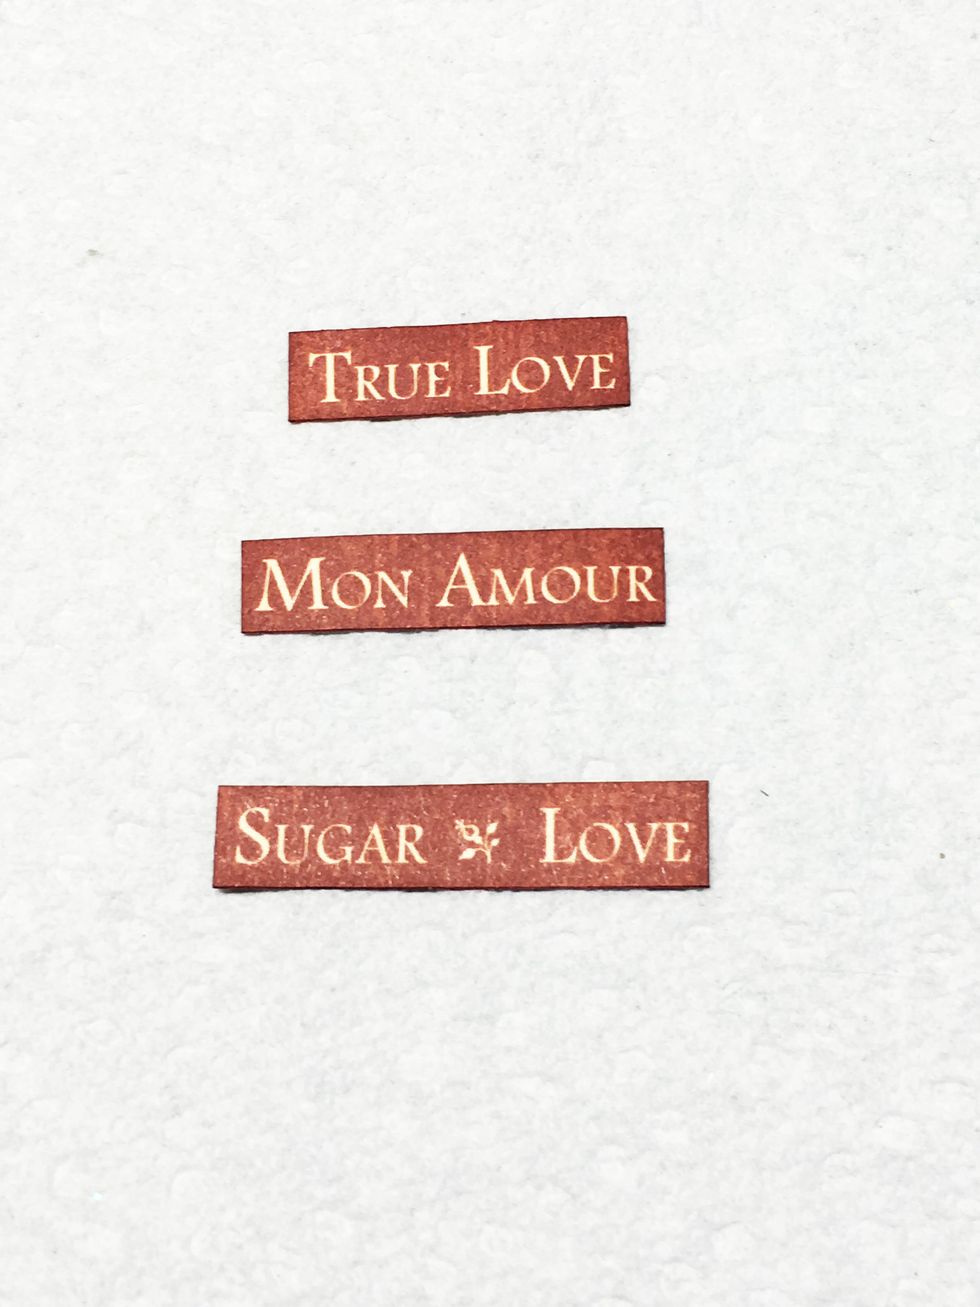
Cut some words from the strip on the February Cut-Aparts.
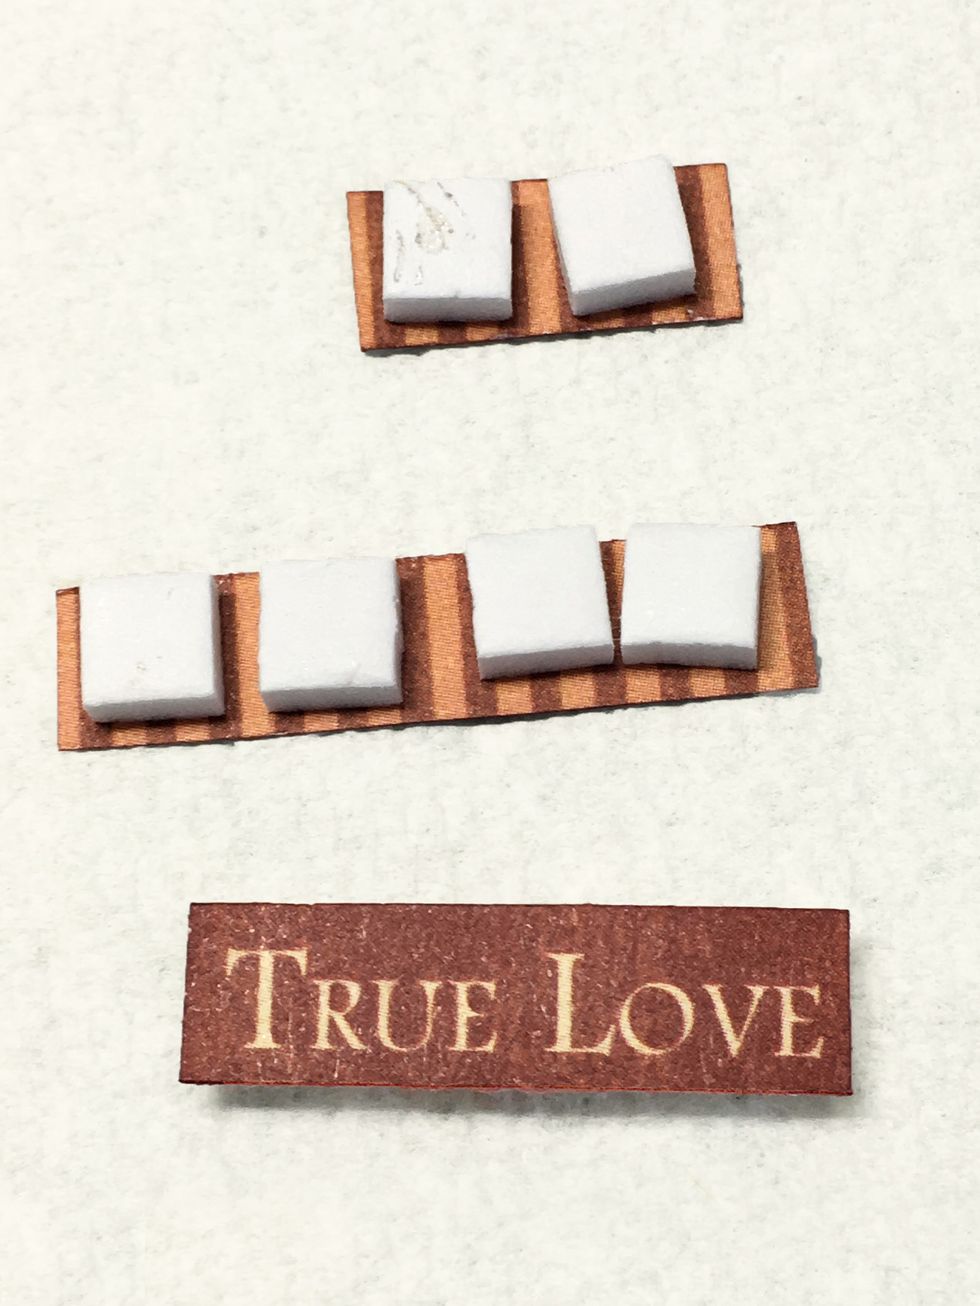
Put foam pop ups on the back of the words.
Adhere the post card to the 6" x 3 7/8" design paper rectangle.
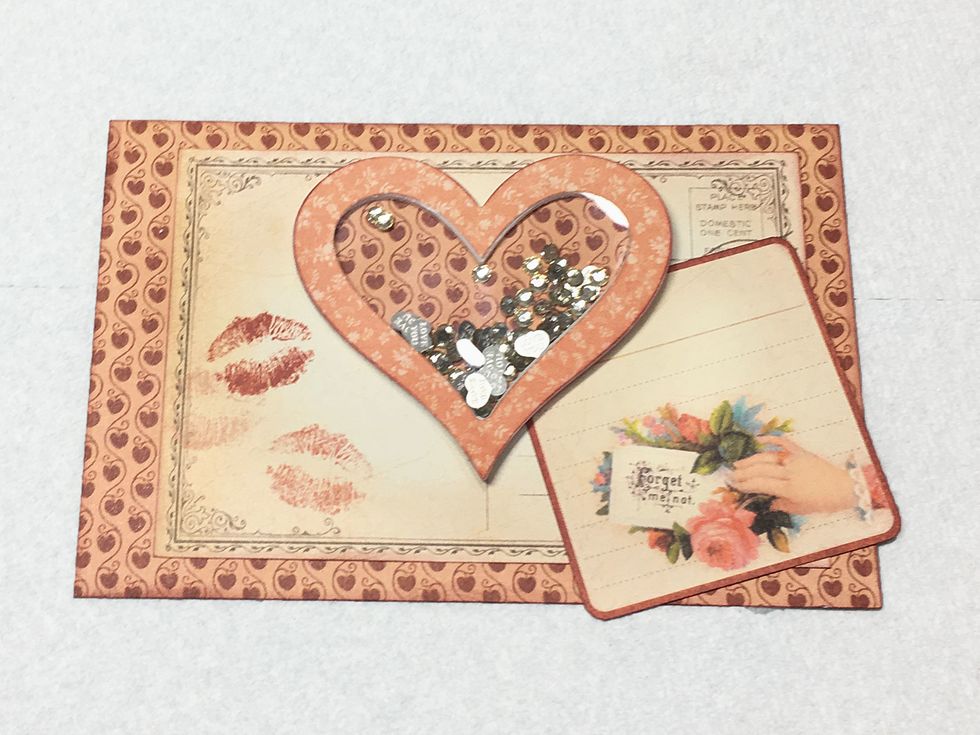
Glue the heart shaker in the center as shown and slide the tag under the heart.
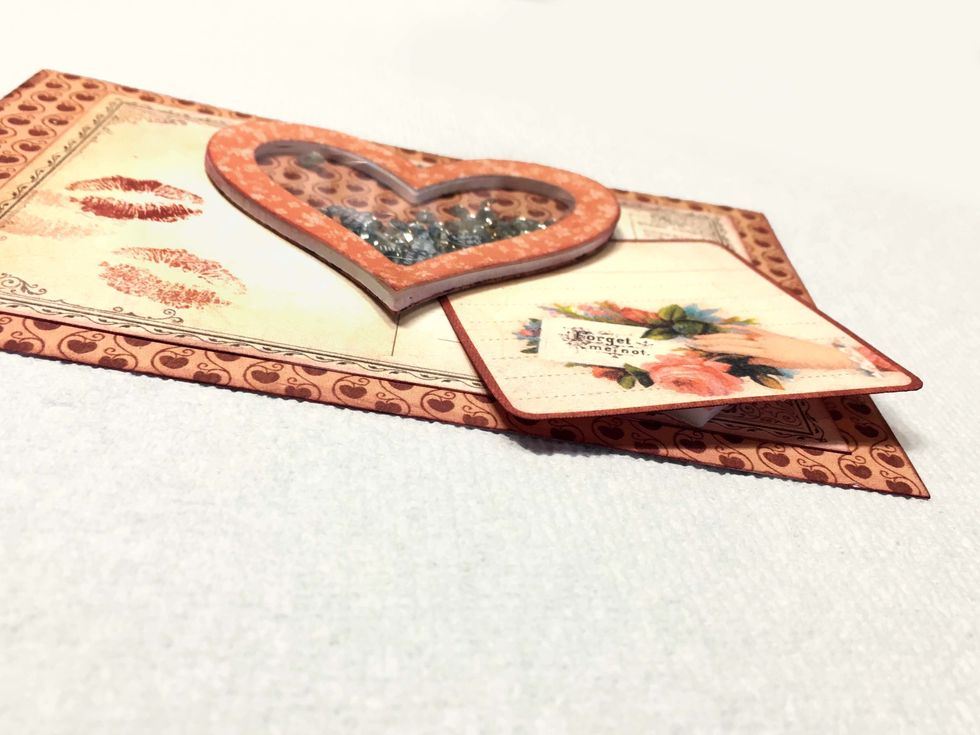
Pop up the bottom part of the tag to give your valentine some dimension.
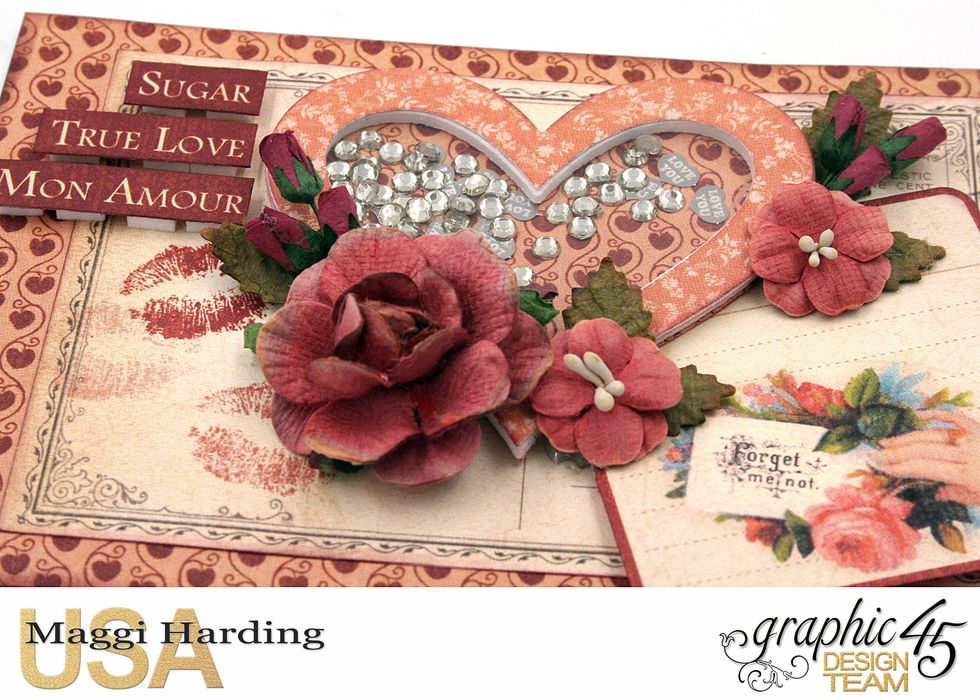
Add the words on the left side and embellish with flowers.
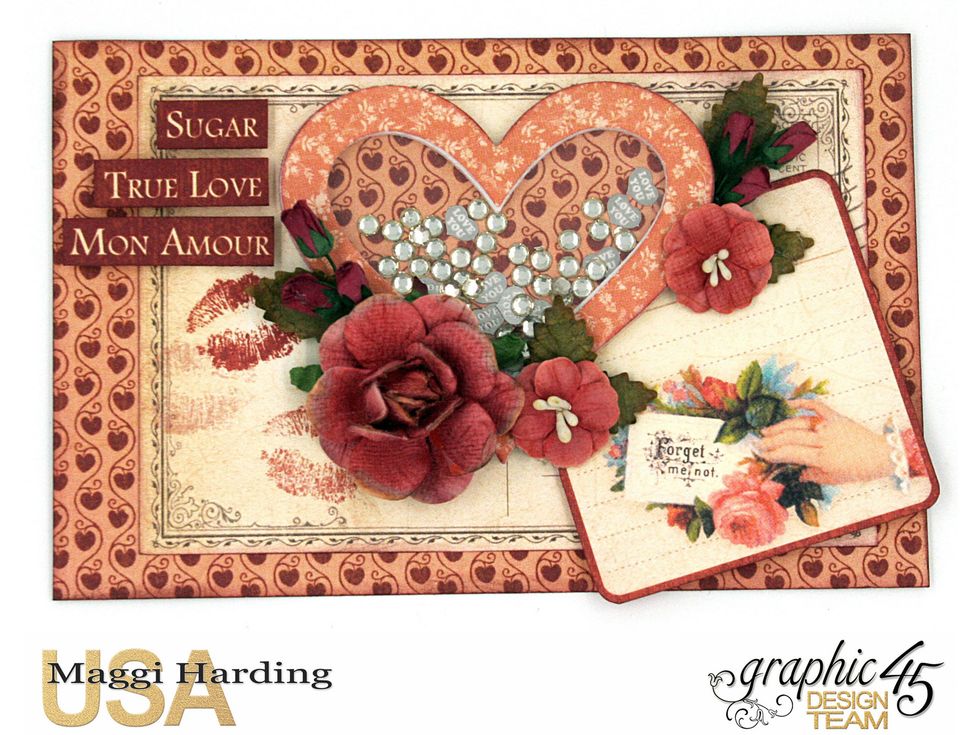
Now you can mount this on a card or leave it like it is. I like it without a card base, as it reminds of a valentines that we gave out when we were school children!
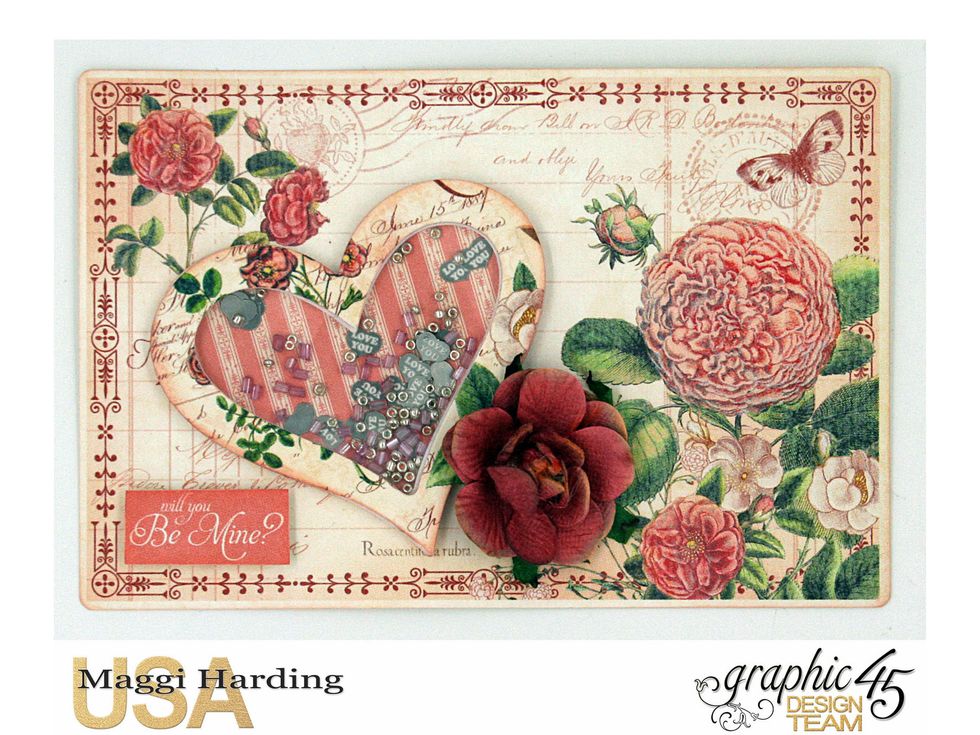
Here's another one I made with Graphic 45's Time to Flourish collection.
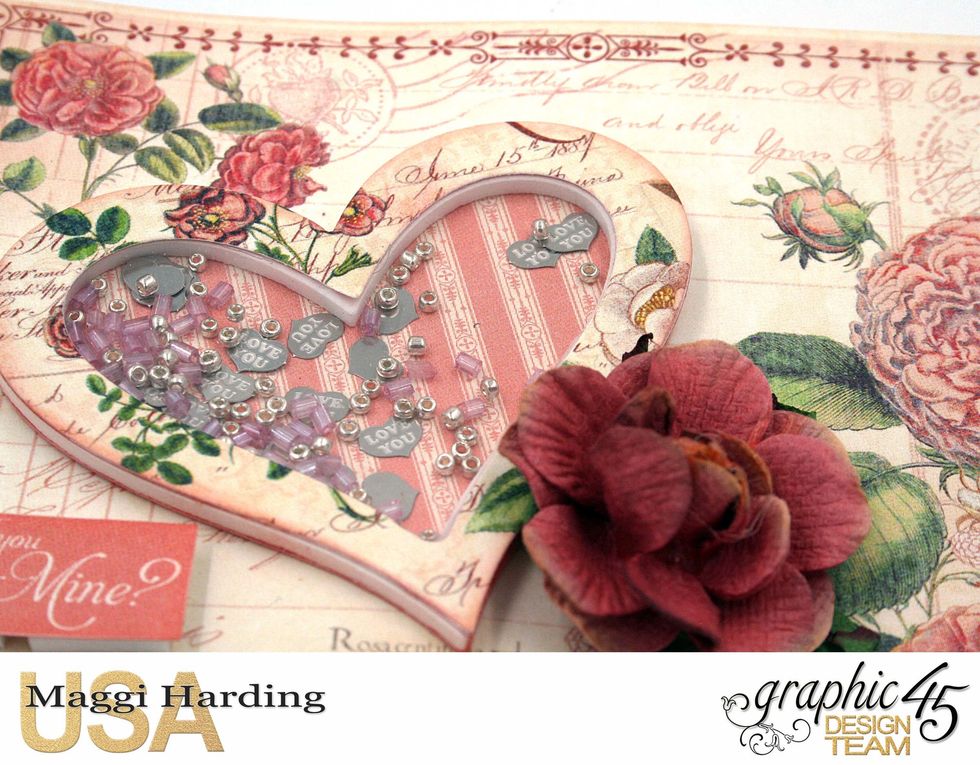
I used tiny microbeads and heart shaped metal pieces from Cheery Lynn Designs.

I currently design for Graphic 45, Creative Embellishments, Petaloo, & Cheery Lynn Designs. Tutorials on my blog:bit.ly/1Sem2J0. Follow me on Pinterest:bit.ly/1HhWvOx Thanks so much!