The Conversation (0)
Sign Up
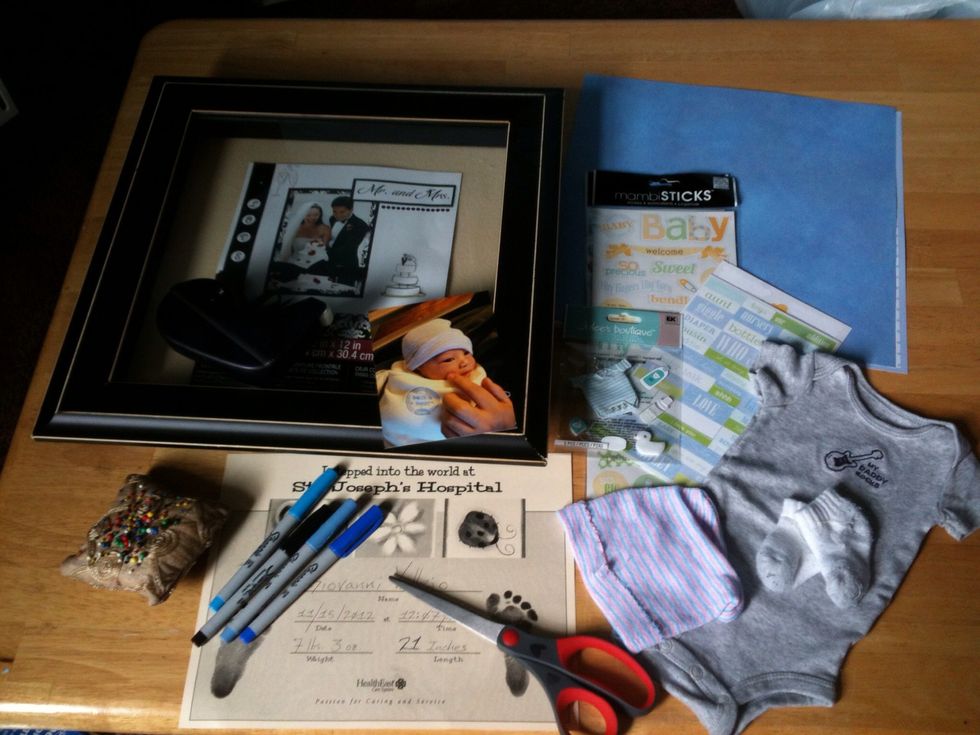
My supplies

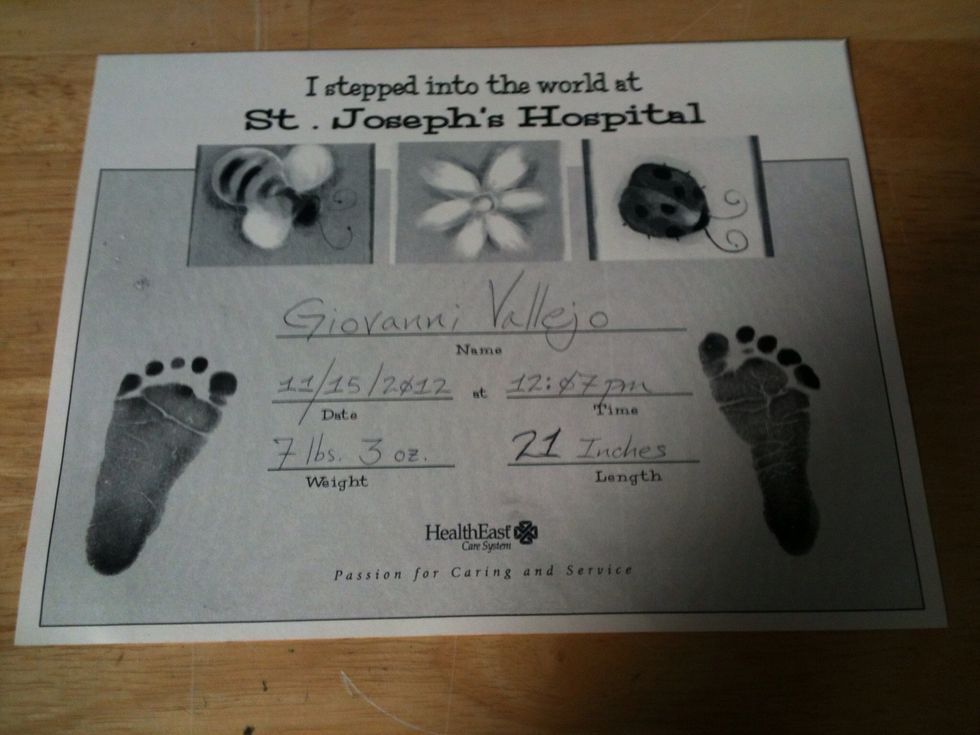
My Shadowbox

Take the box apart.
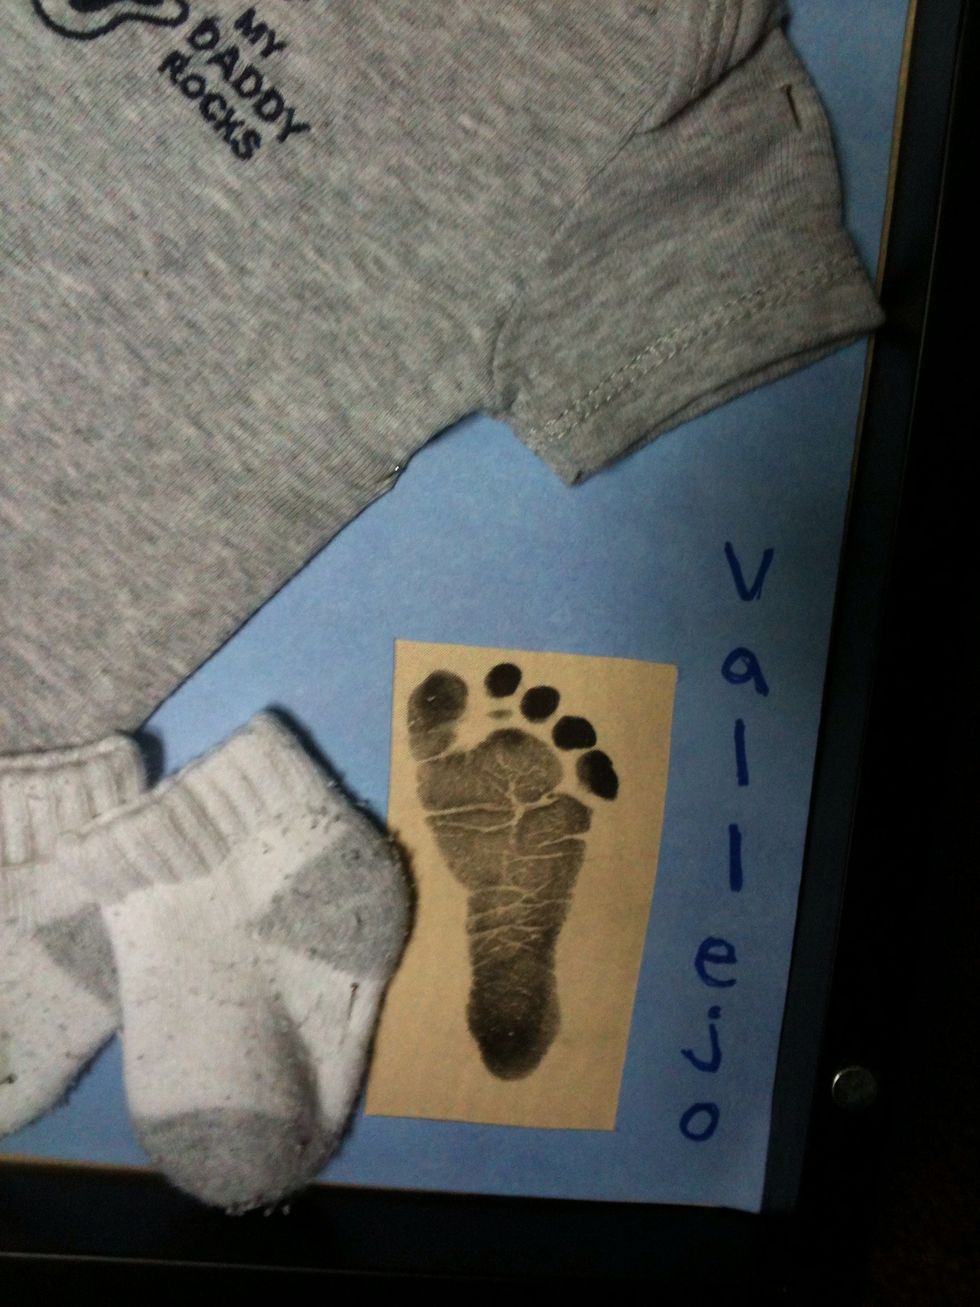
Ok, So i forgot to get my sons footprints while he was a newborn and I didn't want to cut up his announcement so this is what I did...
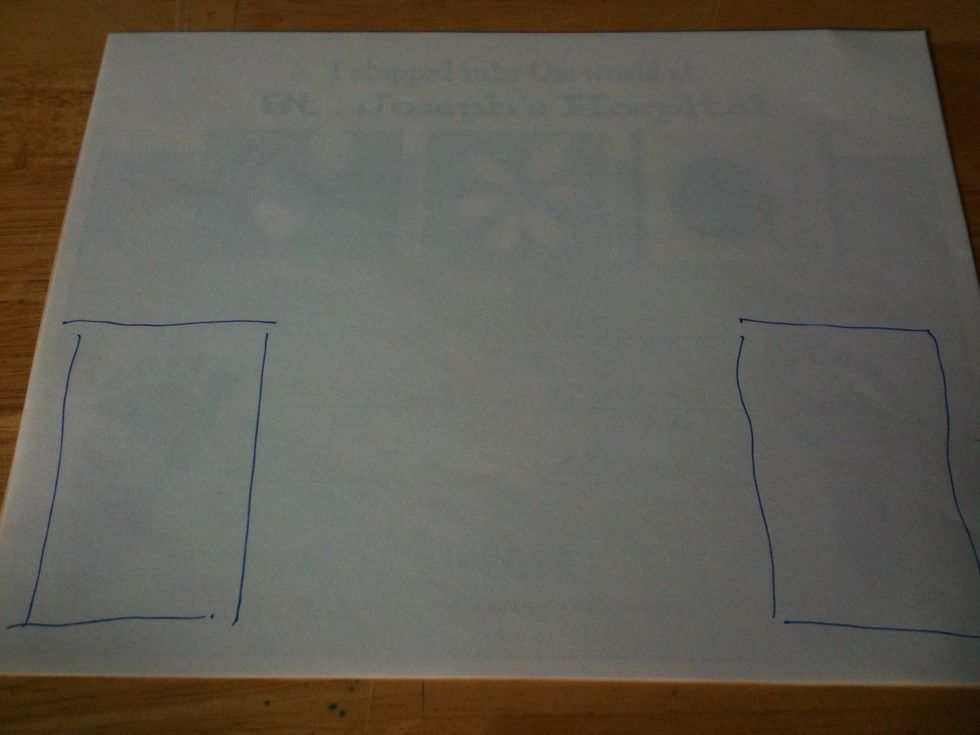
Take a piece of plain white printer paper and outline where the footprints are

Place that paper on your background scrapbook paper.
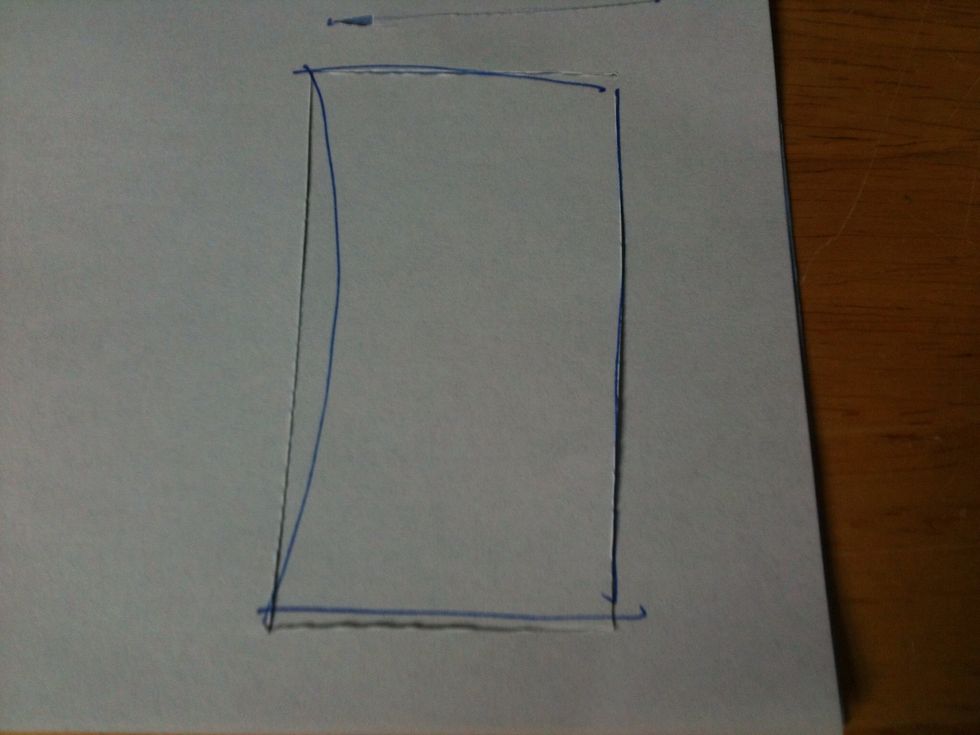
Using the exacto knife, cut out the outline. You can see my pen was sloppy so I cleaned it up when I cut.
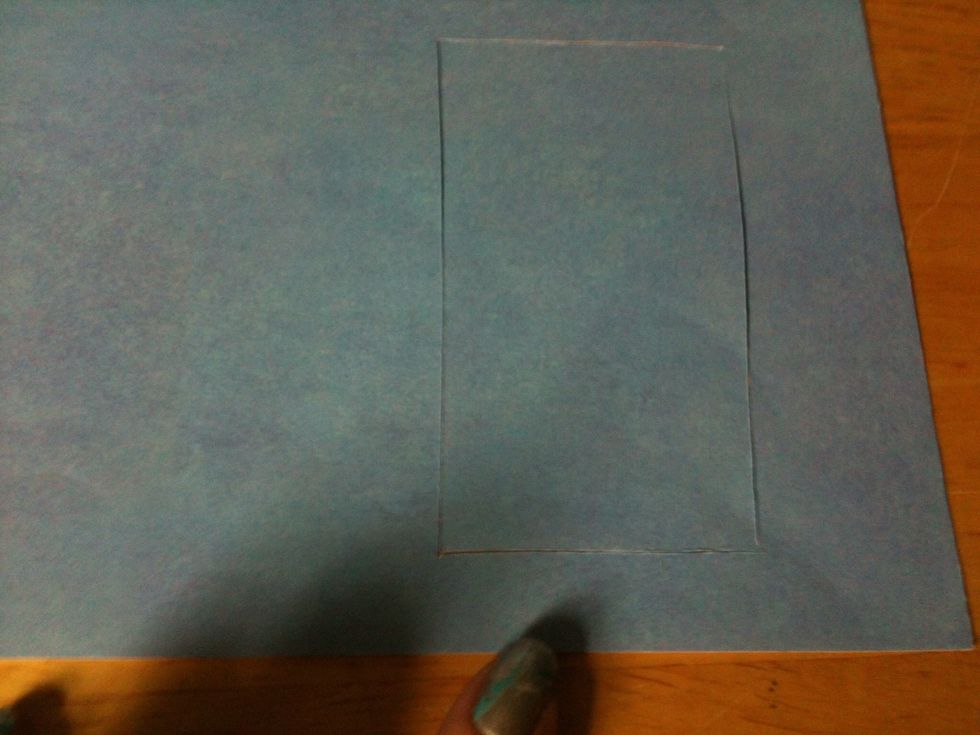
If you pressed hard enough, it should have cut through the scrapbook paper
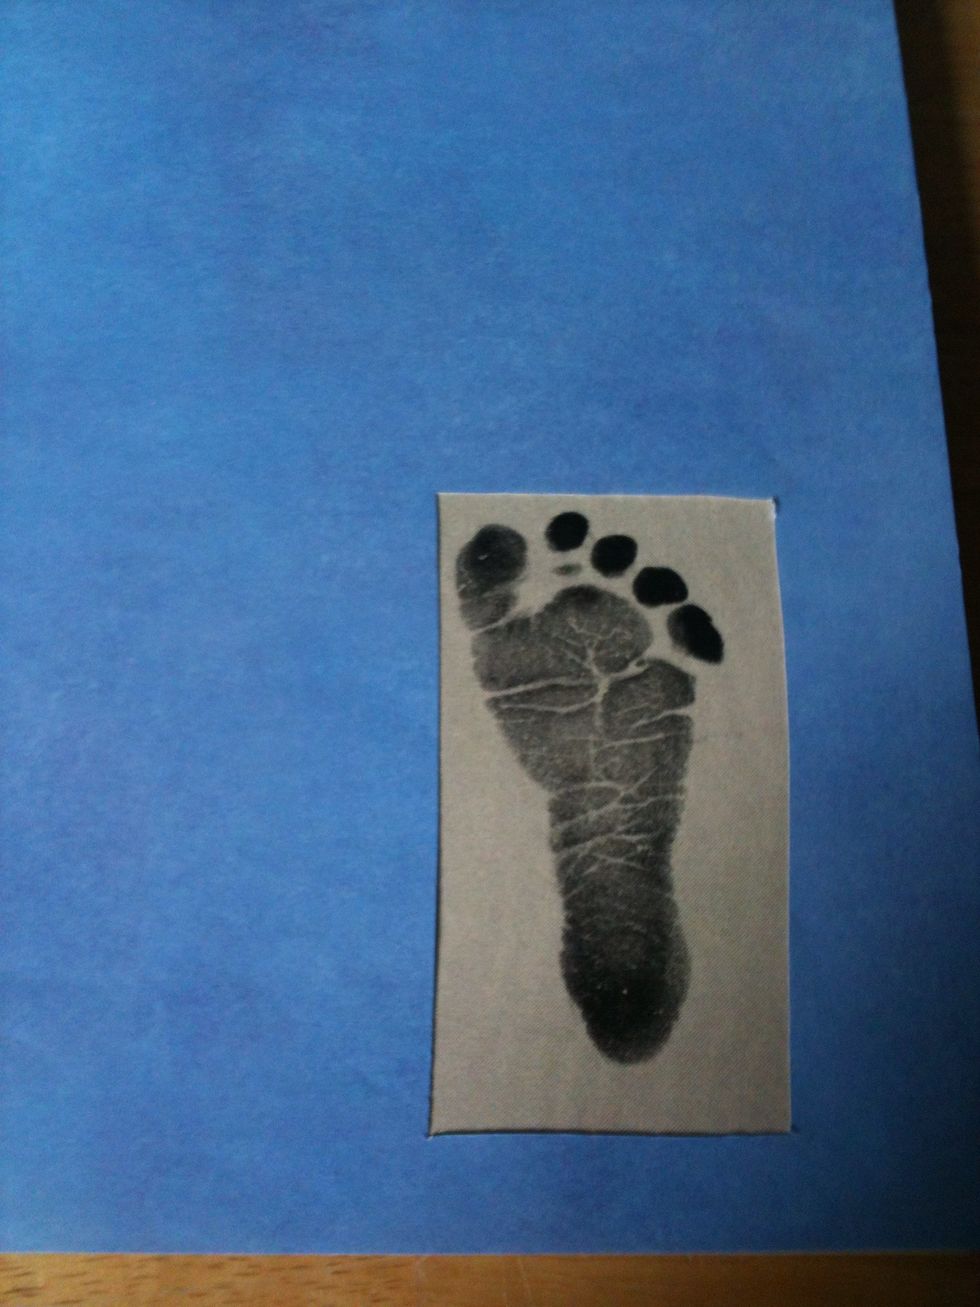
See, now your foot should be able to sit behind without cutting up your announcement. Tape this in place.
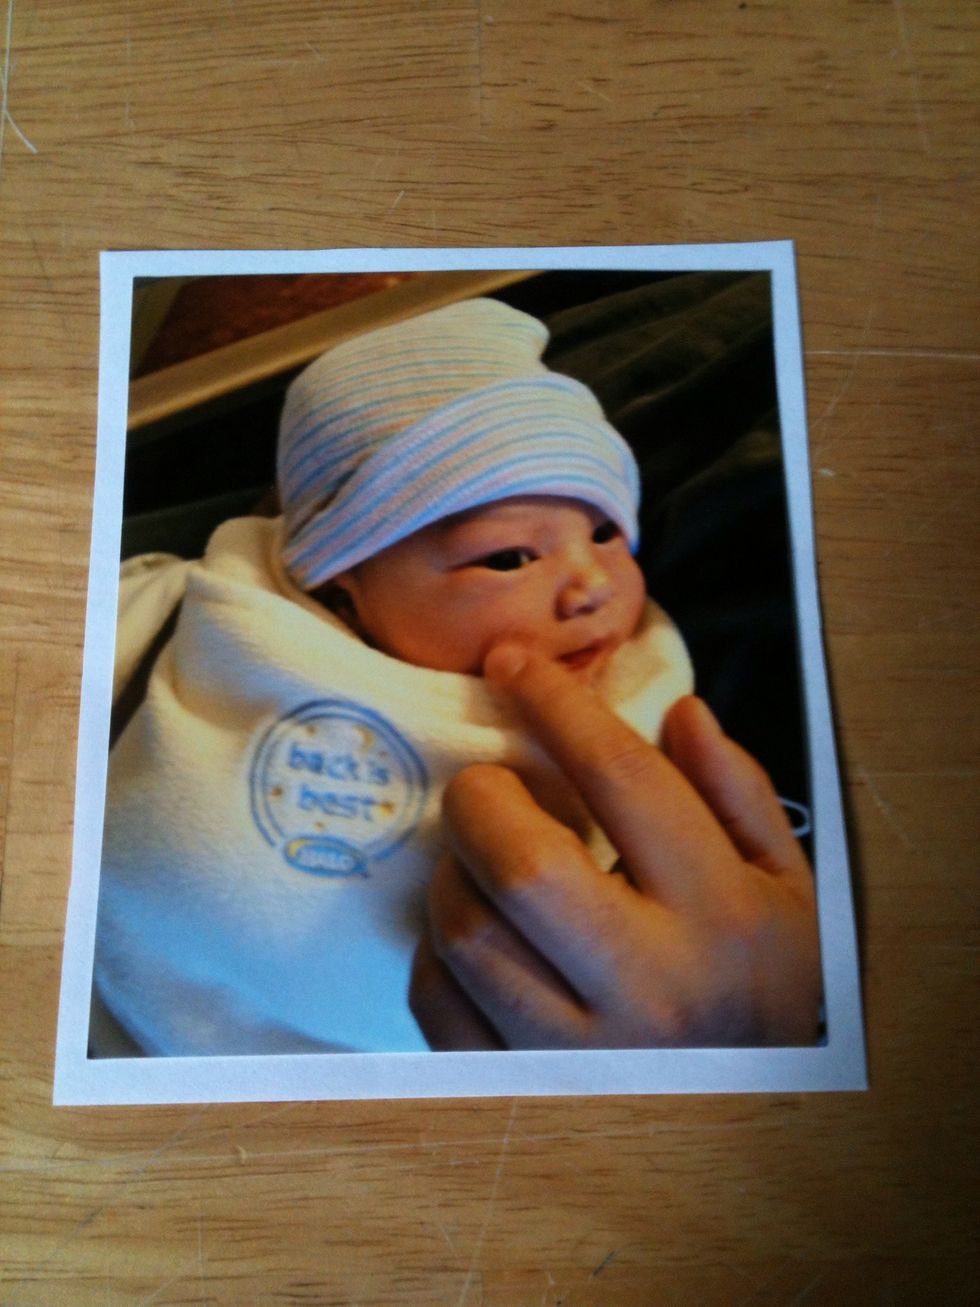
Place your photo on white paper and give it a nice border to help it pop.
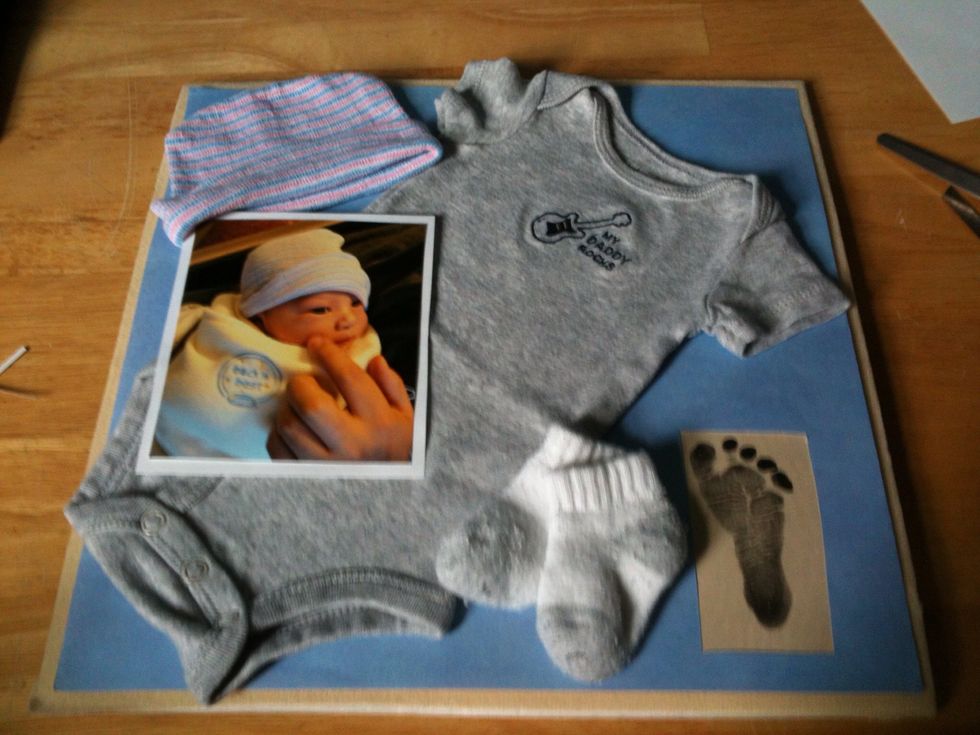
Play around with item placement and decide how you want it to look.
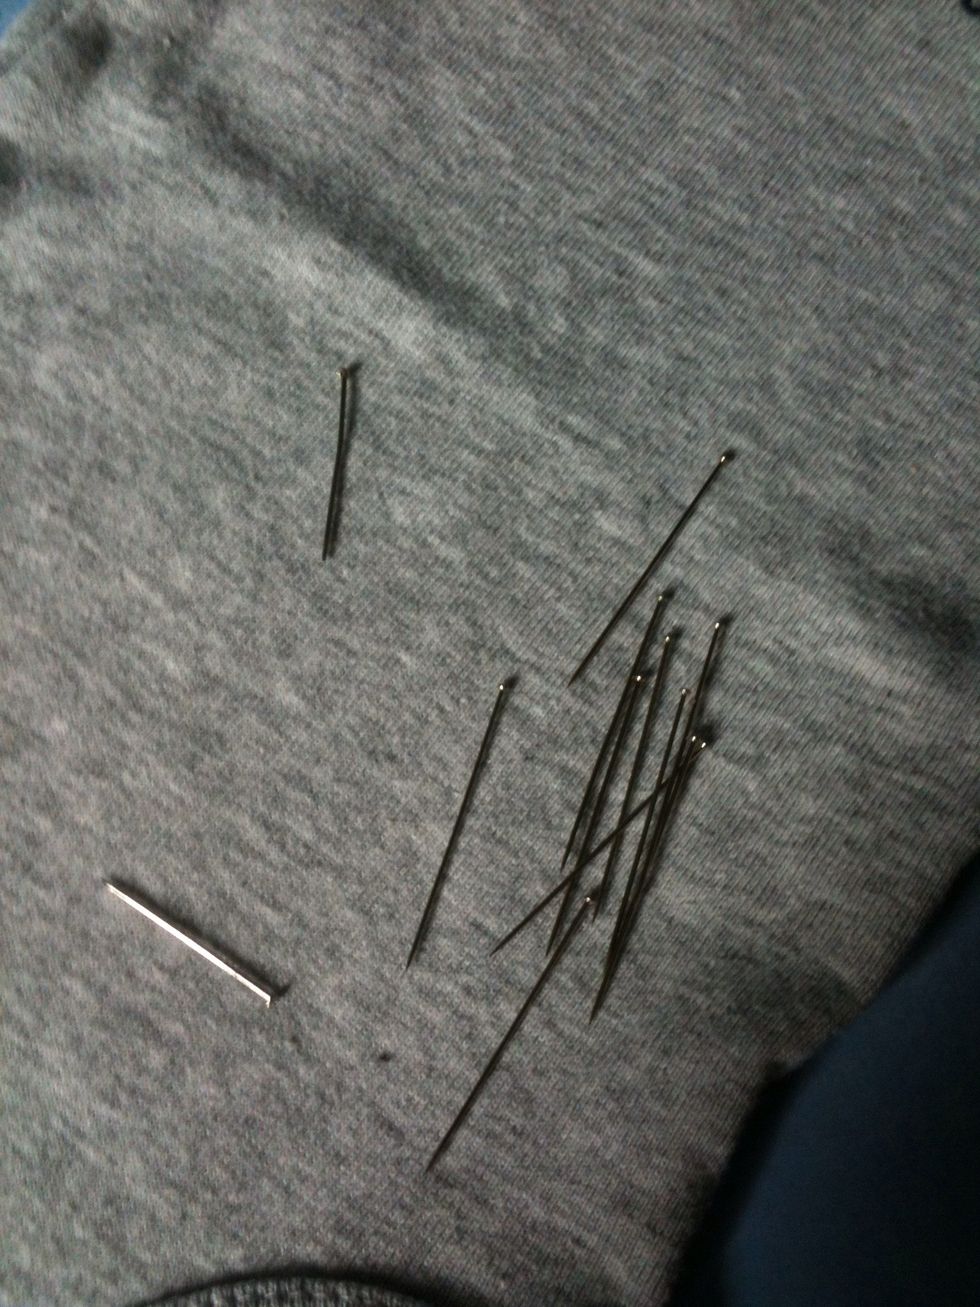
Take your pins- I prefer plain silver for this project because it will hold without drawing too much attention away from the pieces that are being pinned.
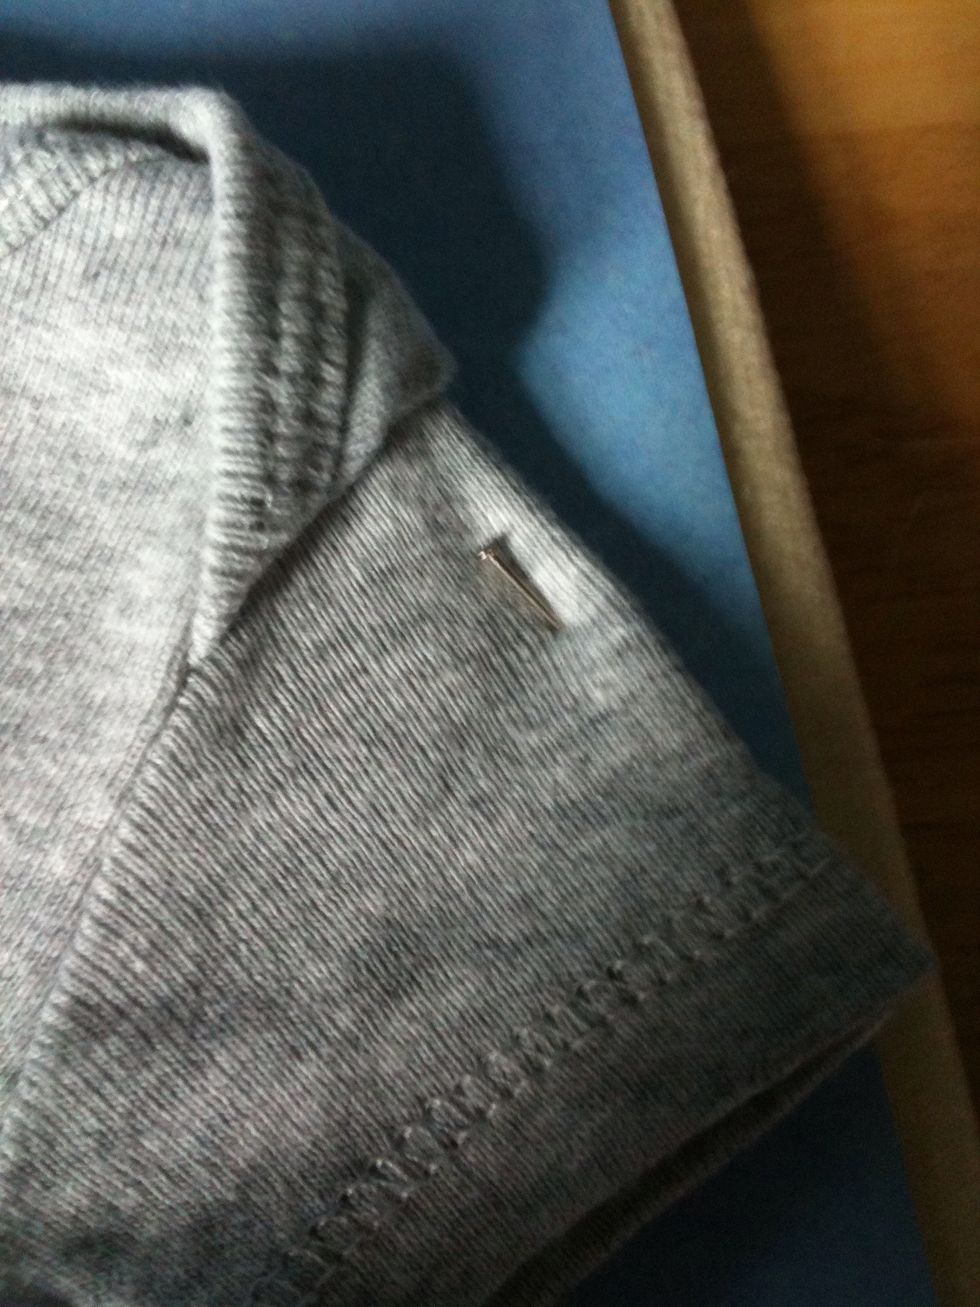
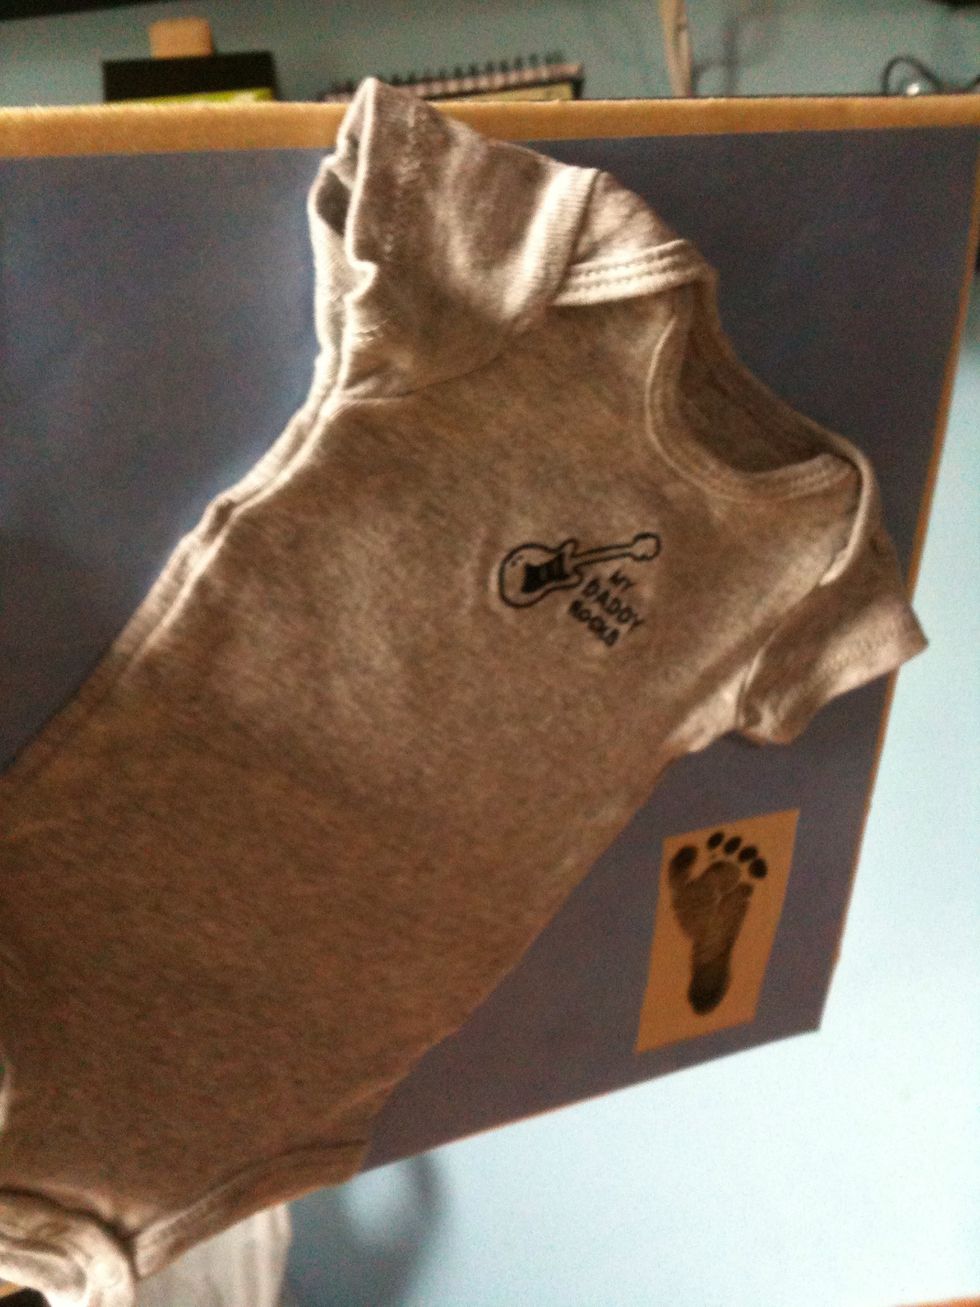
Pin your onsie down first.

Here, I pinned the inside only so that the pins didn't show and then buttoned the onsie back up.
Make sure it's pinned down well because this is hanging on your wall and you don't want anything to come undone. I turned it upside down just to be sure.
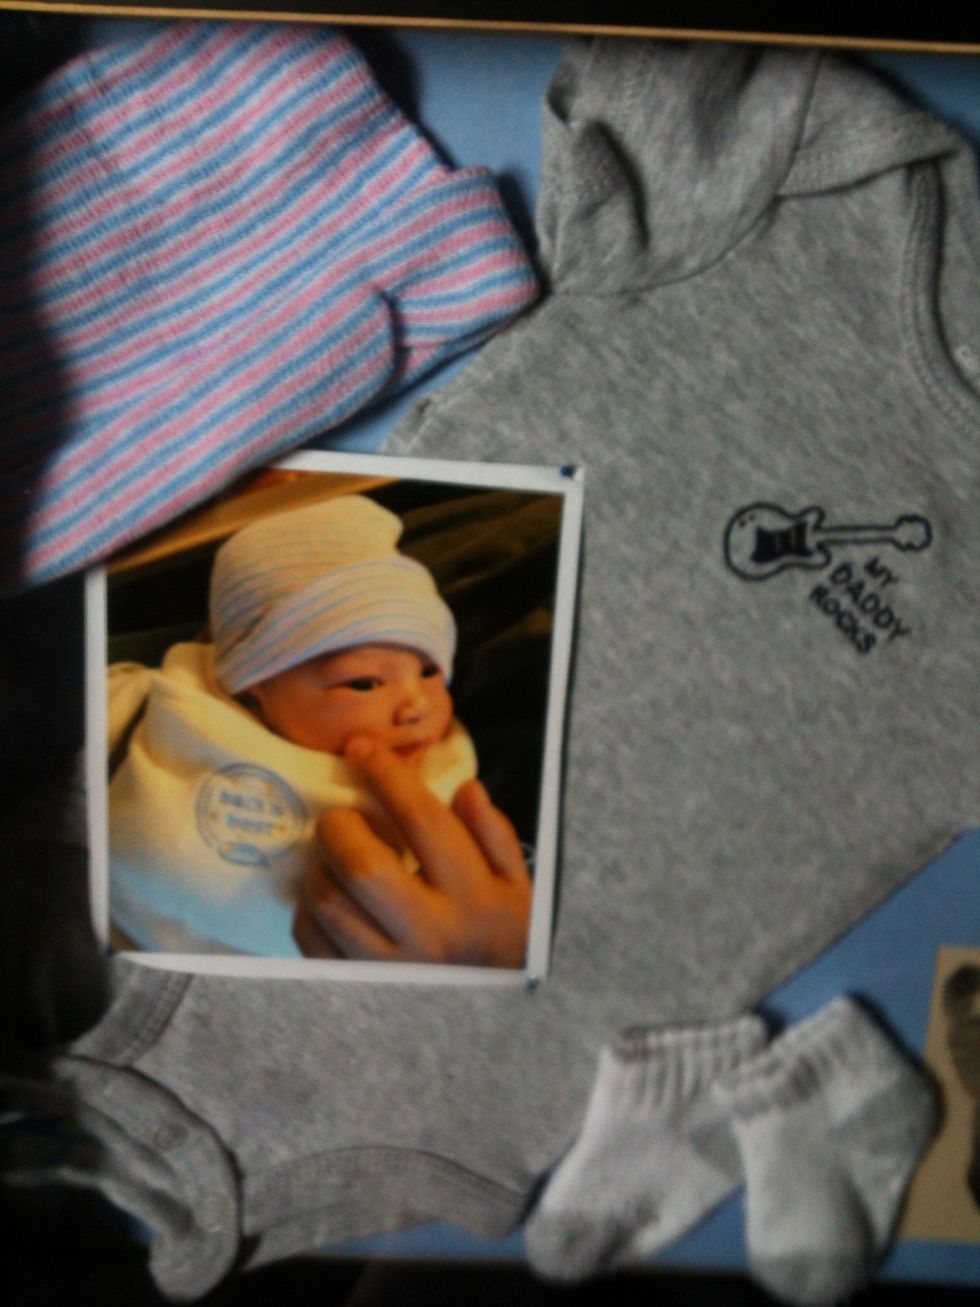
Pin down your other items
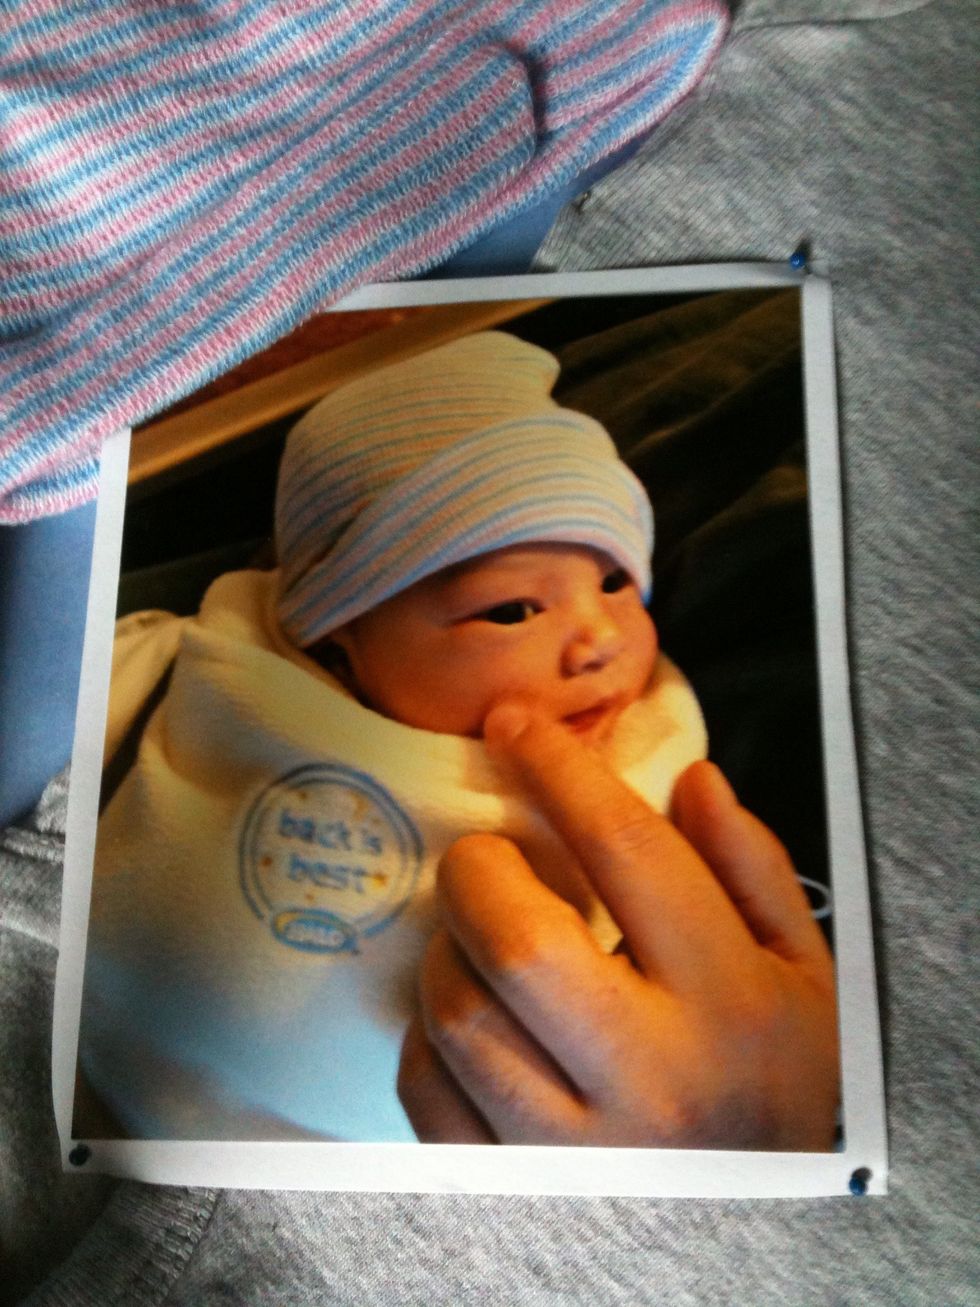
For his photo, I chose to use pins thy had a blue ball on the end just to add a little bit extra to the photo.
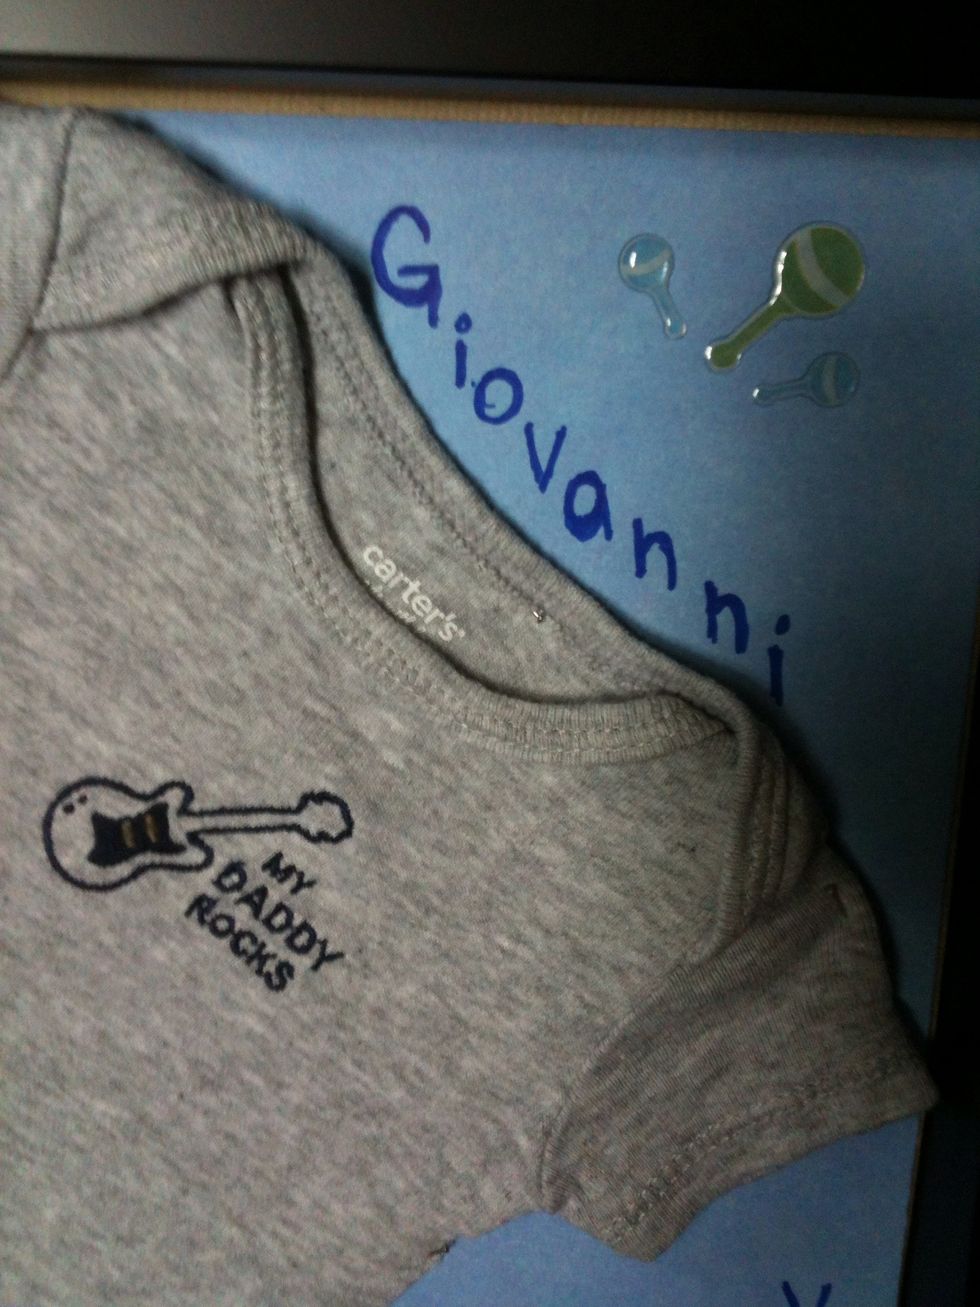
You don't have to, but I chose to write his name along the top and sides of the onsie. Also add stickers if you want.
I had planned on using letter stickers, but they were a little too big.
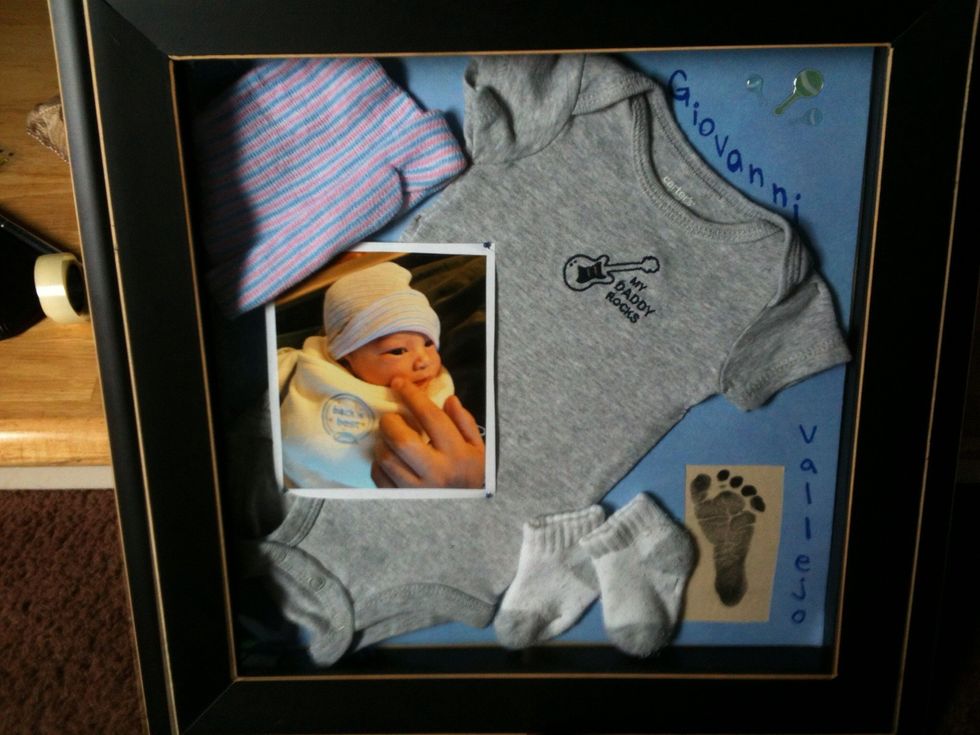
All done, now hang wherever you like :)