The Conversation (0)
Sign Up
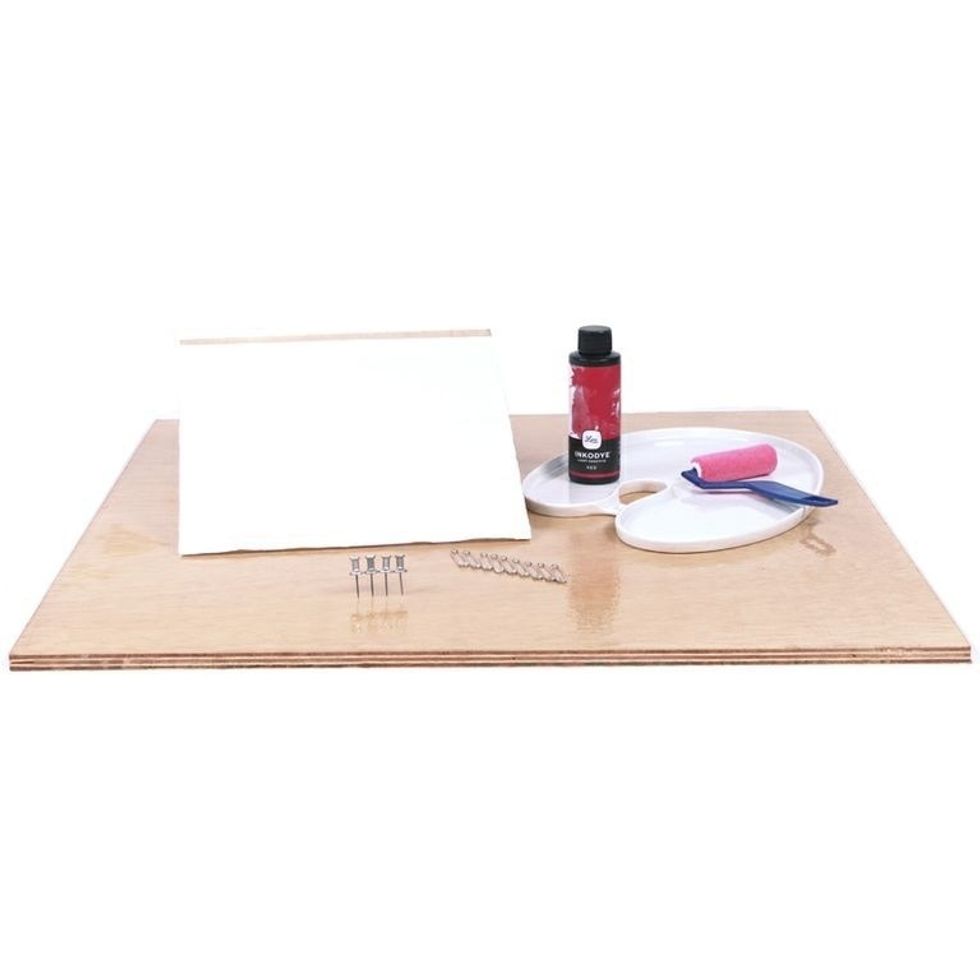
Gather materials for your project. We like using a lacquered piece of plywood as our work surface - it's portable & easily cleaned with a wet paper towel once the project is finished.
We chose to use cotton for this guide, but you can print an Inkodye photogram onto any natural, absorbent fiber such as wood, silk, suede or unglazed ceramics (synthetic fibers don't absorb Inkodye)
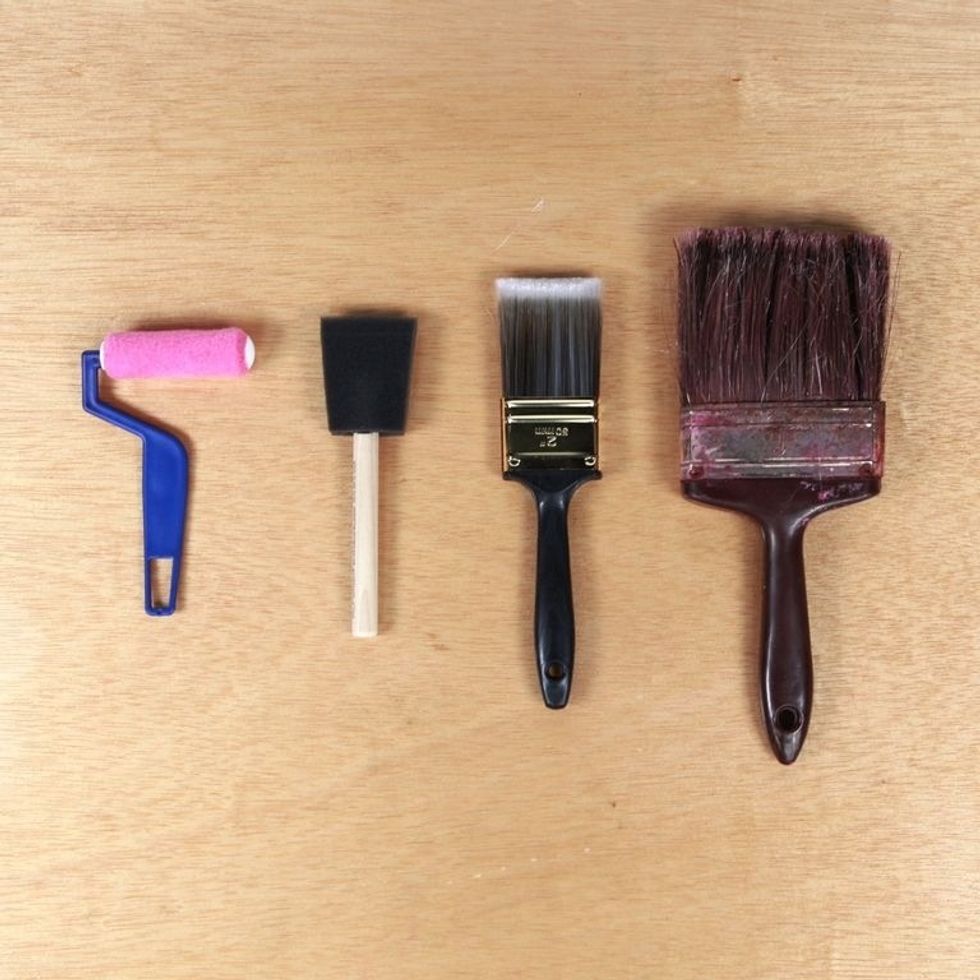
Choose a brush you'd like to work with. We find that a roller lays down a nice even coat of Inkodye without soaking the material. But any brush will do just fine.
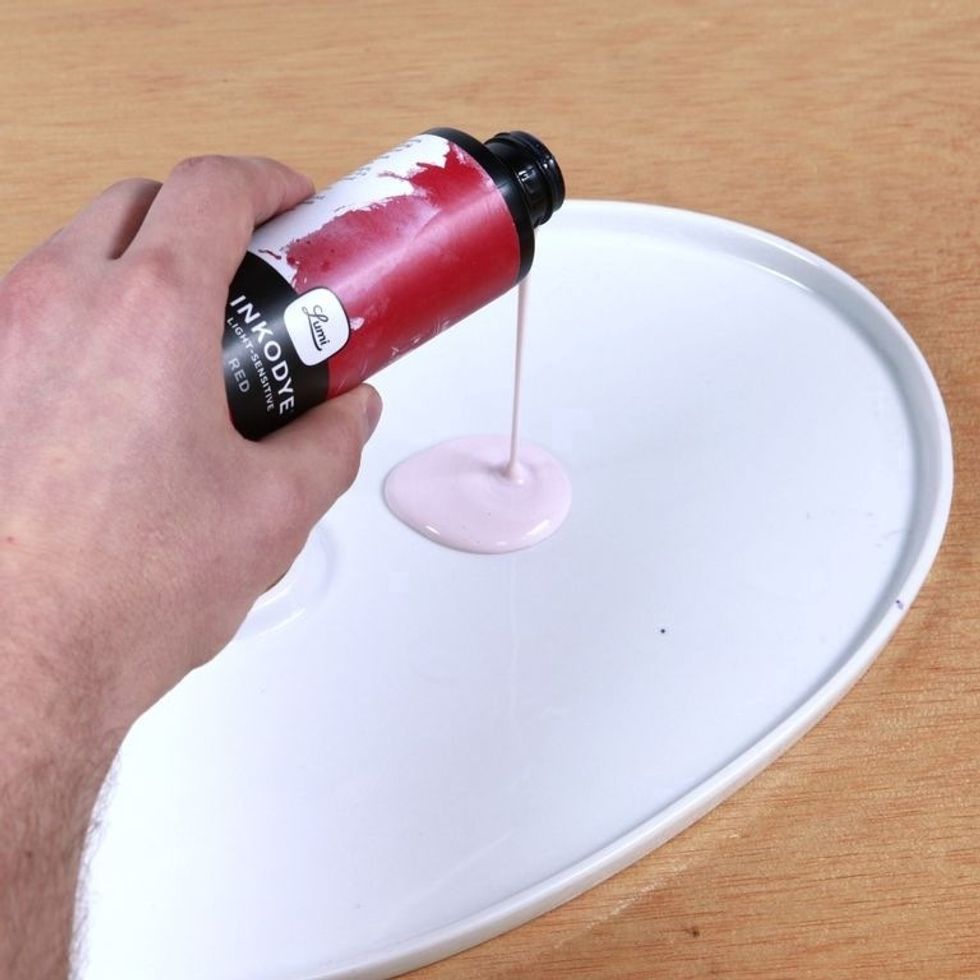
Shake bottle well. Pour Inkodye into a bowl or flat, non-absorbent surface. Do steps 4-9 & 12 in a room with subdued lighting -exposure to lots of natural light will begin Inkodye's color development

Coat your brush or roller with Inkodye. 2 tablespoons will coat a 10x10" cotton square.
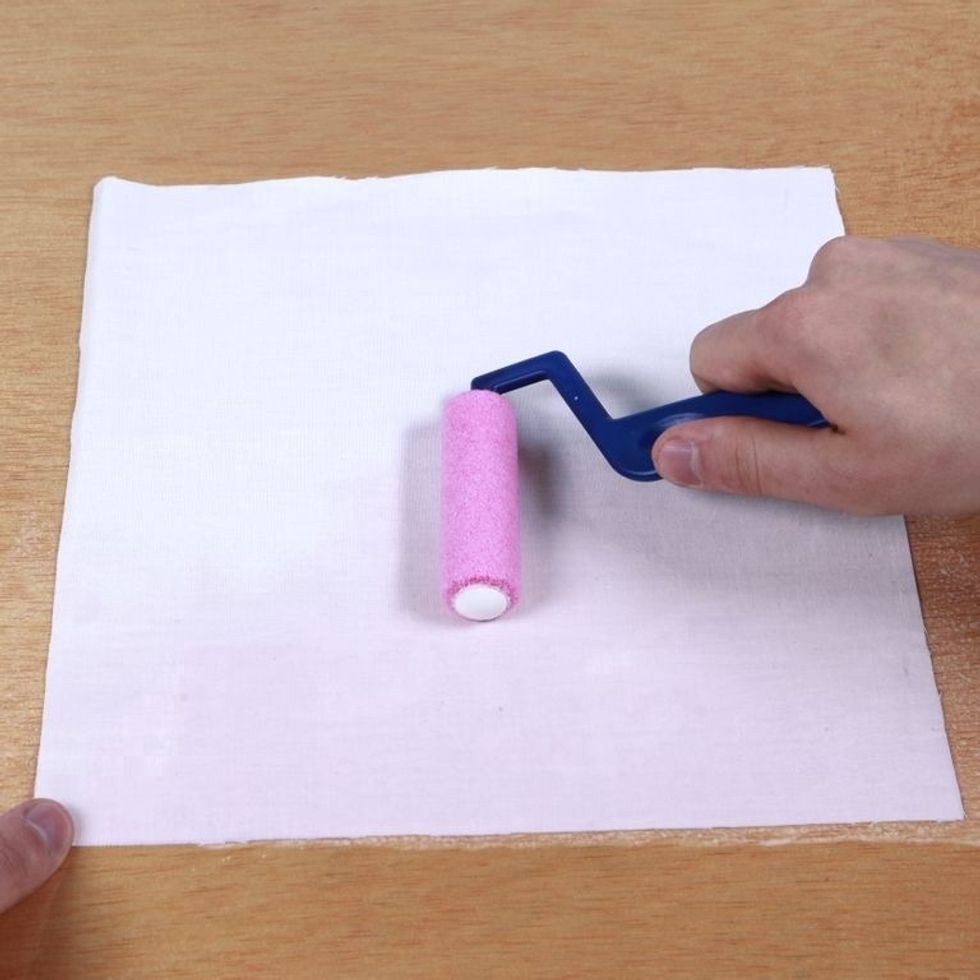
Coat your material evenly with Inkodye. It can be hard to see since Inkodye comes out of the bottle nearly colorless, but you don't need to soak the material. A thin, even coat will do.
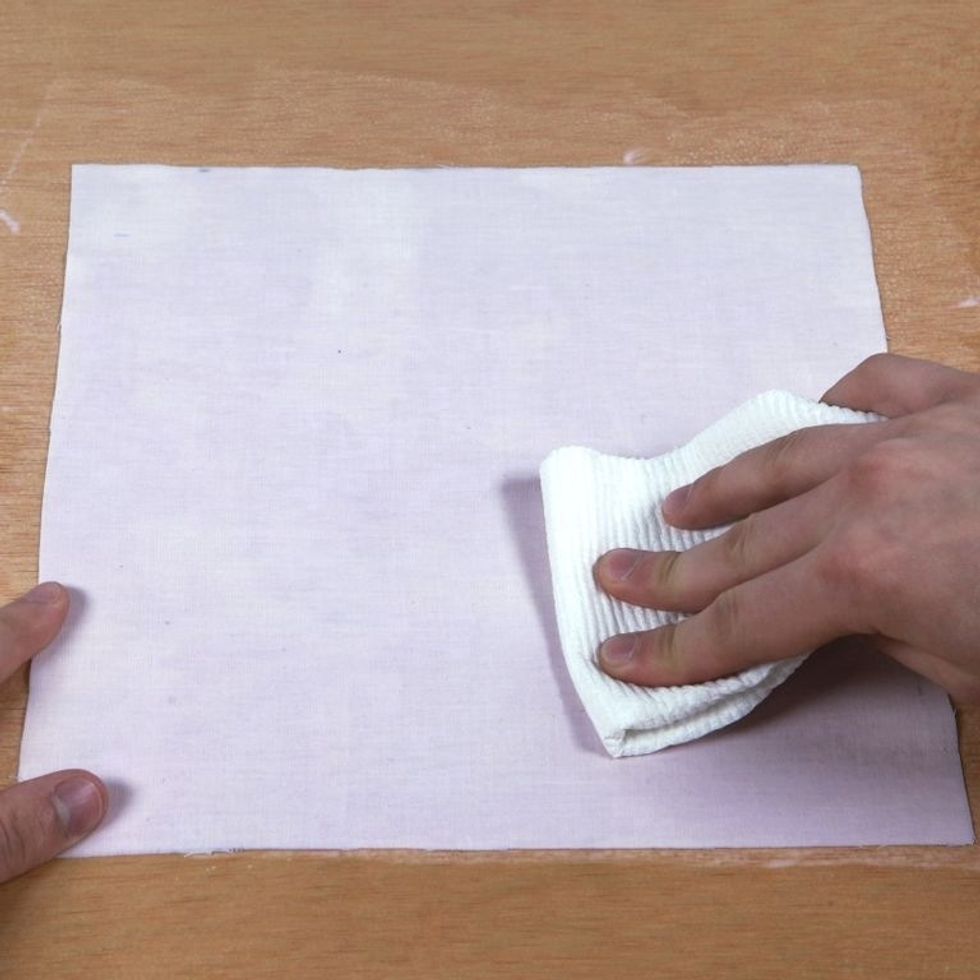
Using a paper towel, blot material to soak up excess dye. Tip: Less is more! Material should be fully coated but excess moisture can cause imperfections in prints. Material should be damp, not soaked.
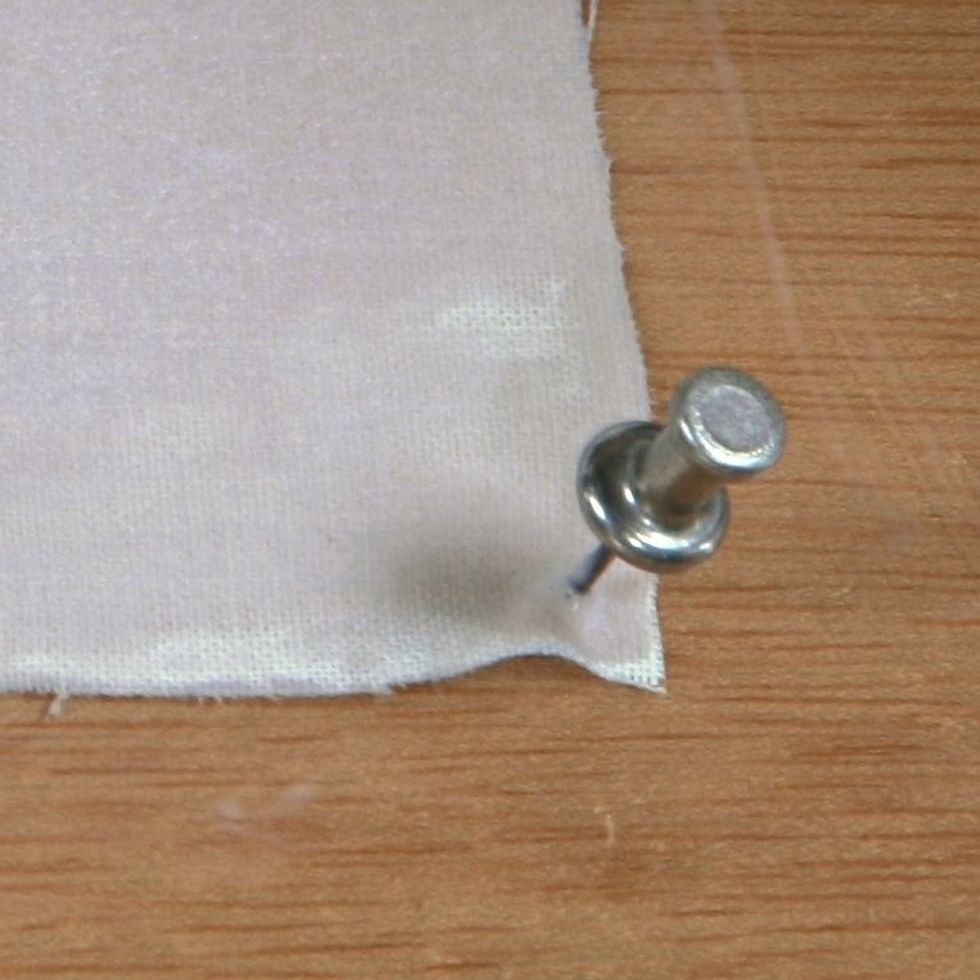
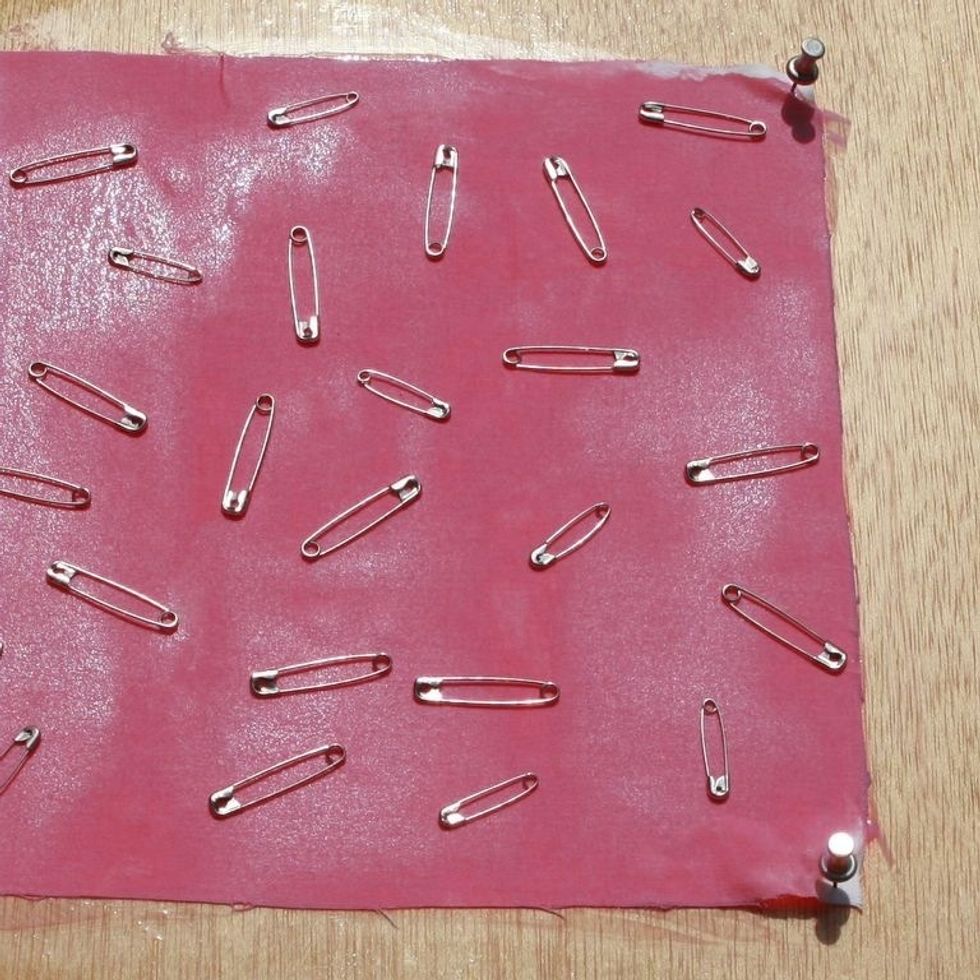
Pin down the edges of your fabric to prevent curling during exposure. Be mindful of the placement and angle of your pins- they may cast shadows on your print.
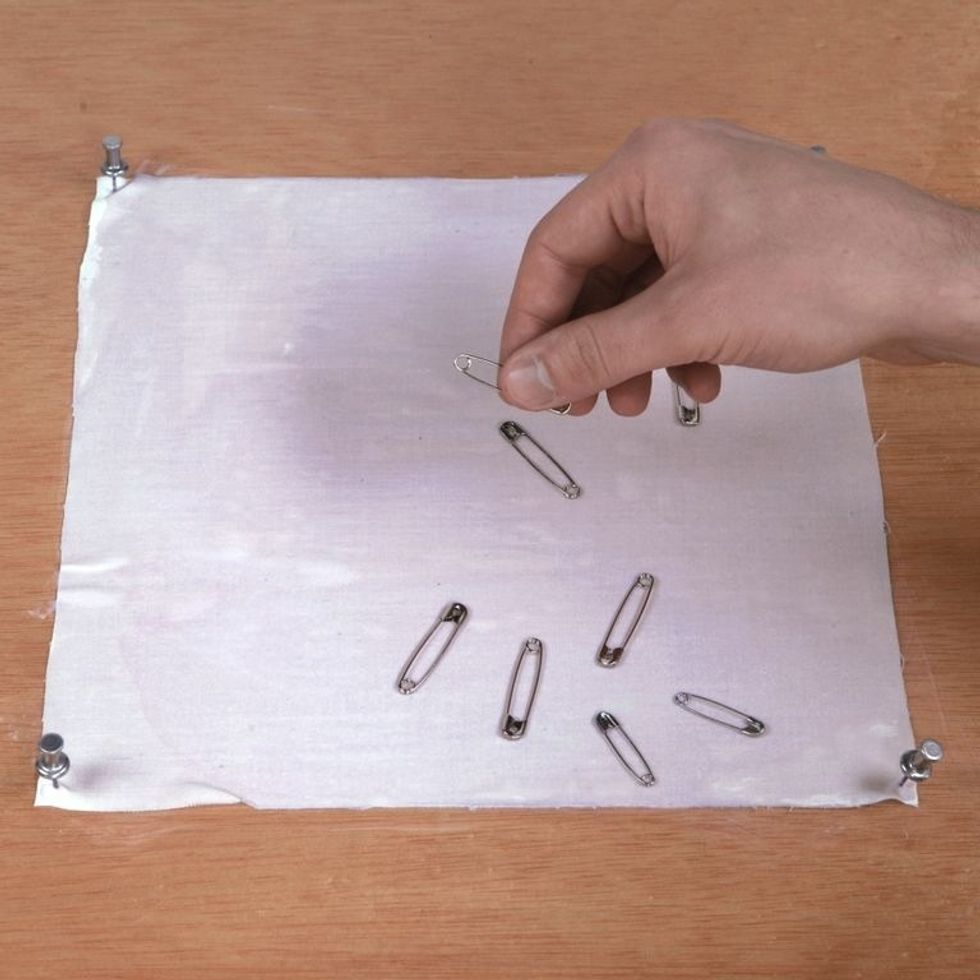
Place your objects on the coated cotton. It's best to choose objects that lay flat on your material to avoid shadows. Objects that are lifted from the surface may appear fuzzy in the final print.
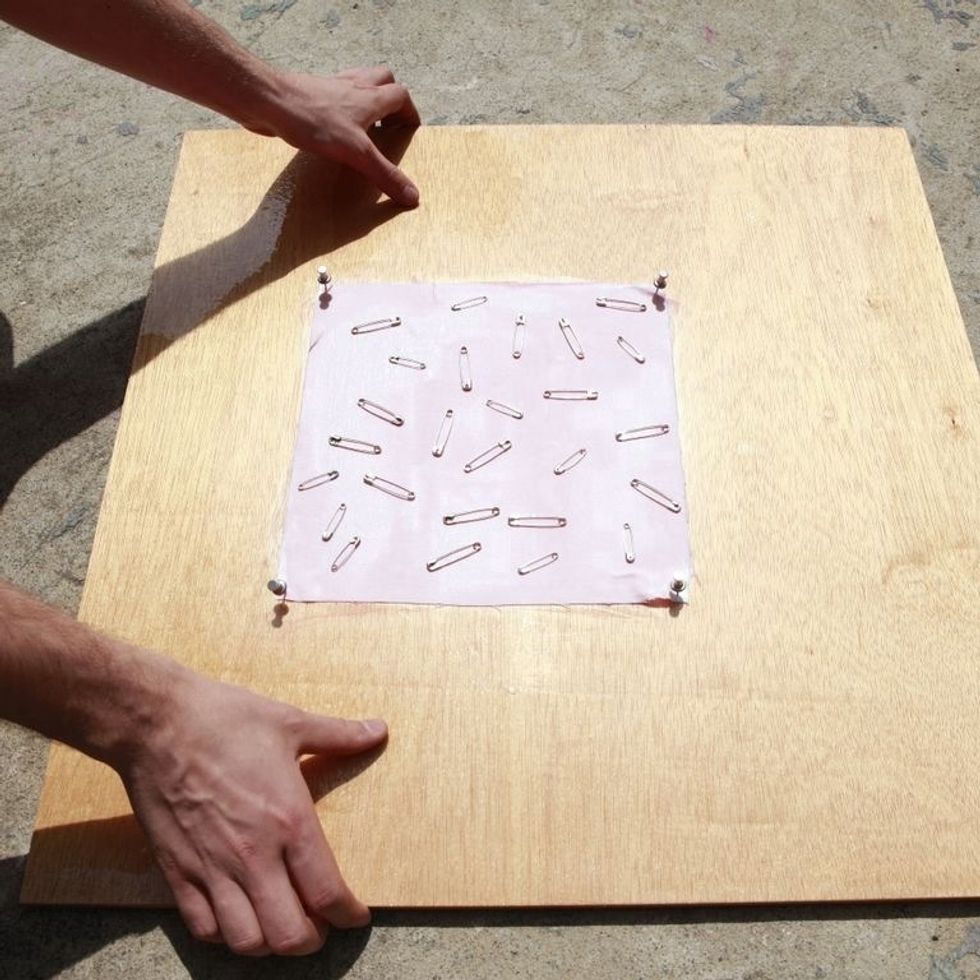
Expose your Photogram in direct sunlight for 10-12 mins. It can take about 30 mins if done on a cloudy day.
You will begin to see color development within the first minute of sun exposure! It may appear to get to its darkest potential after 5 mins, but try to be patient during the entire exposure period :)
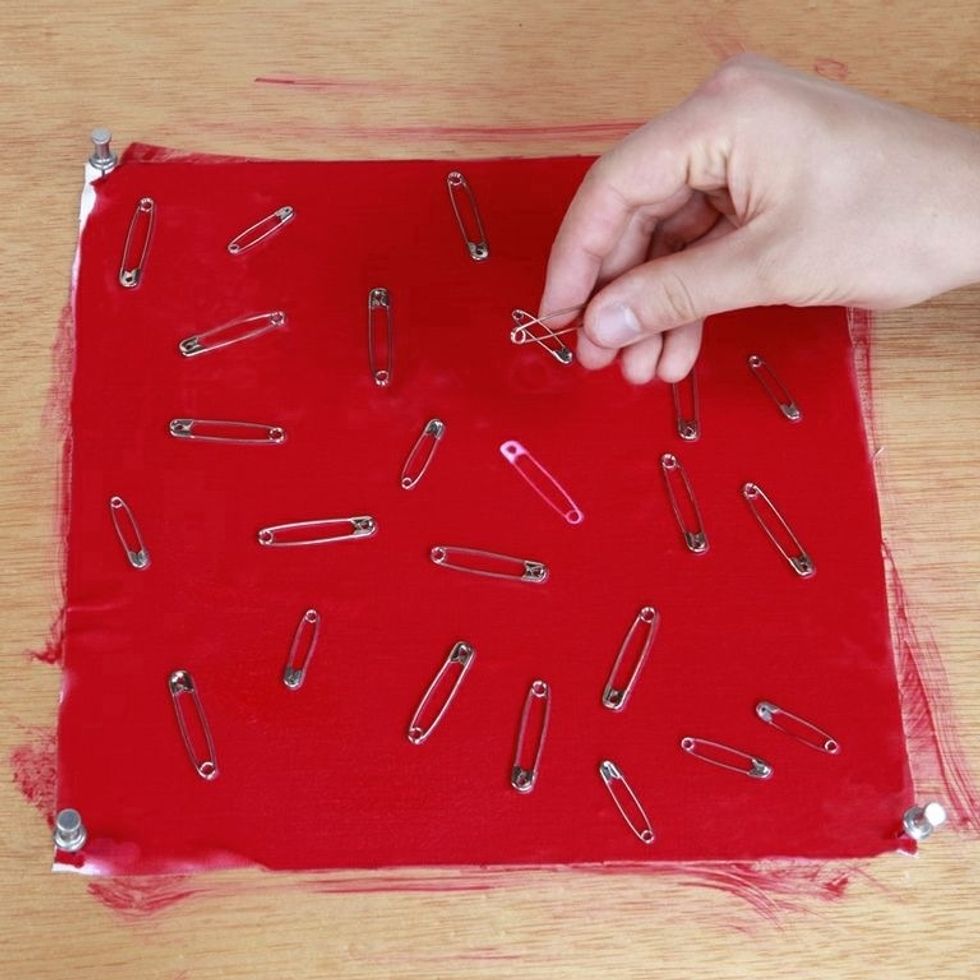
Take your Inkodye photogram back indoors and remove the objects in subdued lighting.
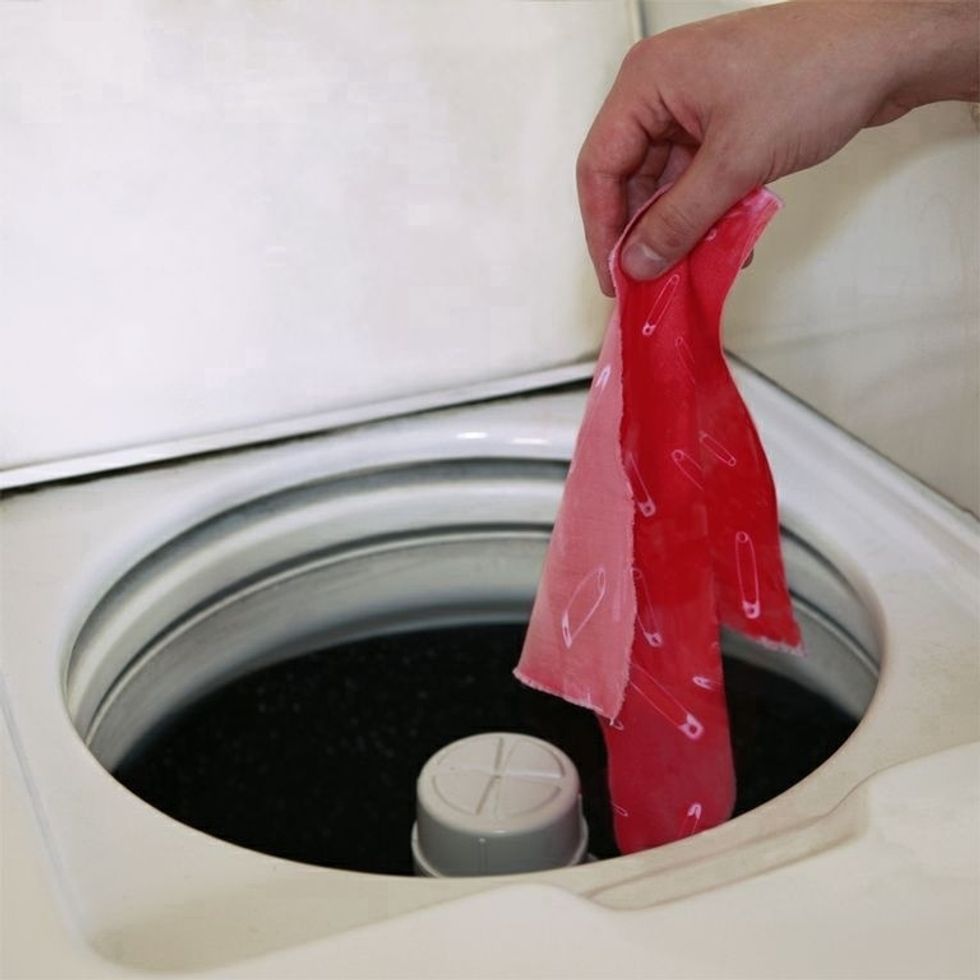
Wash your print with detergent to remove unexposed dye. We recommend washing the print twice in the wash machine on the HOT cycle. If you have hard water, using washing soda or Borax will help.
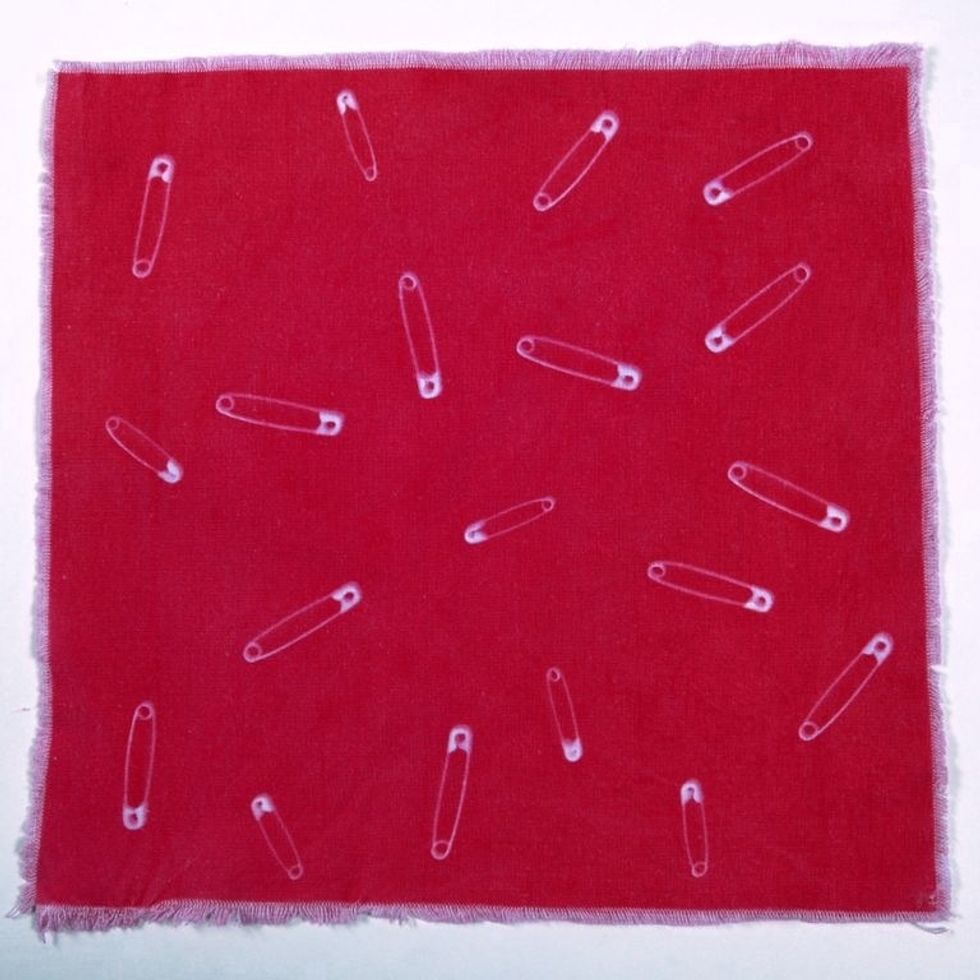
Your photogram is now done! Hang it on your wall, upholster a chair seat or sew it into a coin purse. Photograms can be printed on a variety of materials so let your imagination run wild!