The Conversation (0)
Sign Up
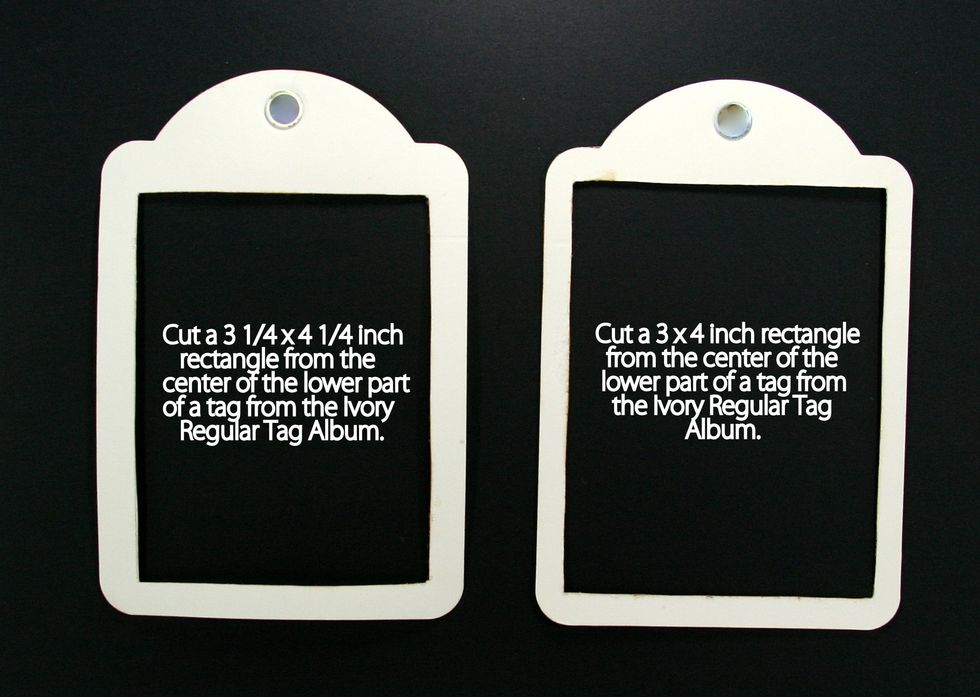
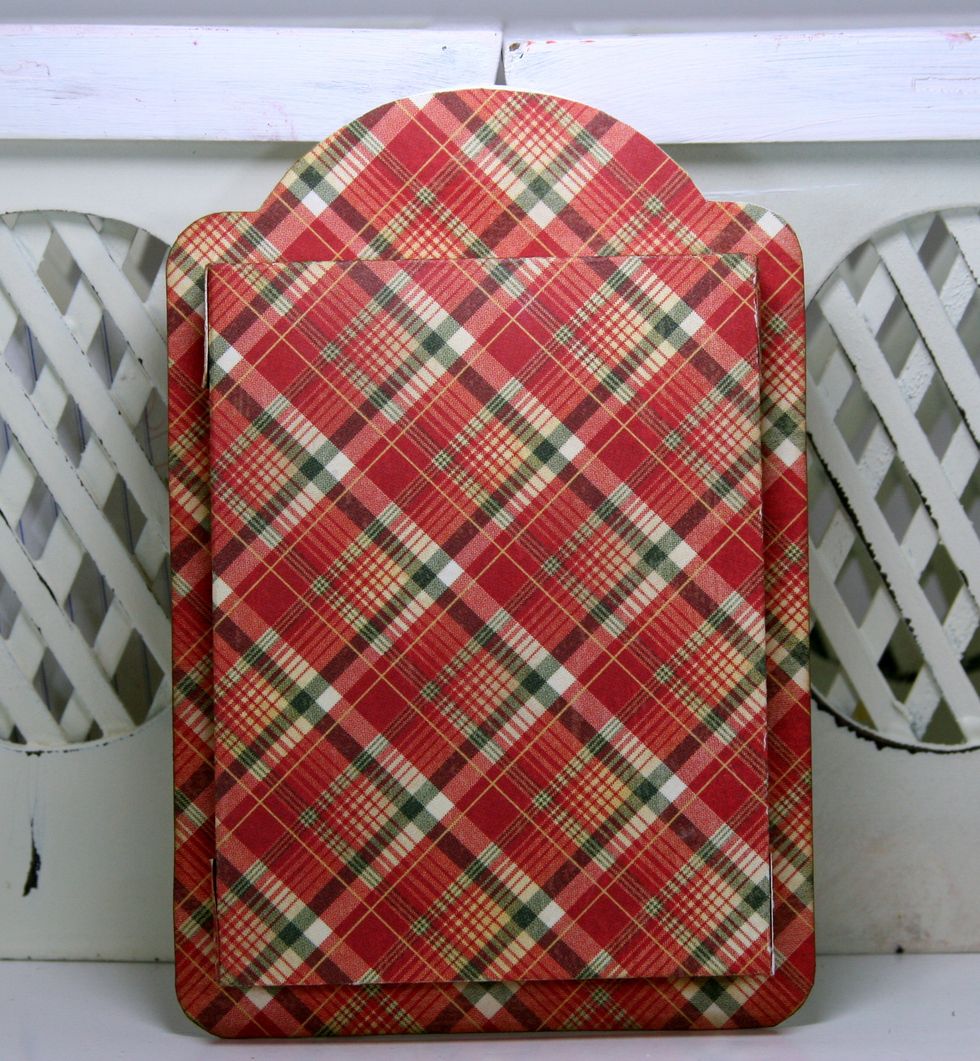
Start with 2 tags from the Ivory Regular Tag Album. For the 1st tag....cut a rectangle 3 1/4 x 4 1/4 inch centered on the bottom part of tag. For second tag cut a 3 x 4 inch rectangle in center.
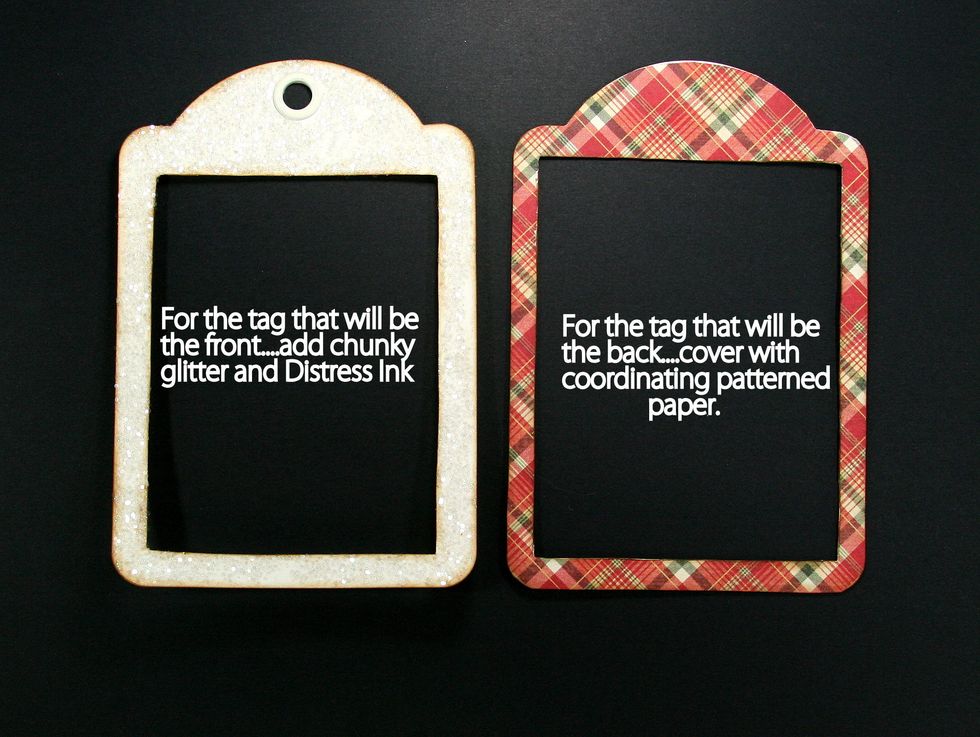
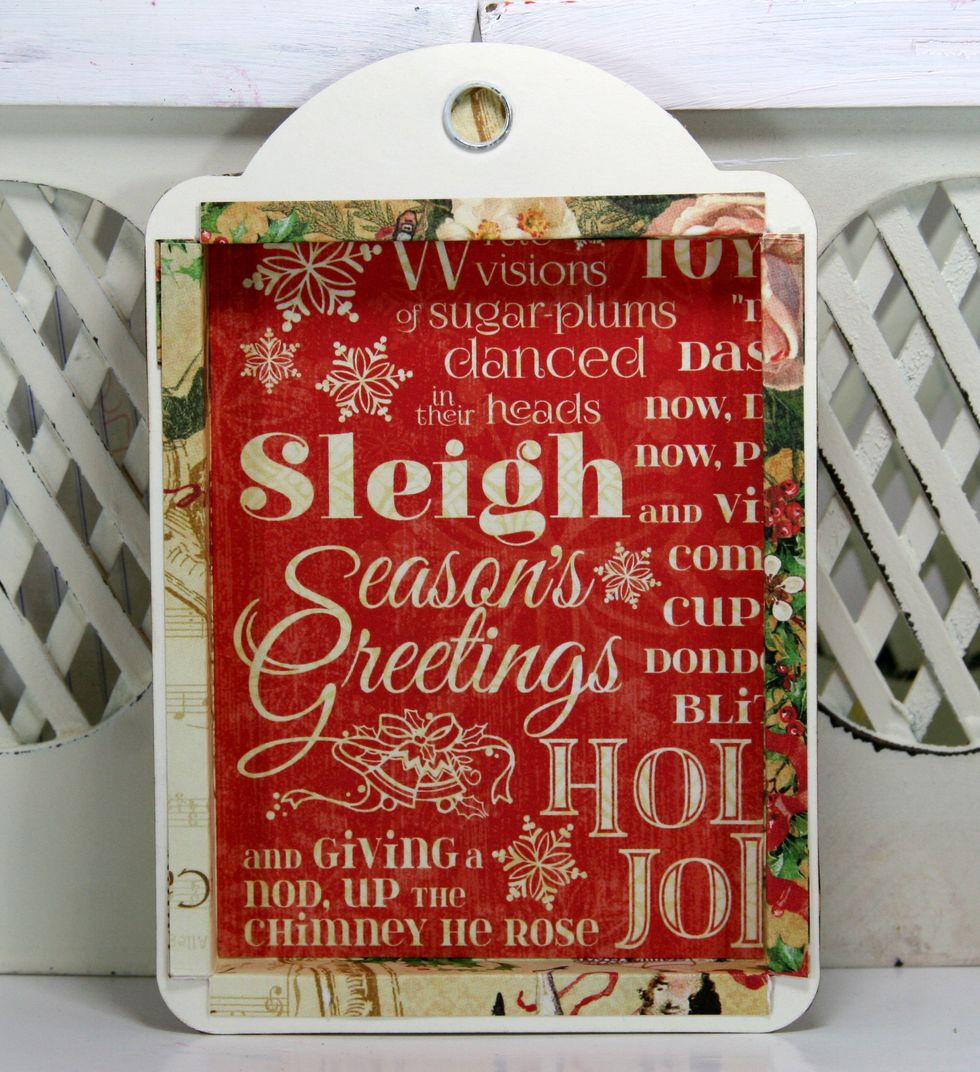
The tag with the 3 x 4 inch rectangle will be the front. Add chunky glitter and Distress Ink. For the tag that will be the back cover with coordinating patterned paper.
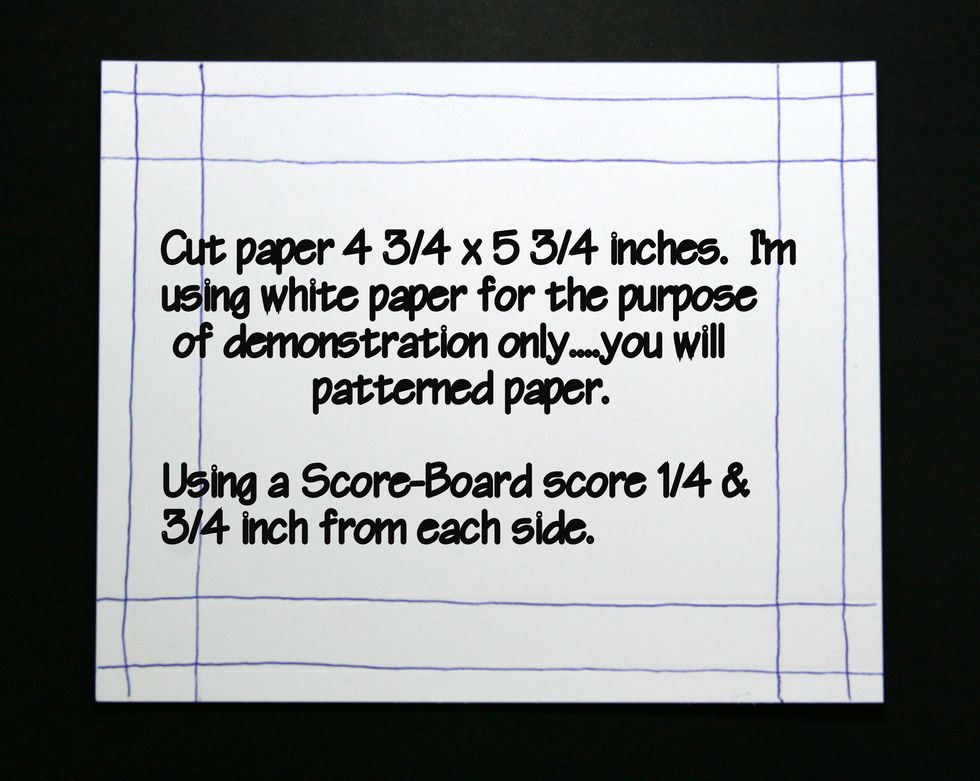
Start with a patterned piece of paper 4 3/4 x 5 3/4 inch. I'm demonstrating with white to help show the score lines. Score in 1/4 and 3/4 inches in on all sides.
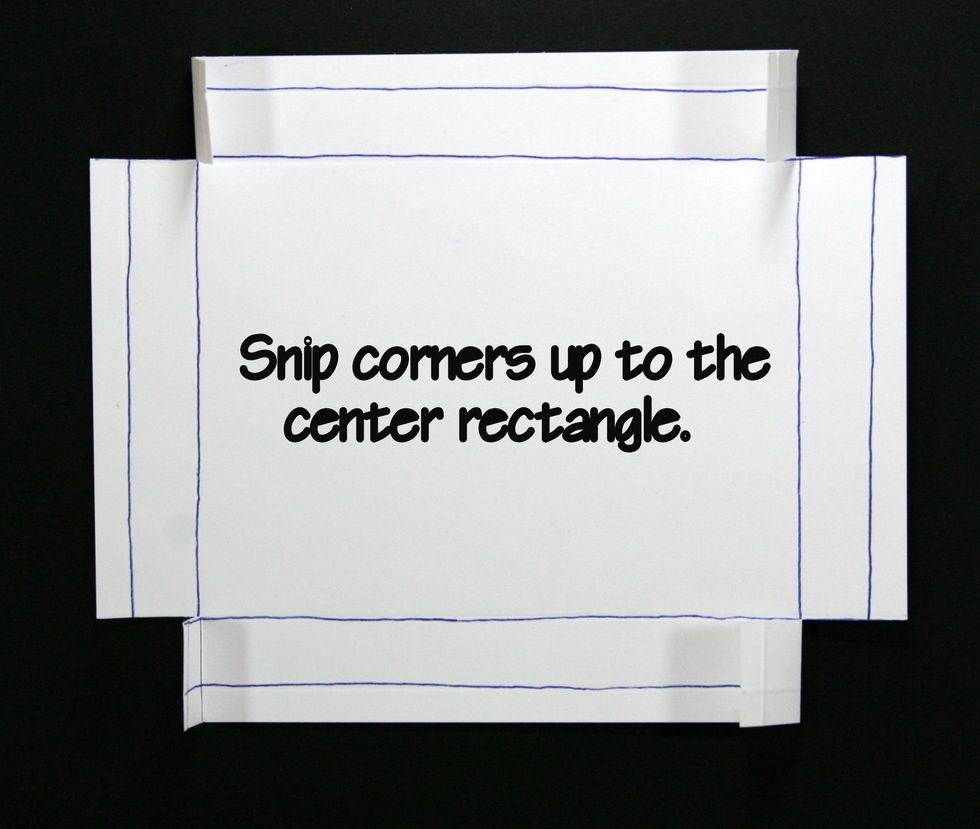
Snip corners up to the center rectangle.
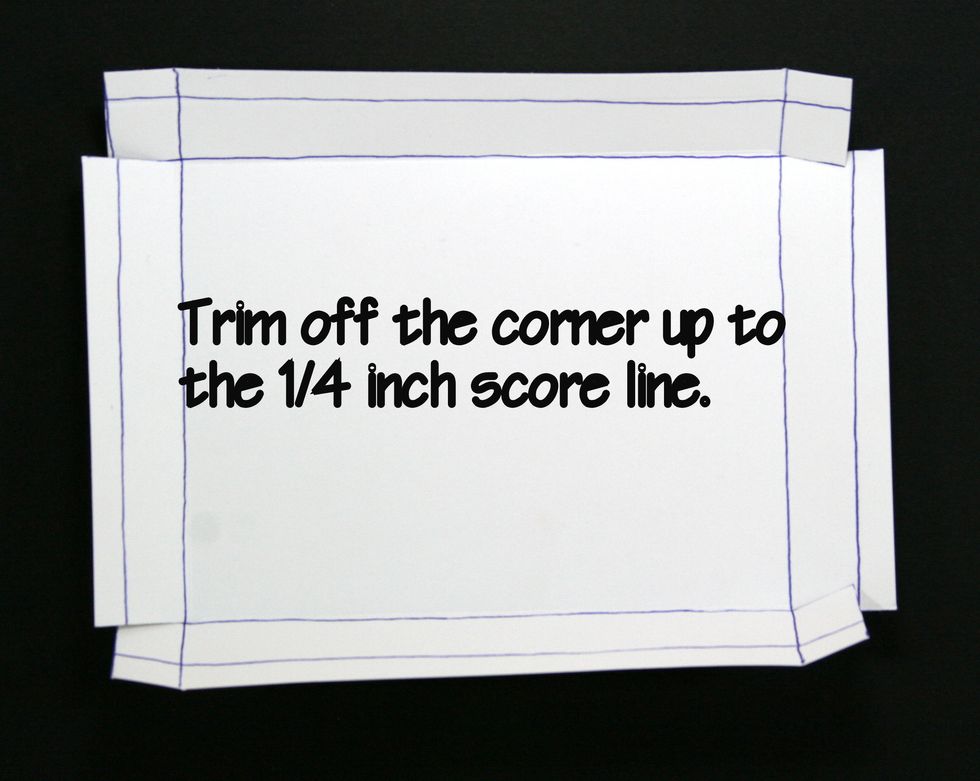
Trim off corners up to the 1/4 inch score line.

Trim off remaining corners.

Fold up sides at the 3/4 inch score line and secure flaps to create a box.
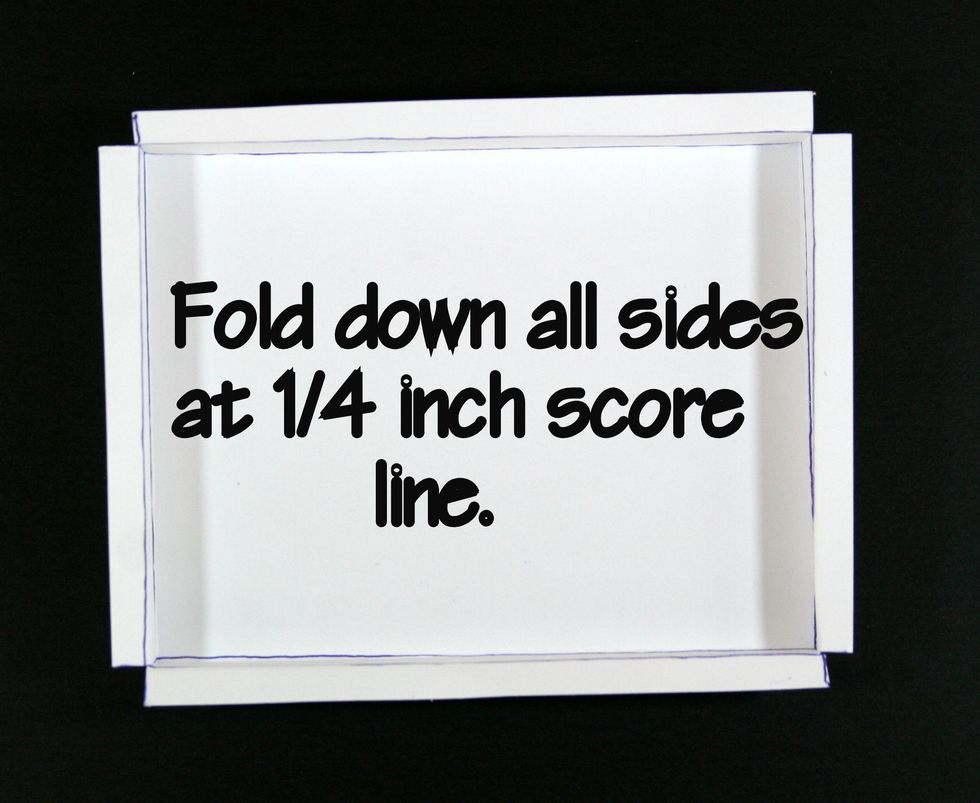
Fold down all sides at 1/4 inch score line.
Insert box into tag.
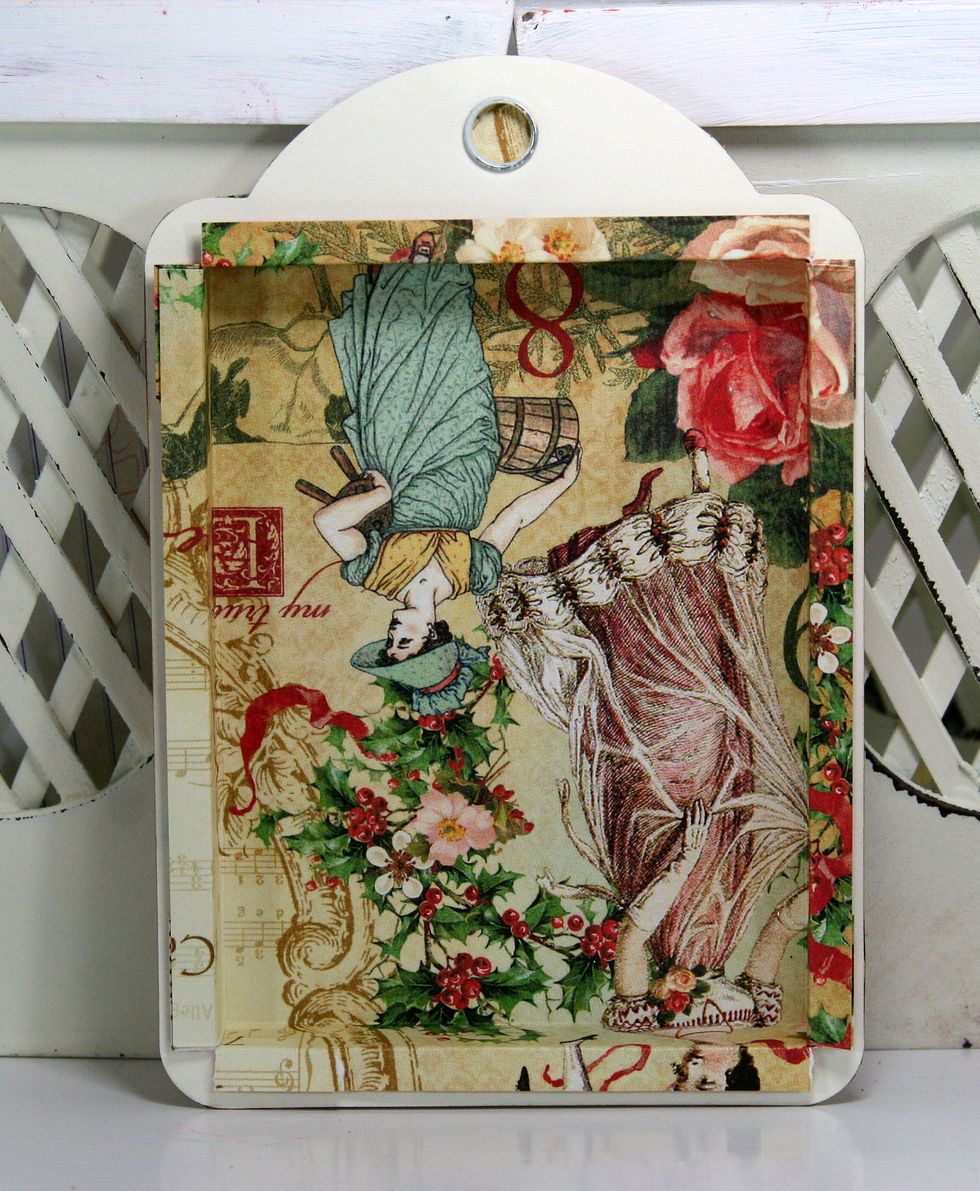
Adhere the flaps securely to backside of tag.
Line box with patterned paper.
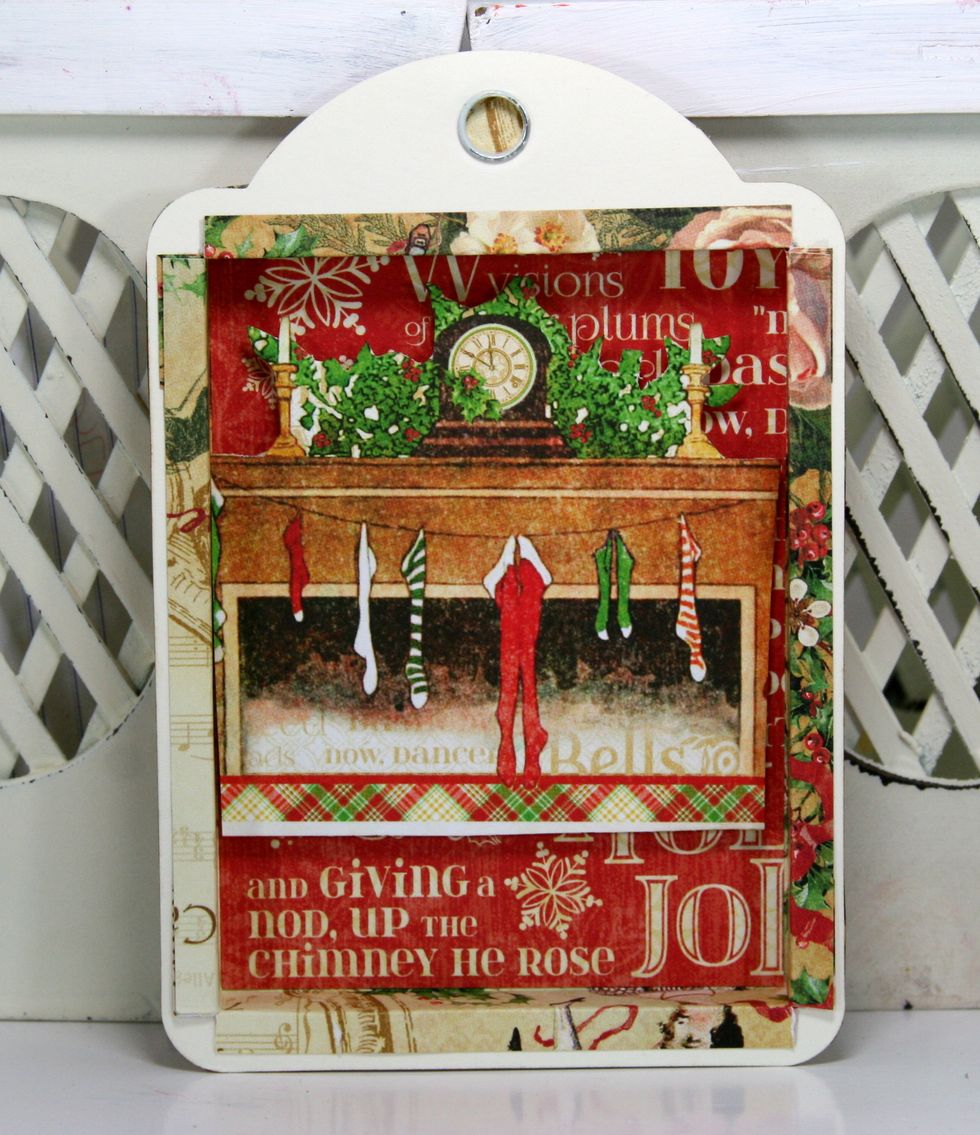
Using foam spacers attach the trimmed mantle image.
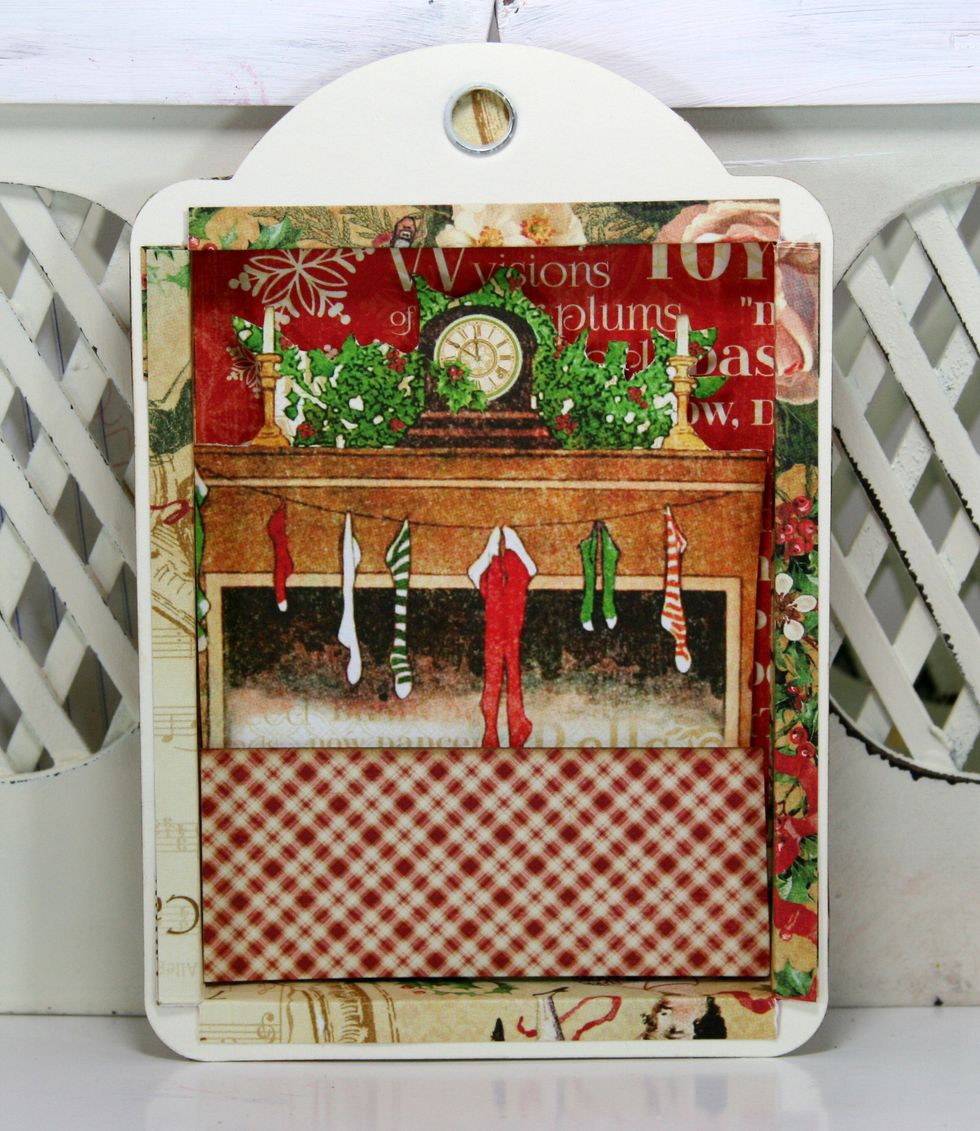
Add a strip of patterned paper to cover bottom of fireplace.
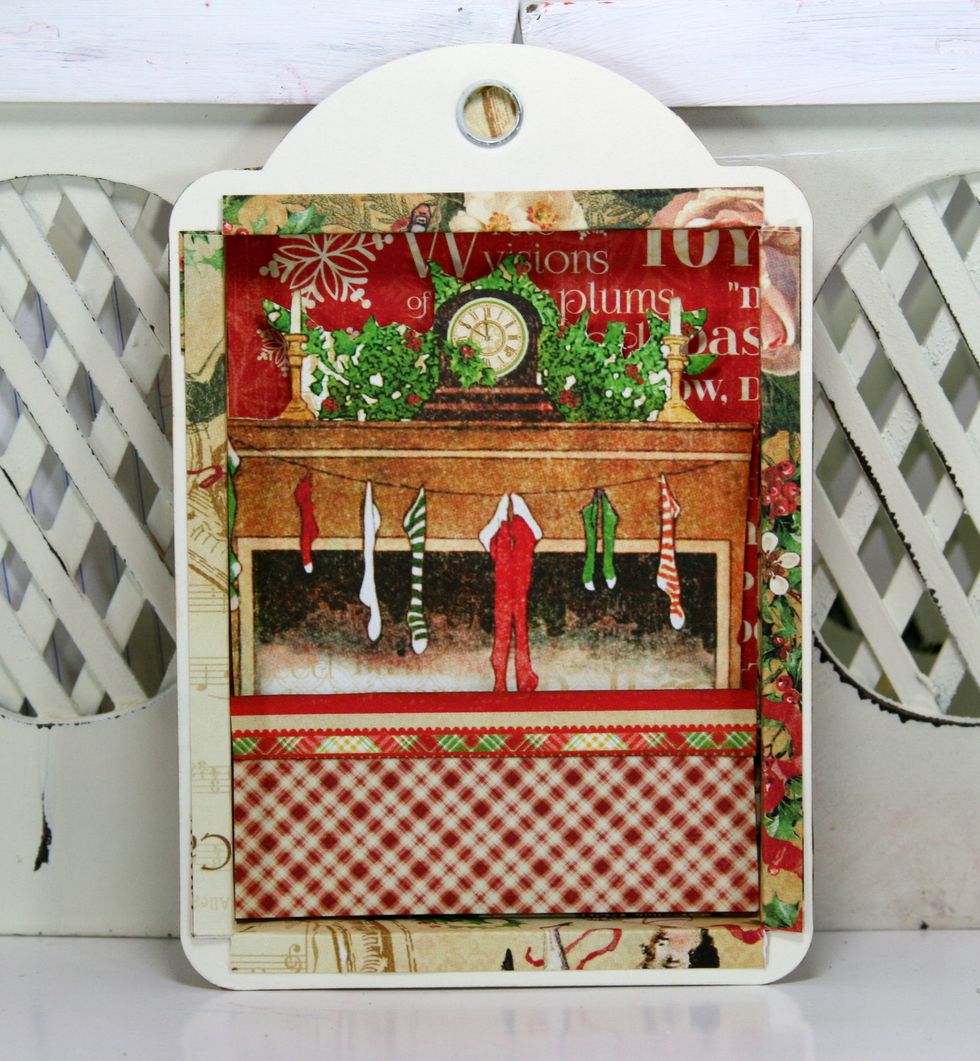
Finish off top of patterned paper with a border strip.
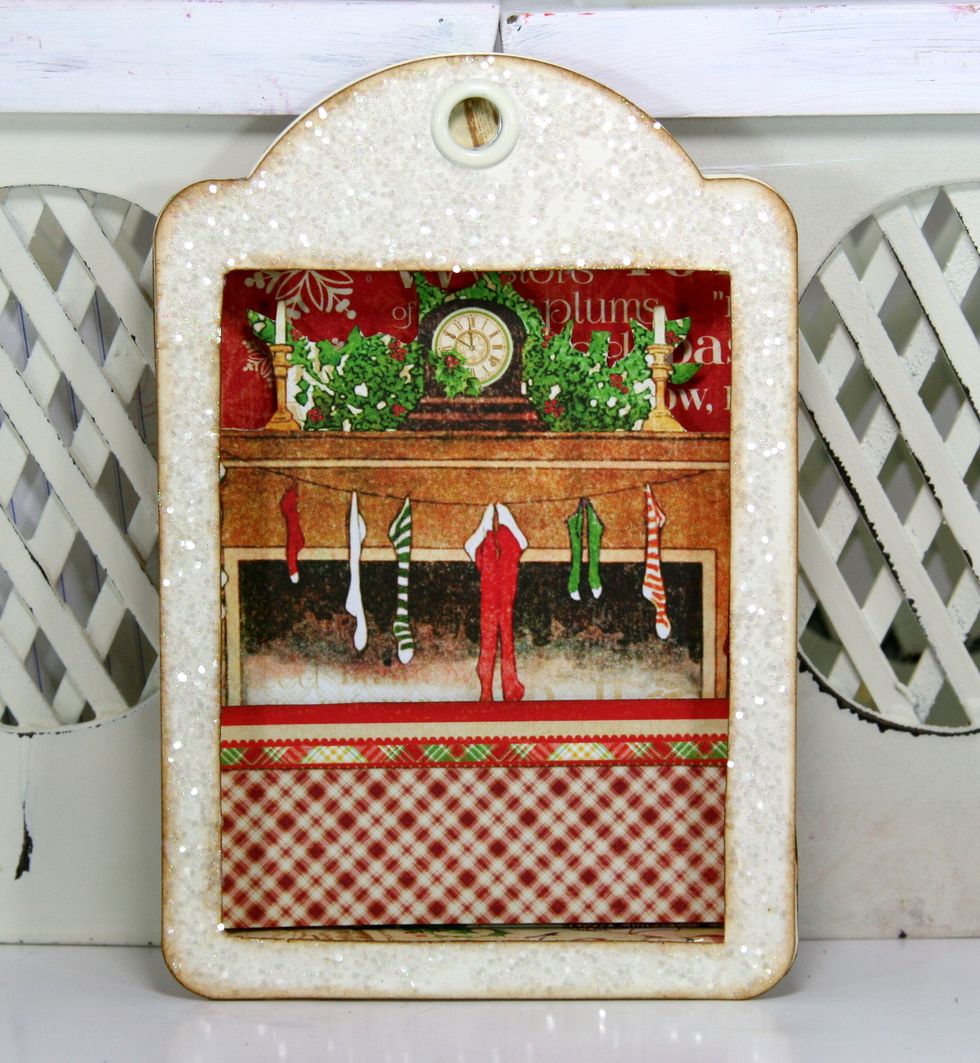
Add the glittered and inked tag and secure firmly.
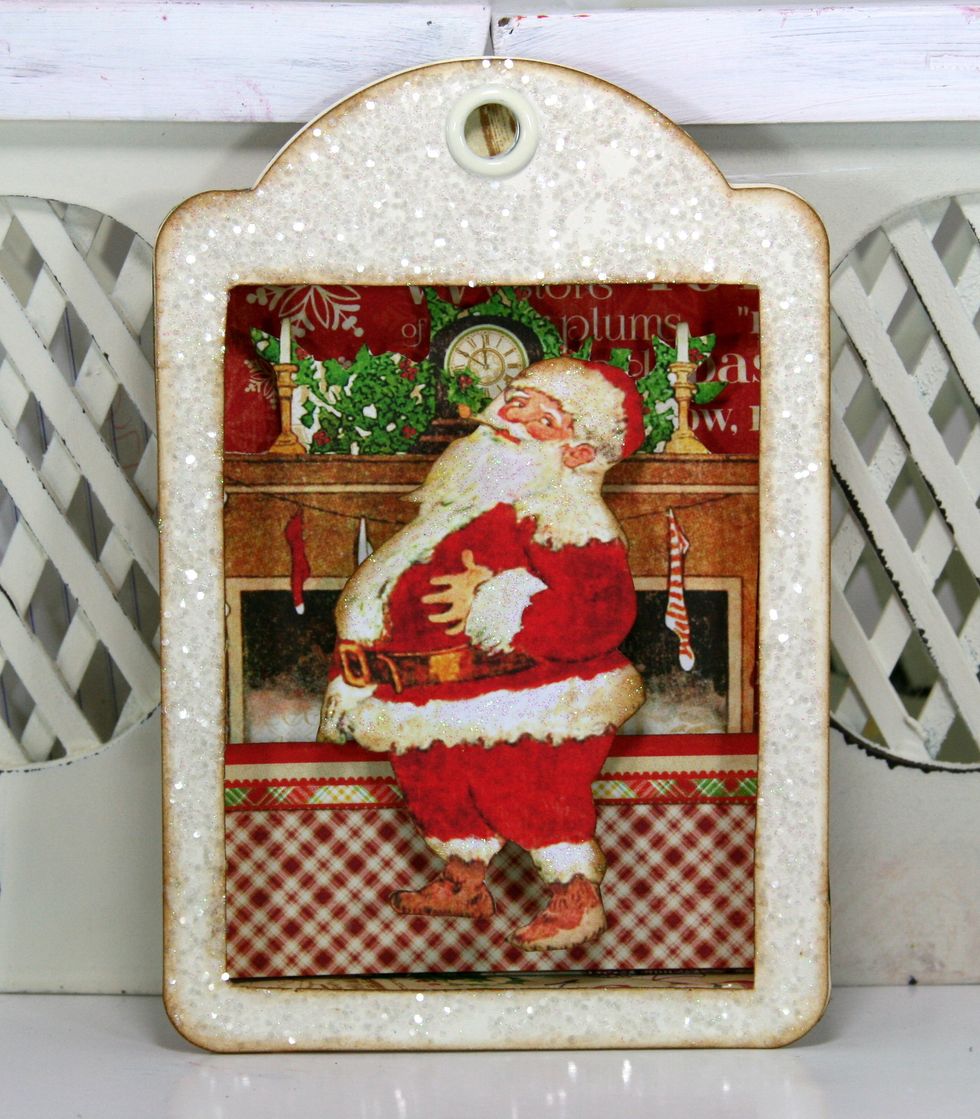
Using foam spacers add fussy cut Santa image.

Add tag to outside of box using hot glue.
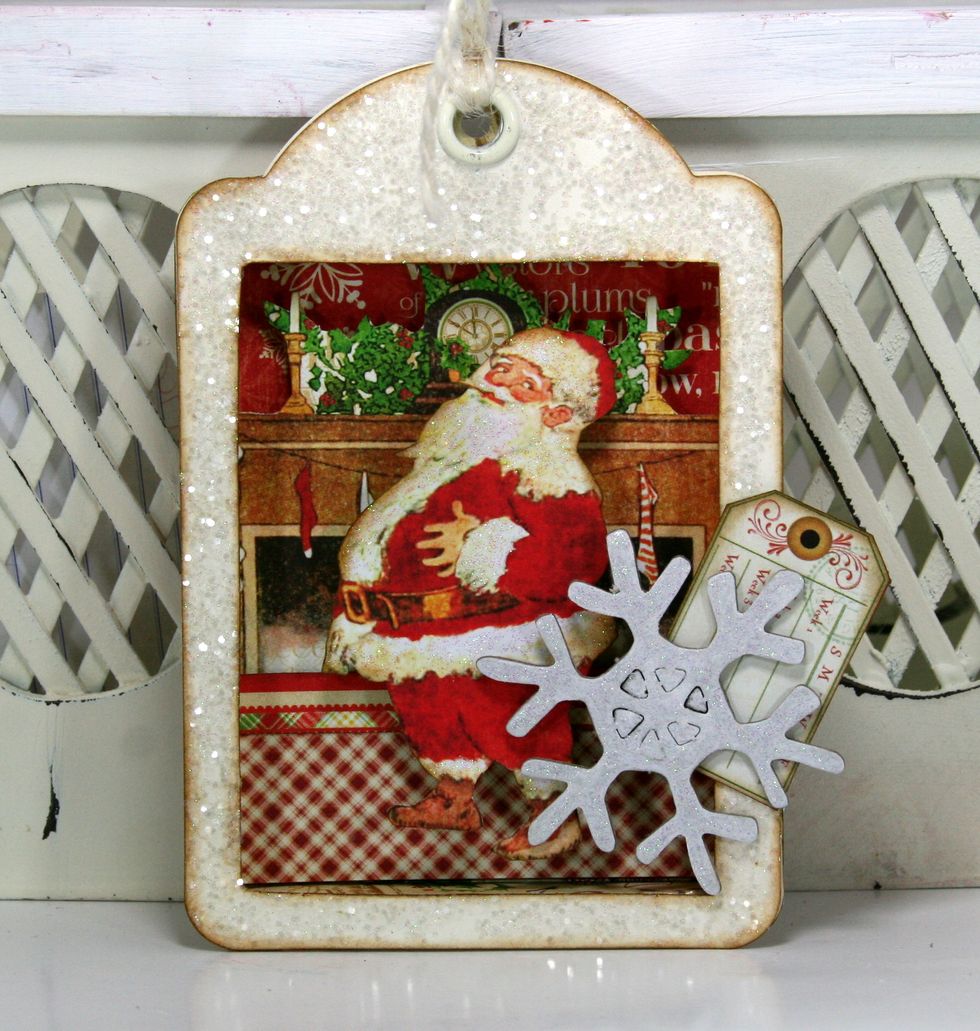
Attach chipboard snowflake.
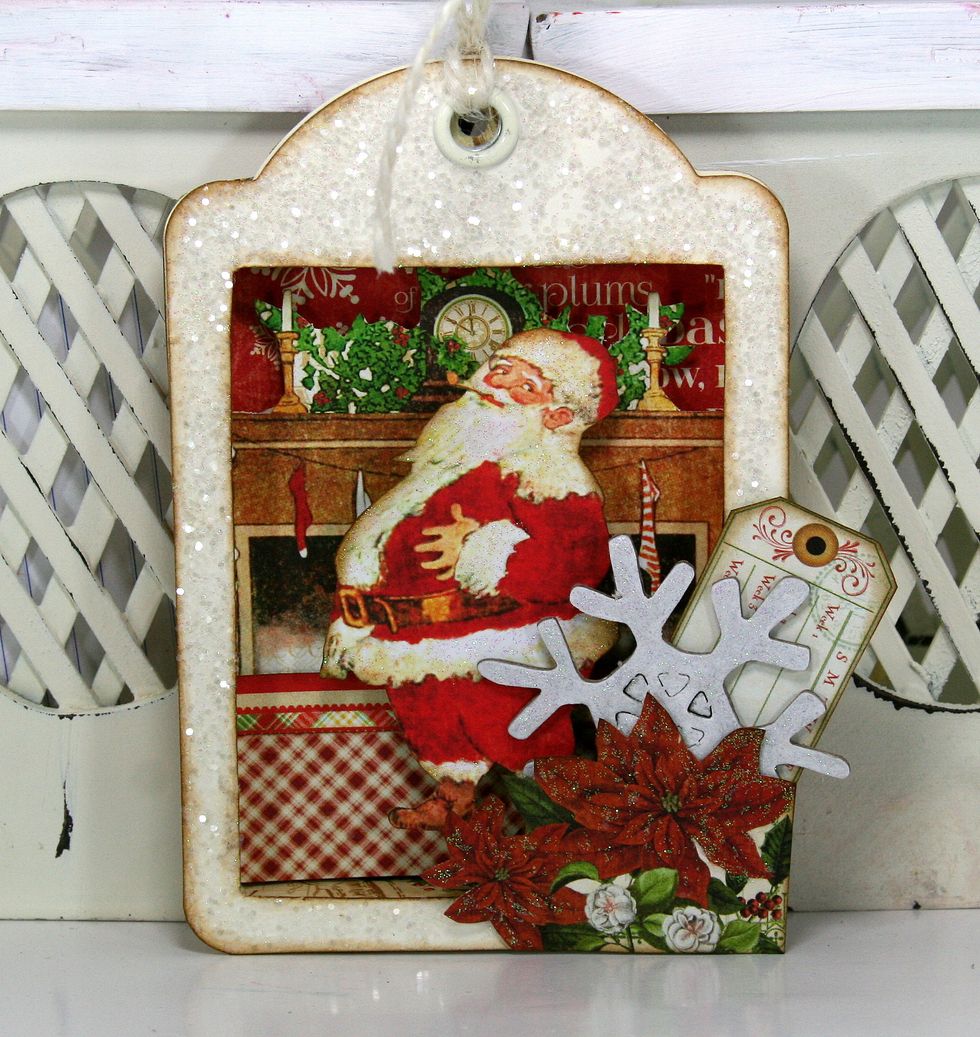
Attach poinsettia images to corner.

Add holiday sentiment and extra holly.
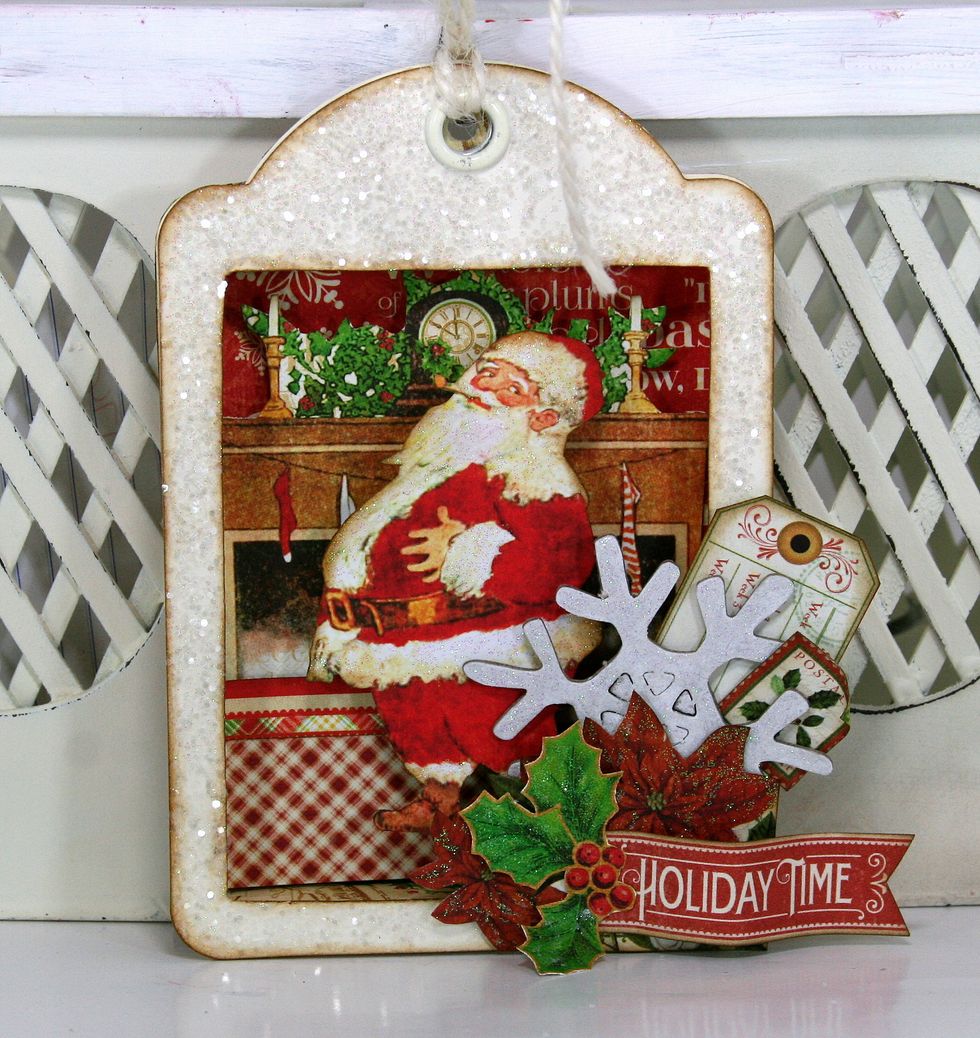
Tuck in stamp image behind snowflake.
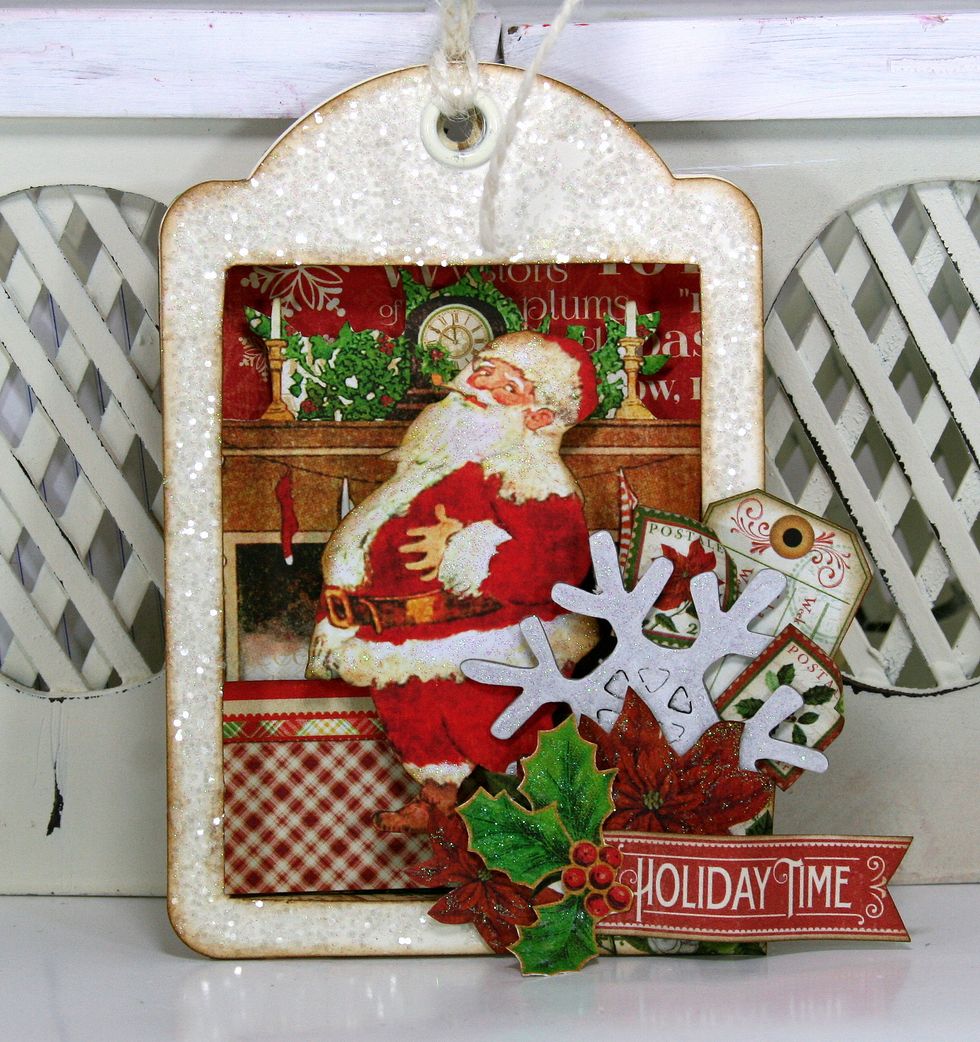
More stamps!
Tuck in some additional holly.

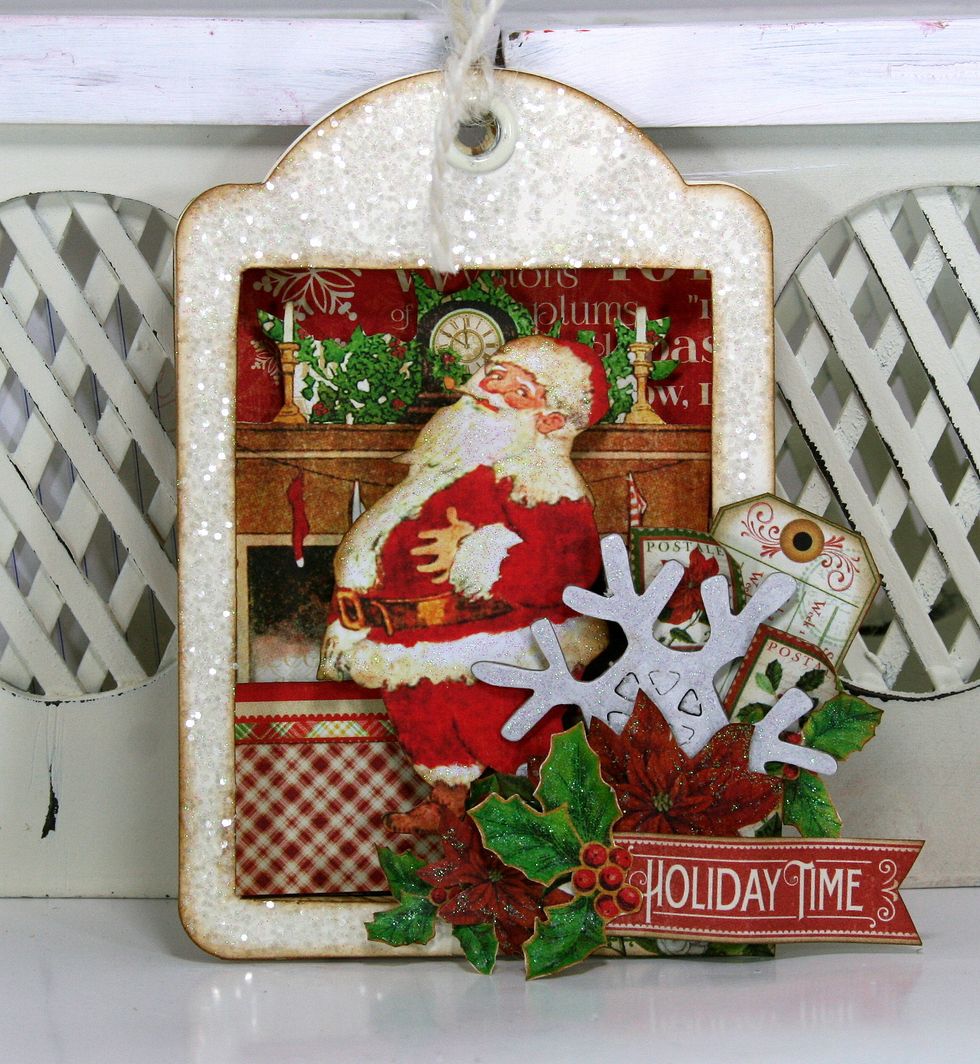
Top off with big poofy layered bow.

Make sure to place the foam spacers far enough in not to show when viewed from the side. This ornament is very dimensional : )