The Conversation (0)
Sign Up
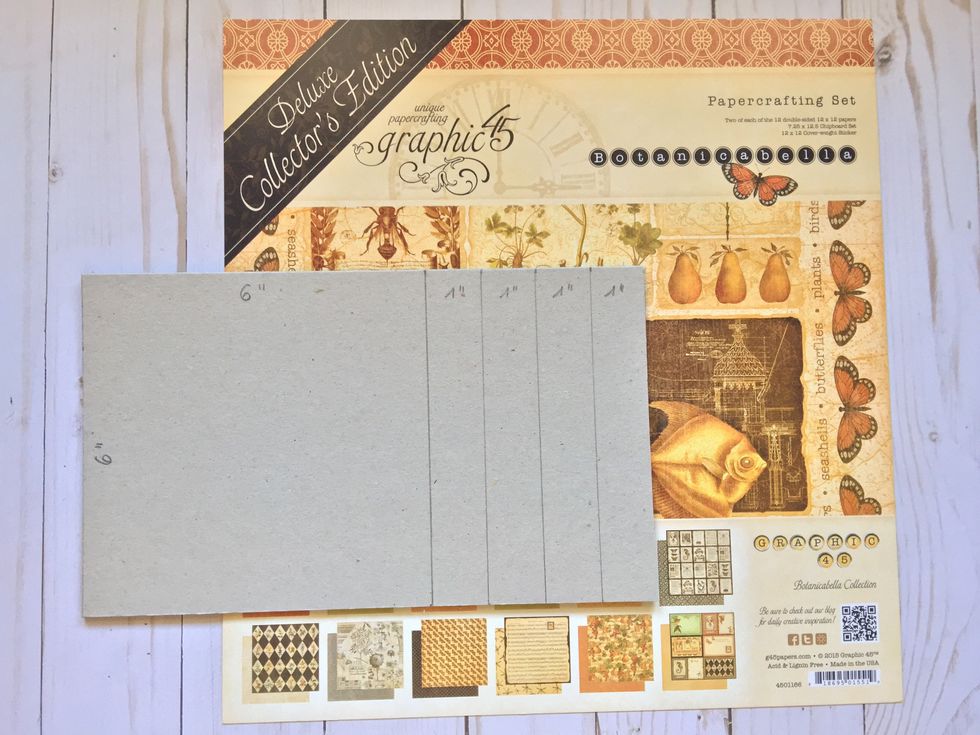
We need a piece of cardboard to make the base for the shadow box. One 6"x6" piece and four 1"x6" pieces.

Select a paper to cover this piece only by one of its sides.
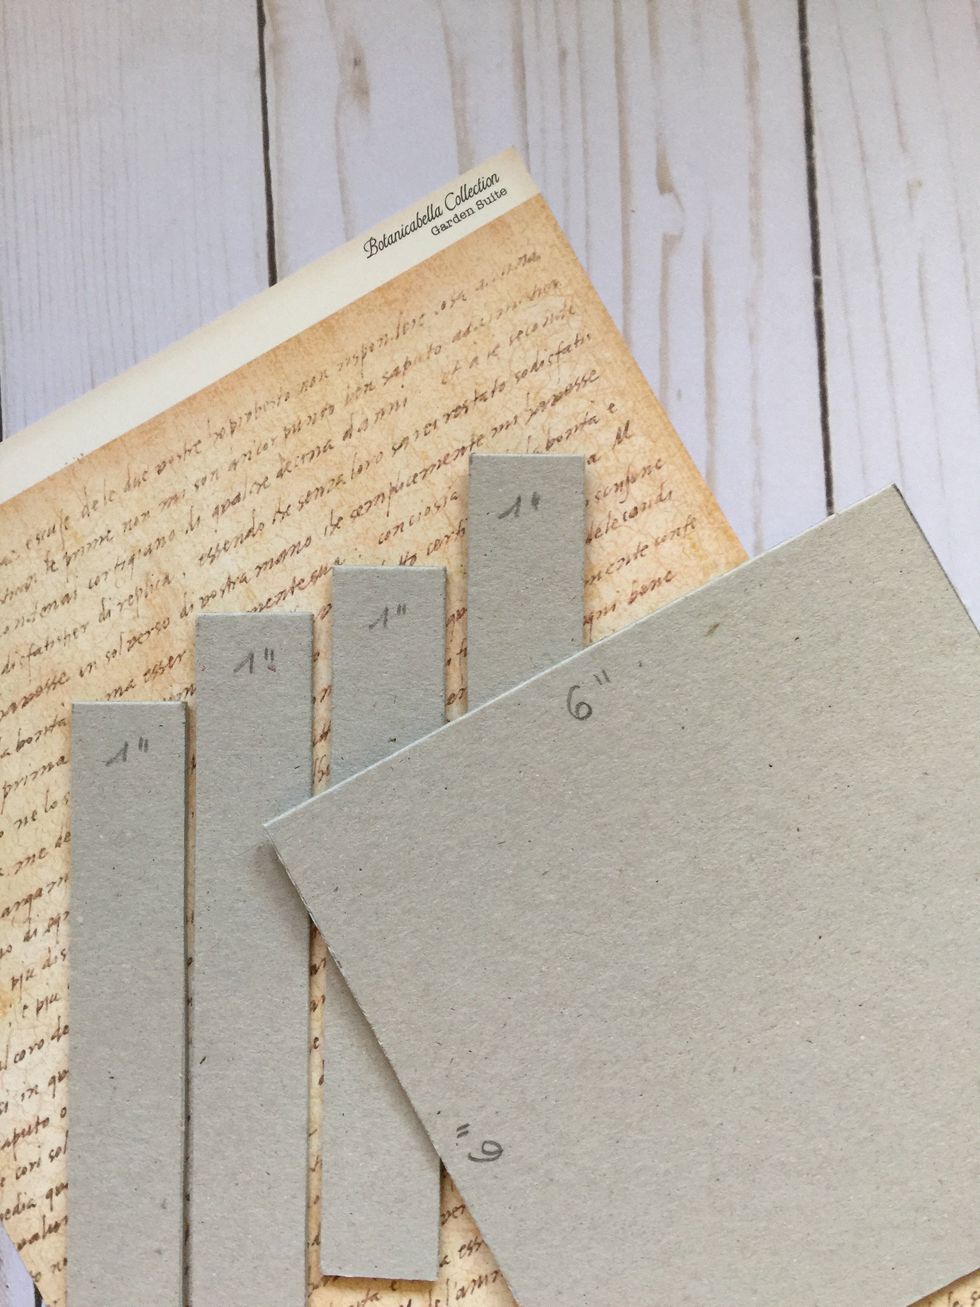
Also cover one side of these 1"x6" pieces with the same paper.
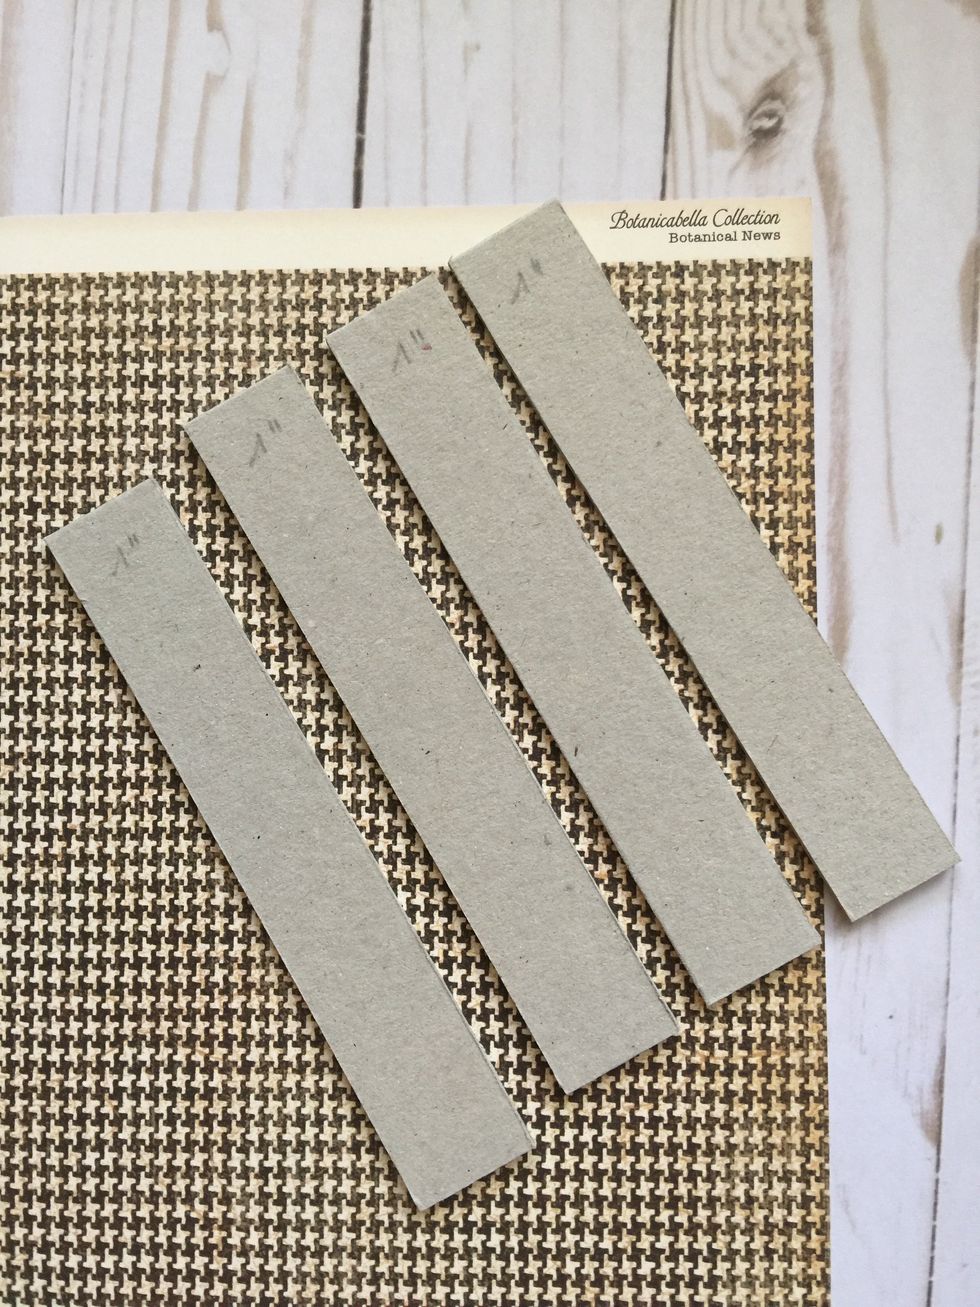
Cover with this paper or another of your selection, the other side of 1"x6" pieces.

Here it is the result. We will work on the 6"x6" piece before glueing the sides of the shadow box.
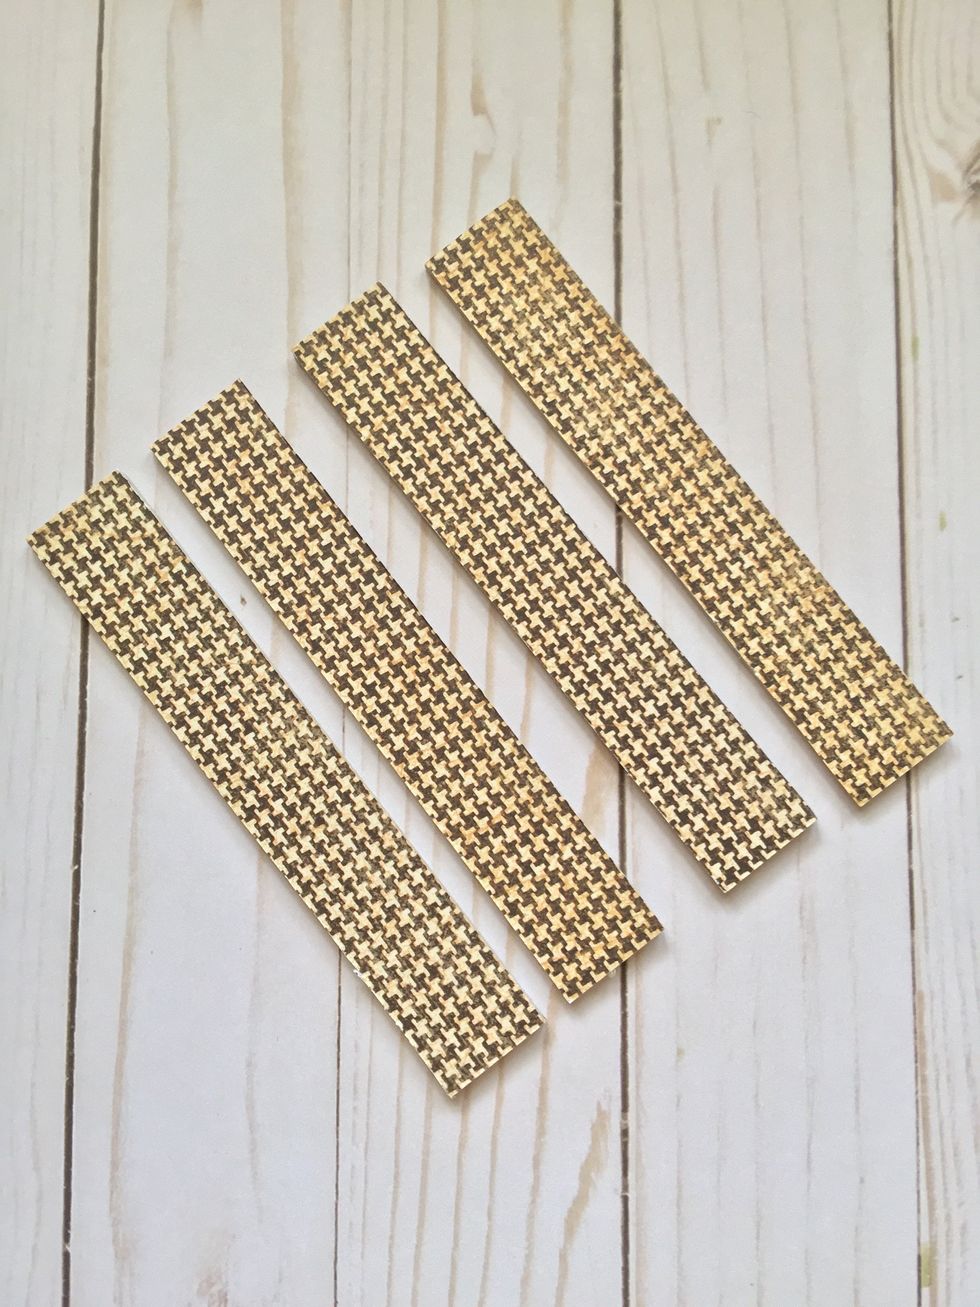
And this is the other side of the pieces.
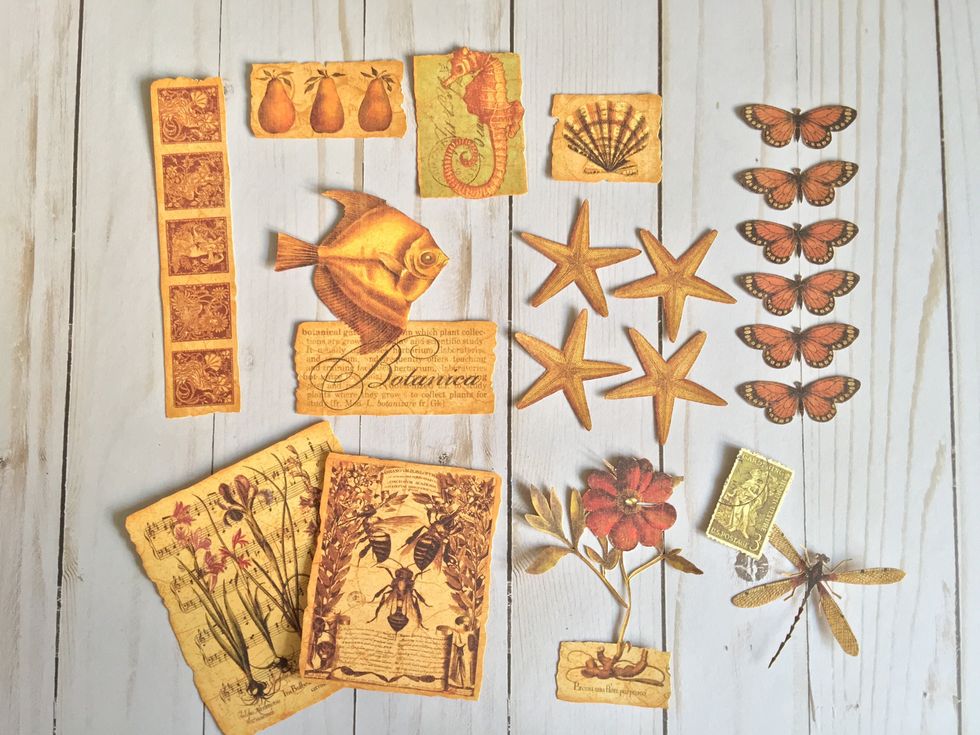
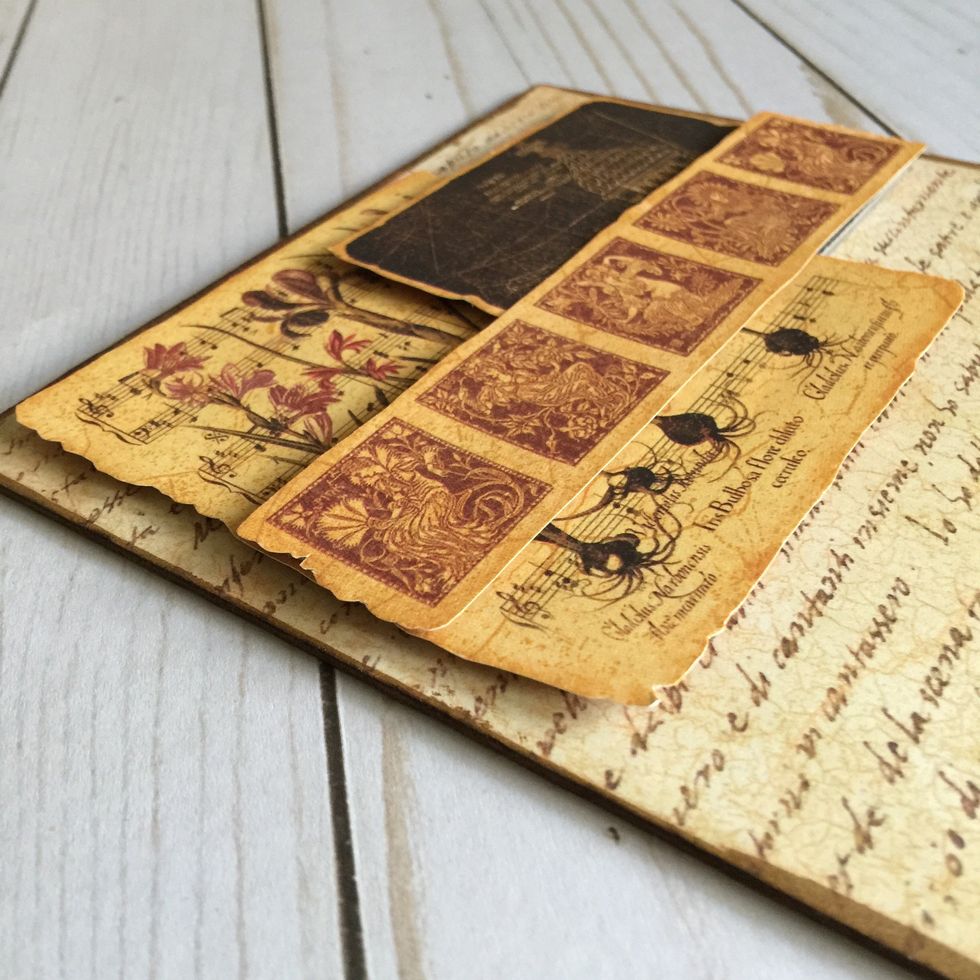
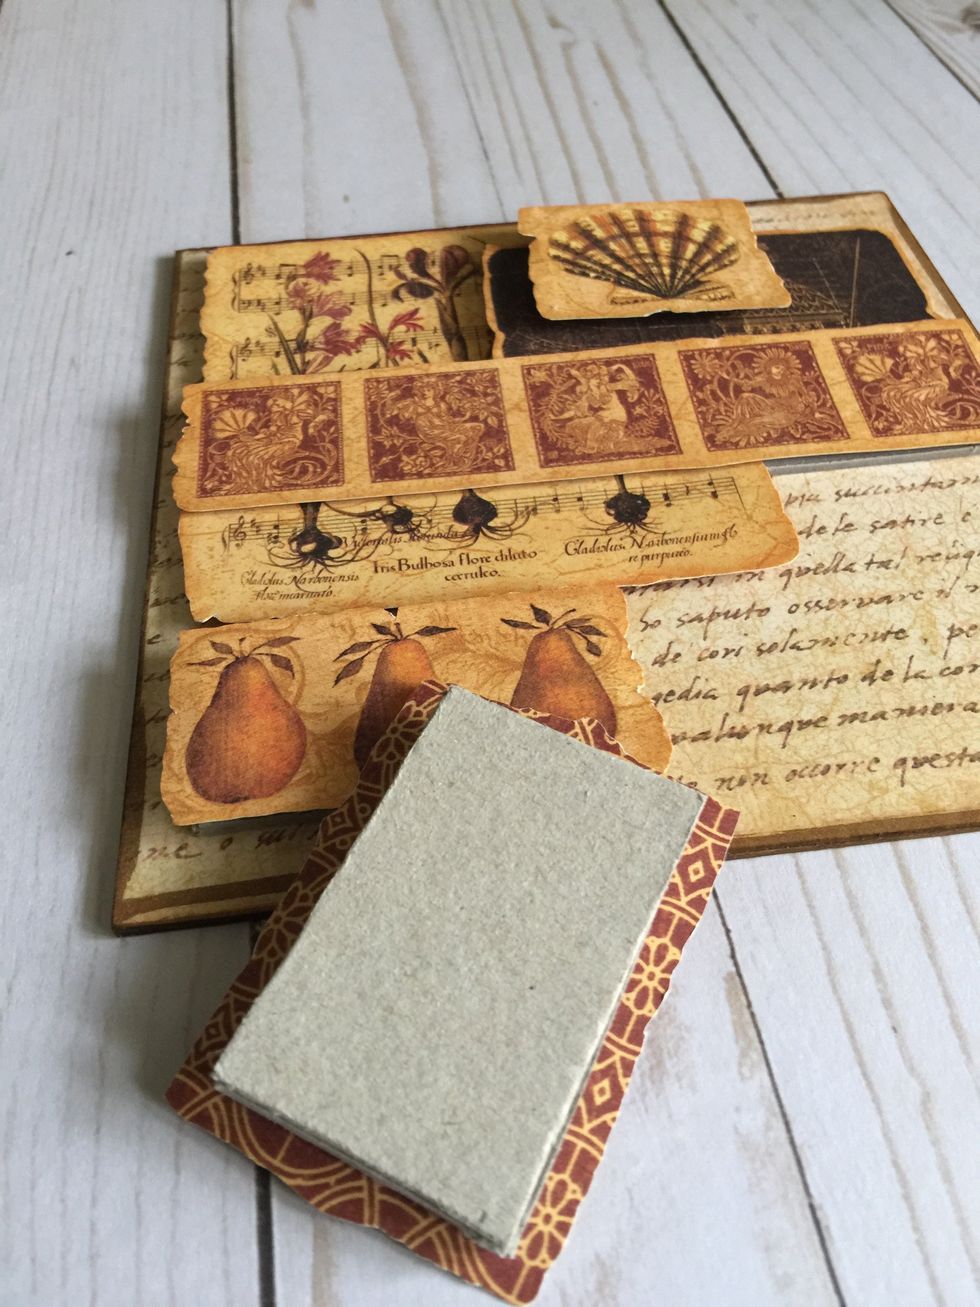
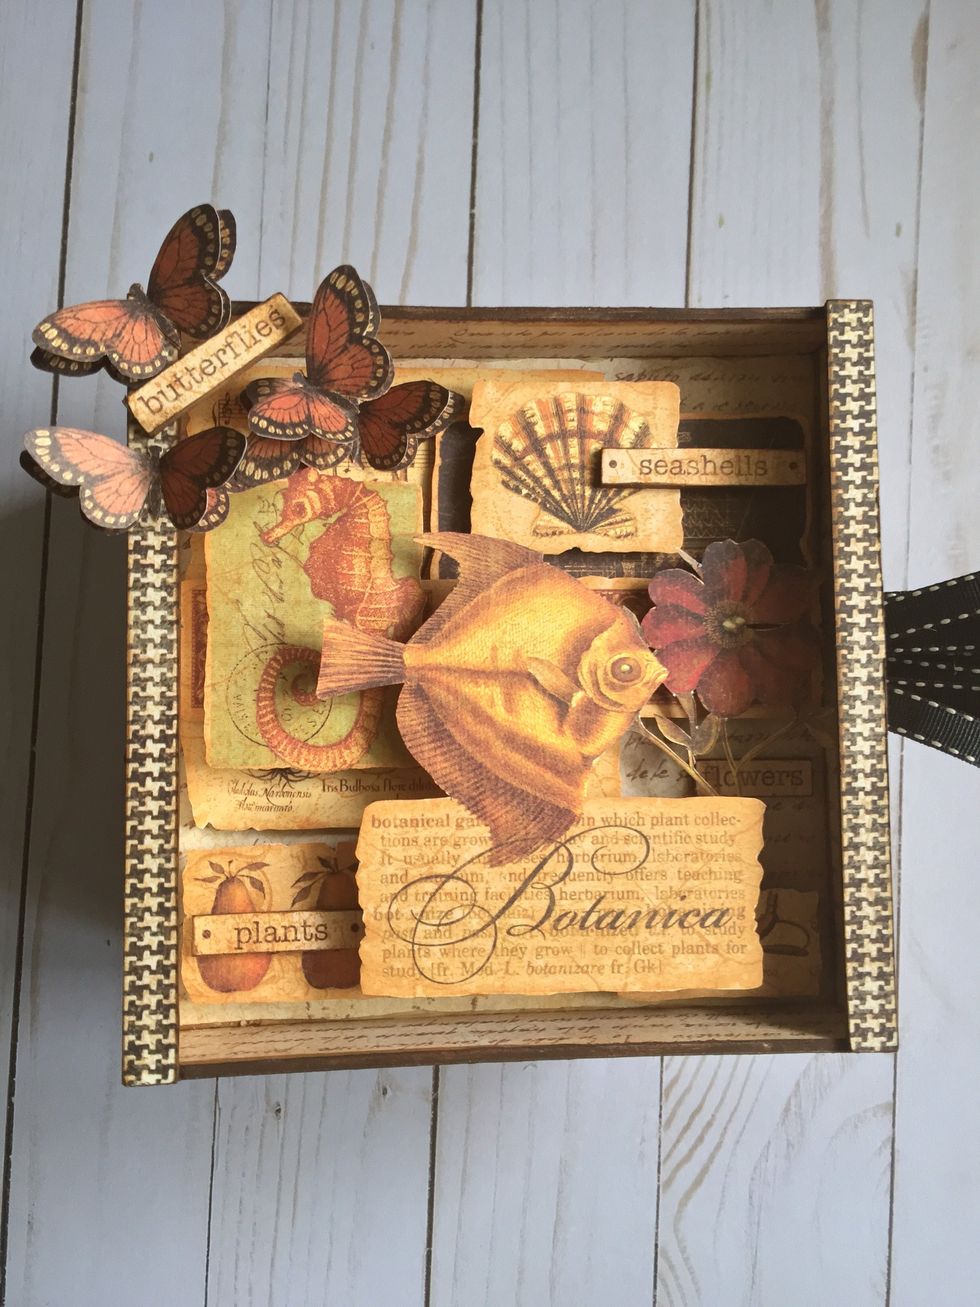
Fussy cut all the patterns you like. In my case from Botanicabella Deluxe Collector's Edition. There are so many wonderful figures to fussy cut.
Try different ways to design the one you like the most.
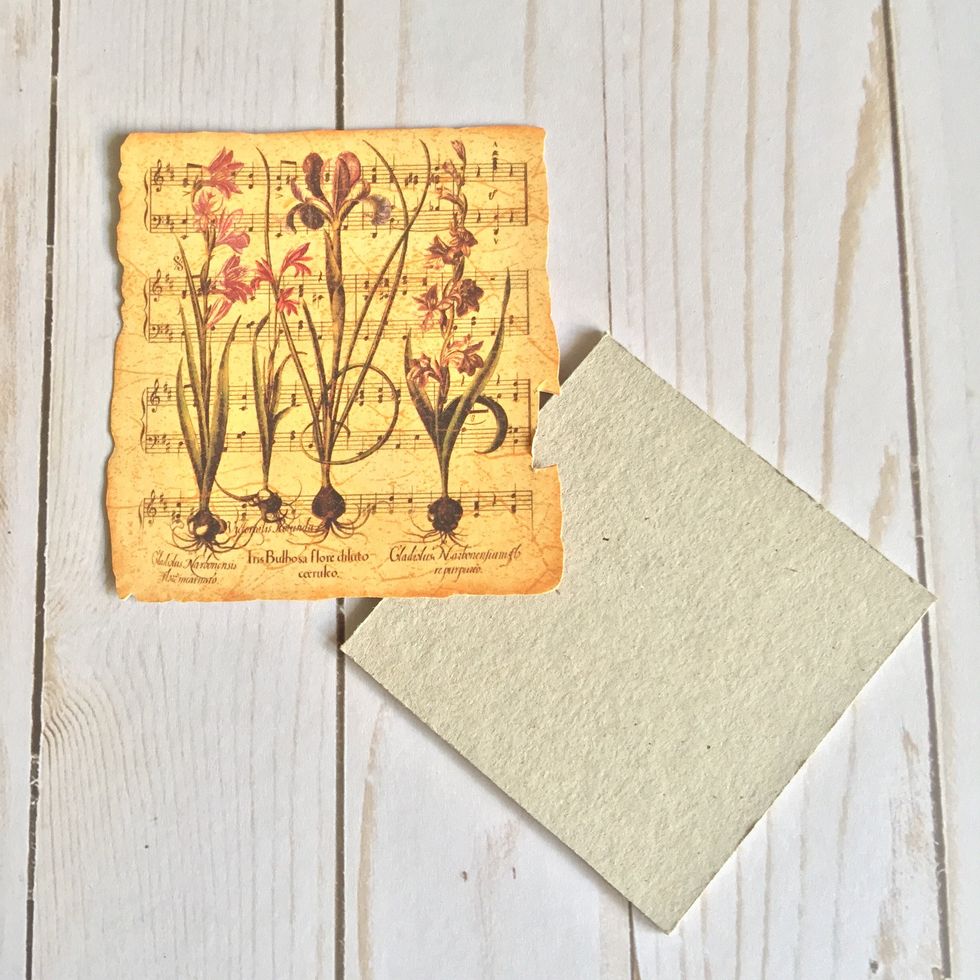
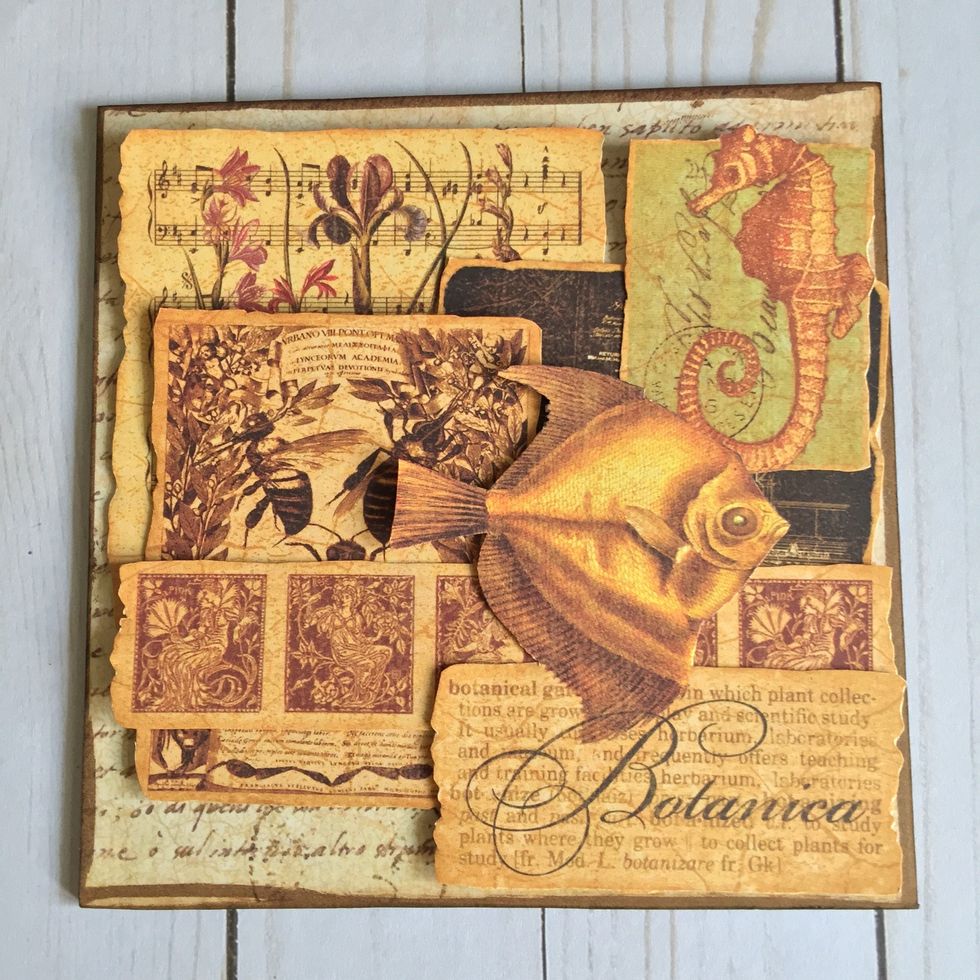
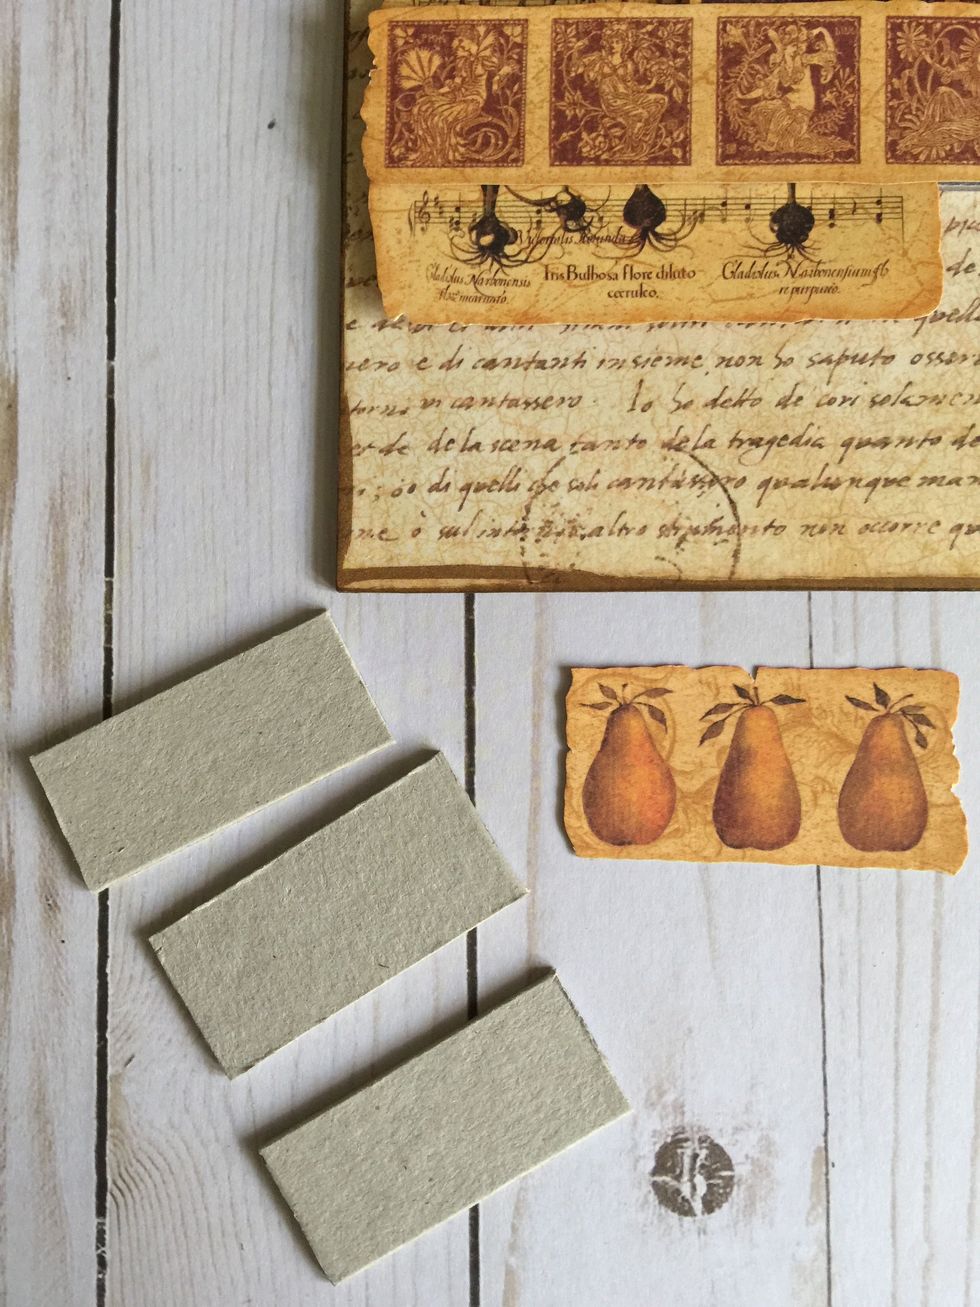
Cut pieces of cardboard for each element.
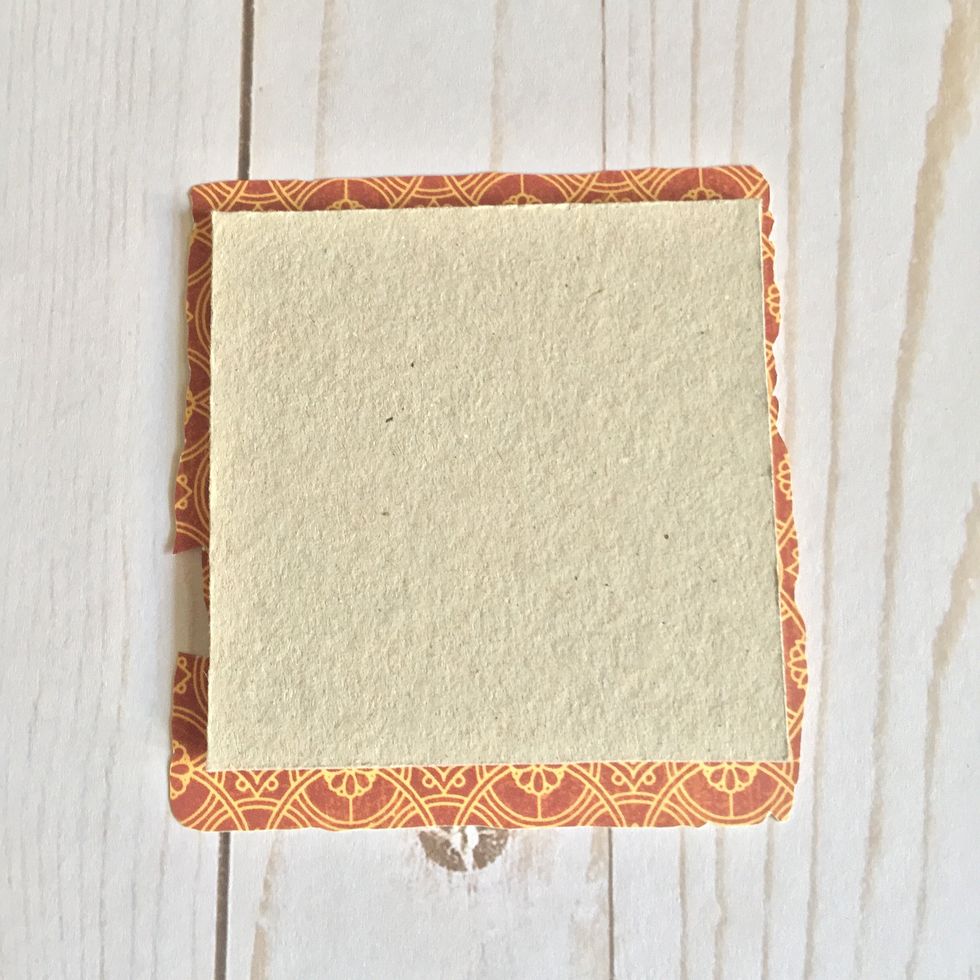
Glue them on the back side.
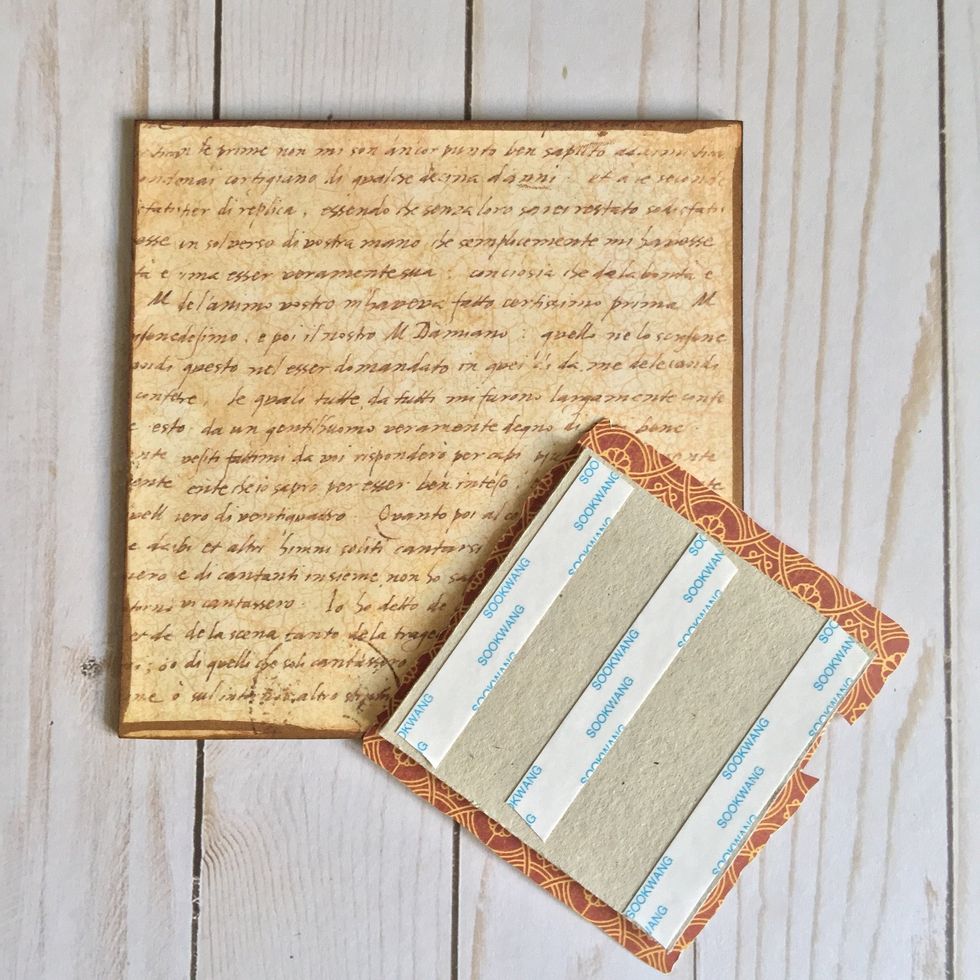
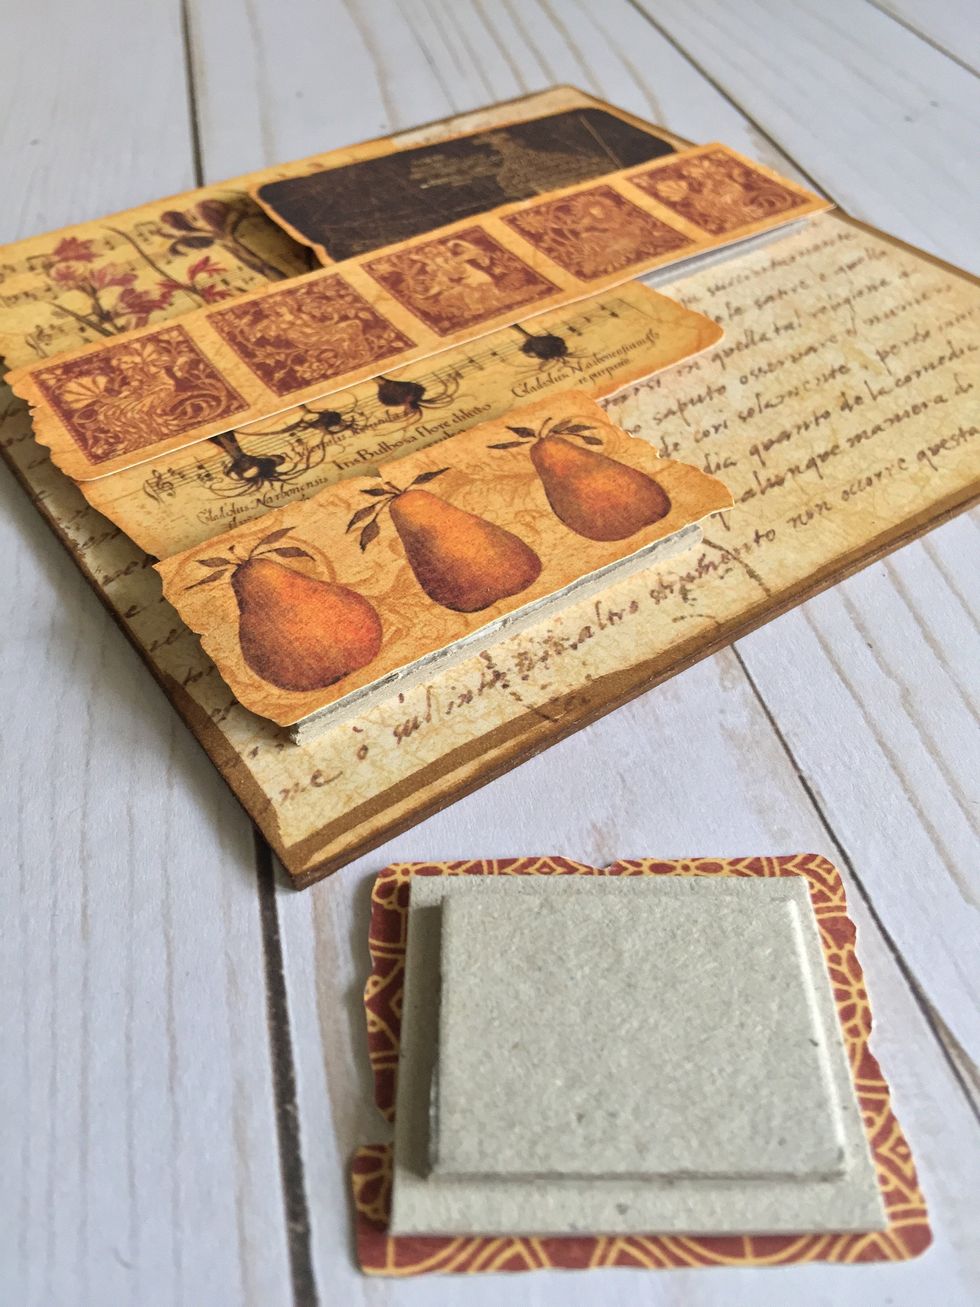
Add double-sided tape.
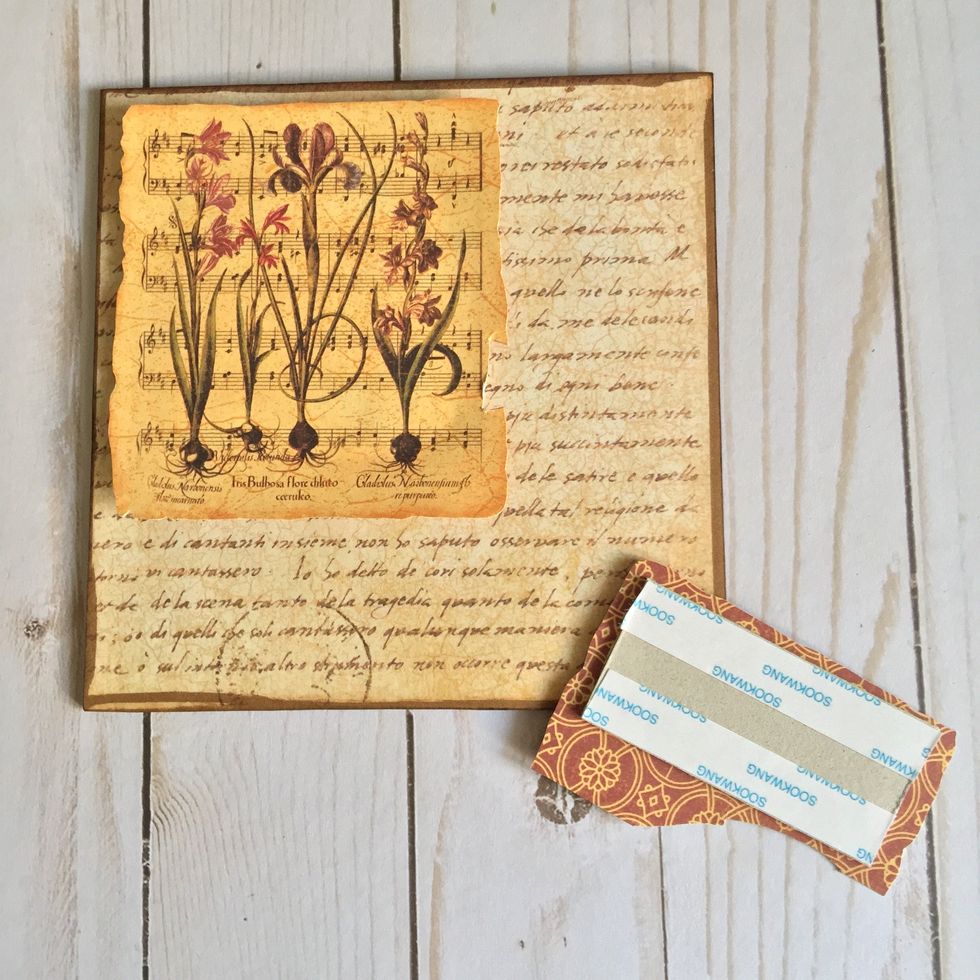
Adhere on the 6"x6" piece and go on preparing the rest of cut pieces.

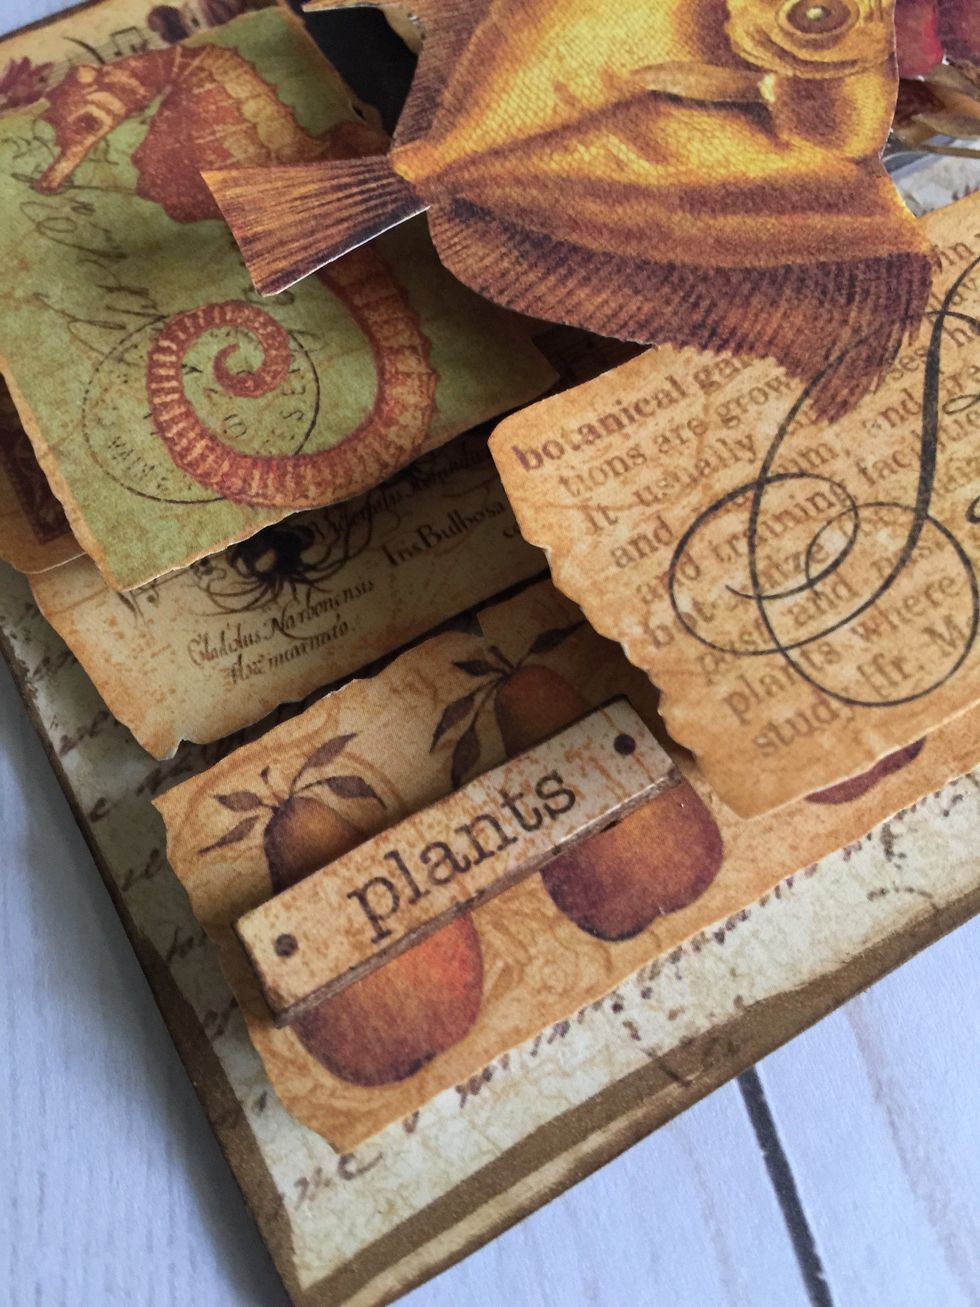
Go on glueing. Sometimes you will need more than a piece of cardboard to give depth to your design.
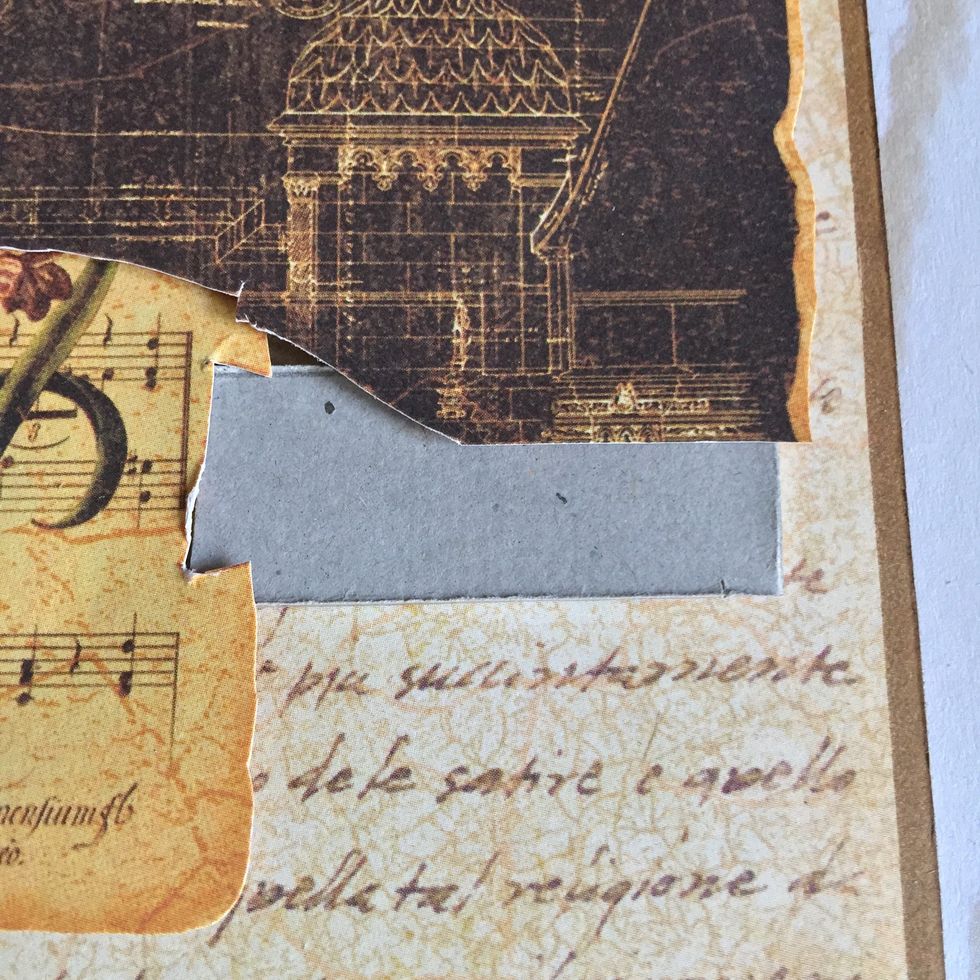
It doesn't matter if a shape is not complete, you can hide this part with another cut piece.
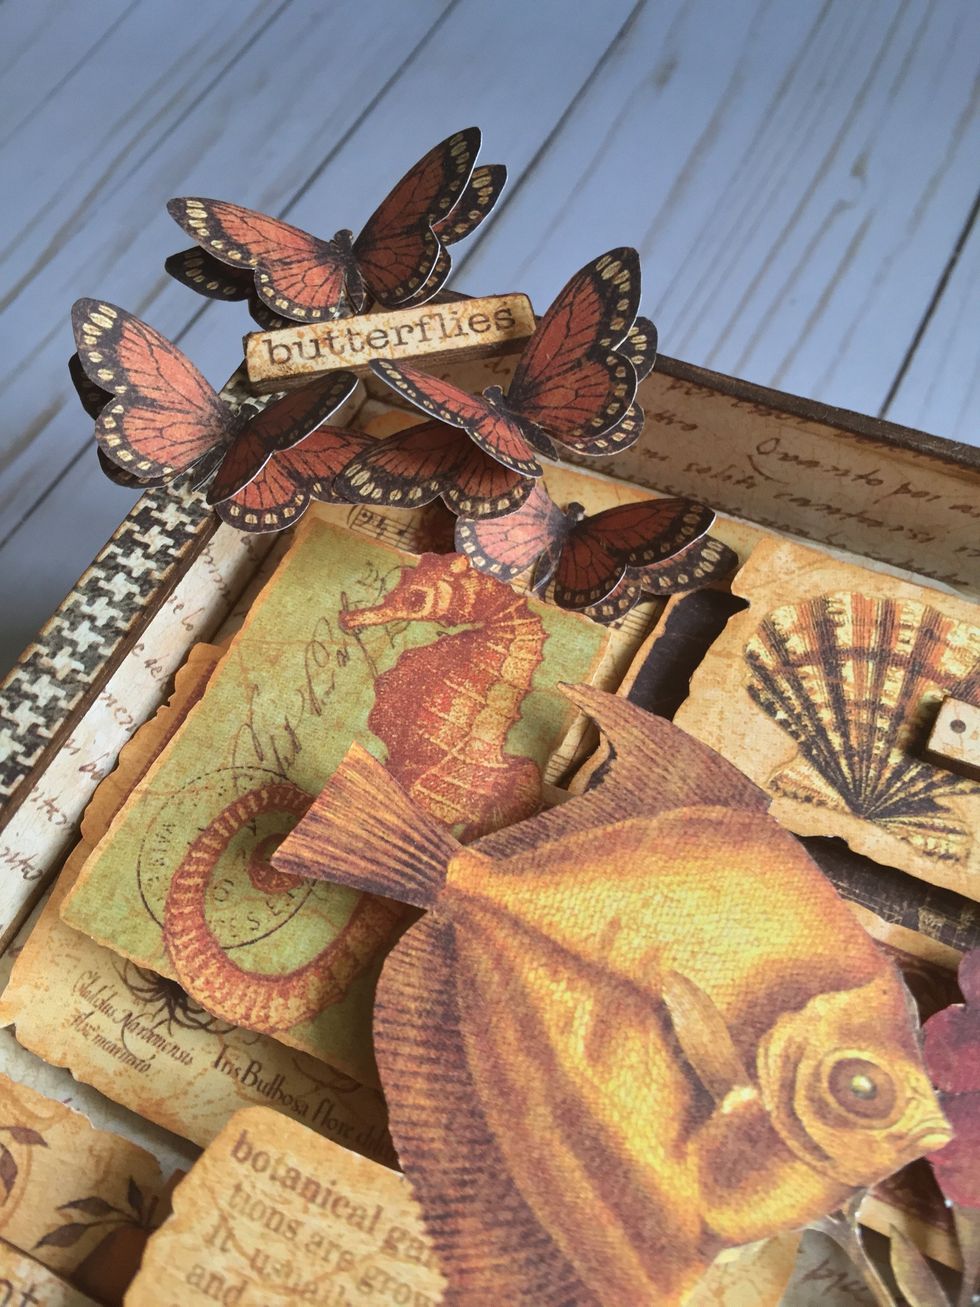
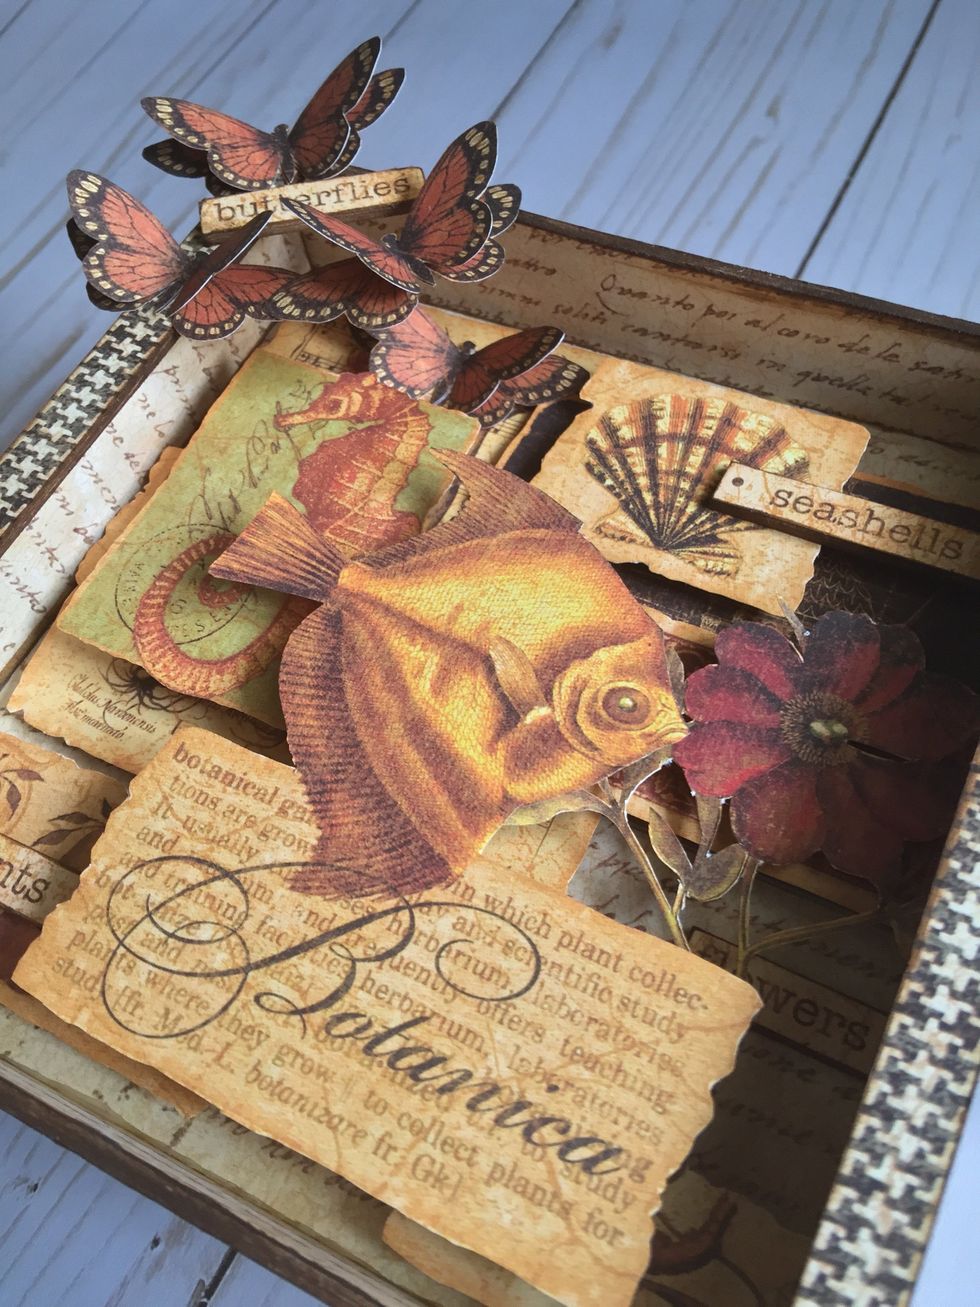
You can see in this photo the different layers.
Add more cut pieces. This one will need extra cardboard so it will be enhance from the background.
One more piece with extra cardboard.
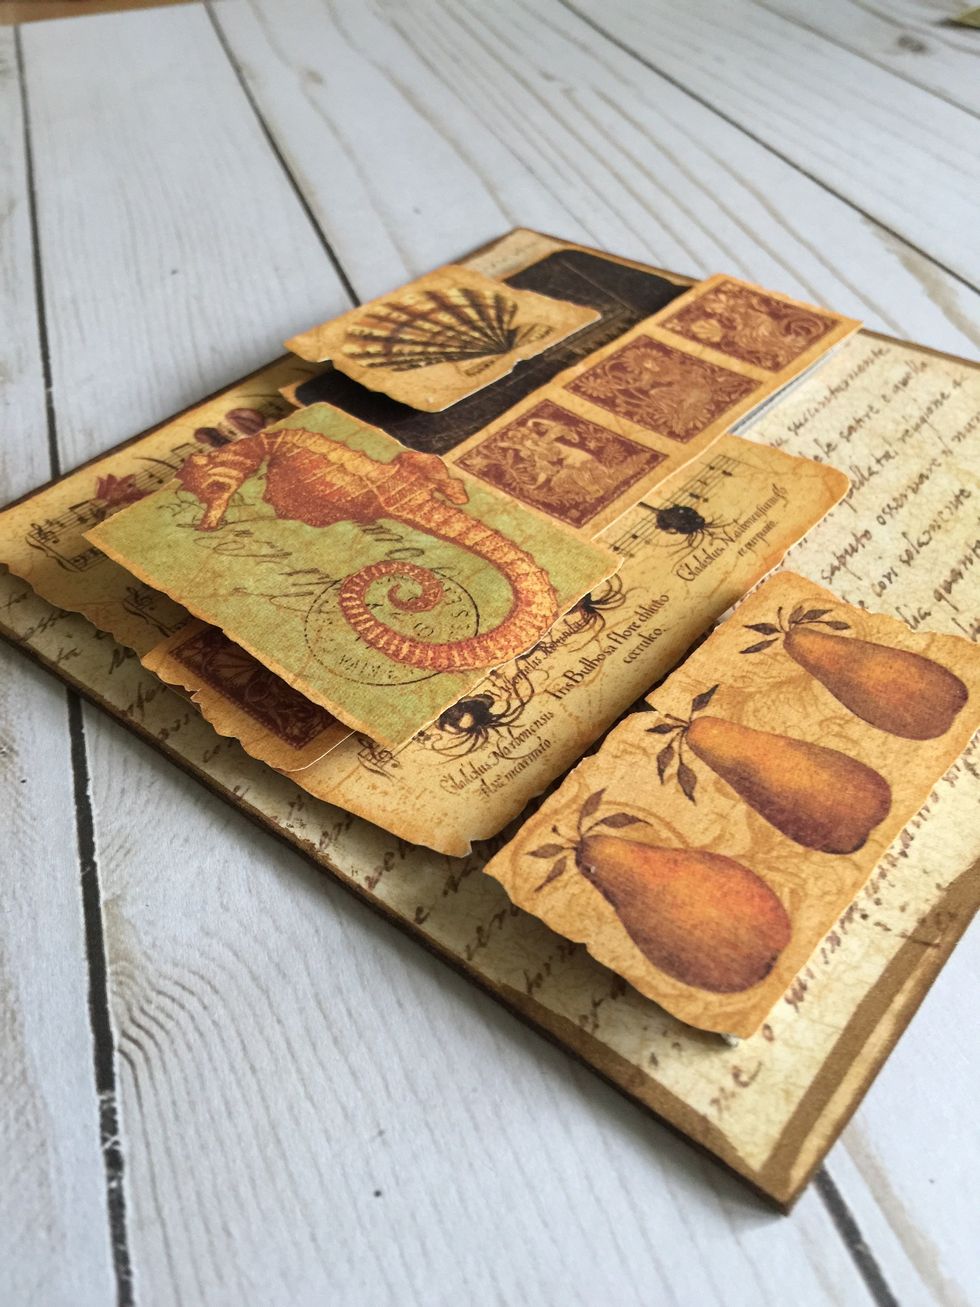
Layers.

For glueing little pieces you can use 3D foam Squares.
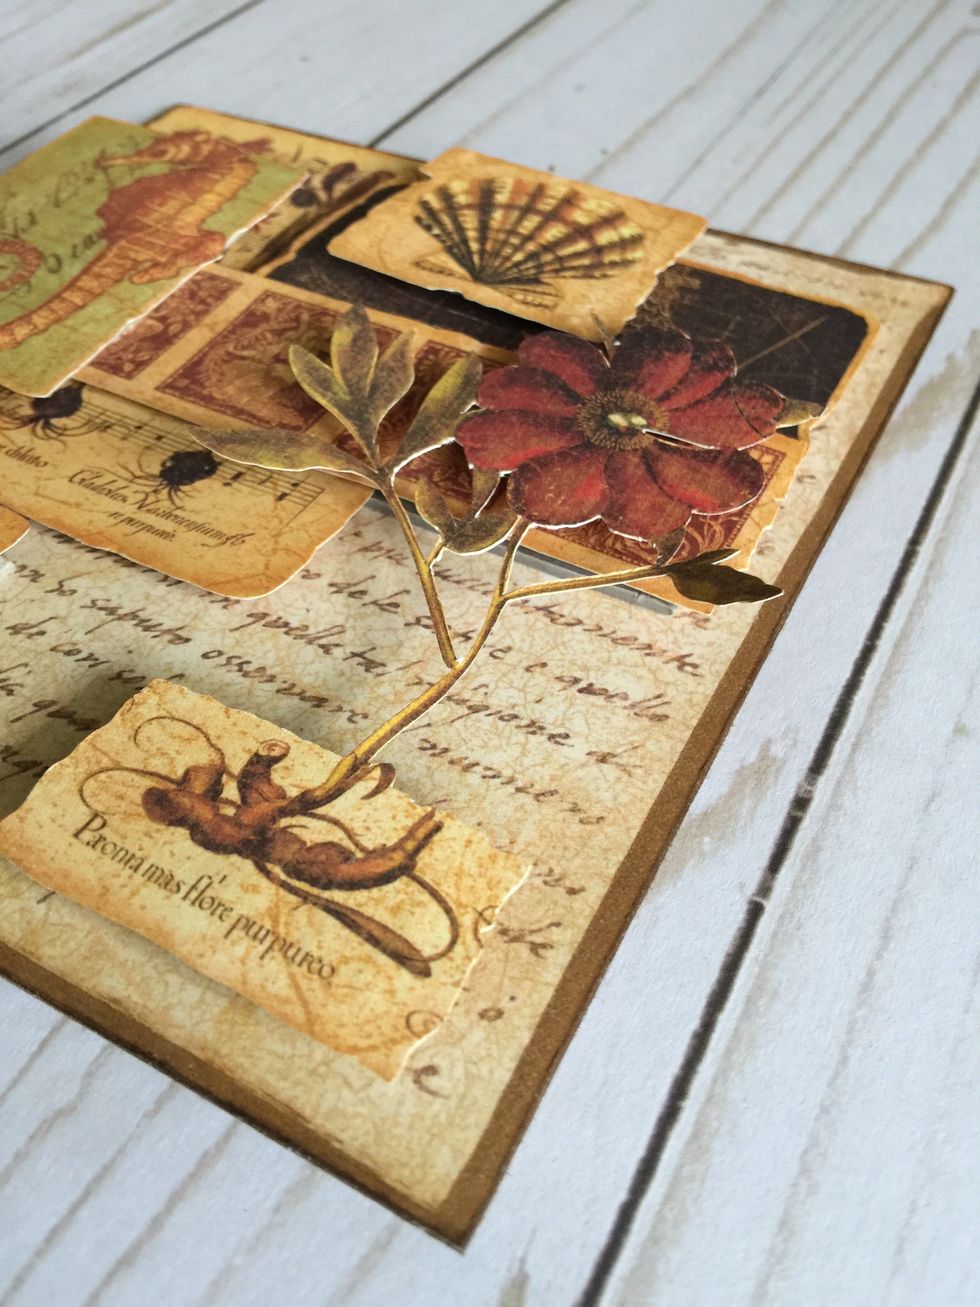

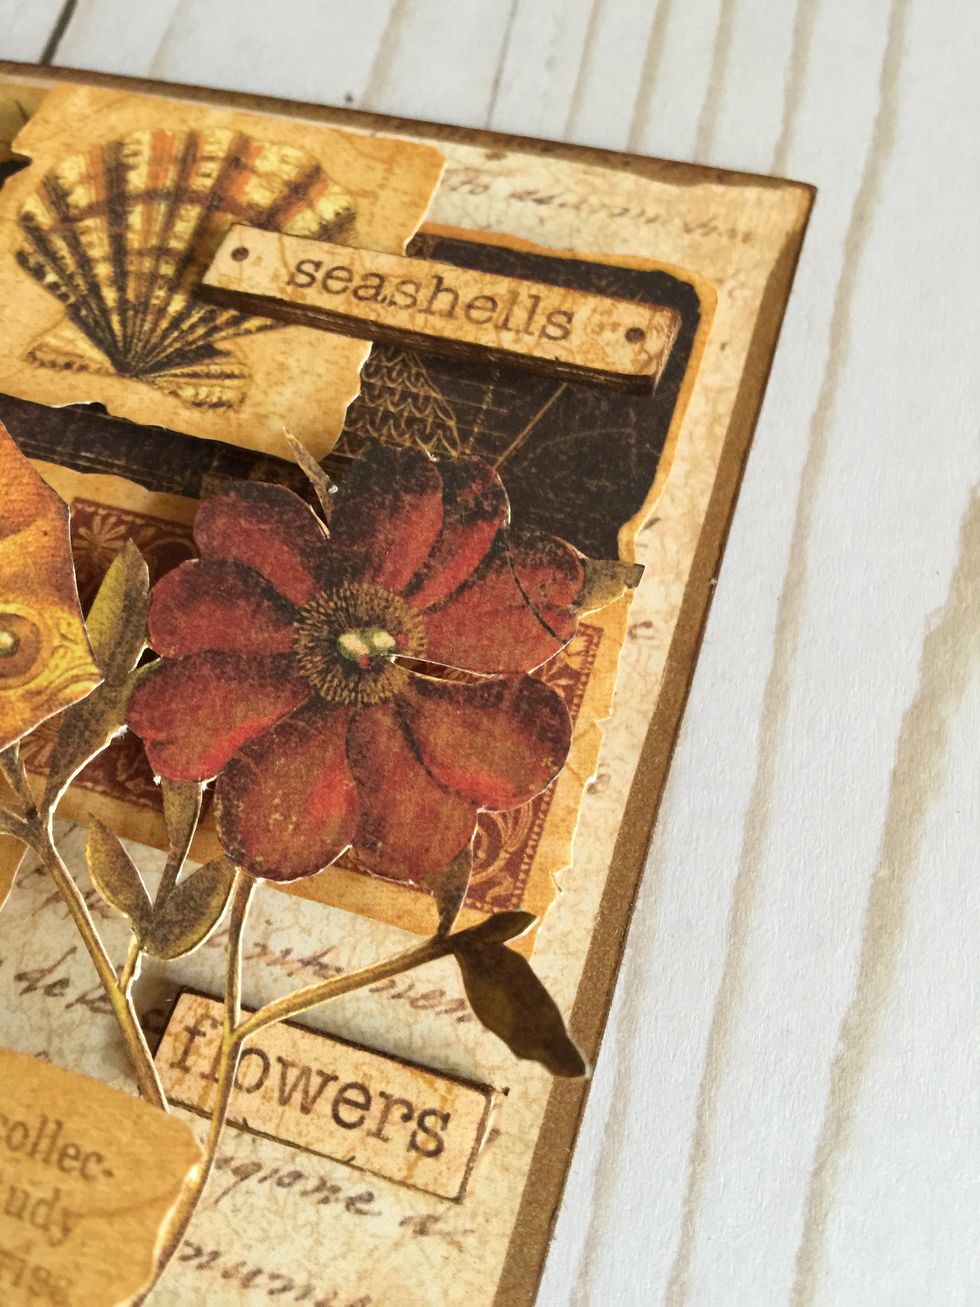
You can overlay figures to get a layer effect and a lot of depth.
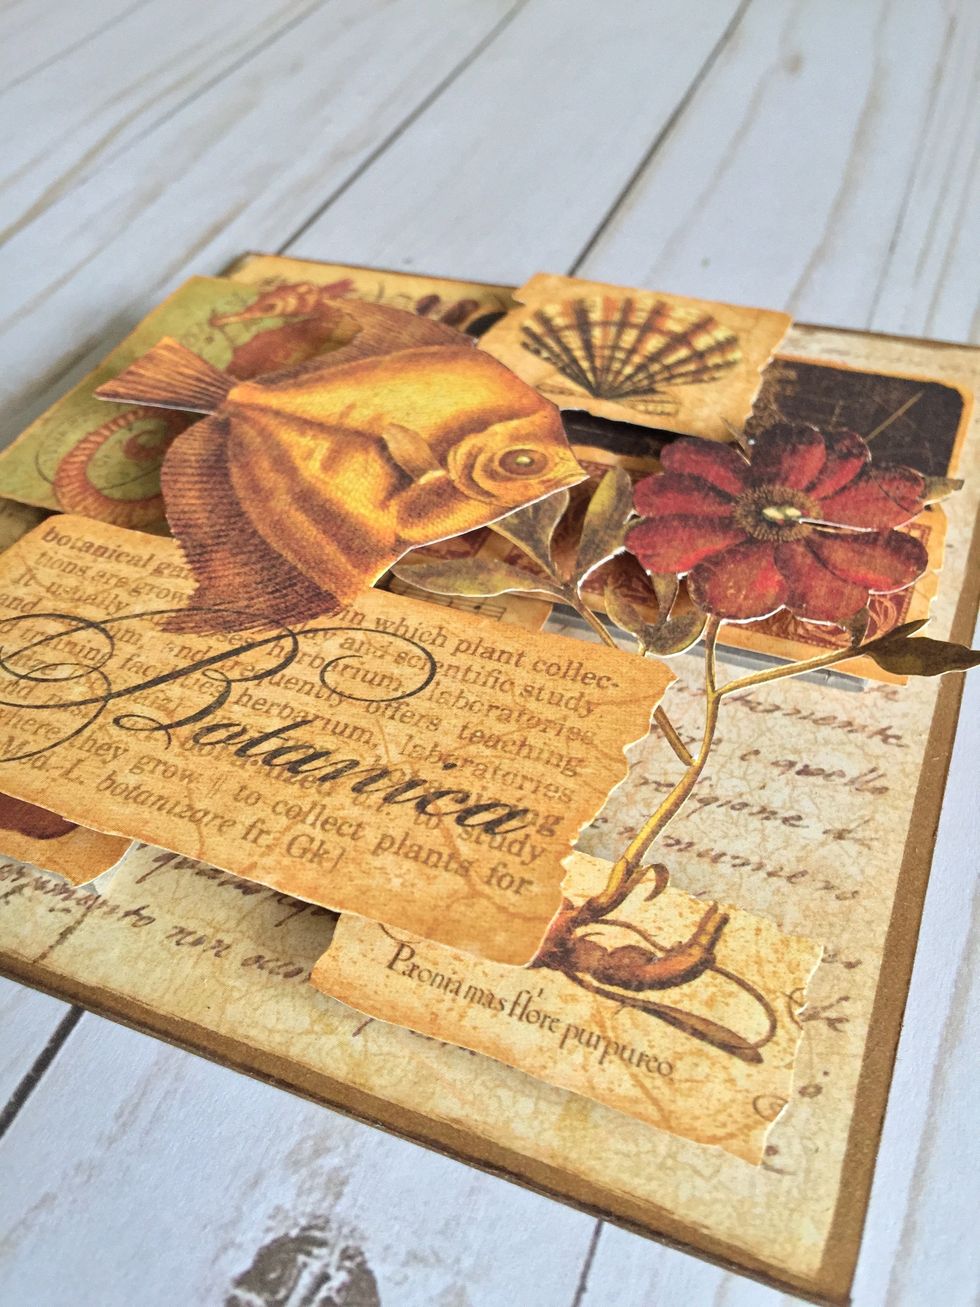
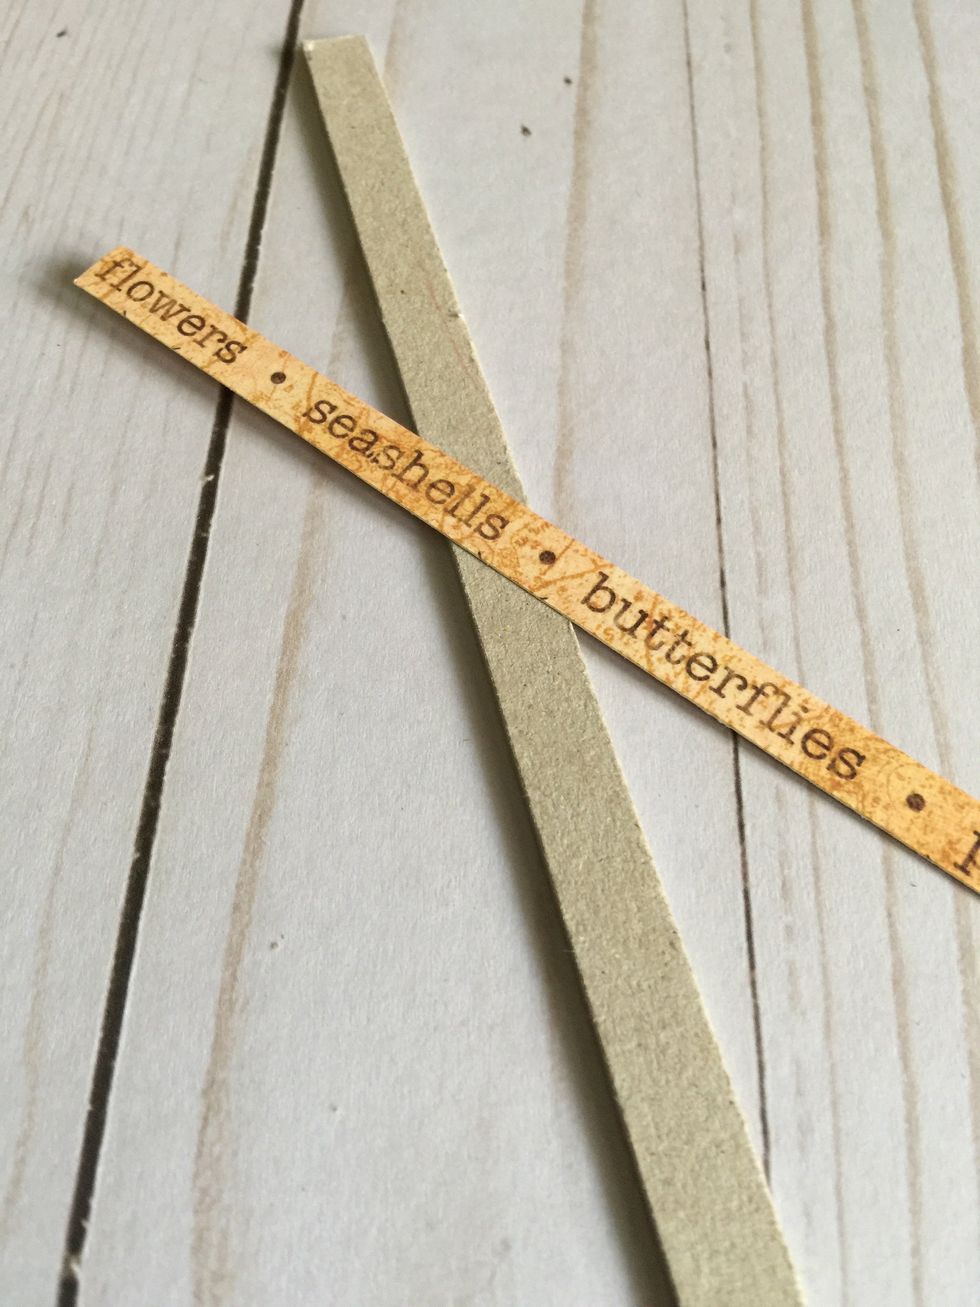
Cut some words from the decorated paper or make them yourself. Glue them on a cardboard and cut separately.
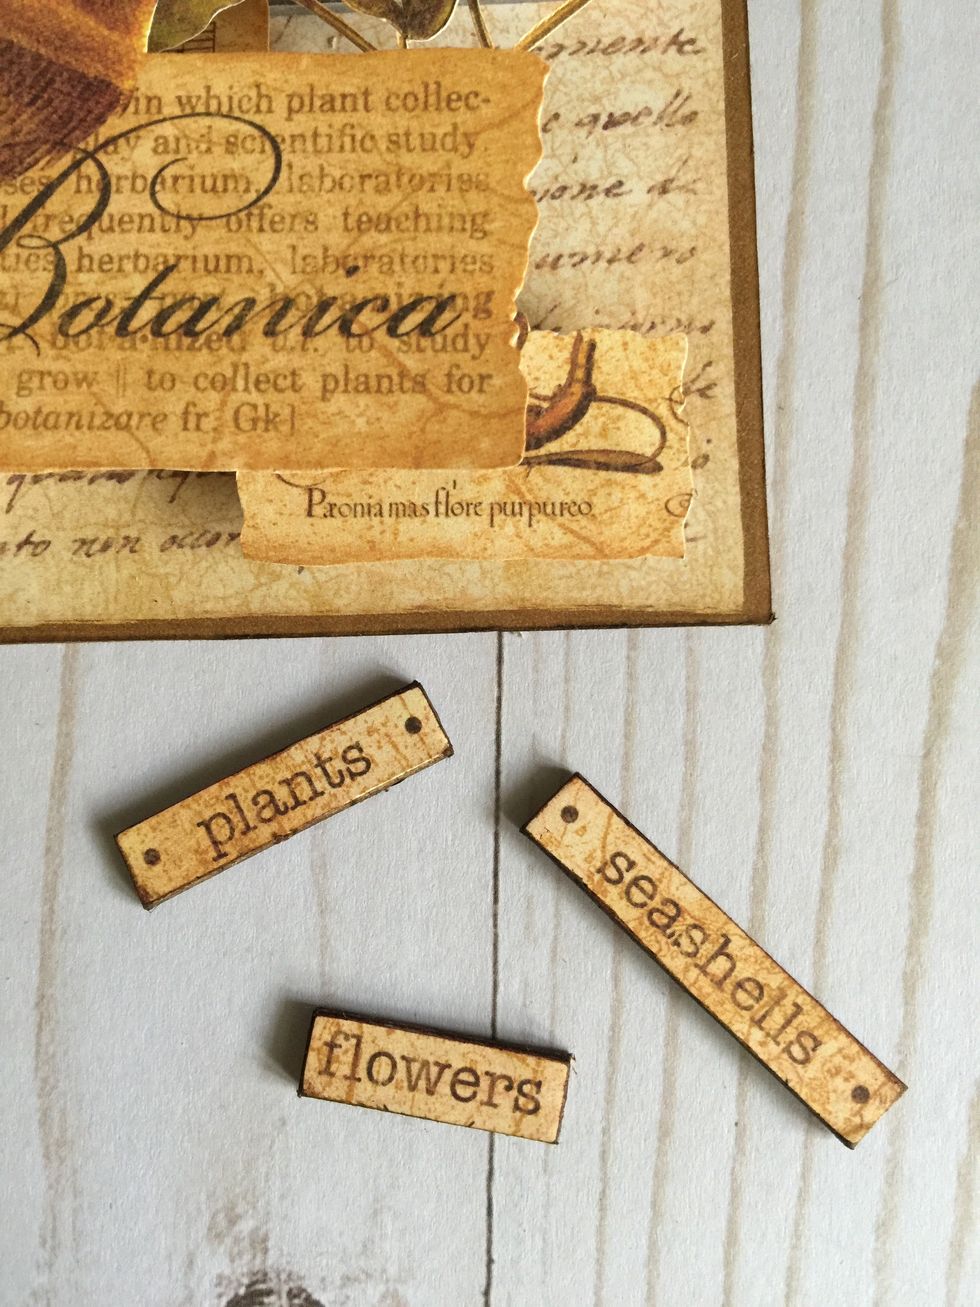
Ink edges before glueing the words on your design.
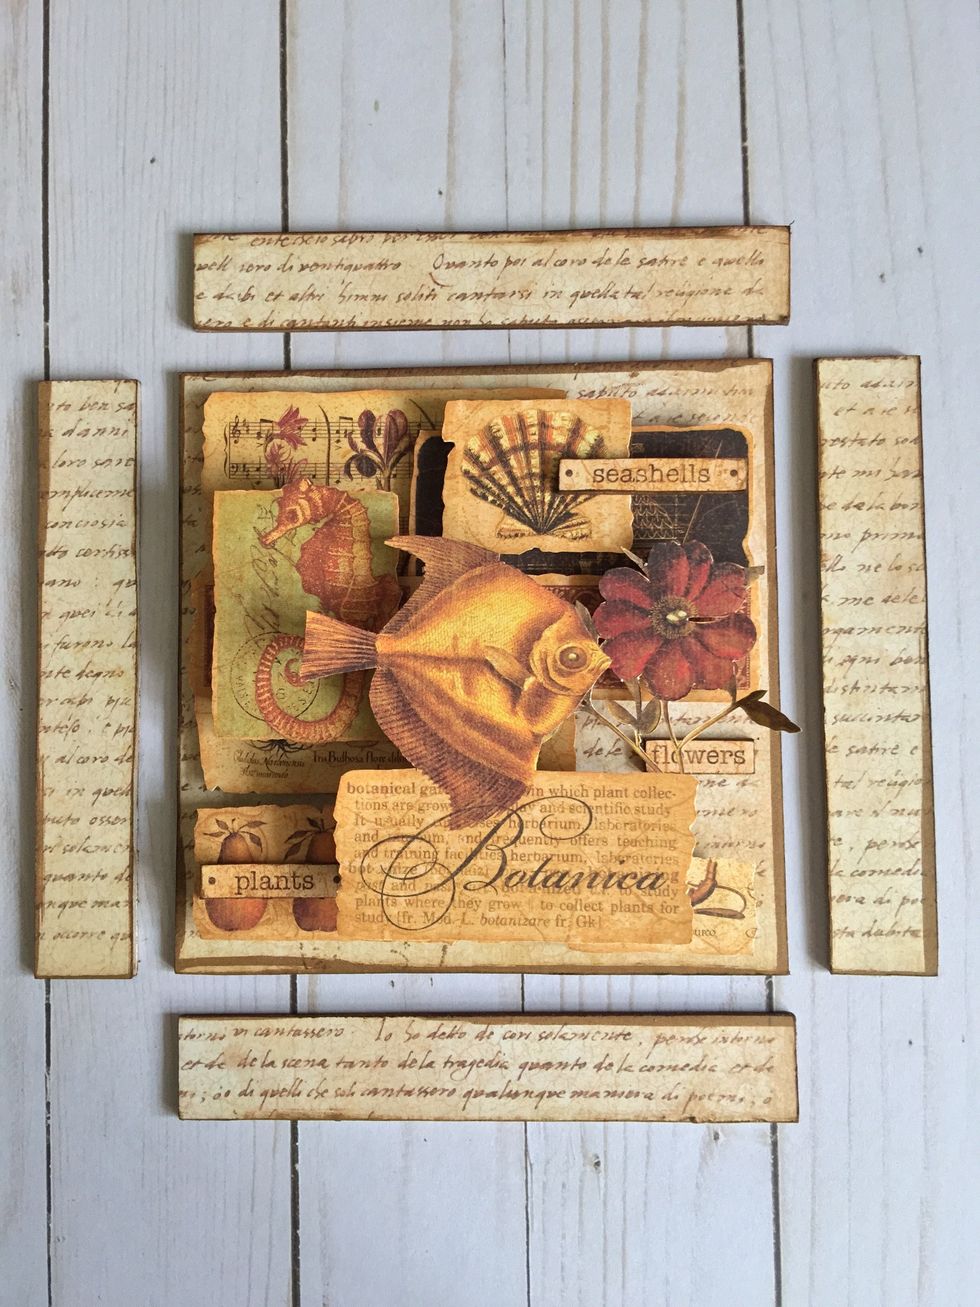
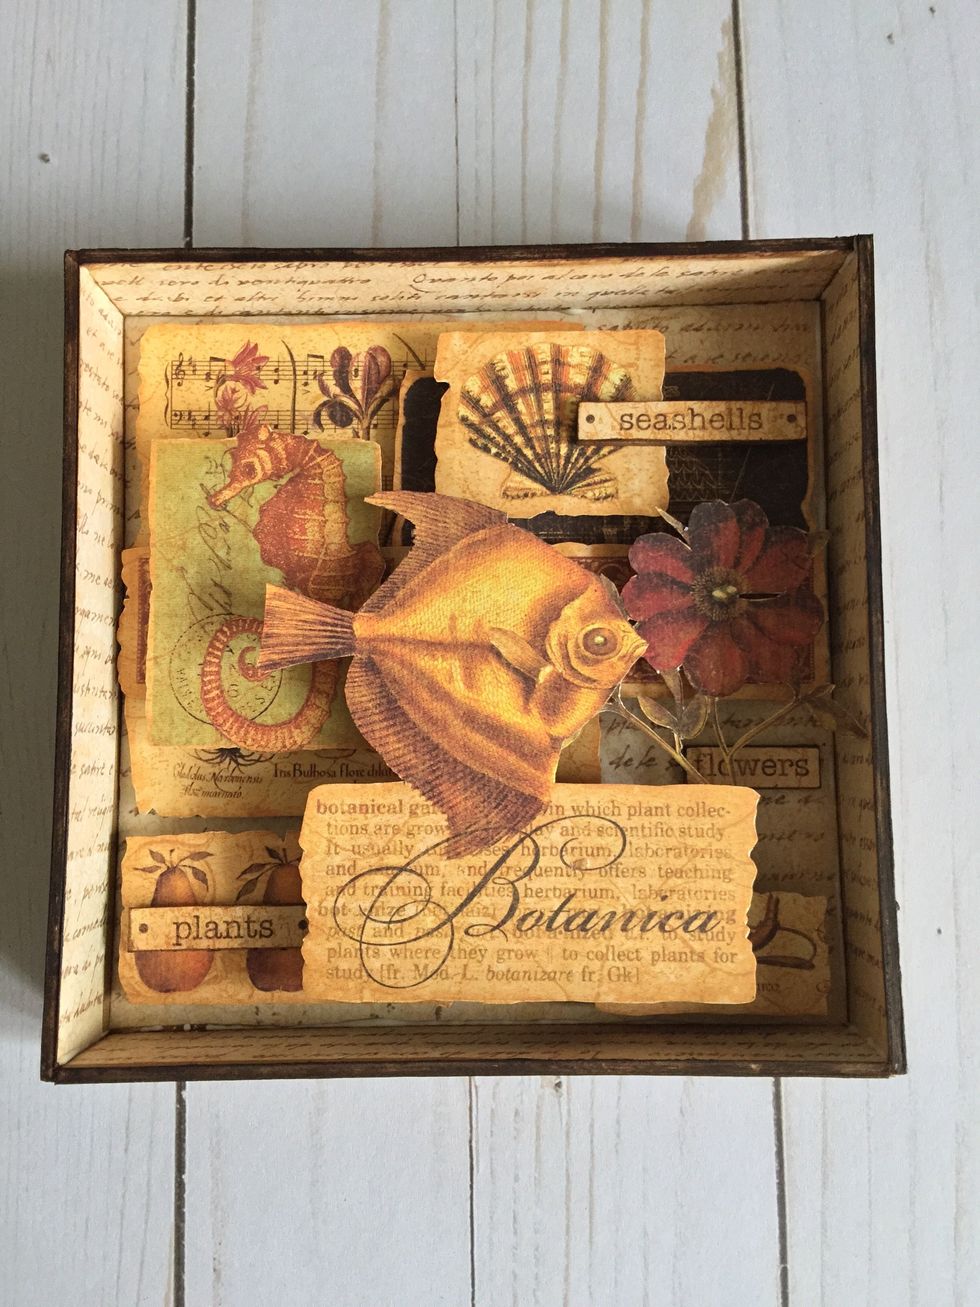
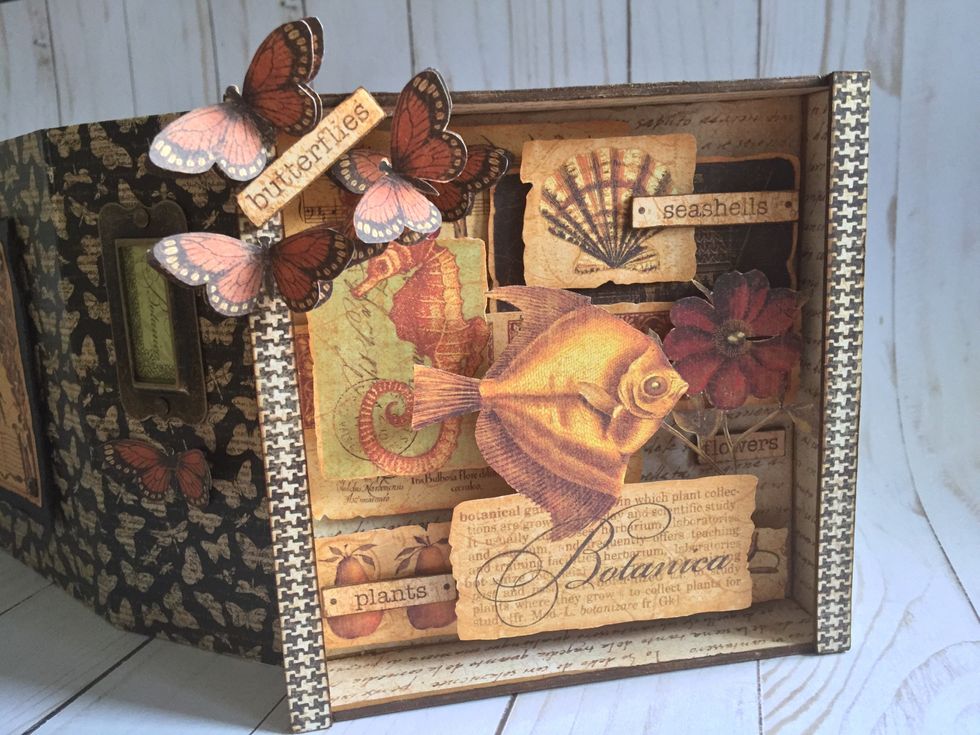
Once we have finished the design we will glue the sides of the shadow box. Cut the little excess of two of them so they fit perfectly.
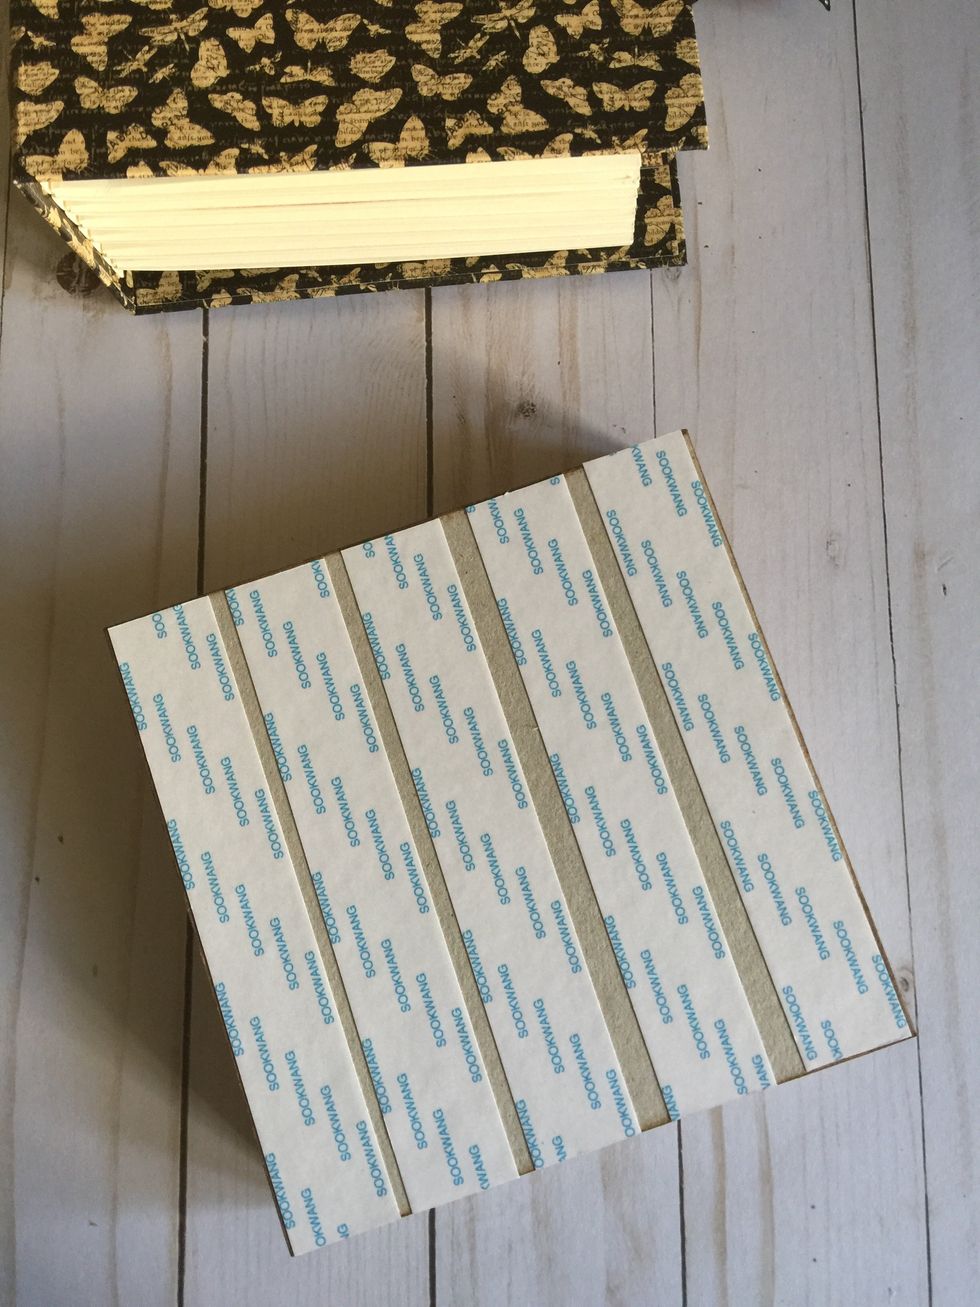
Use double-sided tape on the back side of the shadow box and adhere on the cover of a Graphic 45 Square Tag&Pocket Album.
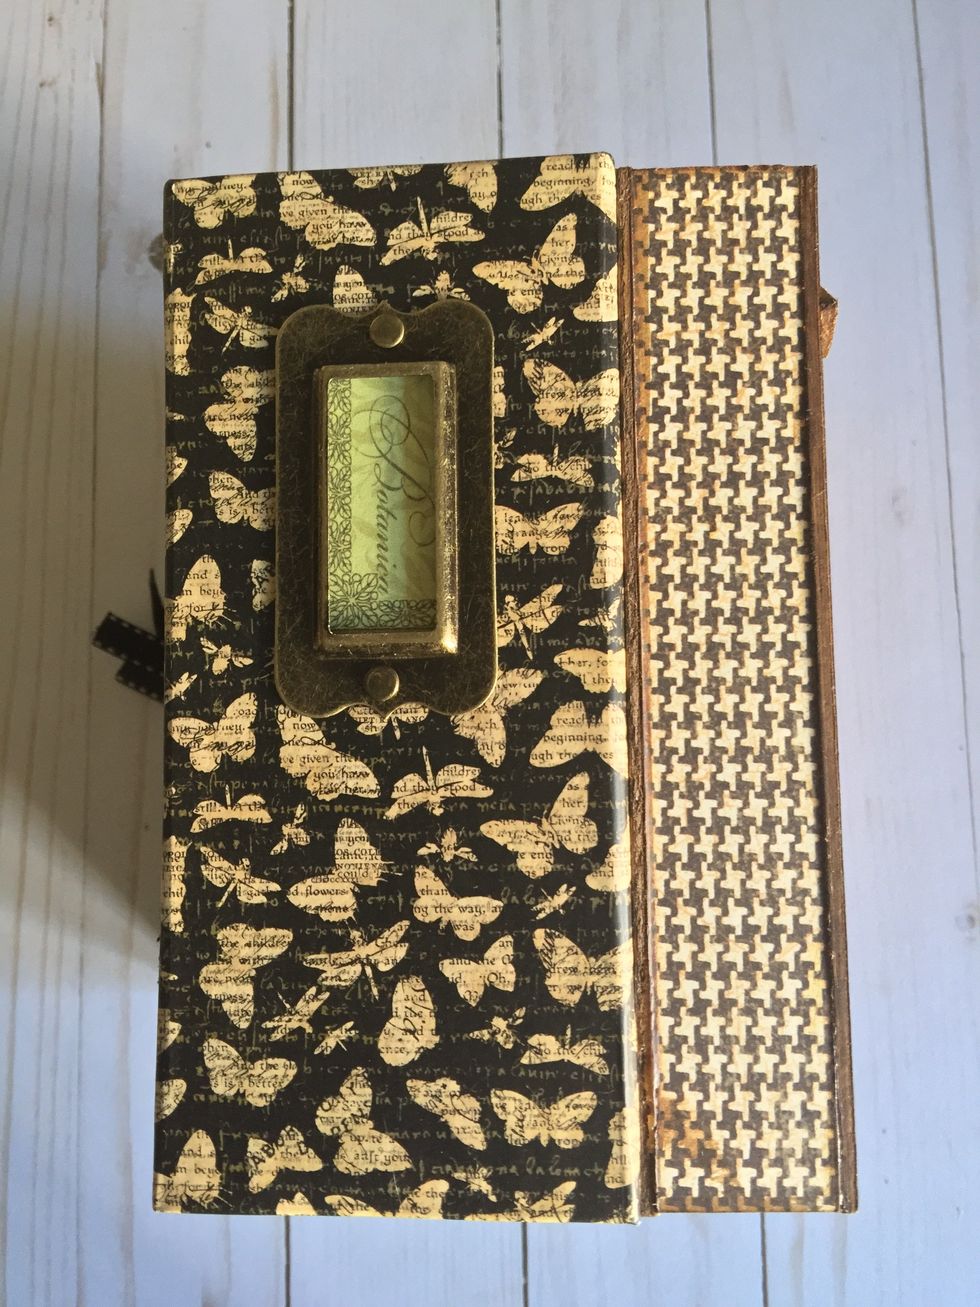
This is the spine with the shadow box.

Cut two 3/8"x6" pieces and add double-sided tape. Fussy cut some butterflies.
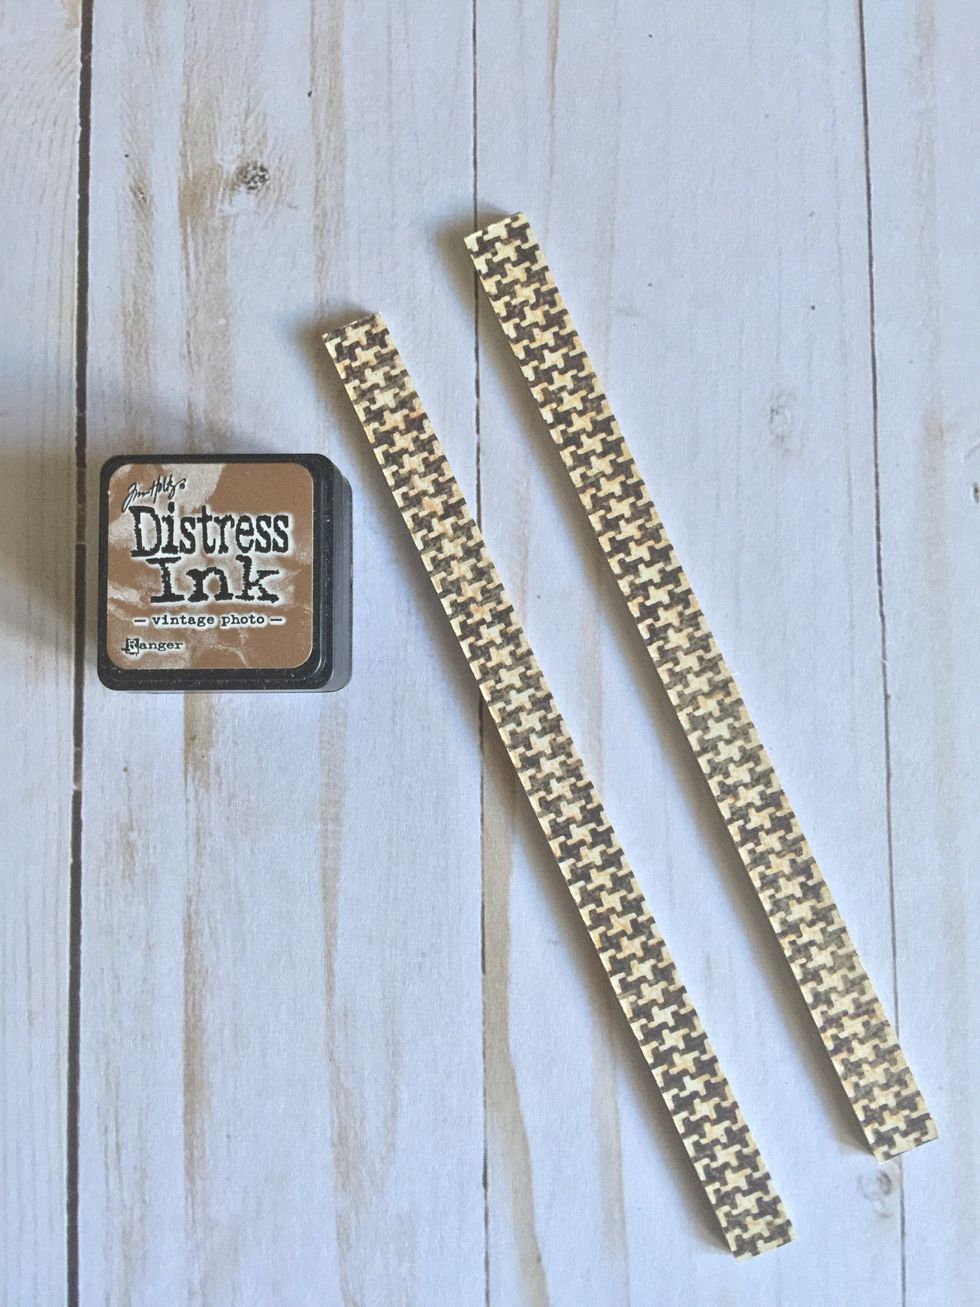
Cover with paper and ink edges.

Glue the two pieces as shown.
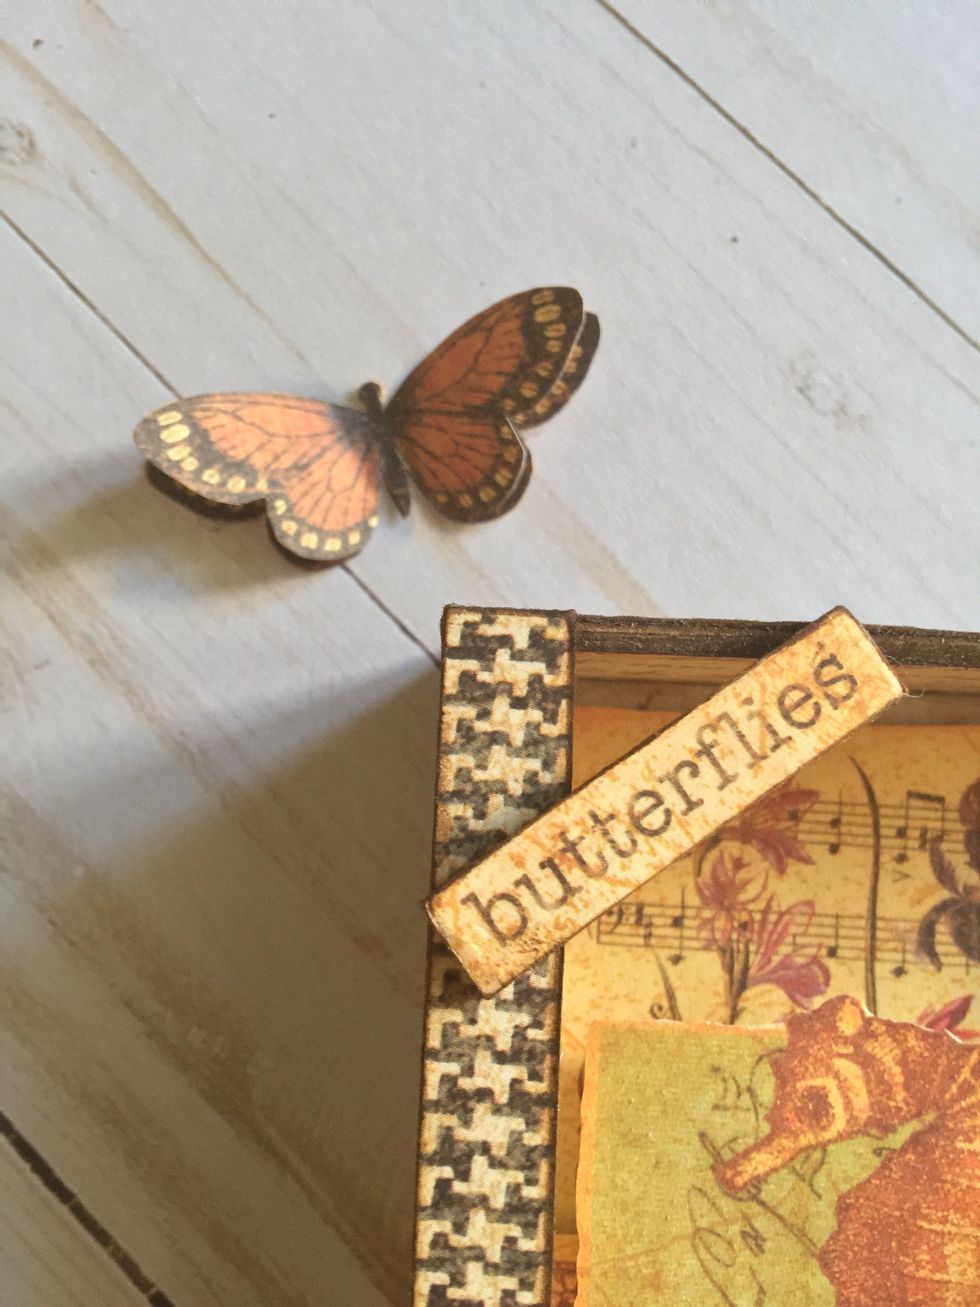
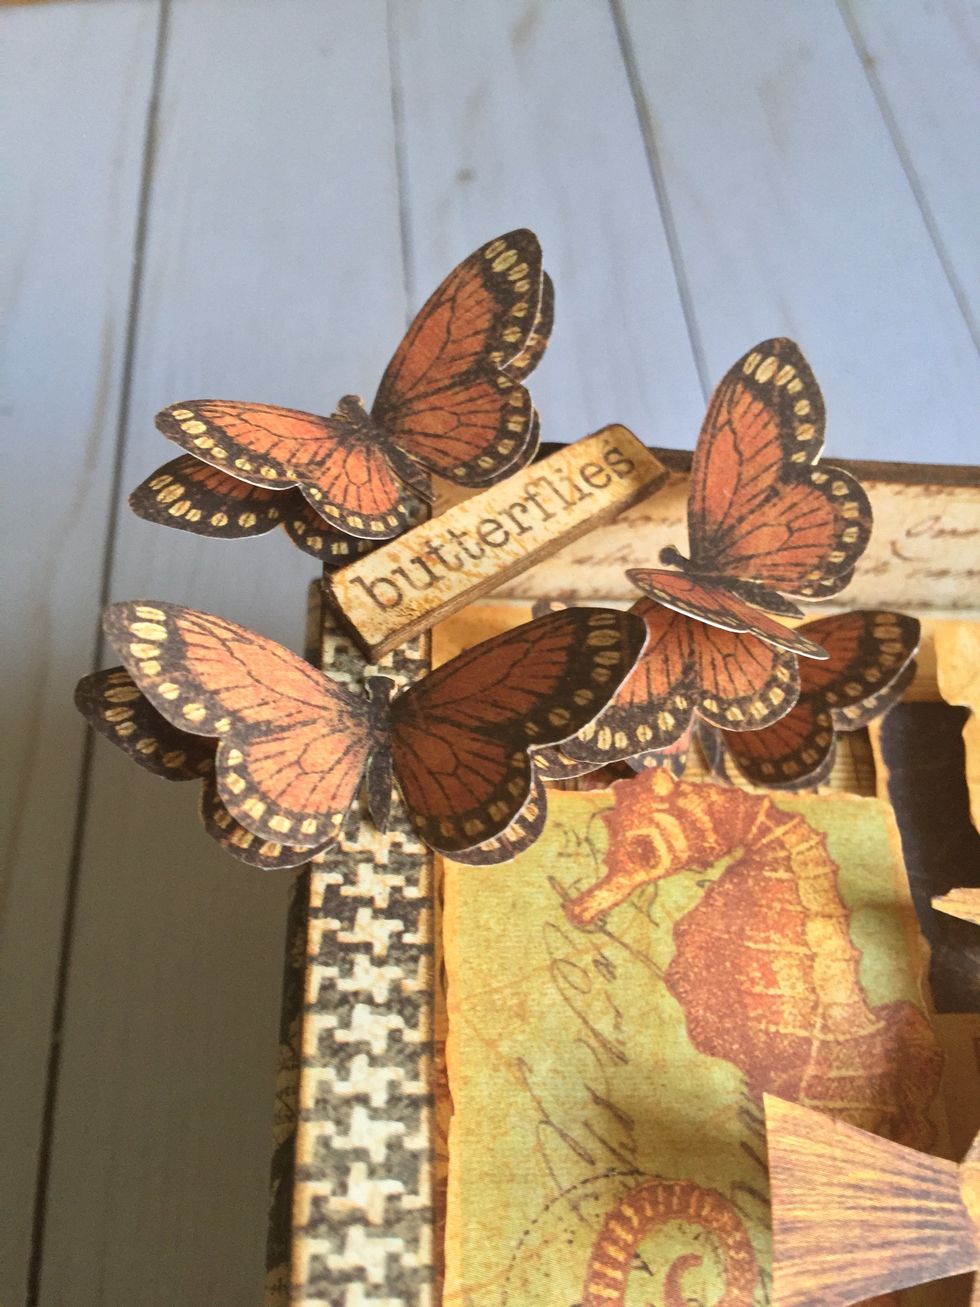
Adhere the word "butterflies" on the upper left corner of the box. Glue butterflies overlapping every two.
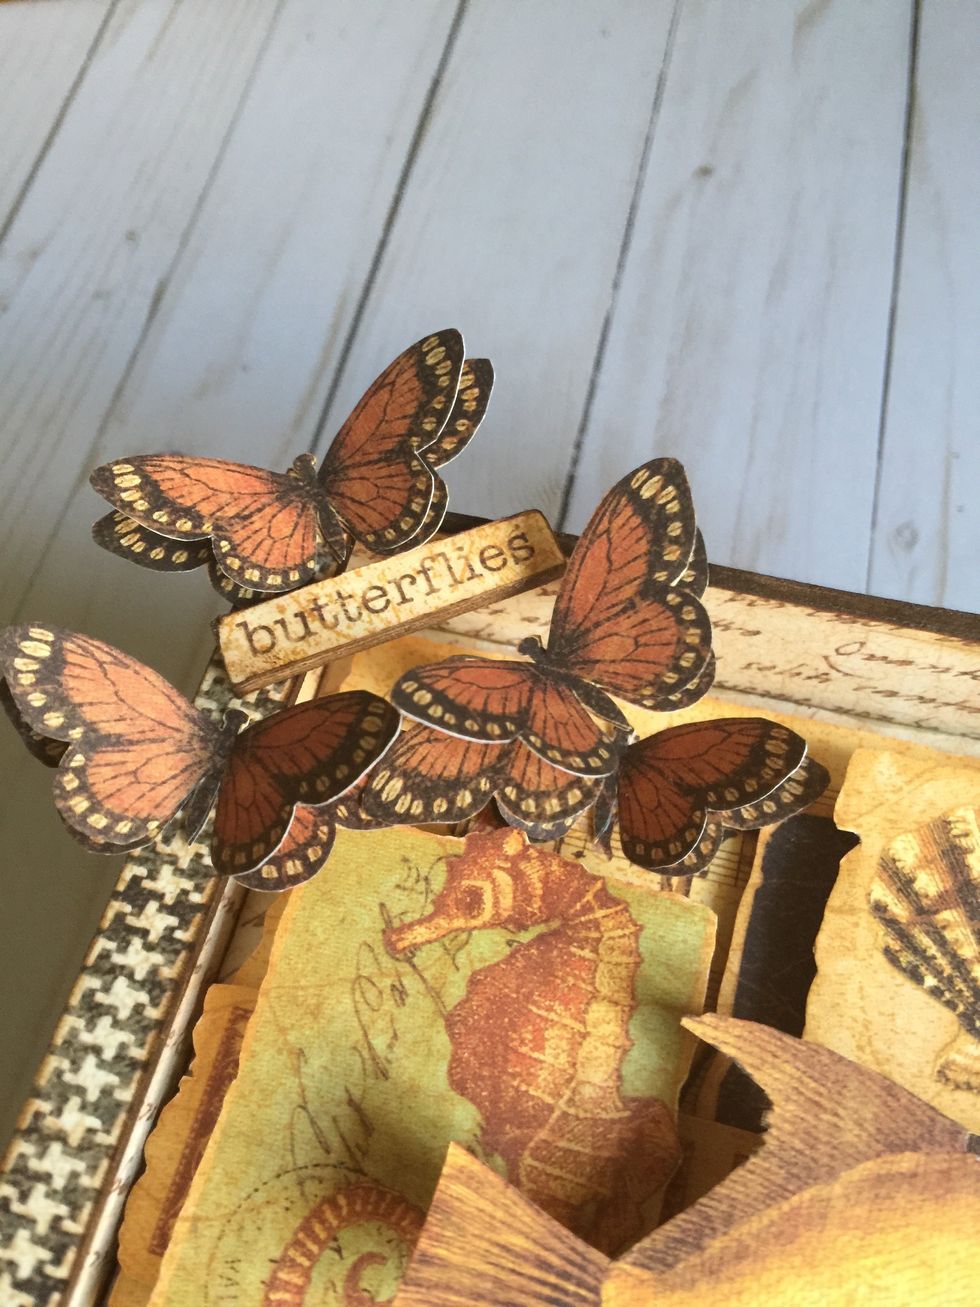
Glue more butterflies on the corner.
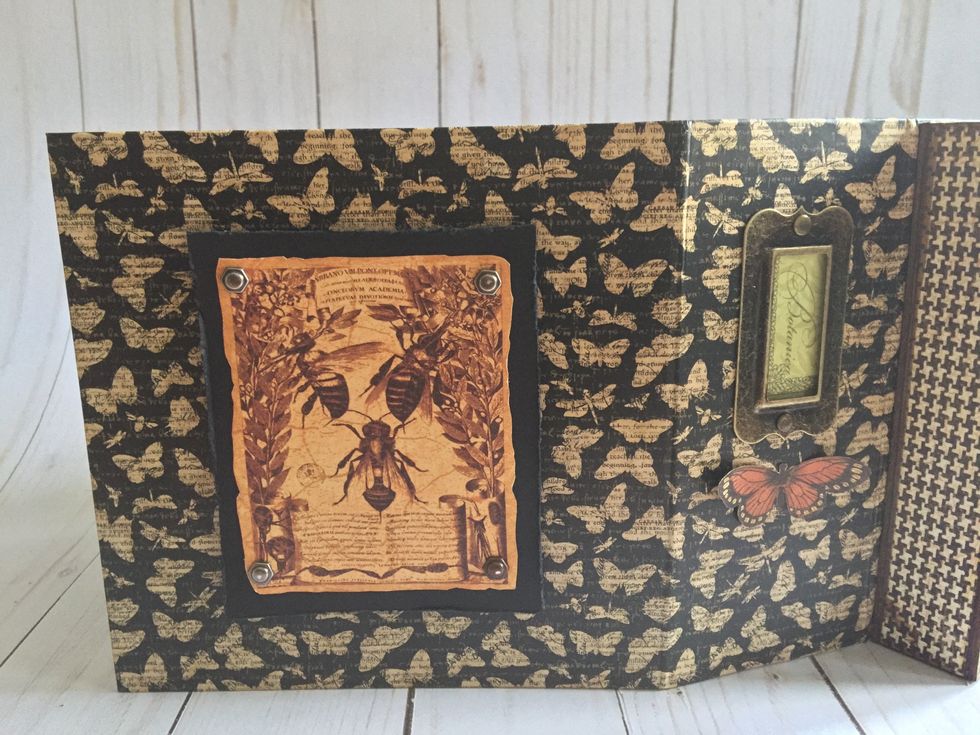
Add an embellishment on the back cover using black cardstock, decorated paper and four brads.
Once we have finished the shadow box for the cover decorate inside album.