The Conversation (0)
Sign Up
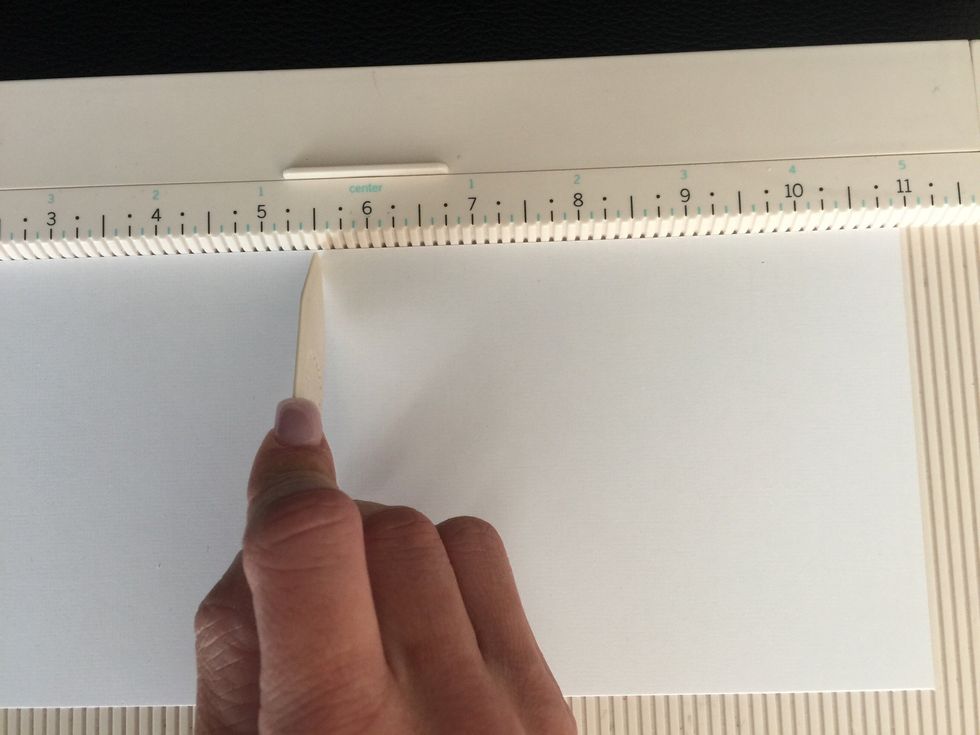
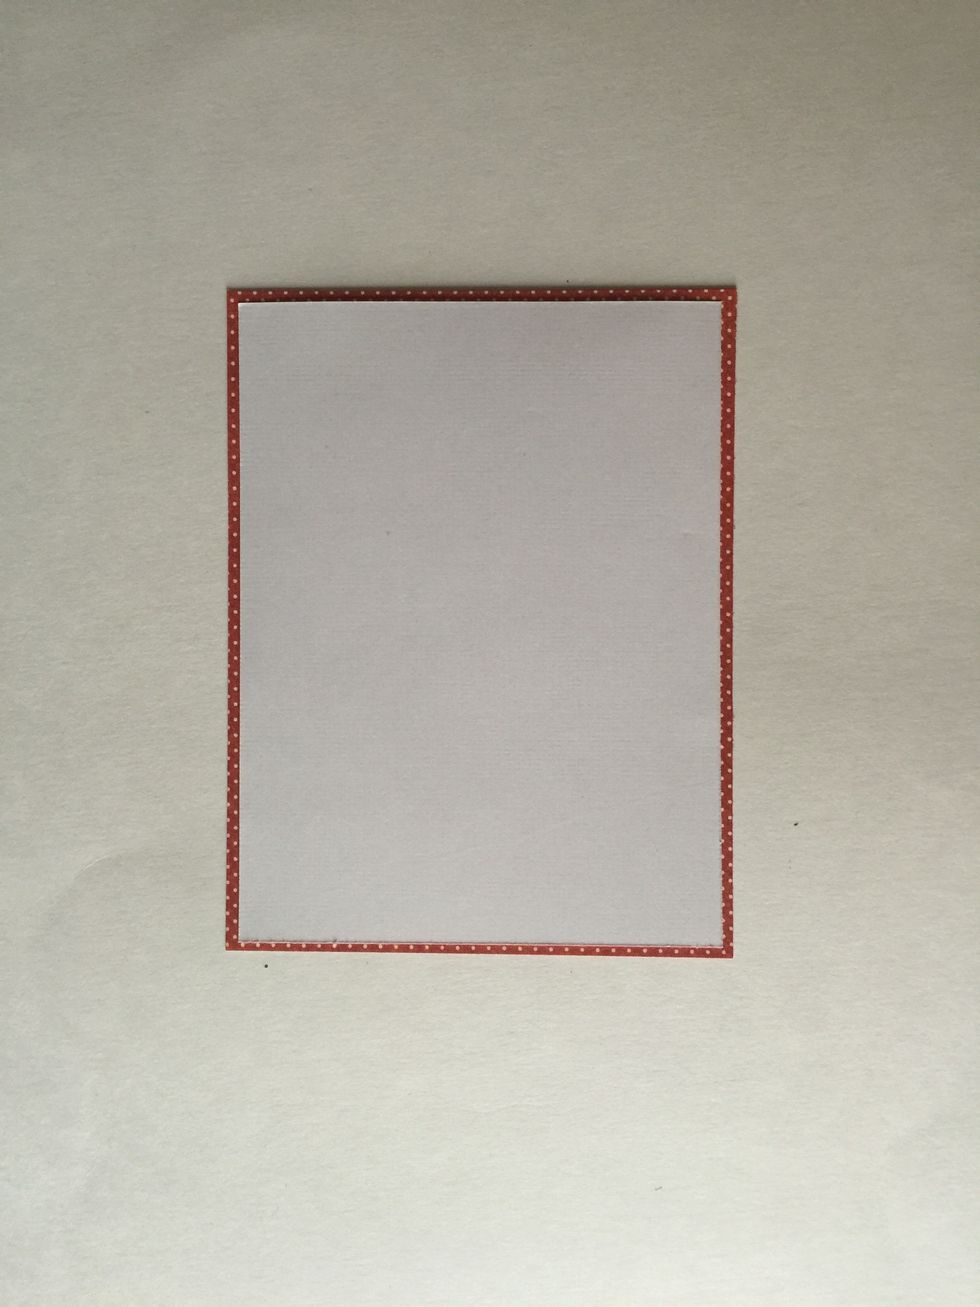
Take a 4.5" x 11" piece of white cardstock, score at 5.5" and fold in half.
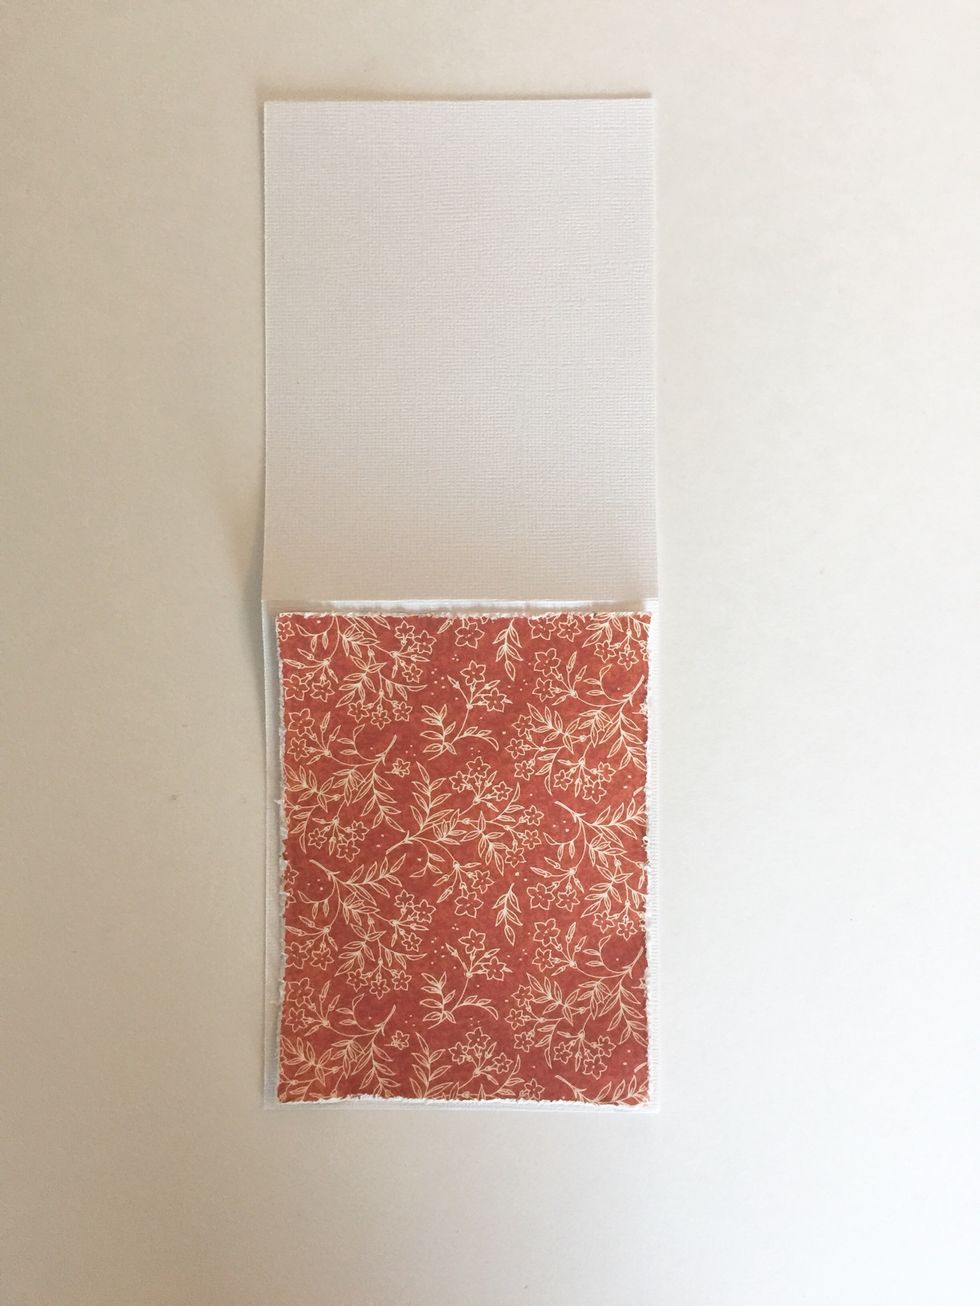
Cut 4" x 5 1/4" of February Montage's reverse side. Distress edges with ink of scissors, optional. Adhere to the front of card.
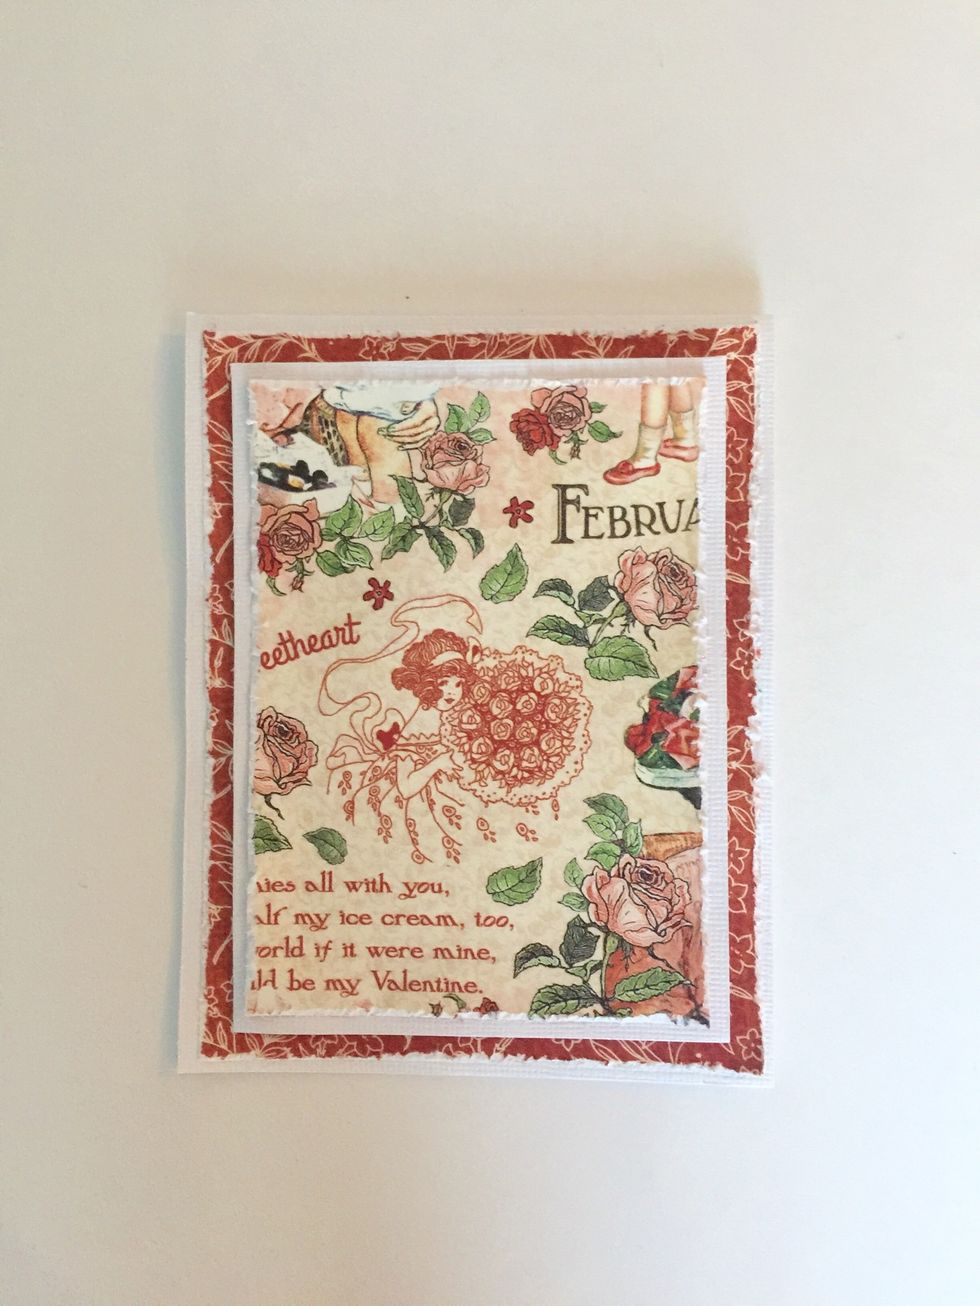
Cut and distress a 3 1/4" x 4 1/2" piece of February Montage (side A). Layer on a 3.5" x 4 3/4" piece of cardstock. Use foam adhesive to adhere whole piece to cars front.
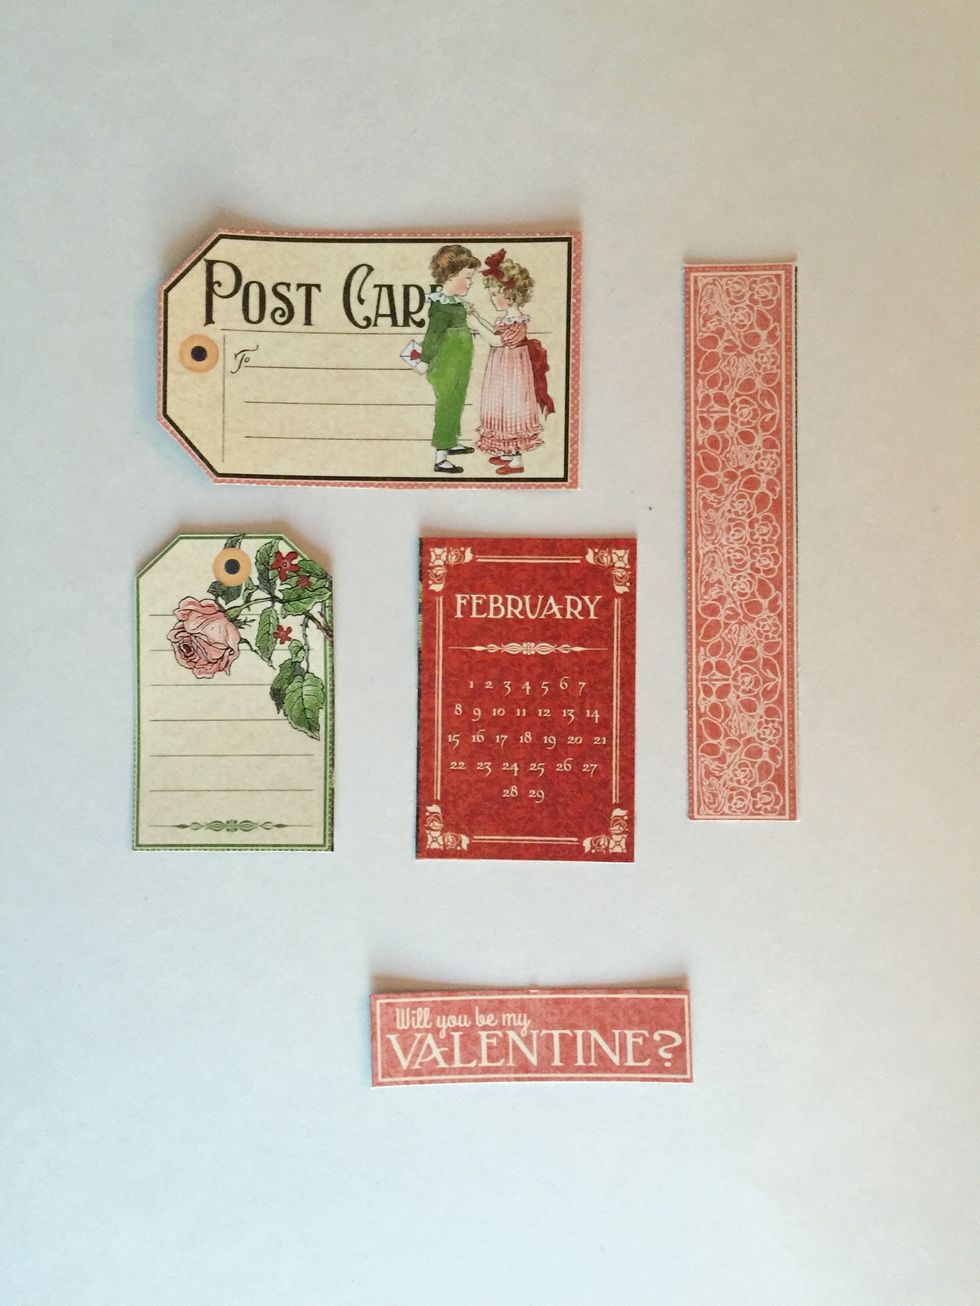
Cut out the pictured elements from February Collective. Distress edges, if desired.
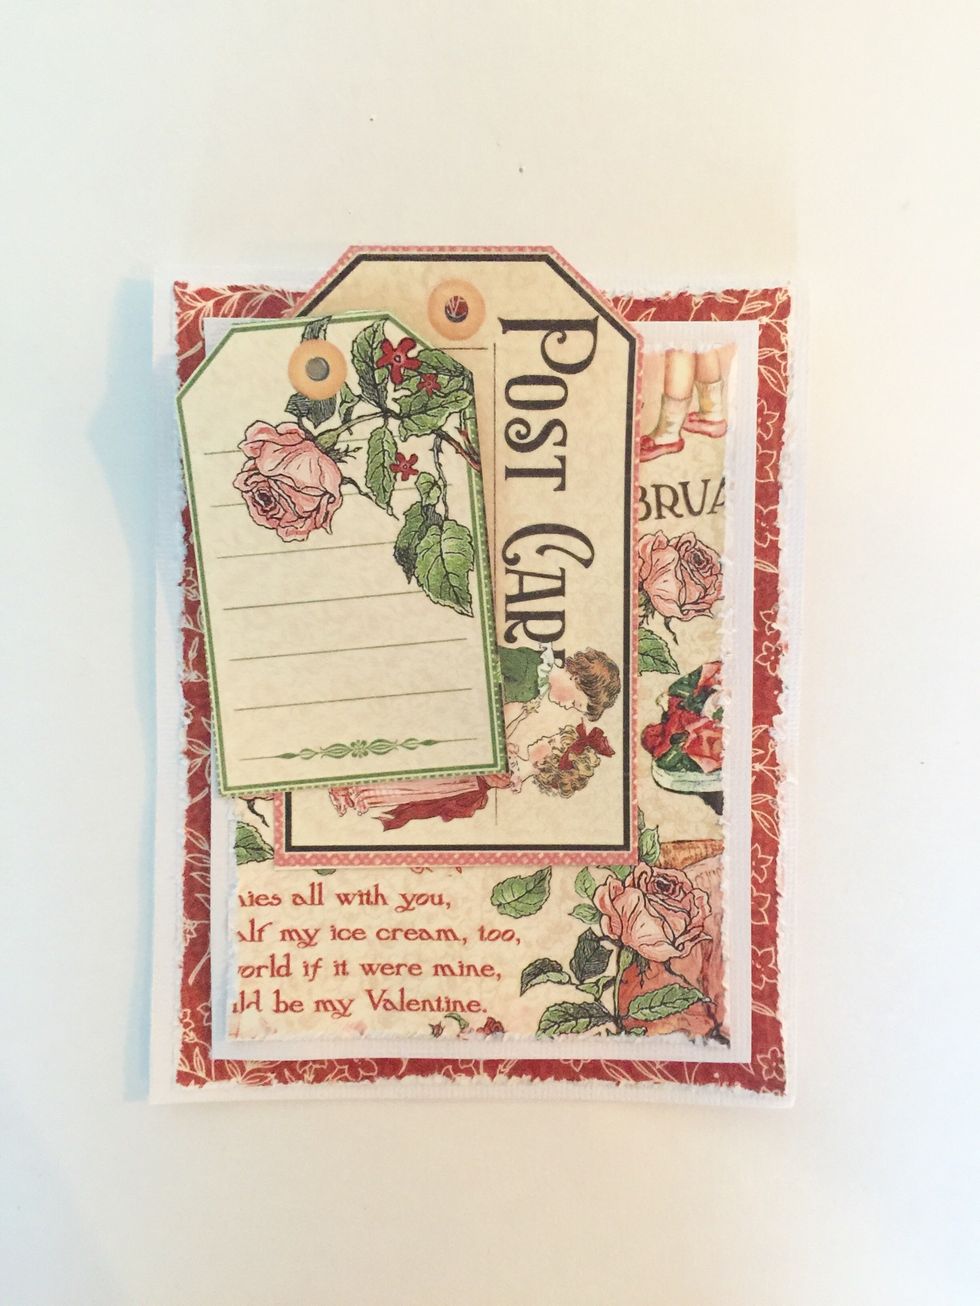
Punch holes on the top of the tags. Layer and adhere to card front, as pictured. Add ribbon now or later.

Adhere Calendar cut out to middle of card front at a slight angle. Use foam adhesive, if desired.
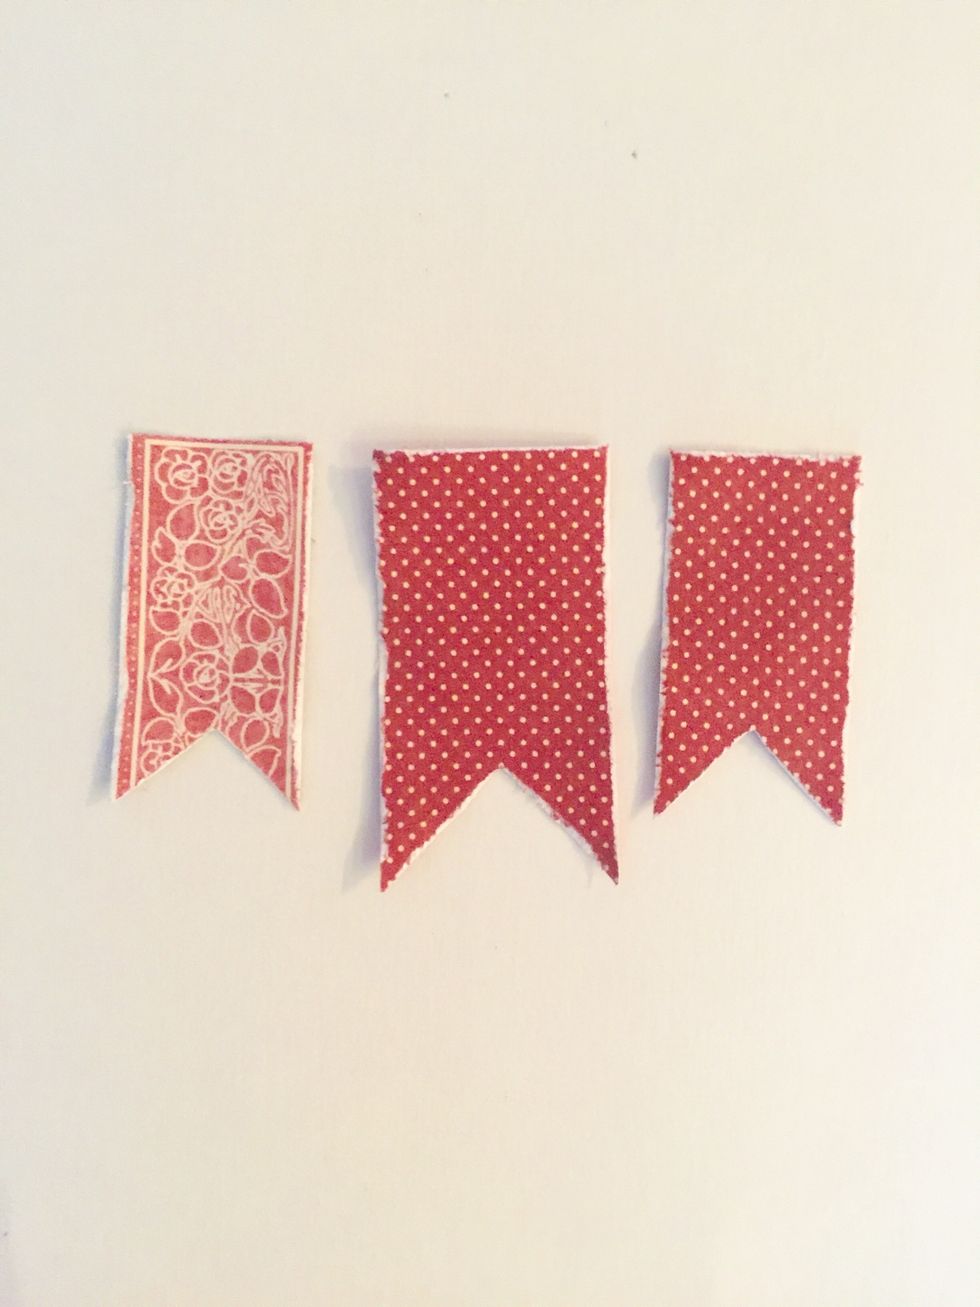
Use the pink banner from step 4 and cut a triangle from one end like pictured. From Children's Hour 6x6 Pad, cut a 2"X1" piece and 2" x 1 1/4" piece from coordinating sheets. Cut ends like pictured.

Arrange banner flags as pictured and adhere to card.
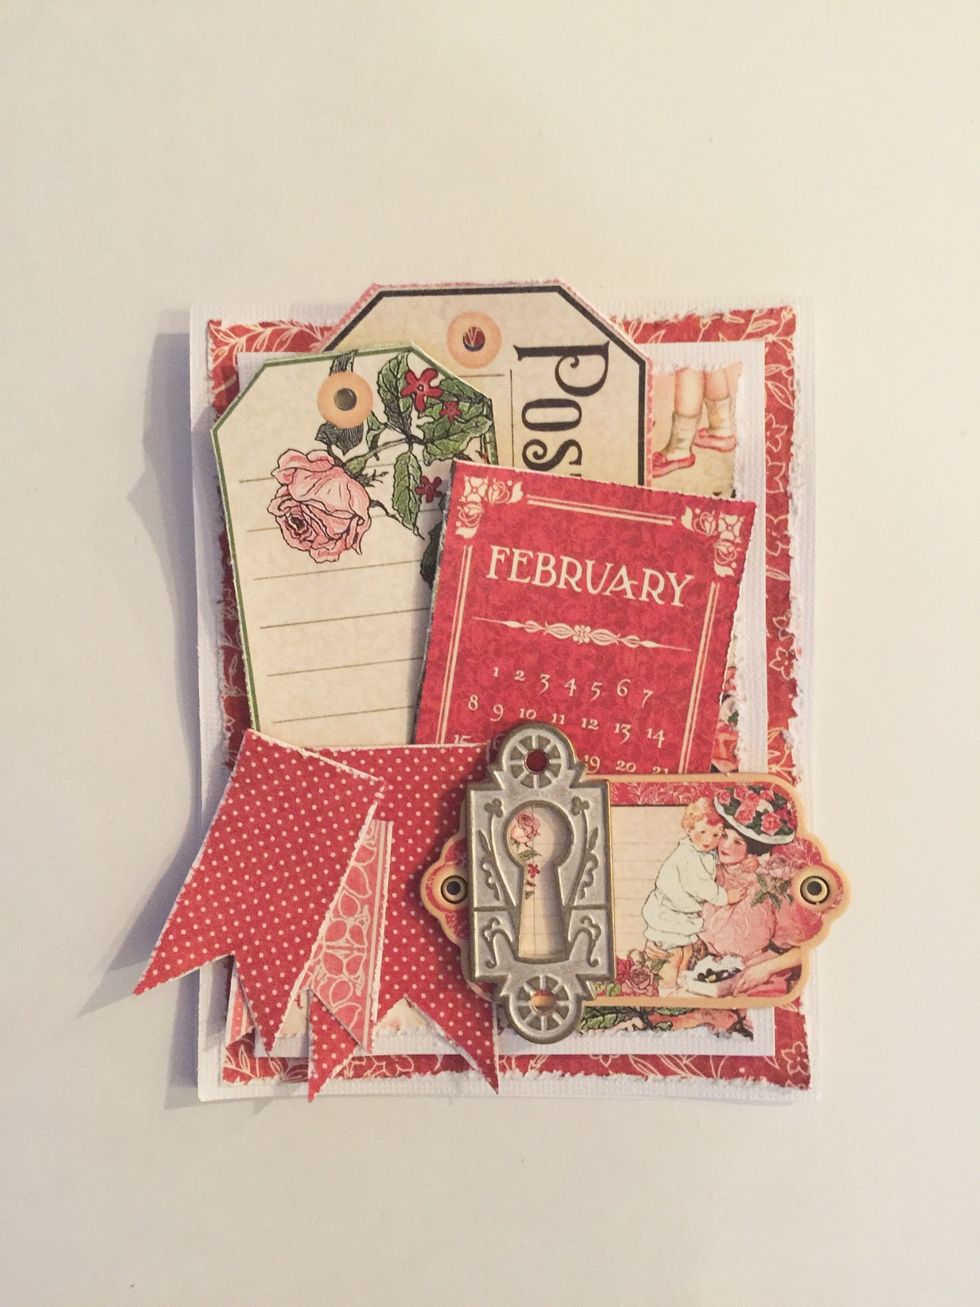
Adhere chipboard piece from Children's Hour Journaling Chipboard to lower right corner of card front. Layer and adhere a Shabby Chic Keyhole on left side of chipboard piece.

Adhere two large flowers on the left side of the card front.
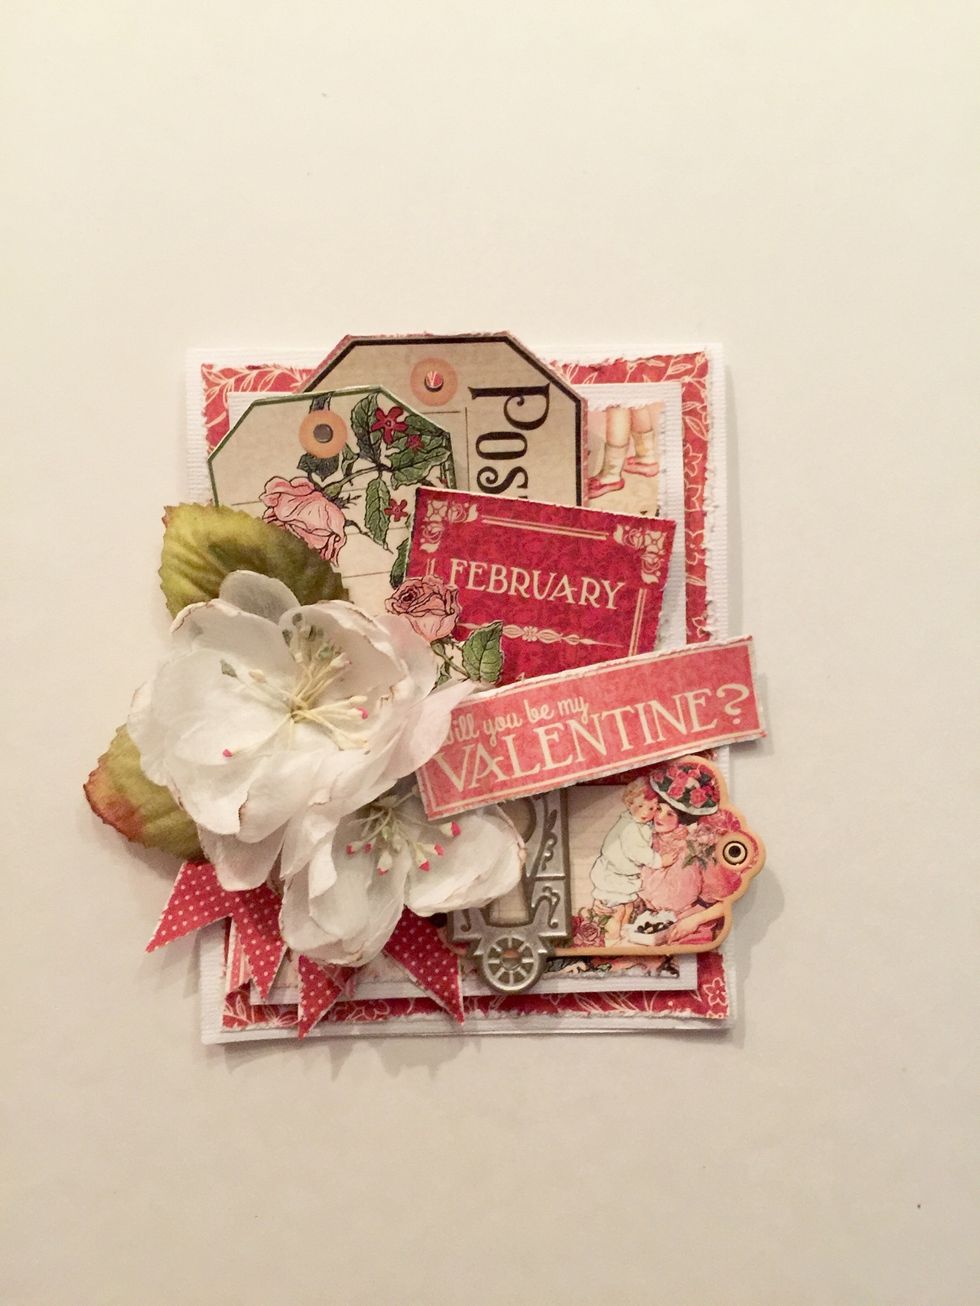
Adhere Valentine's banner in the center of card. Bend and curve it to add dimension. Fussy cut a rose from the February Montage sheet and adhere behind Valentine's banner near flowers.
Cut a 4" x 5 1/4" piece from dotted sheet in the 6x6 Children's Hour pad. Distress, if desired. Layer on top a 3 5/8"x5 1/8" piece of cardstock. Adhere pieces to inside of card.
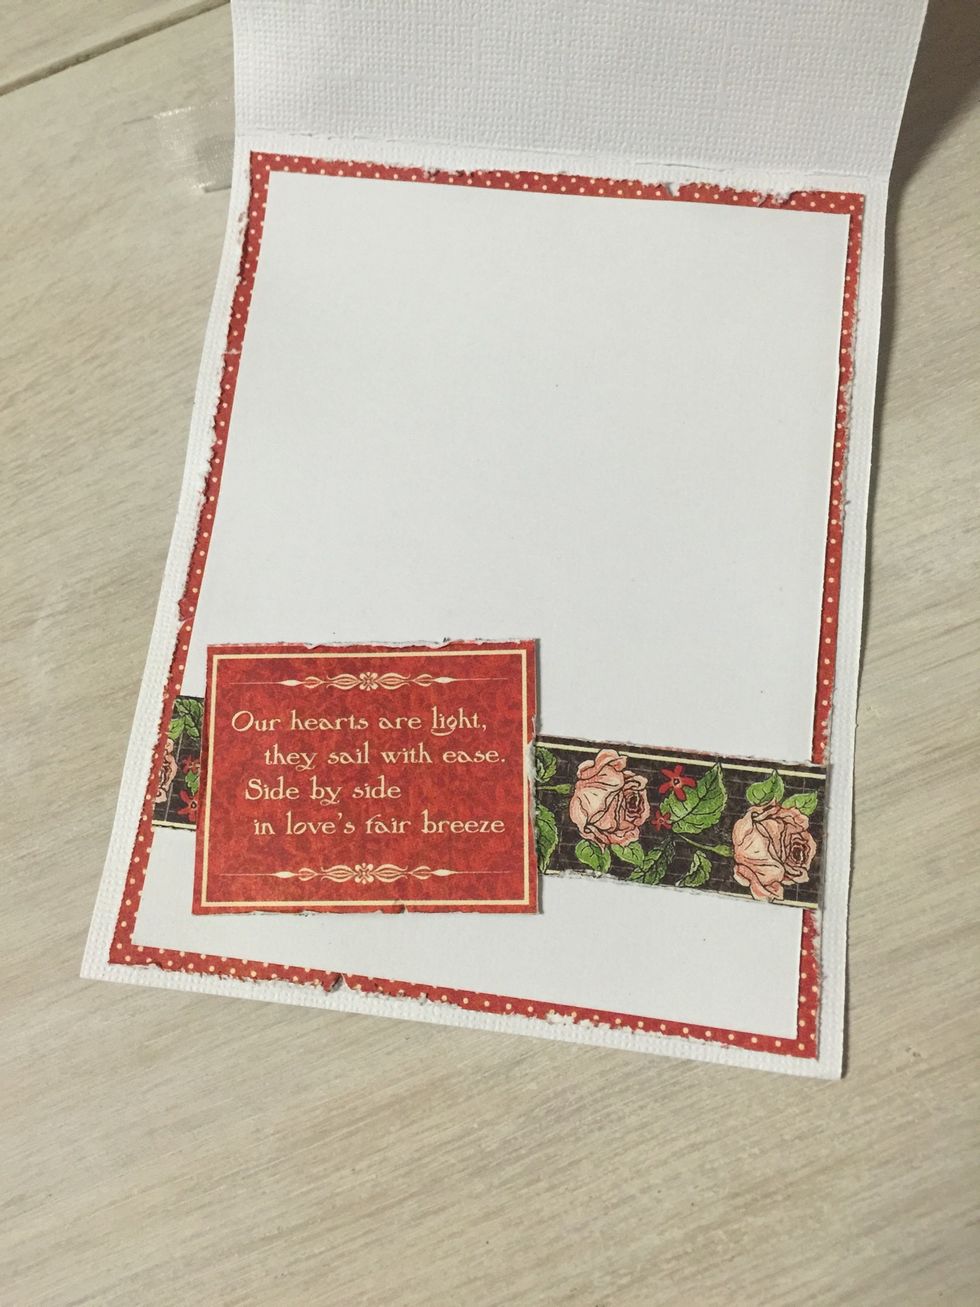
From the February Collective sheet, cut out poem and rose border strip. Cut strip to fit width of white cardstock layer. Adhere to card. Layer the poem to left end of border at an angle.
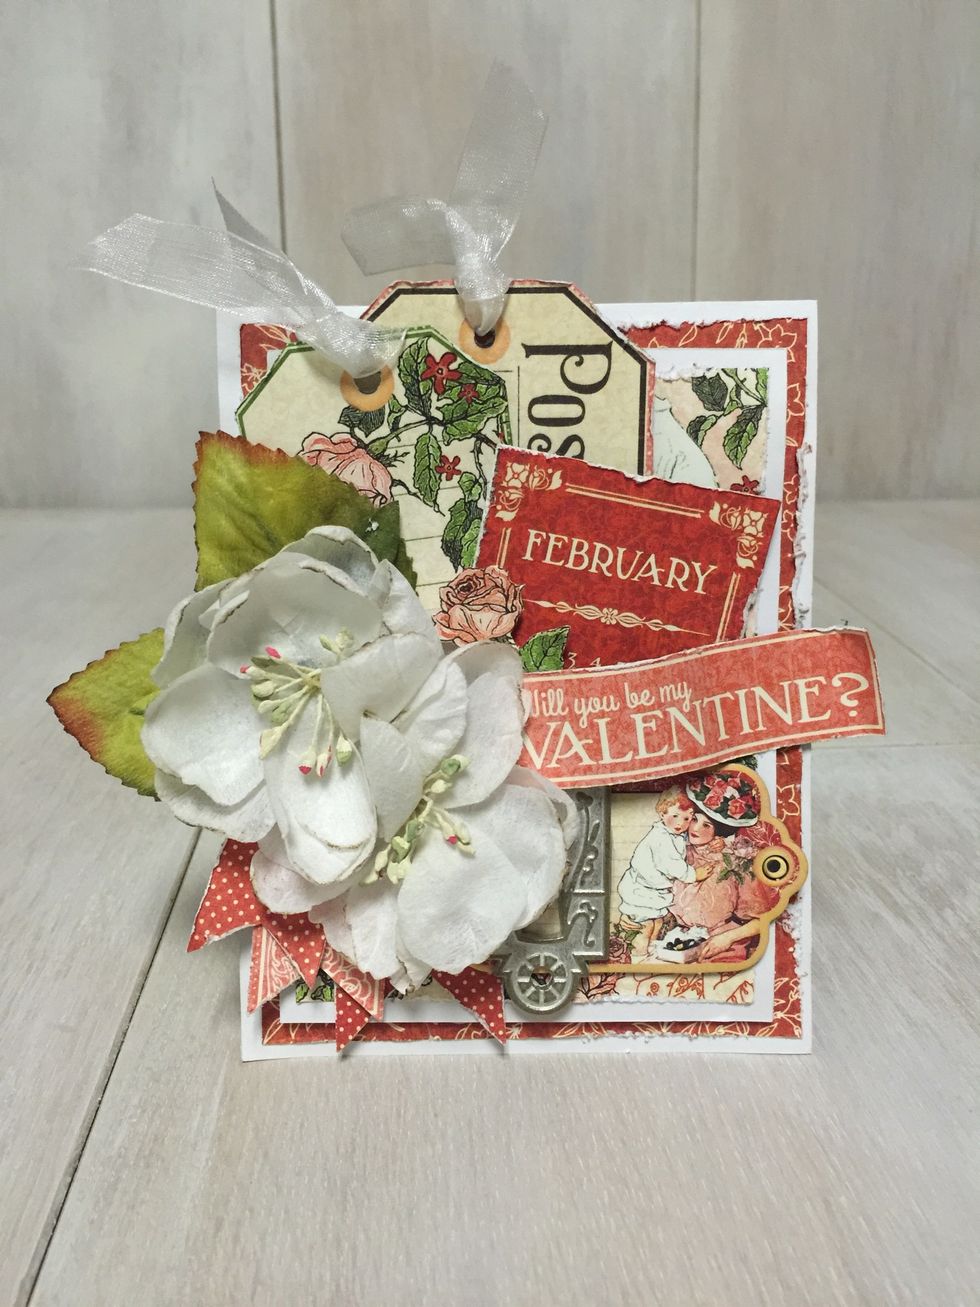
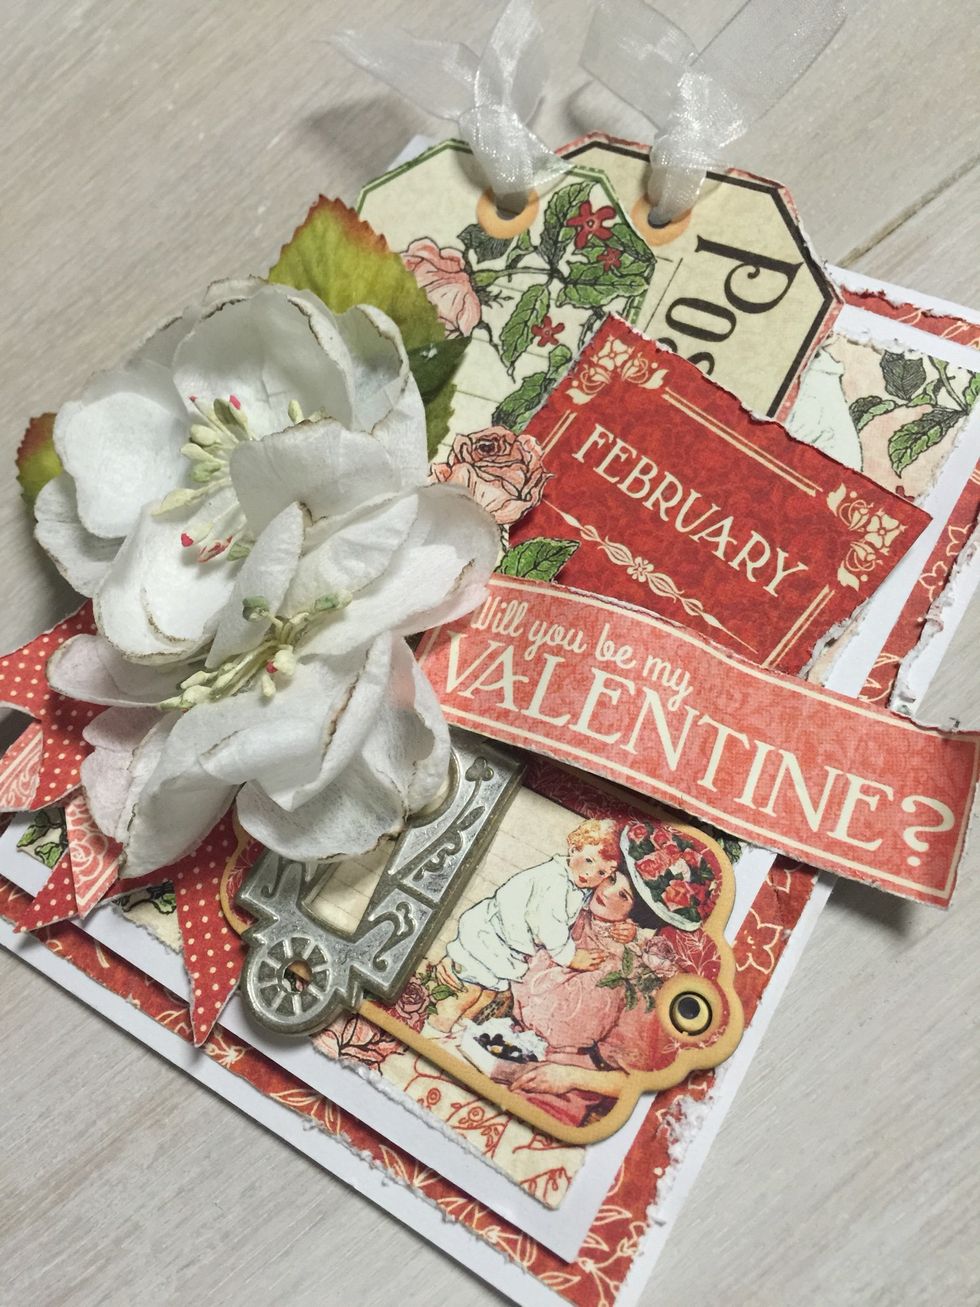
Add ribbon to your tags of you didn't earlier. And, now present your gorgeous card to your Valentine!