The Conversation (0)
Sign Up
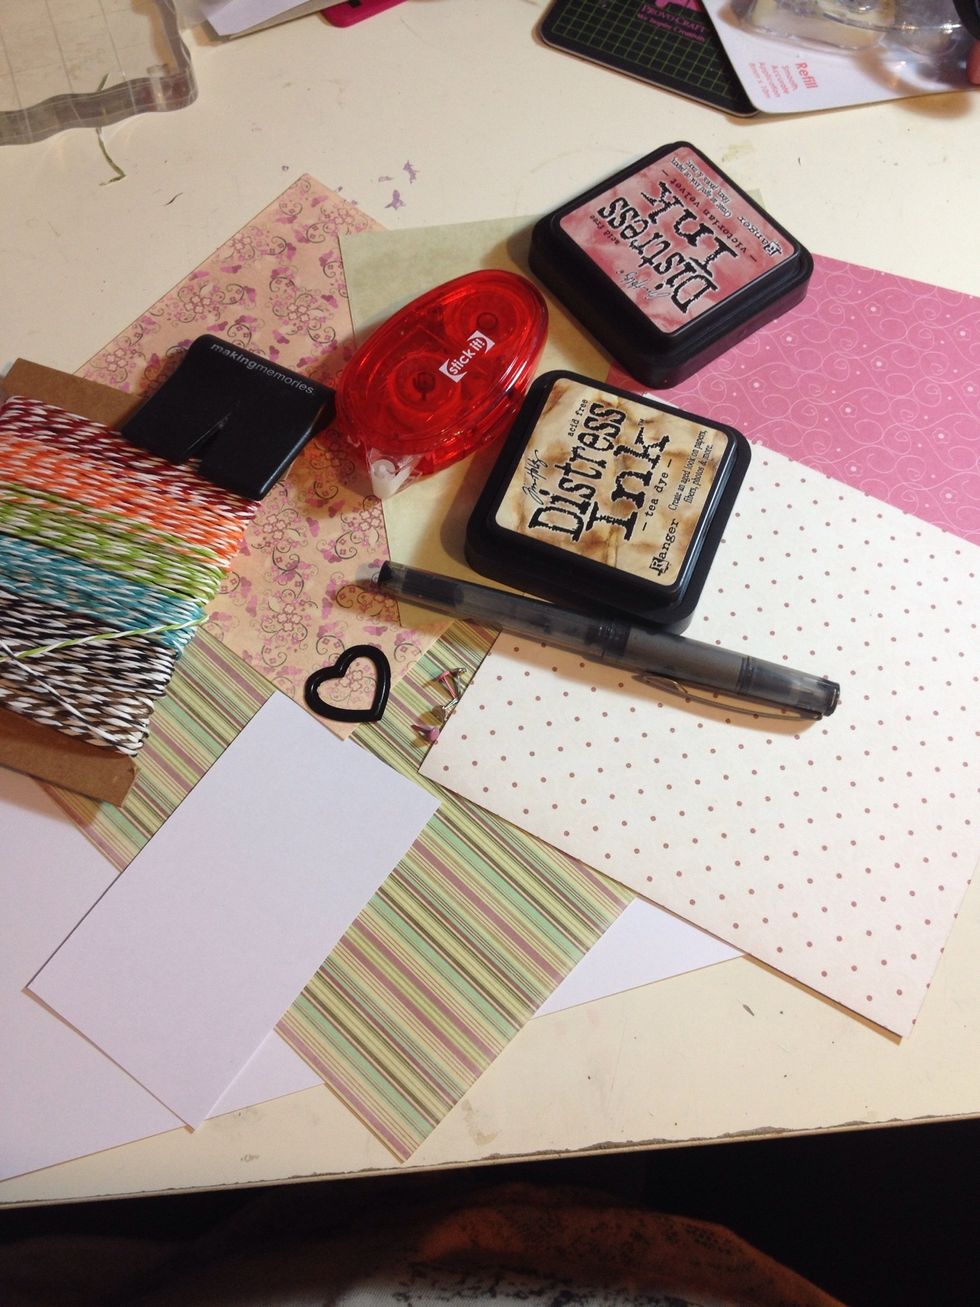
Select your papers, ink(s) and other pieces

Take your 1st 2 sheets of paper, select which is the base & which will be on top. Trim the base sheet down so it fits squarely in the middle of the blank with 1/2cm then do the same with the top piece
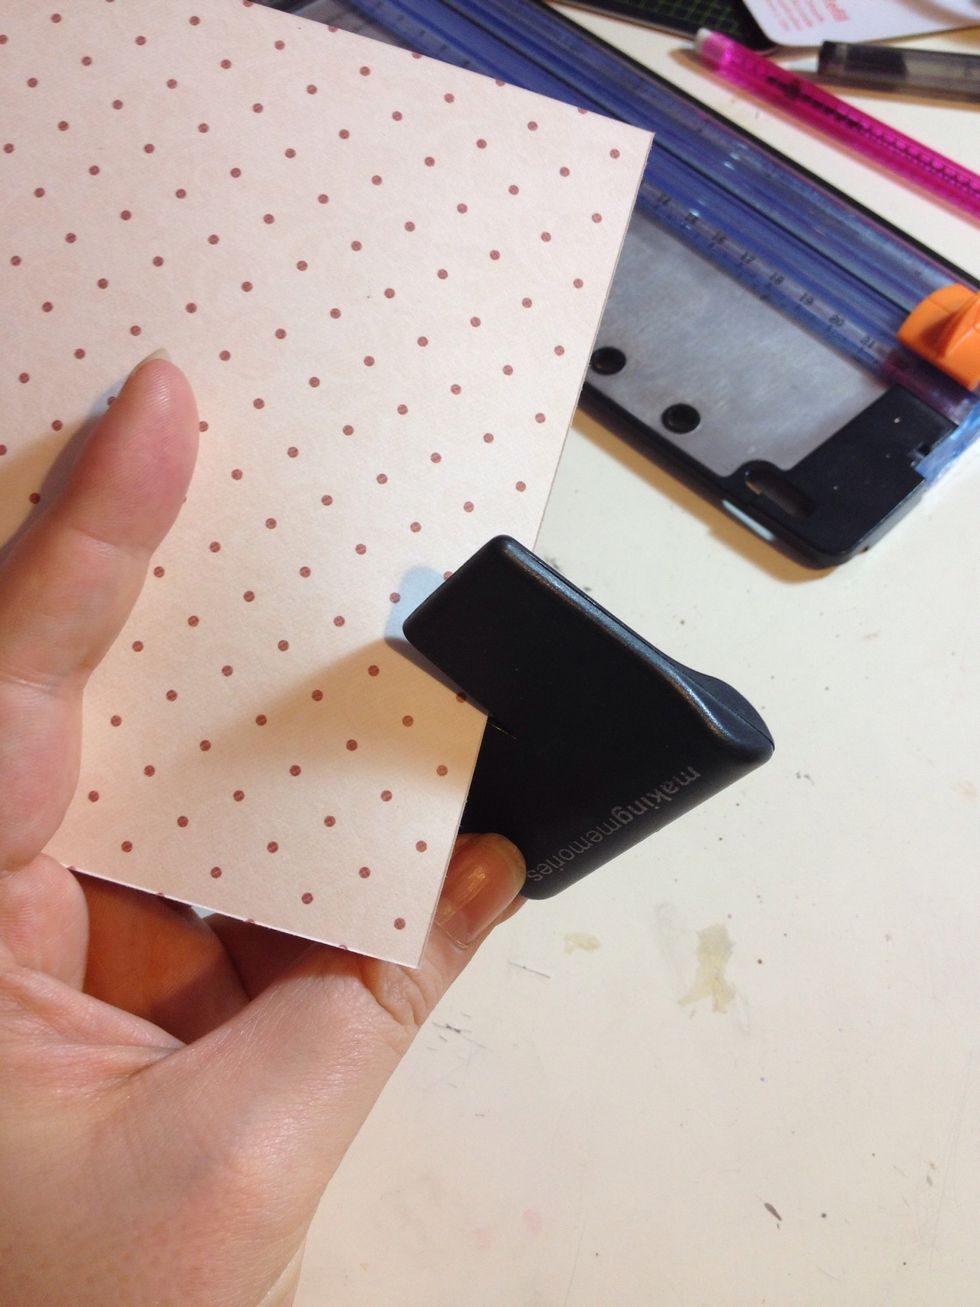
Take your top layer sheet and distress the edges either using a distressing tool or a paper of scissors - run the blade (safely) against the edge of the paper
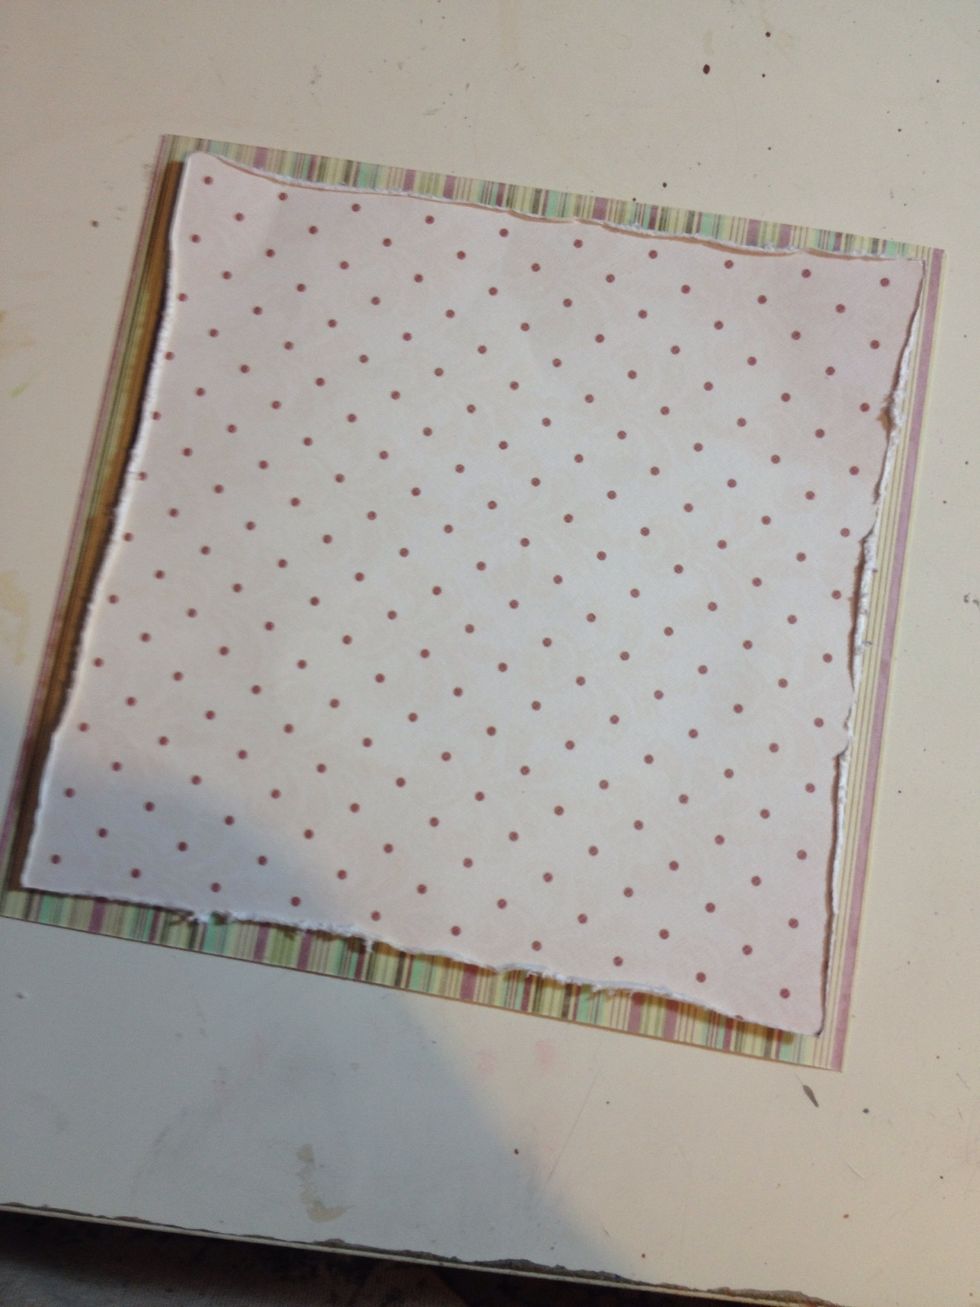
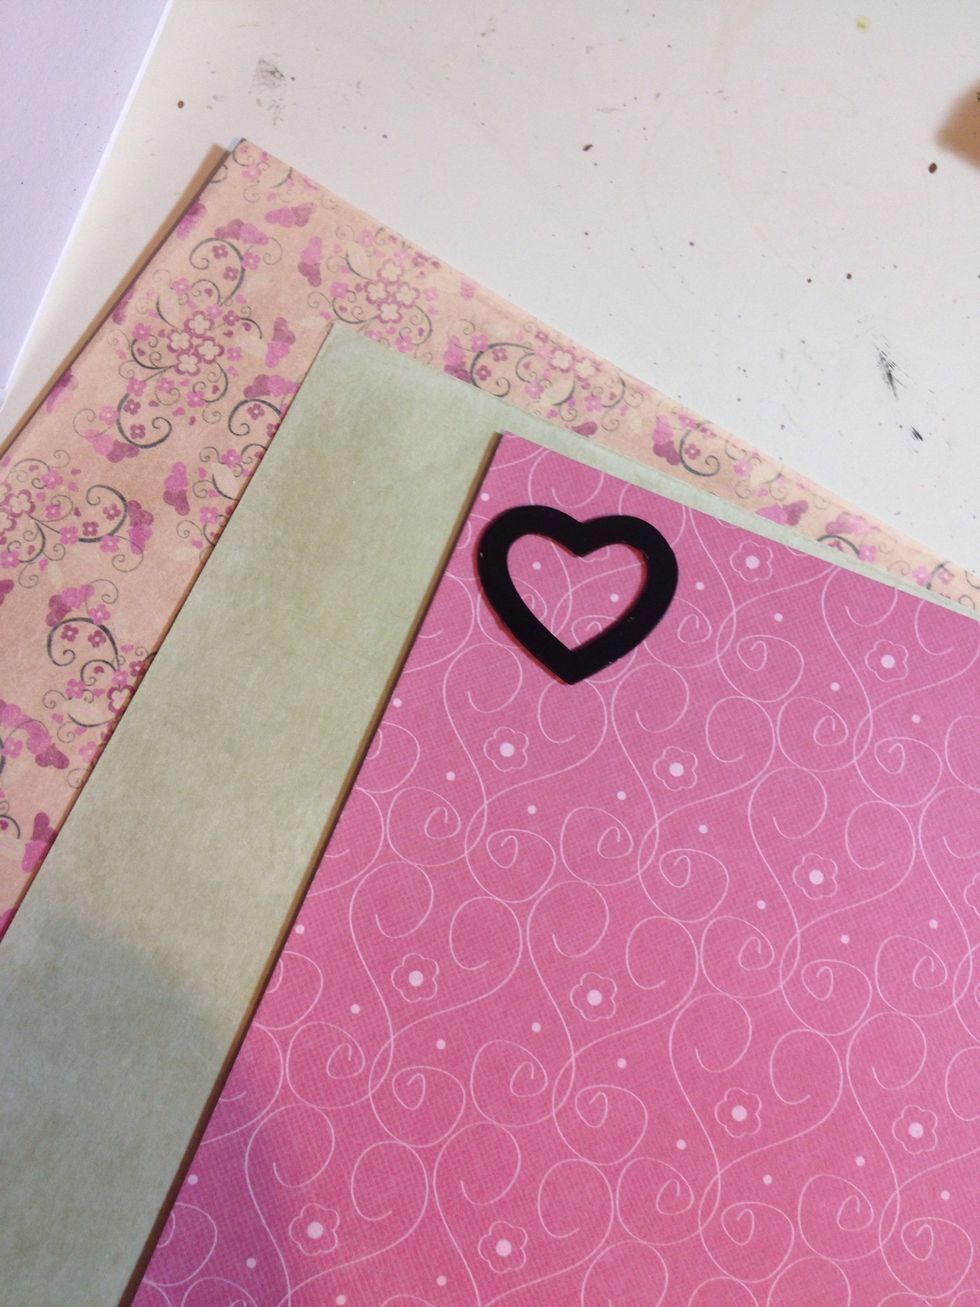
Your top piece should look like this. Layer the top piece on top of the base and make sure your happy with the look - do not stick down yet!
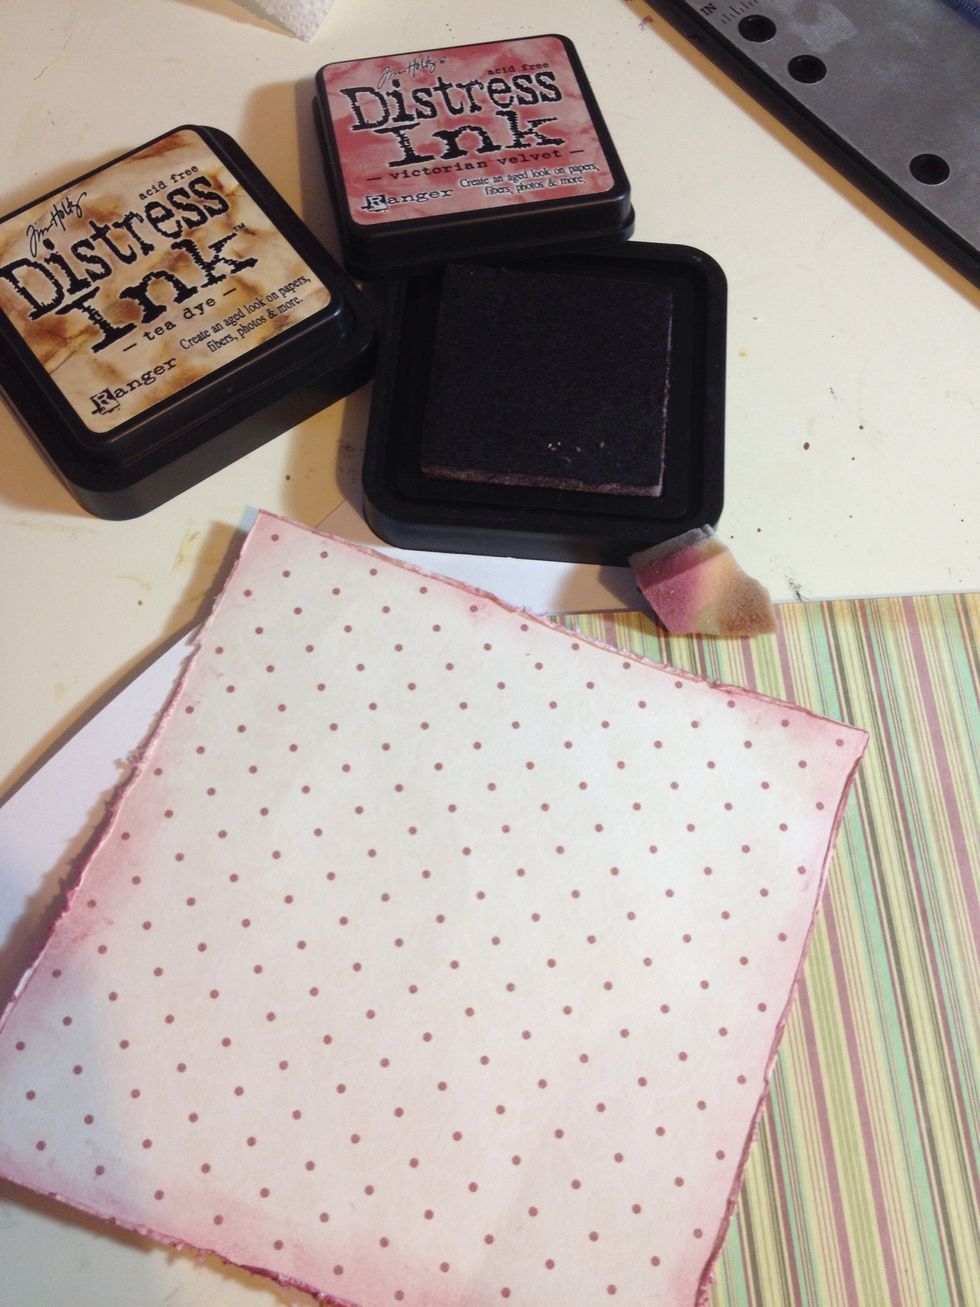
Take your inks and a applicator (I'm using cut n dry foam) and ink up the edges of your two pieces of paper. Stick down squarely once done and put to one side - do not attach to care blank!
Take 3 of your remaining papers and cut out 3 small hearts (these are about 2cms big), I'm using an xcut nesting die.
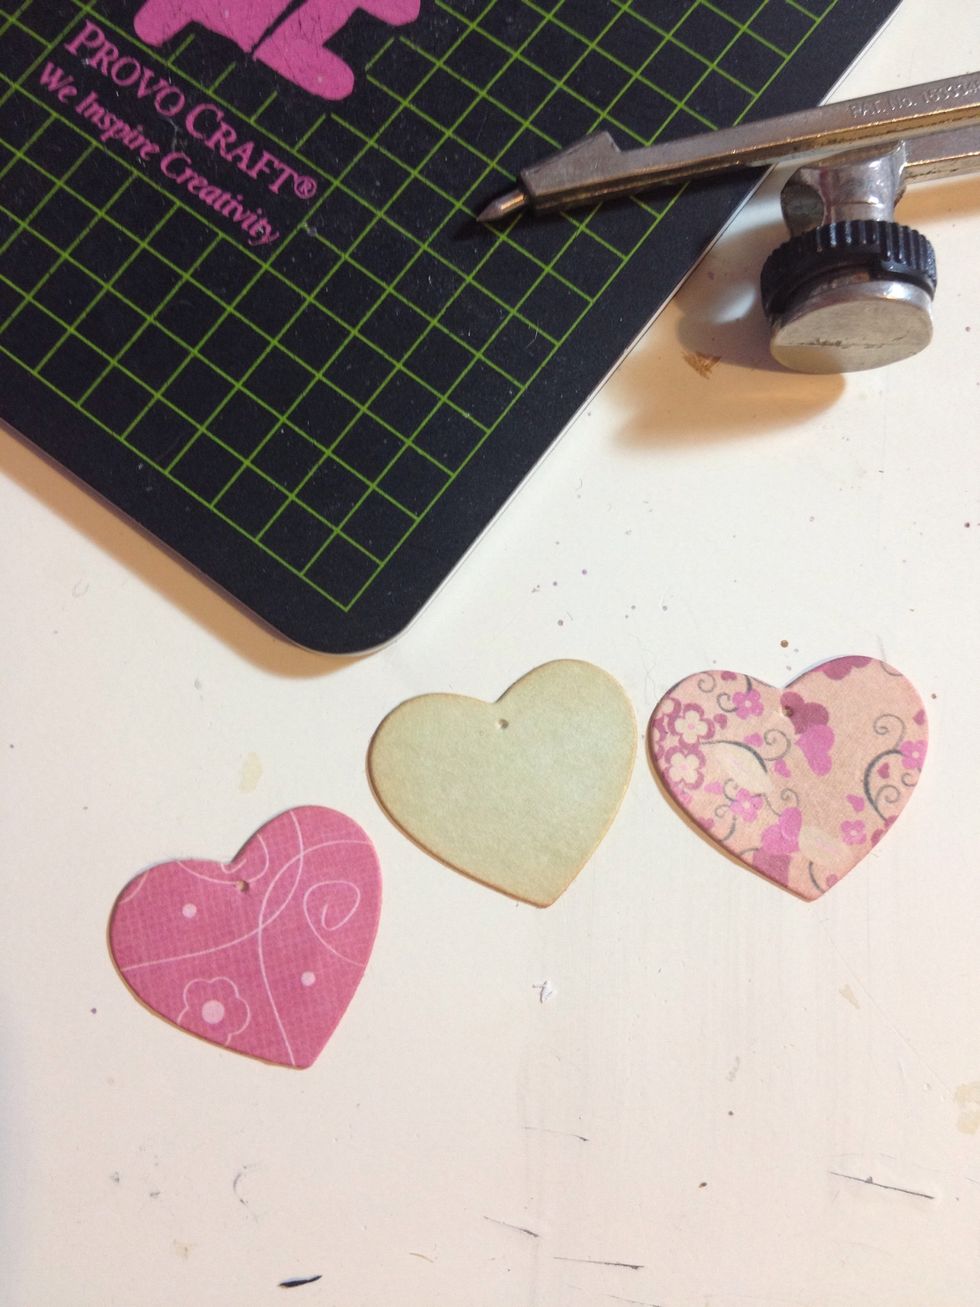
One cut out, make a small hole in each with your pointy tool / compass - don't poke yourself! You may need to widen these later. Ink edges!
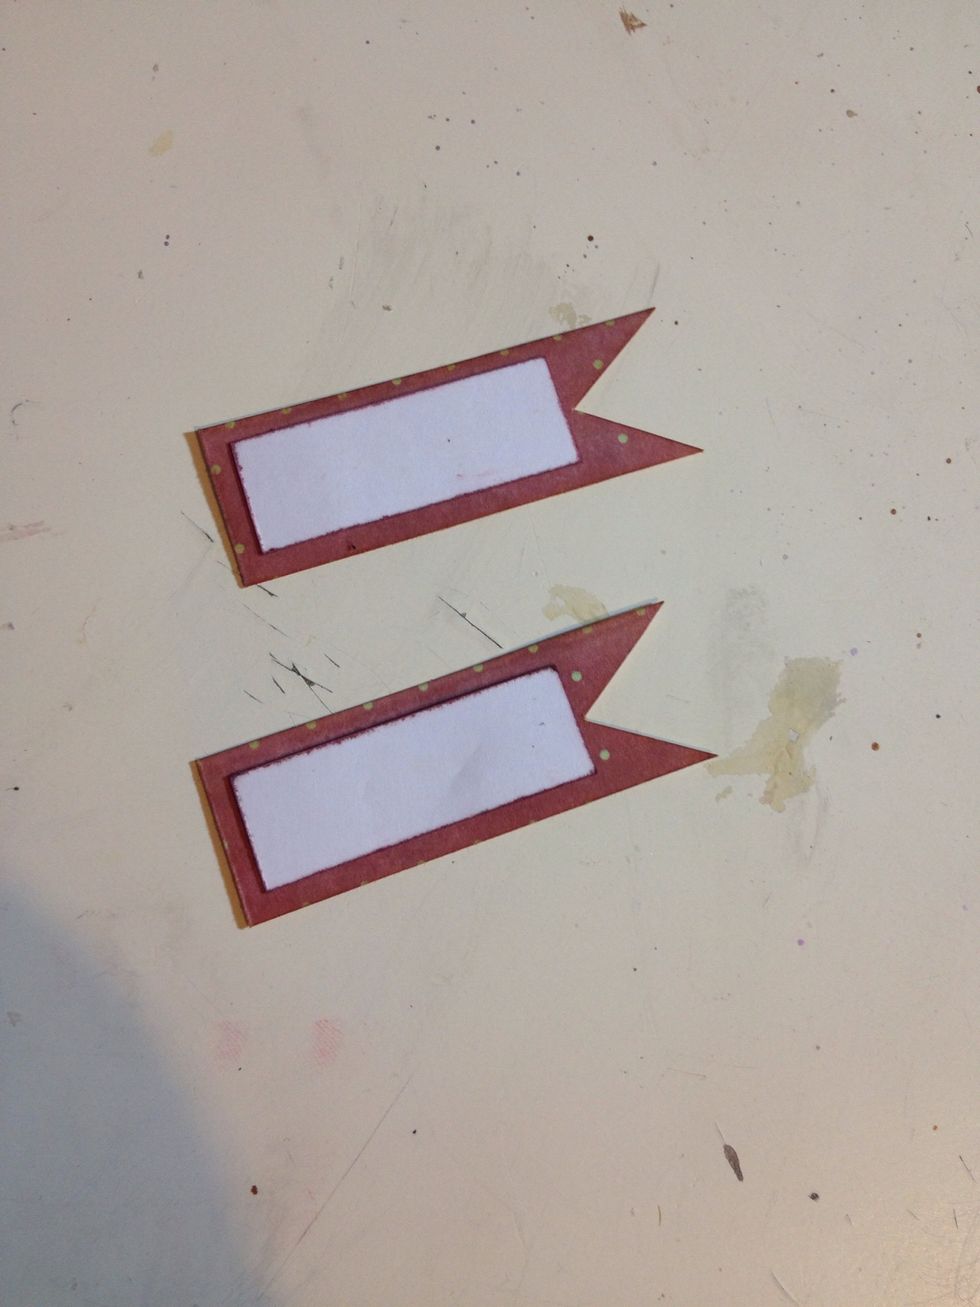
Take final piece of paper (I've used off cut off a double sided sheet from the top piece) and your piece of white card scrap. Make these message flags. These are 1 1/2cms wide & 5cms long. Ink edges!
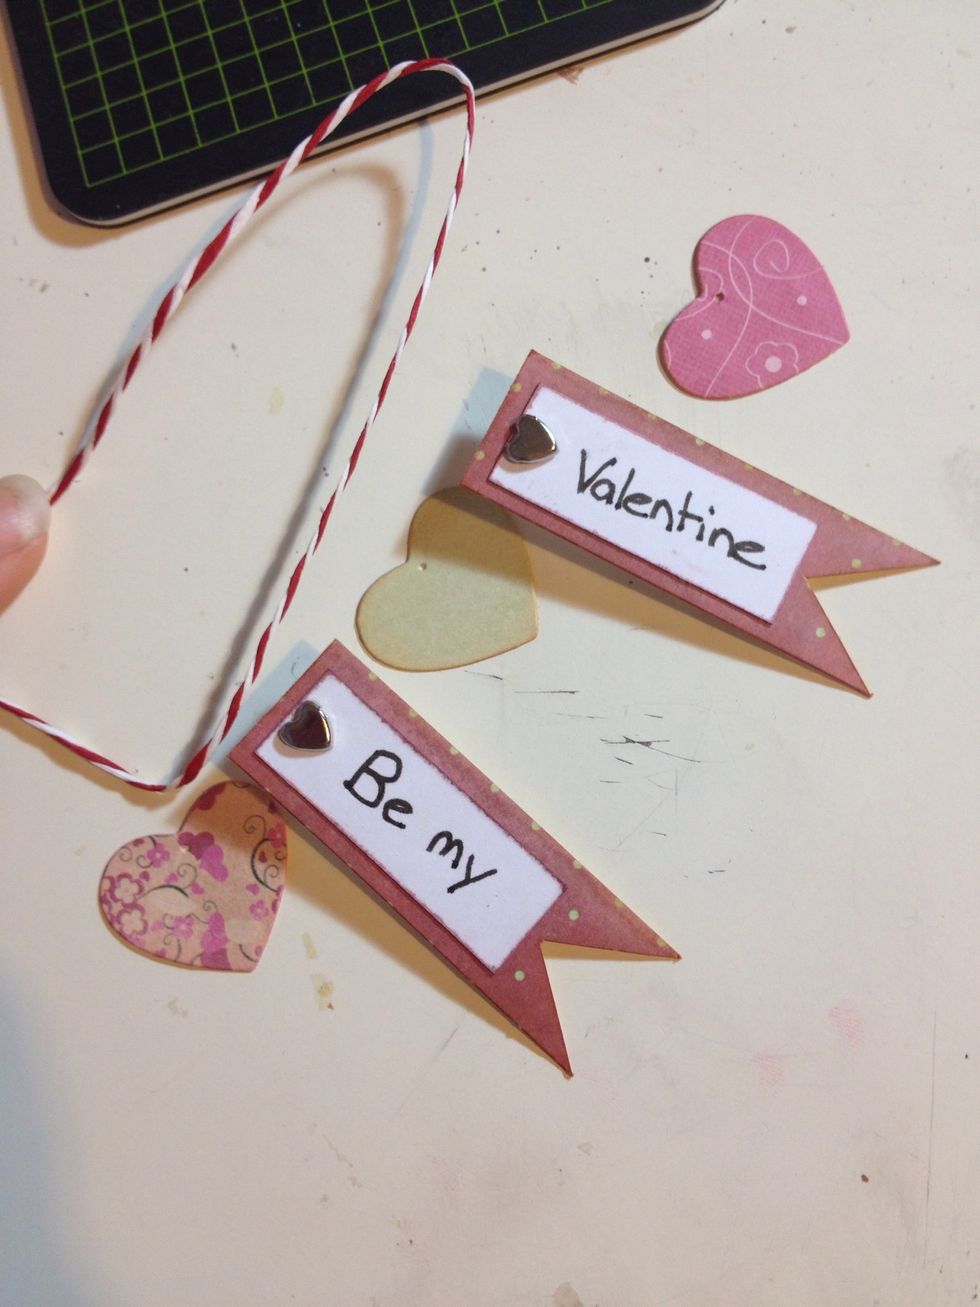
Add two of your brads to the flags and write your message (make sure your the ink is dry before doing anything more with the flags) Now take your twine and decide on your layout of the hearts & flags

Thread the hearts onto the twine, leaving enough space in between to place your flags. Then start by sticking your two outer hearts down in your desired position
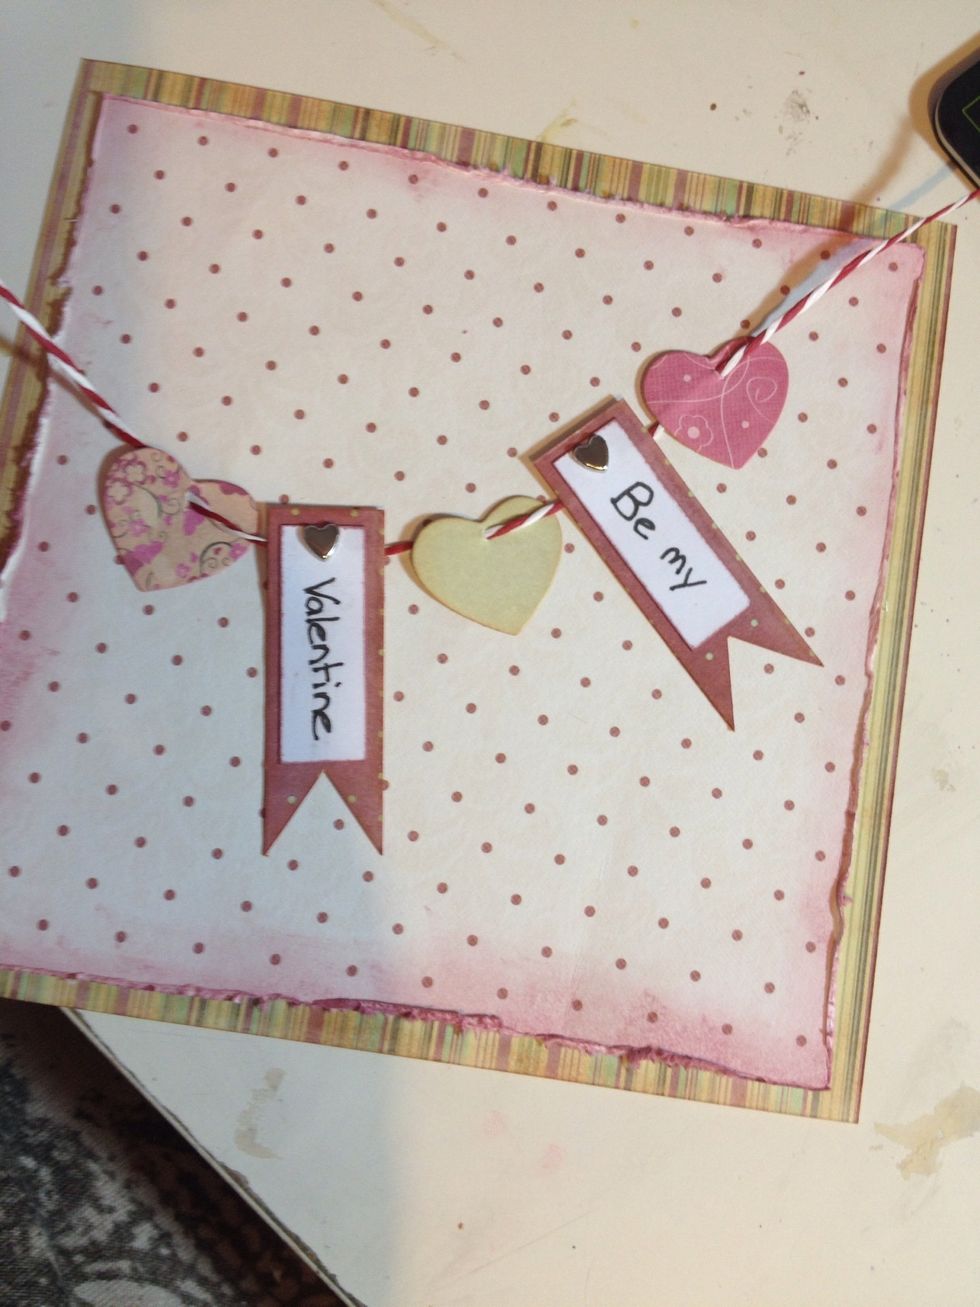
Once your hearts are stuck down, then stick down your flags in between the hearts

To tidy your twine ends, make a hole with your pokey tool / compass and thread twine through. Then place your final two brads in and secure. Cut off any excess twine at the back (leave about a cm)
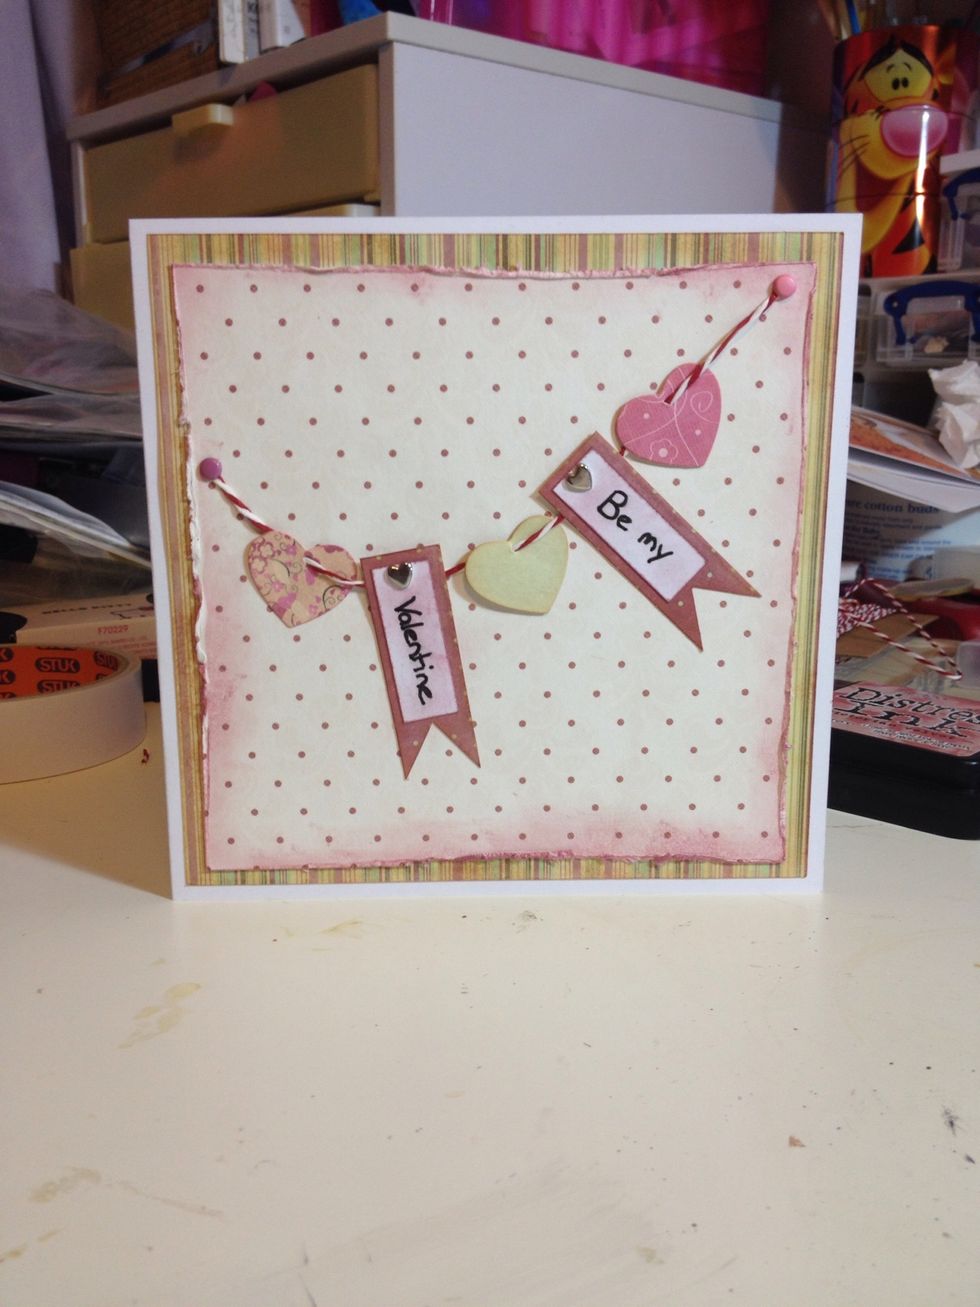
Finally, stick your layers onto the card blank! I warned earlier about waiting for your pen ink to dry, I smudged mine so went over the tags with some ink and then re-wrote my message!
I hope you have fun with this! Any questions please message and I'll do my best too answer. I take no credit for design of the card, I have altered to fit my theme and requirements.