The Conversation (0)
Sign Up
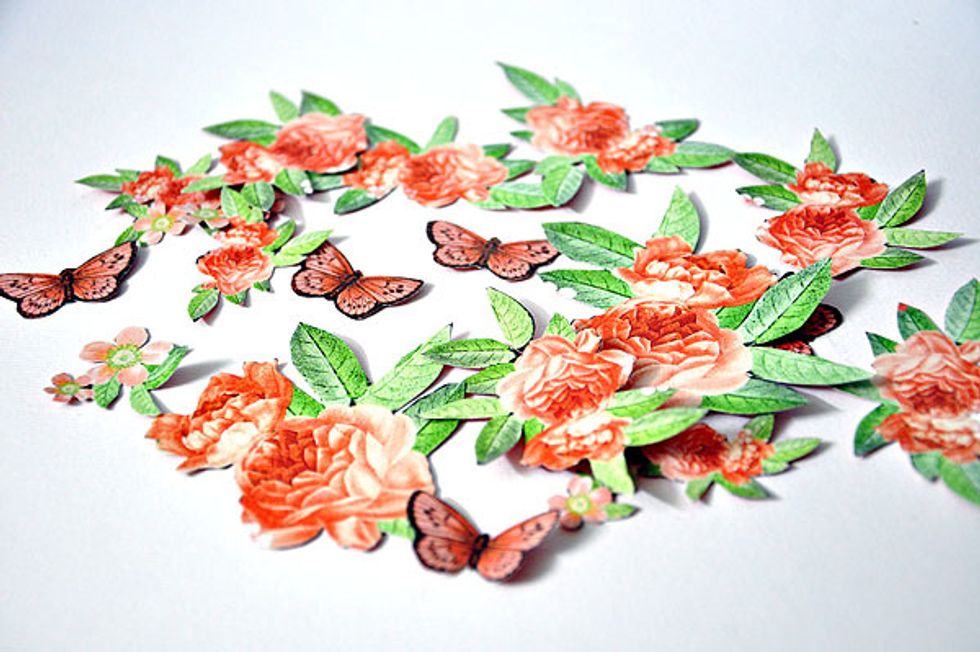
fussy cut flowers and butterflies
Cut these out from one of the 8x8 papers

Choose the papers you want as base for your cards. White cardstock (approx. 4 1/4 x 5 1/8)
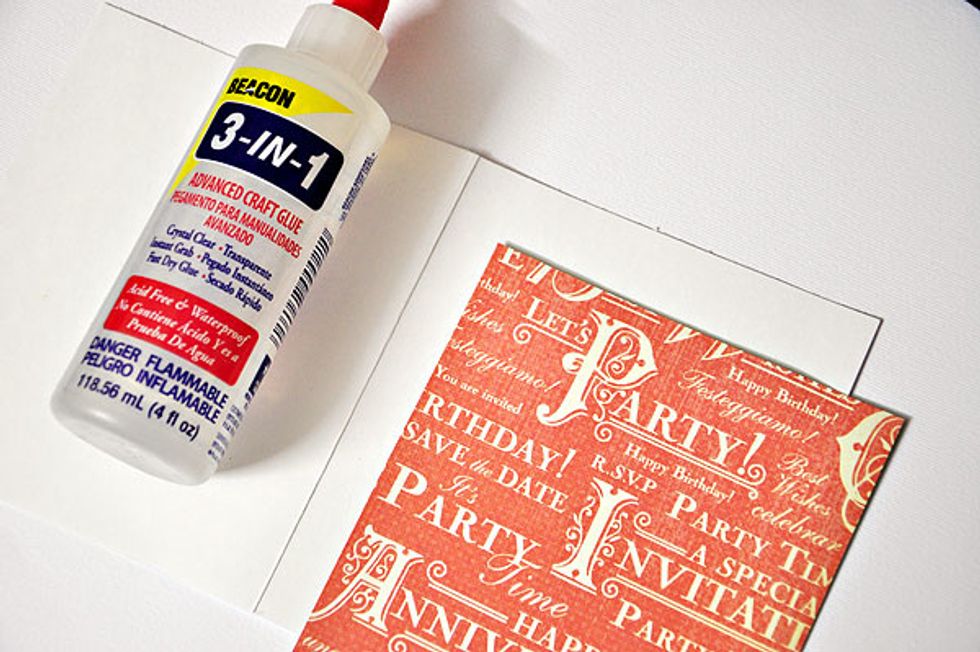
Adhere patterned paper to base.
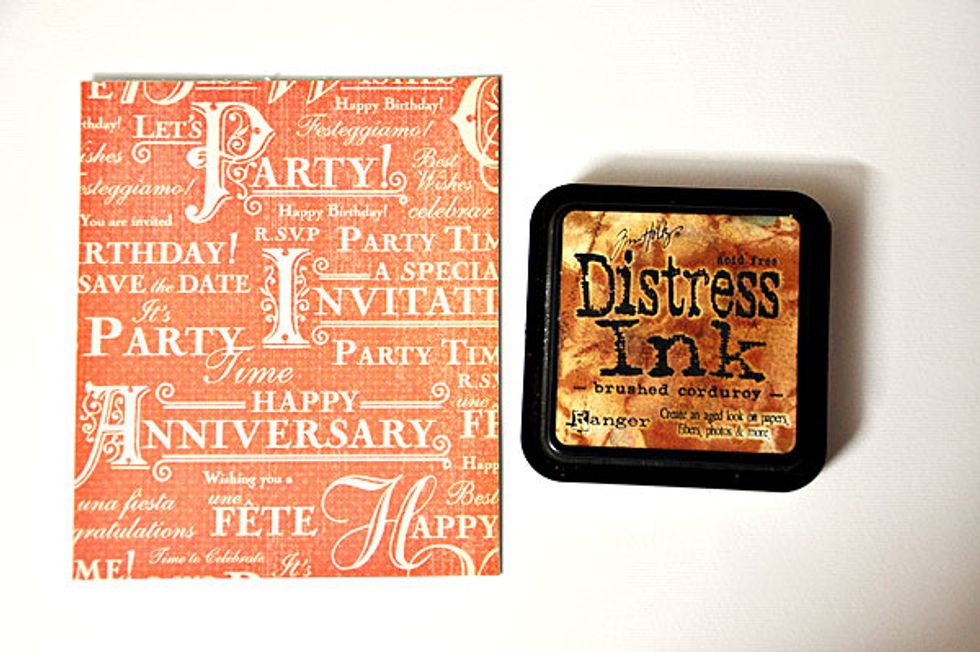
Ink the edges using distress ink (or ink of your choice for that matter).
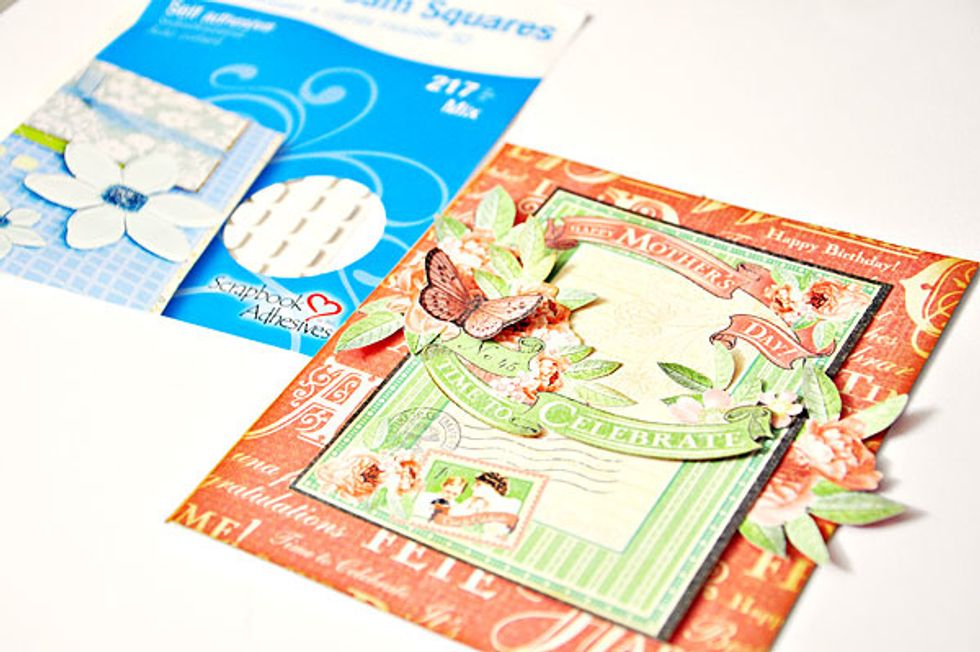
Adhere the fussy cut elements using foam squares to add dimension. Do this to all the cards.

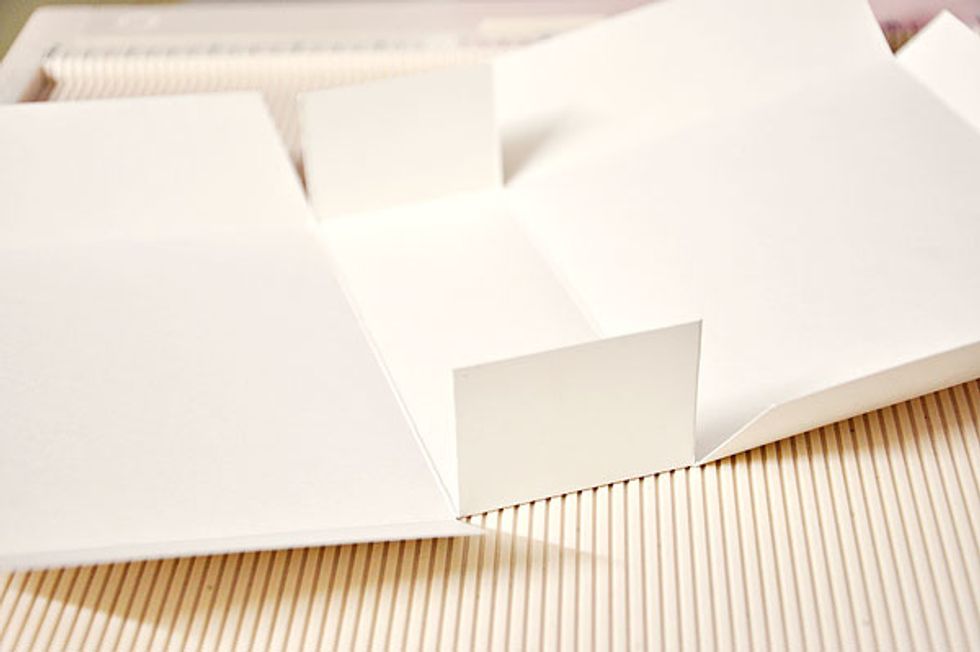
To make the bag, I used 1 sheet of A4-sized white cardstock. Take note that the width of the bottom depends on how many cards you'll put inside. For this sample, bottom width is 2 inches
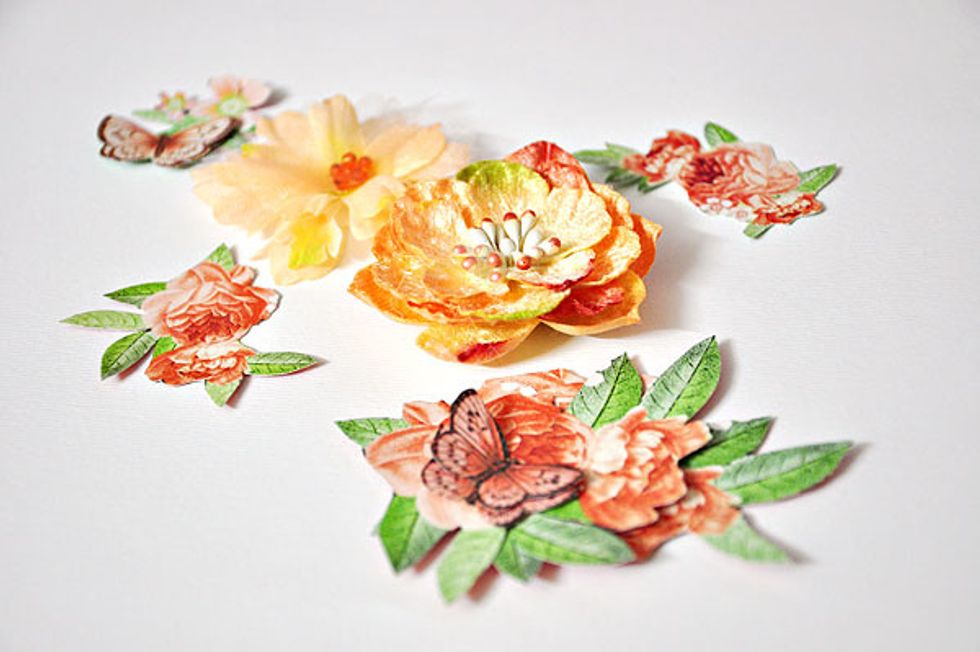
Gather up some more cut outs and flowers to decorate the front of the bag.
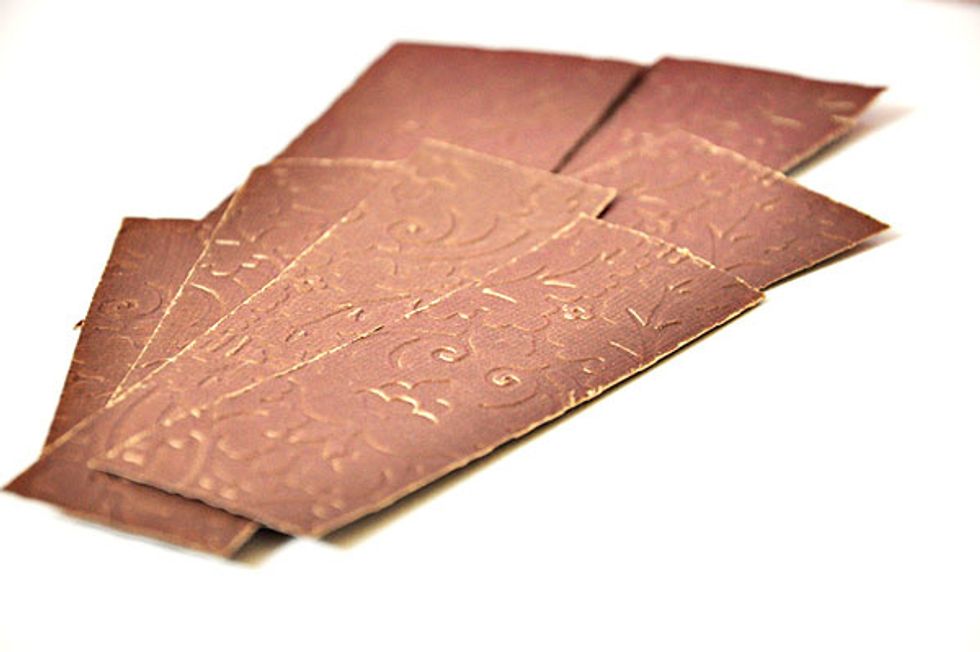
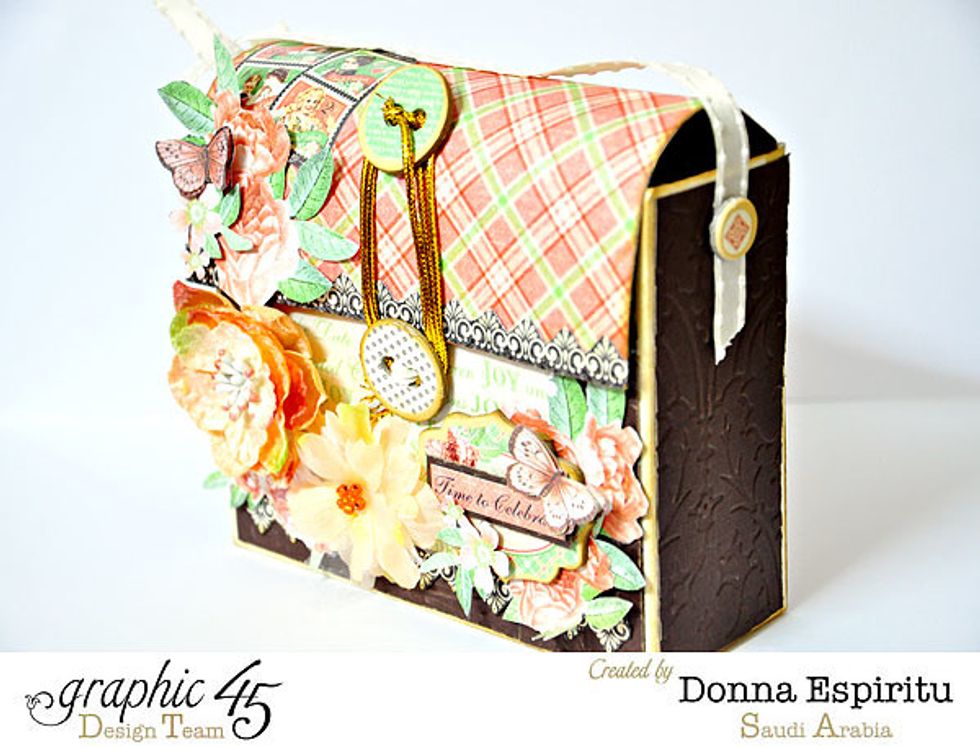
Run the brown cardstock through your Big shot (or similar) with your choice of embossing folder. These will be used on front and sides of the bag.
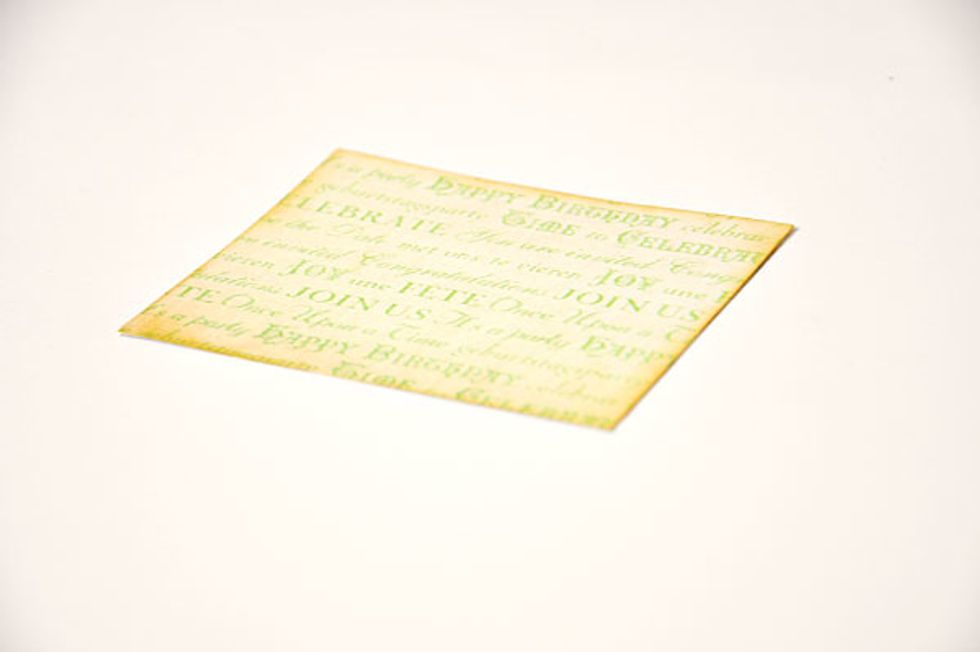
Ink a 3x3.5 inches piece of patterned paper to be adhered on the front of the bag.
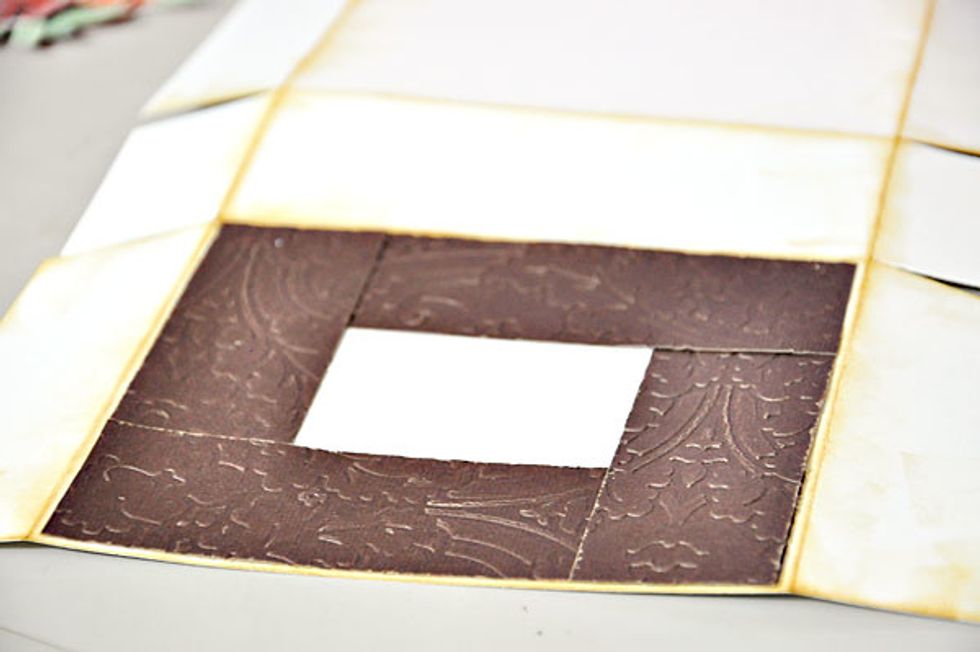
This is how I assembled the embossed strips of cardstock.
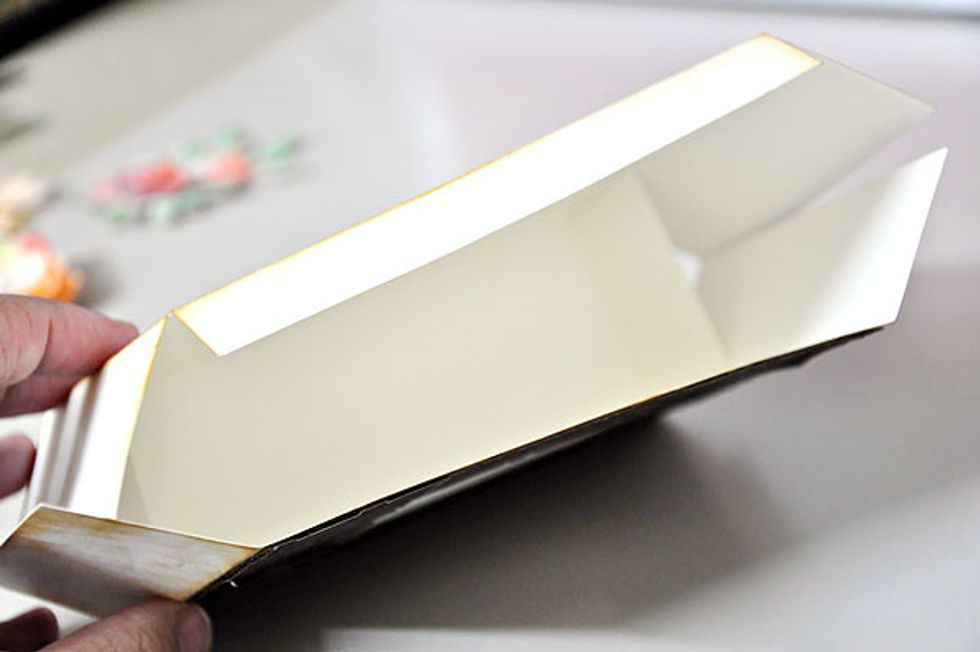
How the bag looks folded. We'll adhere patterned paper on that extra piece of flap later on.
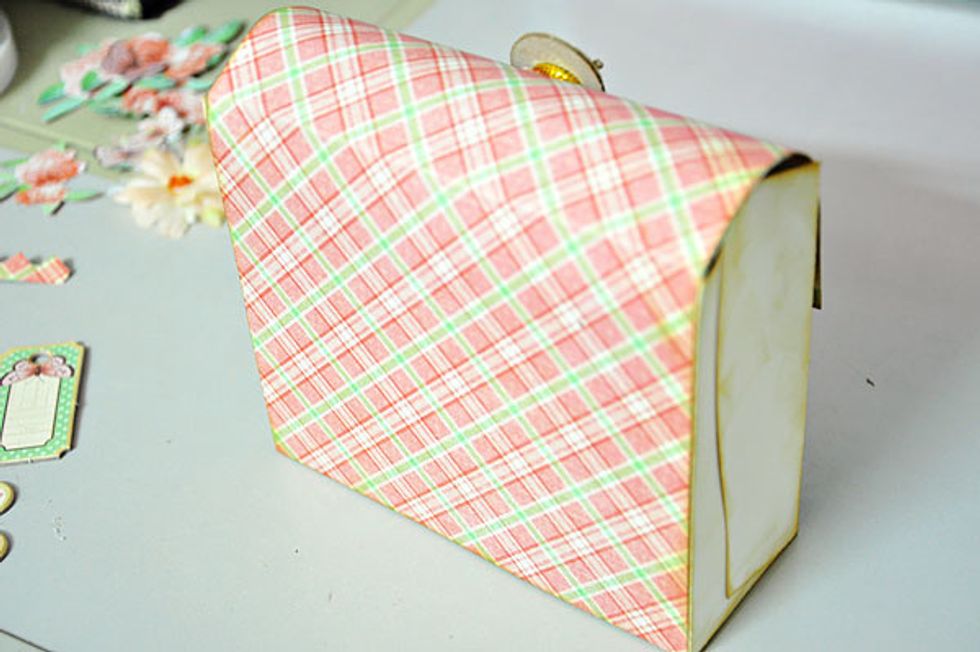
Adhere a sheet of patterned paper at the back going through the front, making at least 2 inches as flap.
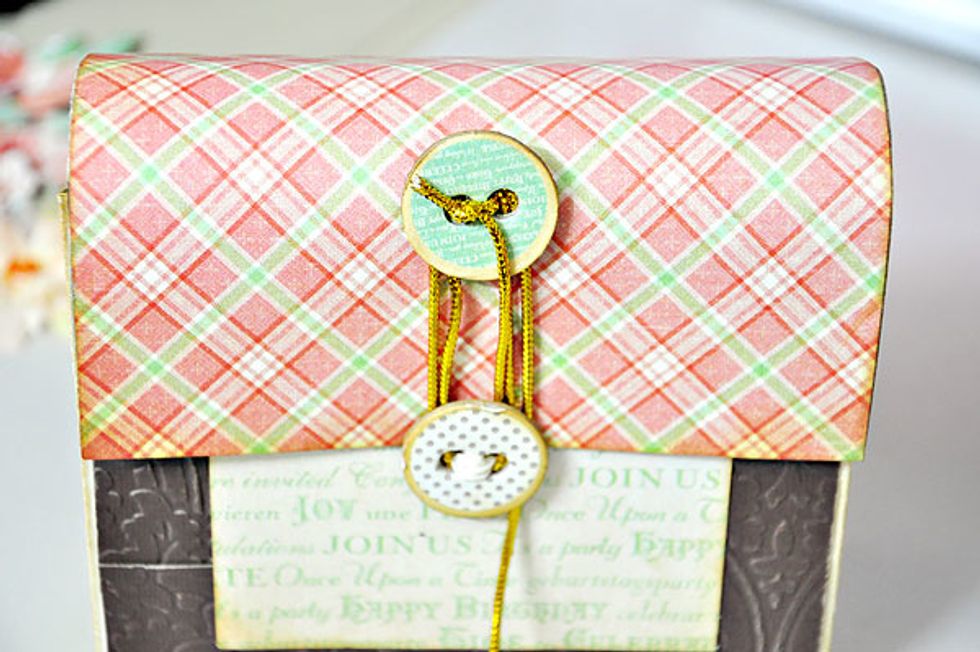
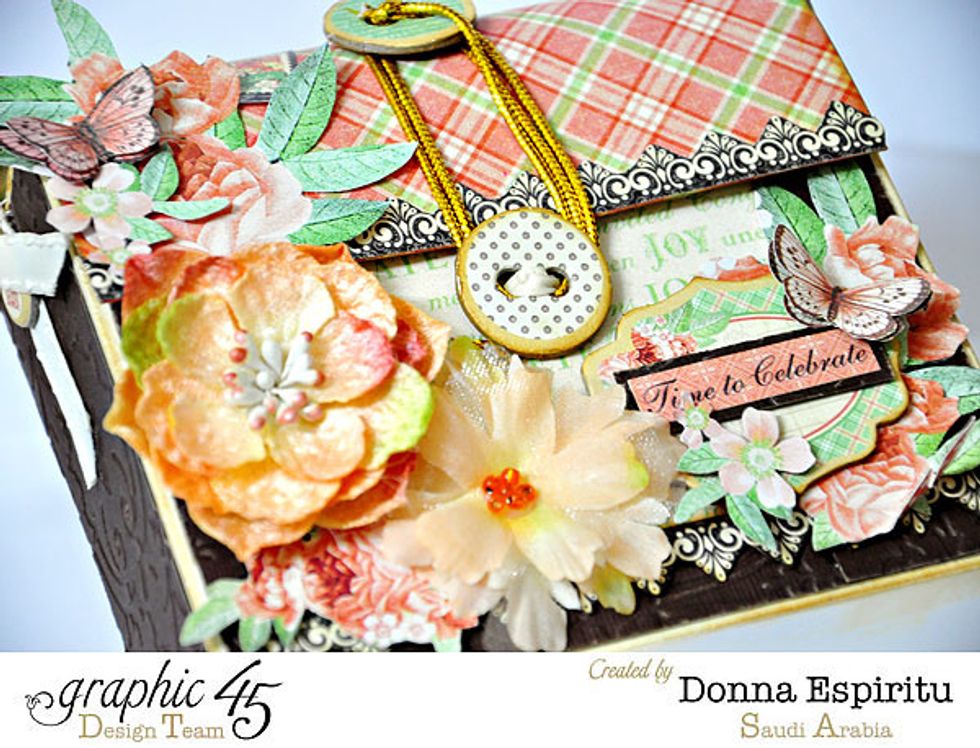
Secure the flap with buttons.
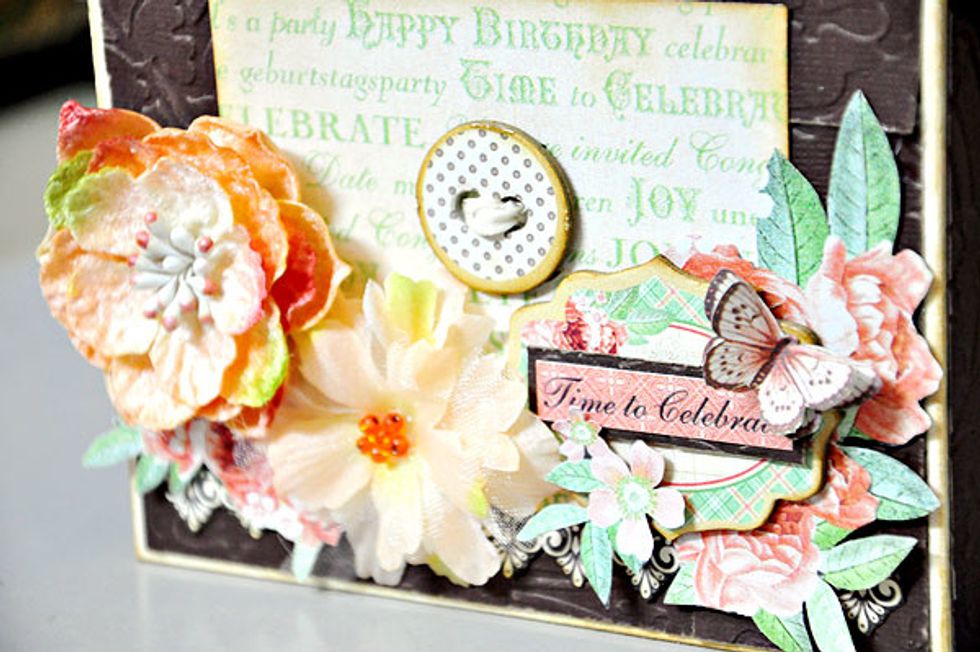
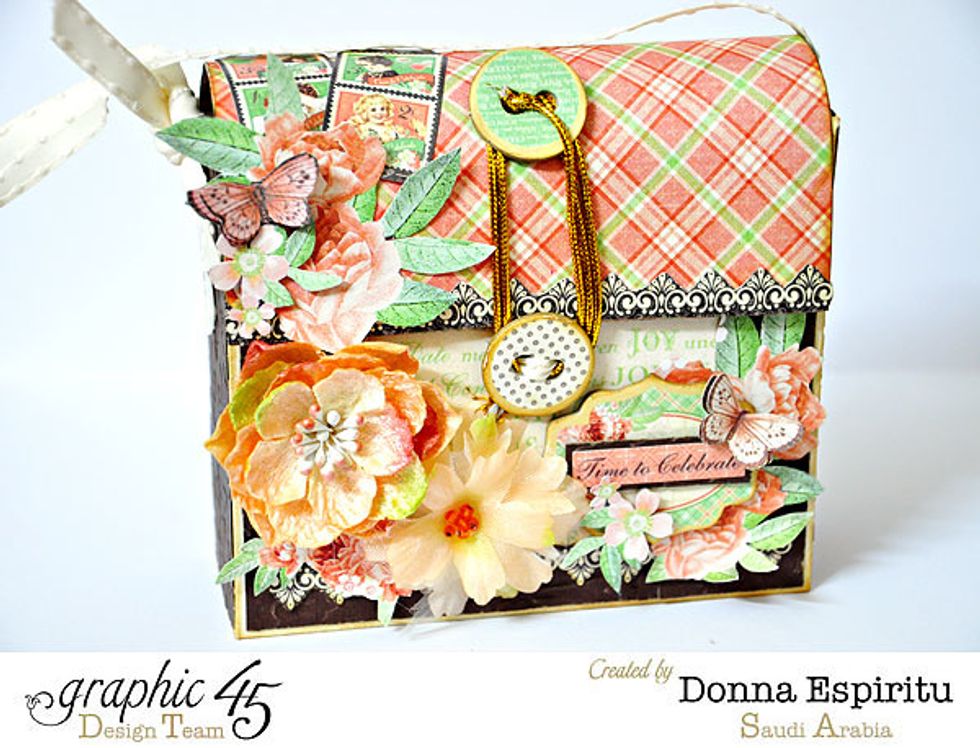
Decorate the front with the cut outs, flowers, chipboards and stickers.
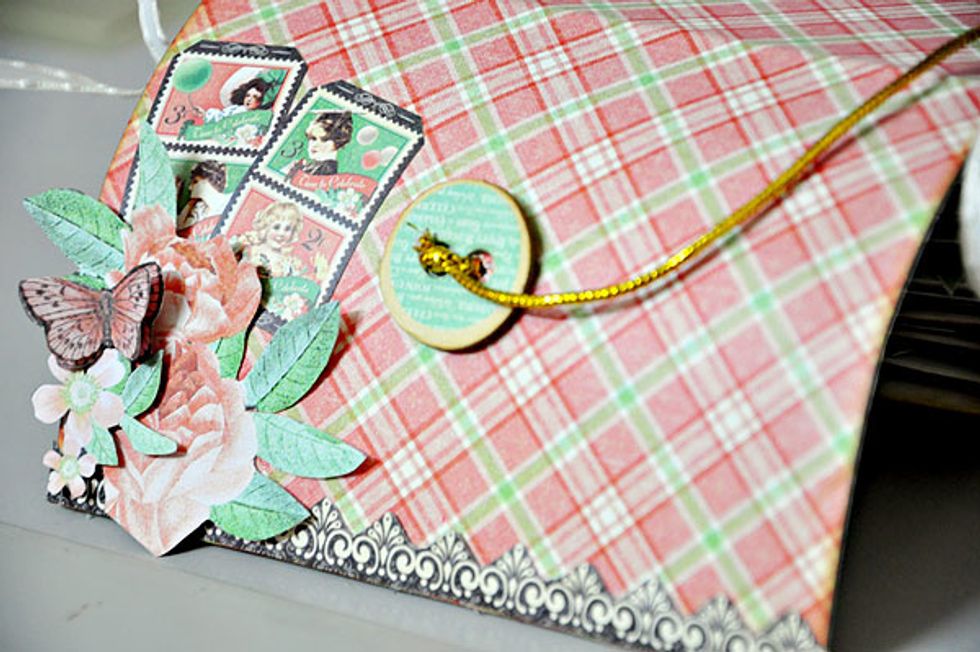
Decorated flap.
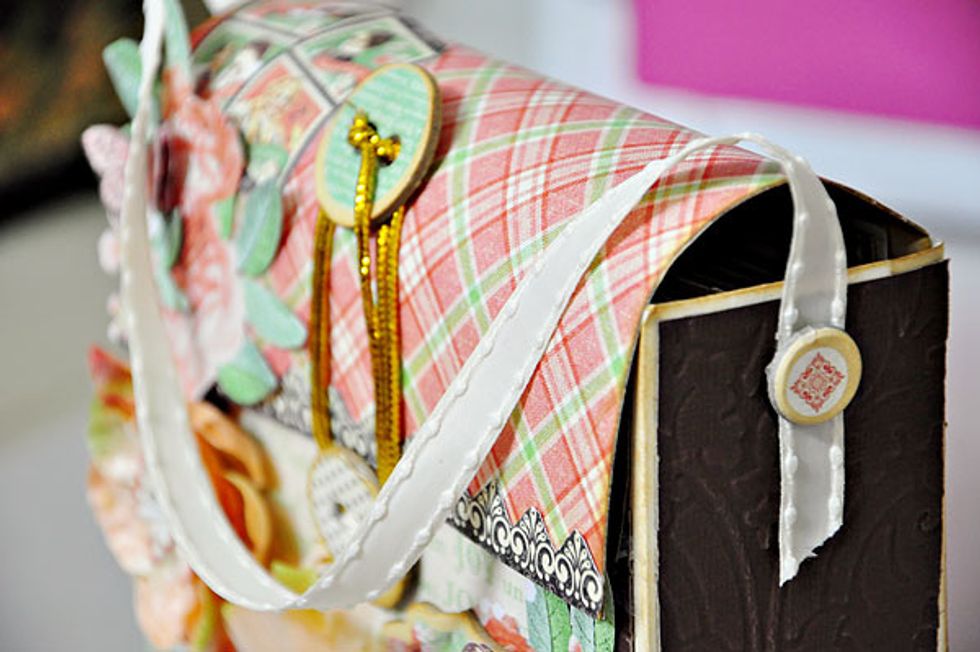
Make the bag handle with ribbon.
And here are pictures of the finished project....

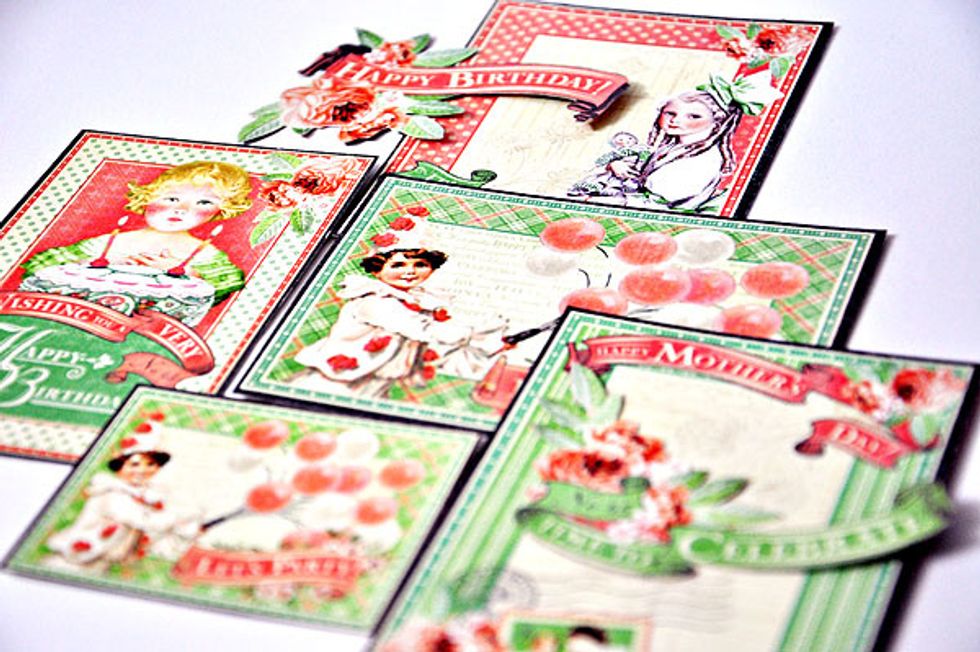
What the cards look like...
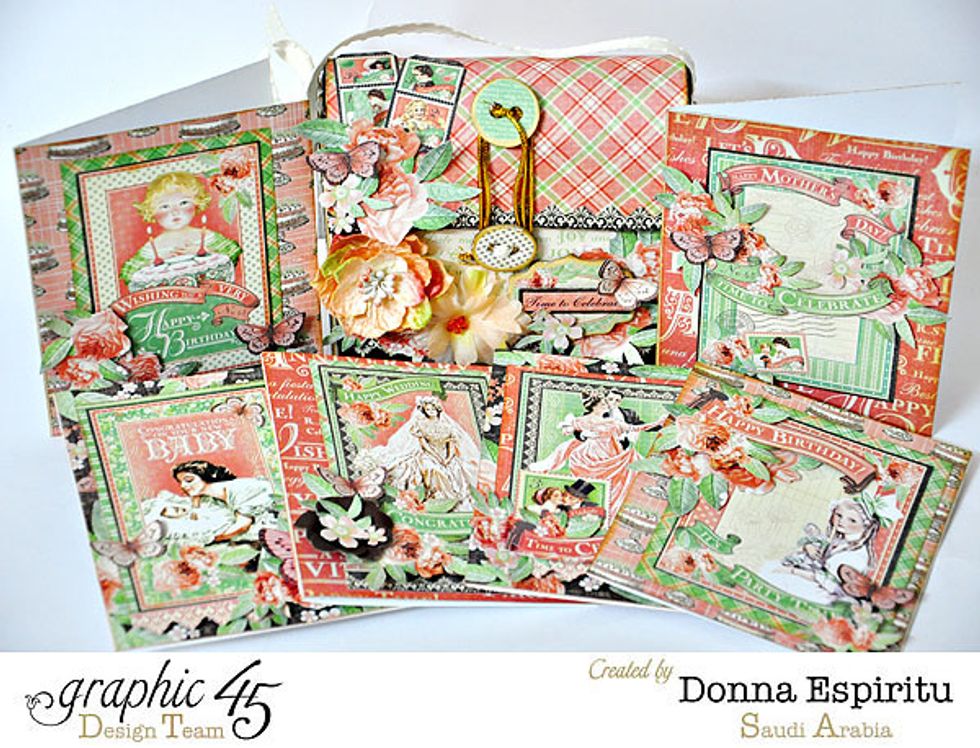
The rest of the cards.
Hope you liked it! Thanks for looking!