The Conversation (0)
Sign Up

Transform a cabinet door into a serving tray!
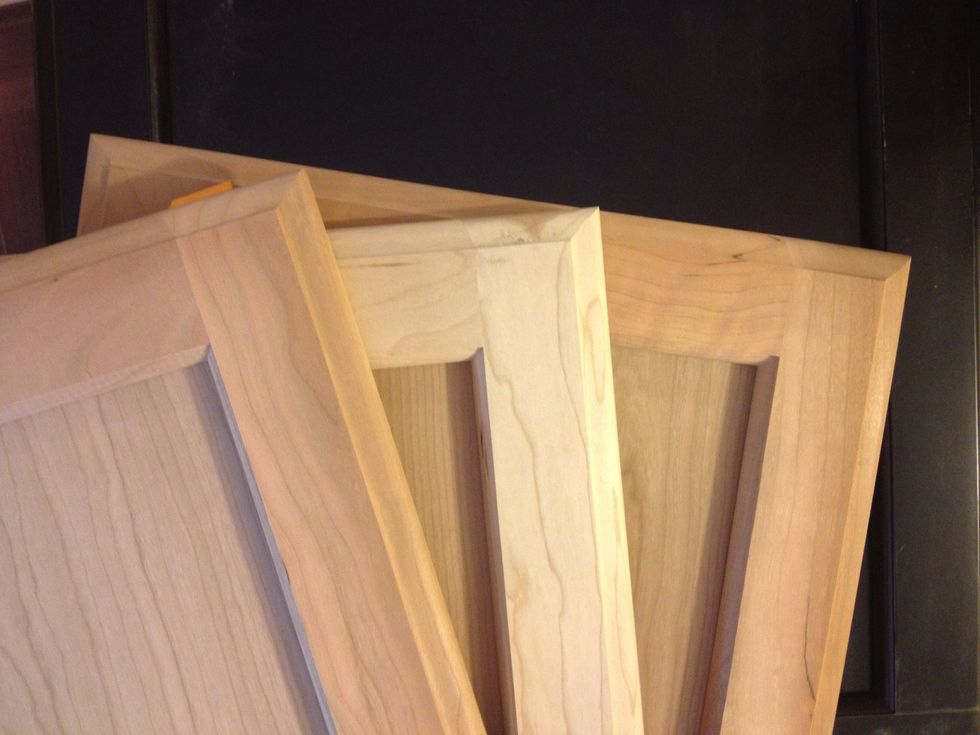
Choose your cabinet door. A flat/recessed panel door works best. 16x22 is a great size for a medium to large serving tray (and also a very common door size).
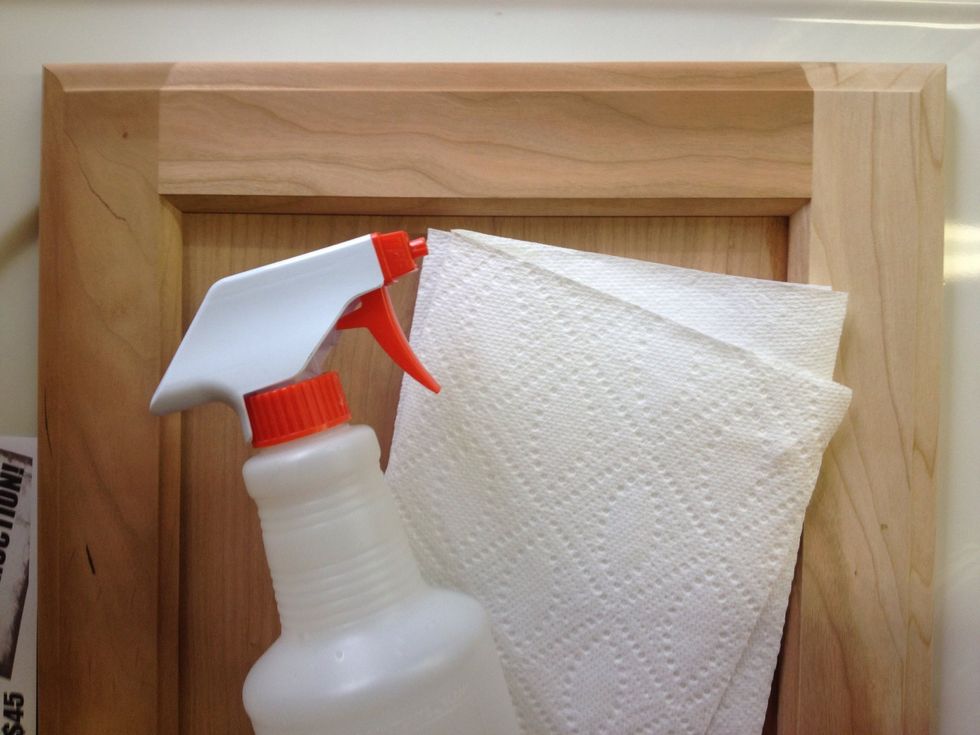
If using an unfinished door, "raise the grain" first by lightly spraying the wood with water, then quickly wiping away the excess water. Wait for the wood to air dry.
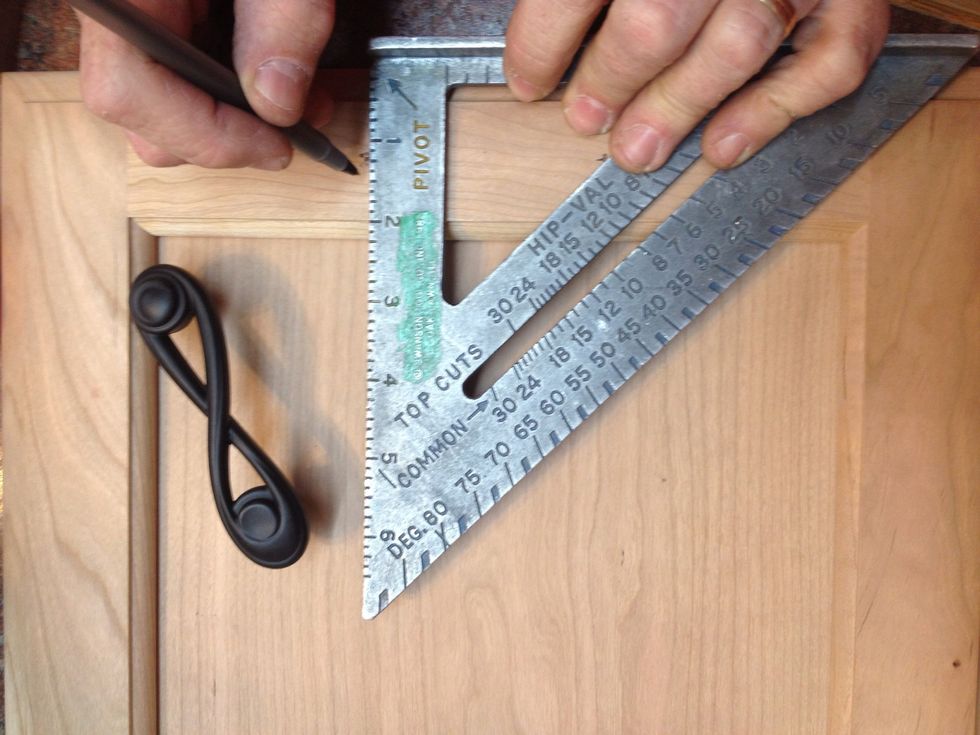
While you're waiting for the wood to dry and grain to raise, measure the holes for the handles & mark them.
To center your pulls, take the (length of door/2) - (hole spacing of handle/2) . This will give you the measurement of how far from the edge of the door each hole will be.
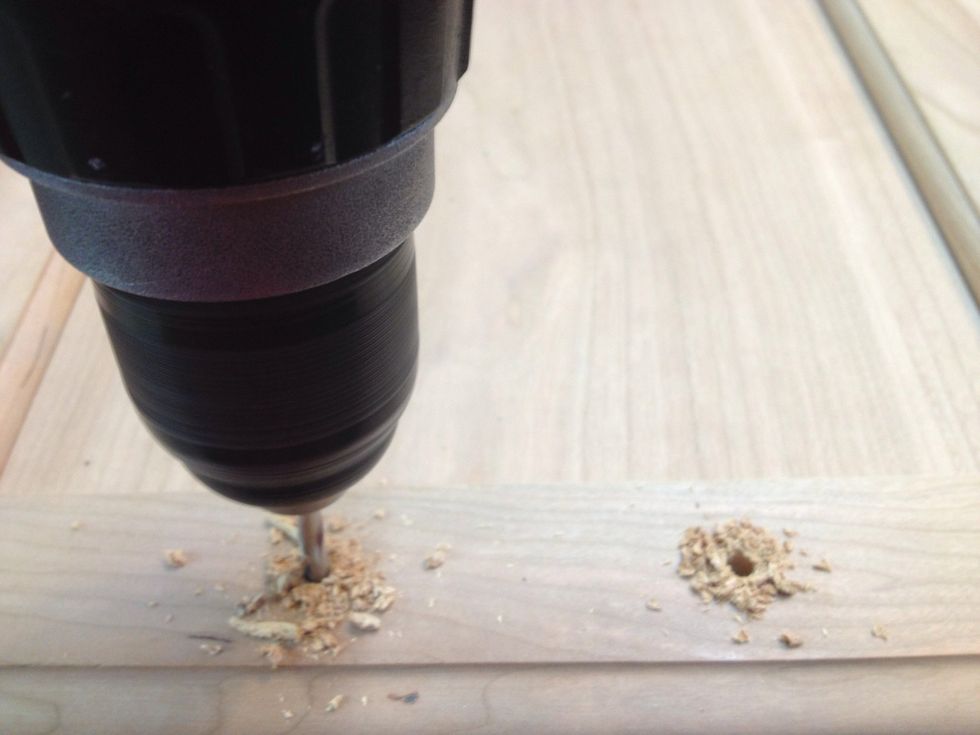
Drill holes. A 3/16" drill bit is the most common size for cabinet hardware.
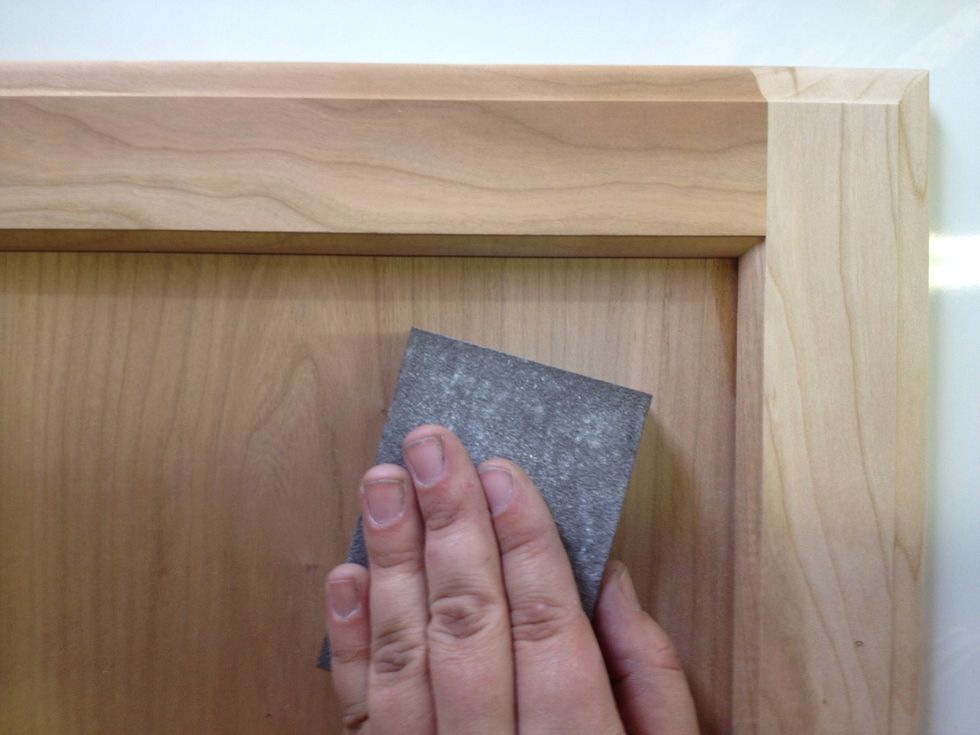
Sand the door with a med-fine to fine sanding sponge. Be sure to sand "with the grain."
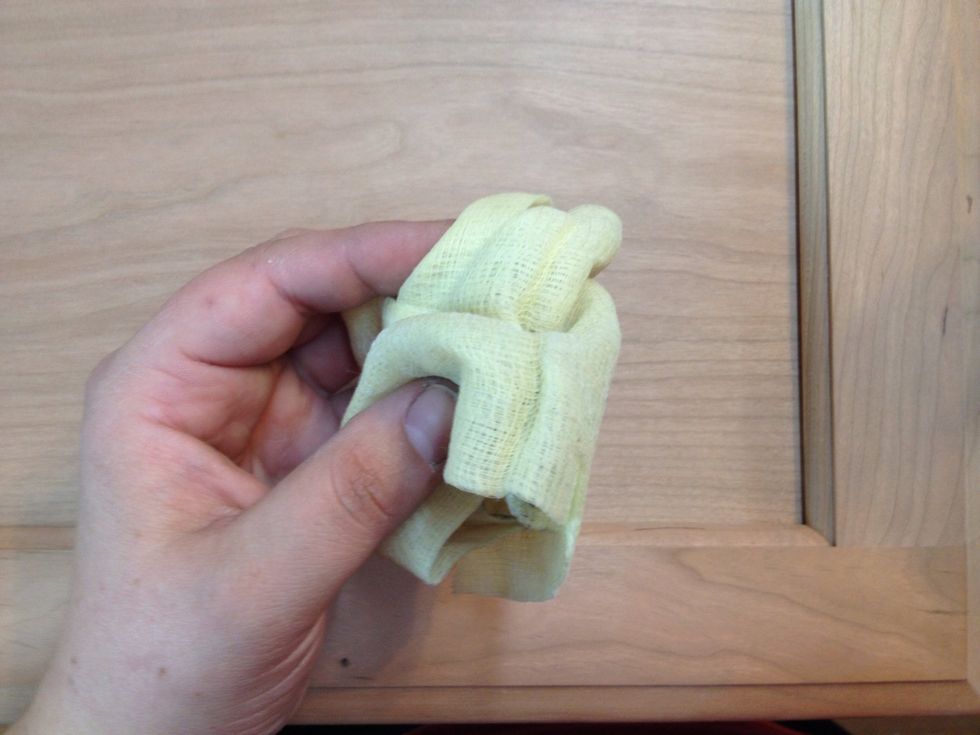
Remove all dust. An air compressor is great for removing dust. Go back over it with your tack cloth.
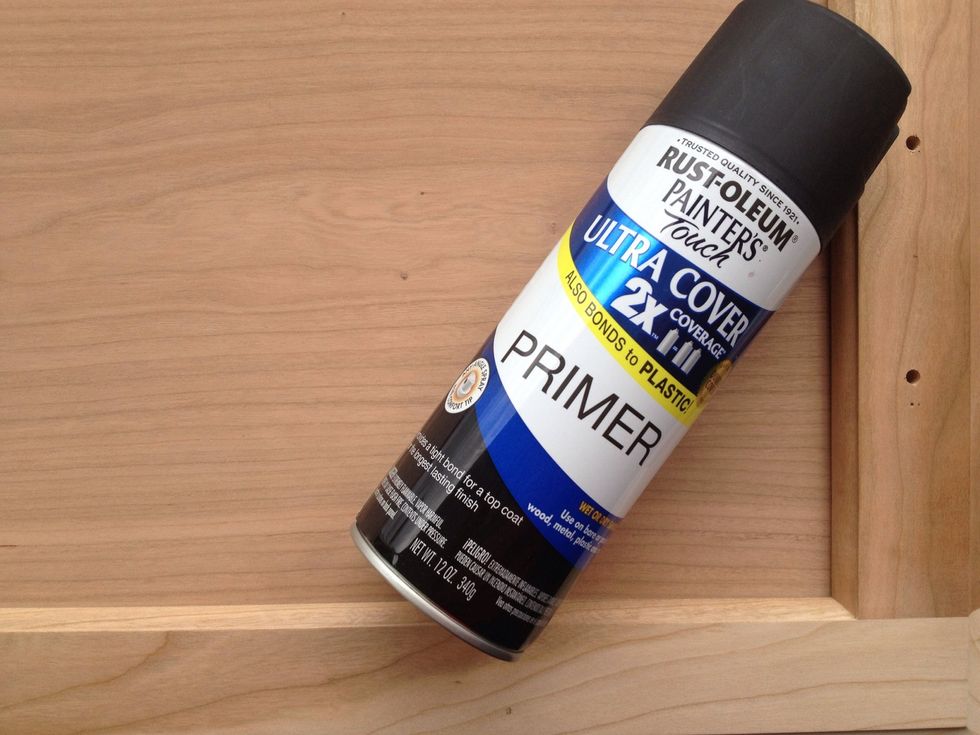
Now you're ready to prime! Recommended primers for finished and unfinished wood (all made by Rustoleum): Zinsser cover stain primer, Zinsser 1-2-3 primer, and Painter's Touch 2x primer (shown)
Tip: If you don't plan on distressing the finish, use a primer similar in color to your paint.
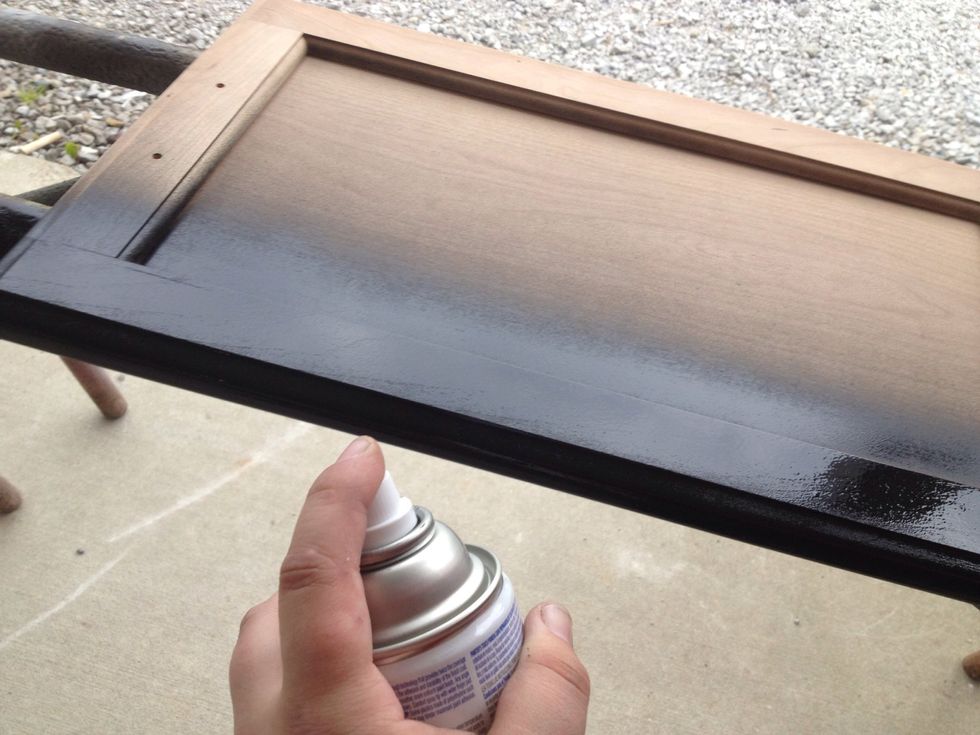
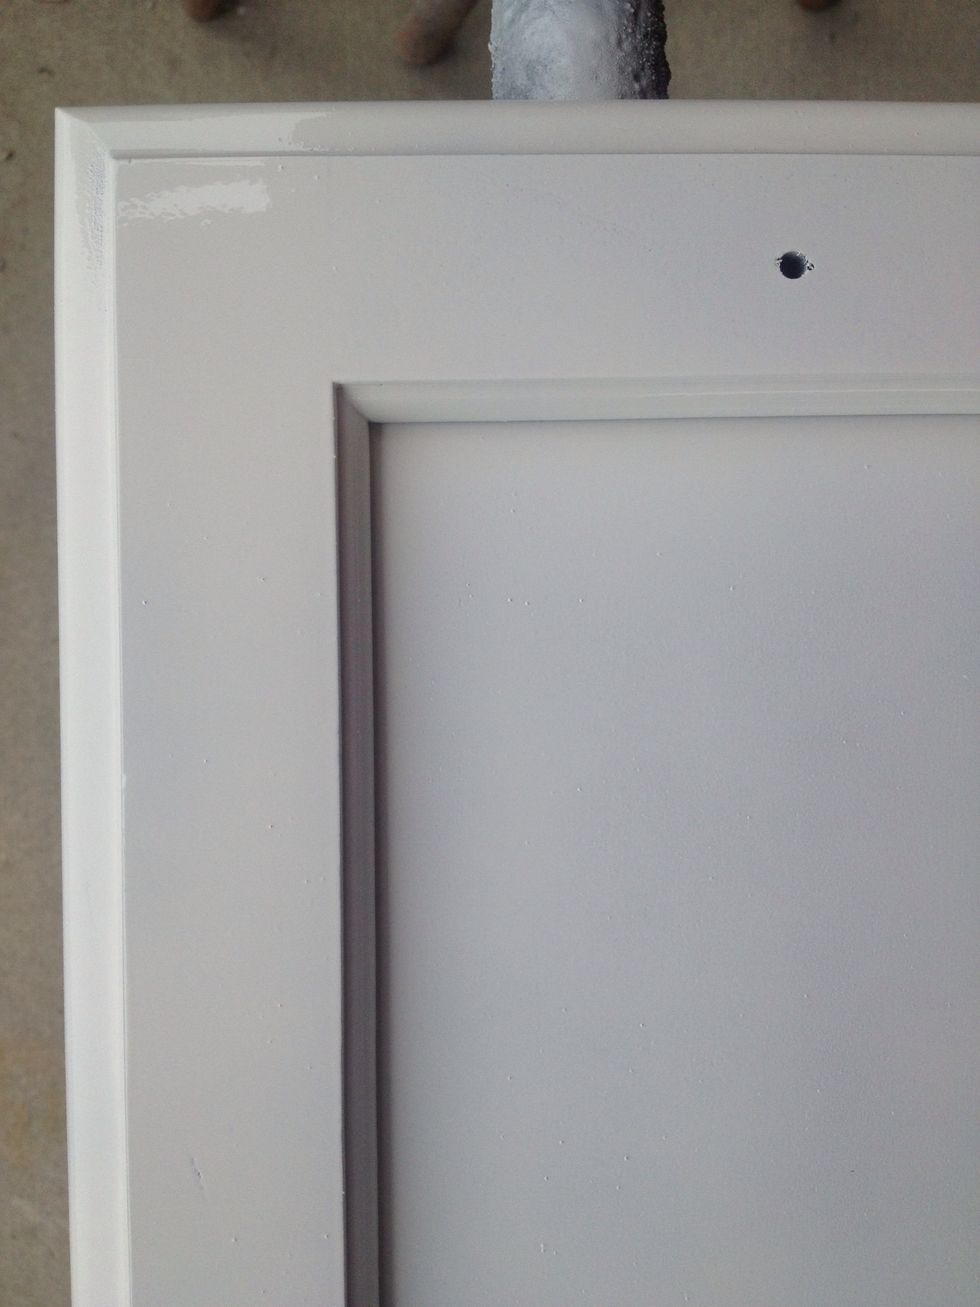
Apply primer. When spraying, walk completely around the door, painting one side at a time. This will ensure more full coverage. Tip: to avoid drips, leave the door flat & apply a light coat.
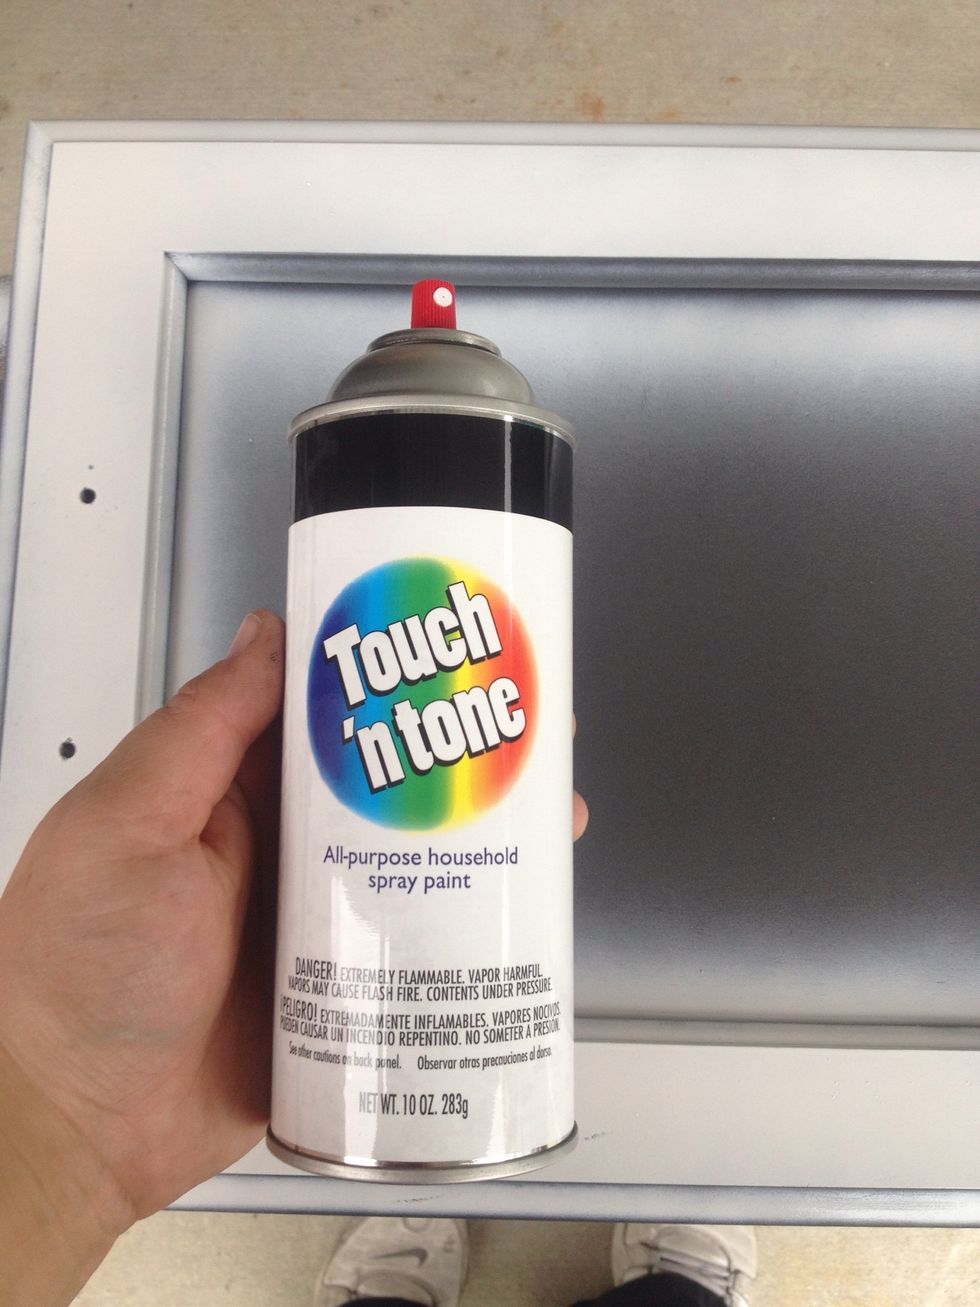
Now, apply paint. Touch n Tone is a good, affordable brand made by Rustoleum. This tray will be white, distressed to show black & natural cherry.
If using a dark primer and a lighter paint, you'll likely need 2 coats of paint. Make sure to let the paint dry between coats. Refer to instructions on can for recoat times.

To give the door an aged appearance, you can go back and sand the edges (as much or as little as you like). Distressing is a great way to hide flaws! "it's ok, it's distressed" is a rule I live by!
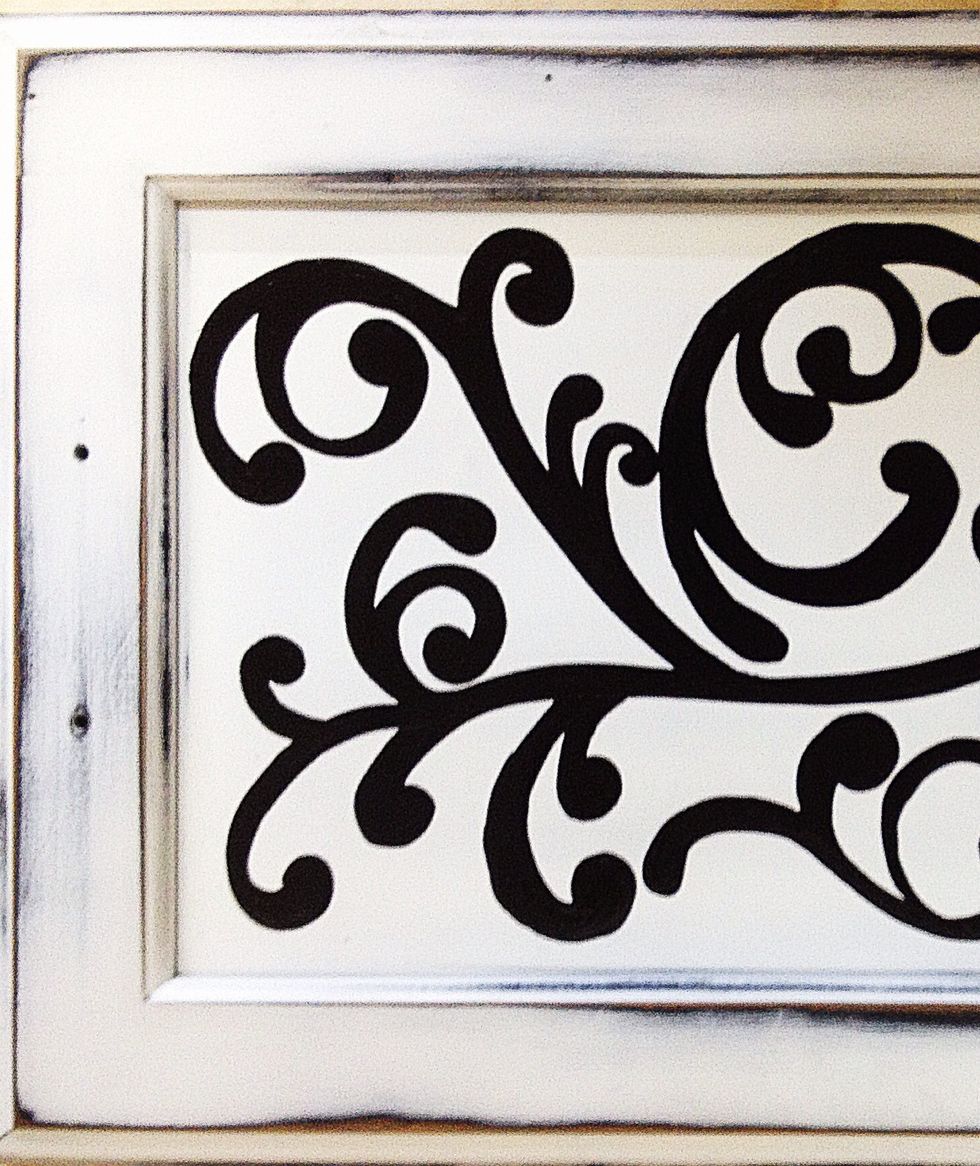
Next, I used a paint marker to draw a flourish design on the panel. Decorate the panel however you like - or leave it plain! Once finished, apply clearcoat according to the directions on the can.
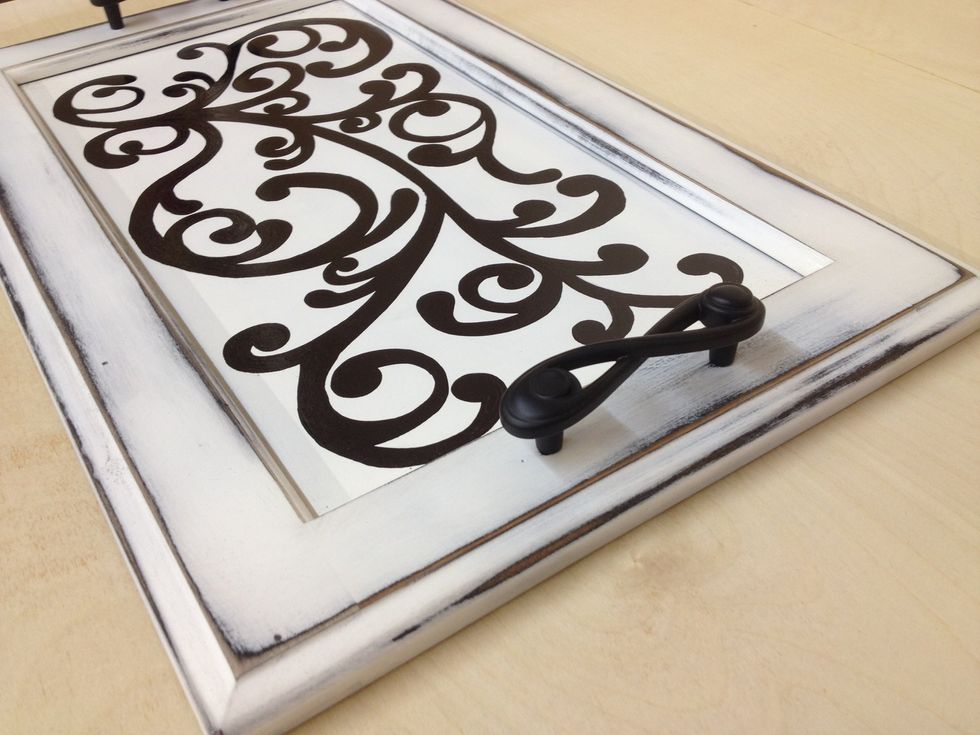
Screw handles onto tray & apply bumpers or felt dots onto the bottom to prevent the tray from scratching the surface beneath.
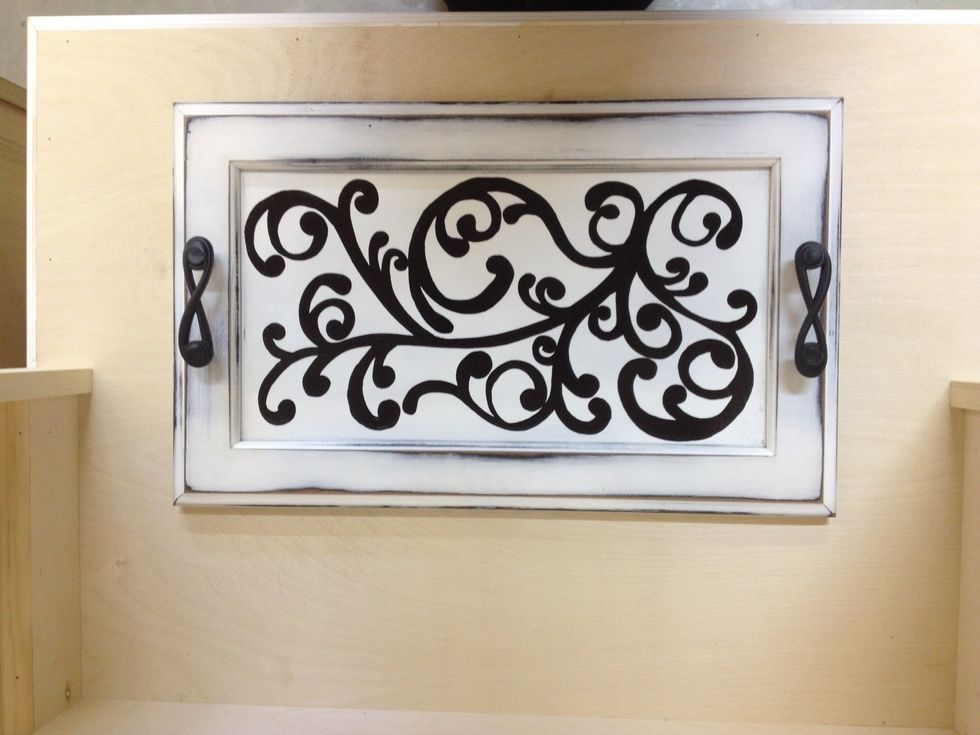
...and...you're finished!