The Conversation (0)
Sign Up
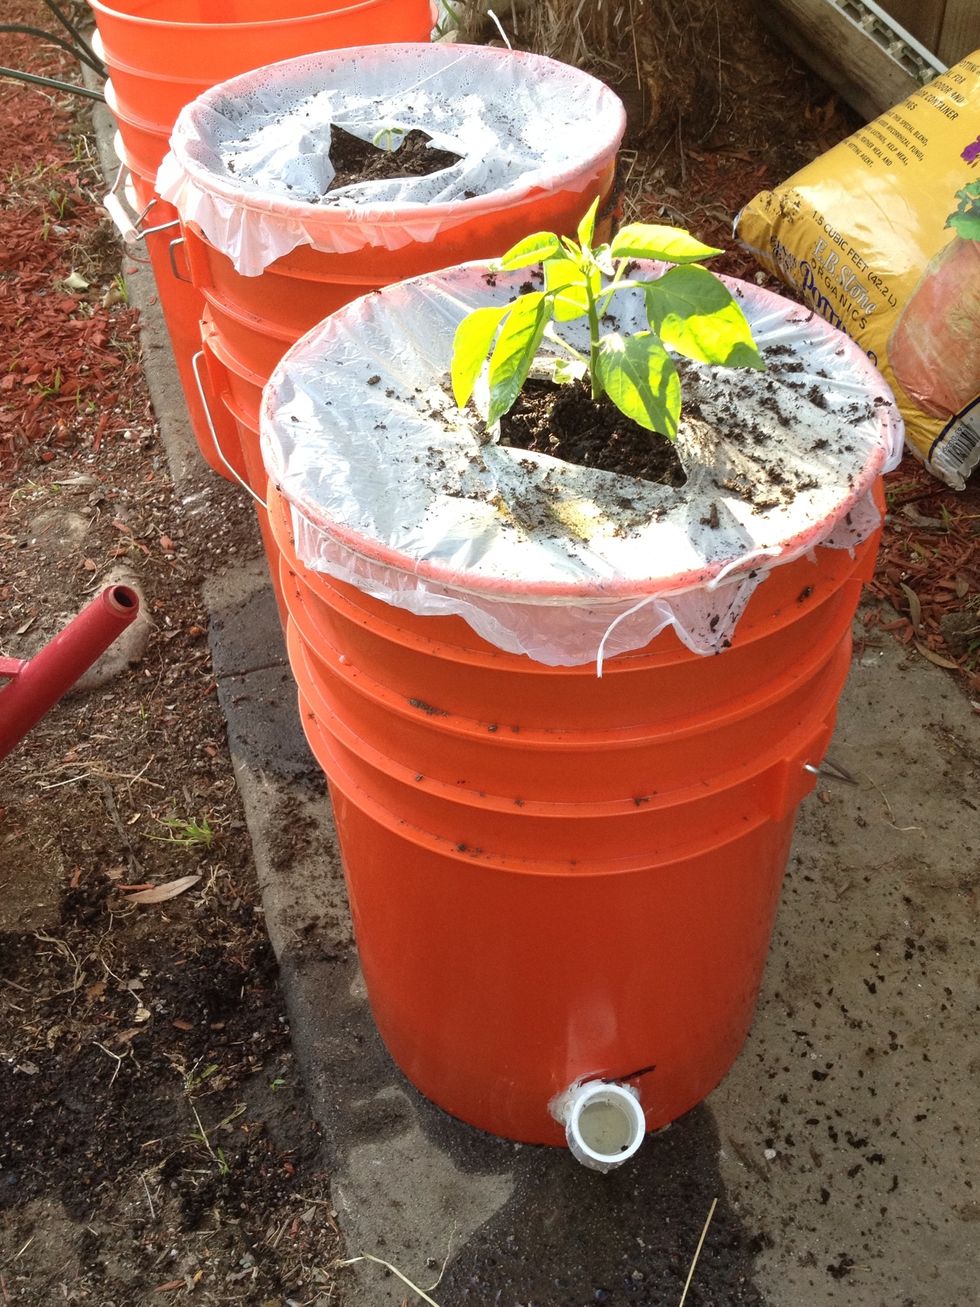
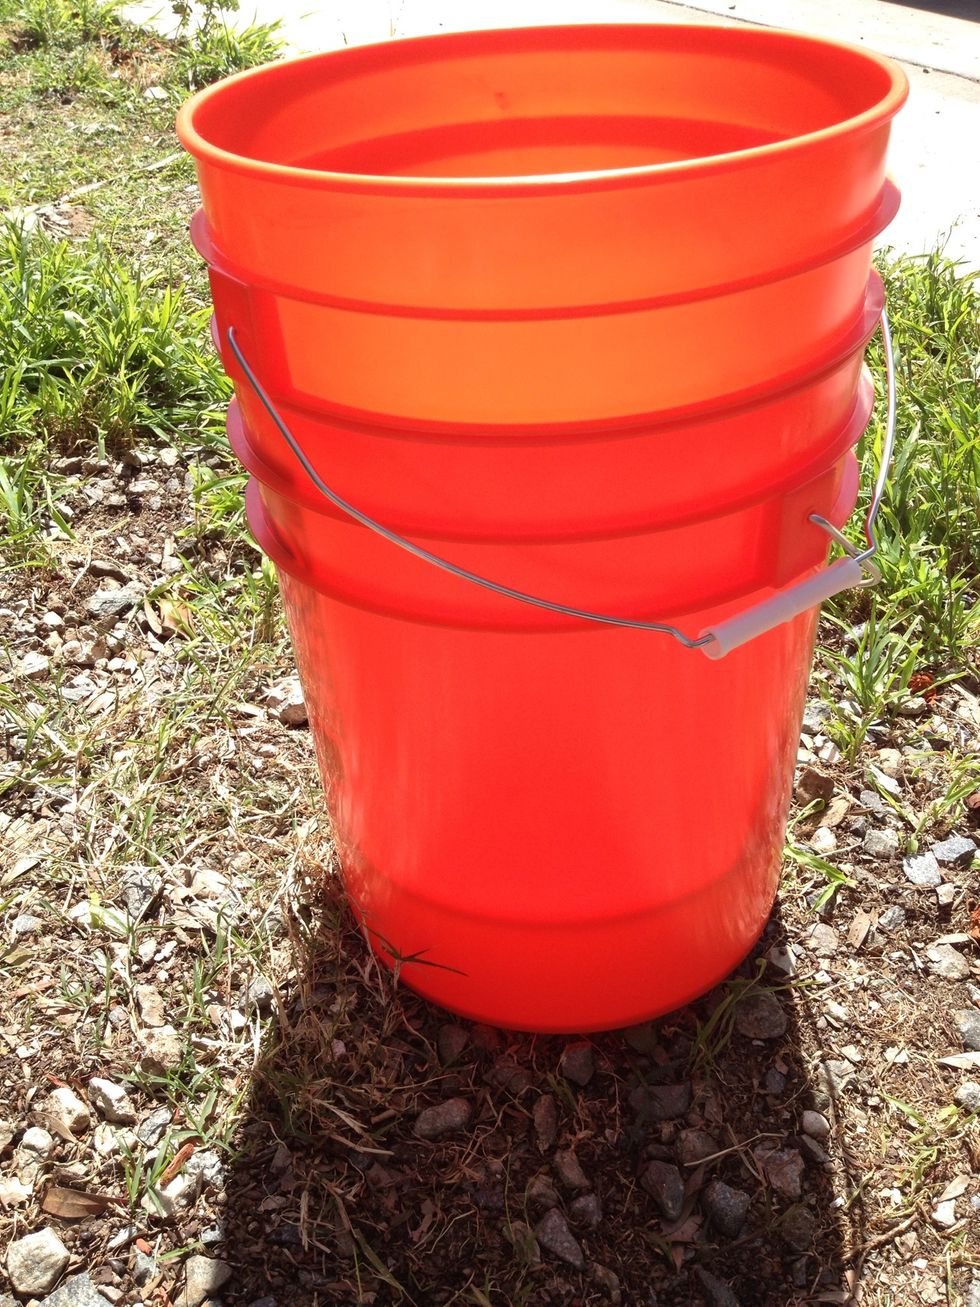
This is what you will be making. It is a self watering container made with 2 5-gallon plastic buckets.
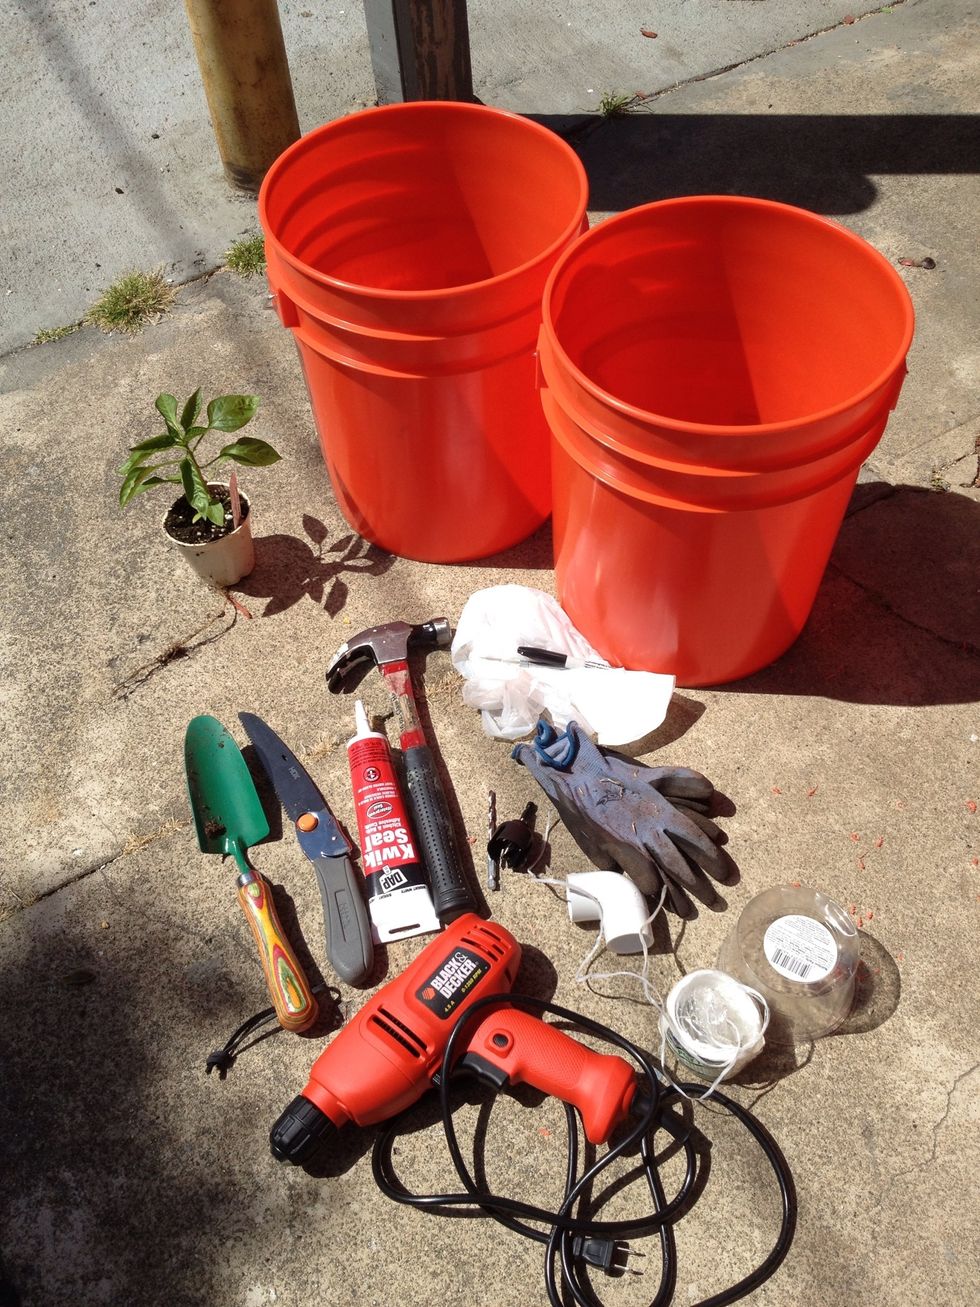
These are the tools and supplies that you will need to create your container. (Refer to supply list.)
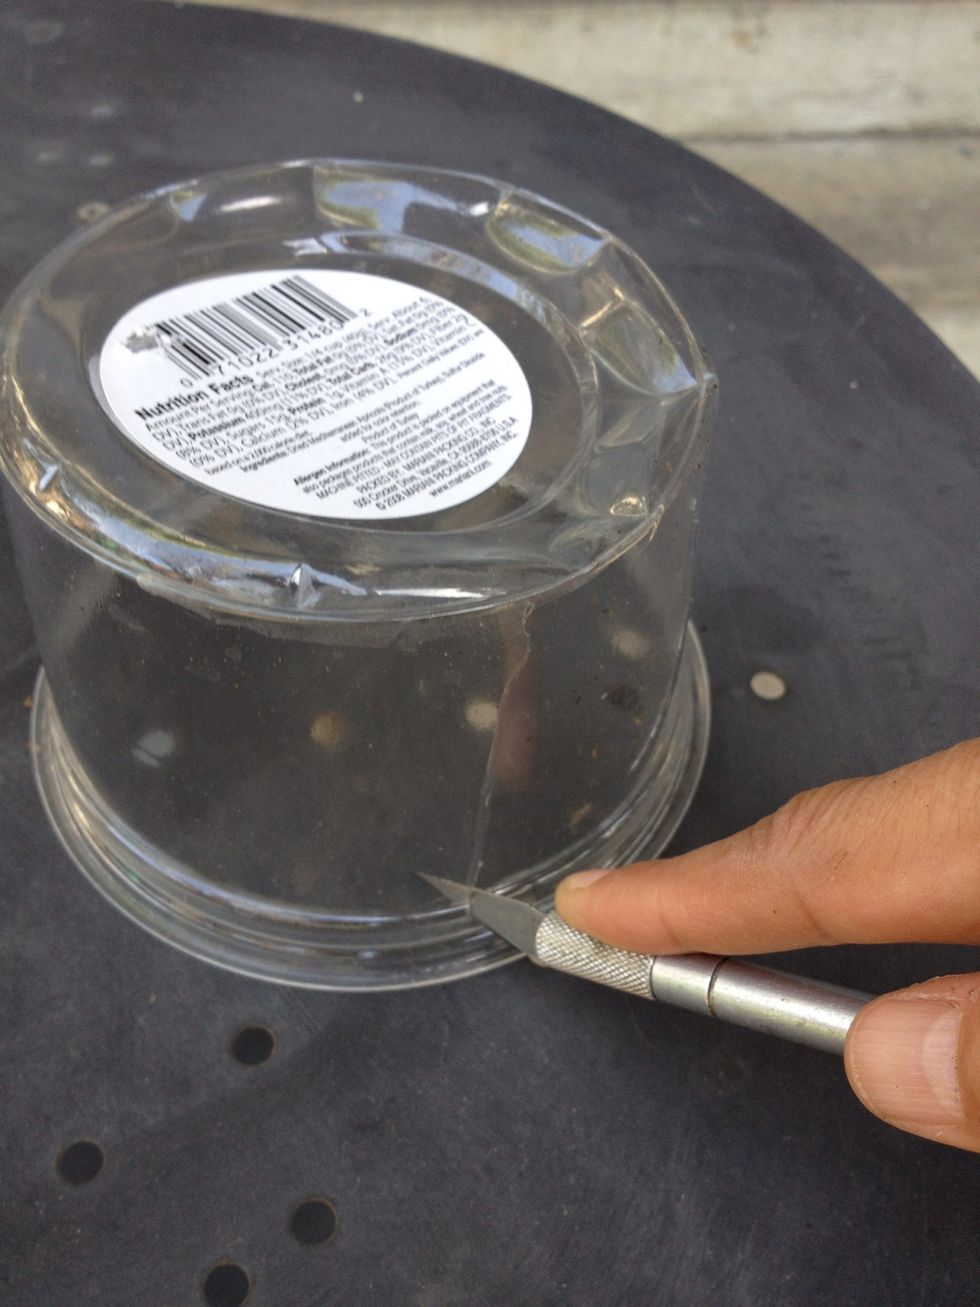
Cut slits into the sides and bottom of your plastic deli container. You can also drill several 1/4 inch holes all around it if you find that easier to do.
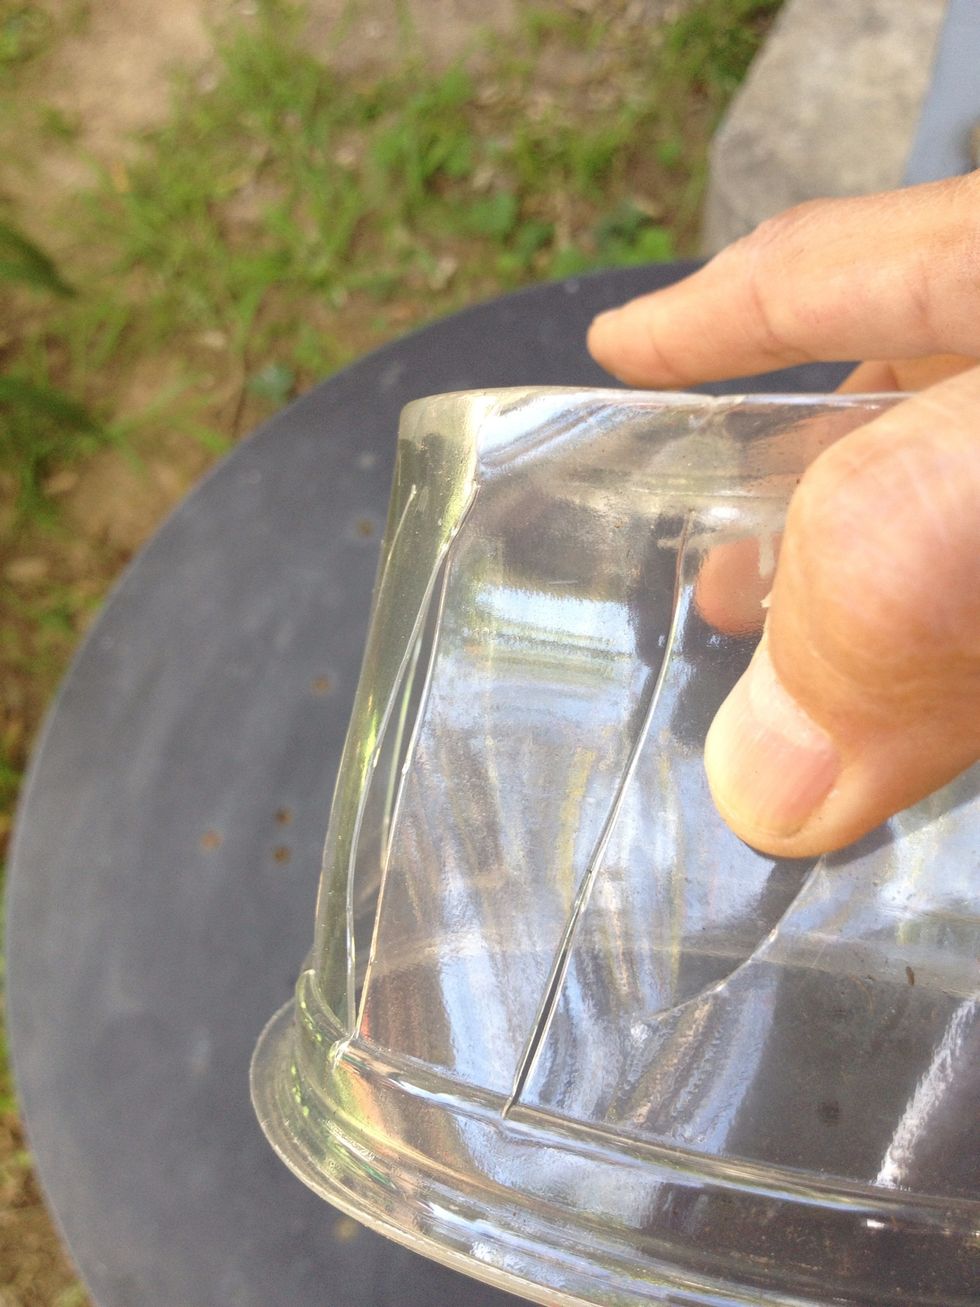
The deli container will become your water wick. (More on this later.)

Temporarily place the empty deli container at the bottom of one bucket.
Now insert the second bucket on top of the deli container.

Against the light you will be able to see where the first bucket stops. Place a mark there.
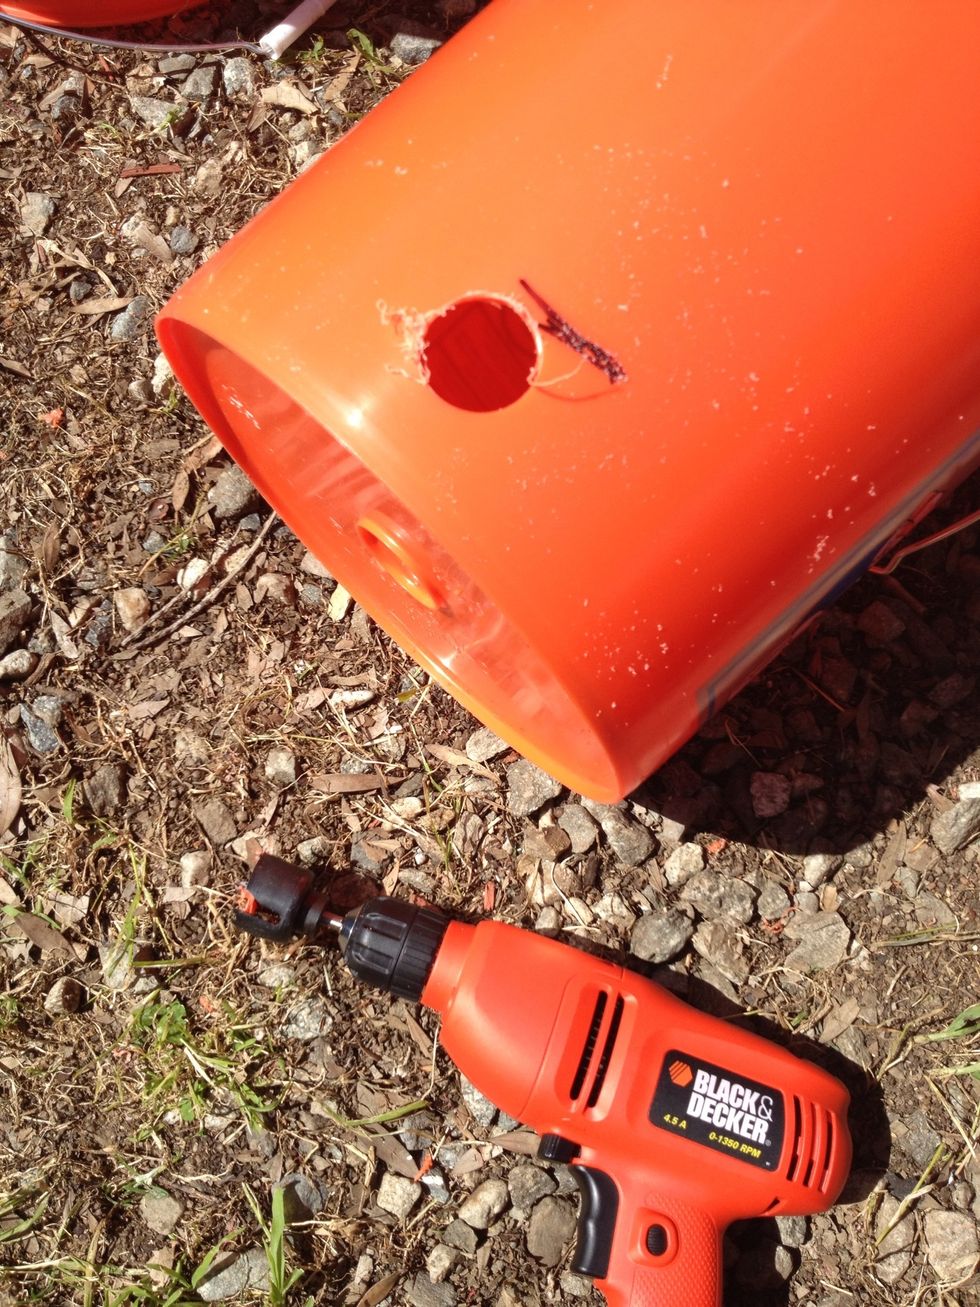
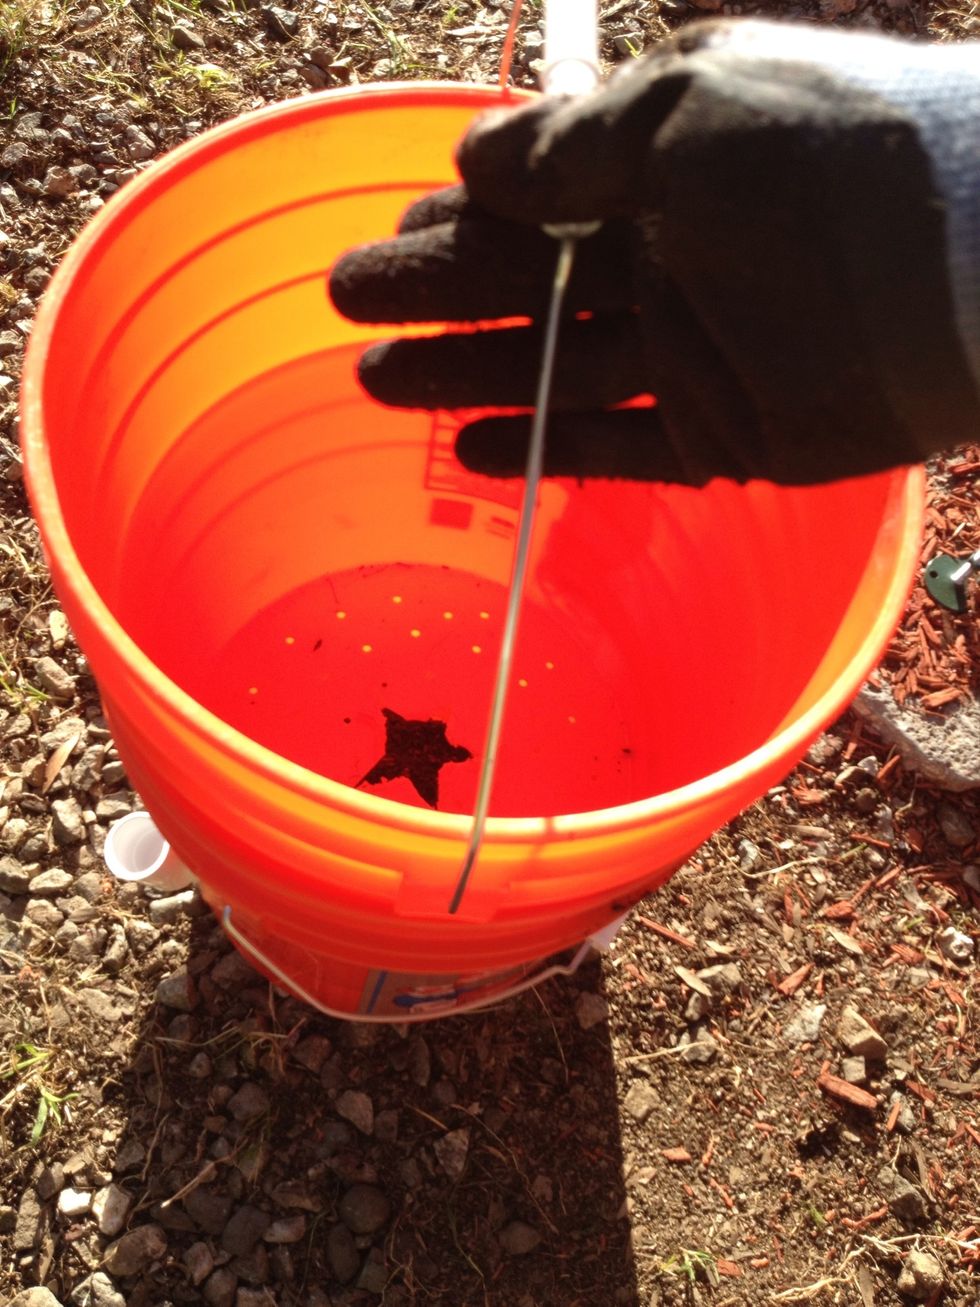
Drill a 1 1/2 inch hole just below this mark.

Insert one end of the elbow into the hole.
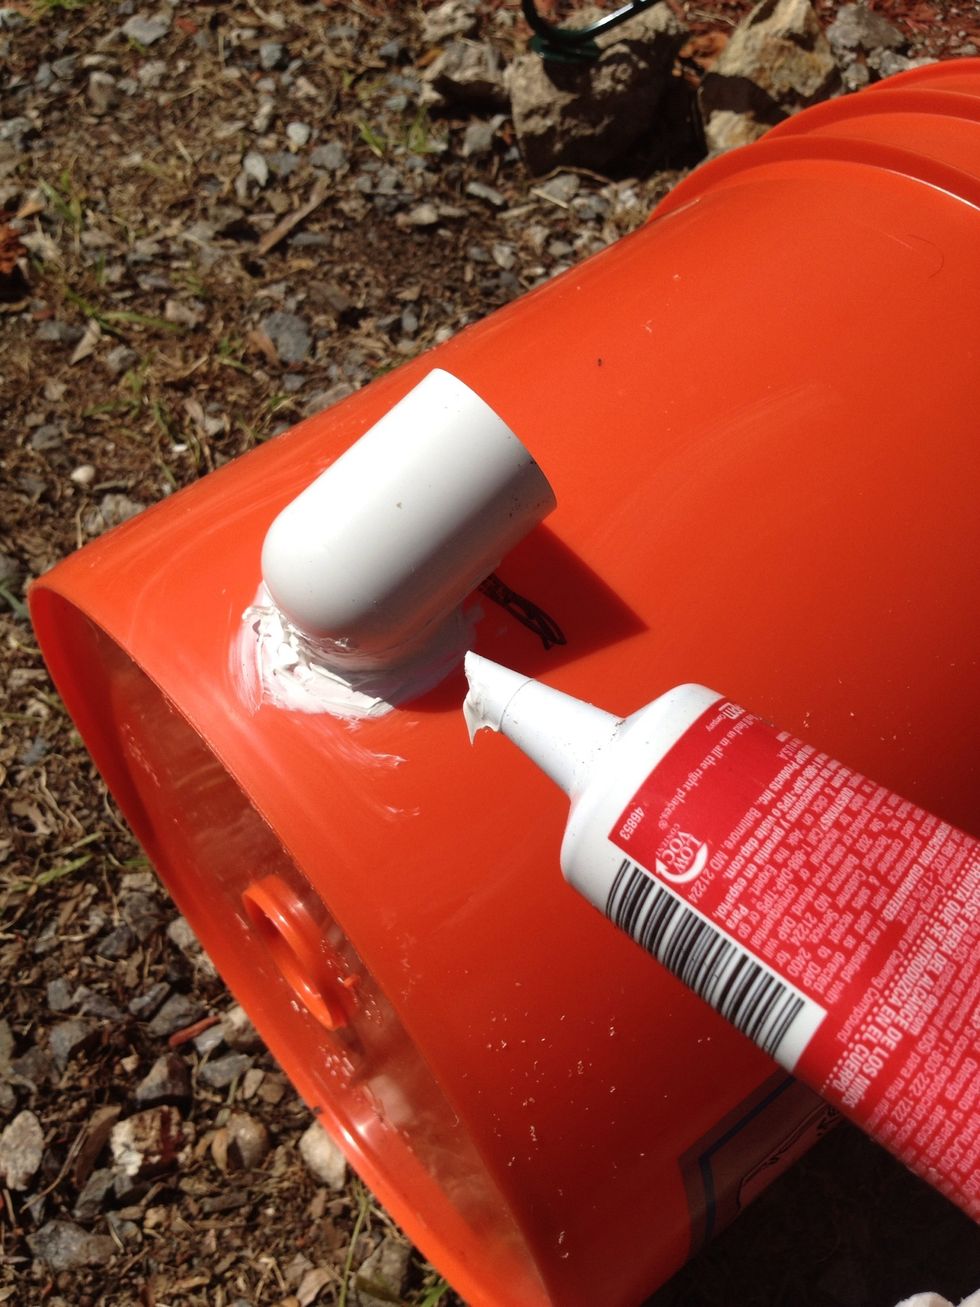
Seal around the edges with waterproof plumber's caulk. Set this aside and let it dry. It could take about two hours to dry depending upon the weather.
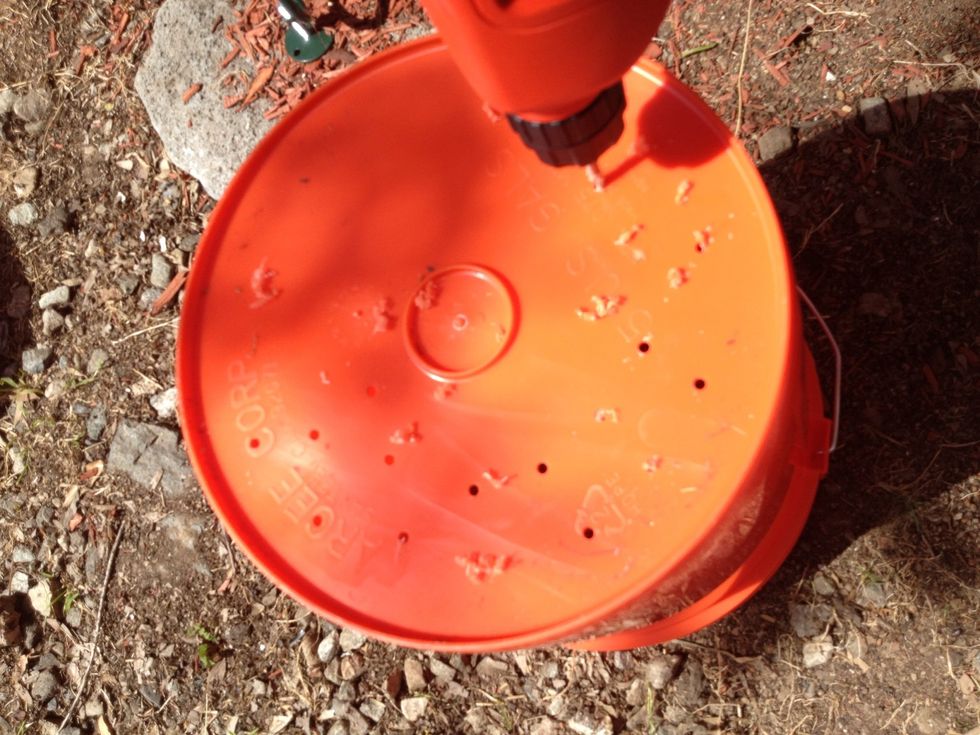
While the first bucket is drying, drill several quarter-inch holes into the bottom of the second bucket.

Cut a larger hole about 3 1/2 inches wide into the center of the same bucket. Circle cutters this large for your drill are expensive so I just used a small saw to cut the opening.
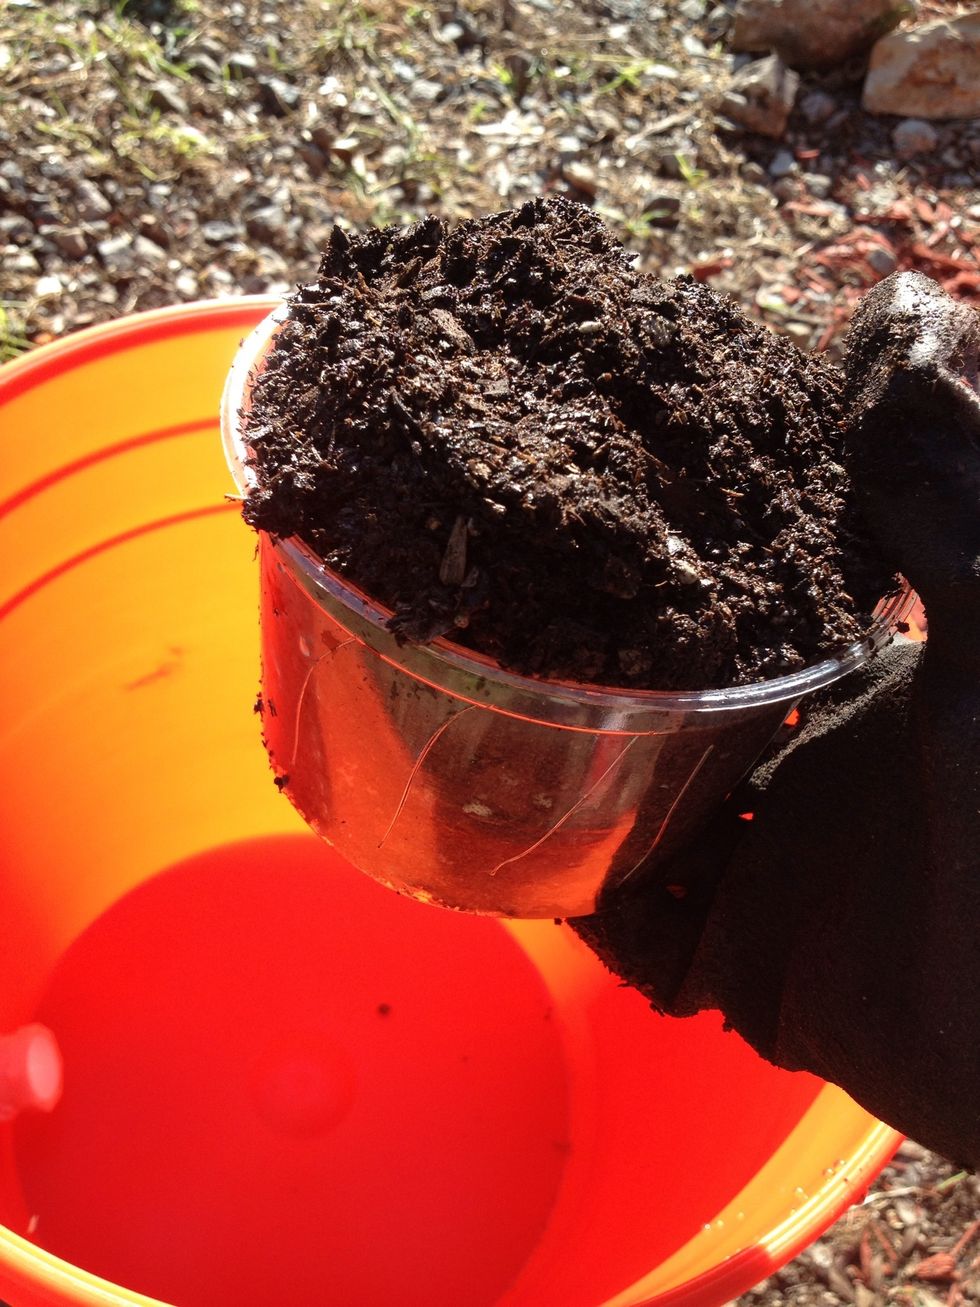
After the first bucket has dried, fill the deli container with very moist potting soil. It should bulge out a bit. The wet soil will help move the water up from the bottom bucket to the top.

Place the deli container top side up directly in the bottom center of the bucket.
Insert the bucket with the holes into the first bucket on top of the deli container.
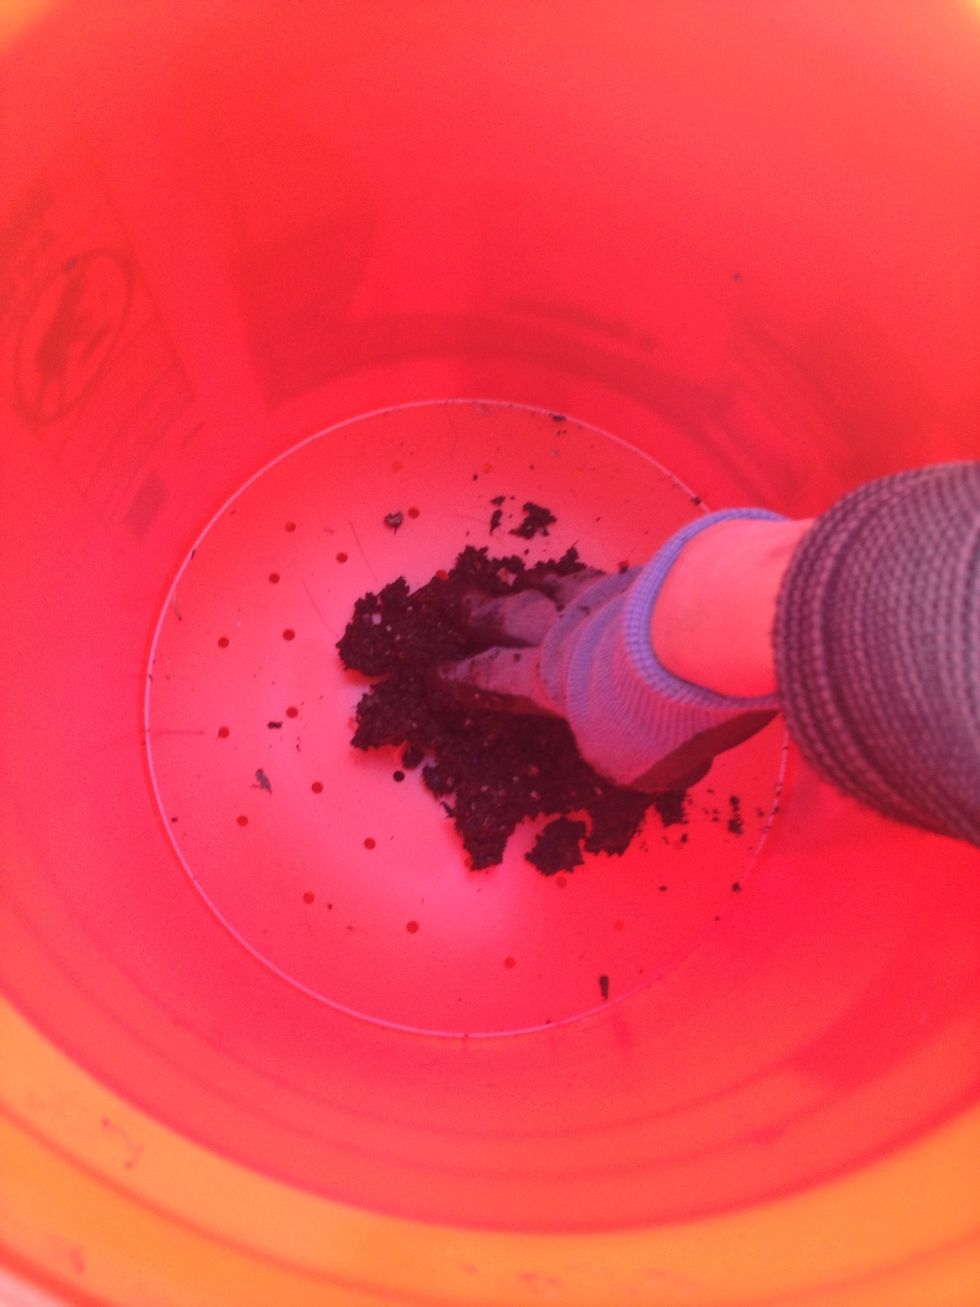
Cover the hole at the bottom with more moist potting soil.

Fill the bucket with potting soil until you reach 2 to 3 inches from the top rim. Then add a layer of a dolomite.
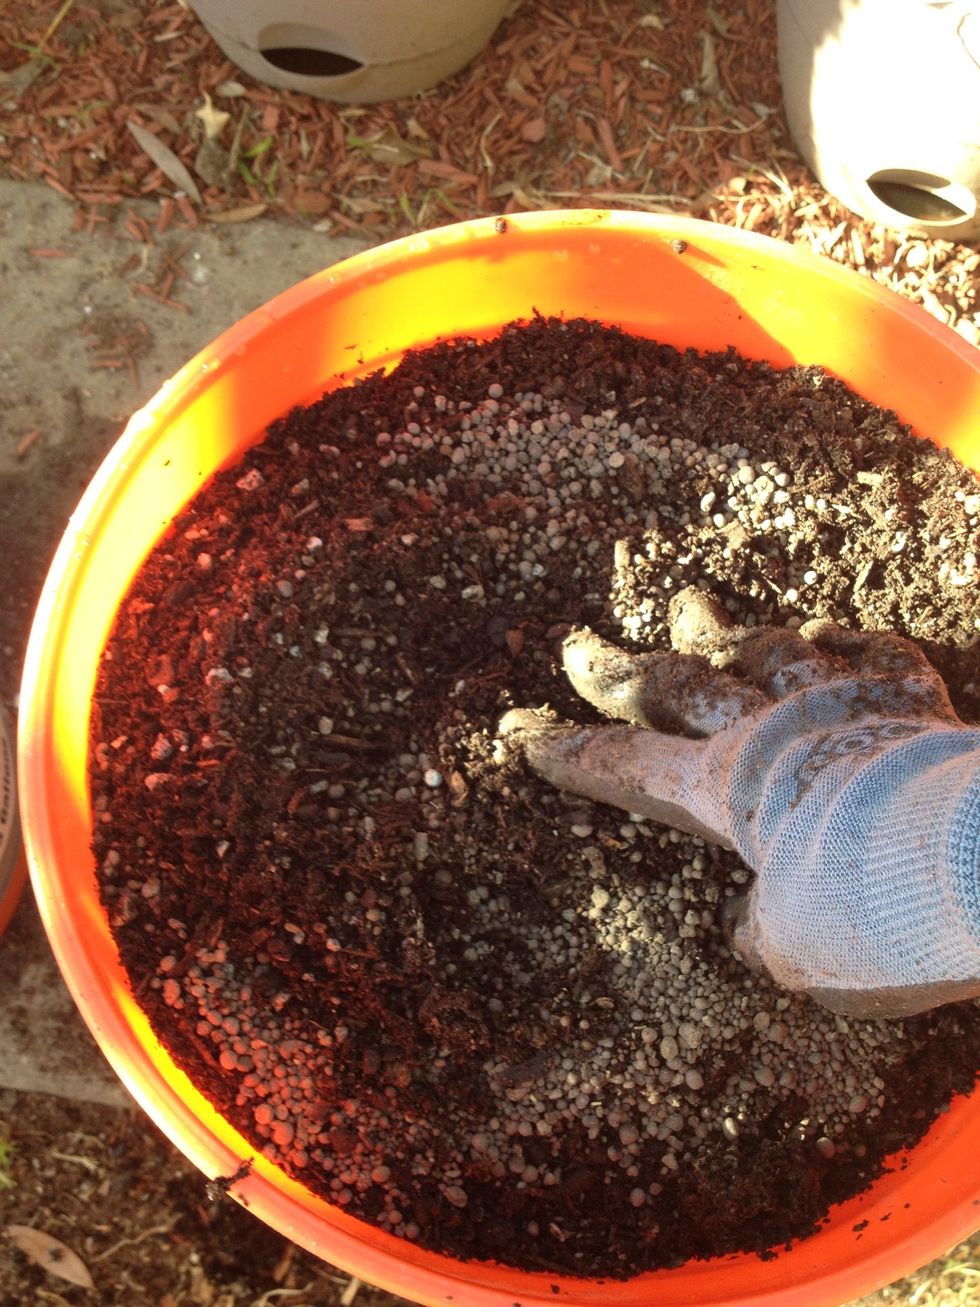
After adding the dolomite, mix it well with the top layers of the soil.
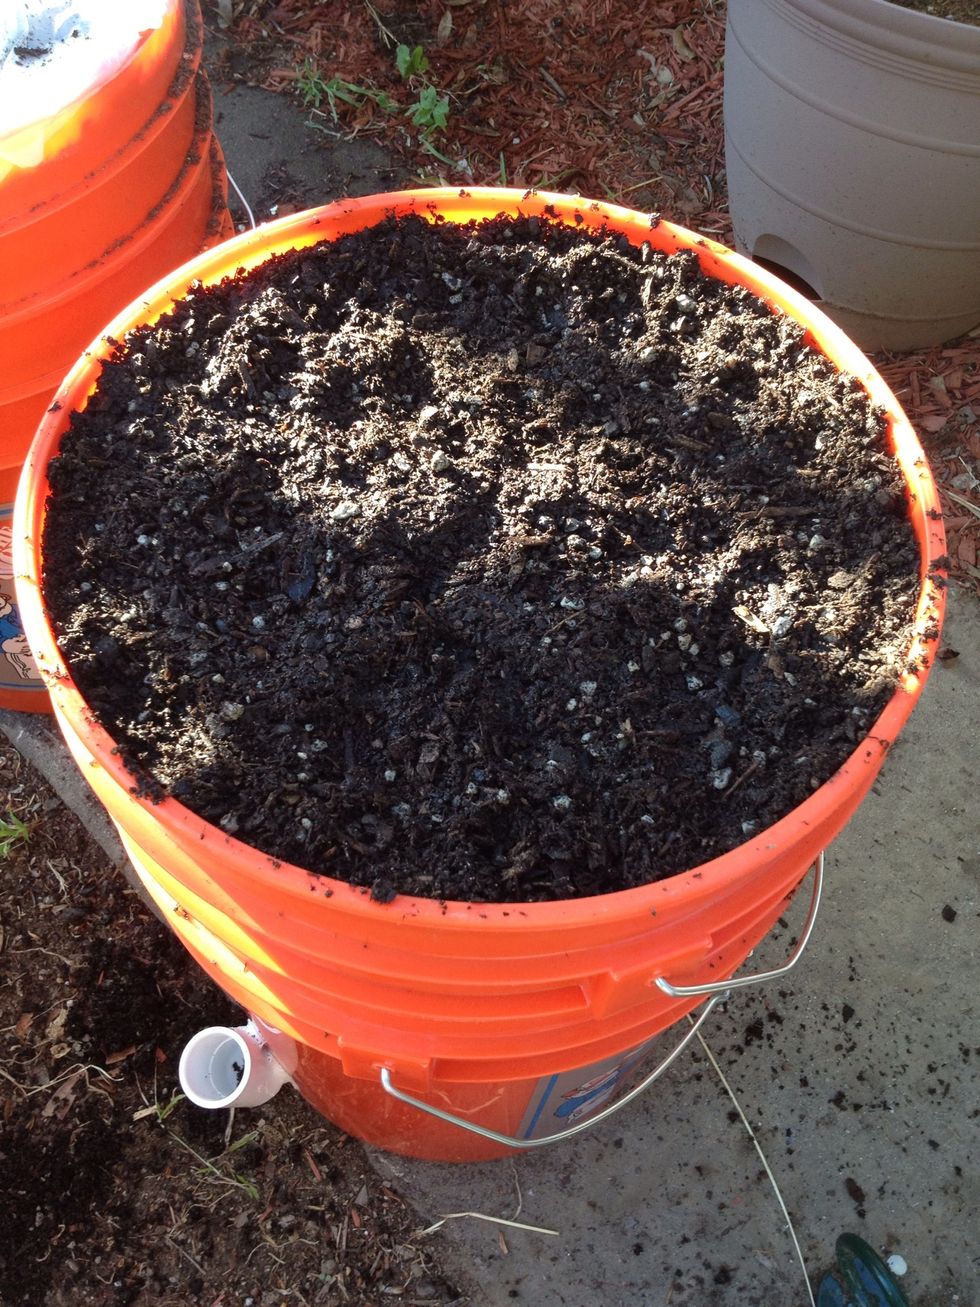
Continue filling with soil all the way up to the rim.
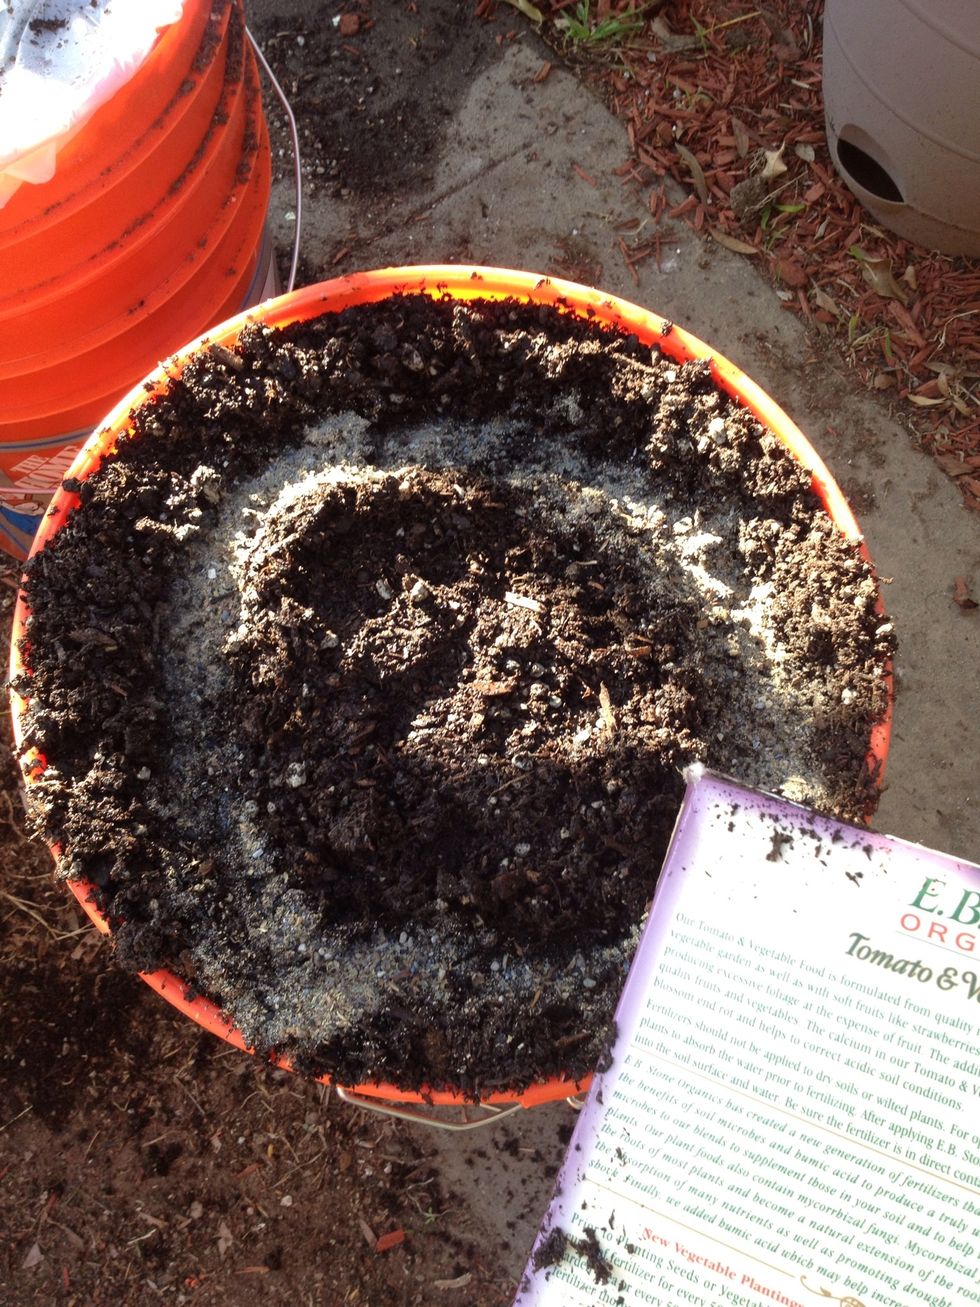
Dig a trench around the edge of the bucket and fill with fertilizer. Cover the fertilizer with soil.
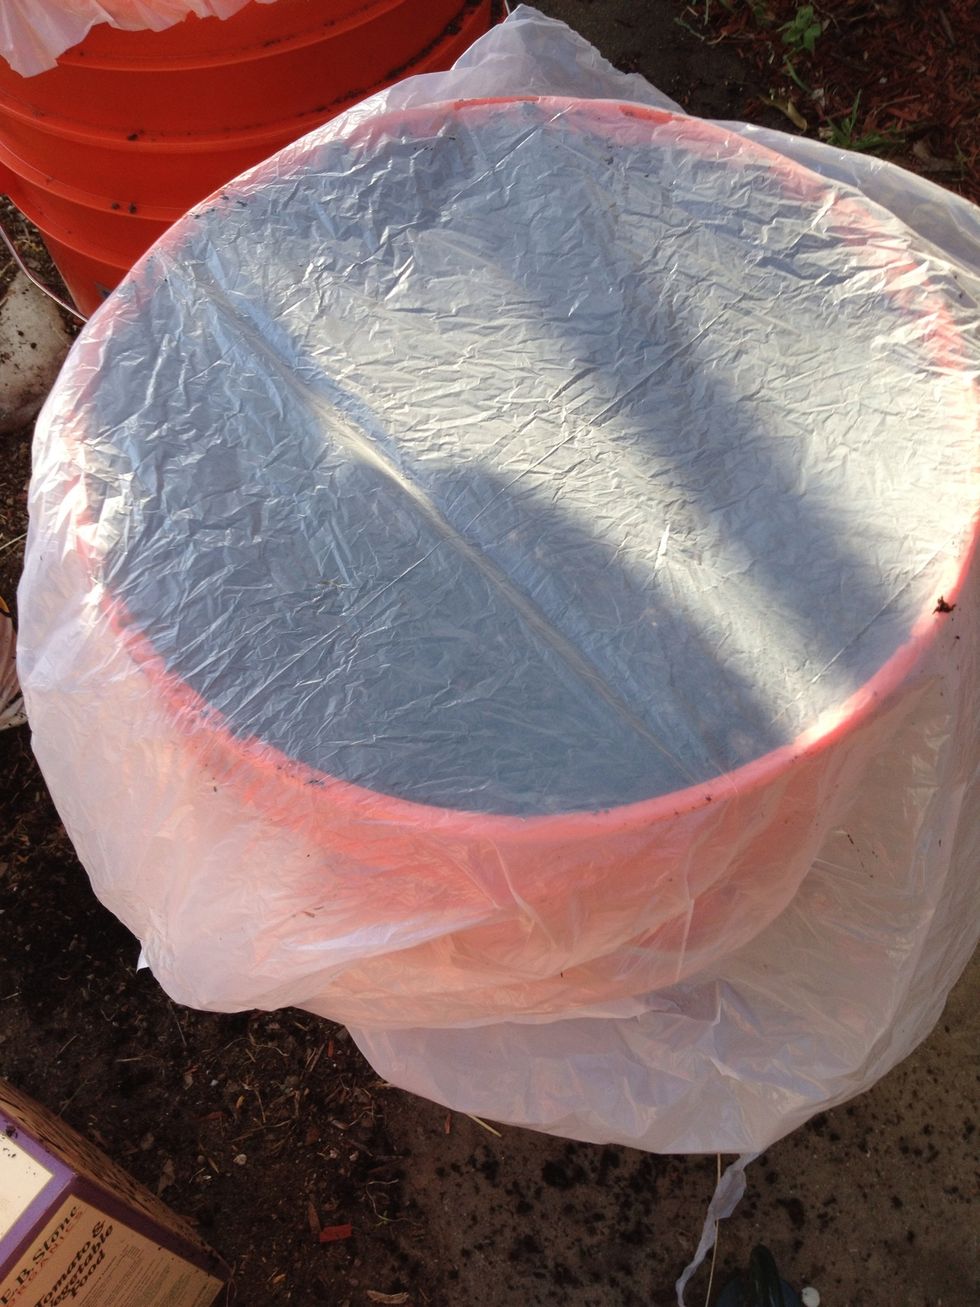
Cover the top of the bucket with a sheet of white plastic. A waste paper bag works well.
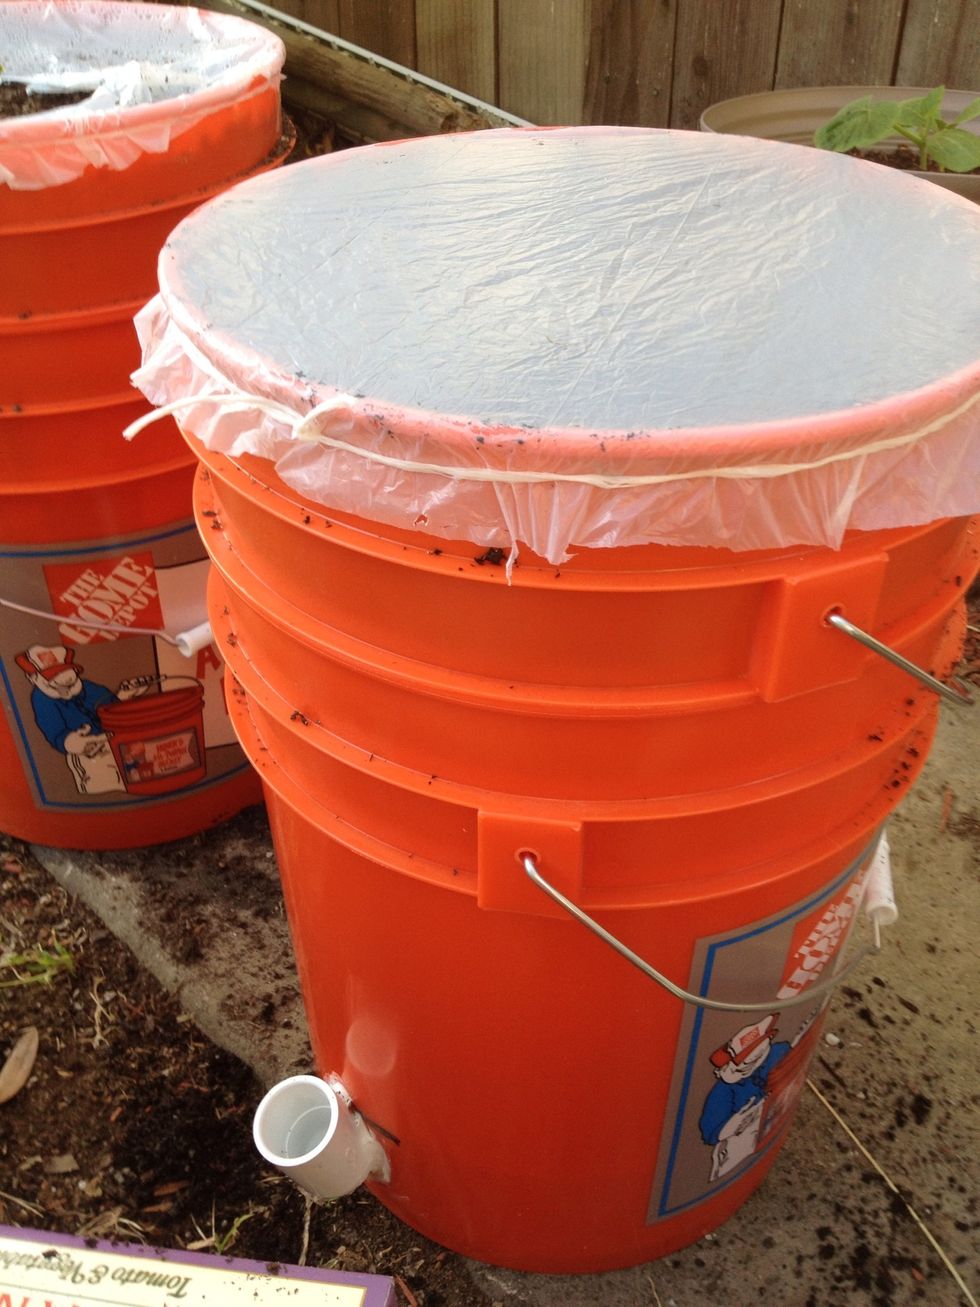
Tie some twine around the rim of the bucket to keep the plastic in place. Trim off the excess plastic.
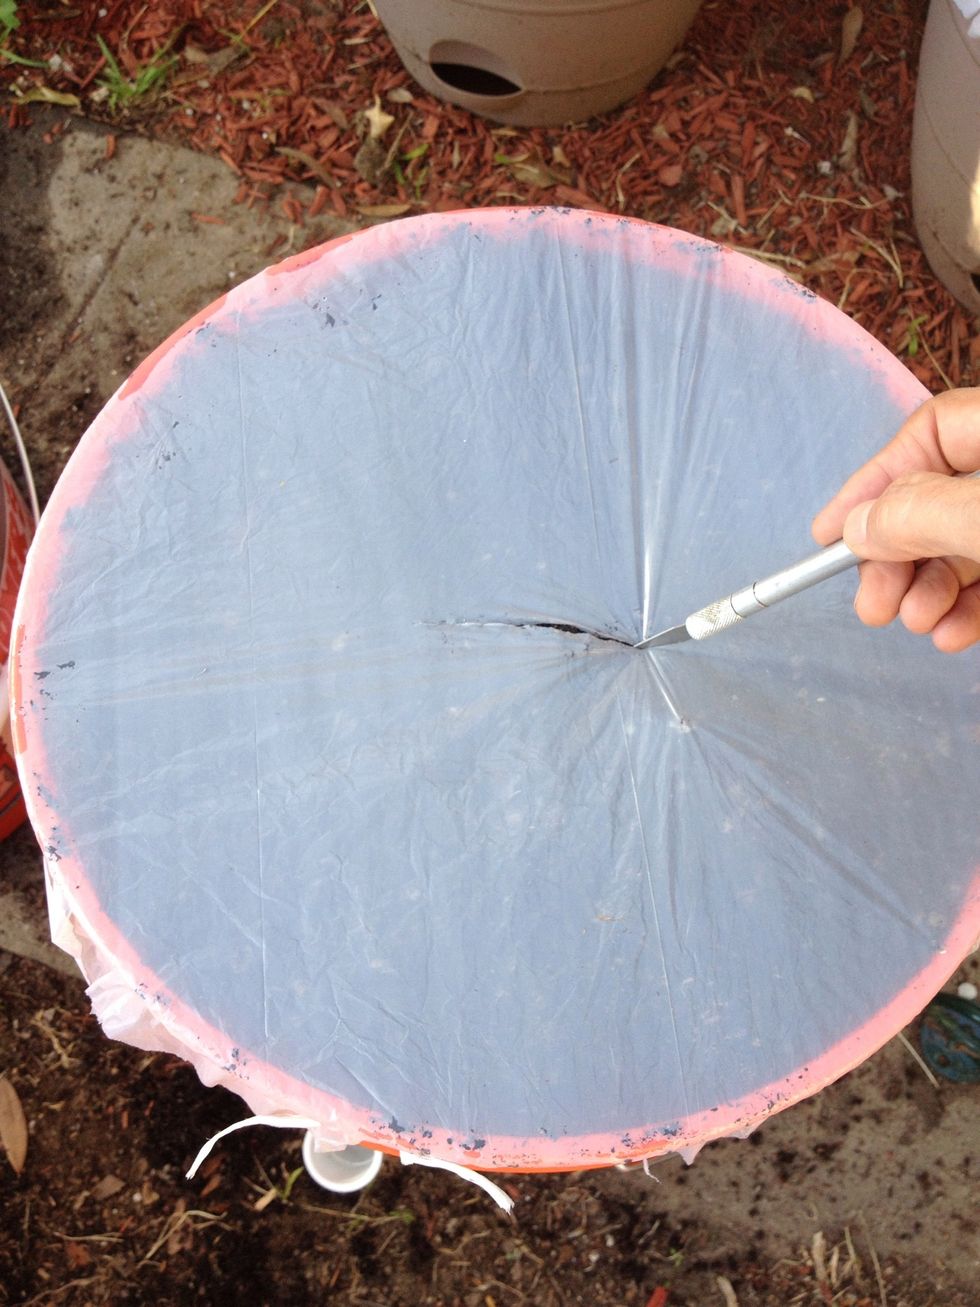
Slice an "x" into the top center of the plastic. This is the opening for your plant.
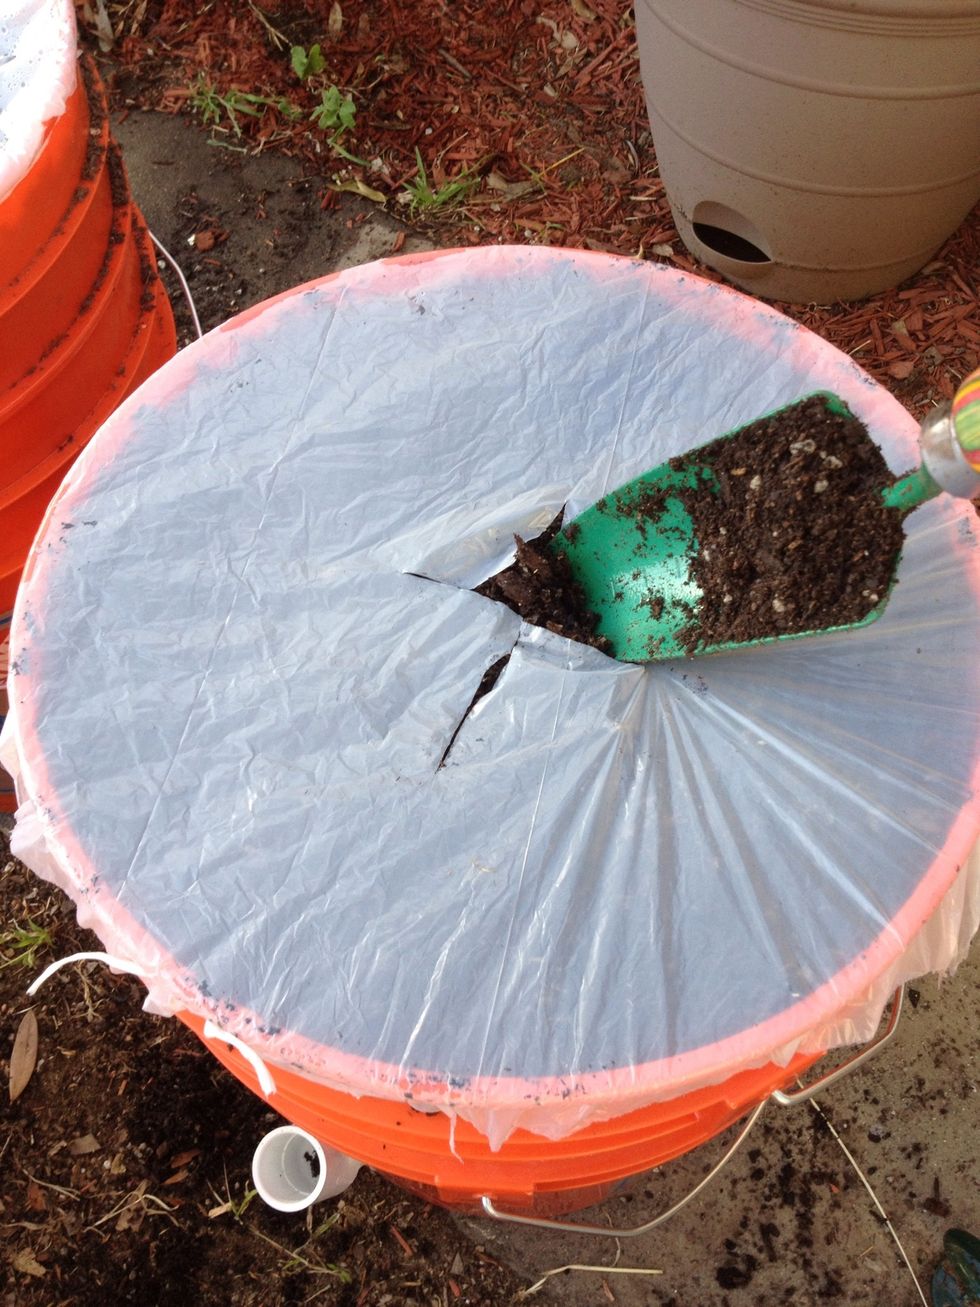
Dig a small hole through the opening.

Add your plant.
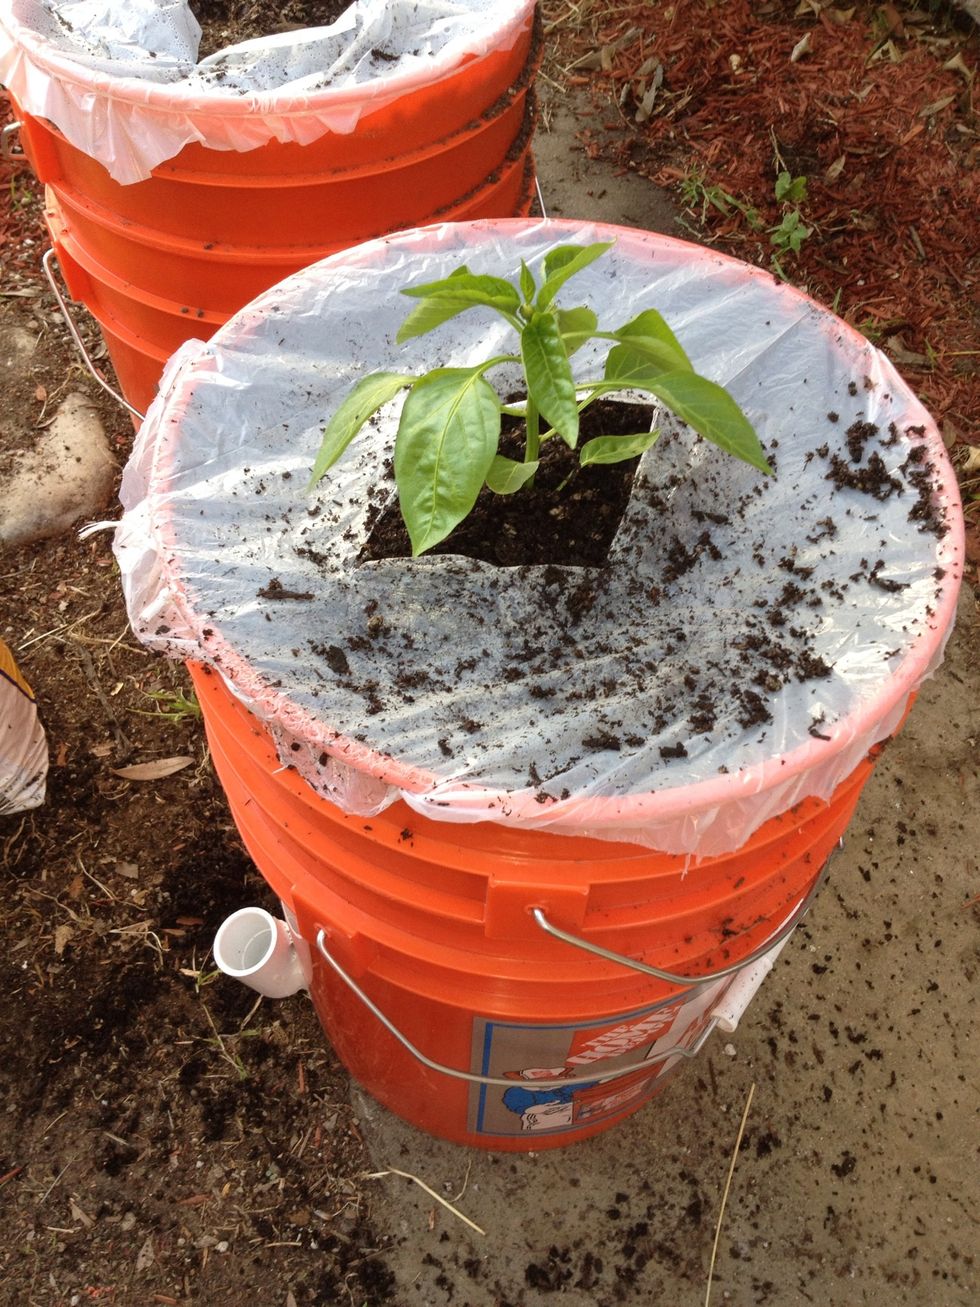
Your container is now ready for watering.
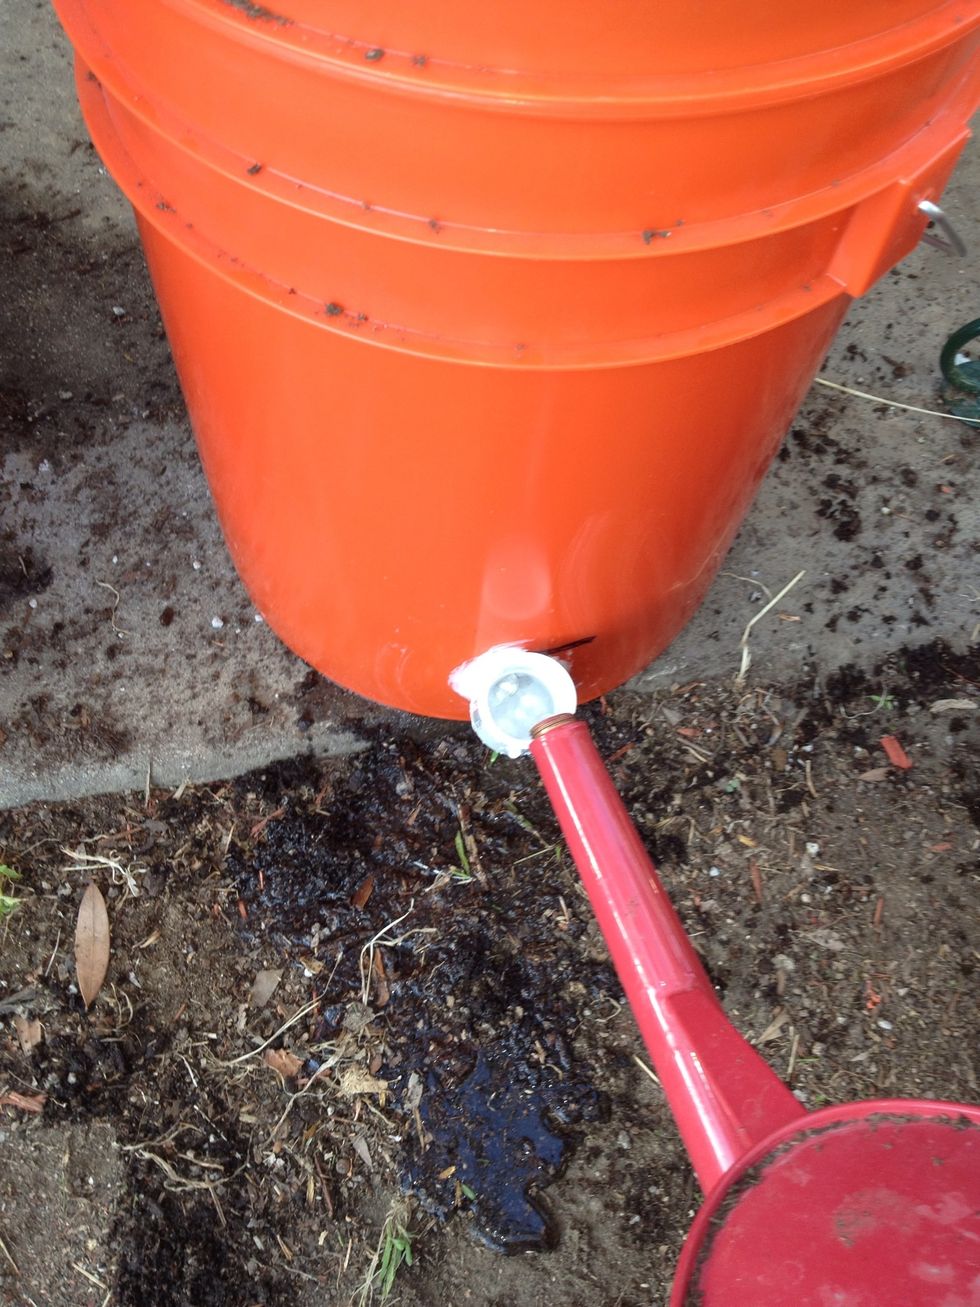
Water your plant through the elbow on the bottom bucket. Make sure it is full. Now you're ready to go on vacation!