The Conversation (0)
Sign Up
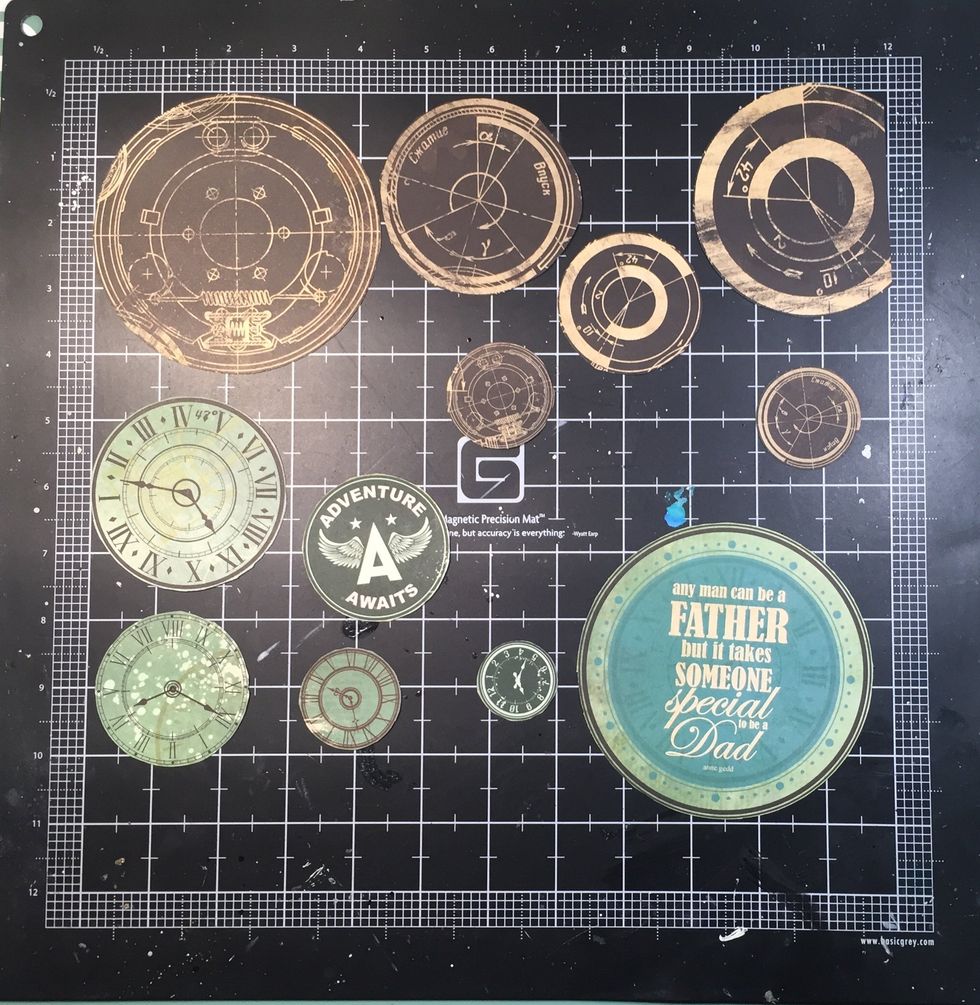
Cut the shapes you see here from papers from the kit. I'll show you the papers in the next few slides.
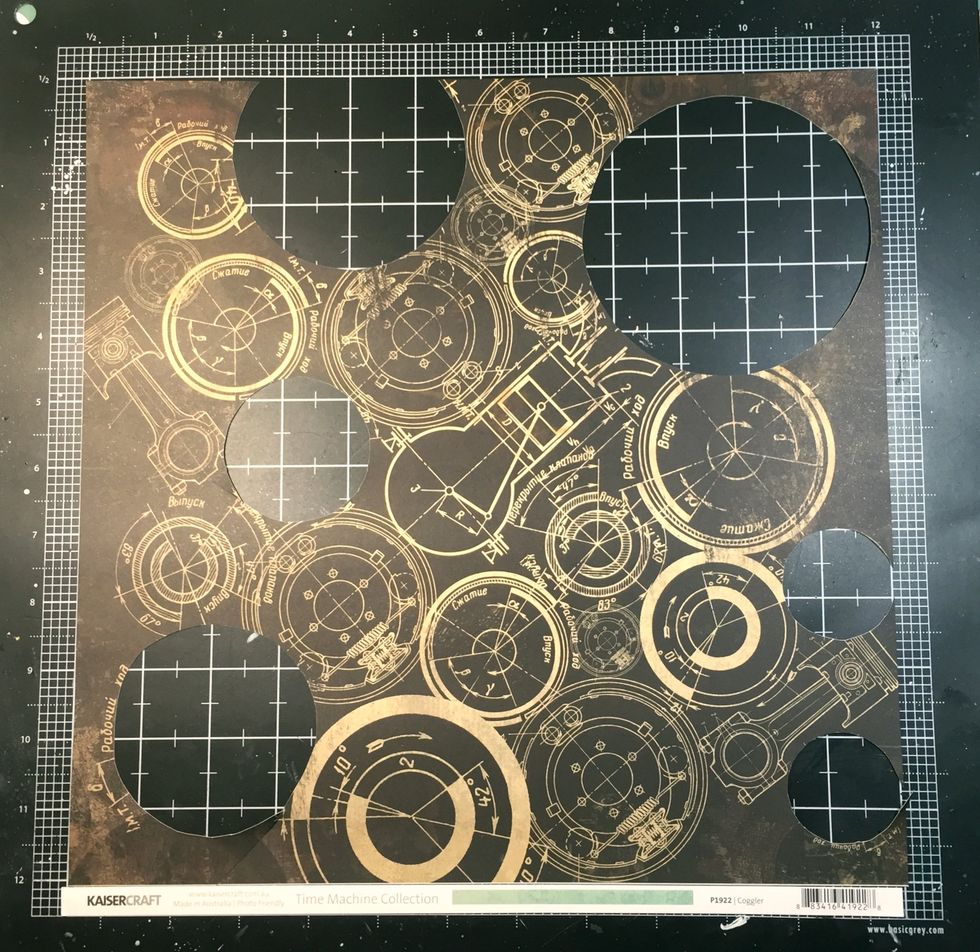
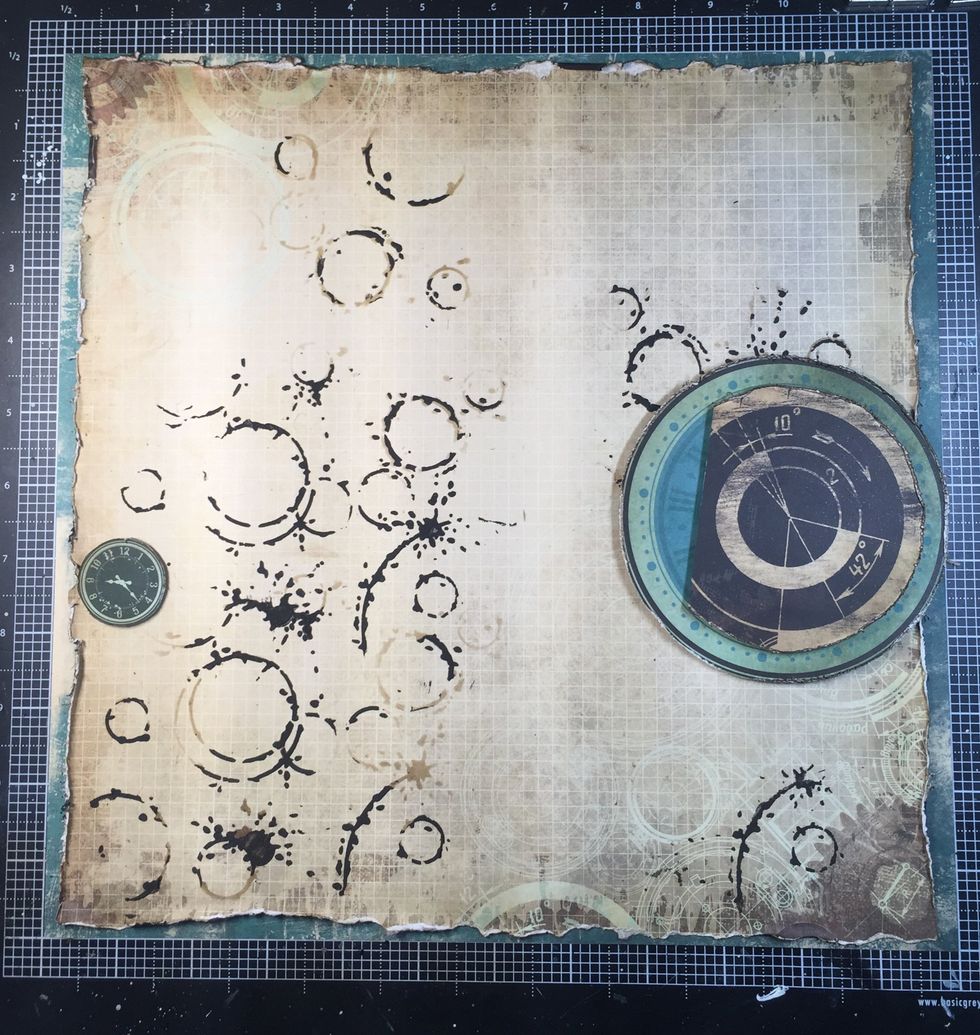
Only the large circle from this page.
I cut several circles from this page. They don't have to be perfect!
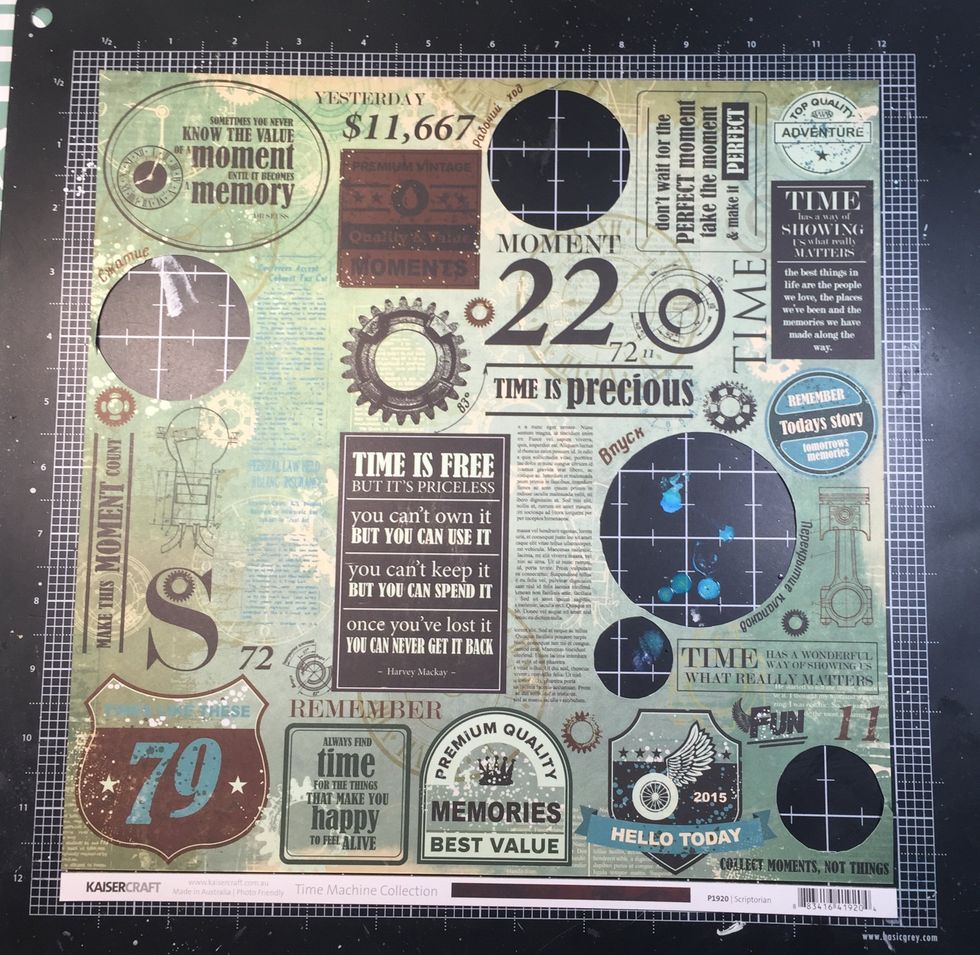
I also cut another of the circles between "22" and "Time" to add to my circle cluster, not shown.
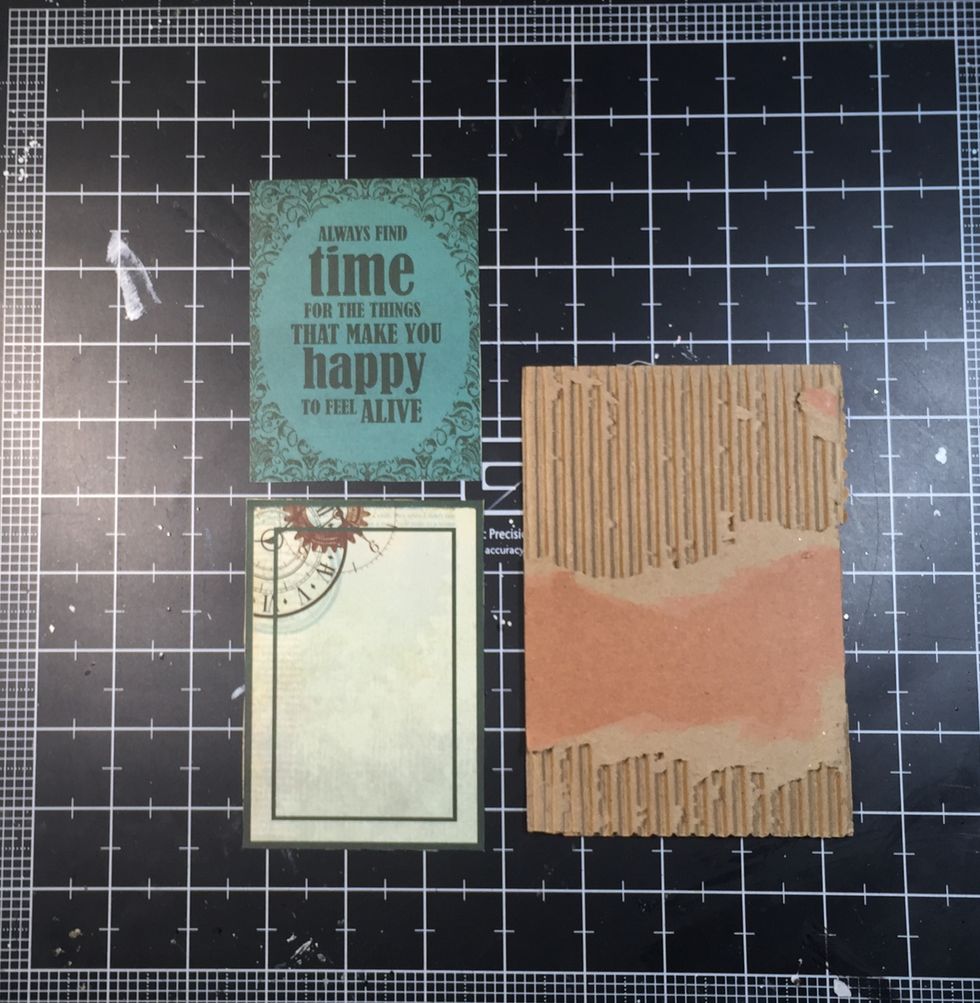
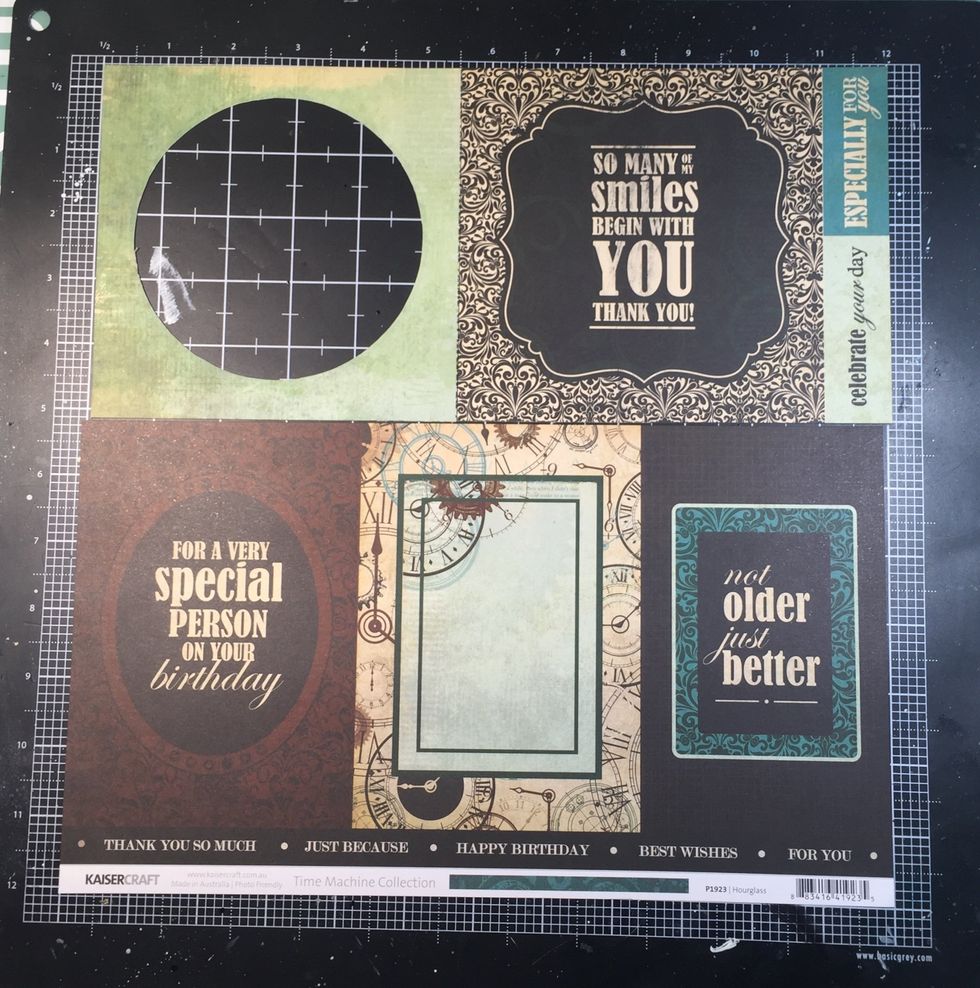
I cut a couple of ATC size pieces from one of the papers. And, I cut a piece of cardboard form the box the kit came in. (Great for layers and mats!)
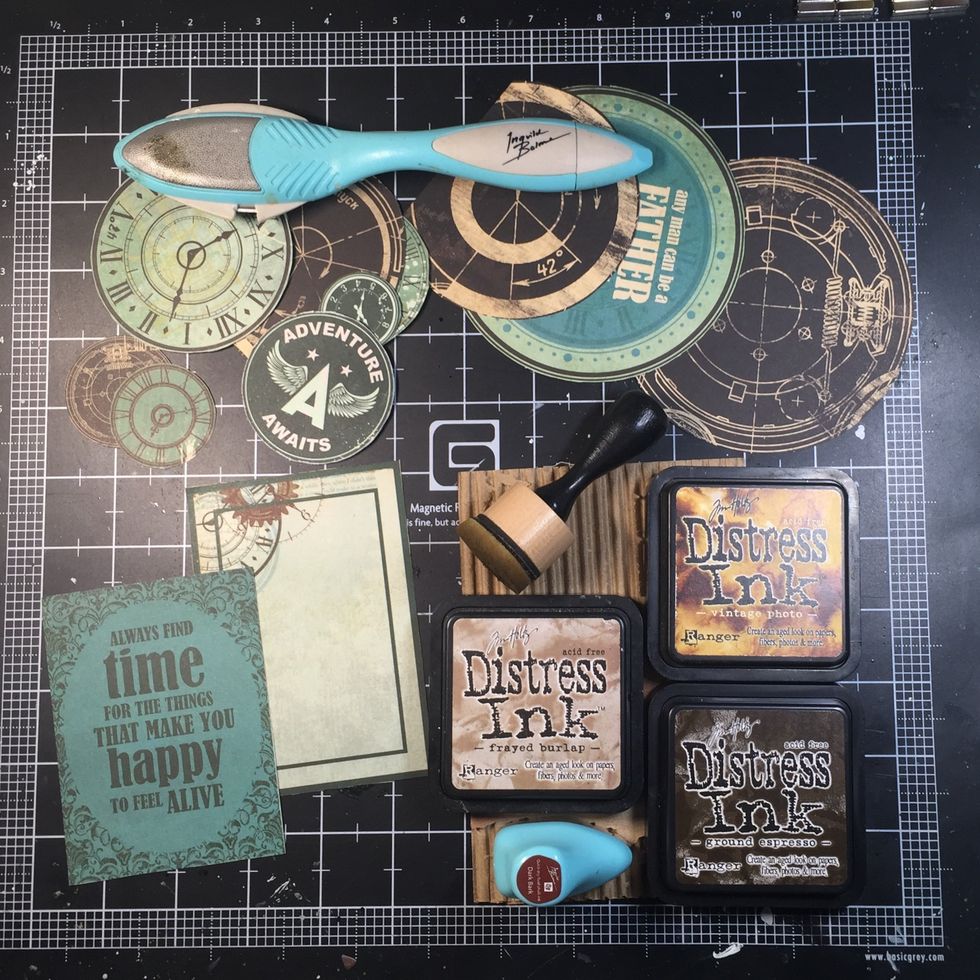
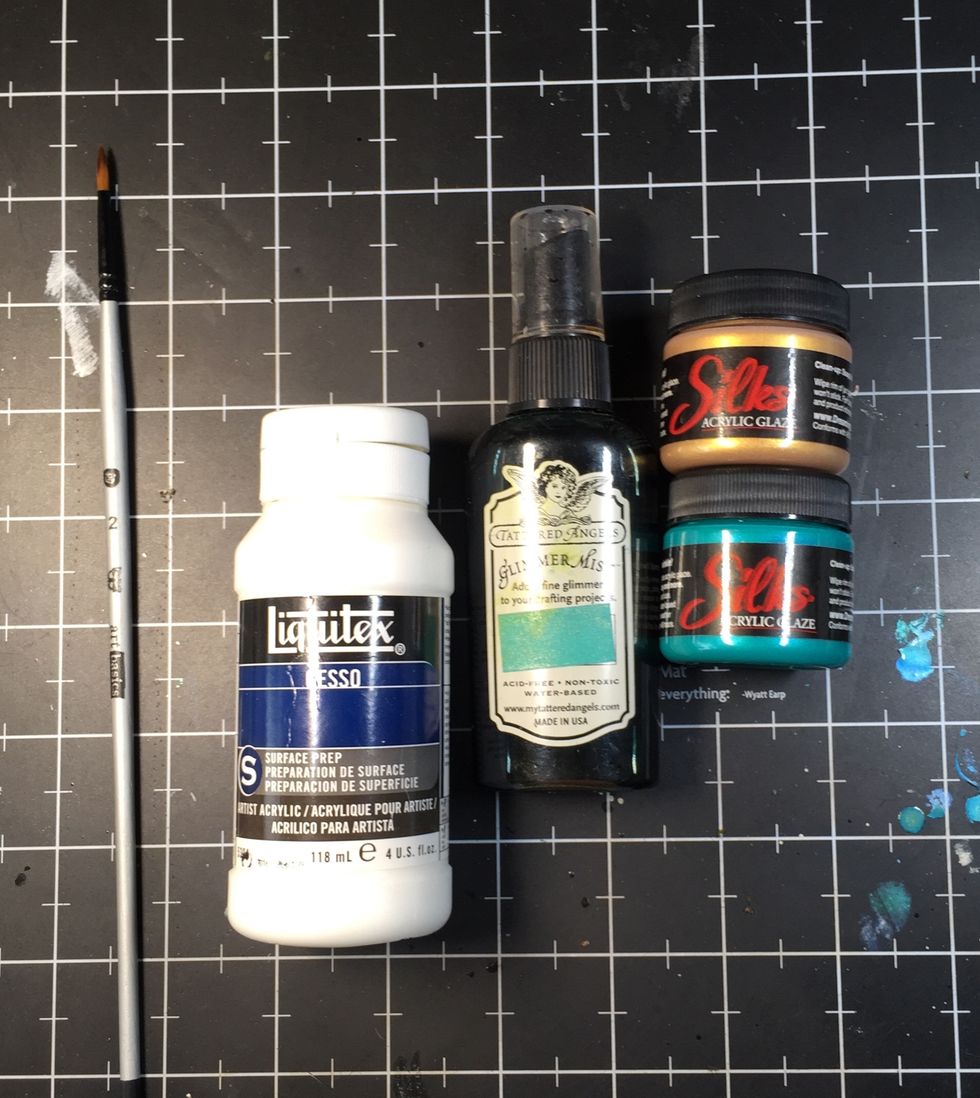
Time to distress and ink all layers! I used Distress Ink in Frayed Burlap. I also did this for the large layers of my background papers.
For my background layers, started with this piece of paper that I "gutted." I cut out a ten-inch square from the middle. This is a great way to get the most out of your patterned paper!
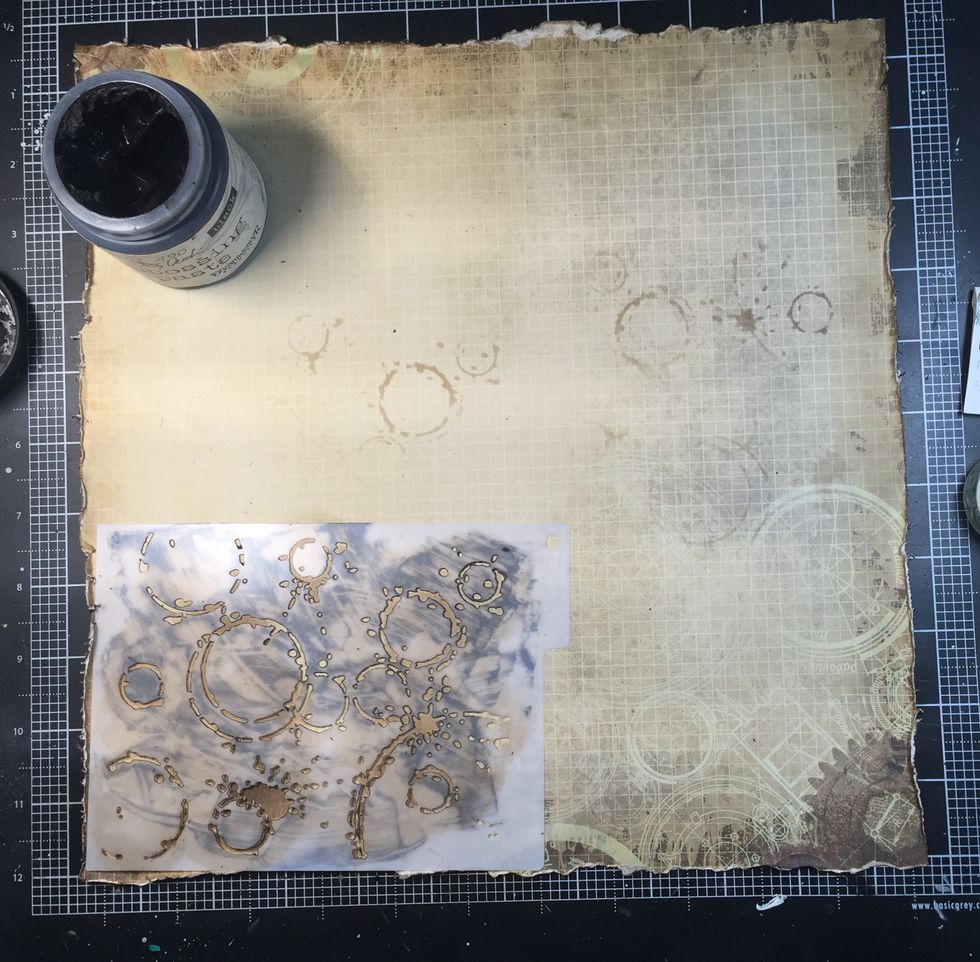
For this layer, I cut a 1/2 inch off of two sides. You can see I have used ink on the stencil: this helps guide me where to use the paste. It also give a great dimension leaving some ink exposed.
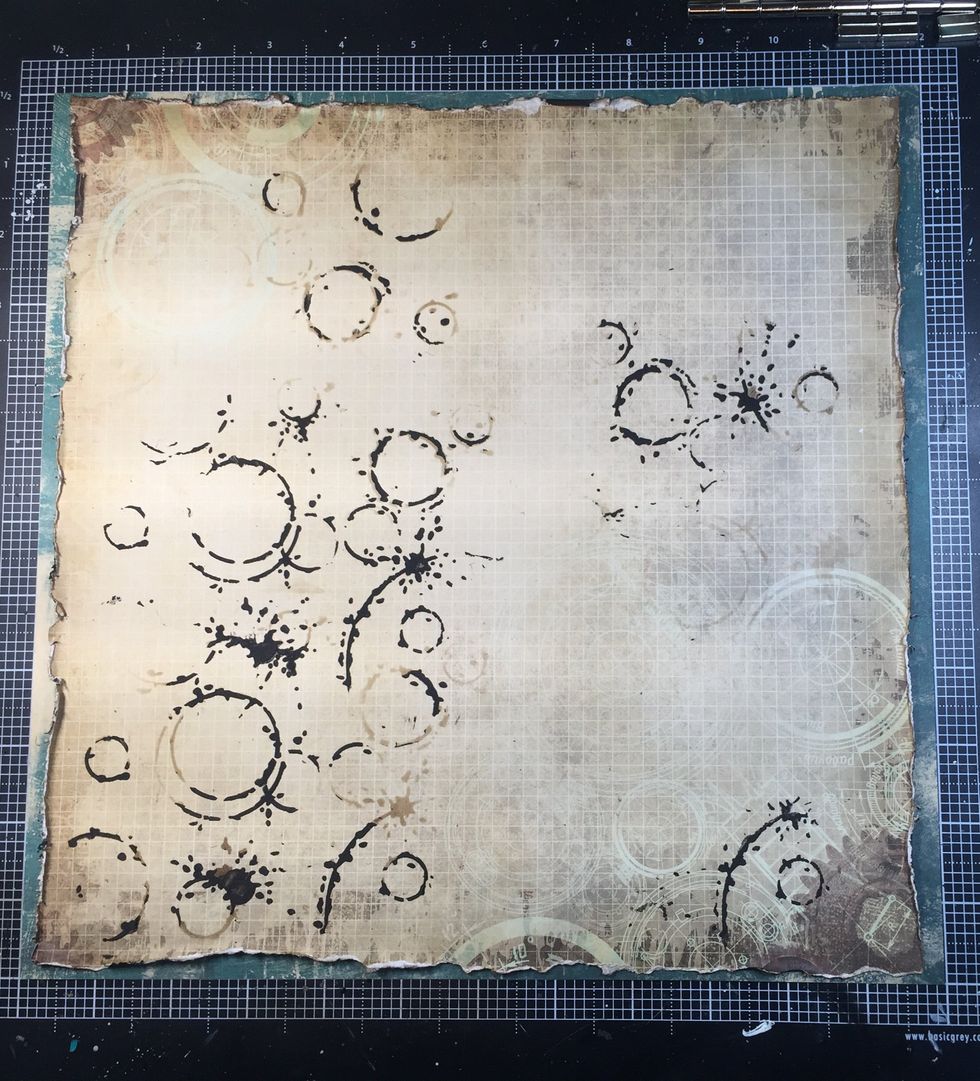
I added the stenciling to the paper where I knew it would "peek out" of my paper layers.
I want the circles to flow across the page, so I start at the edges.
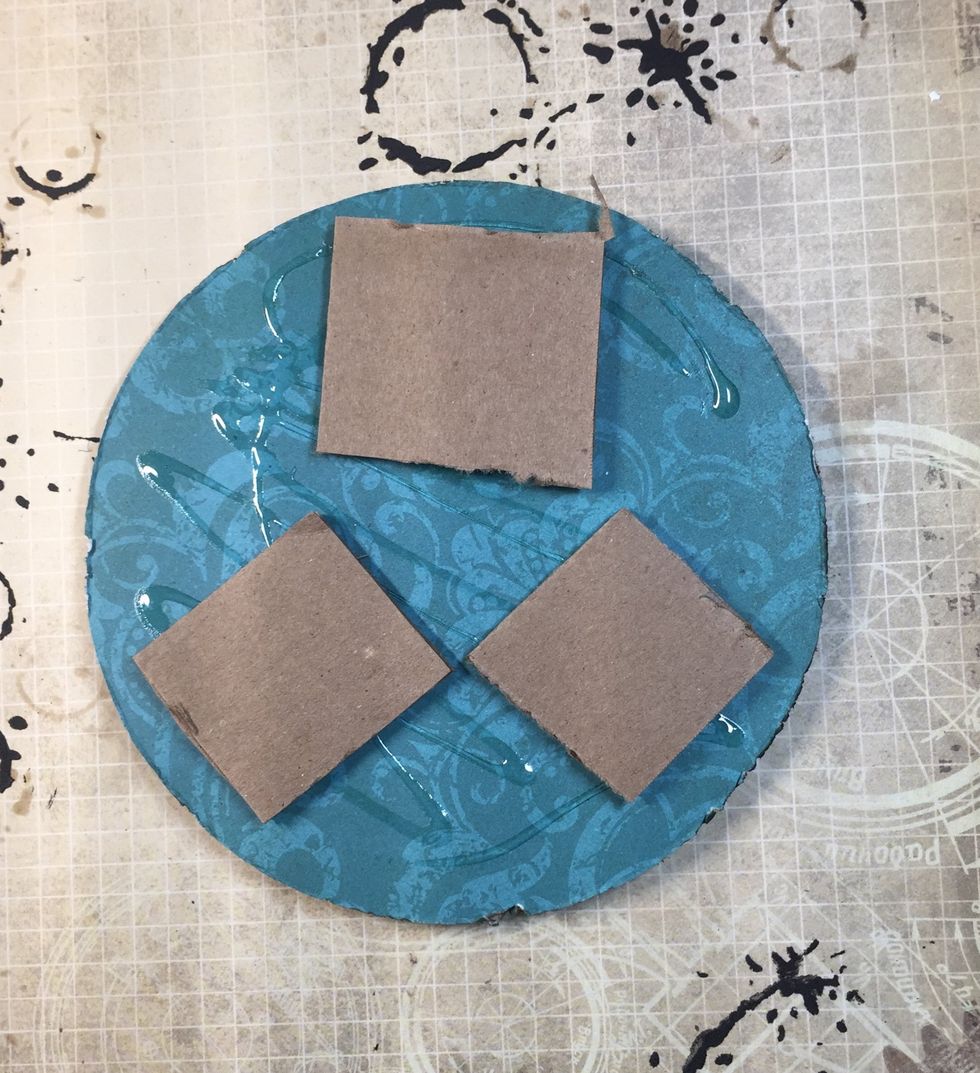
I added cardboard to most of the layers to create a lot of dimension.
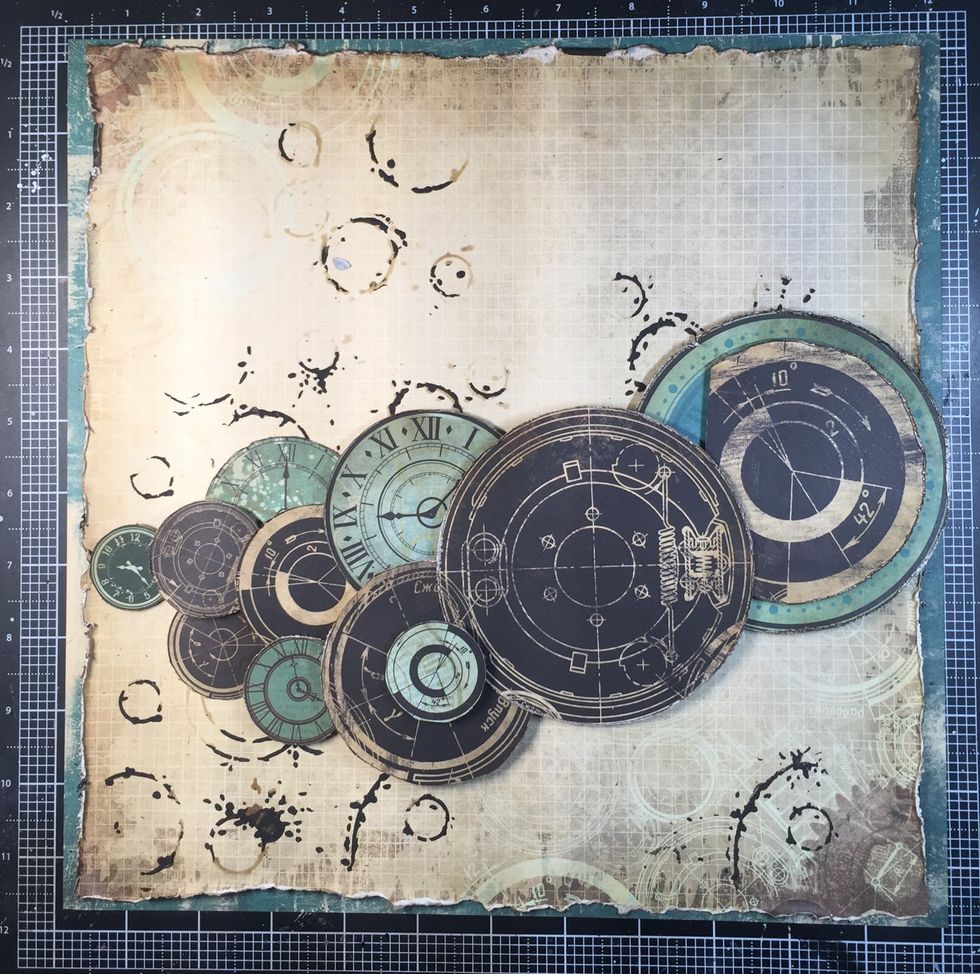
Now the main circle layers are complete.
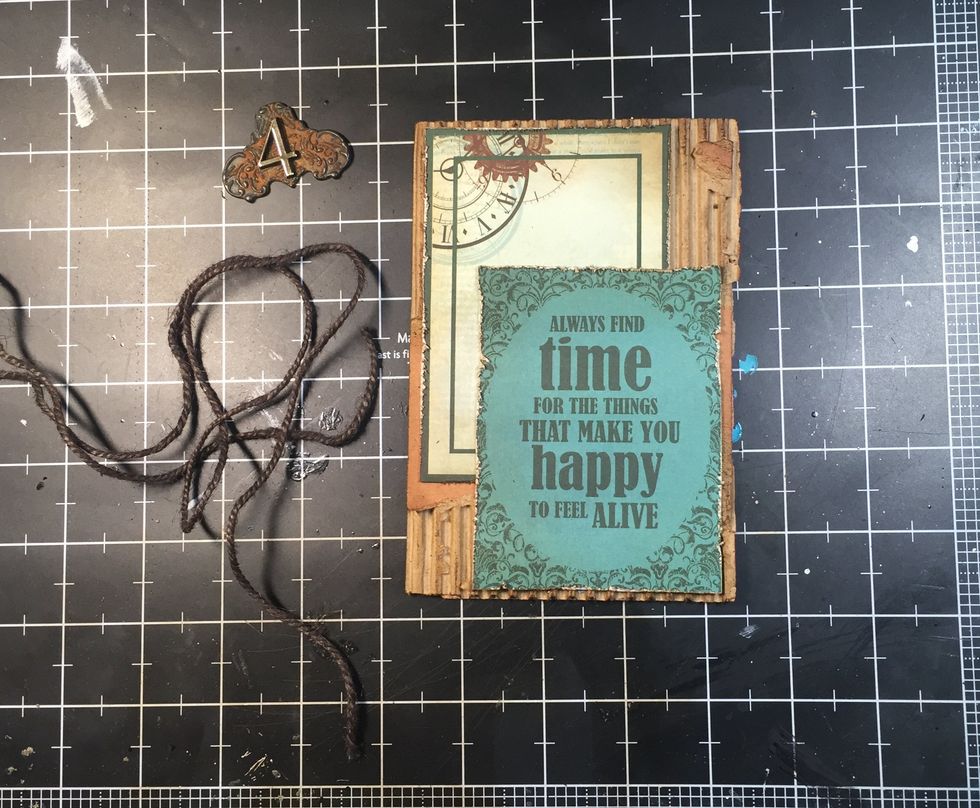
I'm using these items to assemble my layers for the photo matting.
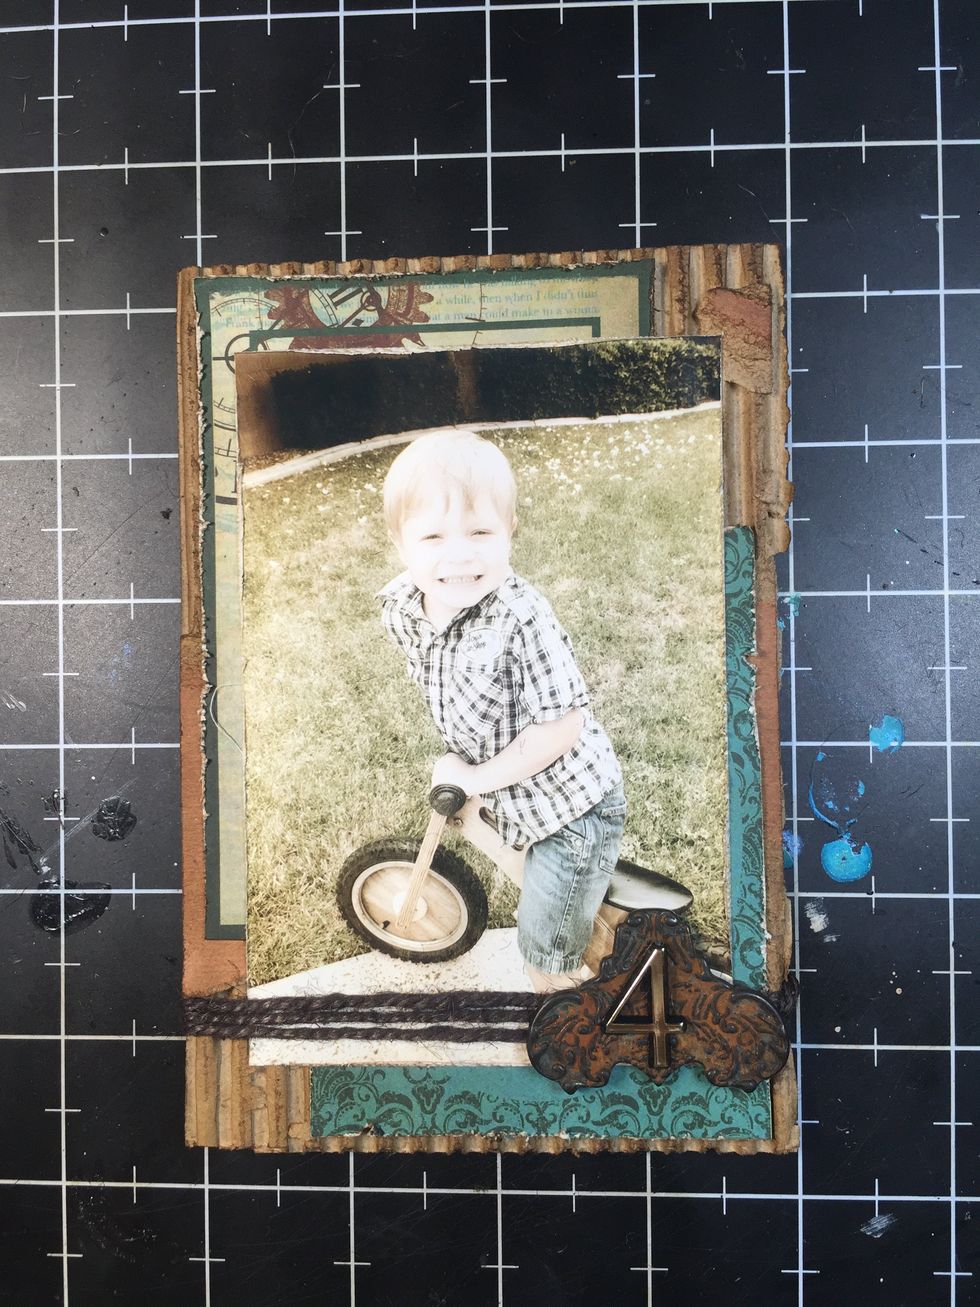
I wrapped the twine around the photo and matting, then added the metal embellishment and number.
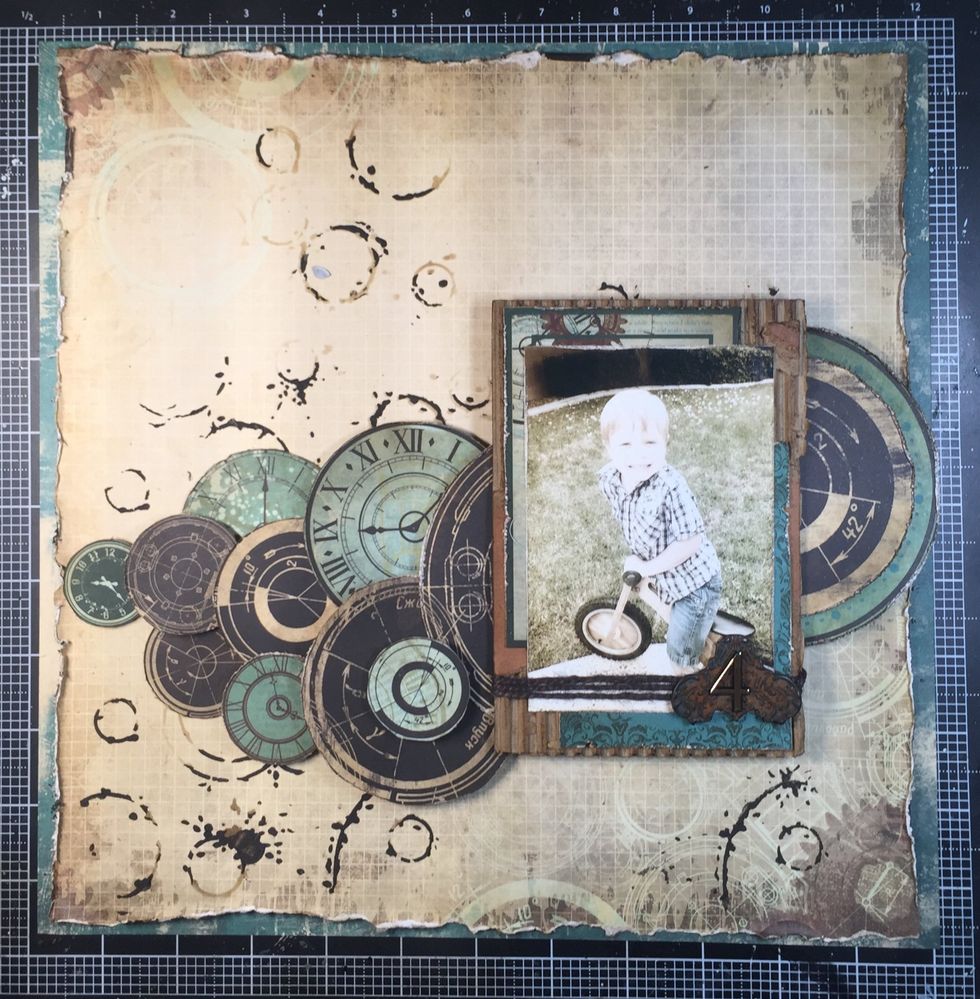
This is what it looks like so far. I still need to add the rest of my circles in the top left, and I want to add some die cuts to round out the design.
I'm going to layer these circles, and use more cardboard for dimension. Who needs pop dots anyway? :)
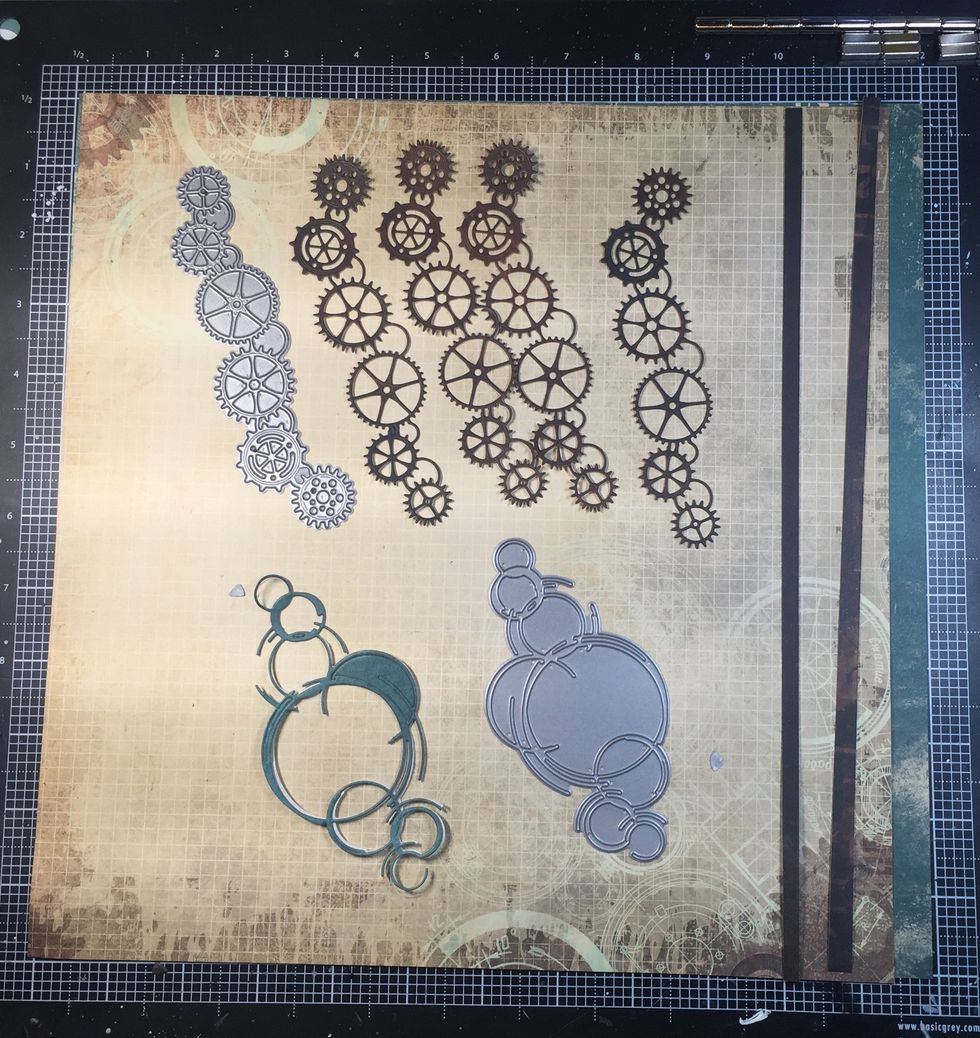
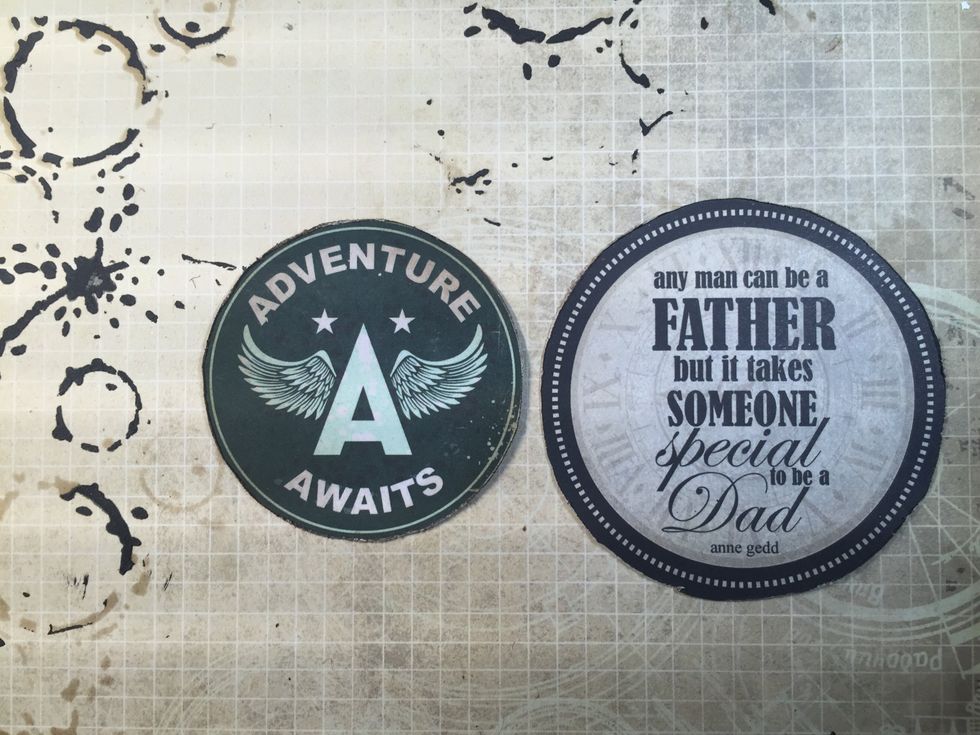
Both of these dies are from my stash. They are Memory Box dies. I used some of the dark brown paper for the gears, and the darker teal for the distressed circles.
I added the blue die cut under the title, and simply tucked the gears border under my circles/clocks. Popping these circles up with room to spare under them gave me enough room to tuck in the gears.

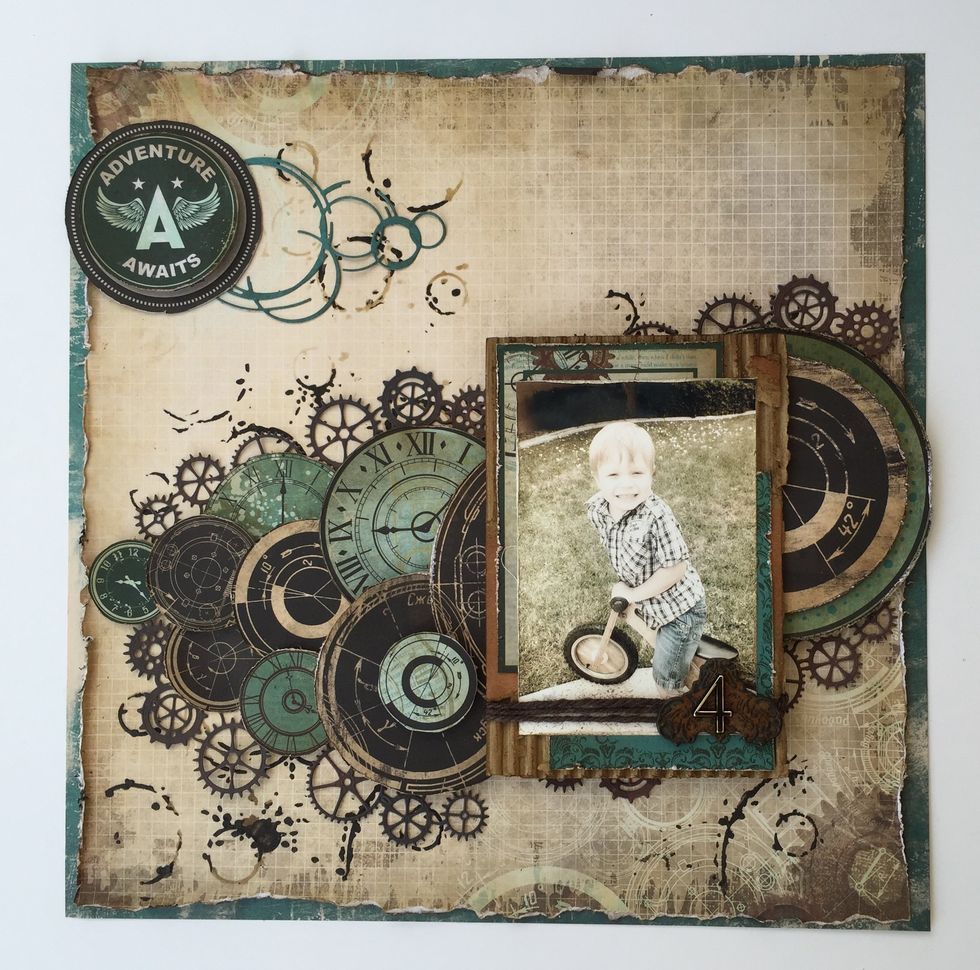
And it's done! I hope you enjoyed the tutorial! Check out swirlydoos.com Mention my name (Rae) and you’ll receive 10% off your first kit, AND a 30% off coupon your purchase in the Swirlydoos store!