The Conversation (0)
Sign Up
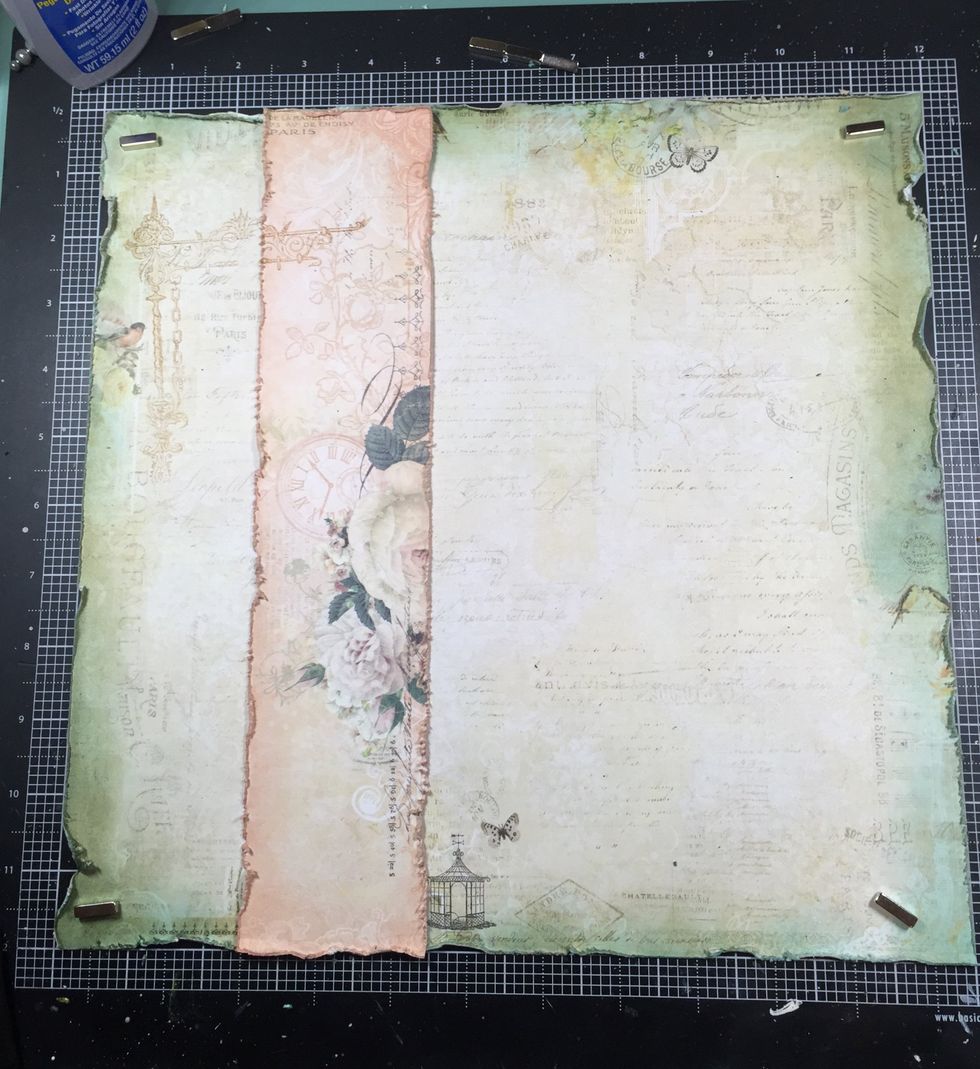
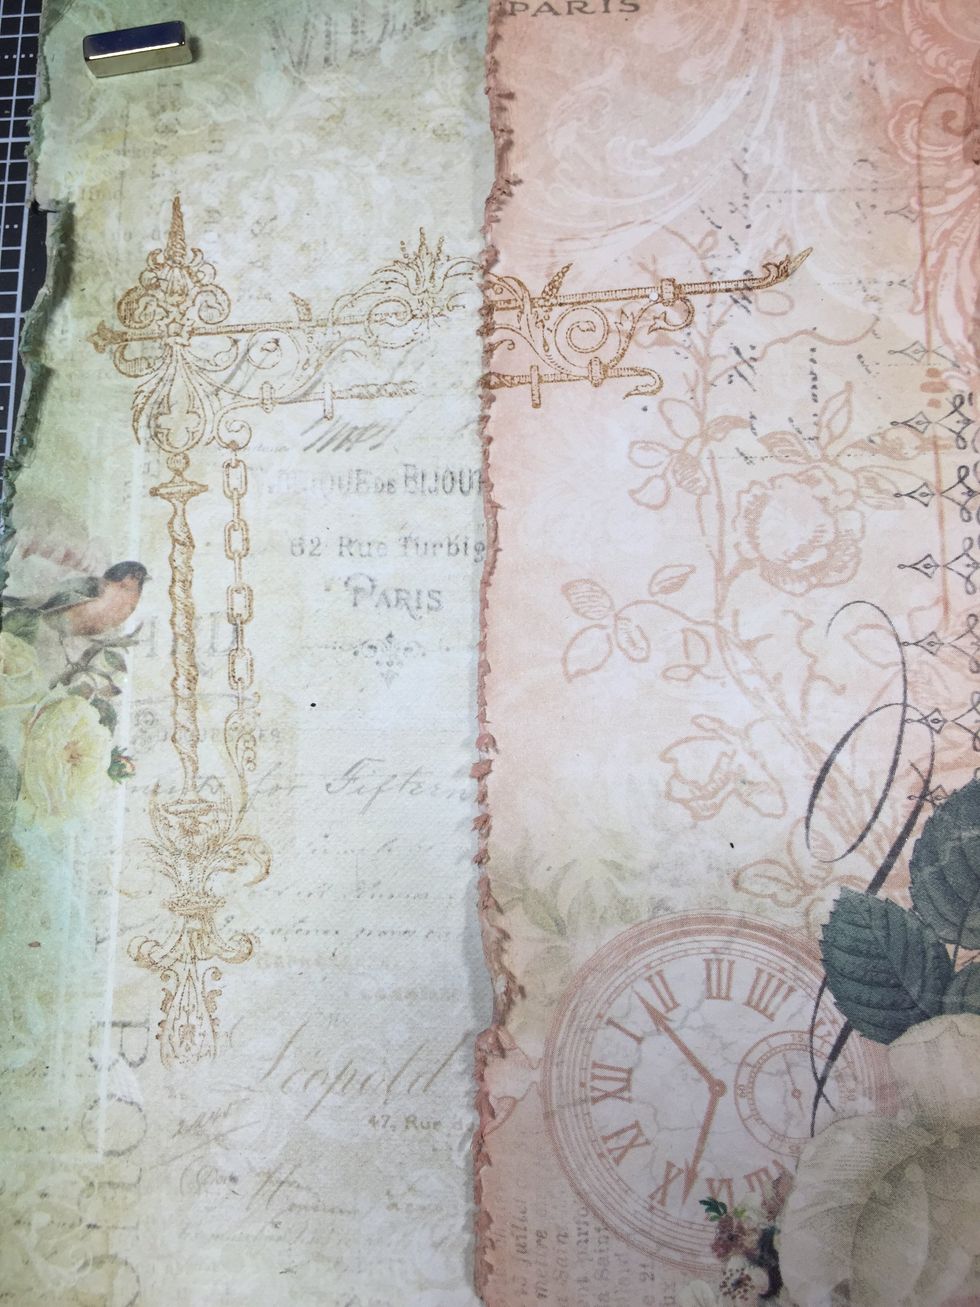
I started with this paper. I wanted to make blue a featured color because I’m using the flowers in the main kit and they are blue. I’m tailoring the papers to work with the flowers and butterfly.

After using the distresser, I used the Tumbled Glass distress ink first, being sure to ink deep into the edges of the page, then Frayed Burlap on the edges, leaving some of the blue exposed.
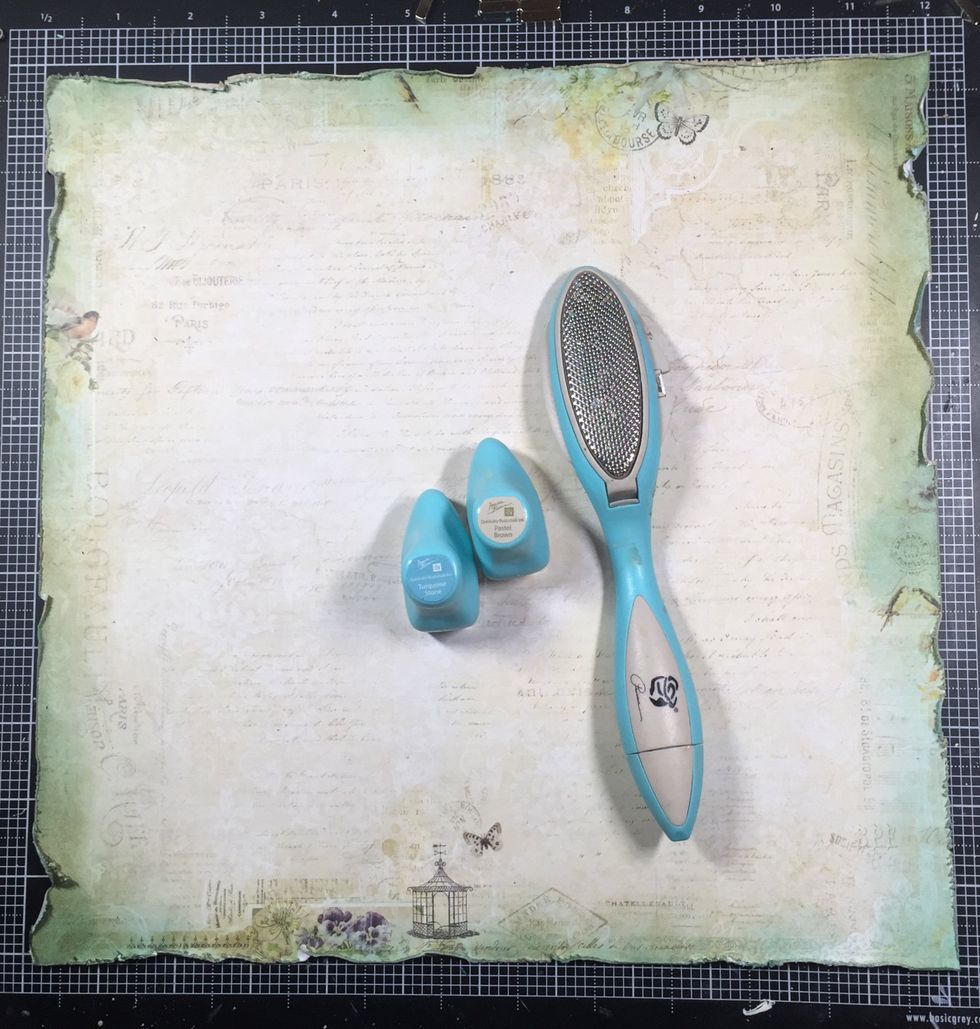
I distressed the edges again in parts I felt needed it, then used some chalk edgers, Turquoise Stone, and Pastel Brown to the very edge. The impact is slight, but I think it gives it a complete look.
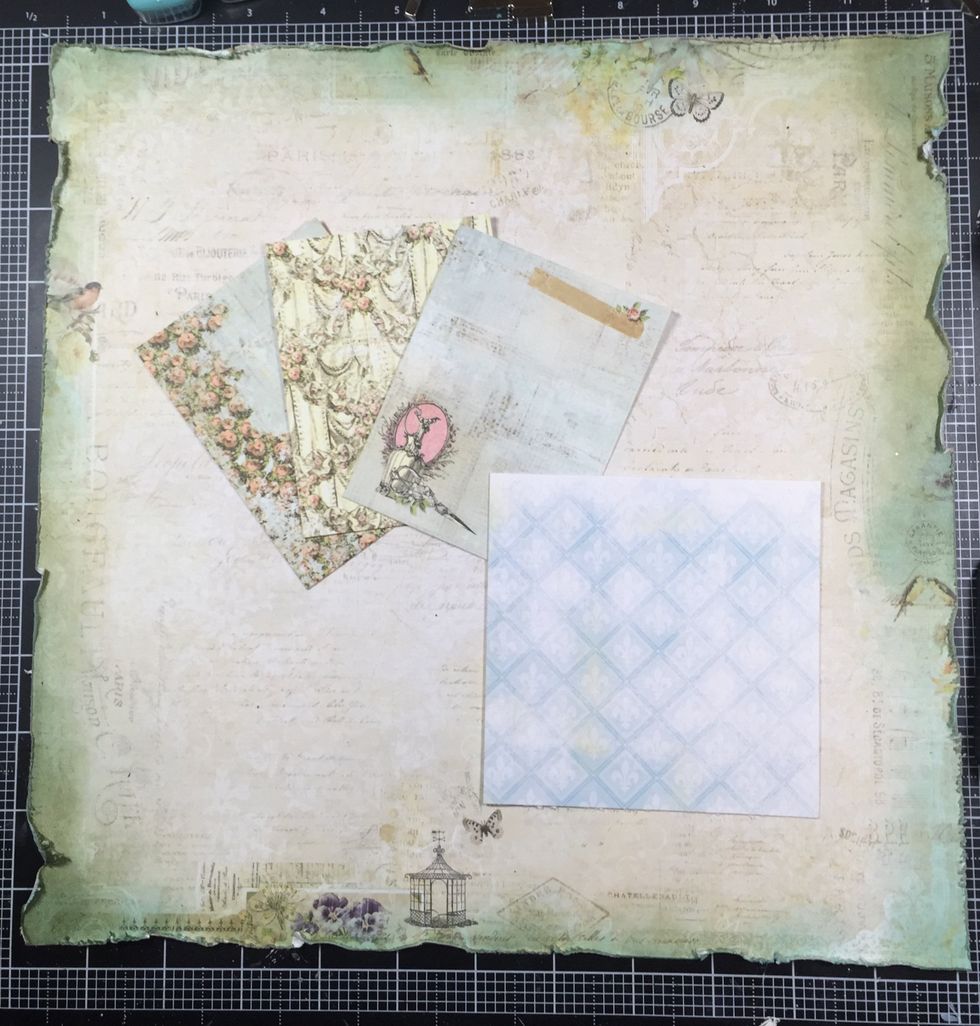
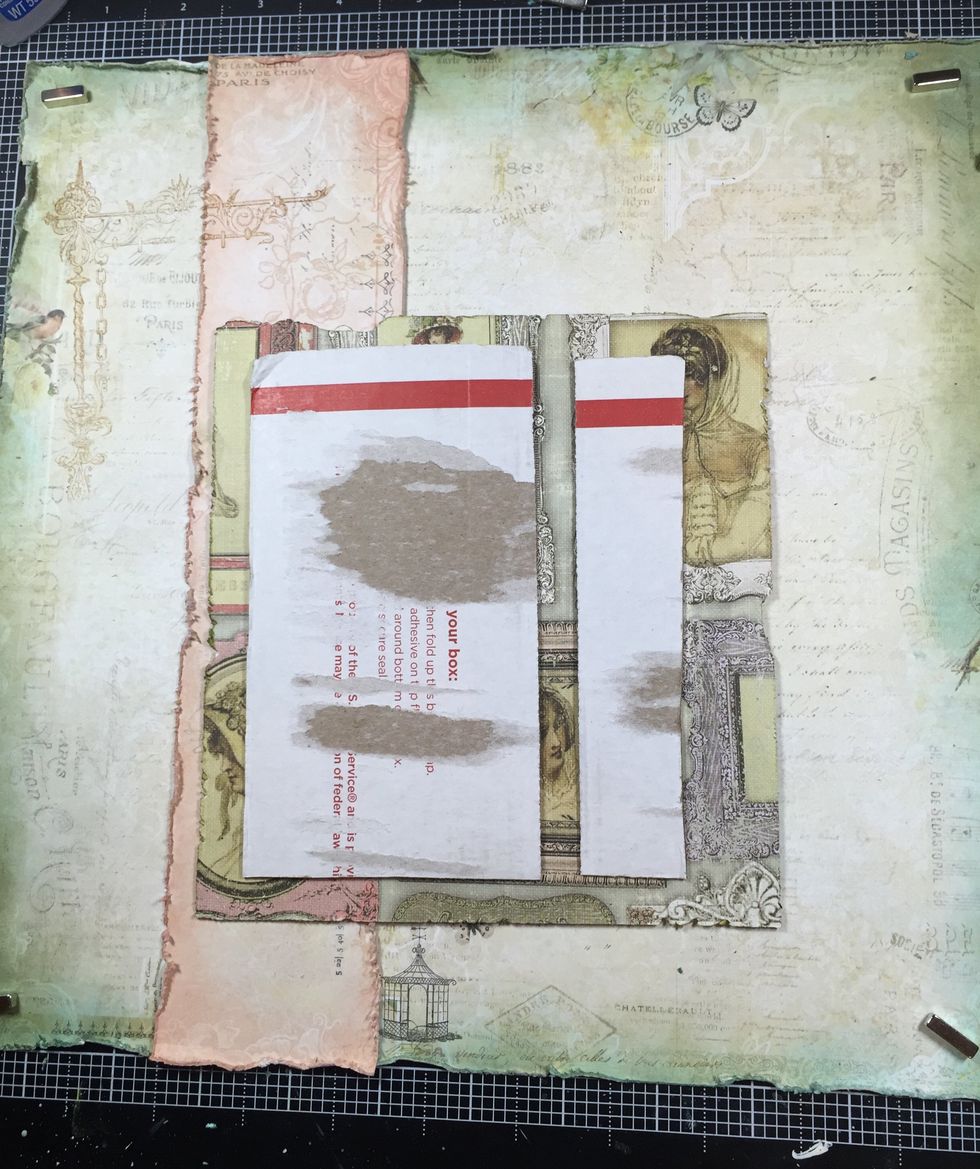
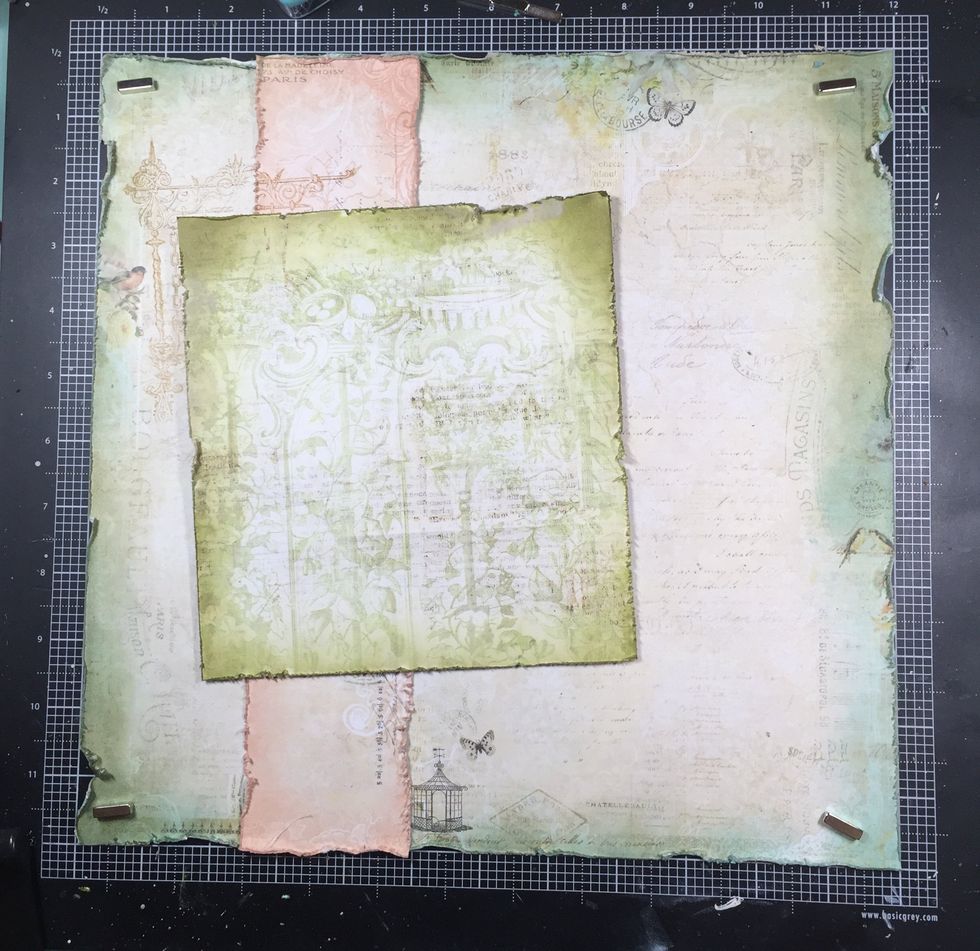
I repeated this same inking process on the layers you see here. The bluish paper is actually packaging from the chipboard that I cut into a 4.25 square. It will be my photo mat for a 4X4 picture.
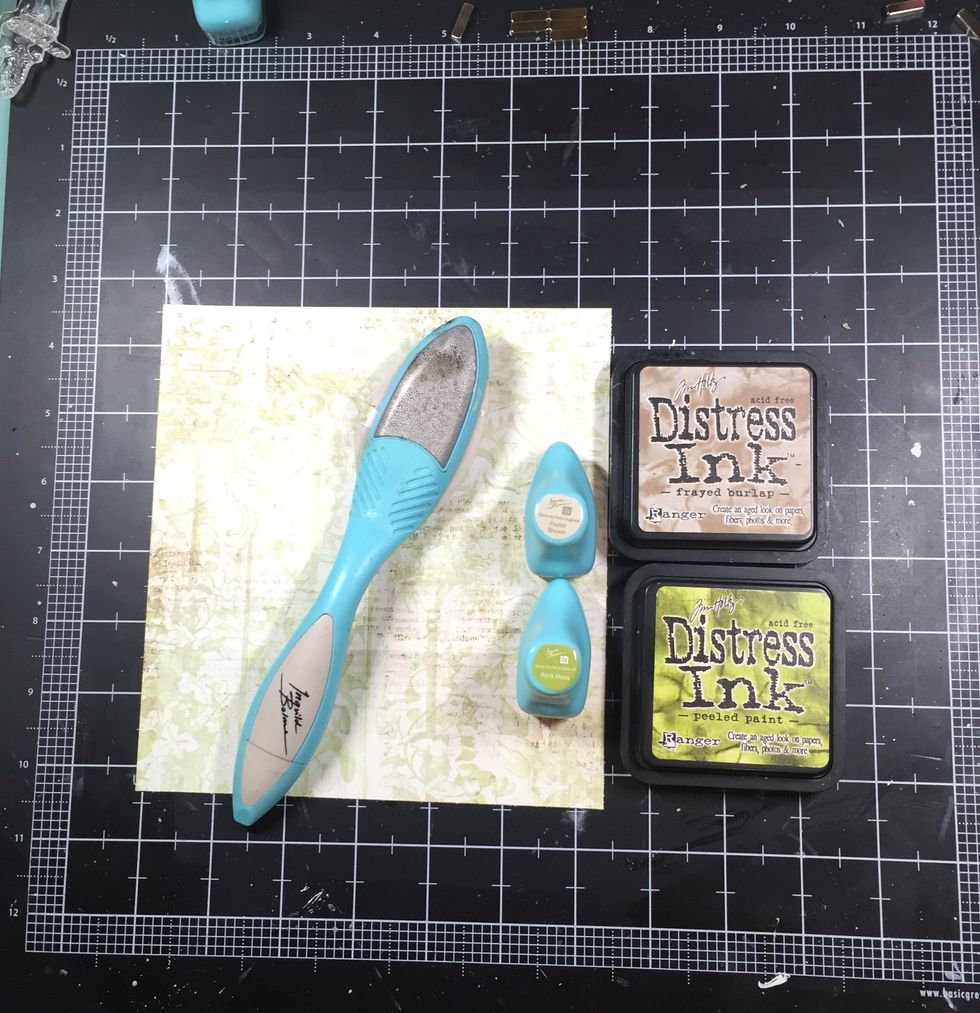
I really wanted to showcase the different colors of the papers, so I used green for my green layer, which is 7.5X7.5 inches… (I used Distress Peeled Paint and Rock Moss chalk)
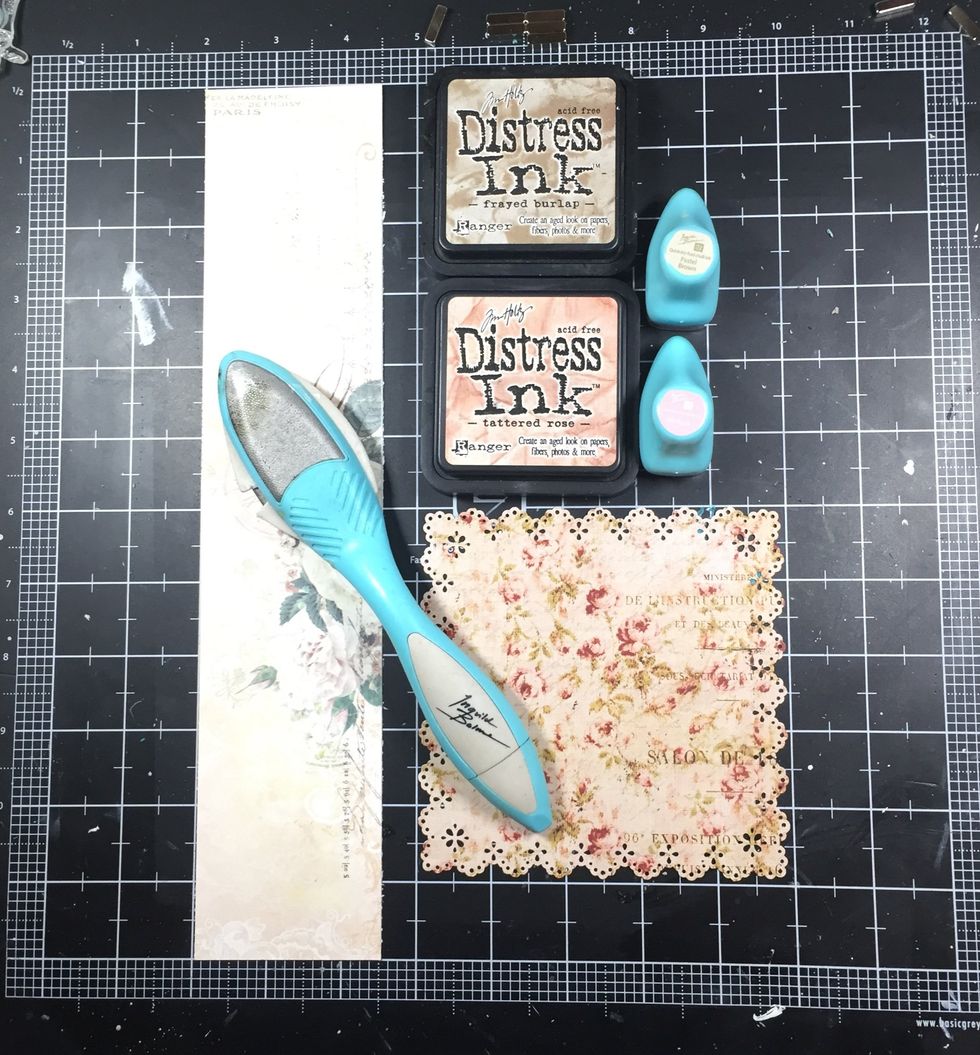
And pinks for my pinkish papers, using Distress Tattered Rose and Old Rose chalk. The square is 5X5 and I used a Martha Stewart punch around the page. The rectangle is 12X2.5 inches.
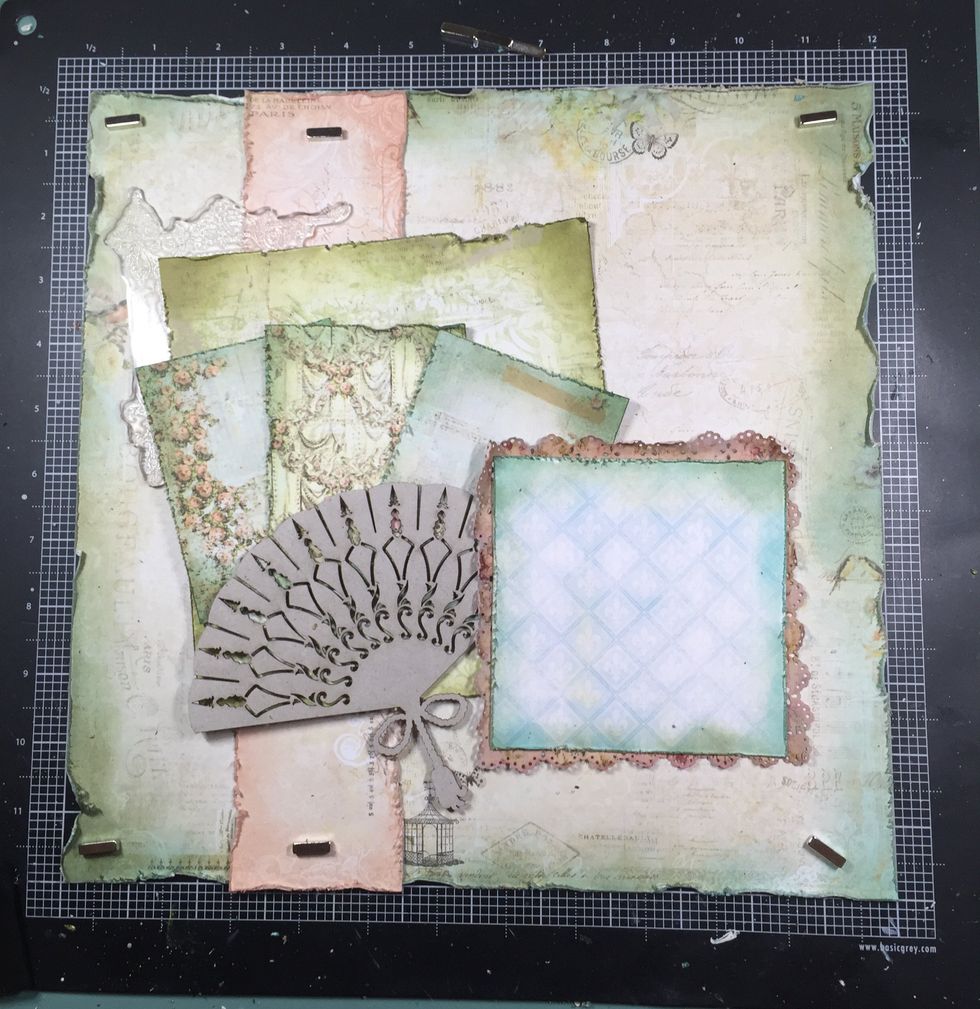
Yep- this is exactly the look I was going for. I added a stamp at the top. When I used stamps and dies also, I just place them directly on my page so I can get a sense of the measurements and sizing.
It’s time to start gluing down my layers. I used a corner stamp (Blue Fern Studios) over these layers.
Here's a closeup of the stamp.
Next, is the green square, but it needs to be raised. You can use pop dots or squares, but cardboard is cheaper and it’s just BETTER!
The green layer is glued at an angle, allowing the stamp to frame the corner.
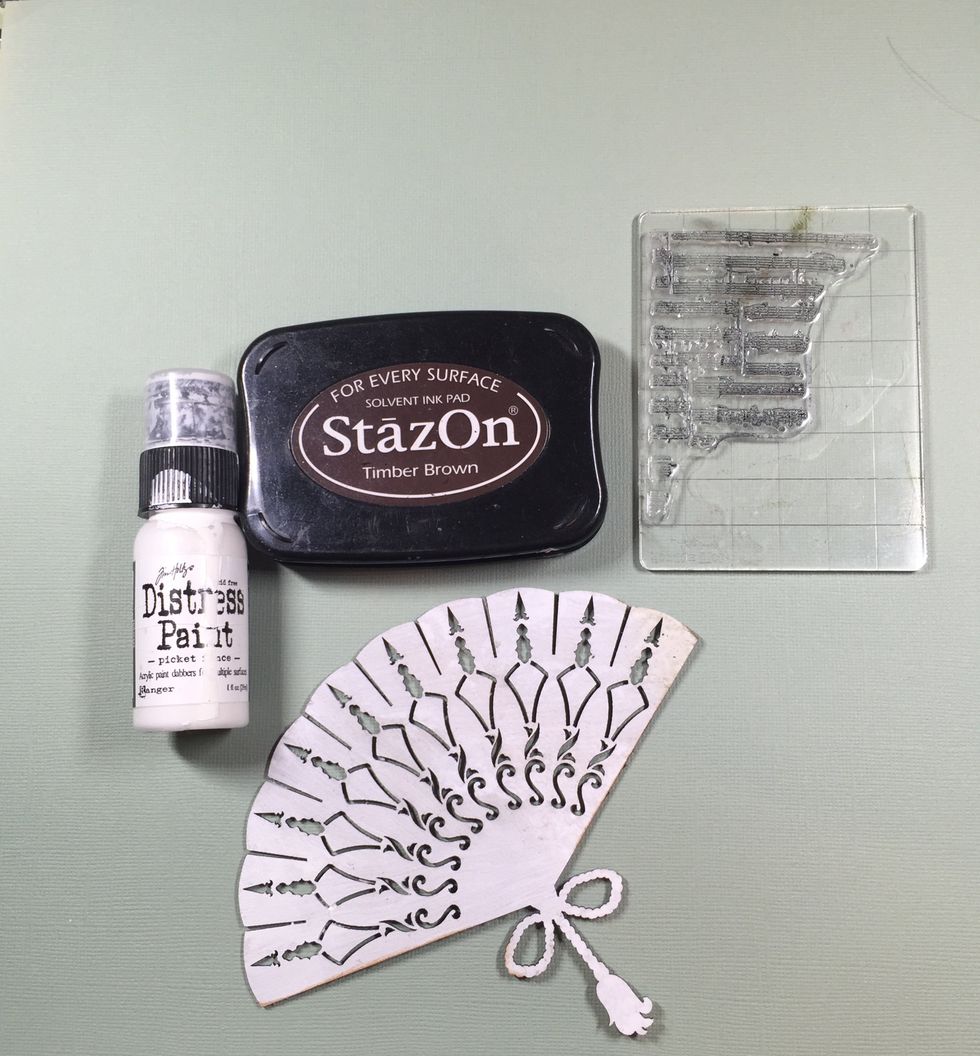
Now for that chipboard! It needs some treatment. First, it needs a white wash. You can use white paint or gesso. I've stamped with archival ink so it doesn't smudge because I plan to use some paint.
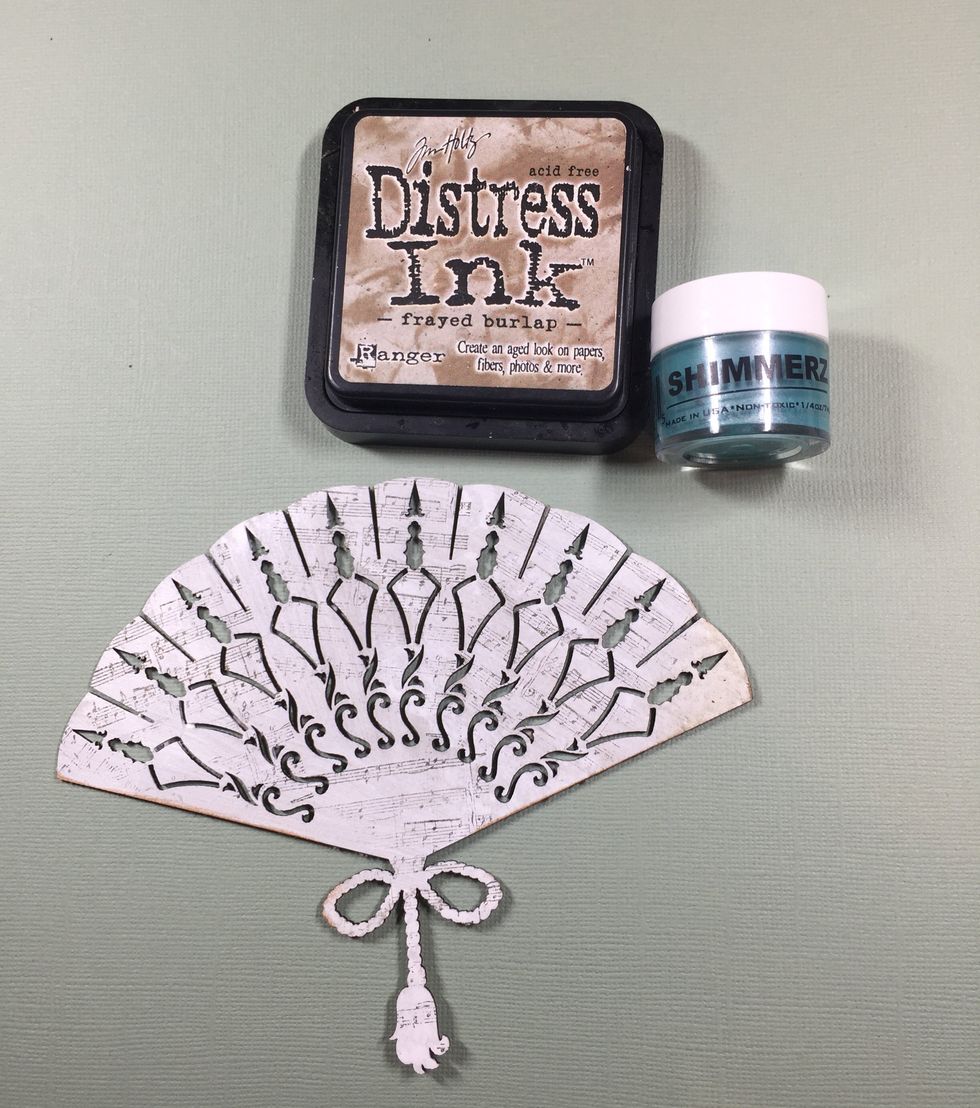
I want to give it a blue wash with this Shimmerz turquoise paint. Any sheer paint will do. Then, I will ink the edges with the distress ink.
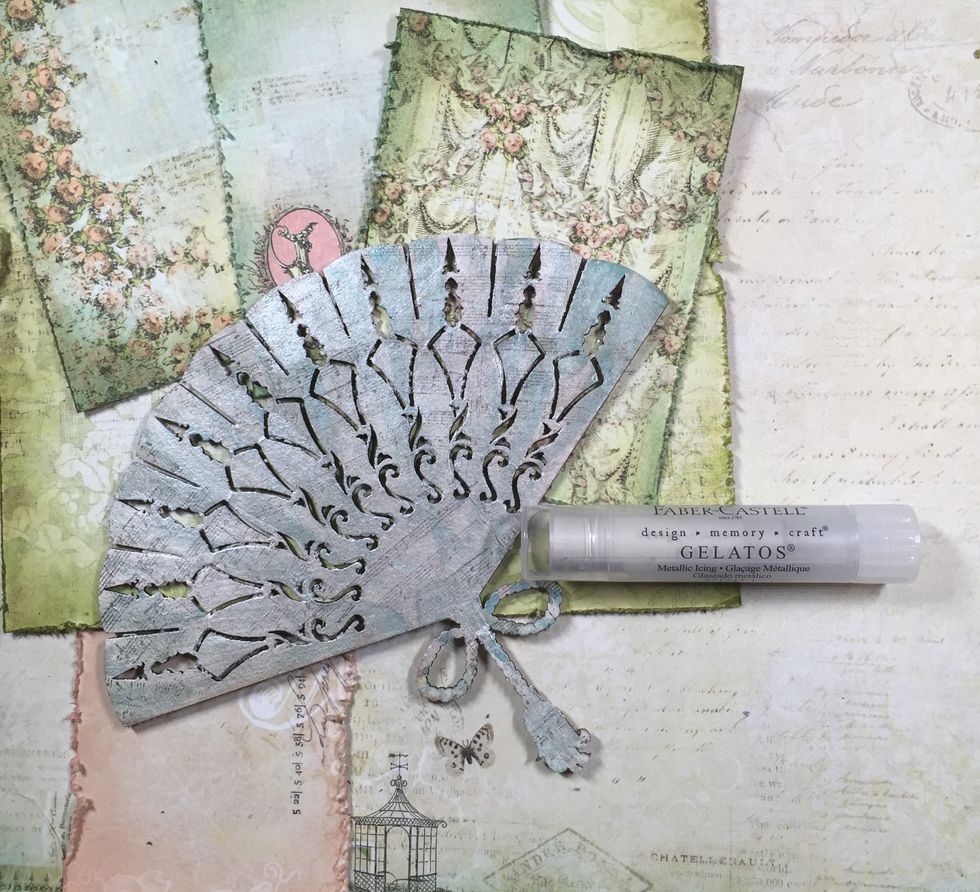
And some random silvery gelato smudging over the paint gives it a nice complete look.
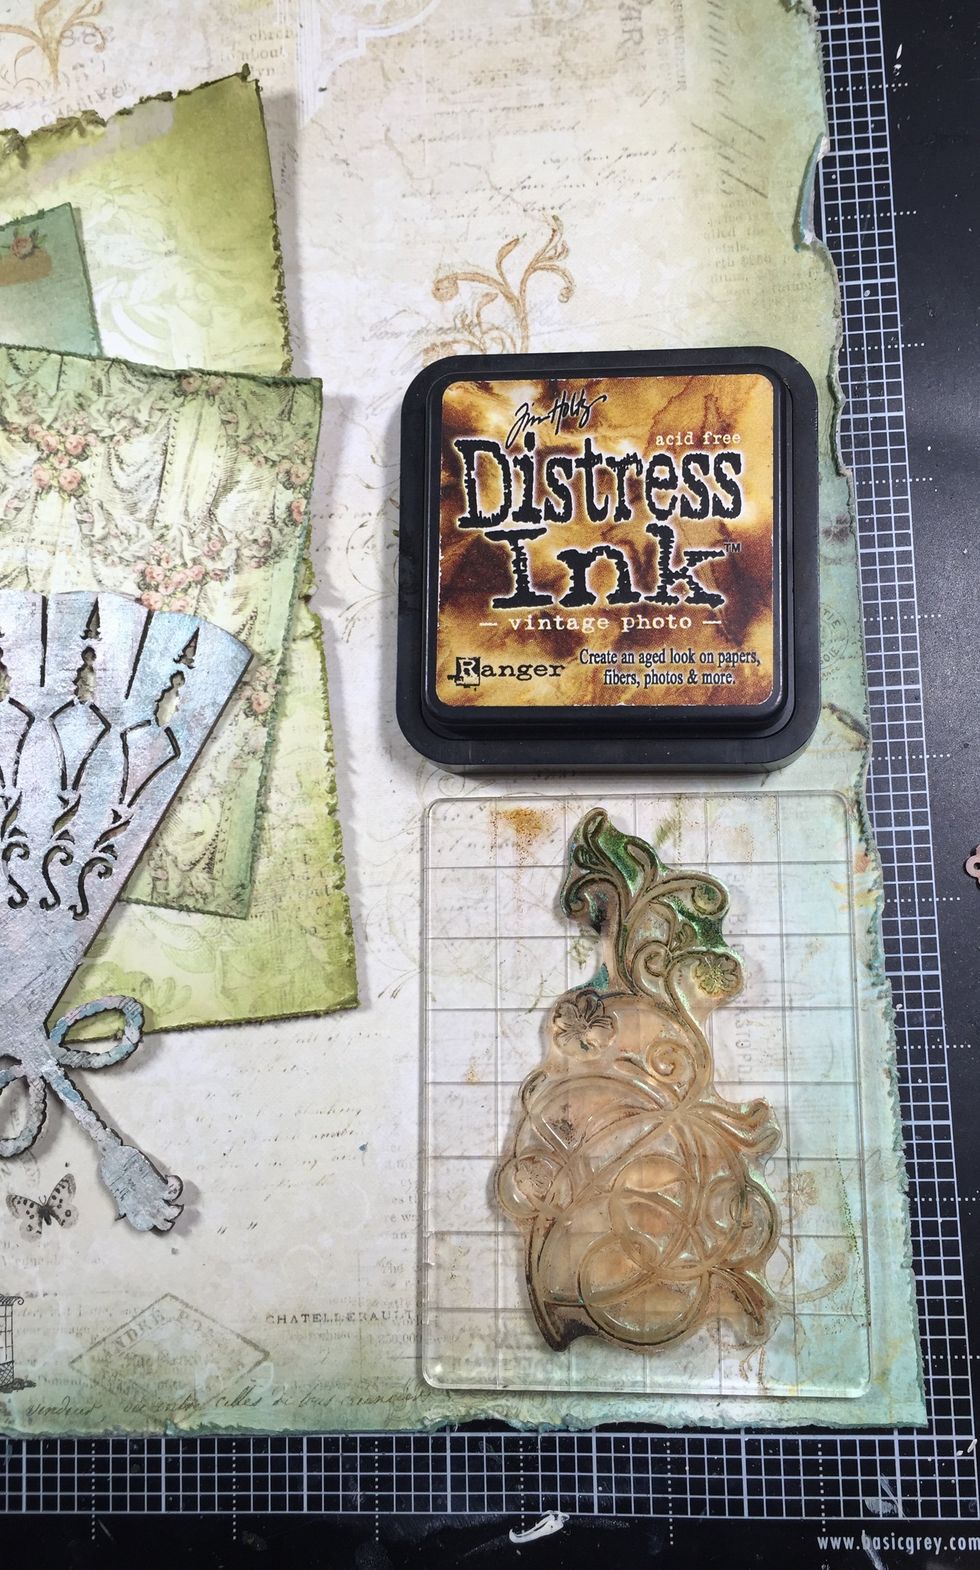
I want to add some more stamping before I glue down the rest of my layers so they are peeking out. This is an older Kaisercraft stamp, but I think any swirly stamp would work too.
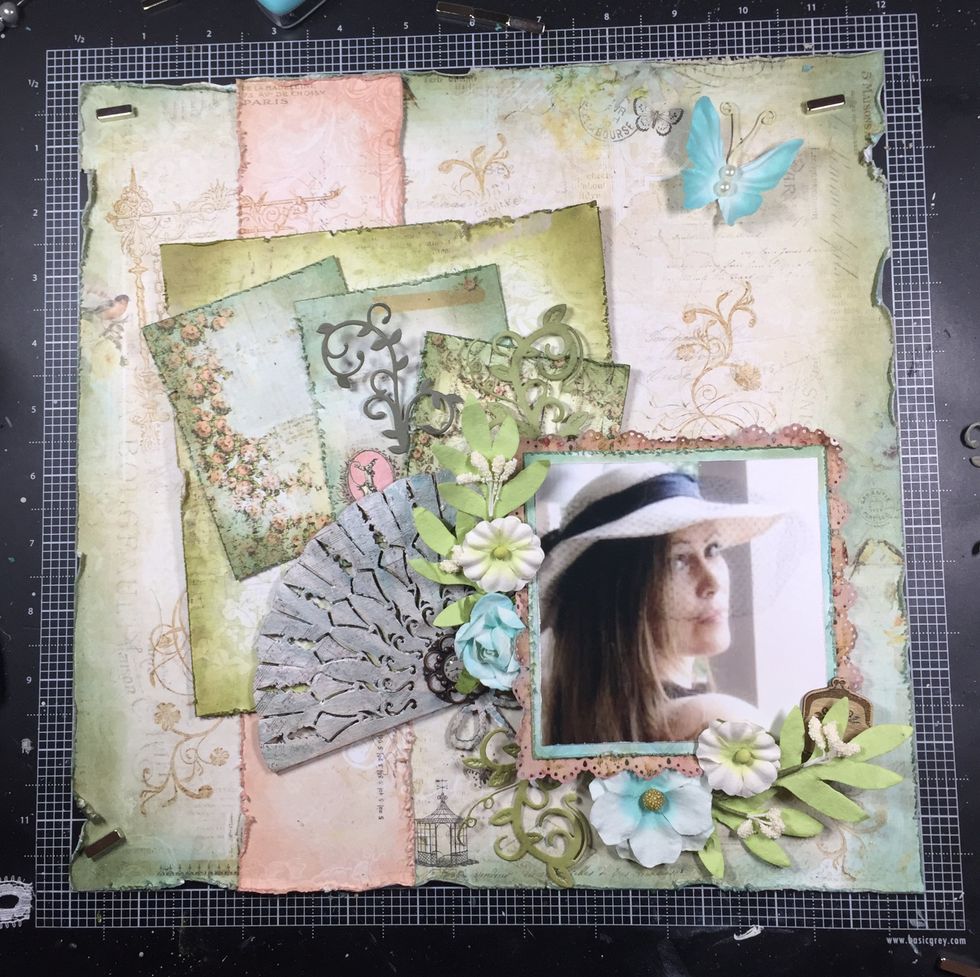
Now for flowers and other embellishments. I tore the bottom layer of the butterfly to make it smaller. I added a wood purse at the end of the flower cluster, and a brad to the fan.
Also, I used a Spellbinders leafy die that I cut from one of dark green and light green notecards. I stuck those leafy swirls into my flower arrangements. I also took apart the flowers for my design.
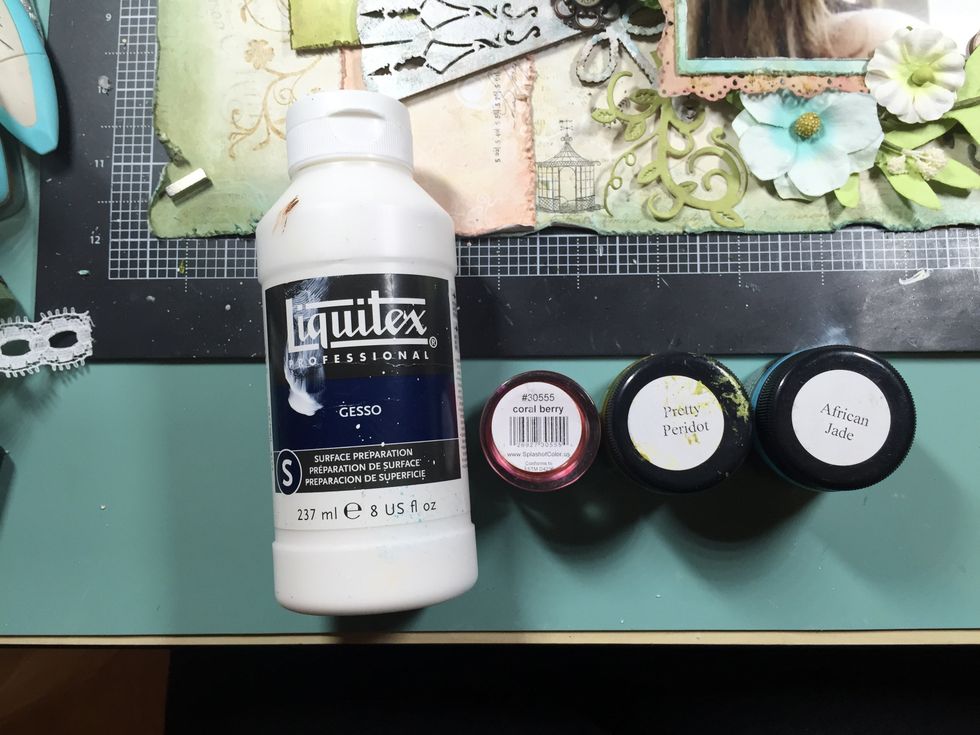
For added dimension and a polished look, I softened up the flowers with gesso, then highlighted them with Silks paints.
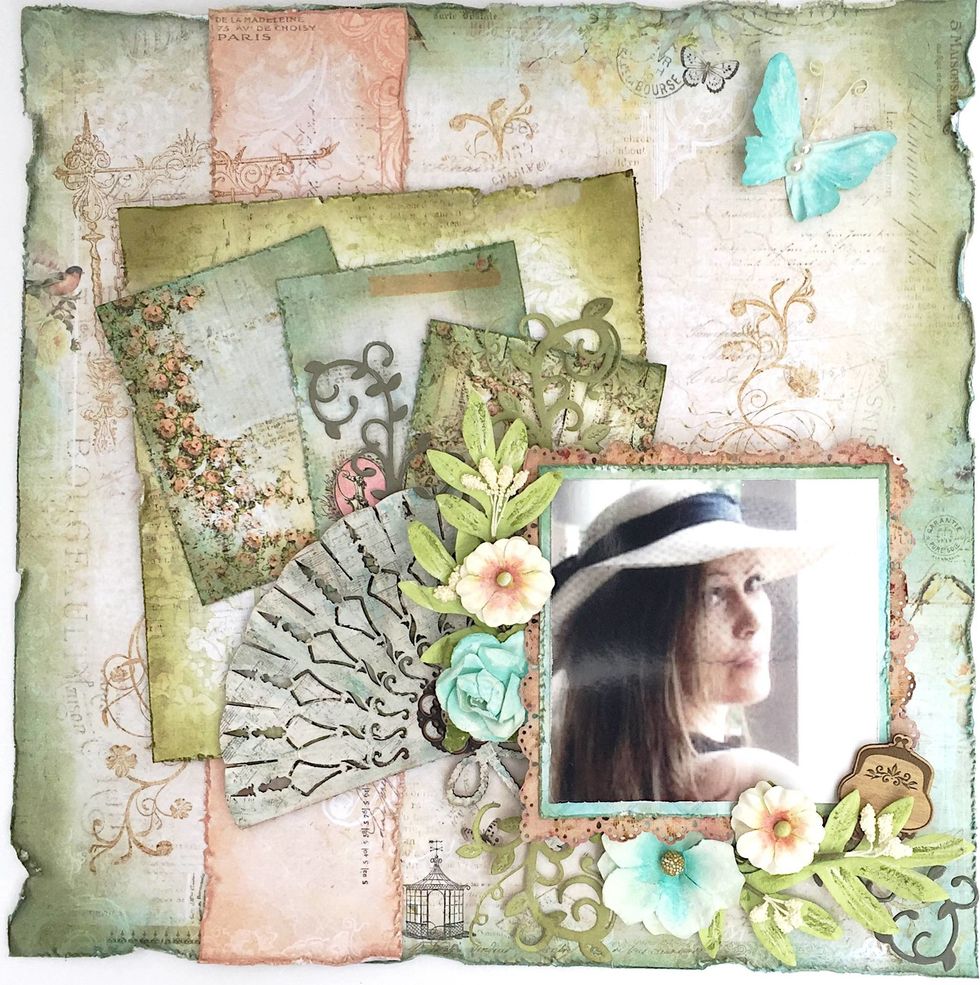
And, this is the final result!
If you’re ready to start getting perfectly coordinated, top of the line scrapbook kits delivered to your door, visit us at www.swirlydoos.com. Mention my name (Rae) when you subscribe for discounts!