The Conversation (0)
Sign Up

Choosing a 12x12 paper from the Ledger pad, cut out an area fro the centre to use later.
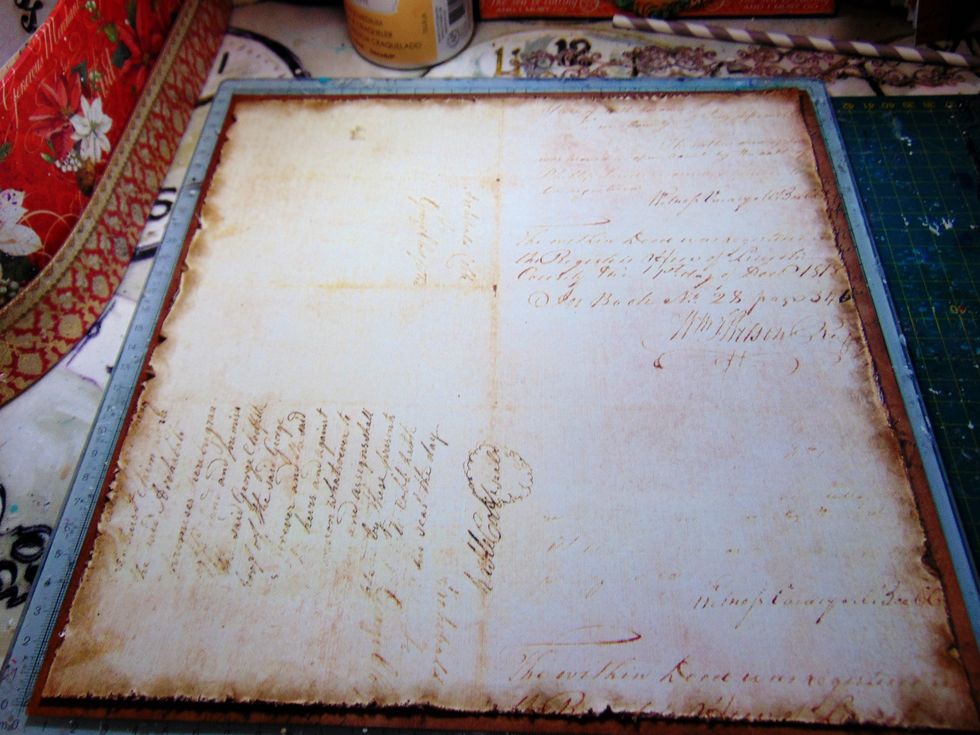
Choosing a 2nd paper from the 12x12 ledger pad, trim off 1cm around the paper, distress and ink with Walnut Stain. Layer on top of the 1st paper.
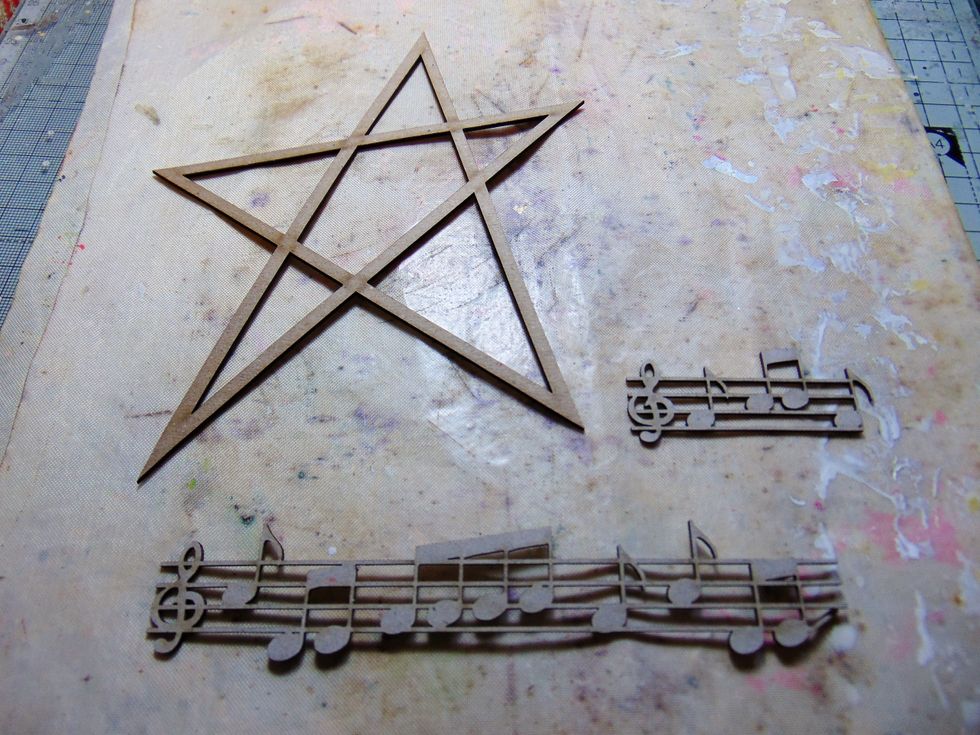
Now for some prep work. Choose some chipboards pieces.

The star was painted with the Kaisercraft paint and the music with the Folk Art paint. Dry.
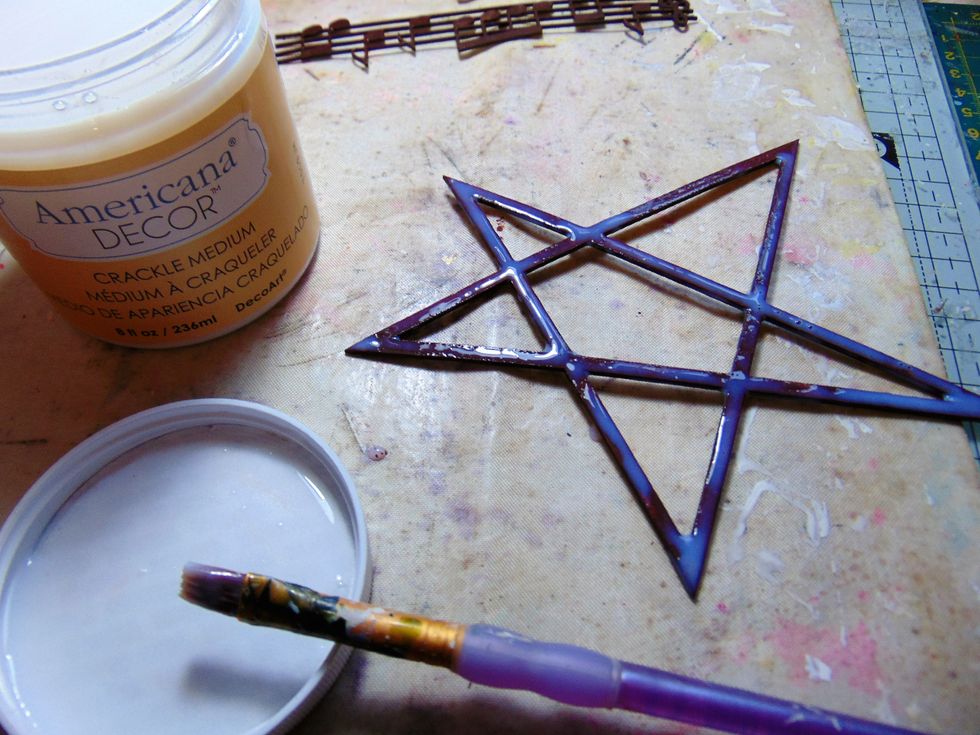
When dry cover the star with the crackle medium. Leave to dry.
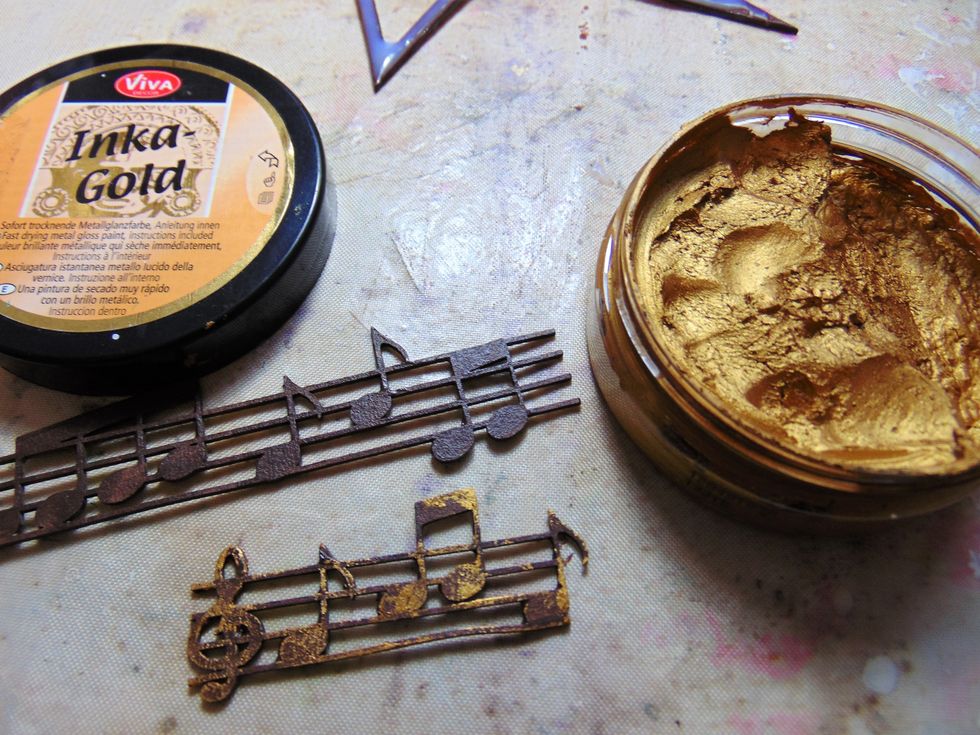
Rub the Inka gold over the Music chipboard.
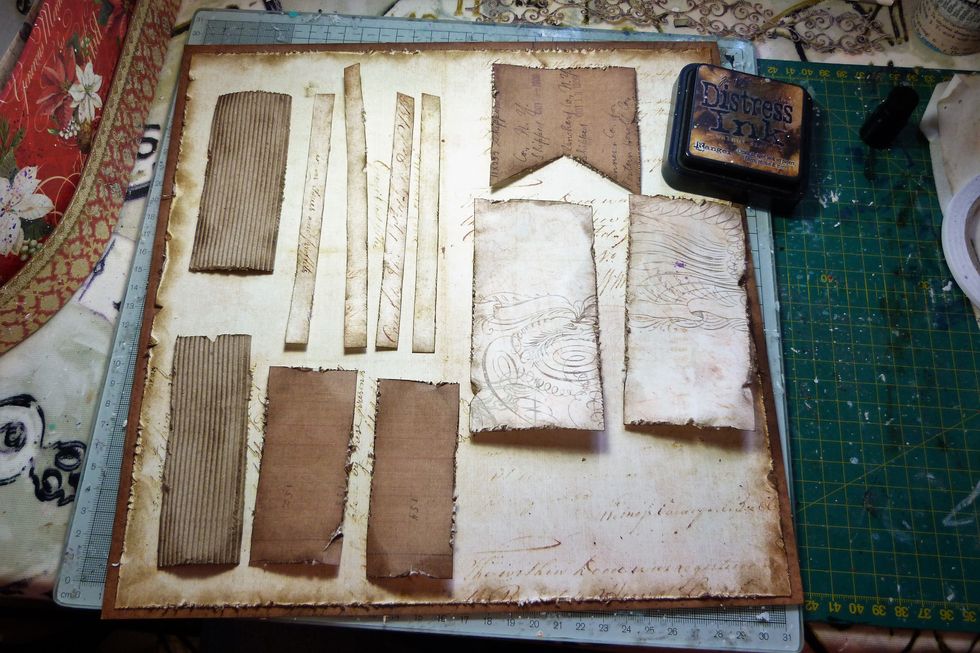
For the layers I used the piece saved from the base 12x12 paper, 2 pieces from a Princess paper, some corrugated card, and the trims. All distressed and inked with Walnut Stain.
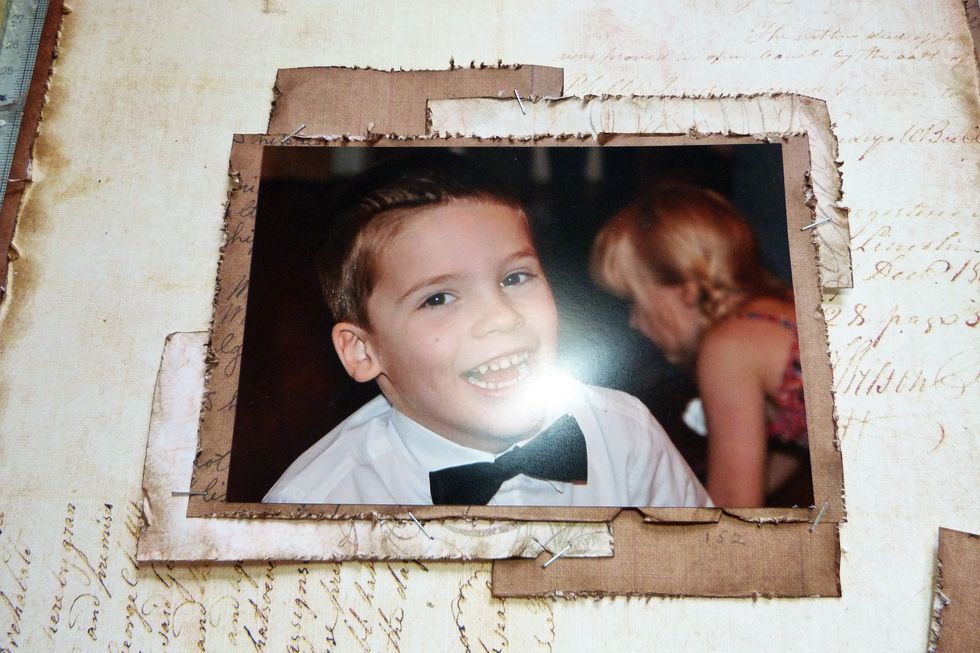
Now I started layering the pieces behind my photo. I used a stapler to join the pieces together.
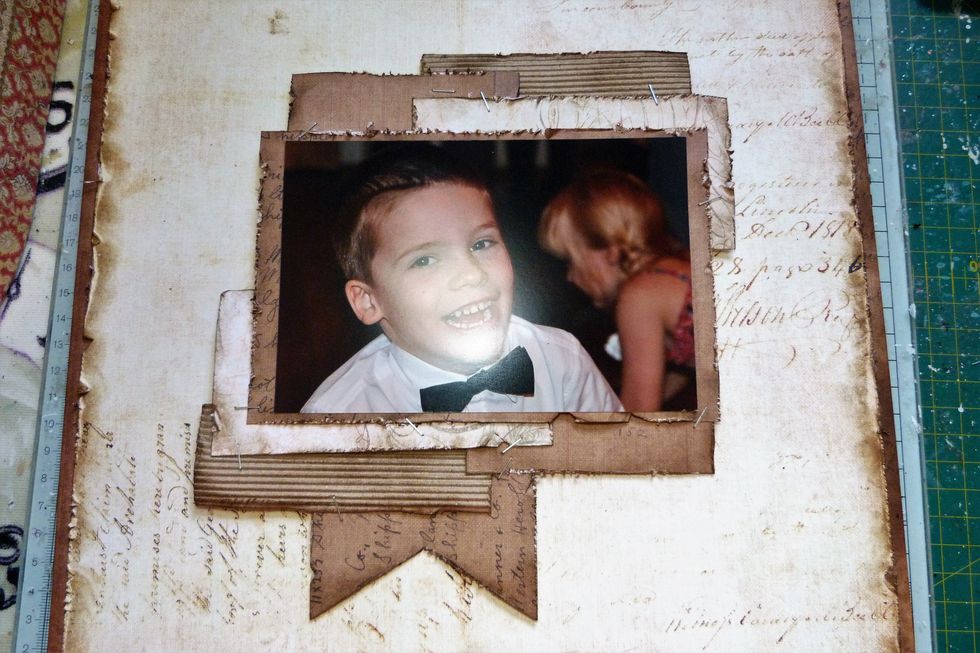
Build it up with the different textures and colouring.
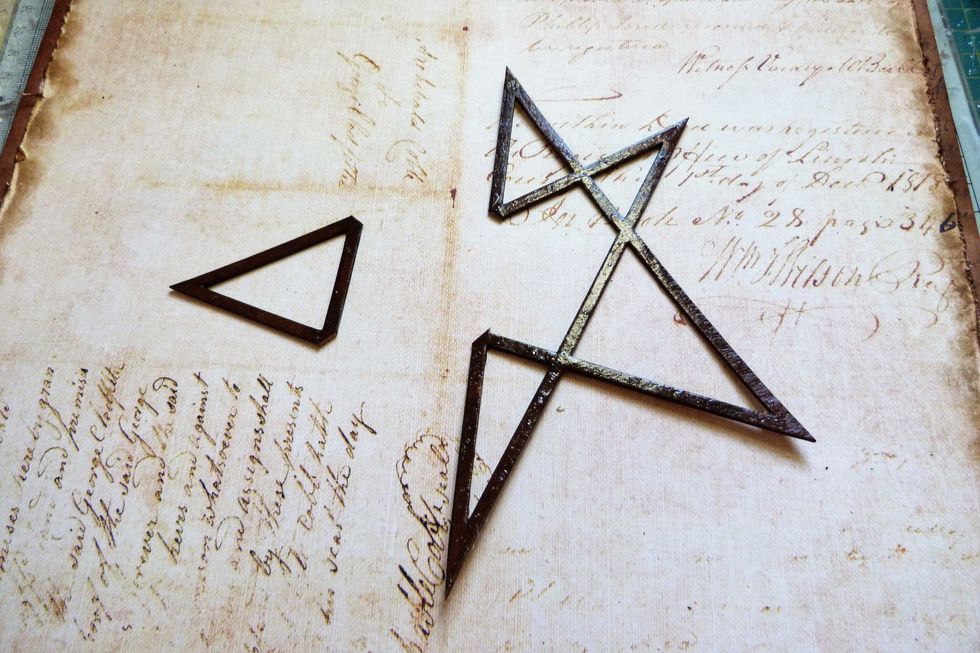
The star I cut up so I could add a piece on both sides of my photo.

The bigger piece I added on the right hand side slipping it under one of my layers.
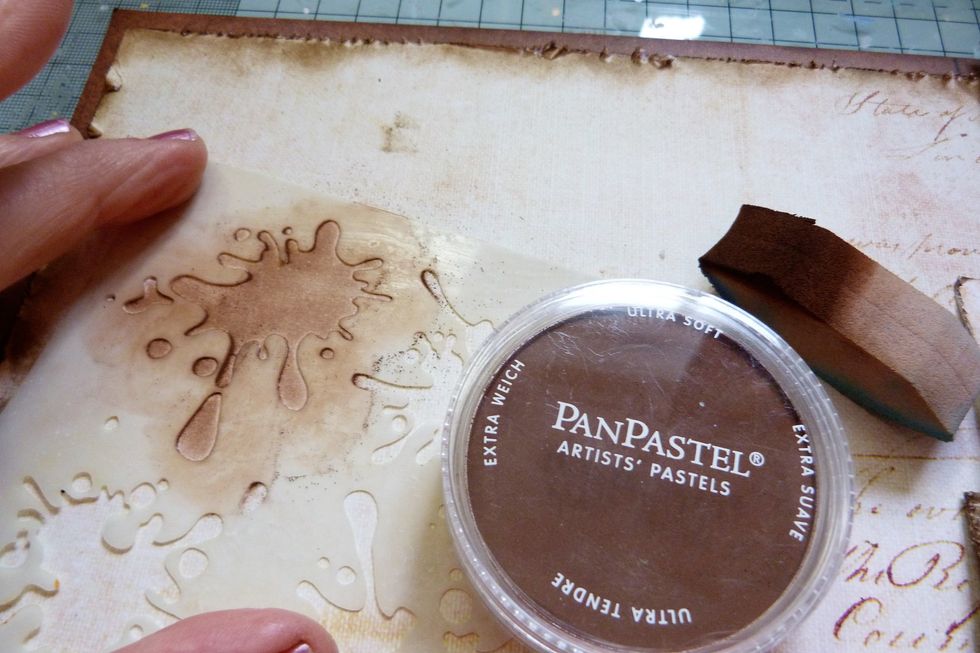
Deciding where the main photo/layers is going to go on your background paper, work out where you want the splats to fit behind them. With a sponge applicator rub the pan pastel through the stencil.
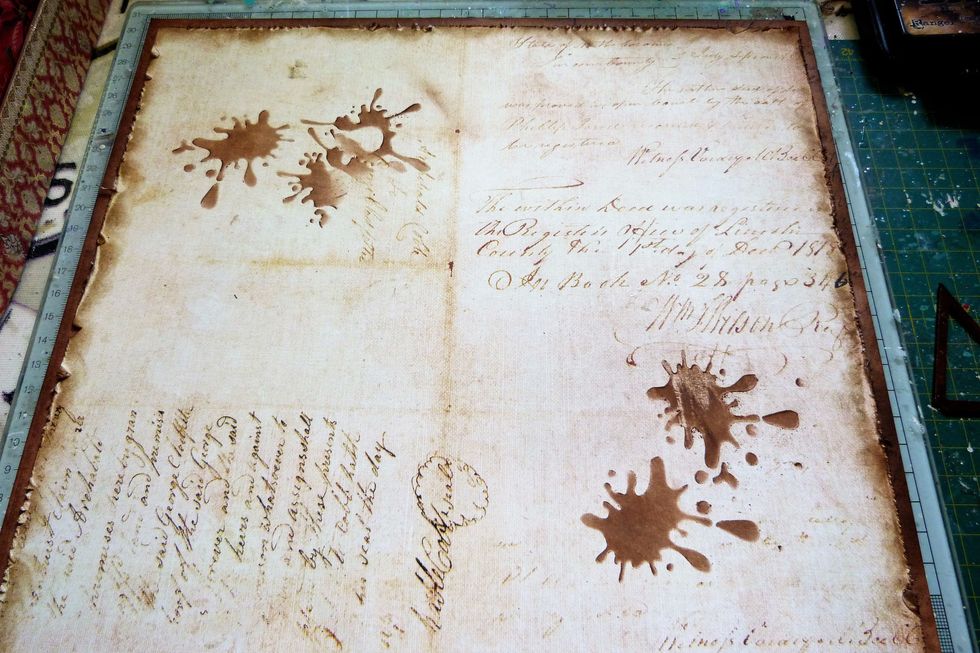
So you end up with something like this.
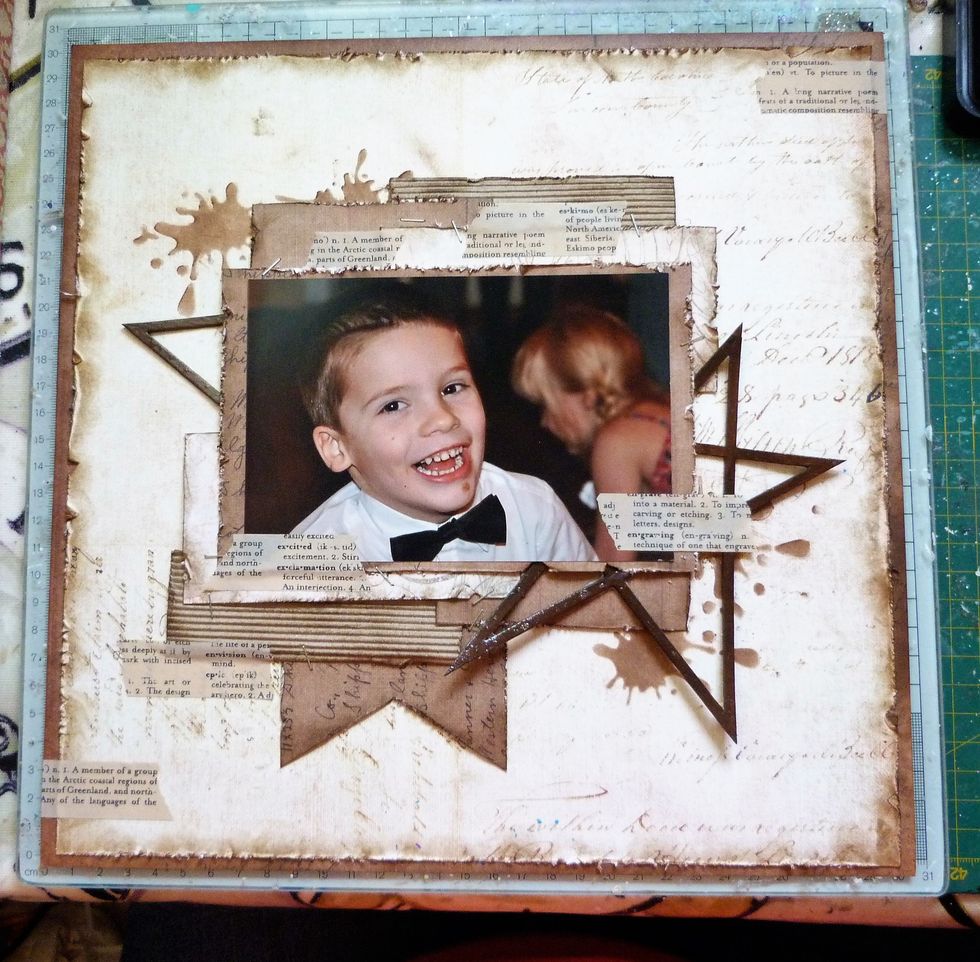
Now adhere the main feature to the background paper and add the other piece of the star to the left hand side. Add torn strips of washi tape over the layout.
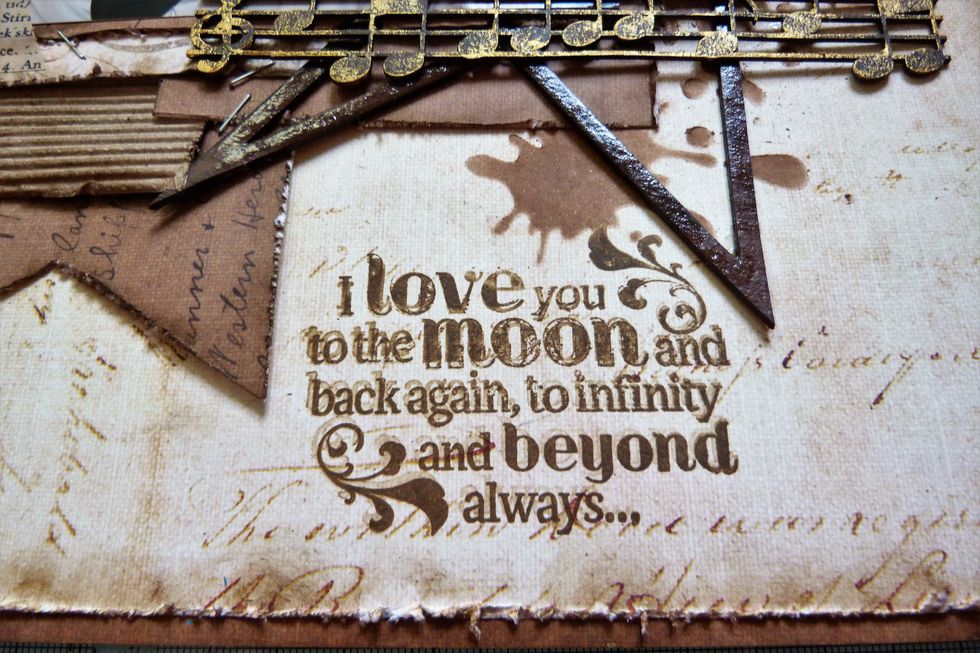
Add the stamp quote using Archival ink Coffee.
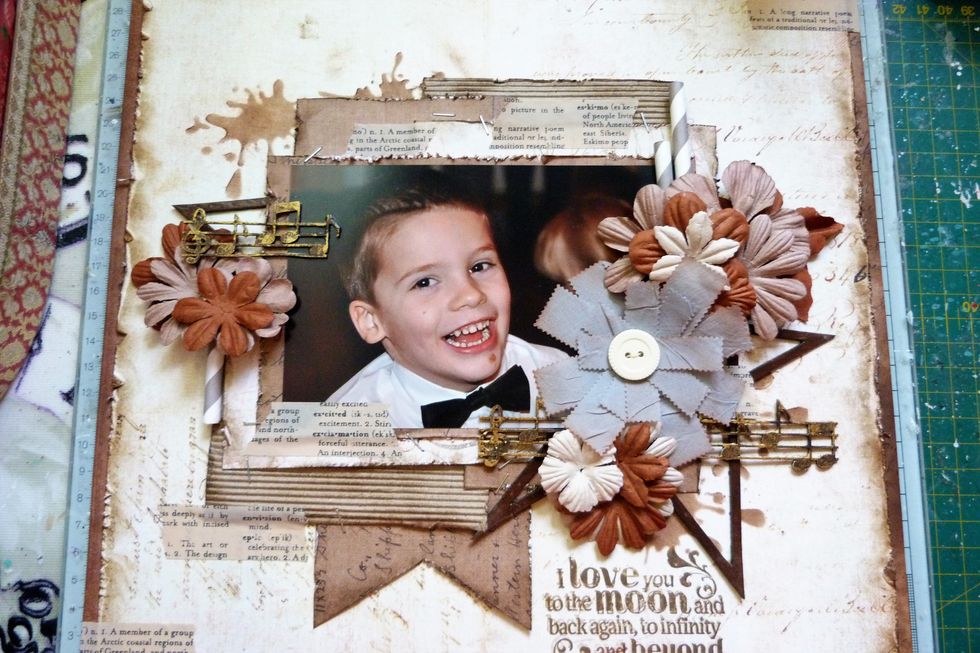
Now for the rest of the embellishments, layer up the chippy with layers of petal flowers. A close up on each side follows.
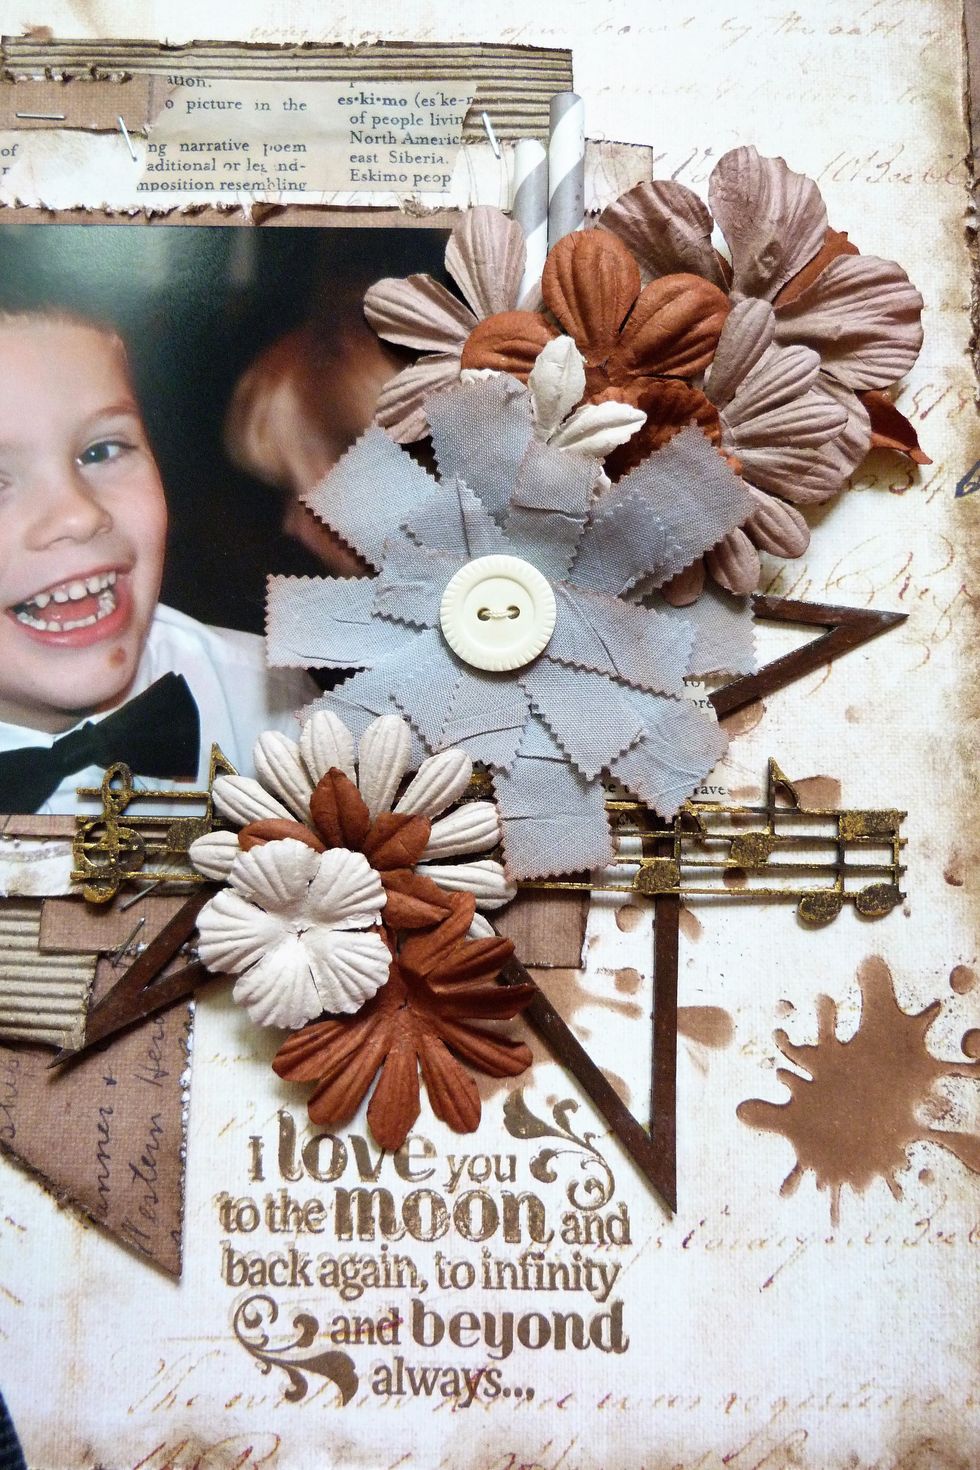
The right hand side I layered the petal flowers up around the focal button flower. Then poked the straws in the top of the cluster and the music chippie into the sides, all overlapping the photo.
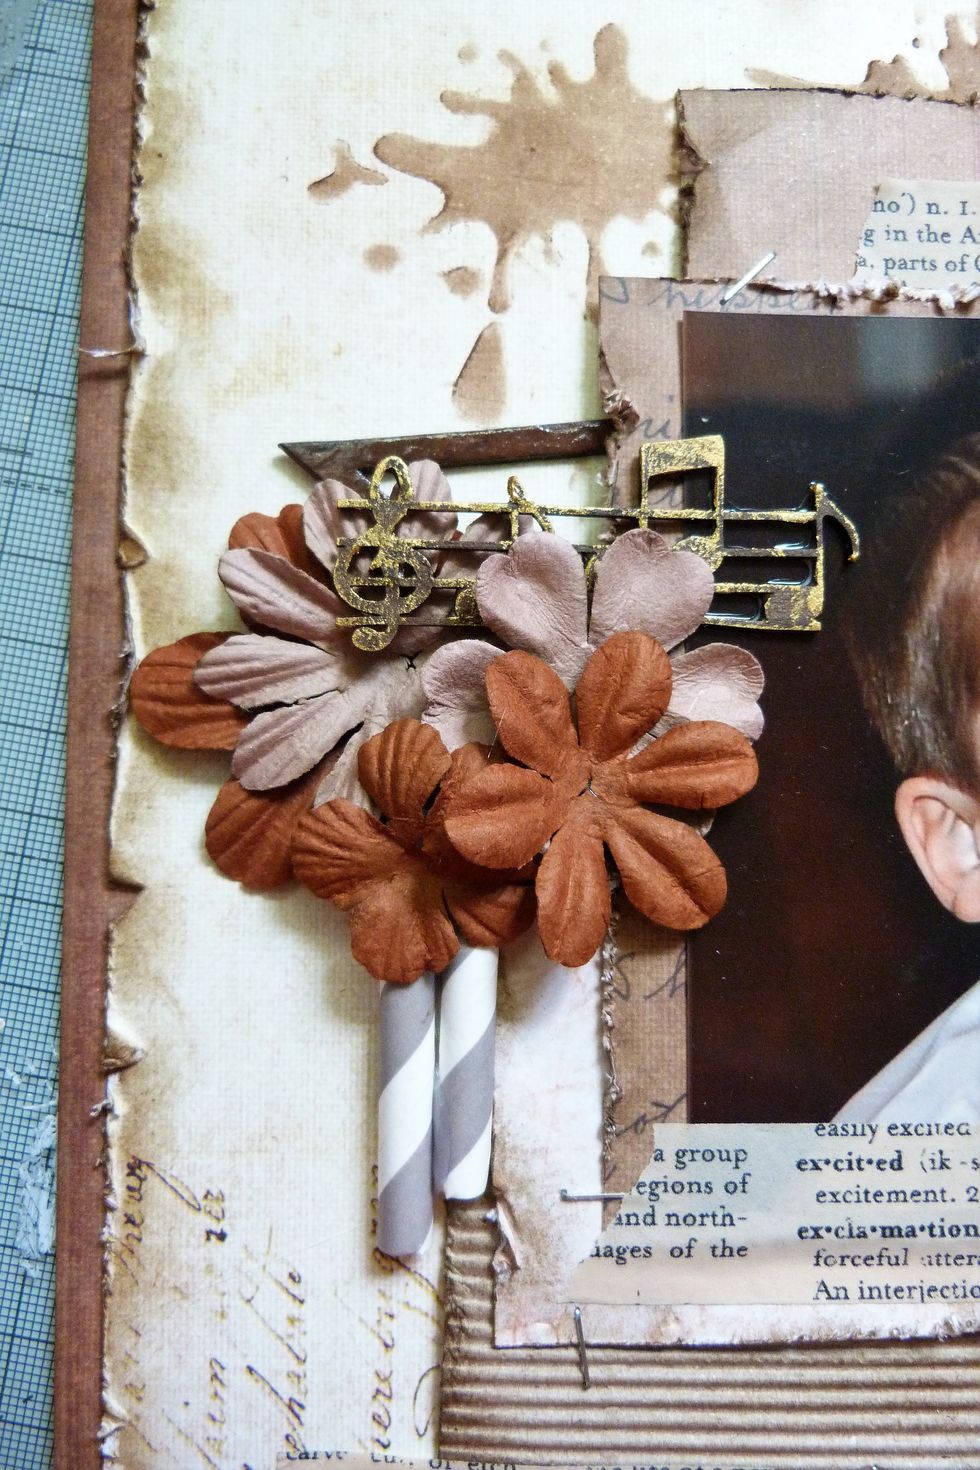
On the left hand side make a smaller cluster with some petal flowers, poke the straws in the bottom of the cluster and the remaining music chippie into the top.
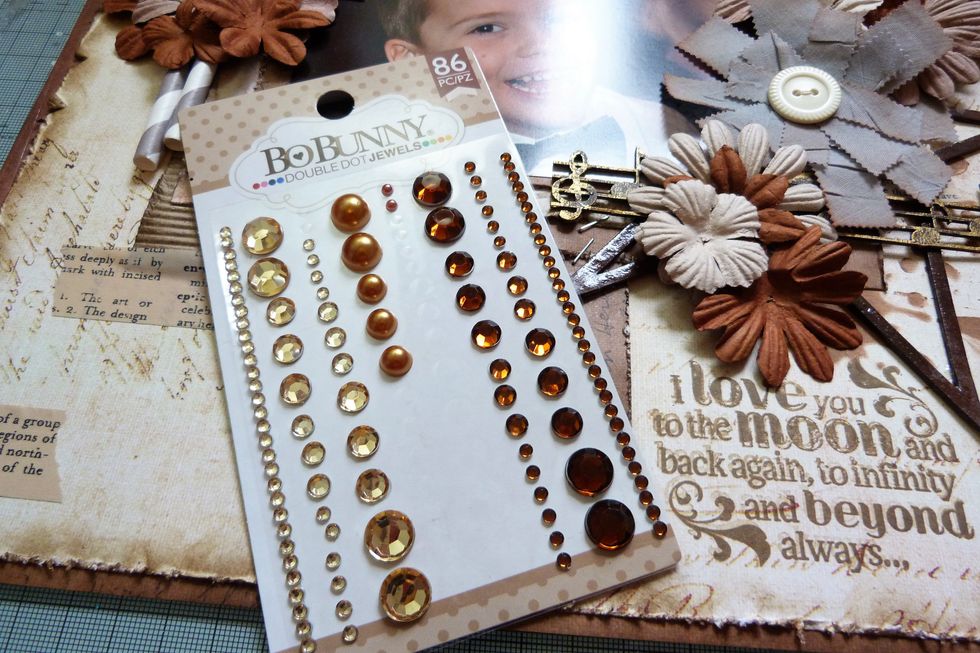
To finish the flowers petals I used a variety of pearls and crystals to add to the centres of the flowers..........
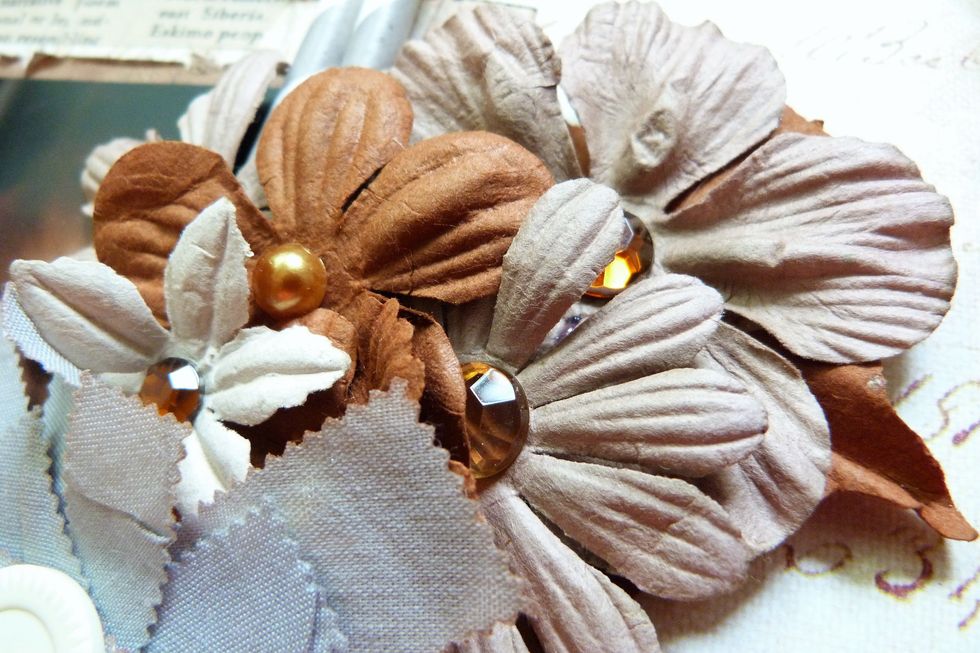
........Like this...
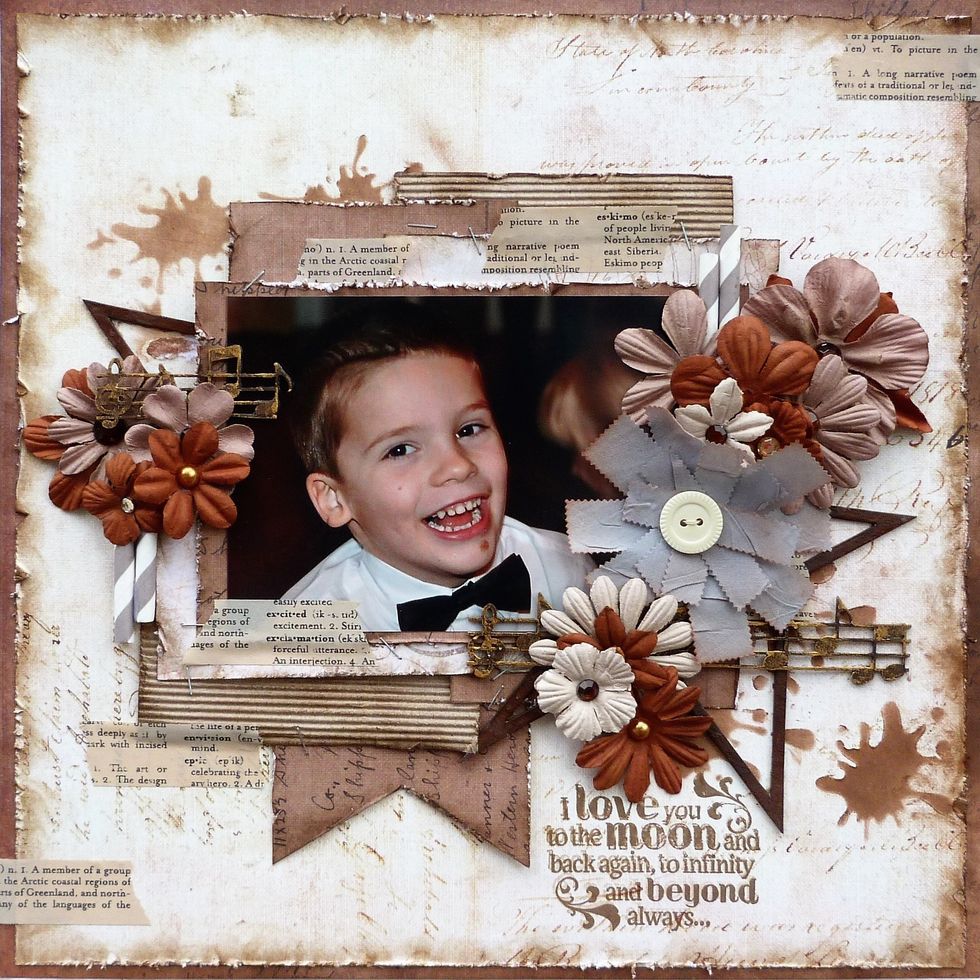
And that's it! This layout was a Design Team layout created for Let's Get Sketchy challenge site. Challenge - May 15th. More details at http://letsgetsketchy.blogspot.co.uk/