The Conversation (0)
Sign Up
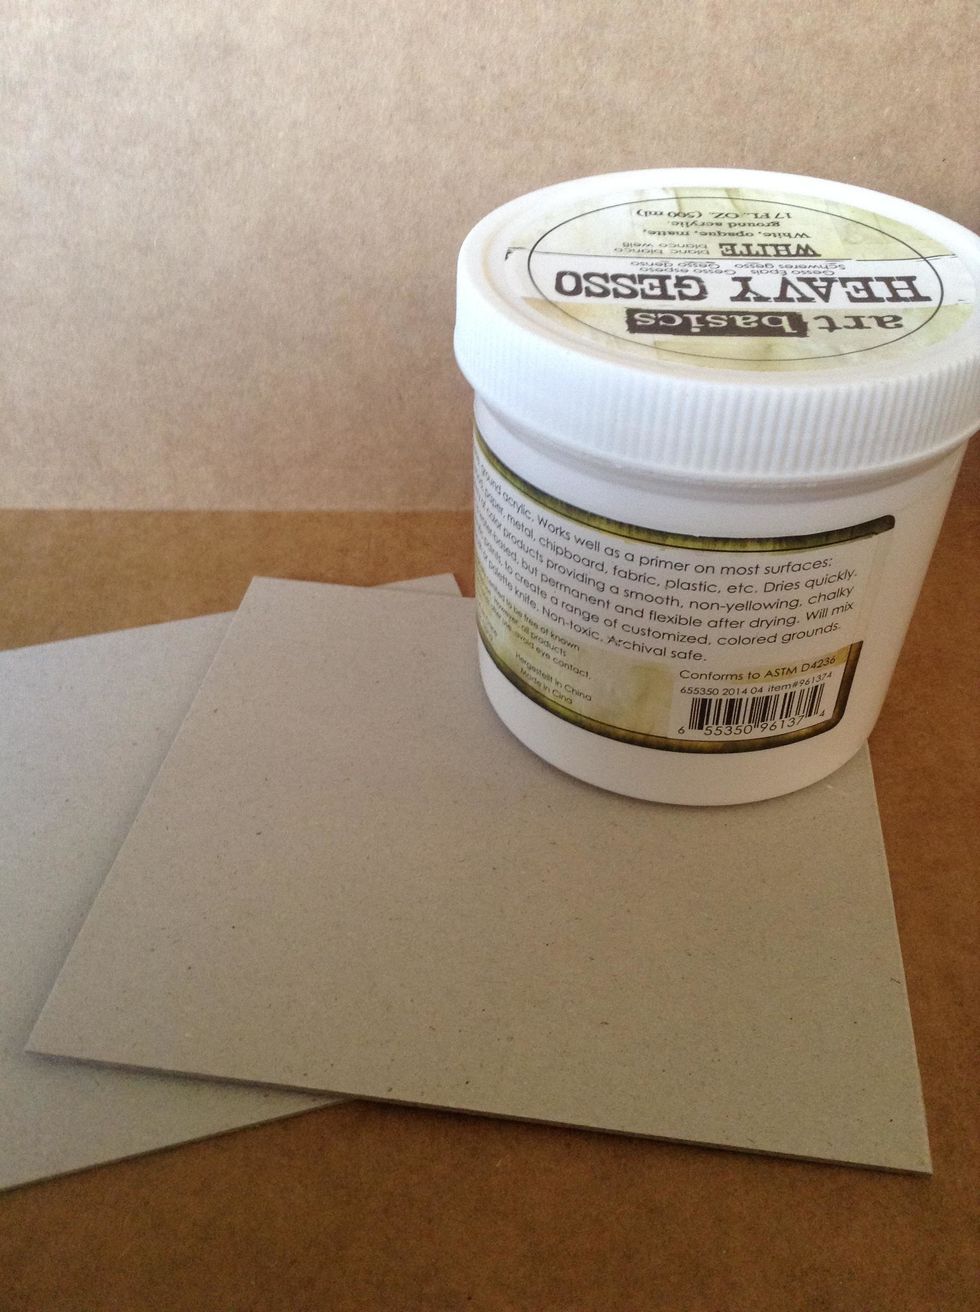
For the covers cut four pieces (three for front cover and one for back cover) of sturdy mat or chipboard to 7 x 4 1/2 inches, appy gesso to ONE piece of chipboard.
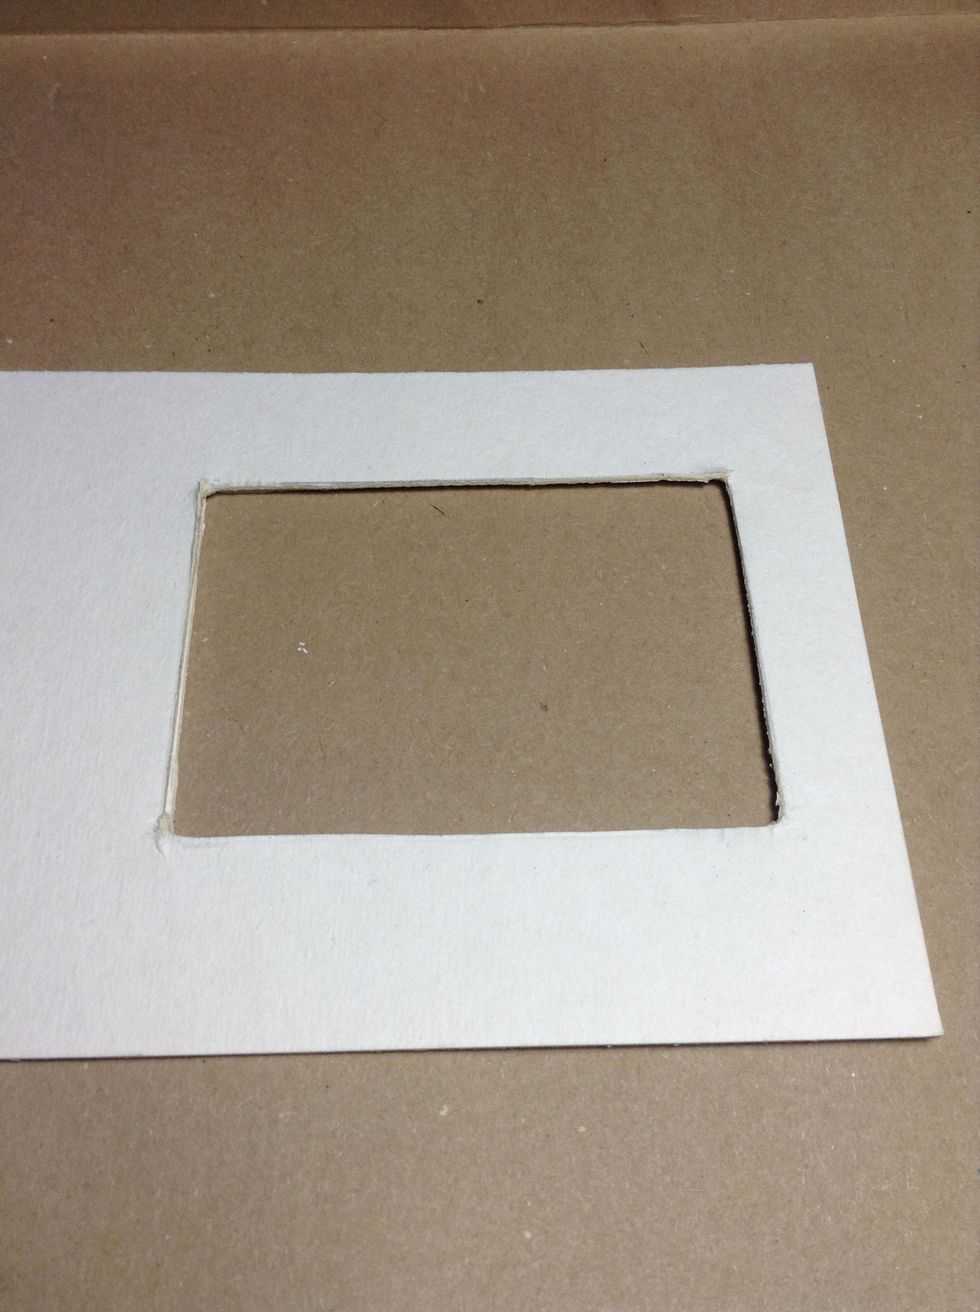
Once dry I have made a window, cutting the three pieces of chipboard that I have for to make my front cover.
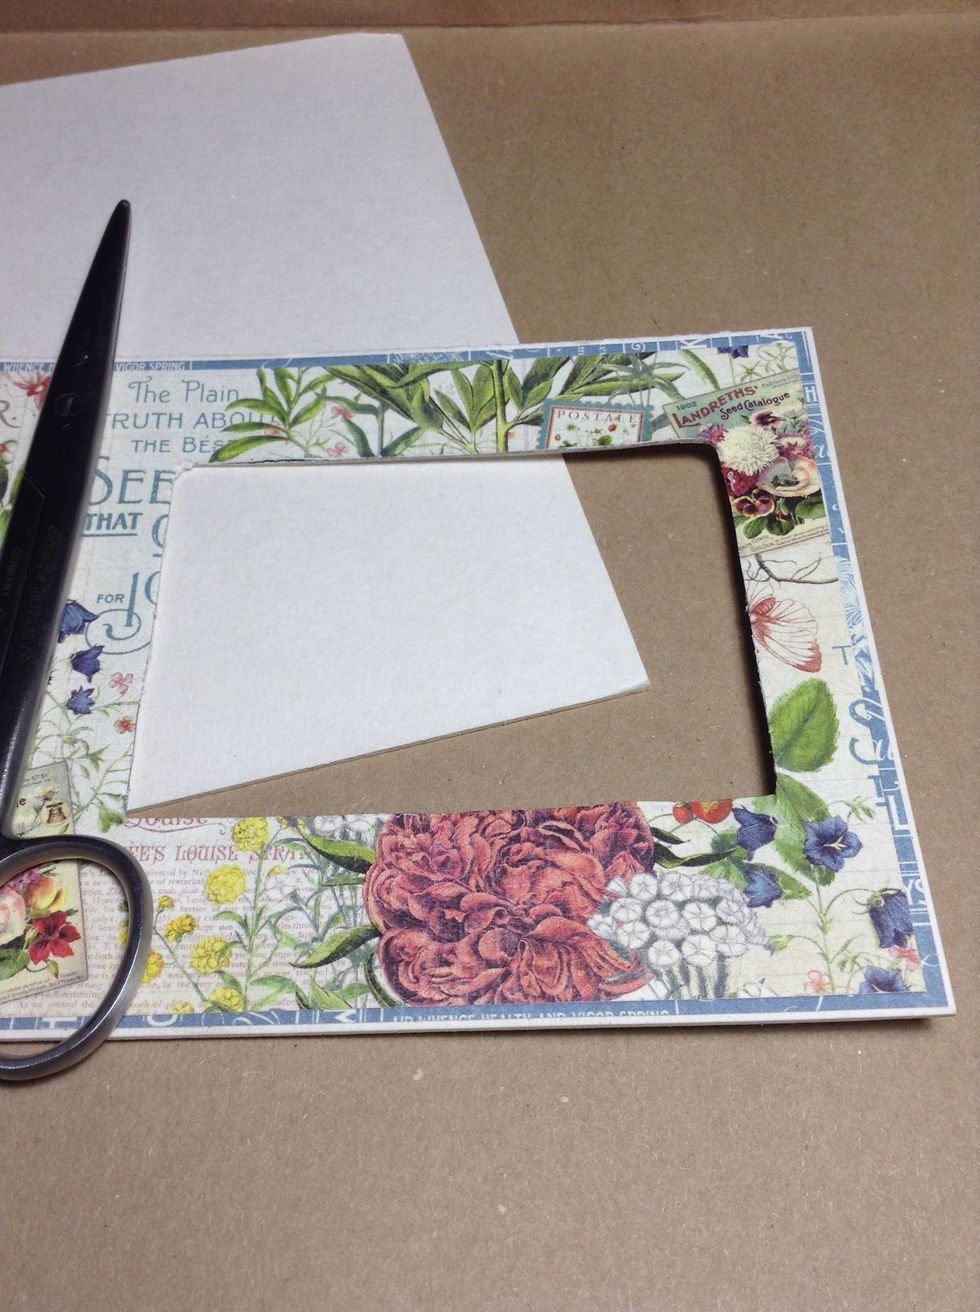
Cover this front side of the chipboard piece with "Time to Flourish" Graphic 45 paper. I also cut the same window in the paper.
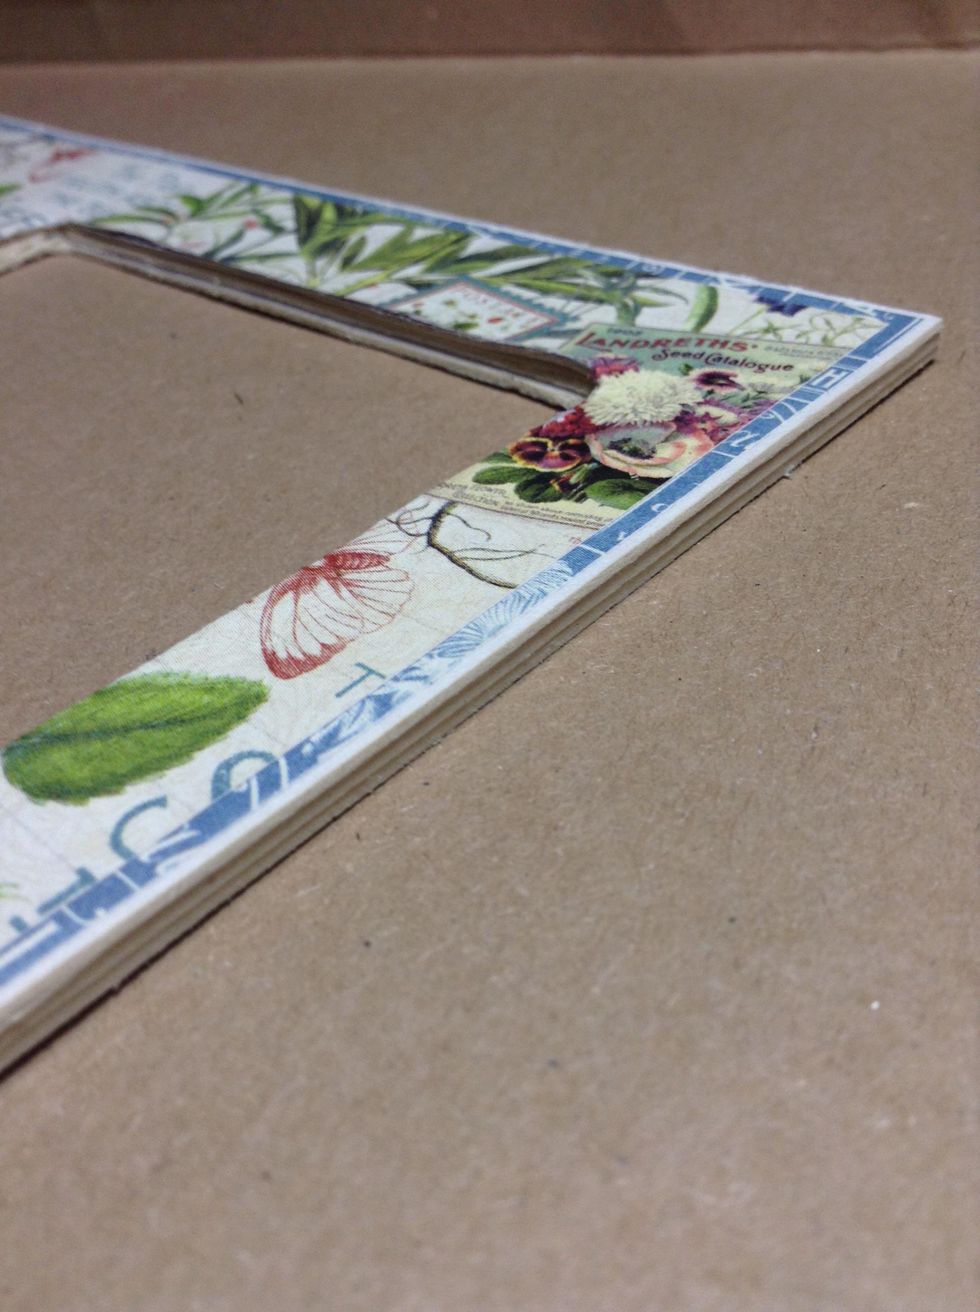
Once this side is covered with decorative paper, use a strong glue to assemble three pieces of chipboard.

Apply gesso to all the edges.
Later you will decorate the cut of the window with a chipboard of your selection. I have chosen this one.
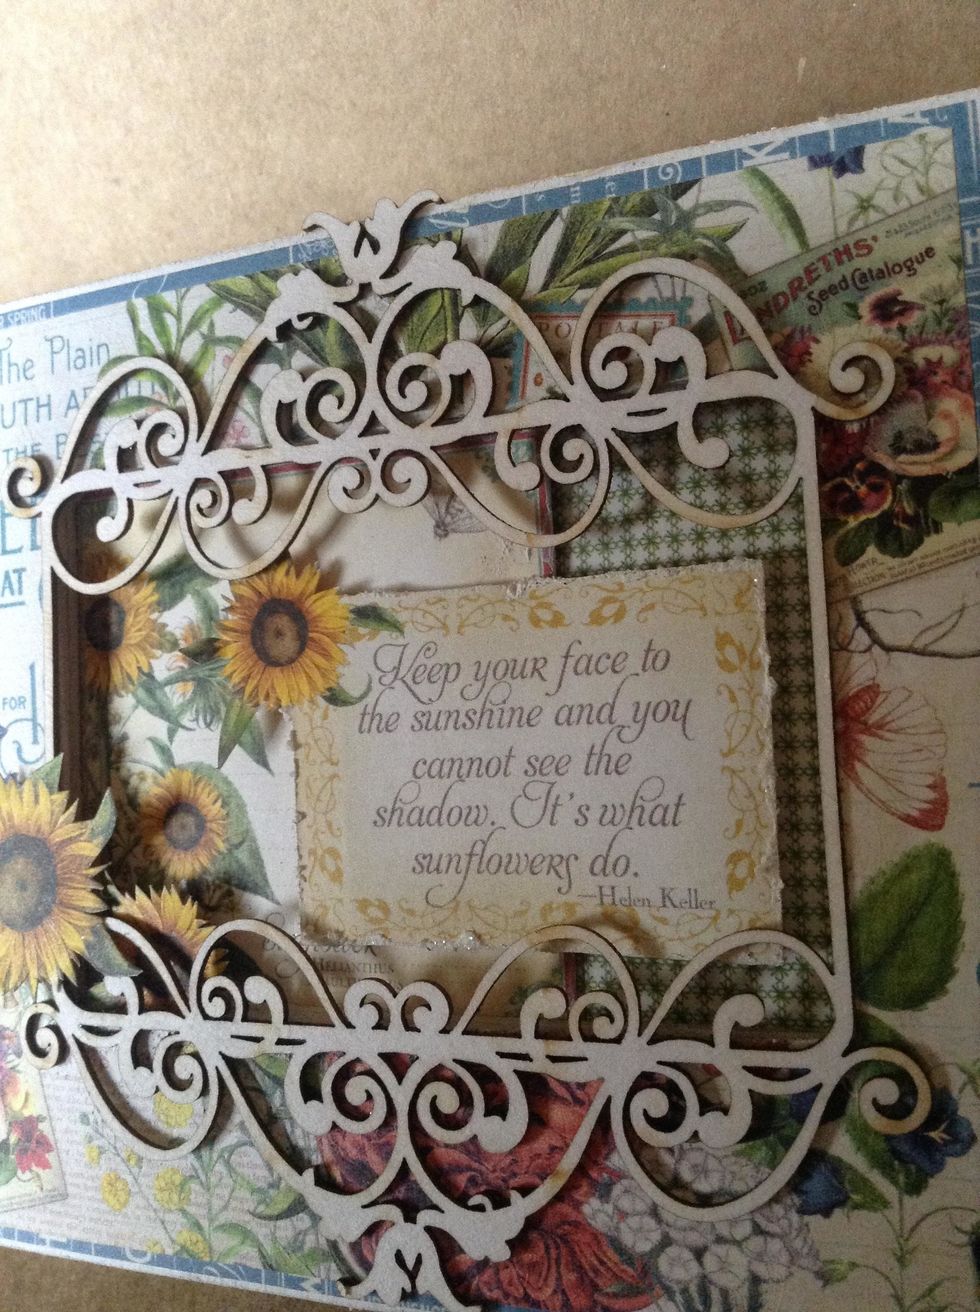
Use elements from the Graphic 45 "Time to Flourish" collection to decorate your window as desired.

*THE PAGES: The front of each page has a " Time to Flourish" Ephemera Card and the back of each page have a pocket. I will repeat same process for each month.

Using both monthly sheets from 8x8 and 12x12 Pad and covering back of each page with the "Time to Flourish Calendar" 8x8 Pad. Now I will share how I did the one month page...
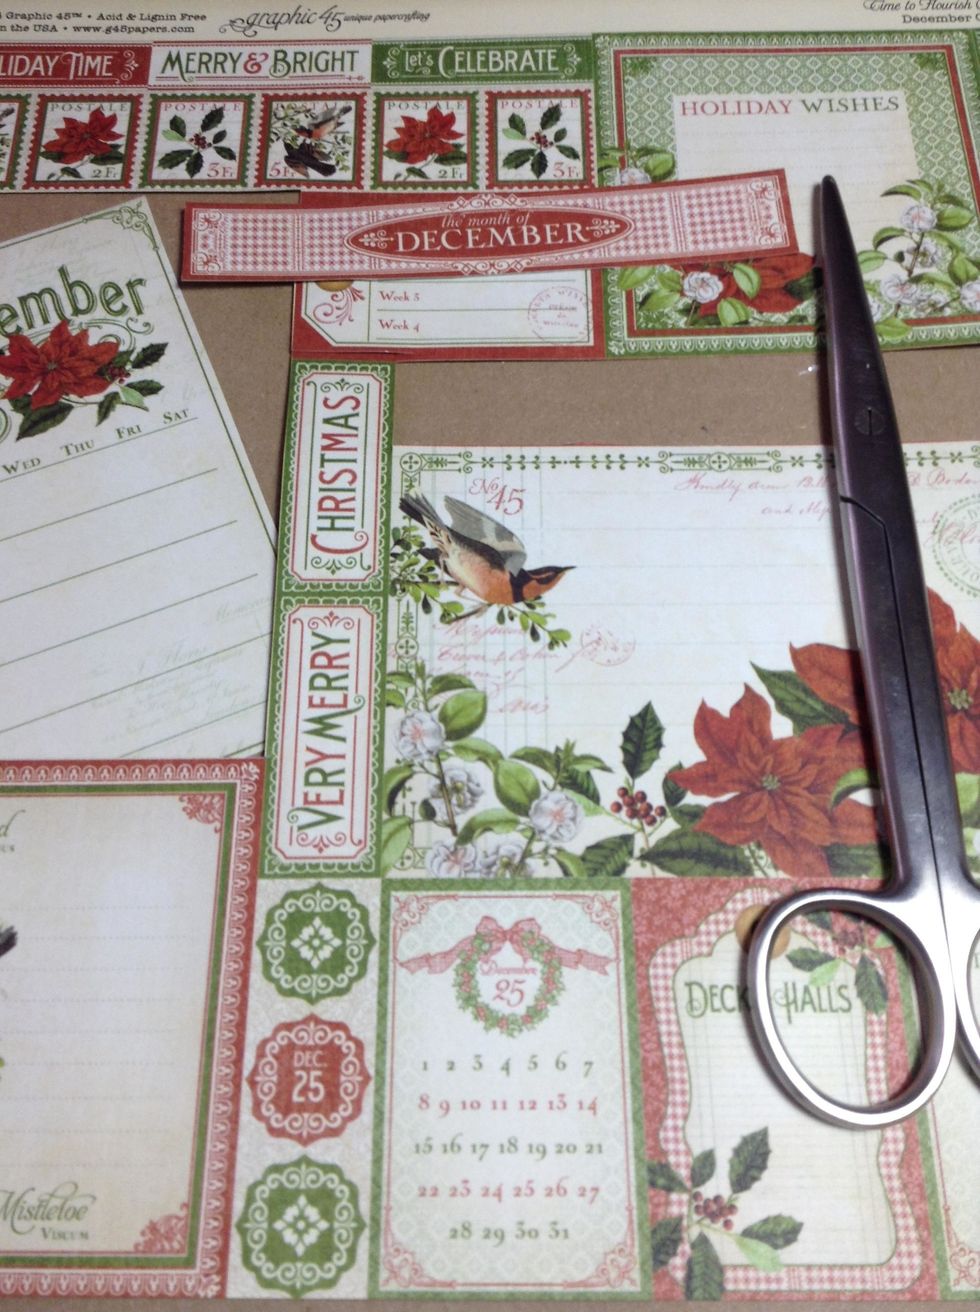
Cut all the images I want to use in each month page.. I fussy cut details .
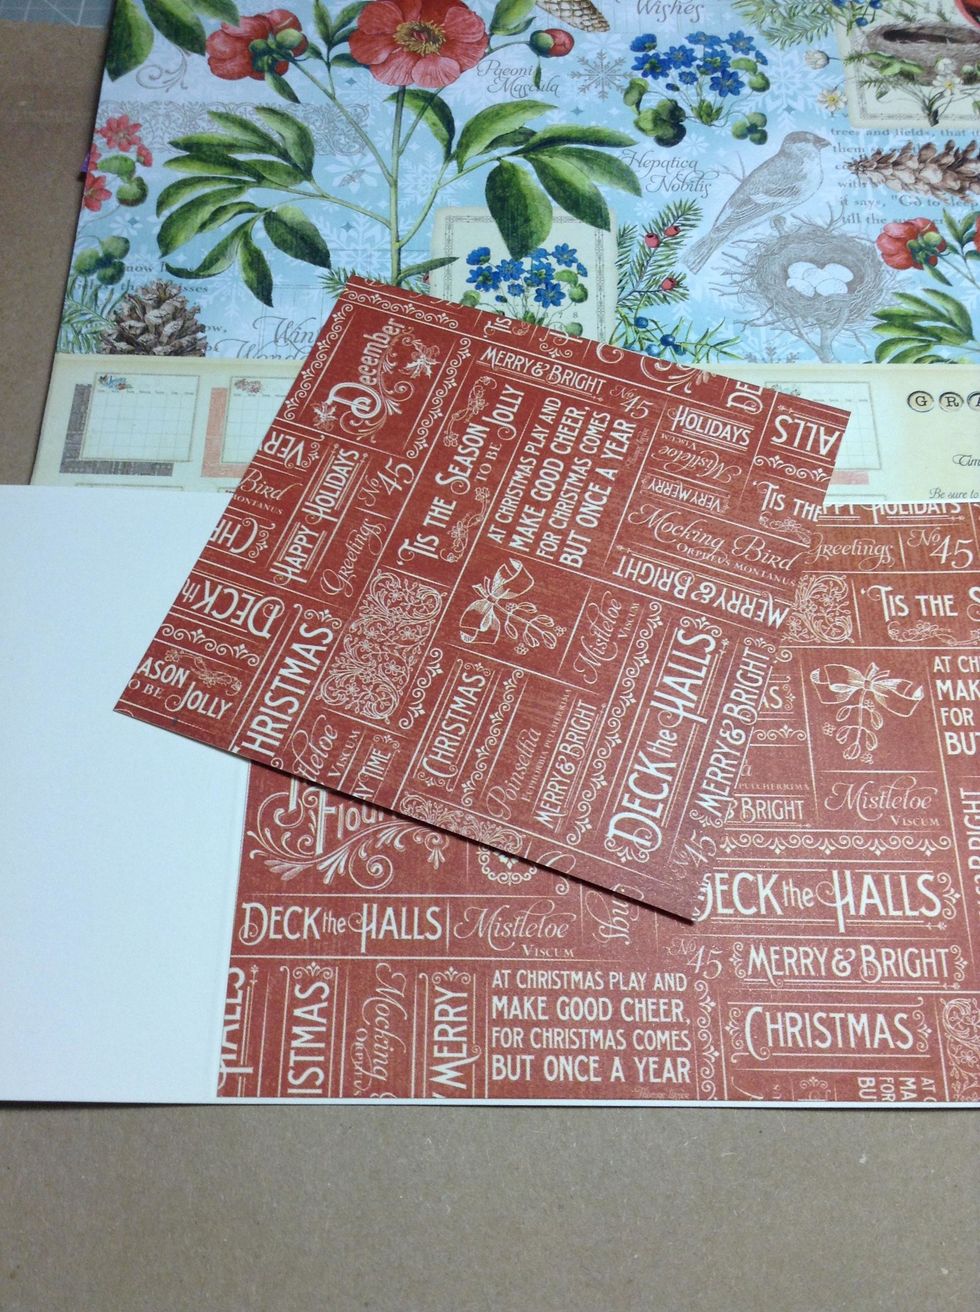
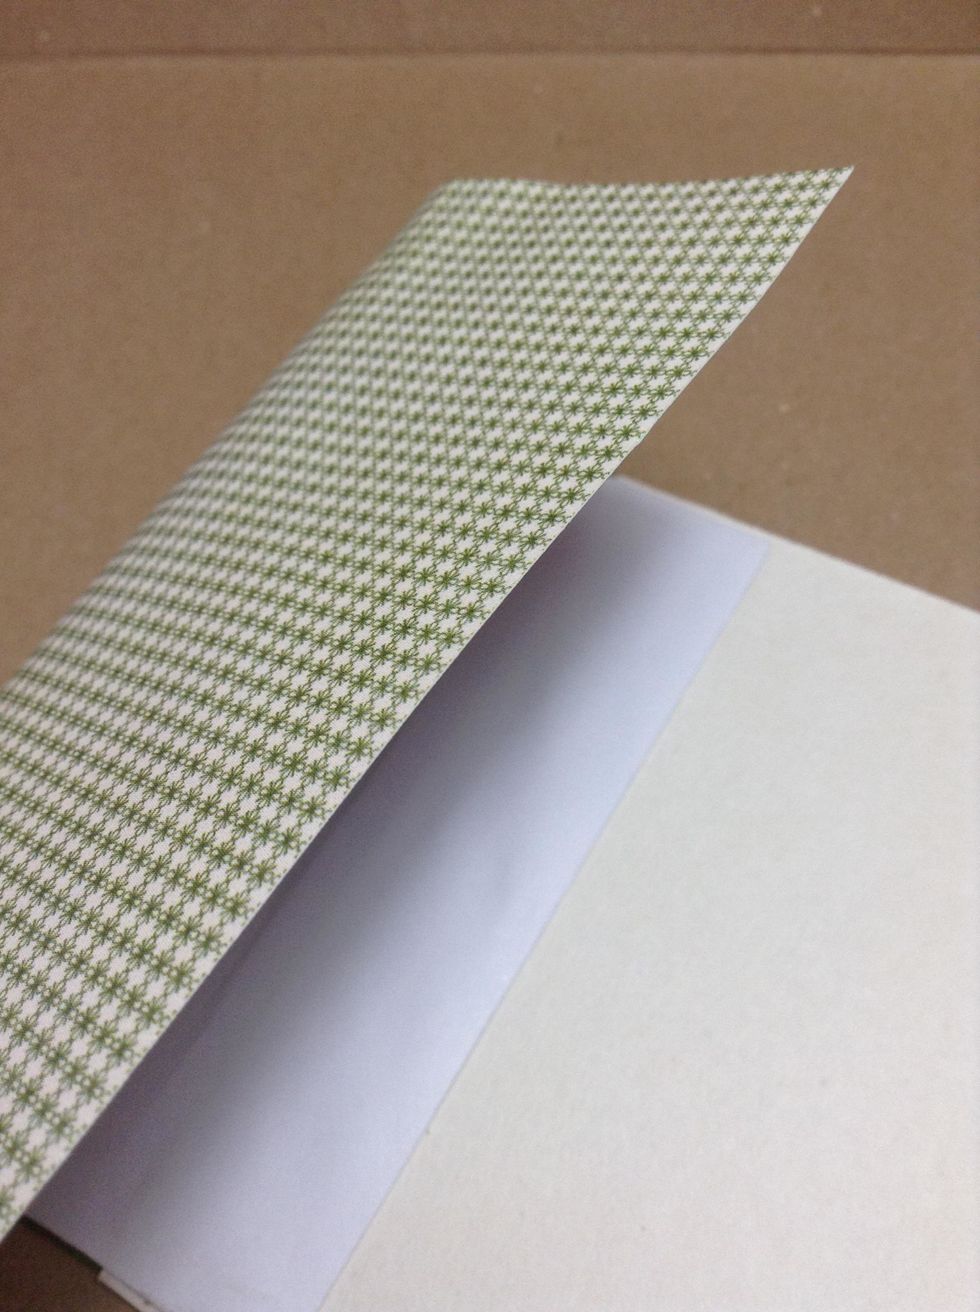
For the pages, prepare and cut 12 pieces of 10 1/2" x 4" white cardstock. I have used the extra blank sheet of paper at the back of the 12x12 paper pad!
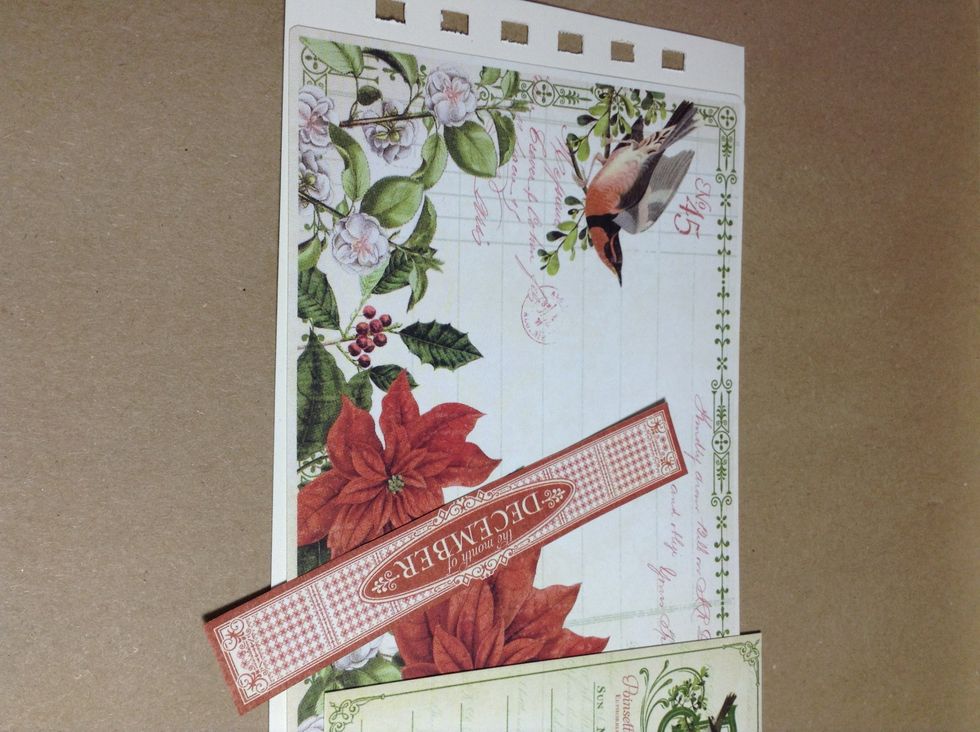
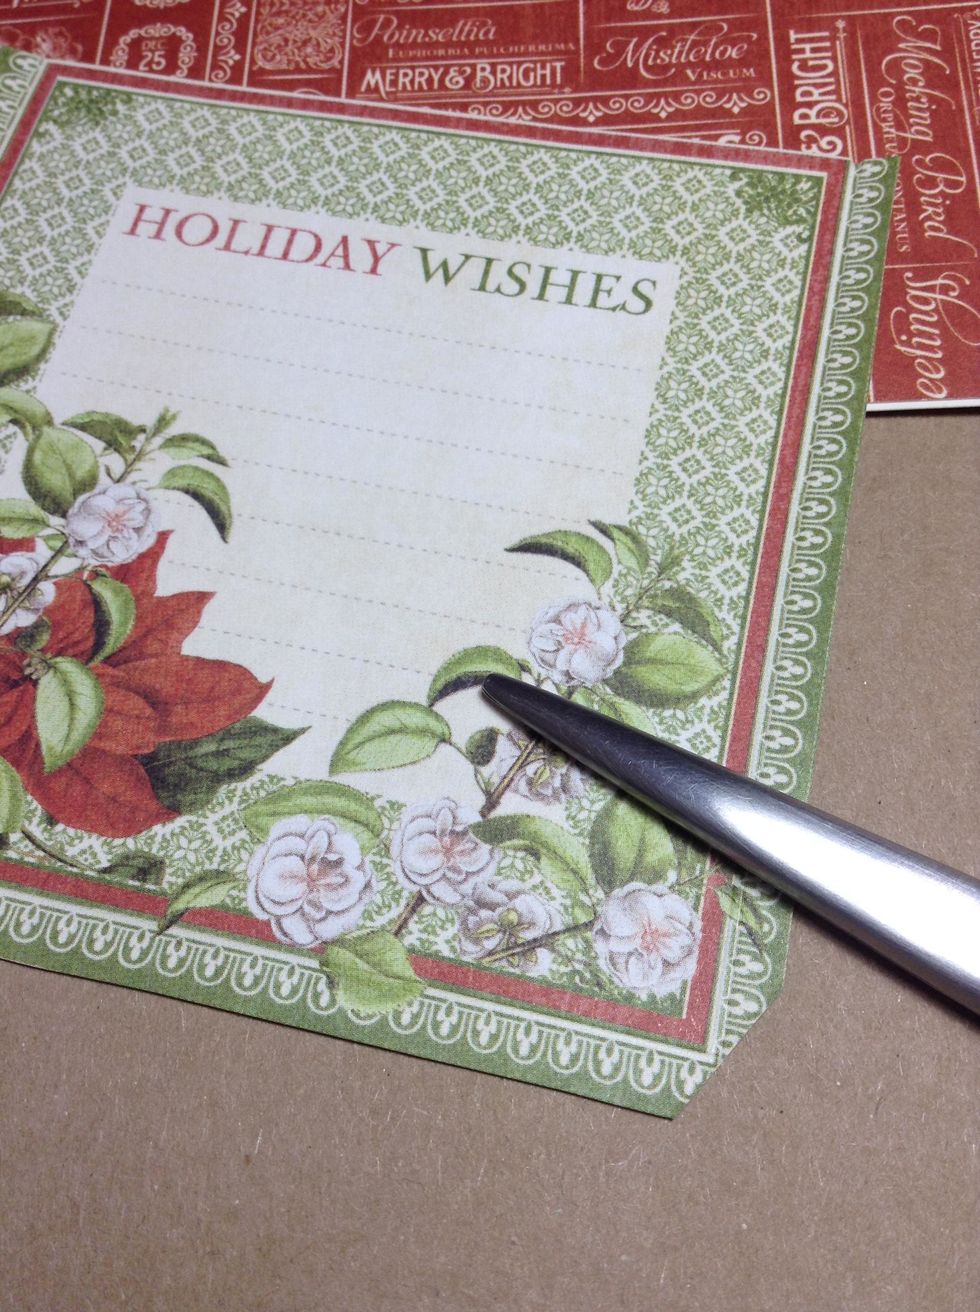
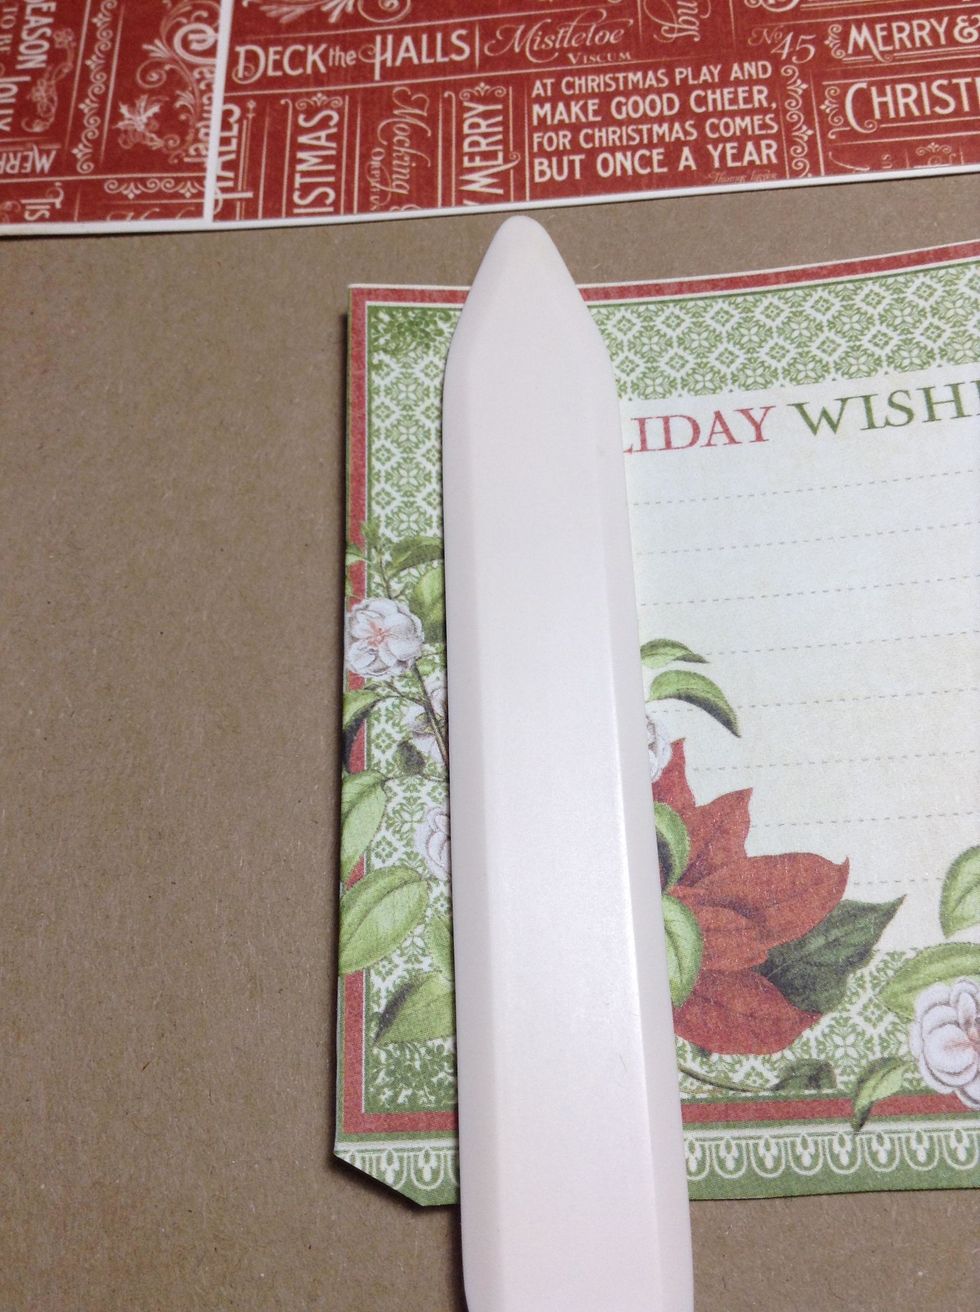
Glue the Ephemera card and the strip of the month, then folded the rest as it is seen in the photo.
Cover back of the page with " Time to Flourish" Calendar 8x8 Pad. And each month page have a pocket.
*POCKETS: Fold over the edges to the interior. I have chosen this card from 12x12 paper.
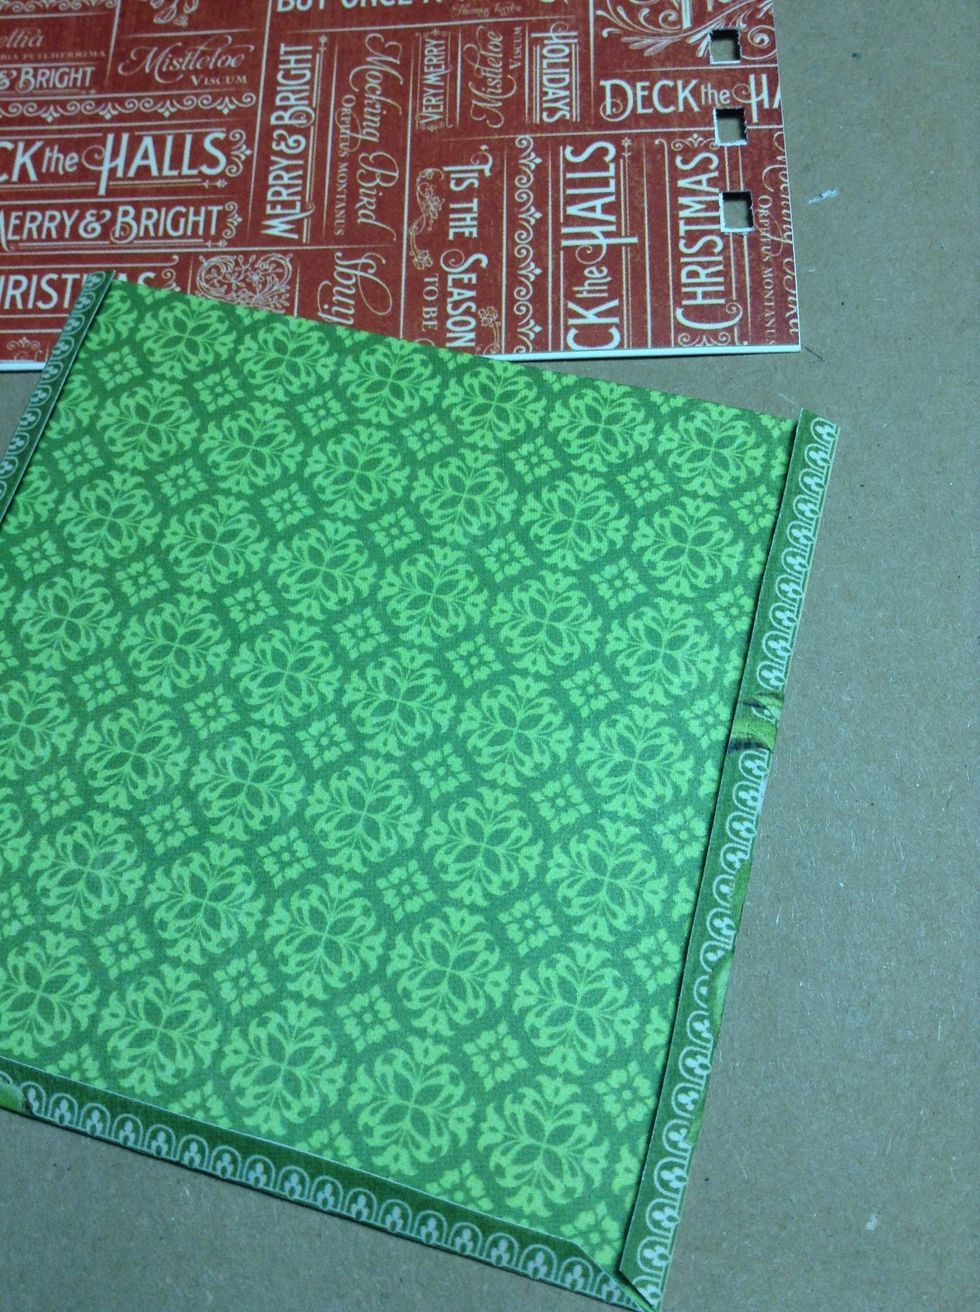
Like this...
And now glue the pocket in the back of each moth page.
This is how the pocket will look when glue this in the back of the page.
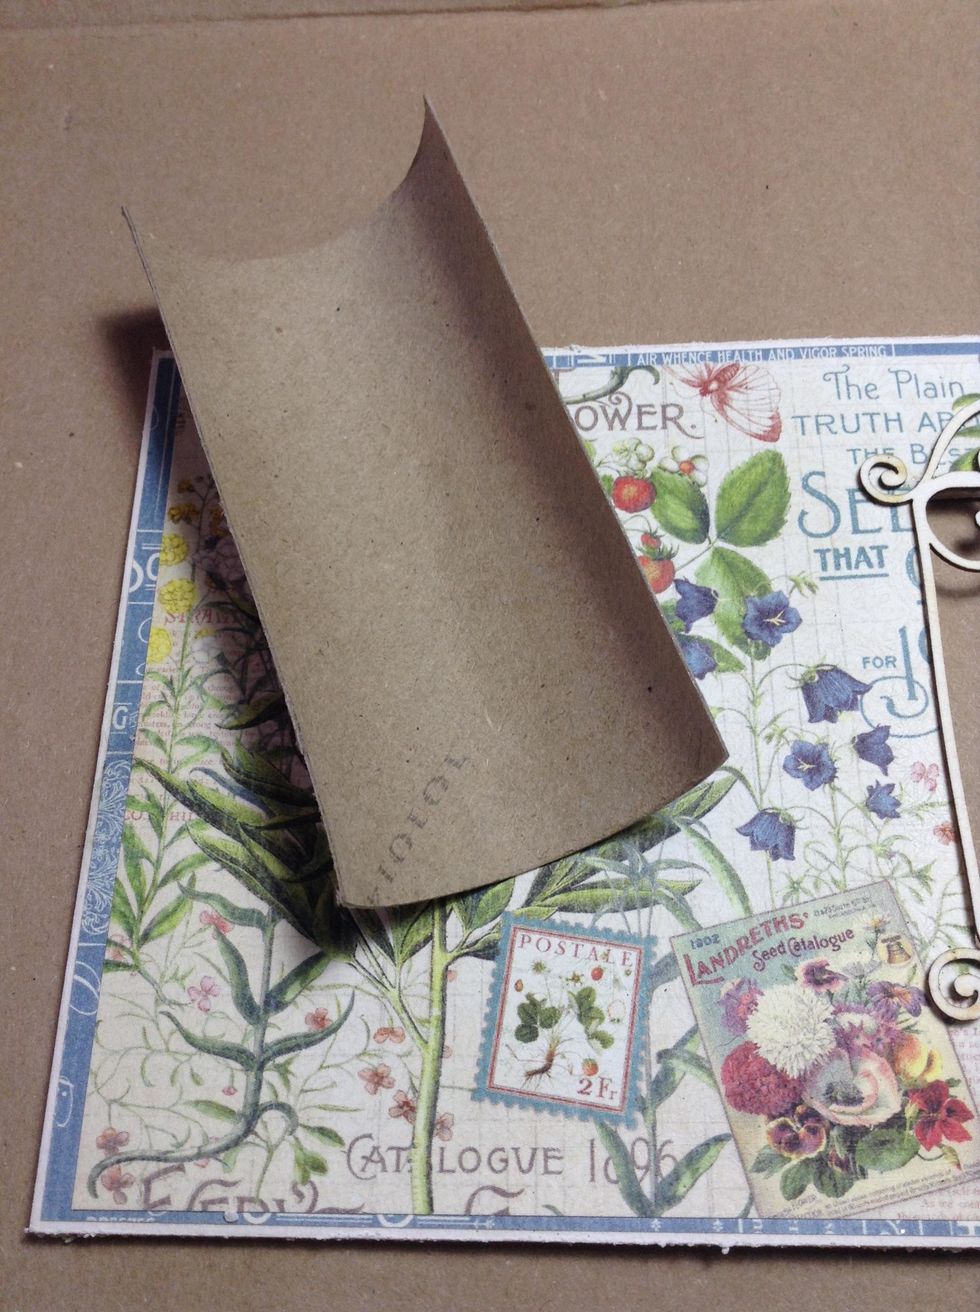
* FOR A CURVED SPINE: I have use a piece of hard cardboard like a kitchen paper roll or plastic wrap. Cut the kitchen paper roll by half with the same height of the cover (7 inches)
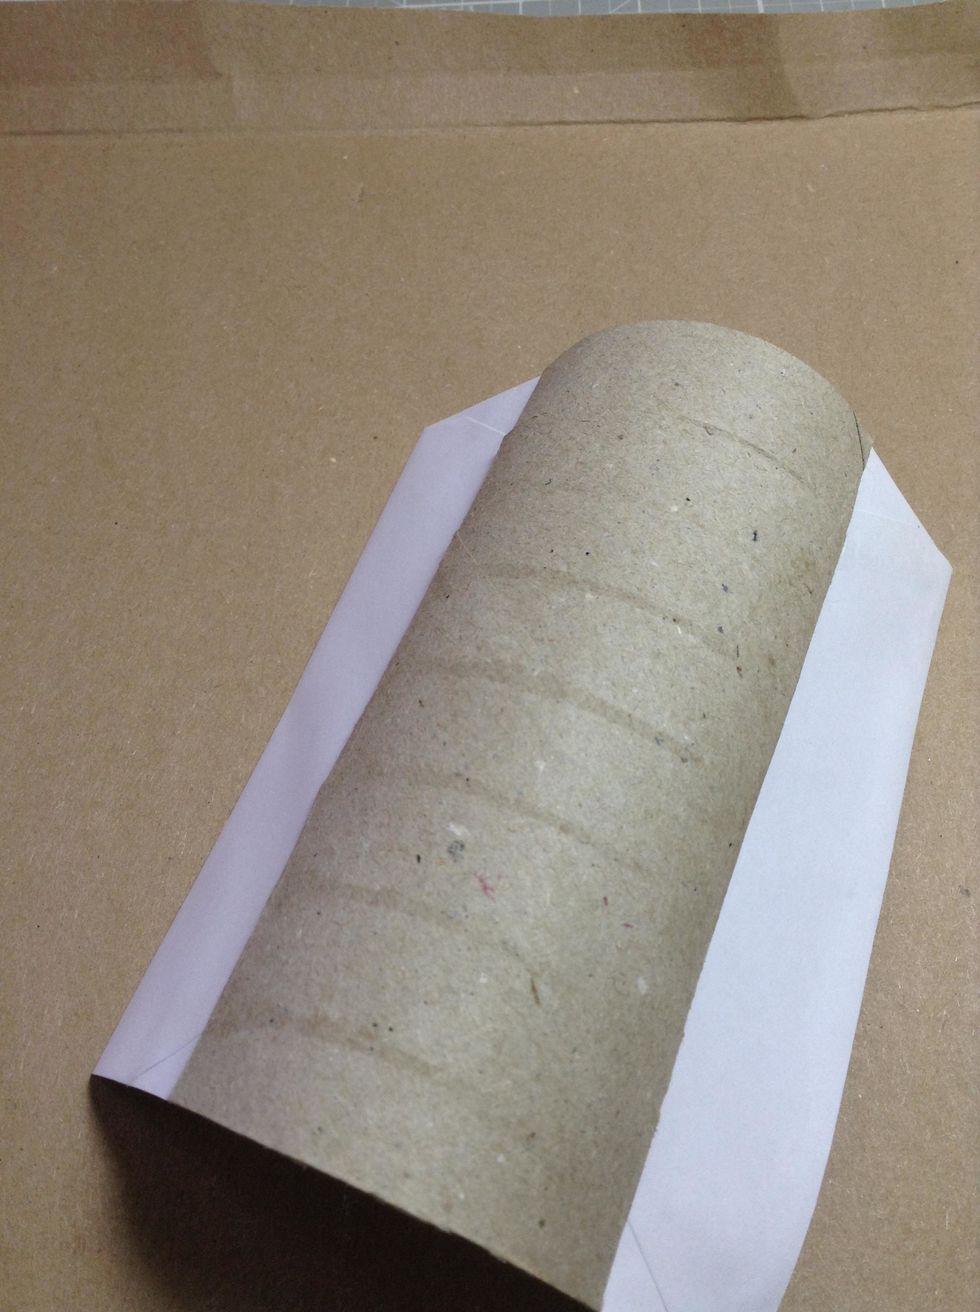
Glue a piece of white cardstock to the interior cardboard roll as shown.
Cut a piece of paper and use adhesive to adhere it to the exterior cardboard roll and covering front as shown.

Use adhesive to adhere each cover to the curve spine. (I have used a strong glue)
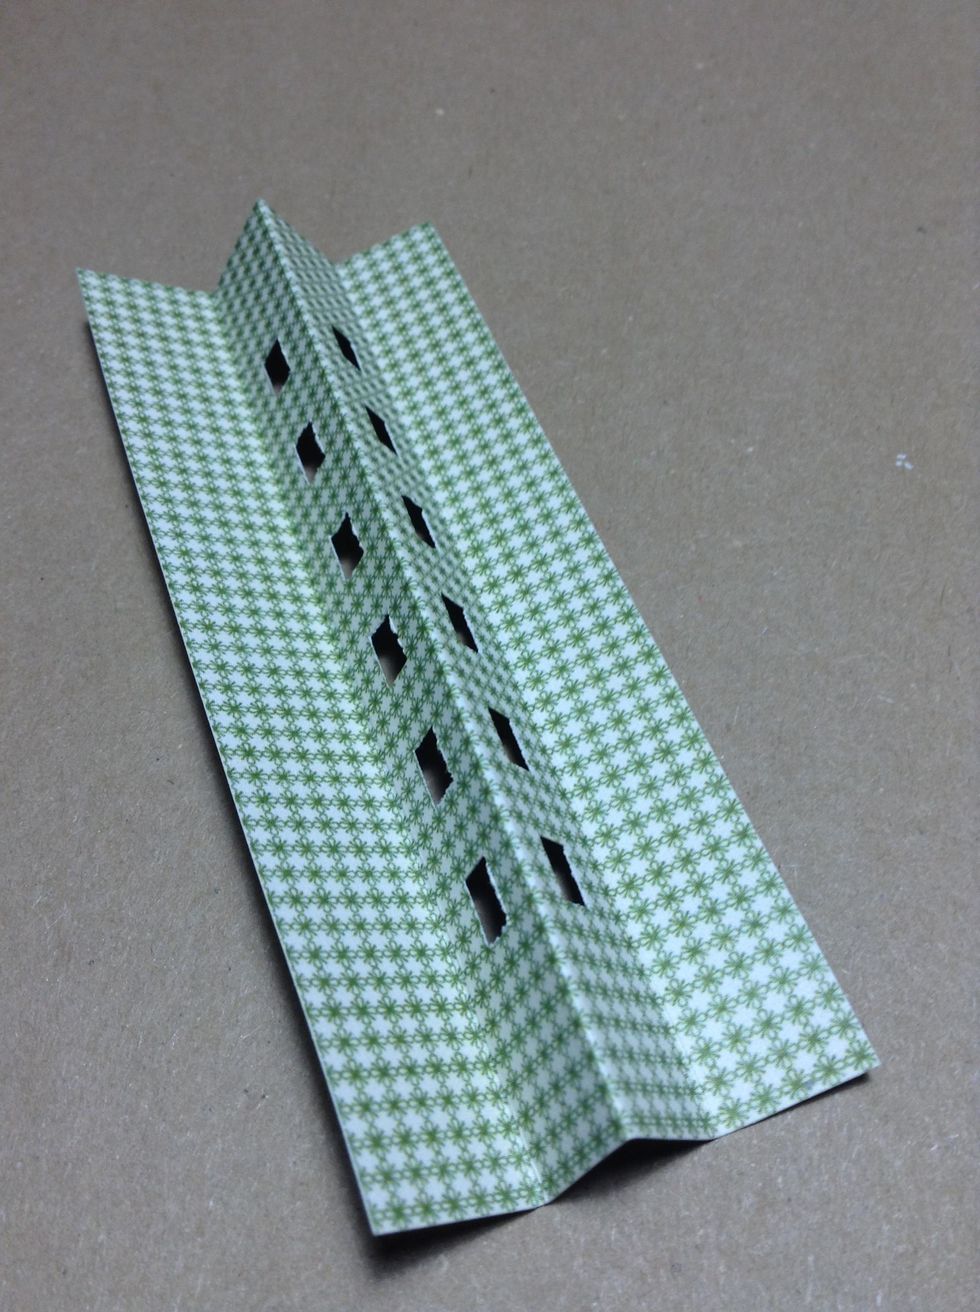
*BINDING THE PAGES: Cut a pice of paper 3 x 4 inches. Fold as seen in image and slide the paper into the Bind-it-All.
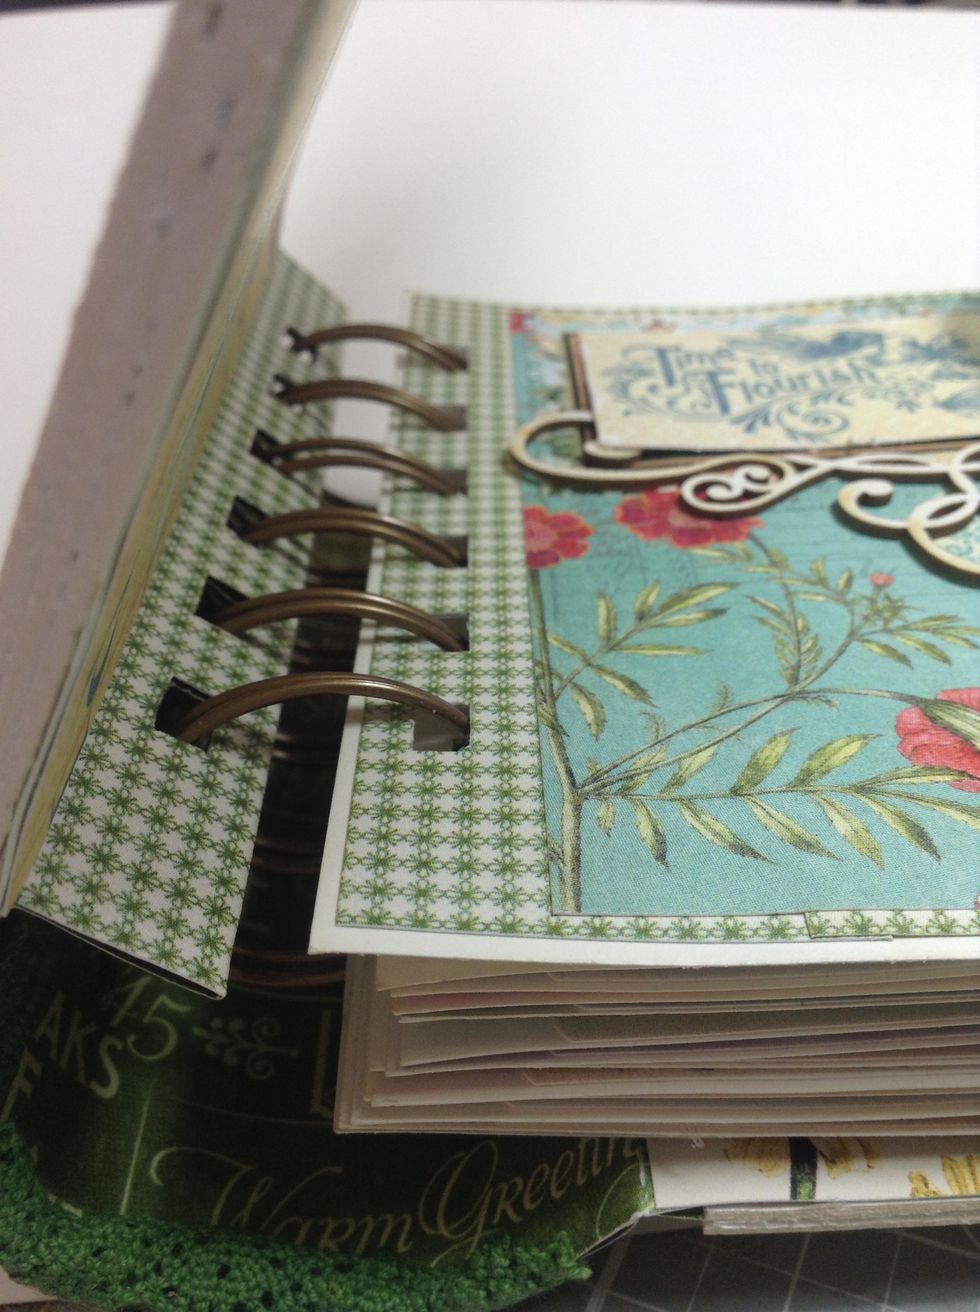
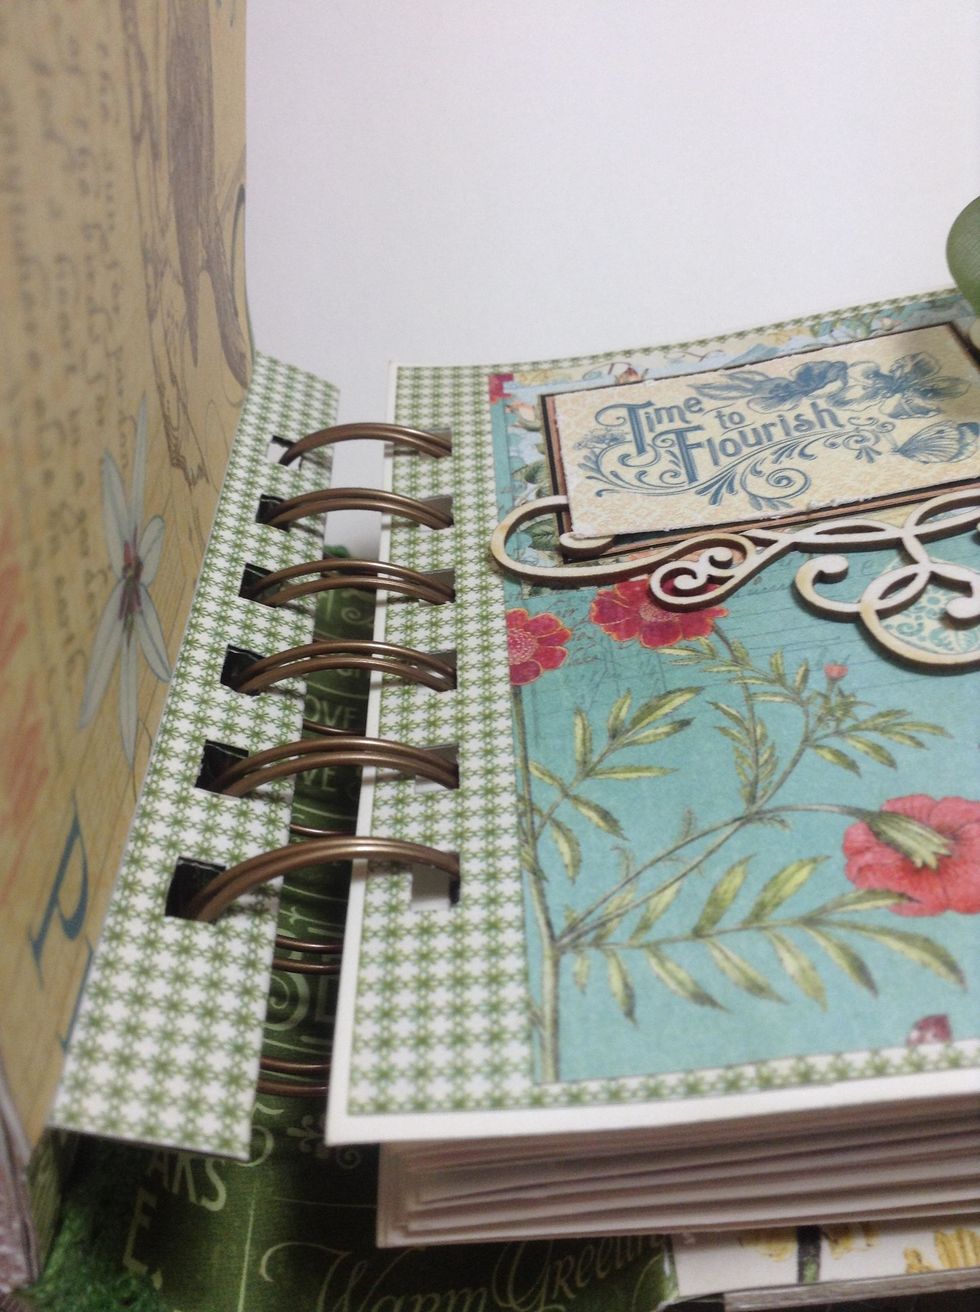
When you have punched all the inside pages(my book has 6 holes so I am going to cut the ring so that there are 6 loops) Place your stack of pages on the table right side up with the holes on the left.
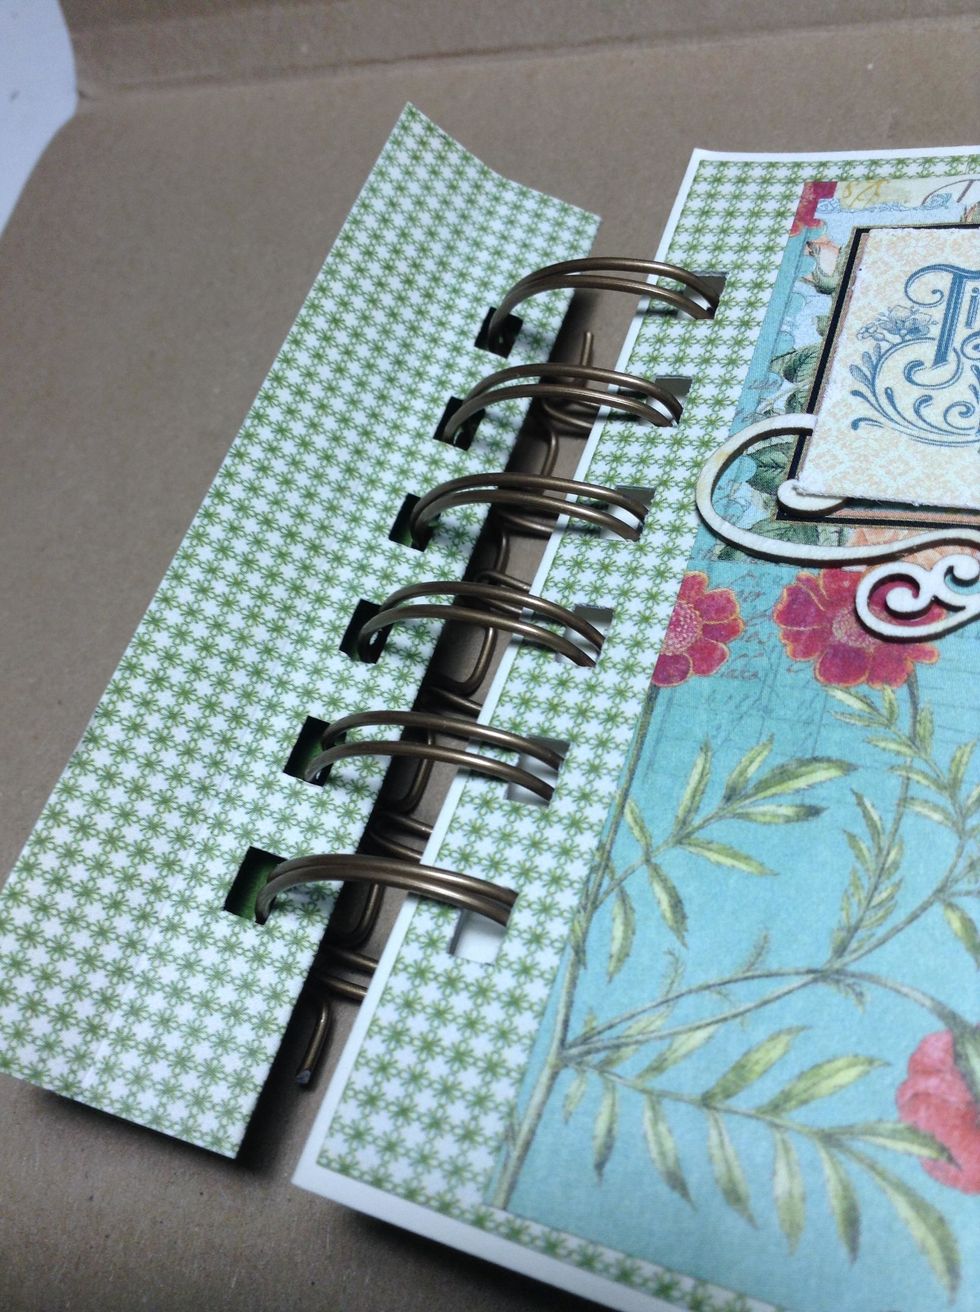
This is a sample of how I binding the pages. I have used a size 3/4"Antique Silver.
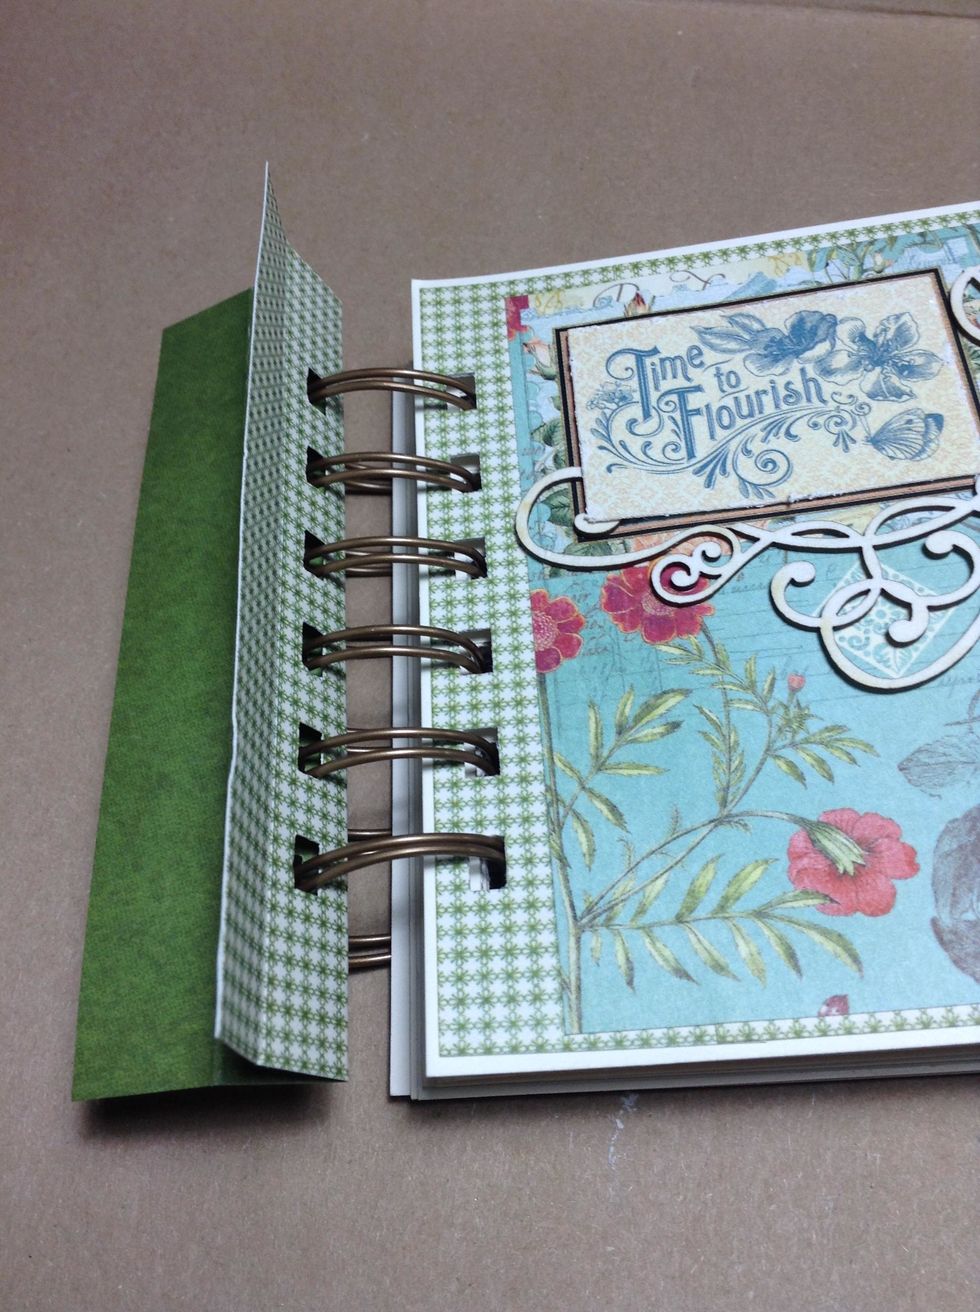
Okay, now this next step is very important.. Here is where the inside pages go when you glue it to de BACK of the FRONT cover!

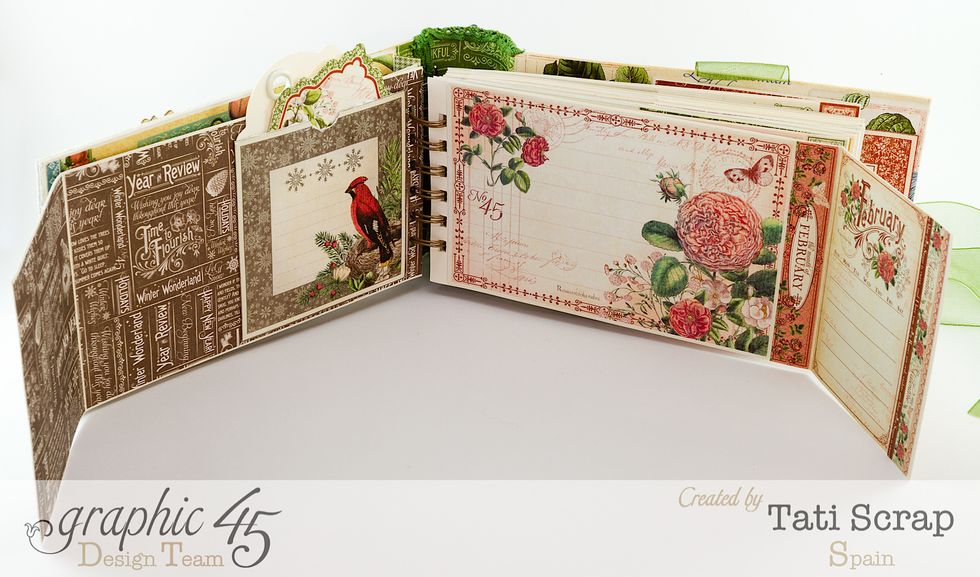
And covering back of the cover with a sheet of paper of your selection. This is how the calendar will look when opened!
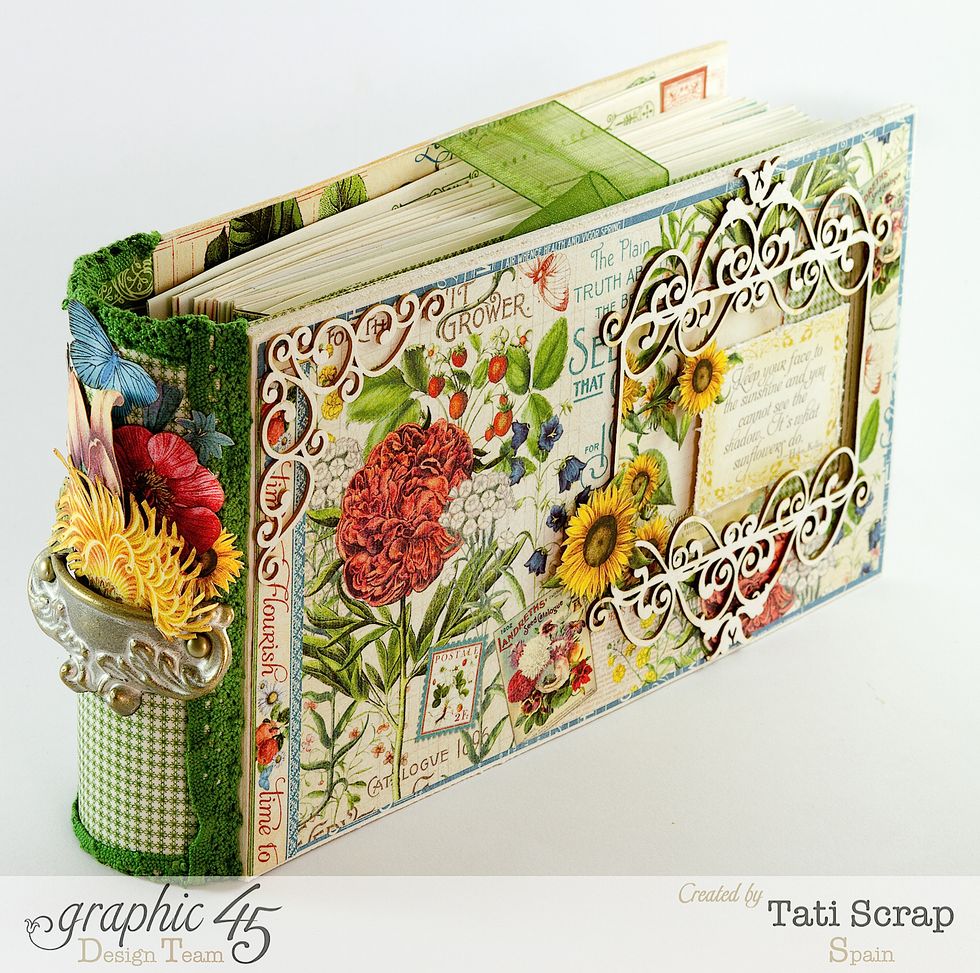
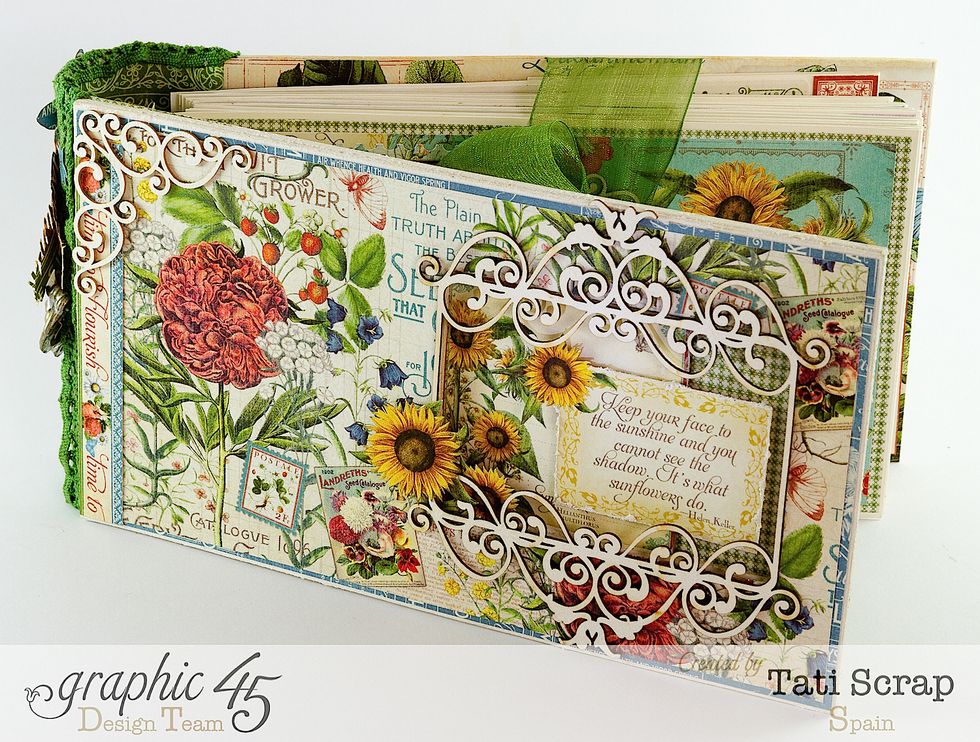
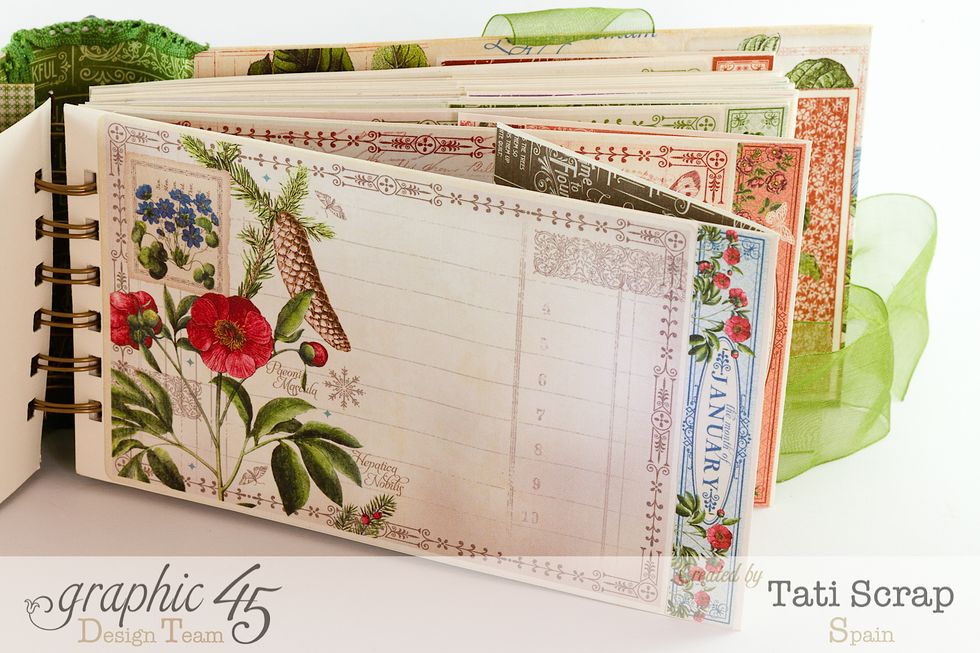
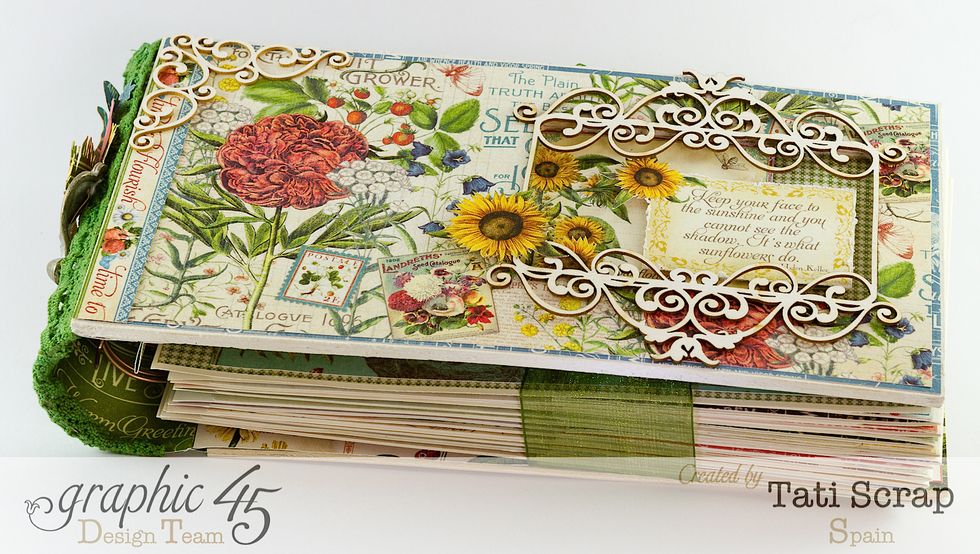
Decor/embellish the album. I have used more chipboards and ribbons from my stash..and voilá! Here my " Time to Flourish" Calendar. Hope you enjoyed the tutorial. KISSES
Thank you so much!