The Conversation (0)
Sign Up
Regular candles have the toxic chemical "paraffin," so soy candles make a lovely, non-toxic gift to share with friends and fambly!
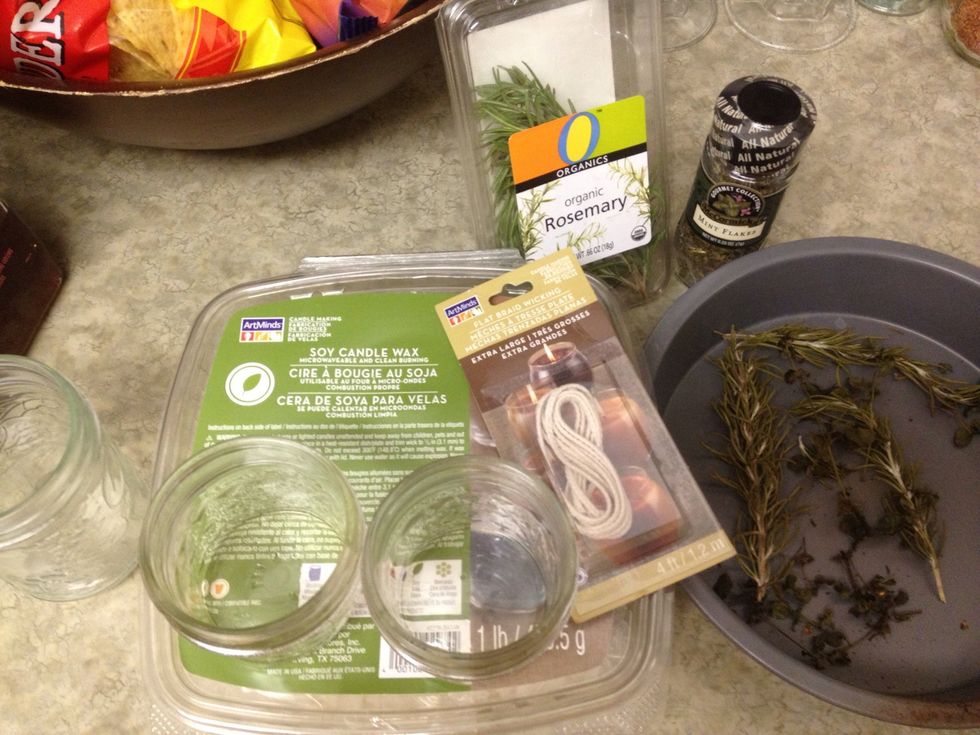
Gather your materials!
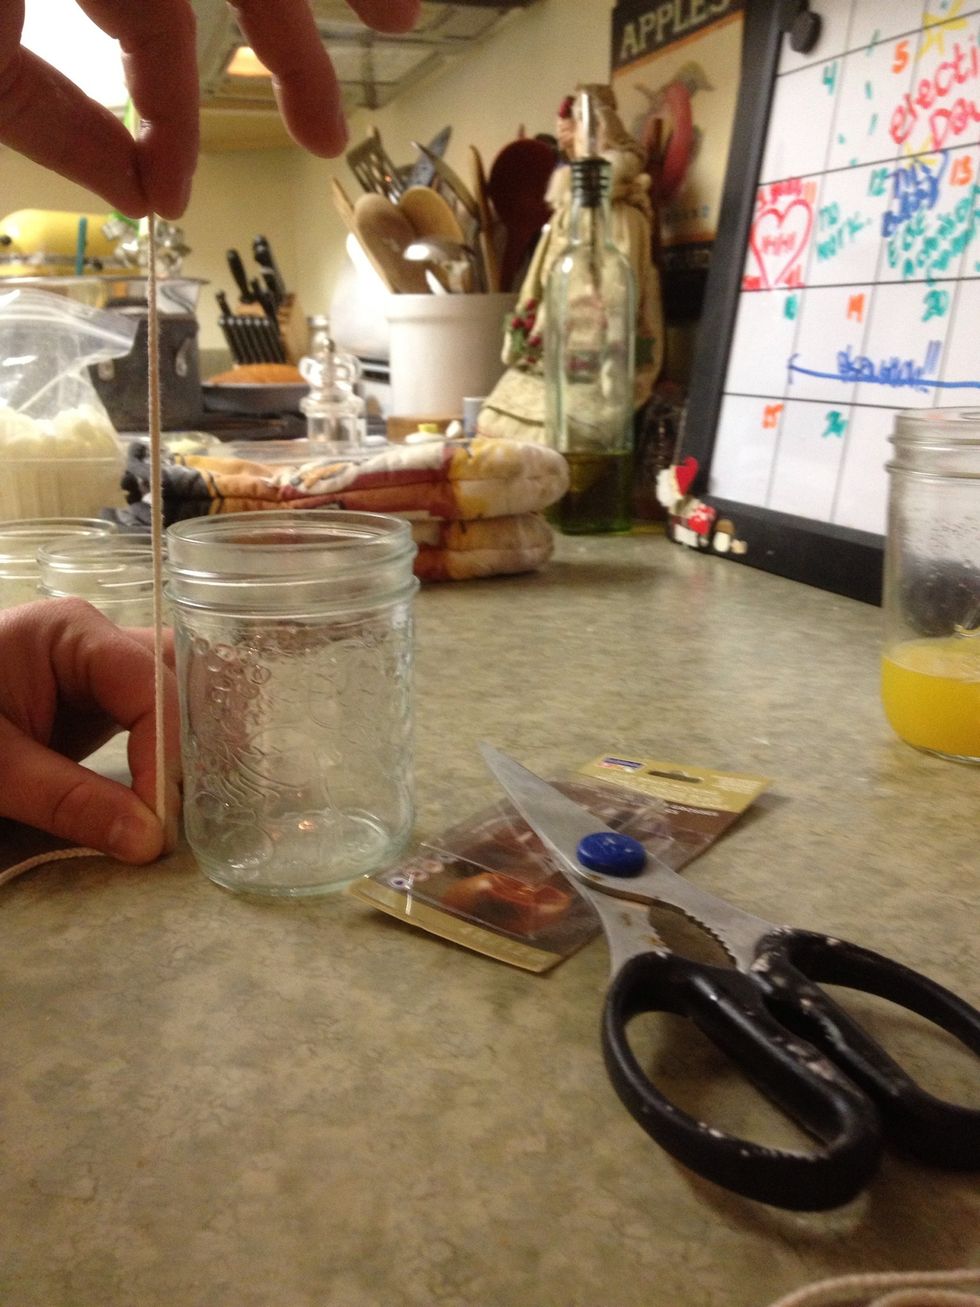
Measure and cut your wick to fit a few inches longer than the length of the mason jar. You wicks should be 100% unbleached cotton.
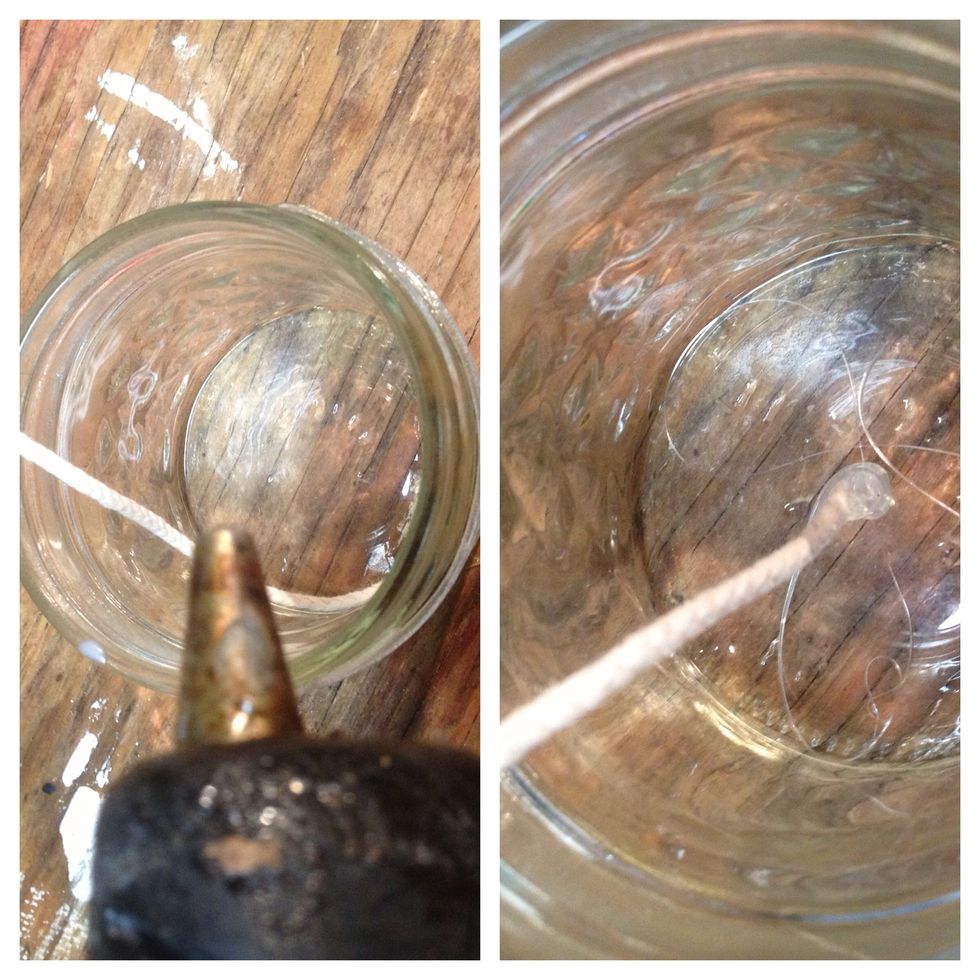
Hot-glue the bottom of the wick to the bottom of the jar.
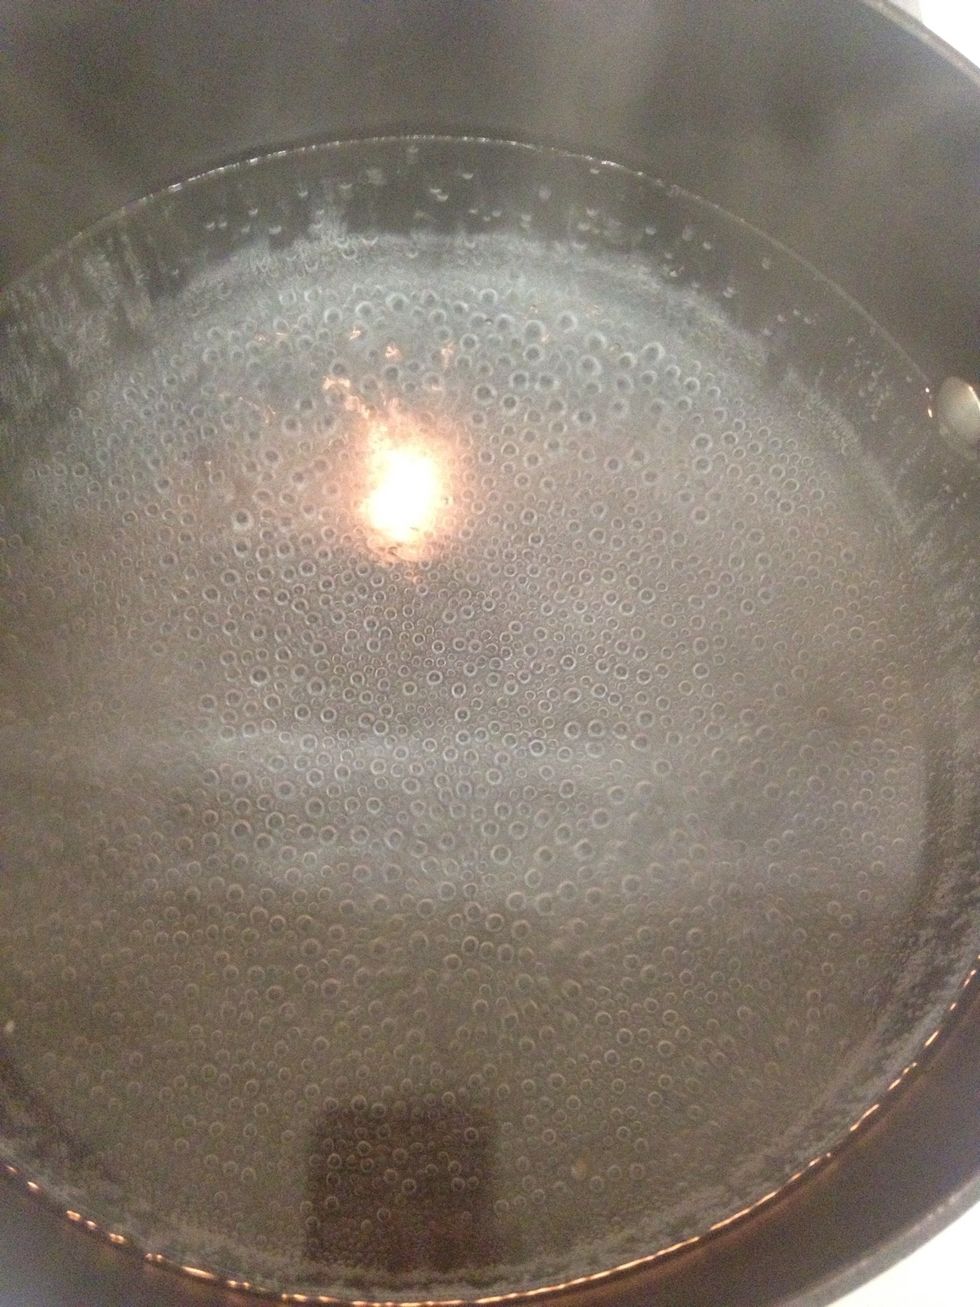
I don't have a double boiler, so I improvised - take a pot of boiling water and...
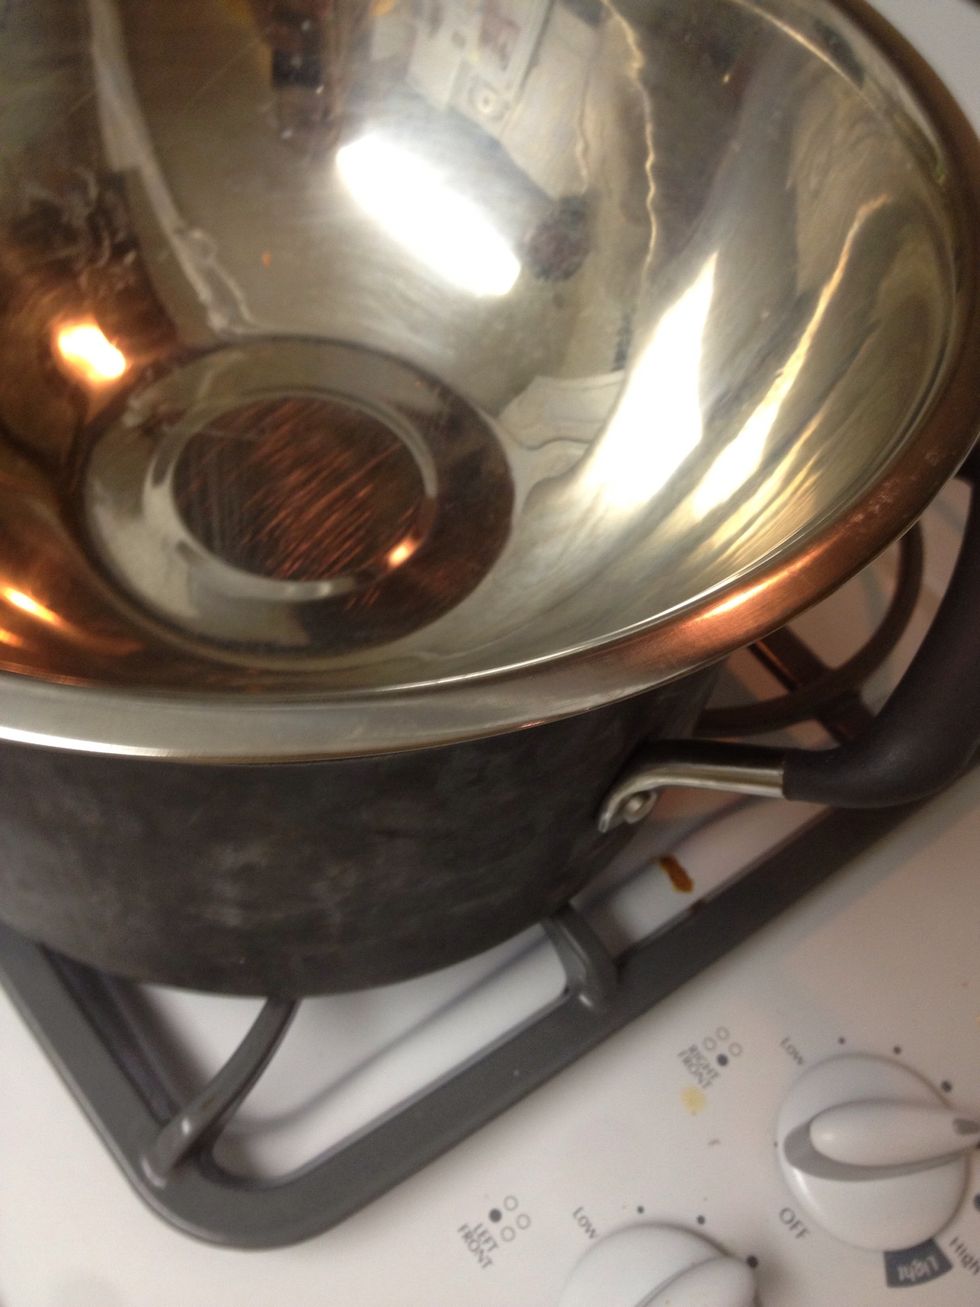
add a metal bowl on top! Don't add the bowl until after the water is boiling - when you put the bowl on top, reduce the heat to slowly melt the soy flakes.
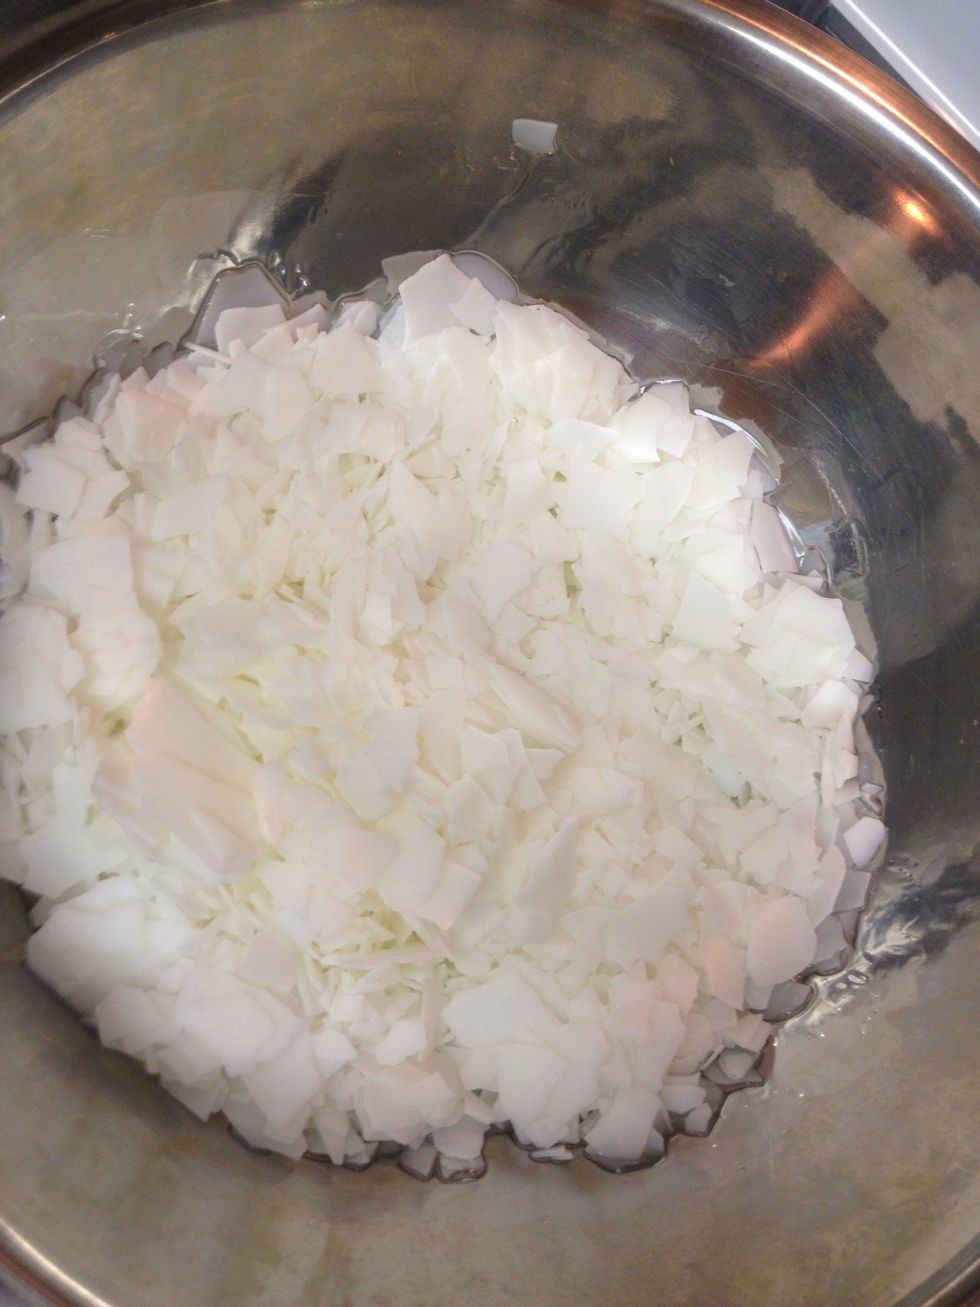
Put the soy flakes into the bowl - they will start to melt quickly, so stir occasionally. If they heat too quickly and at too high of a temperature, they will be over cooked and won't harden.
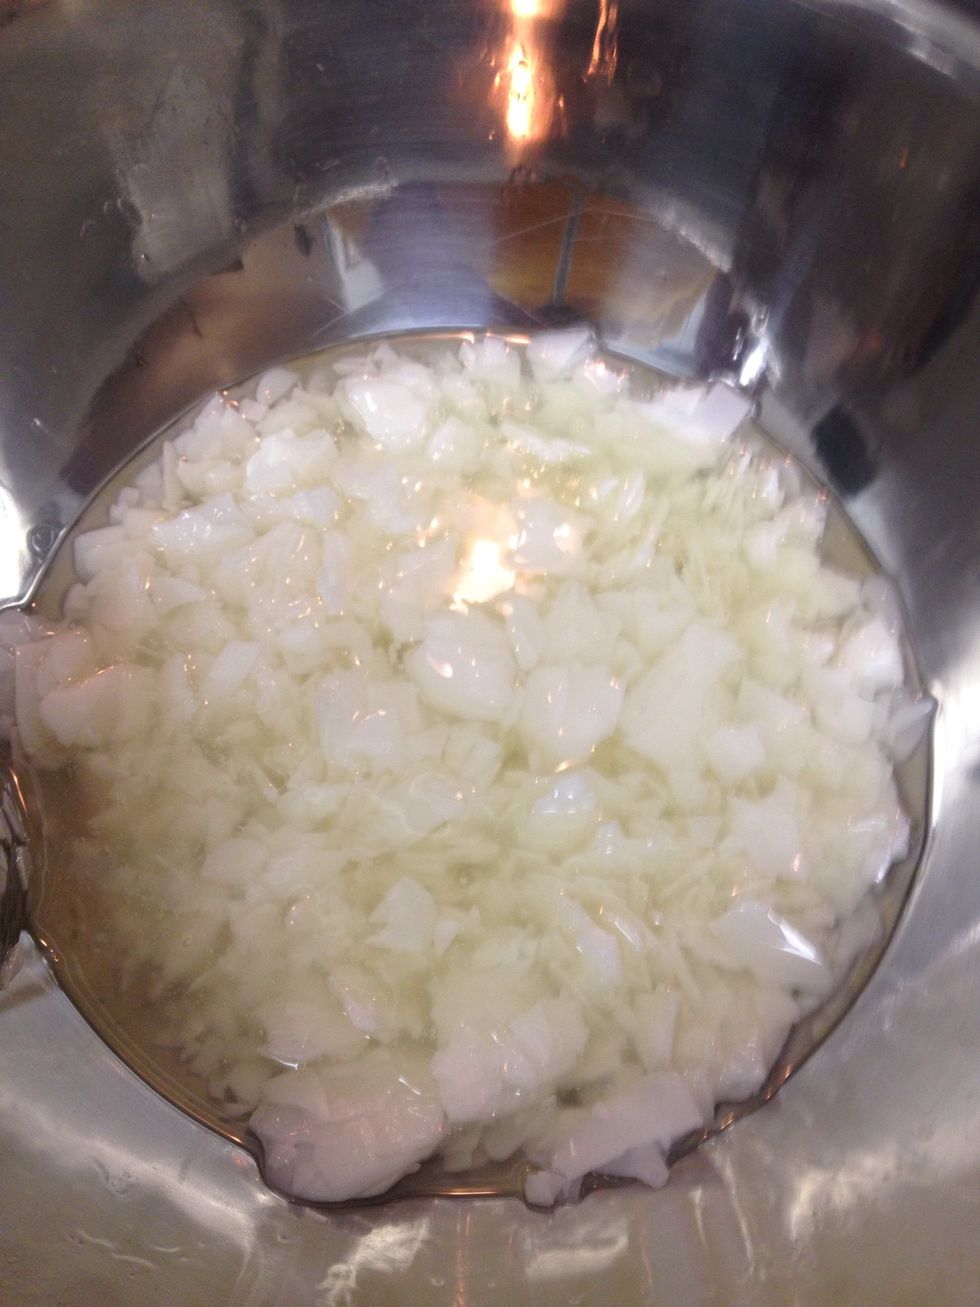
They are starting to liquefy! Keep stirring!
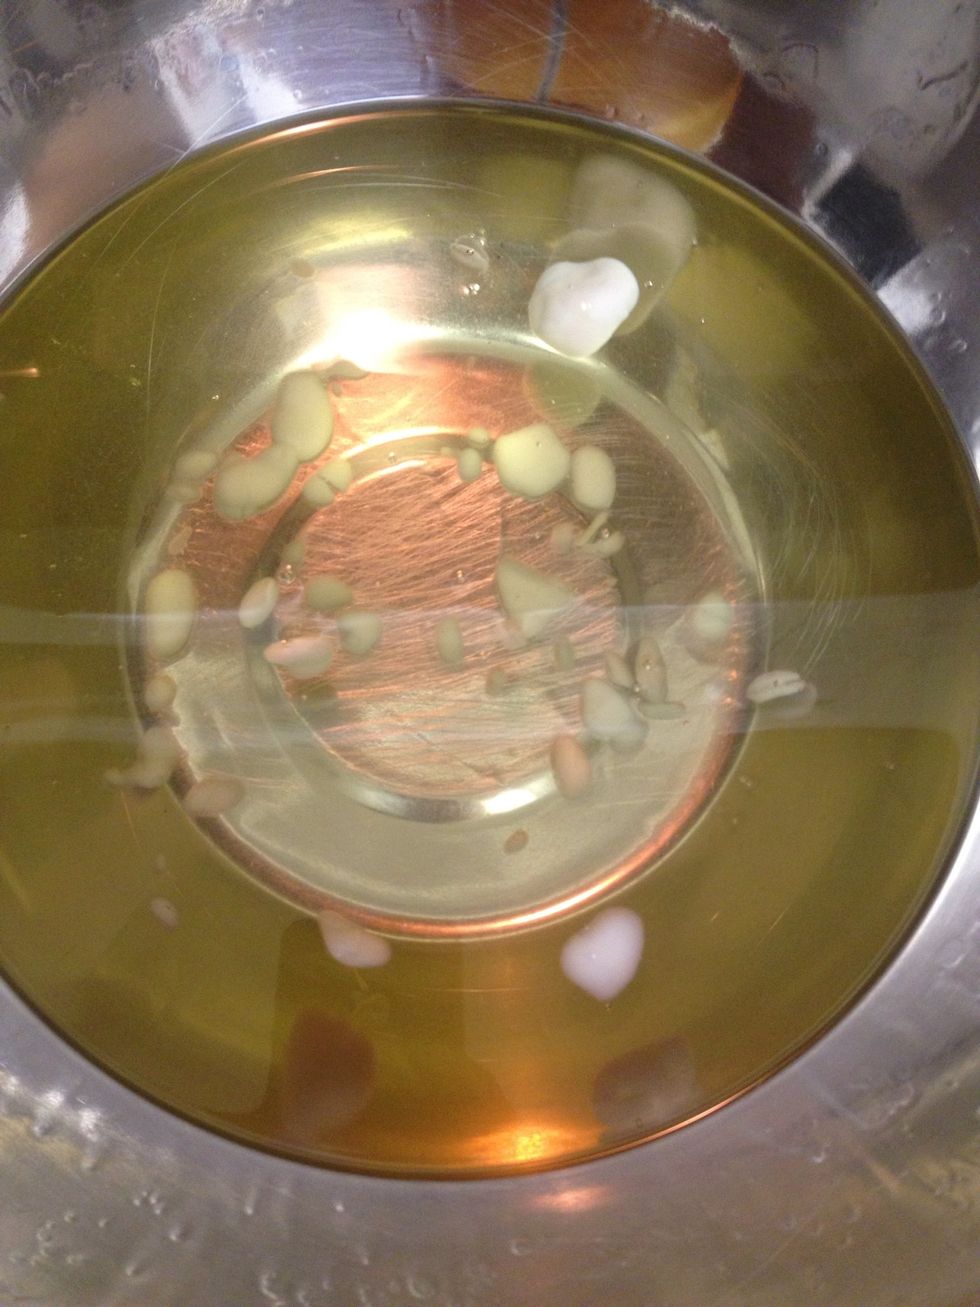
Almost there!
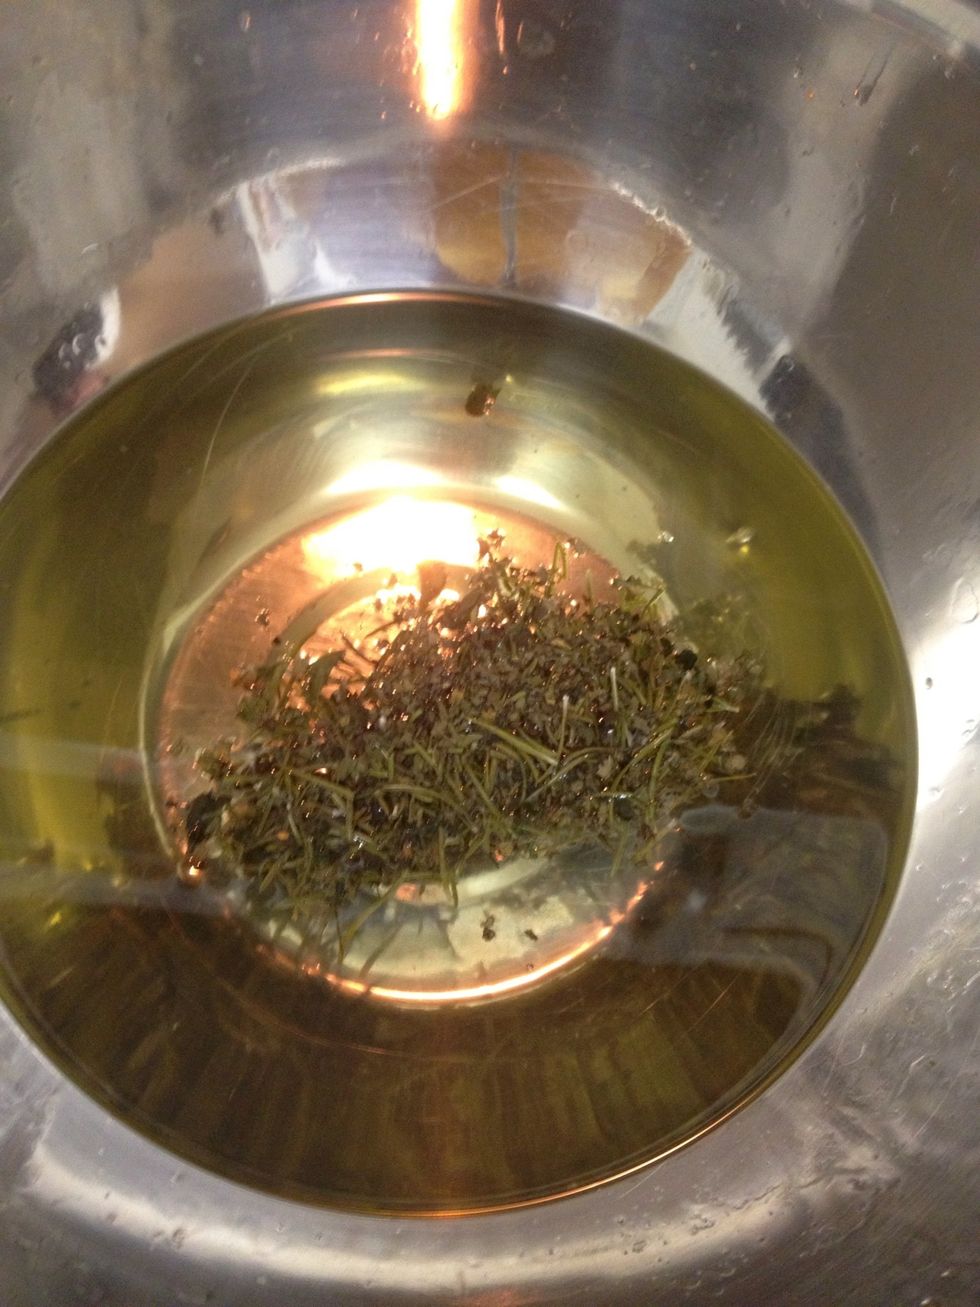
Now, you can add the dried rosemary and mint! Stir it up and turn off the heat.
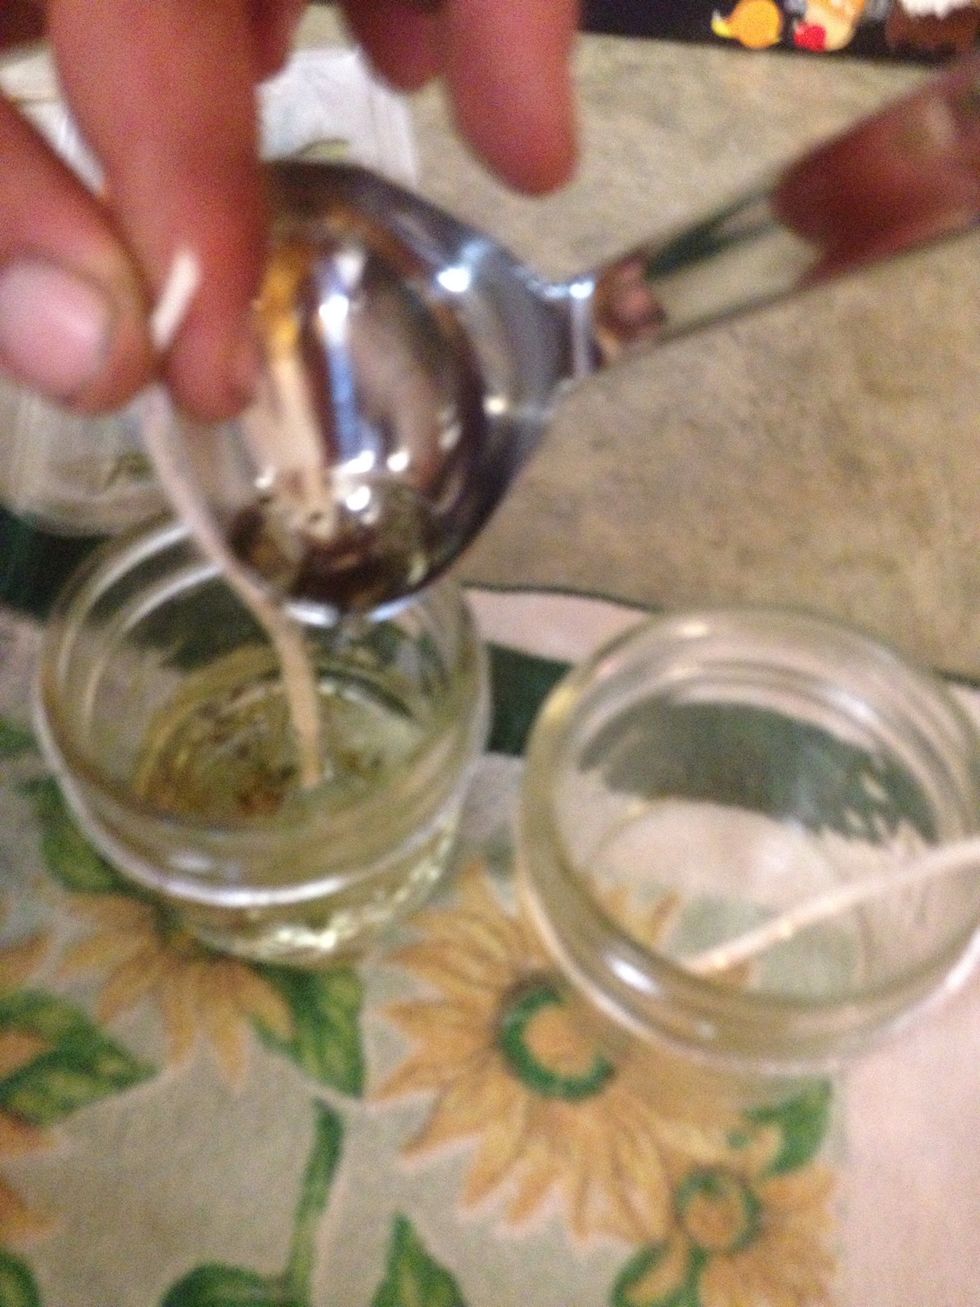
Before the wax cools, ladle the mixture into your mason jars - holding the wick up a bit.
It takes awhile for the wax to begin to harden, so your arm might get tired holding the wick up - but here's a suggestion...
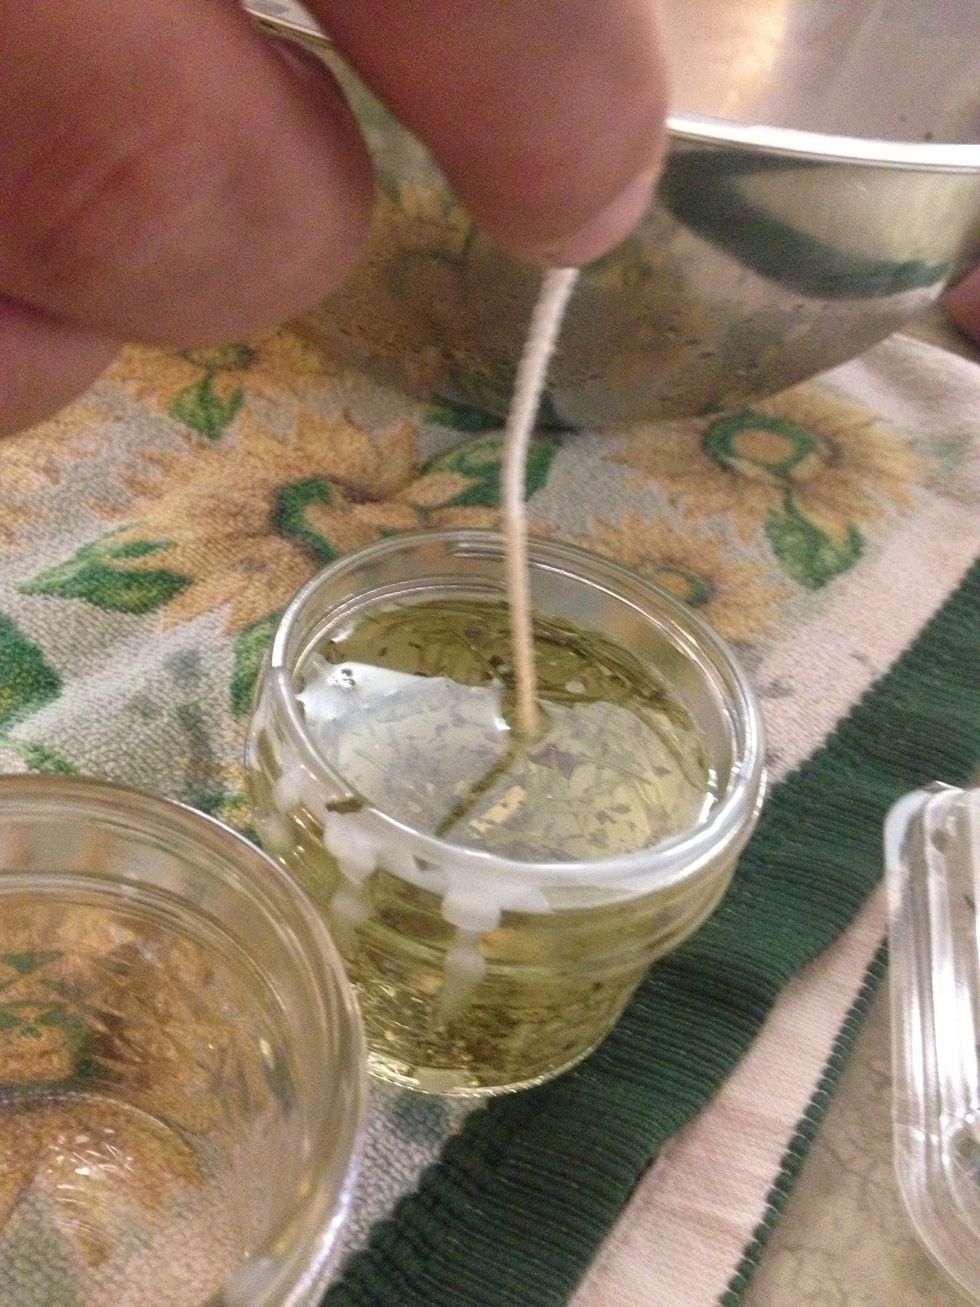
Put the jar into a bowl with cold water & ice while still holding the wick up. As the wax begins to harden at the bottom, you can let the wick rest on the side, occasionally pulling the wick straight.
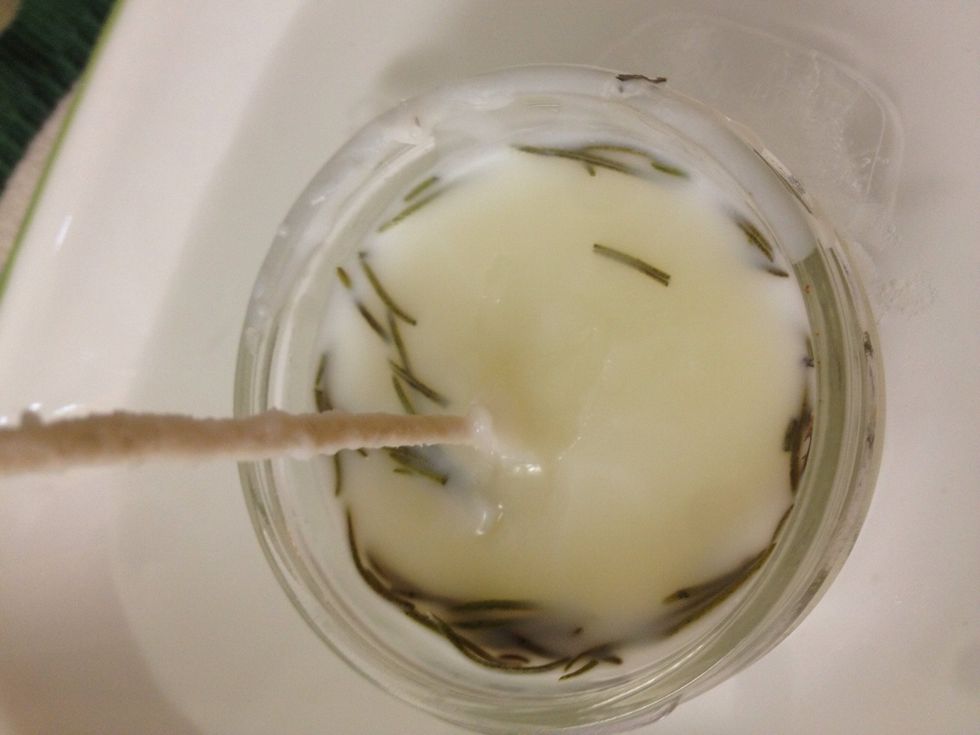
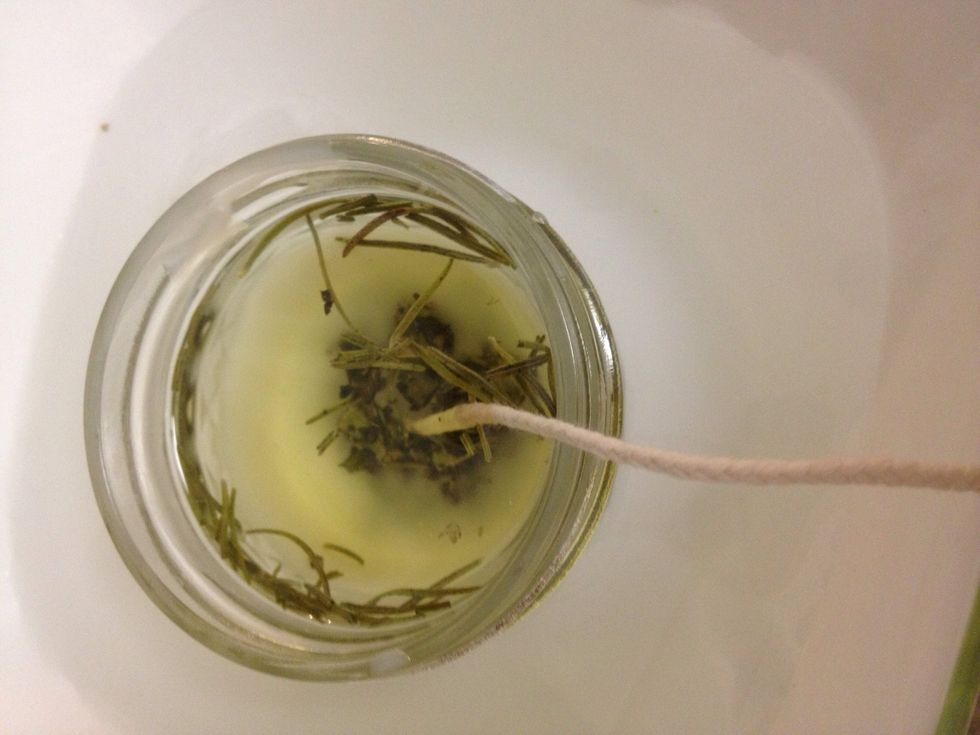
I'm a bit of a perfectionist, so it bugged me that the wick wasn't perfectly centered, but with some more patience, holding the wick straight up would increase the chance of it saying in the middle.
Another snapguider suggested that I use a skewer to tie the wick to and rest it over the mouth of the jar - this will help keep it straight up! Thank you for the tip and the great guides, Au Natural!
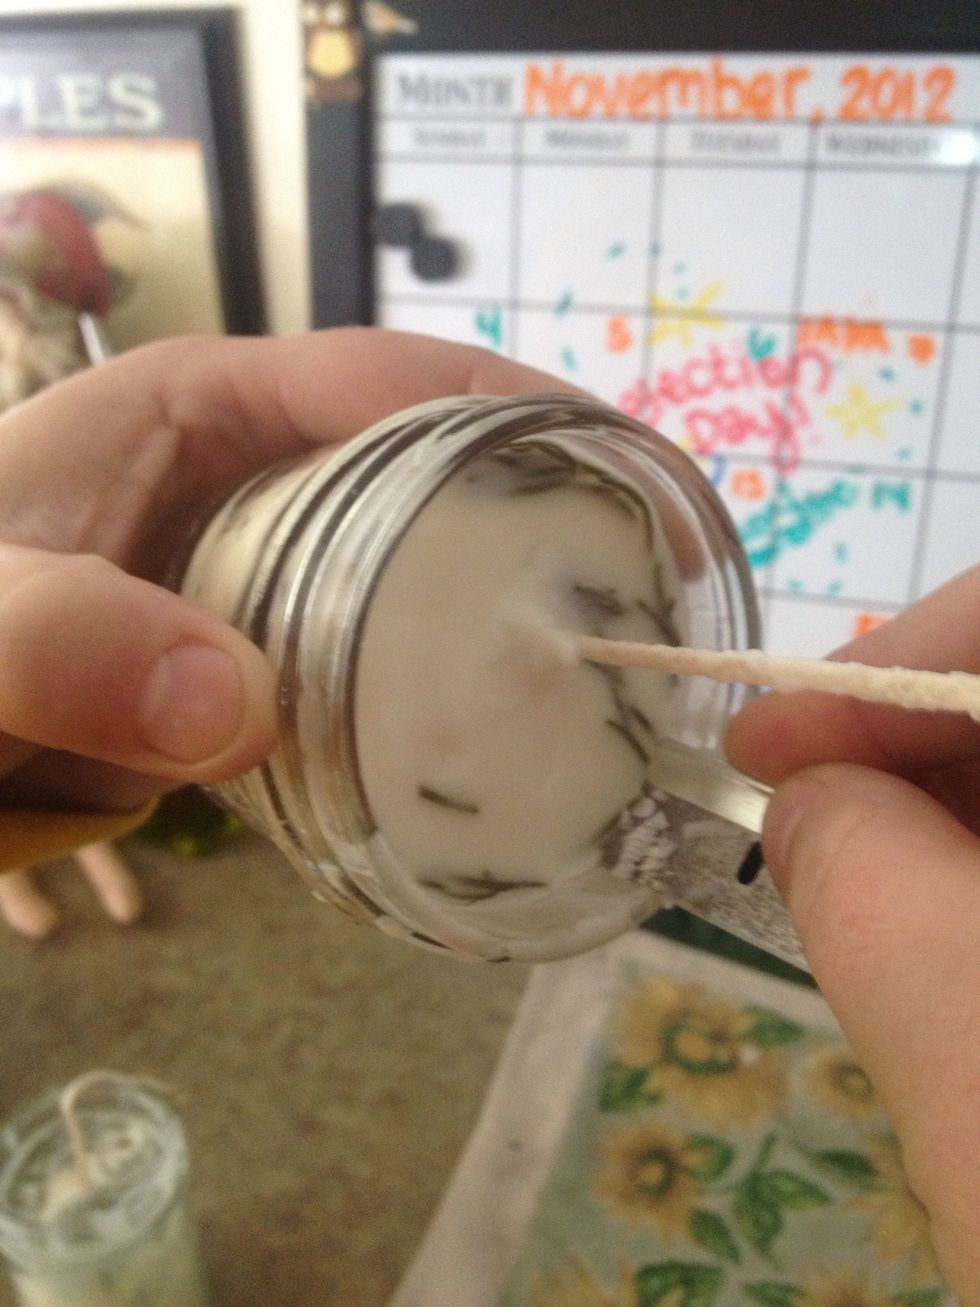
Using a razor blade, you can scrape around the rim of the inside and outside of the mason jar where the wax drips have hardened.
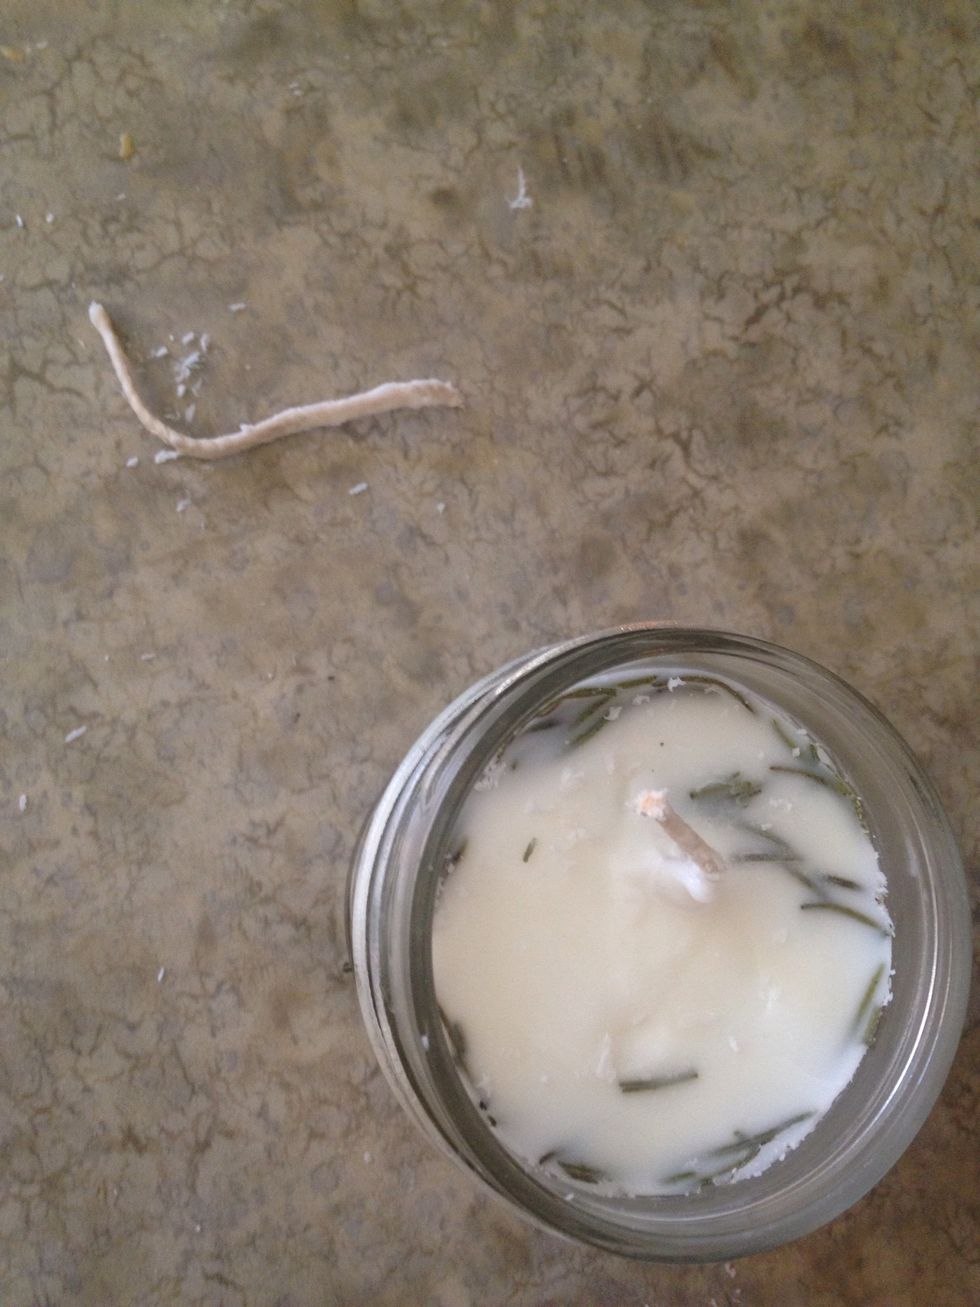
Cut the wick about a half inch from the top of the candle.
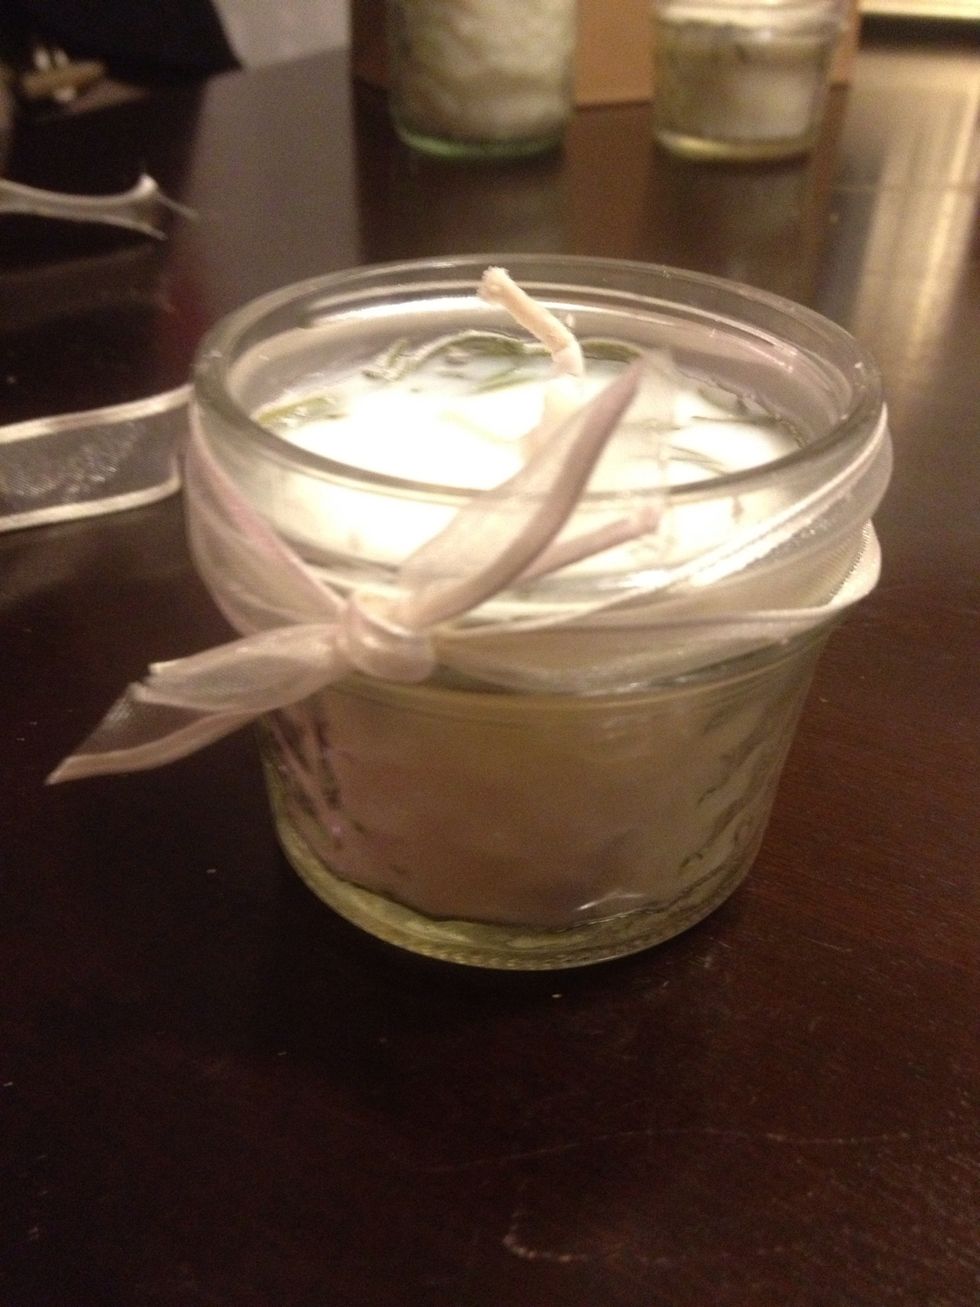
Tie a ribbon around the lip of the jar.
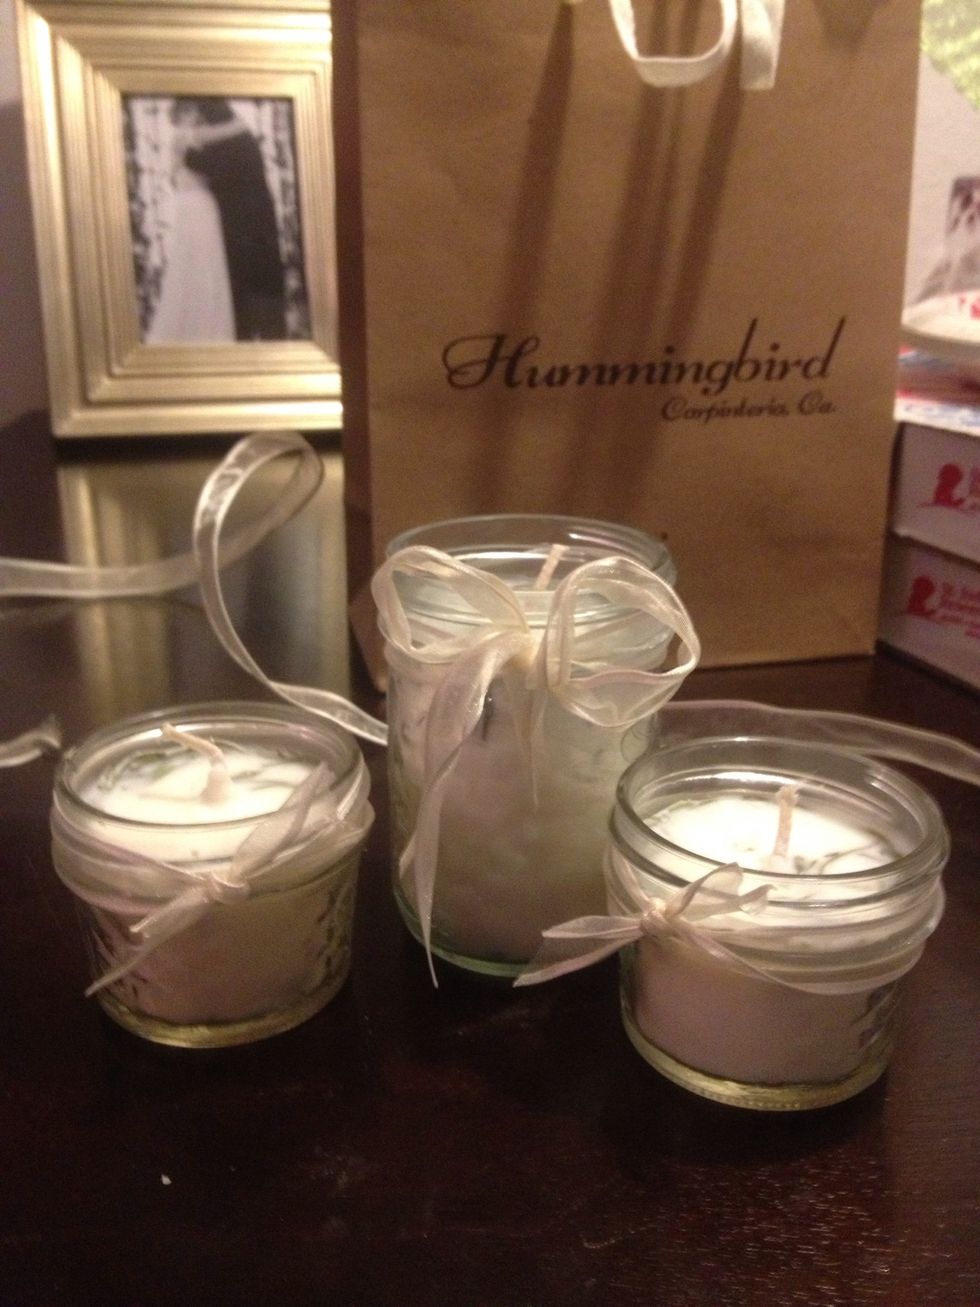
and VOILA! Beautiful and yummy smelling soy candles for a perfect homemade gift.