The Conversation (0)
Sign Up
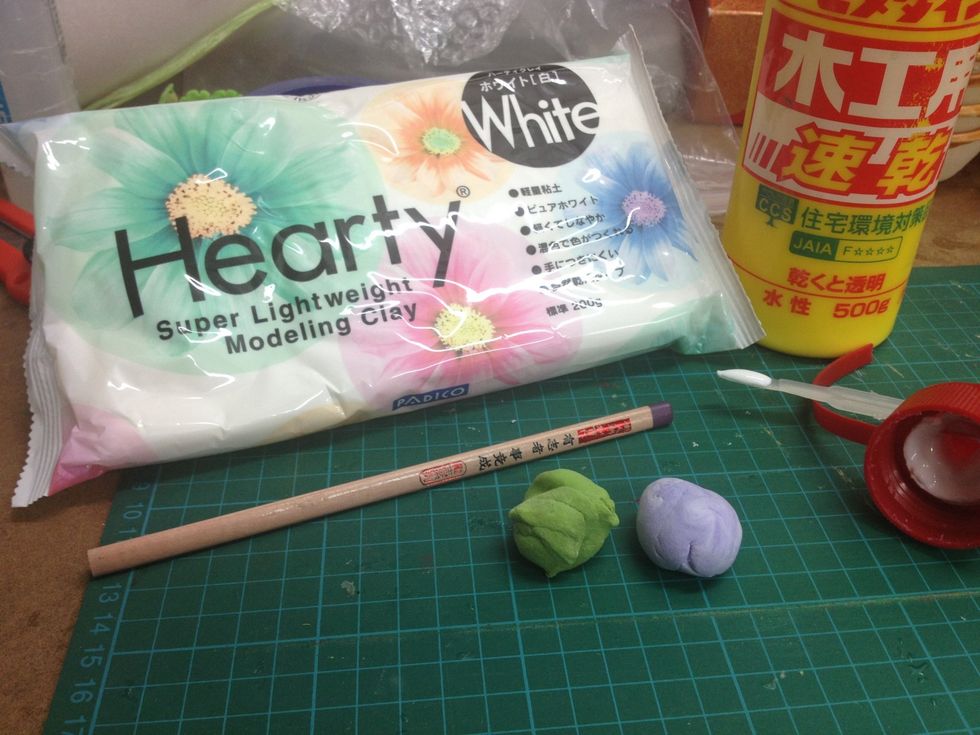
- Get all the materials ready.
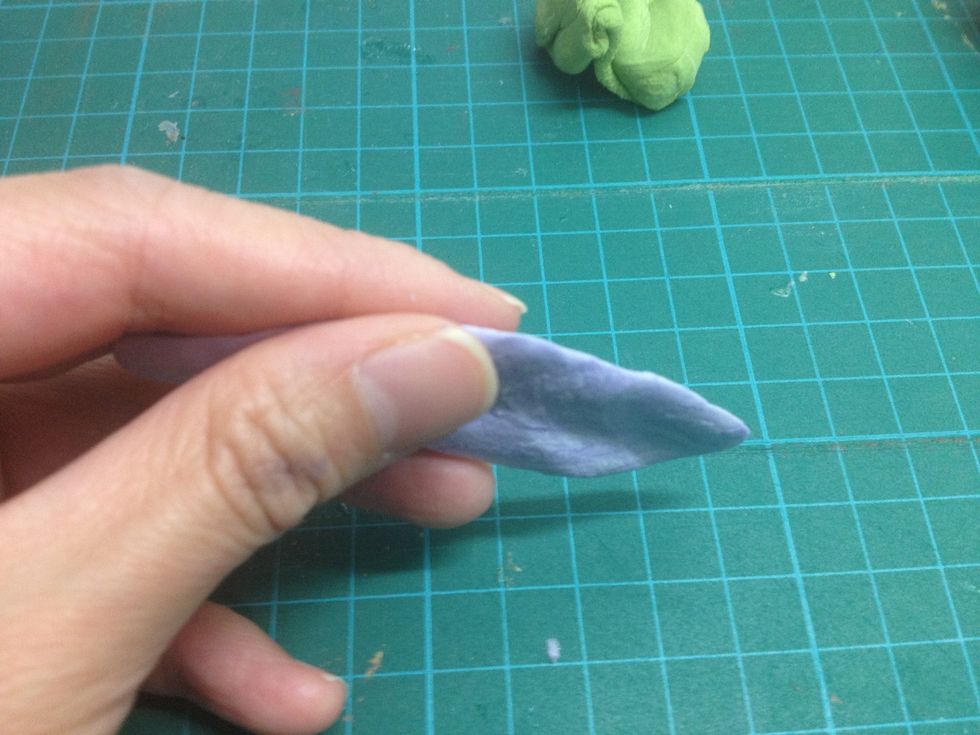
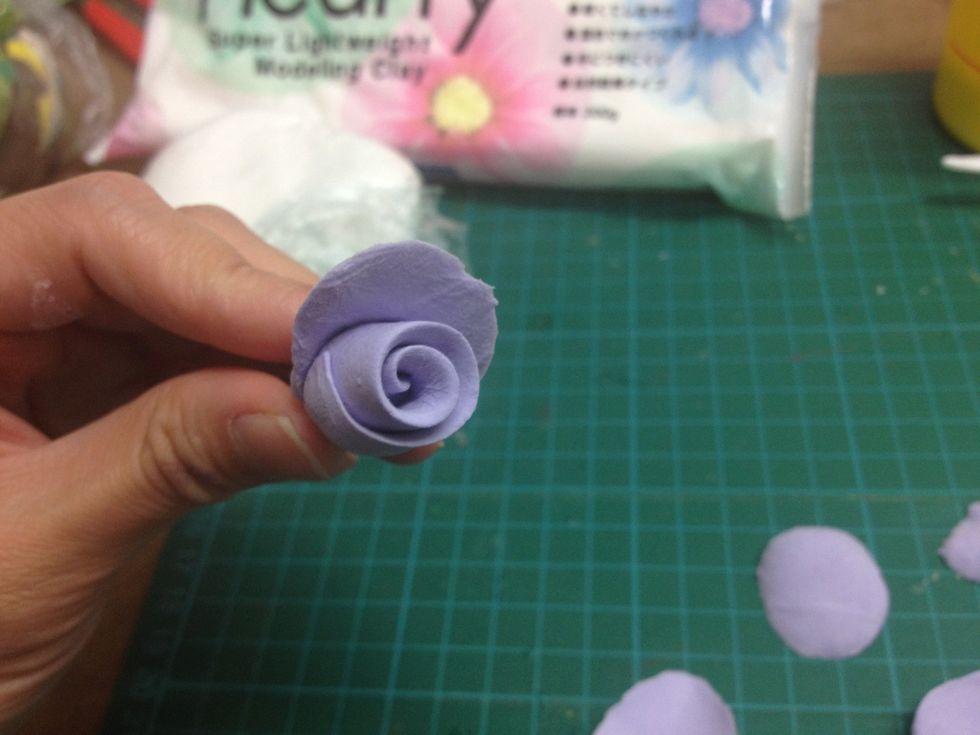
- Take a piece of clay and make it into sausage shape. Then, flatten it by fingers.
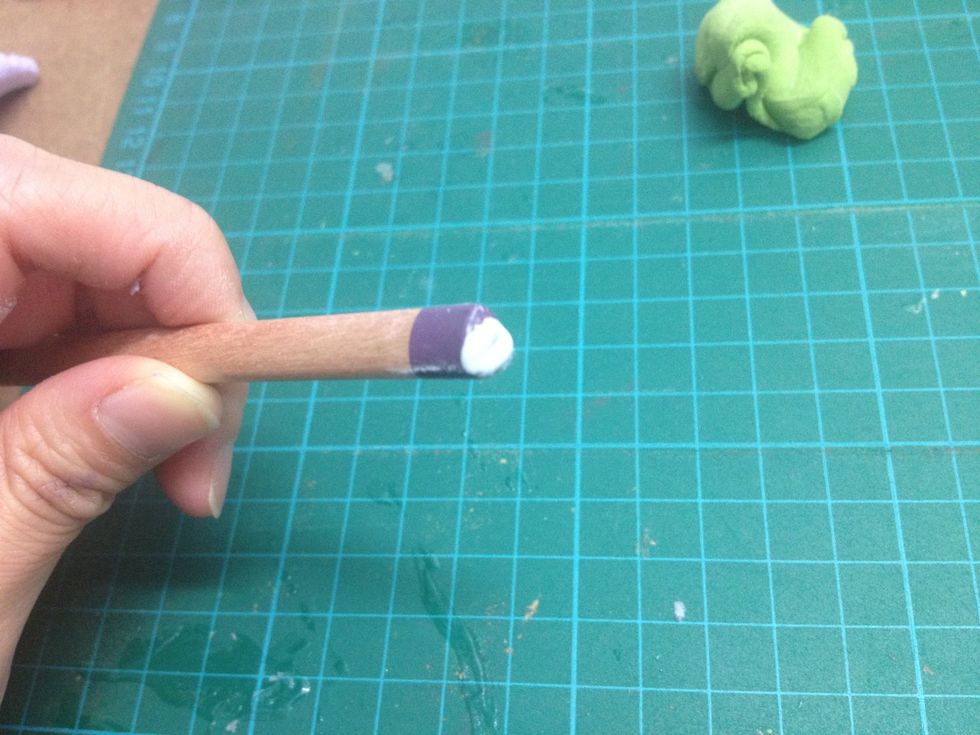
- Put some white glue on the tip of the pencil.
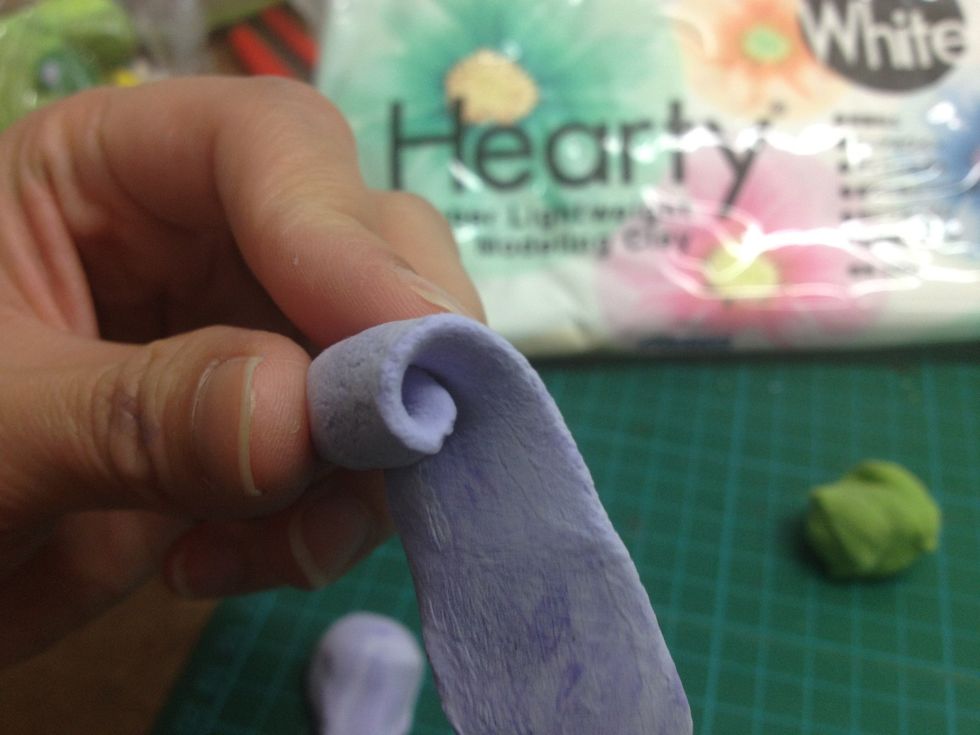
- Start turning the clay around the pencil tip to make the rose middle part.
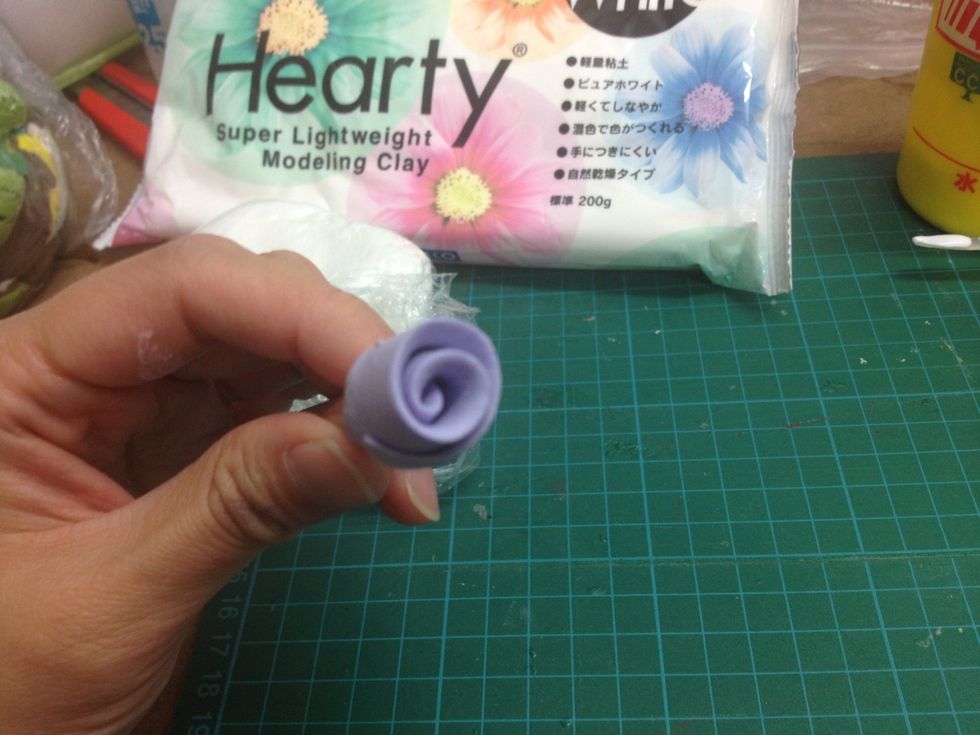
- Rose body is finished.
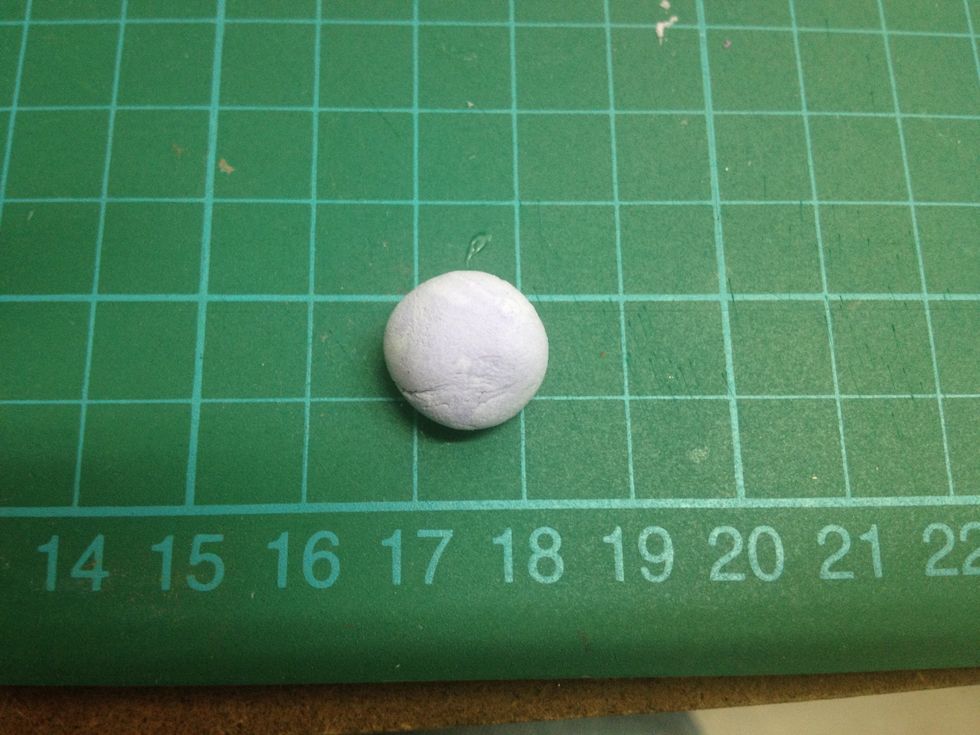
- Then, start making the outside petals. Make a ball with the clay first.
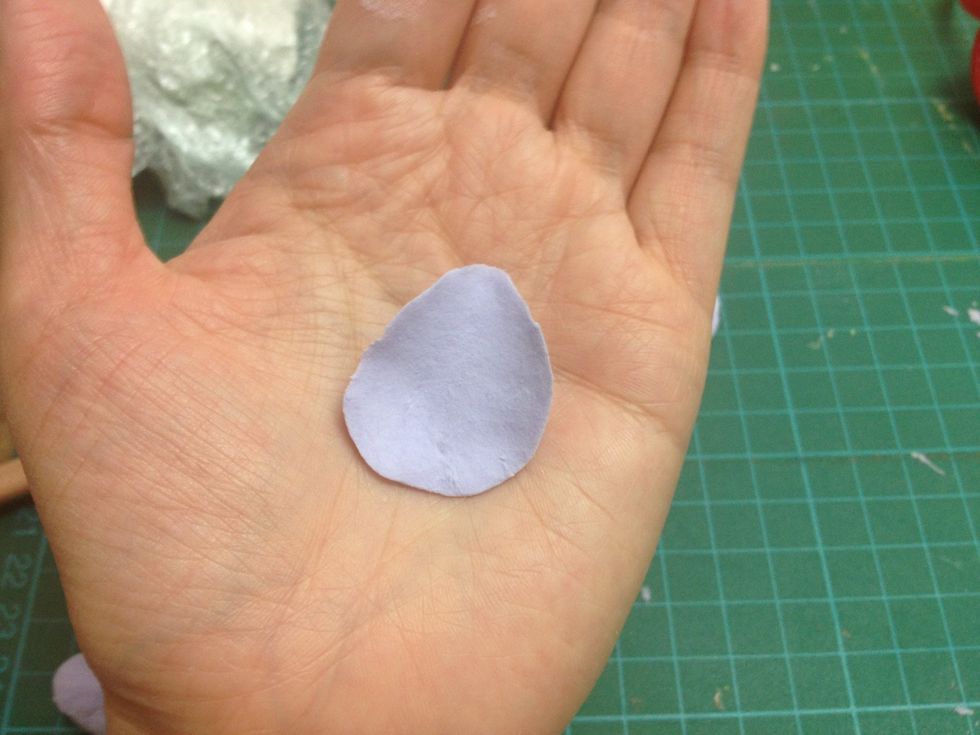
- Make it flat at the hand middle by the first finger so the the hand prints will appear on the petal which make it more alike real.
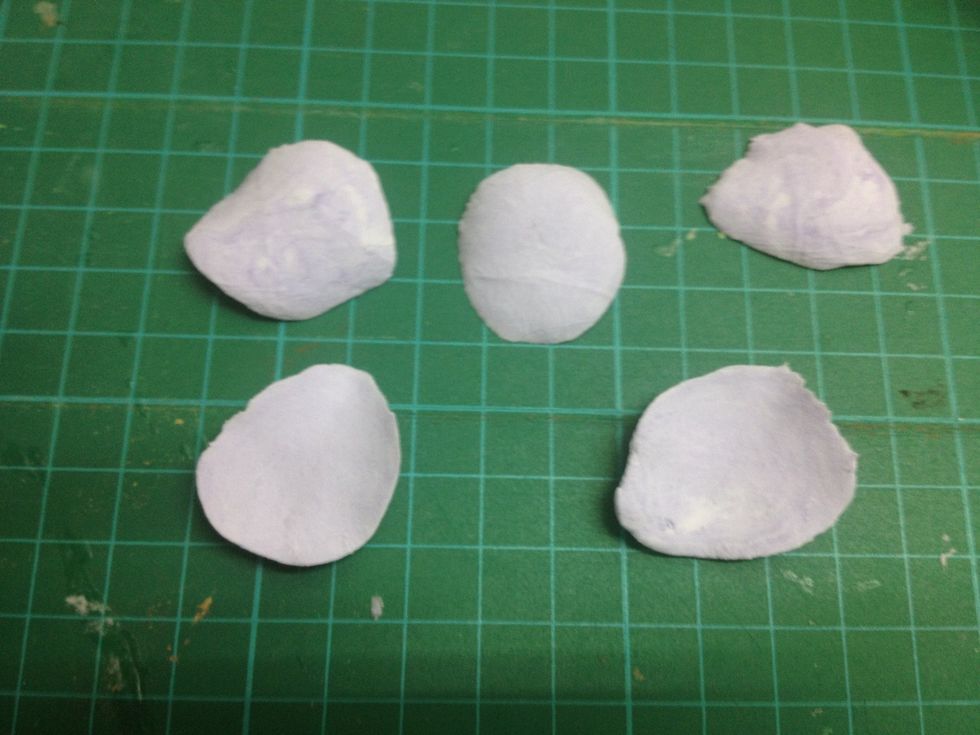
- Total make 5 petals.
- Start attaching the petals around the rose.
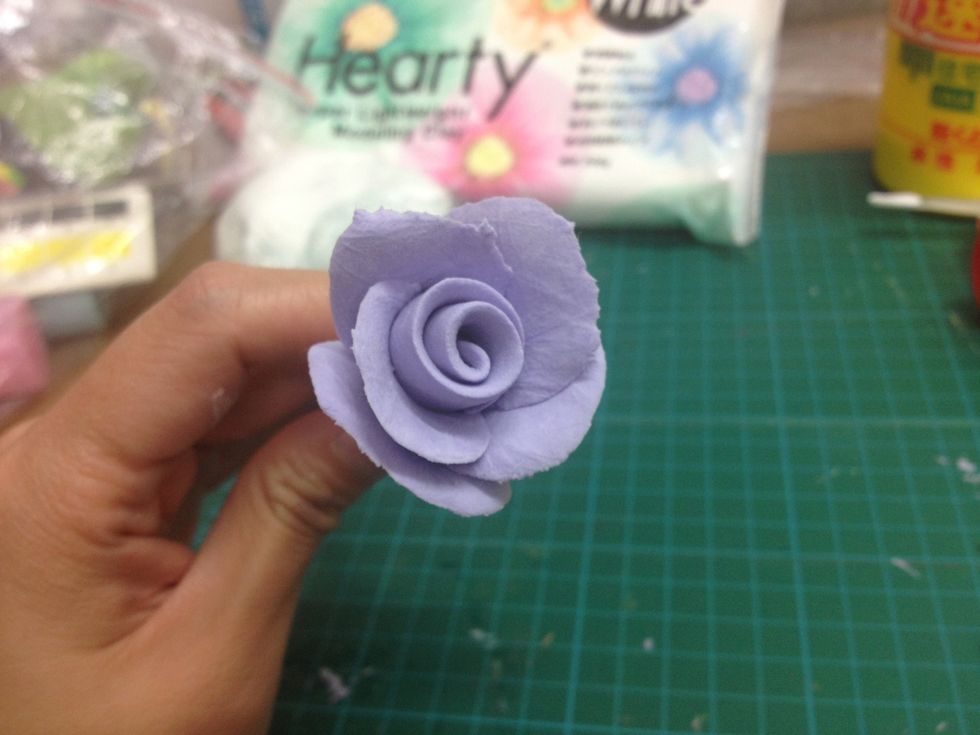
- The rose is basically finished.
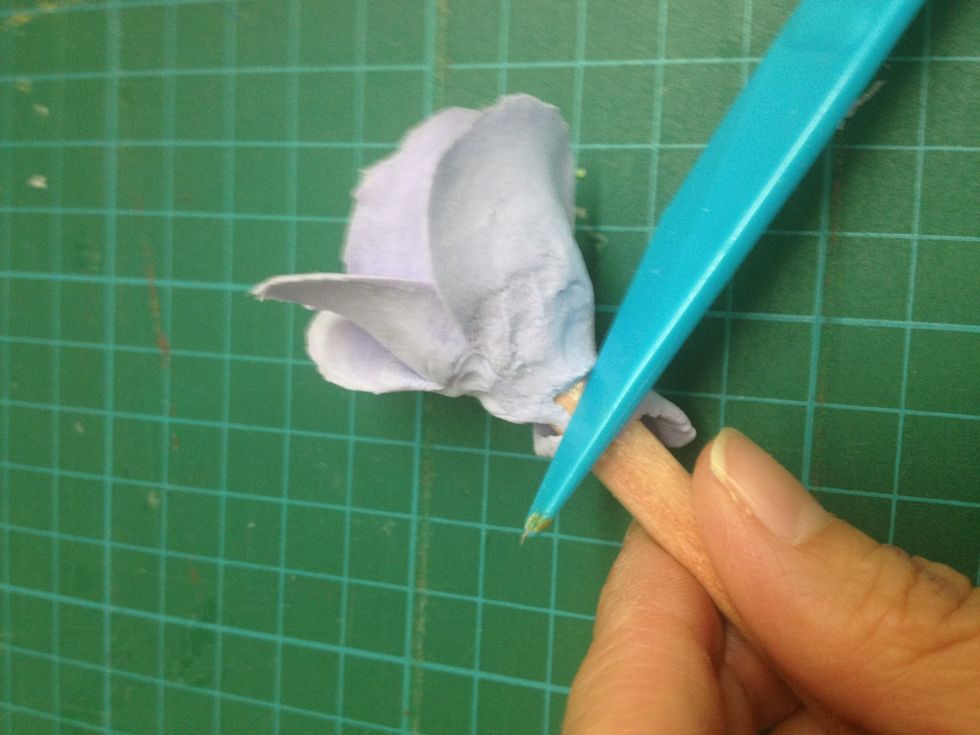
- Take away the excess at the bottom with a clay cutter.
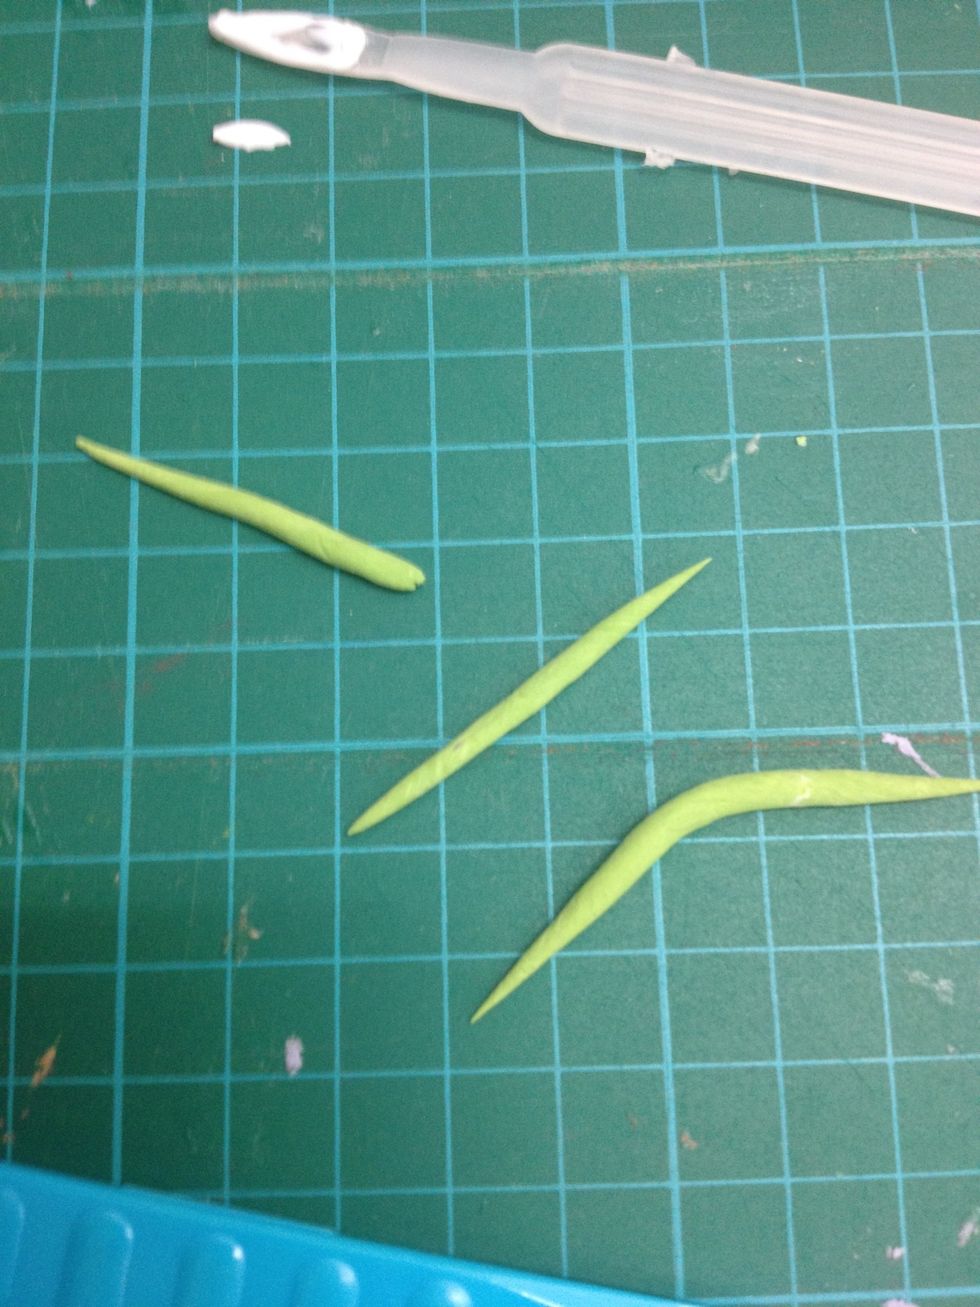
- Then, make 3 flower sepals with the green clay.
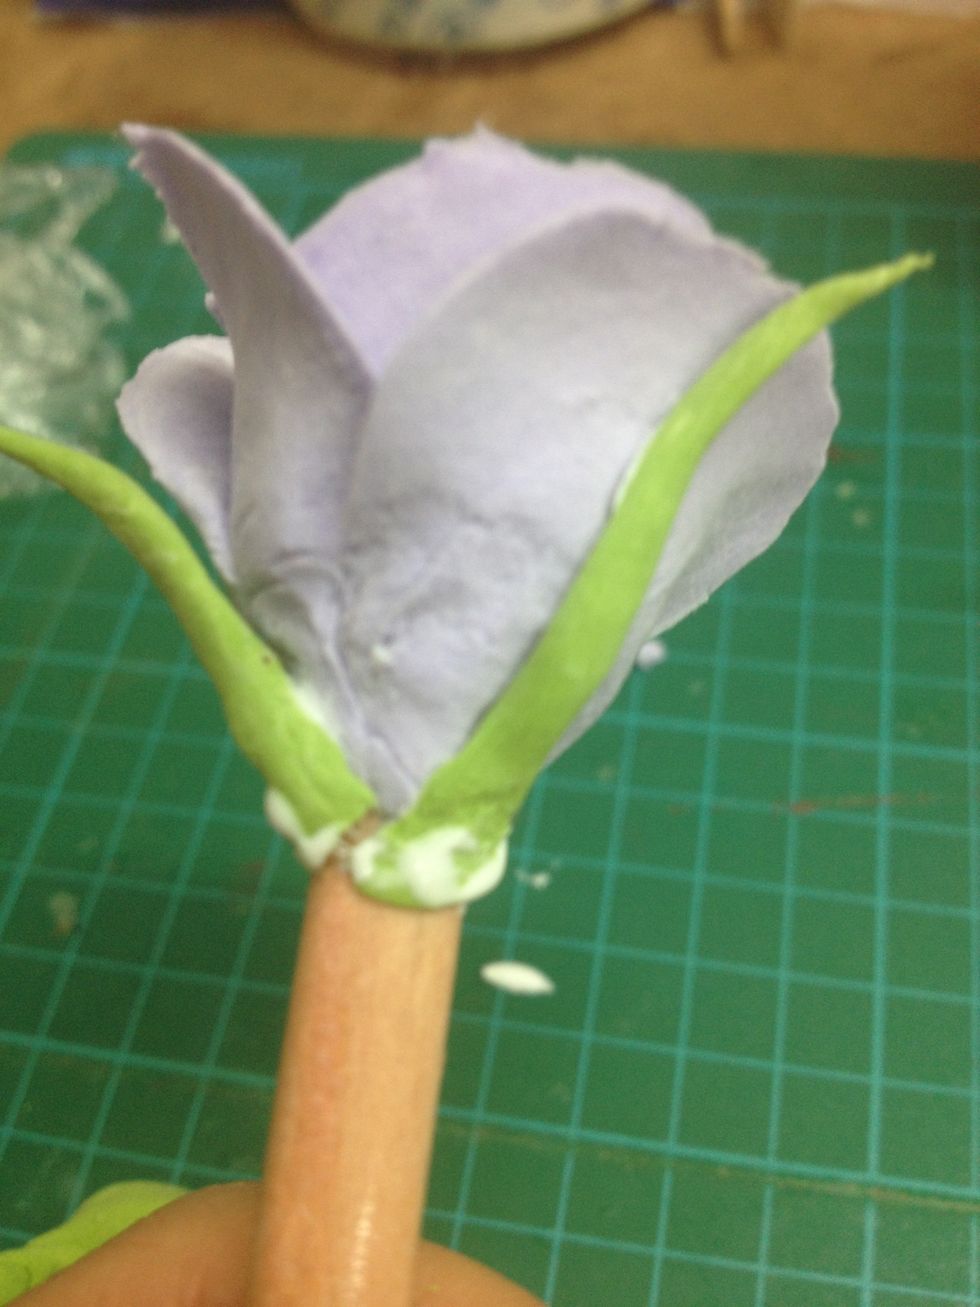
- Attach the sepals with white glue.
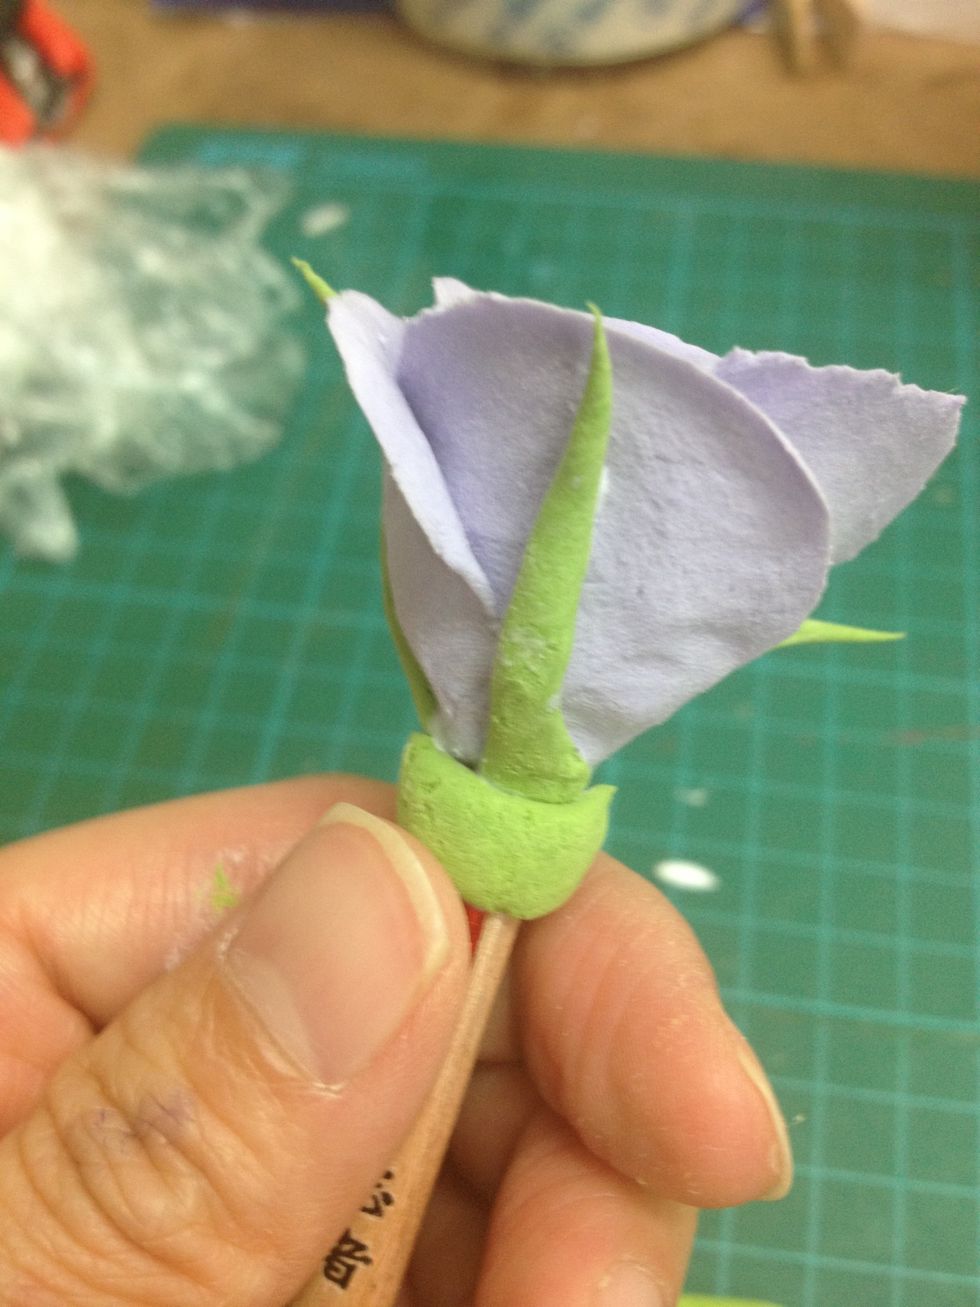
- Finally, make a green line round the bottom of the rose. Remember to use white glue to glue on.
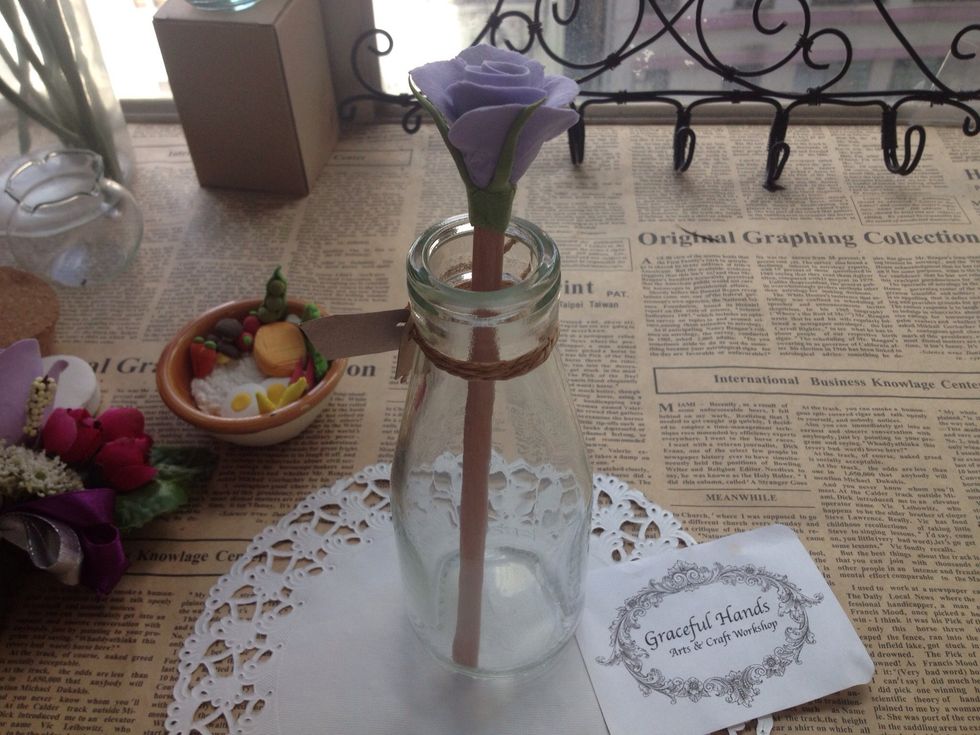
Yeah! Finished!