The Conversation (0)
Sign Up
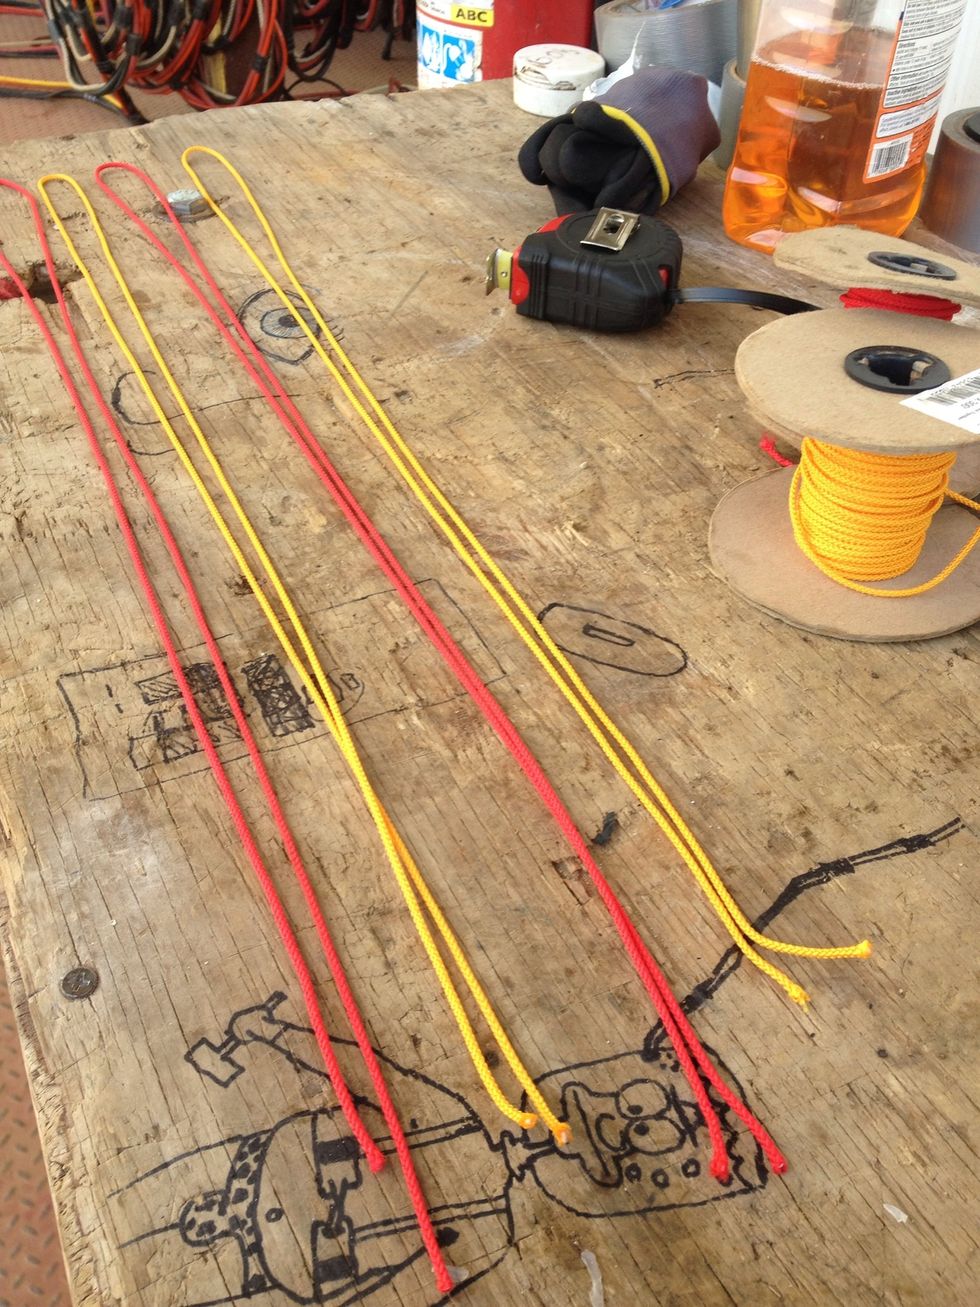
Small line cut into 4 - 4 foot lengths.
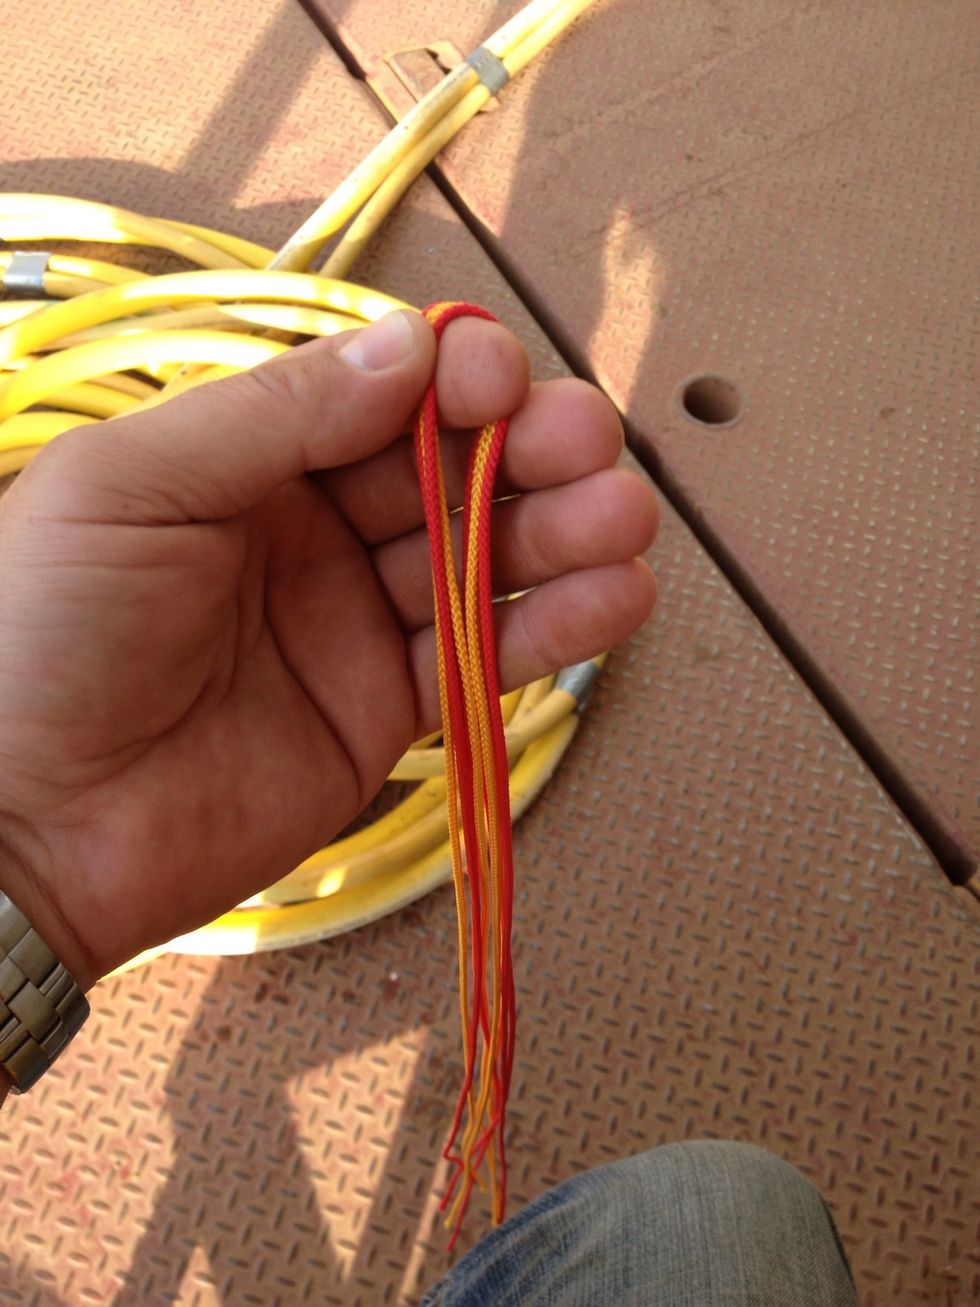
Place all pieces of line over your finger doubled up so you have 8 even tail ends.
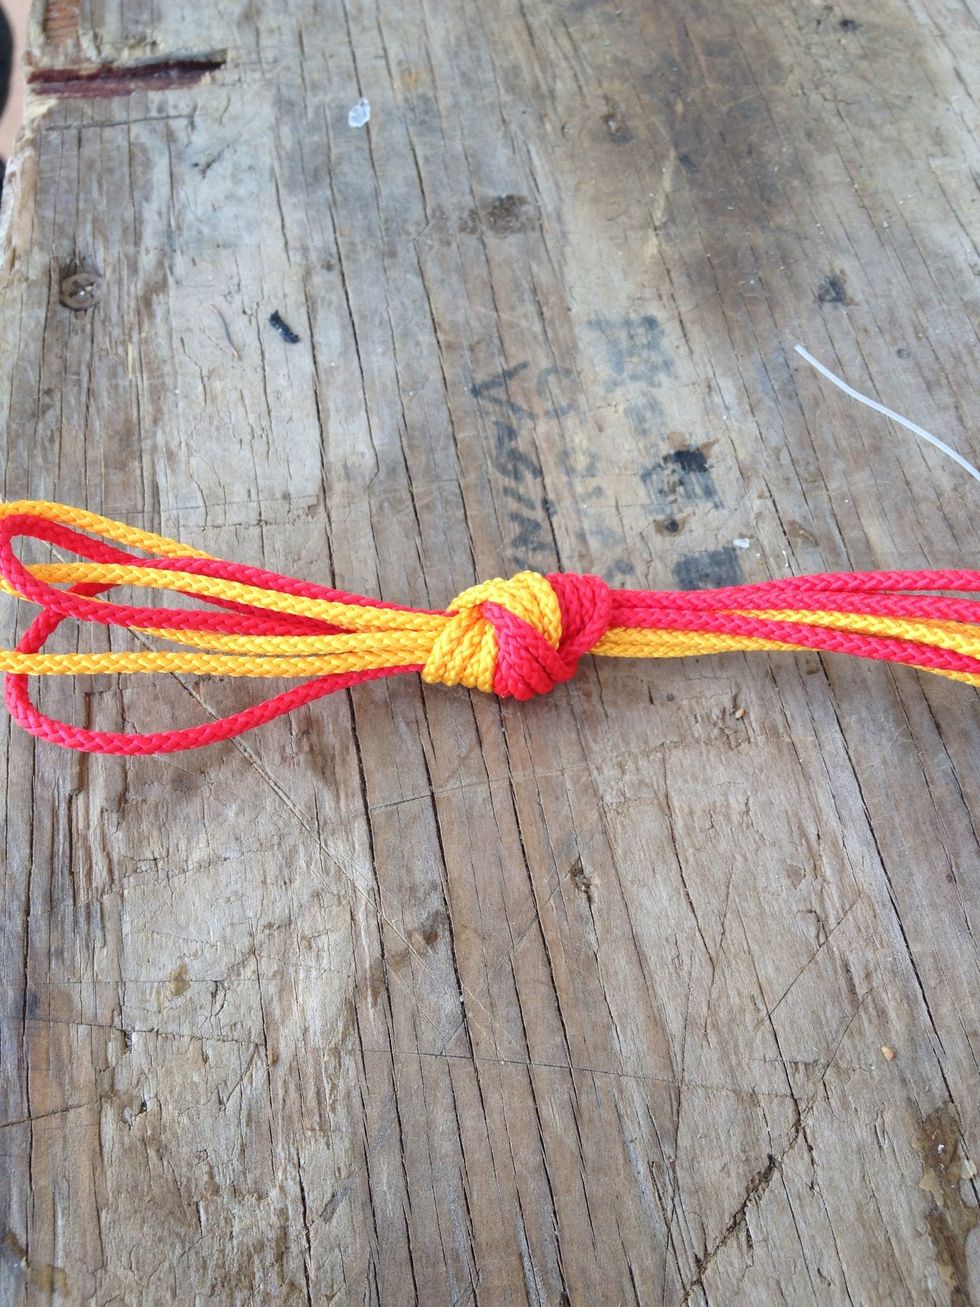
Tie a overhand knot. This may take awhile because it will look nicer if you get all the line in even with each other. Some may not be lined up right.
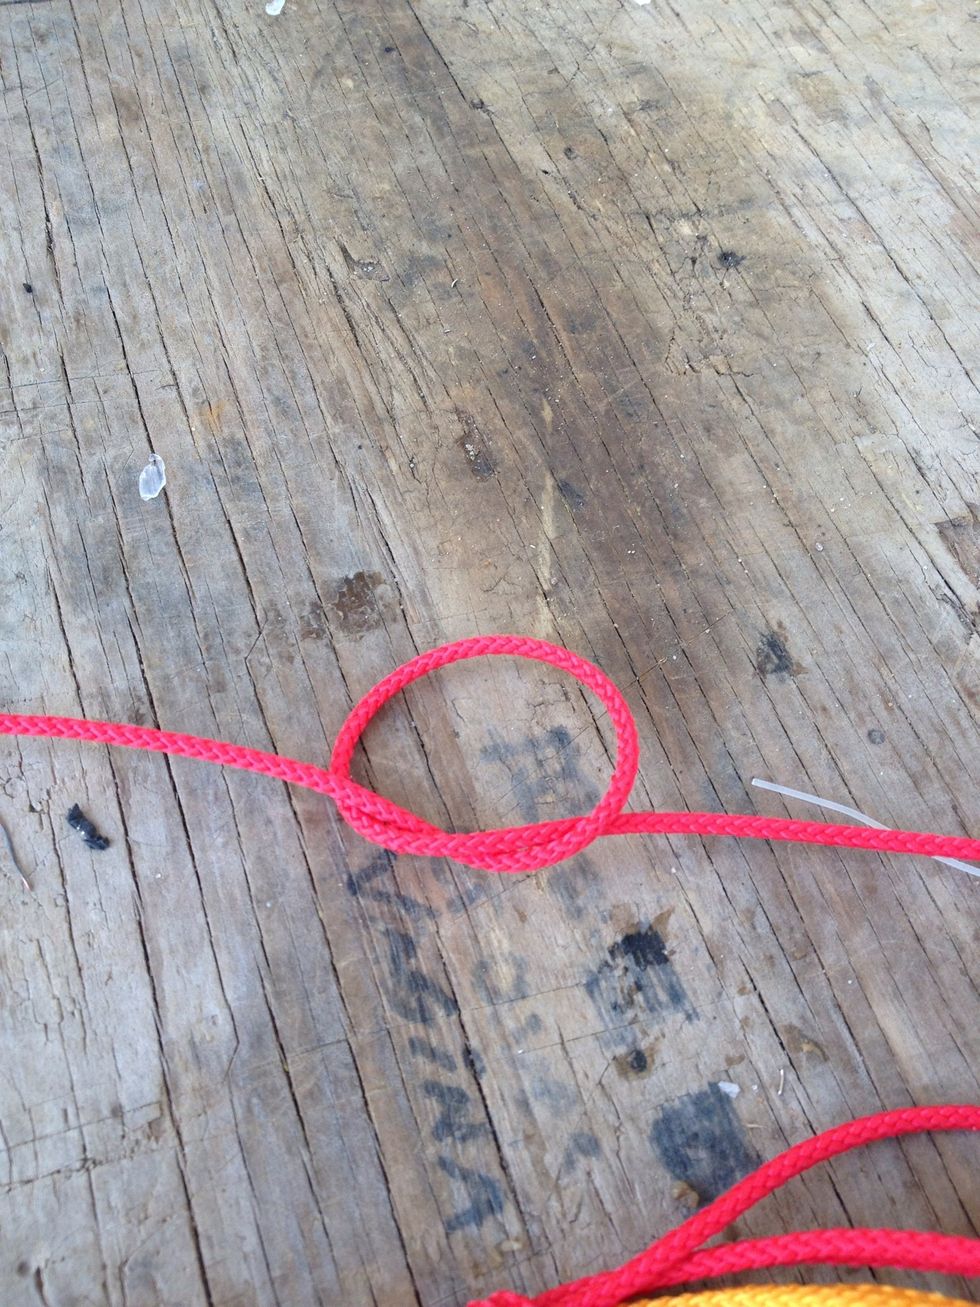
This is a picture of the overhand knot you just did. But with a single rope instead of all 4 ropes. Reference photo. .
Separate the line into a x shape with 2 each. Just as shown. (in this step it is not important which colors go where, each will be different) It is more important that they lay nice when laid out.
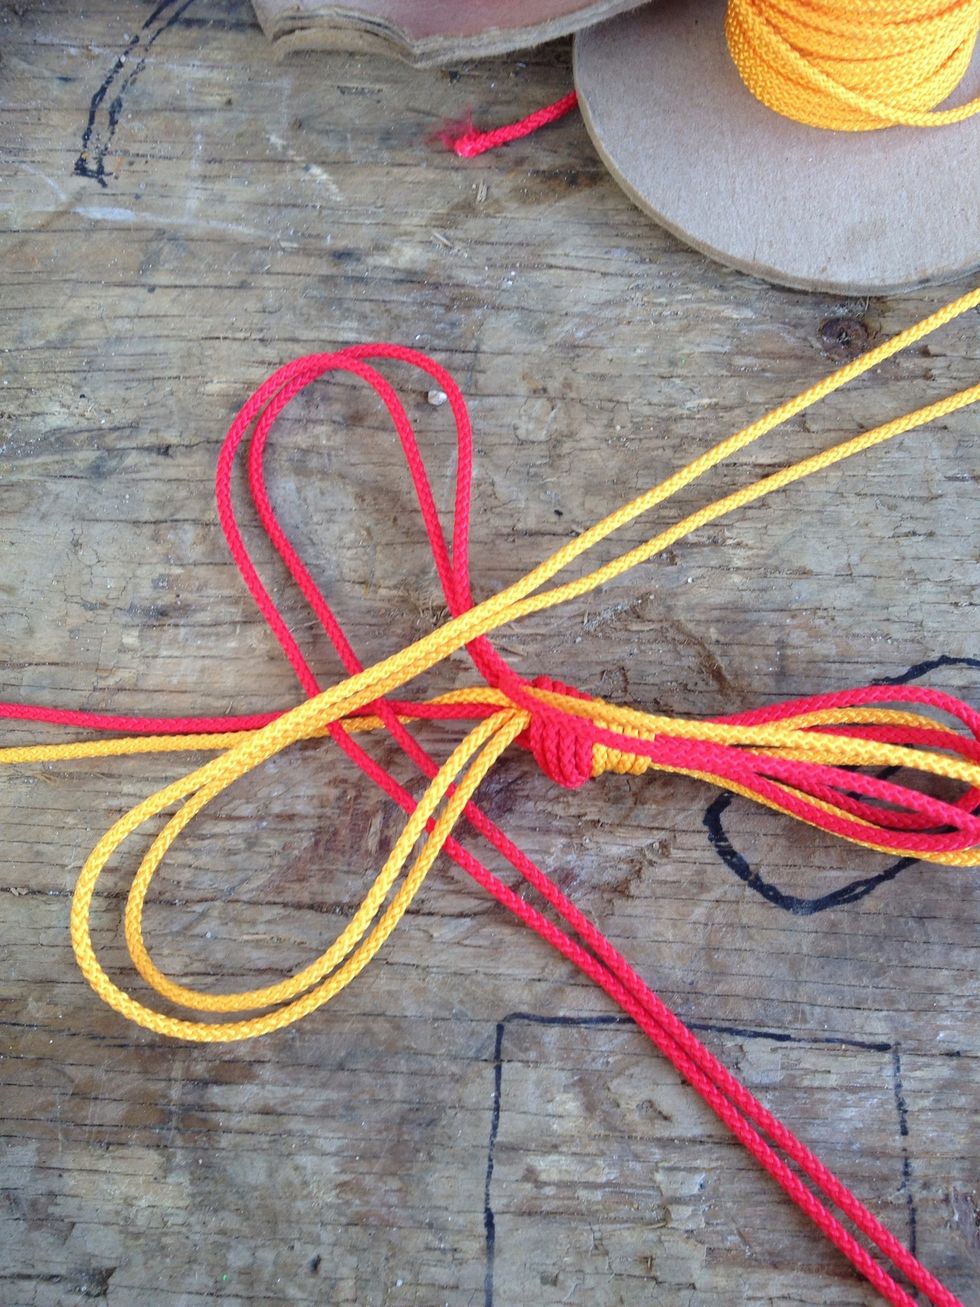
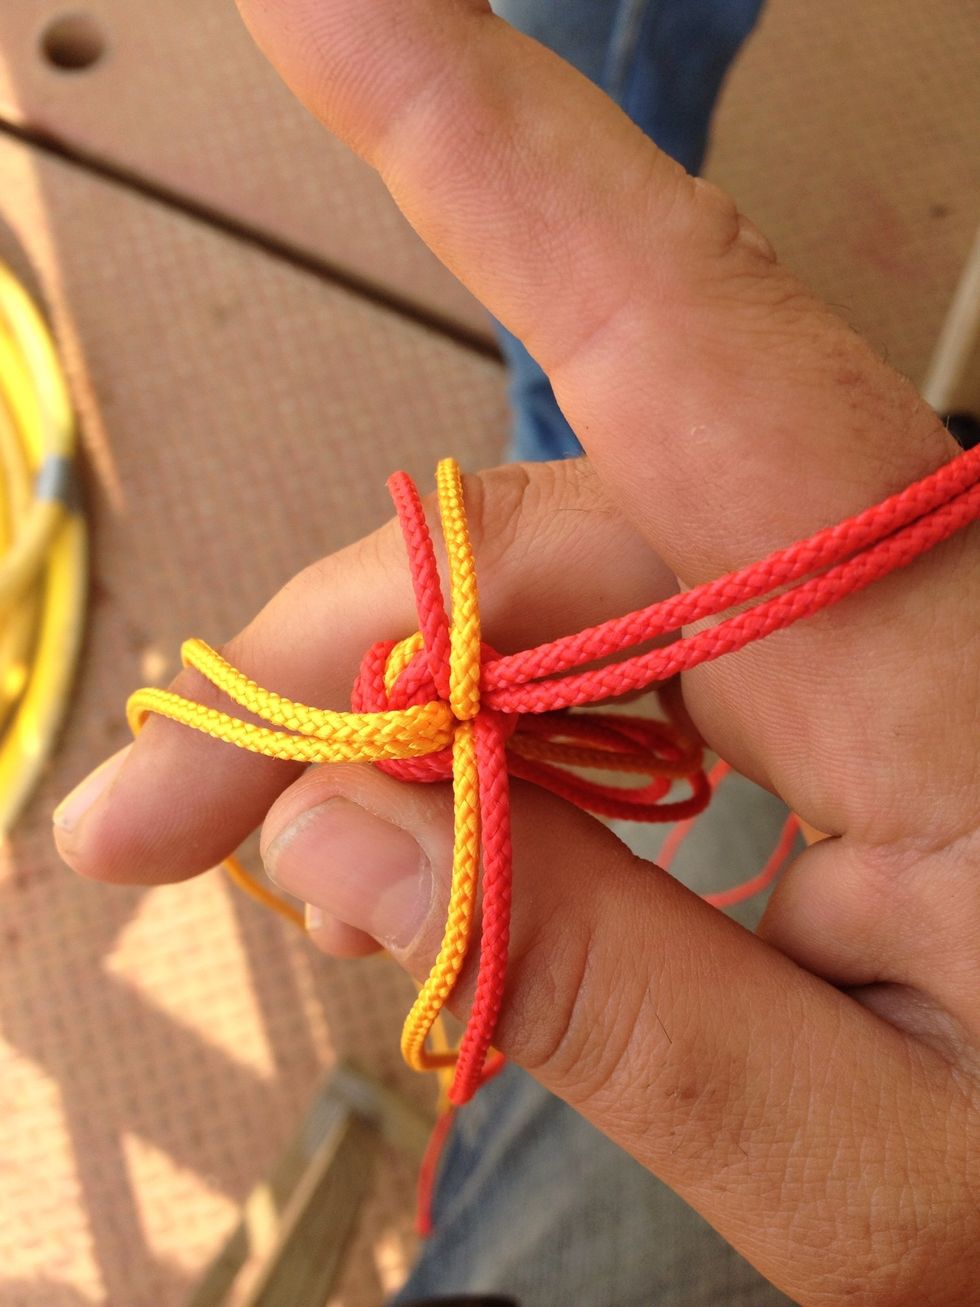
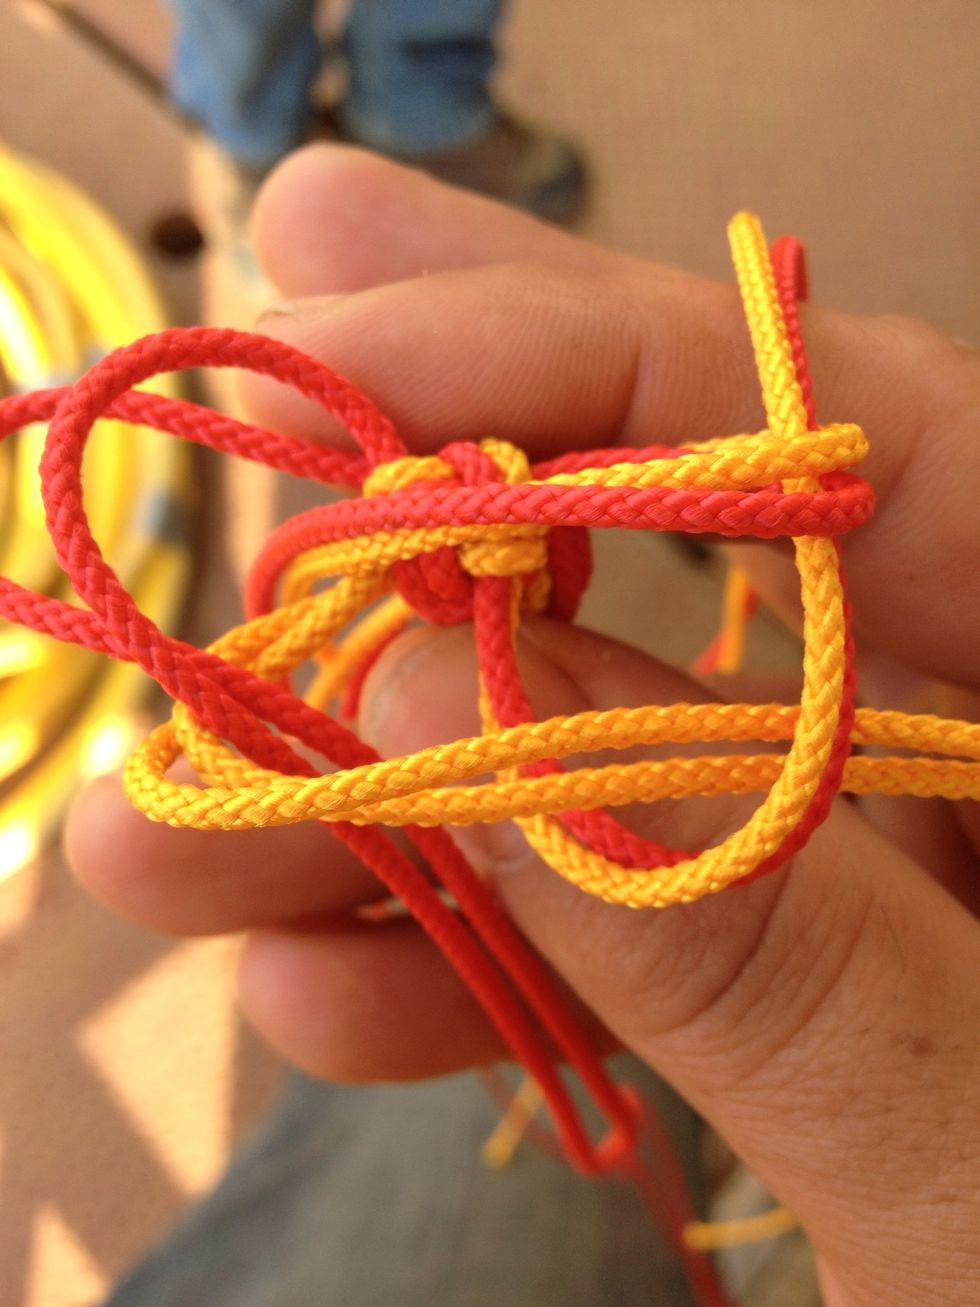
This is the most important step. Place the 2 opposite lines in the x across the middle so it makes 2 loops. On the back and front of each you should have a line just laying there.
This is what the 2 loops look like holding them.
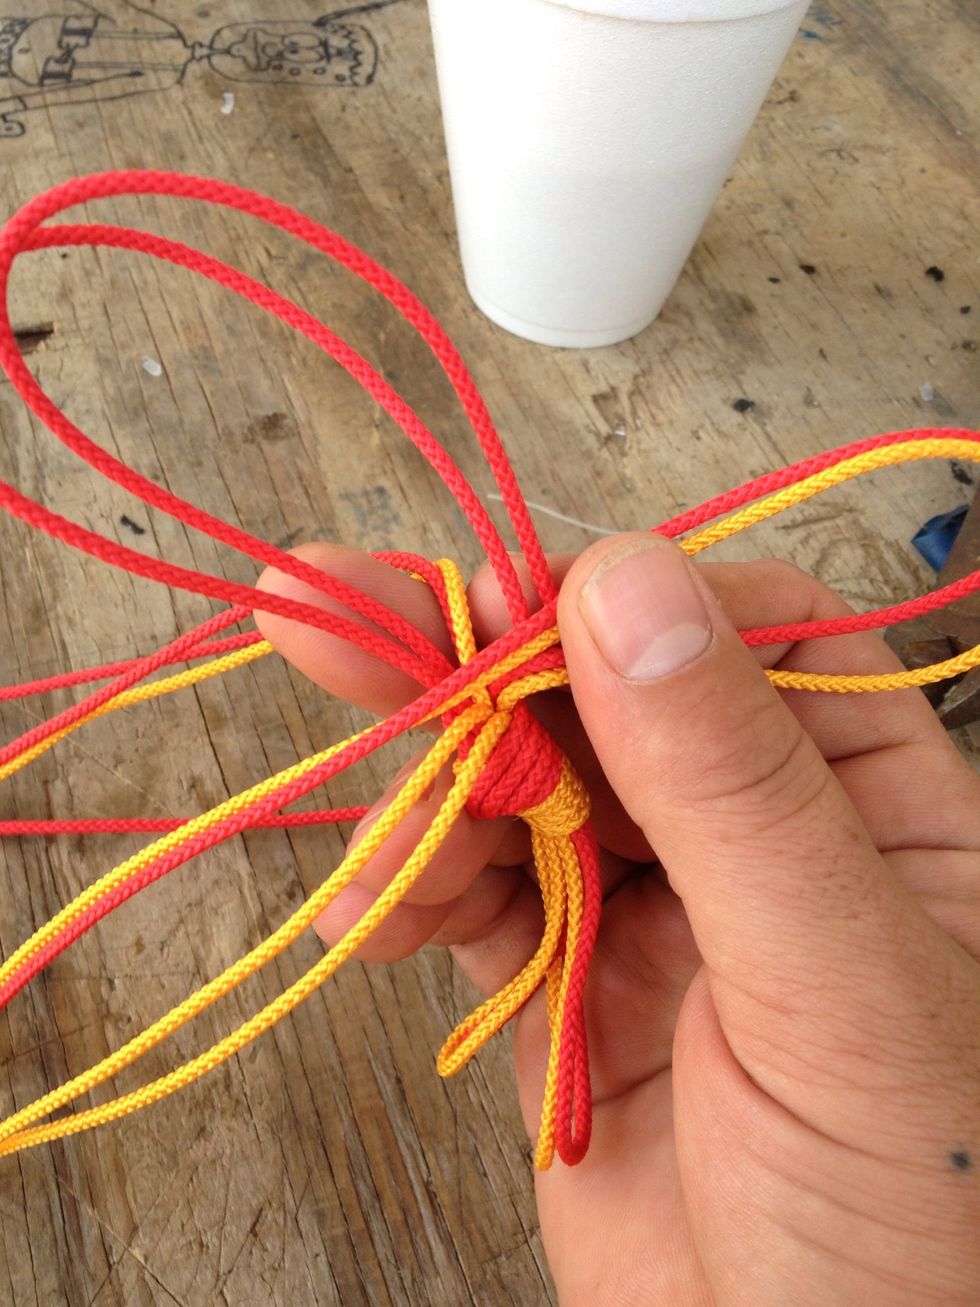
Ok... Now (important) take the limp line and place it through the loop. The one you see in the photo goes through the front and the one in the back goes through the back. Don't let this deter you

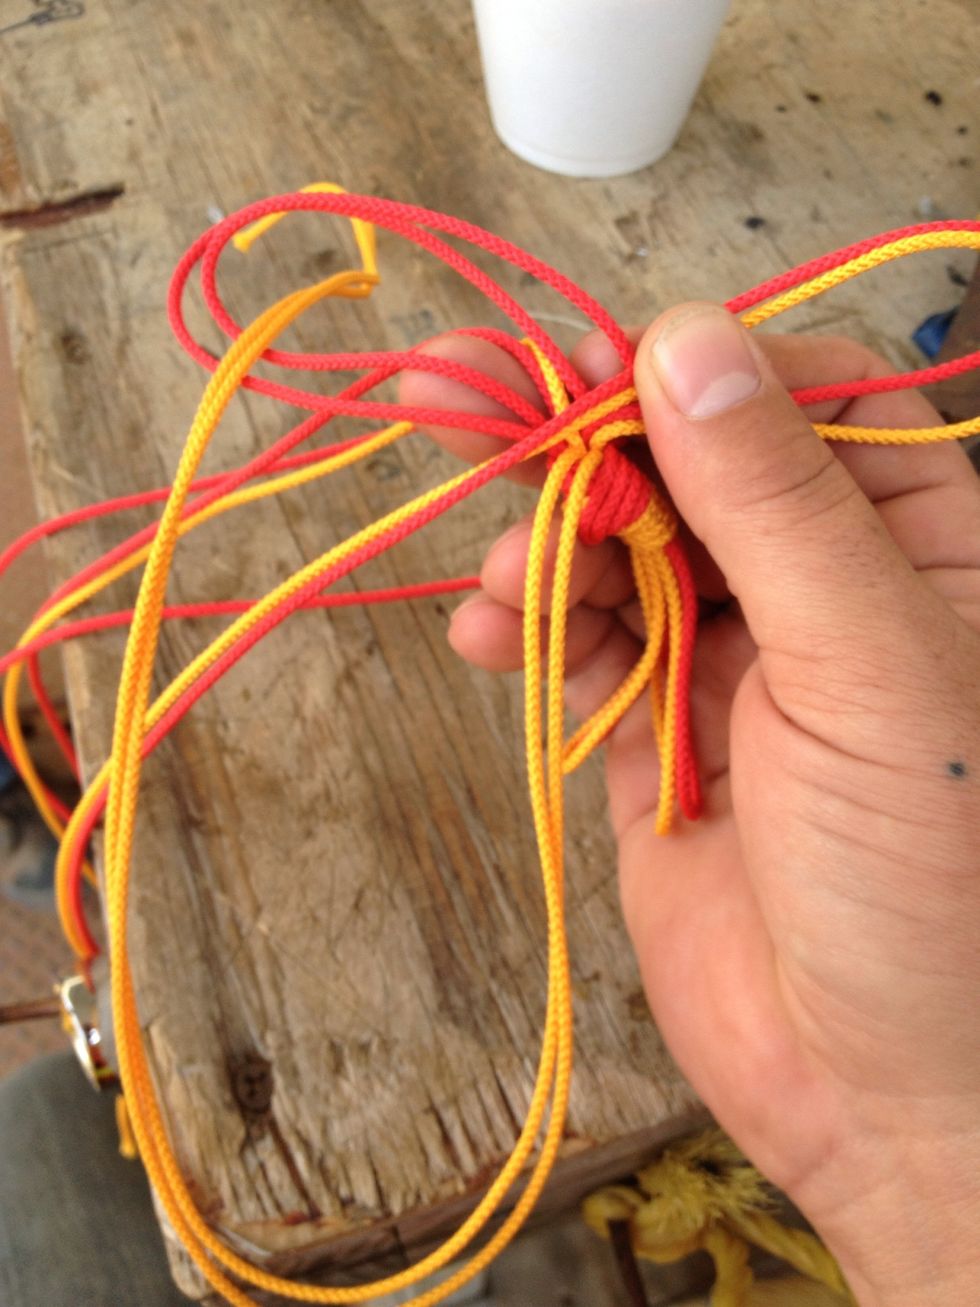
Pull them tight and get your lines straightened up. Work two outer pairs at a time. Then switch pairs till its as tight as you can be.

Another photo of the beginning knot.
Repeat process over and over and over till you get the length you like.
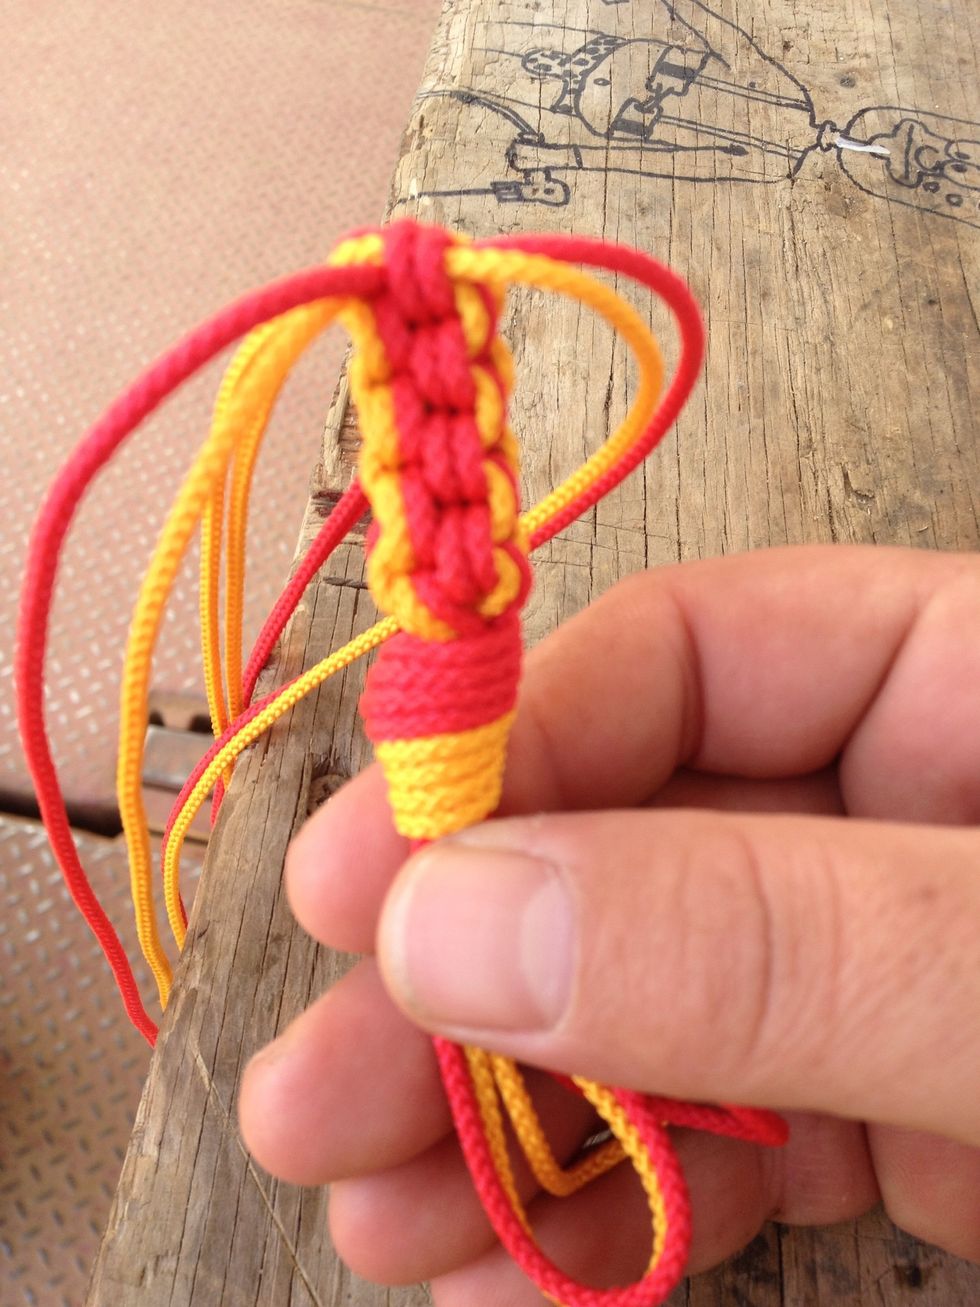
This is how it will look after 5-7 to Times.
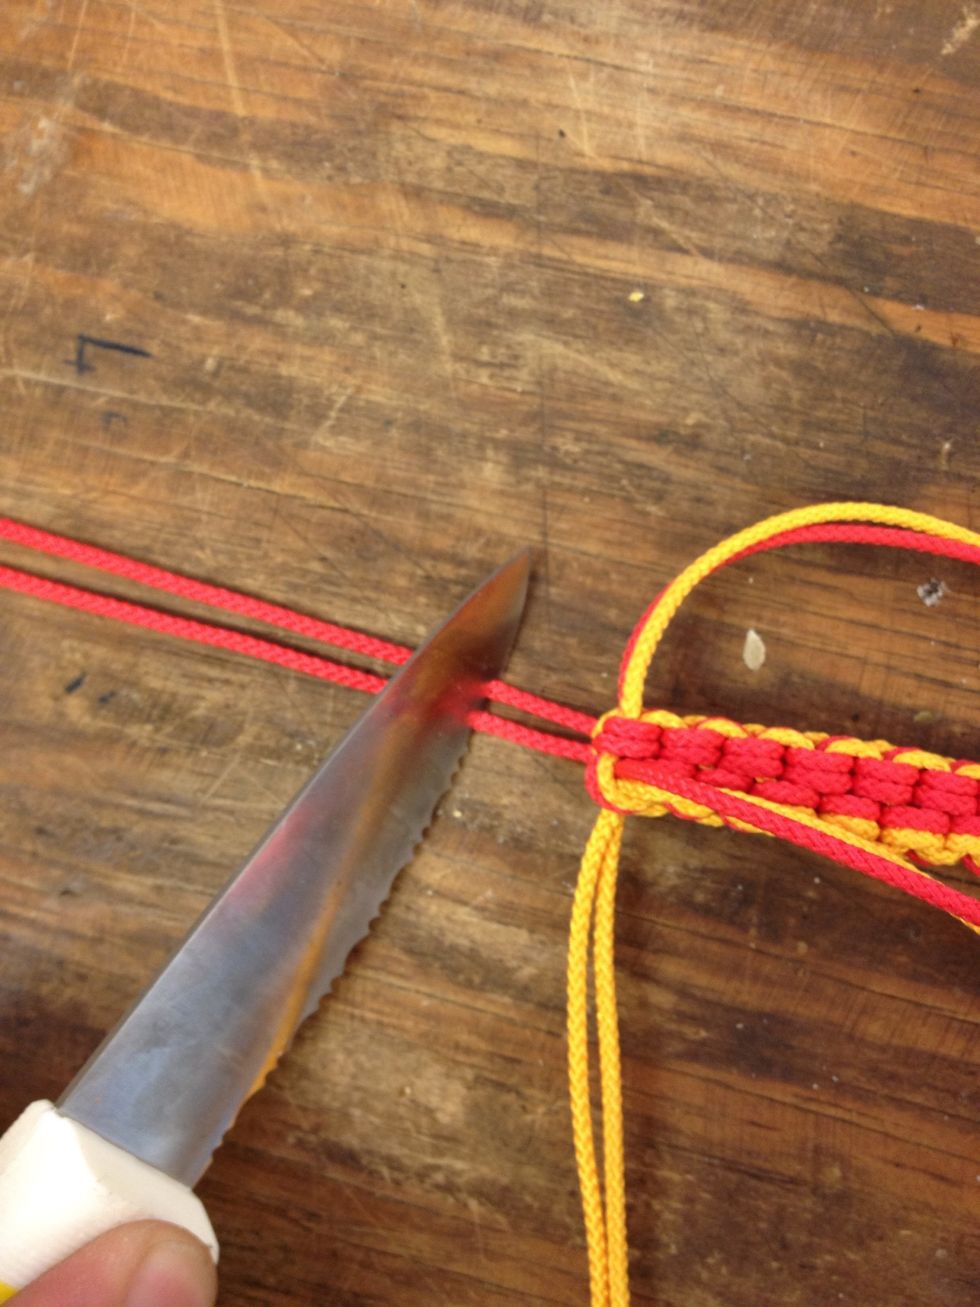
When it's long enough cut the excess off leaving about 1" of extra
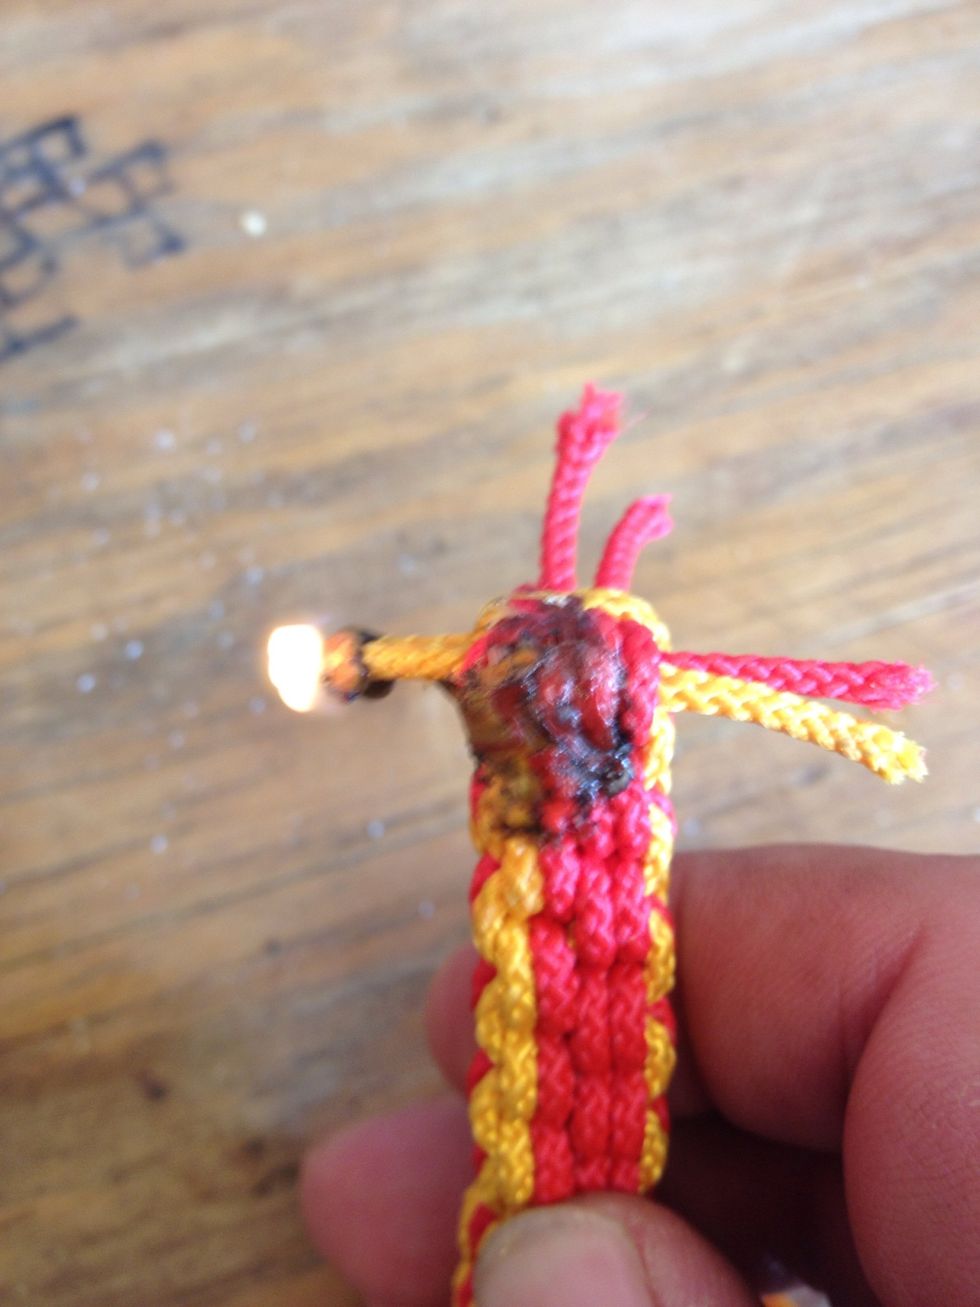
Light the excess with a lighter and smash the melted nylon on a piece of wood or metal or use your fingers with leather gloves
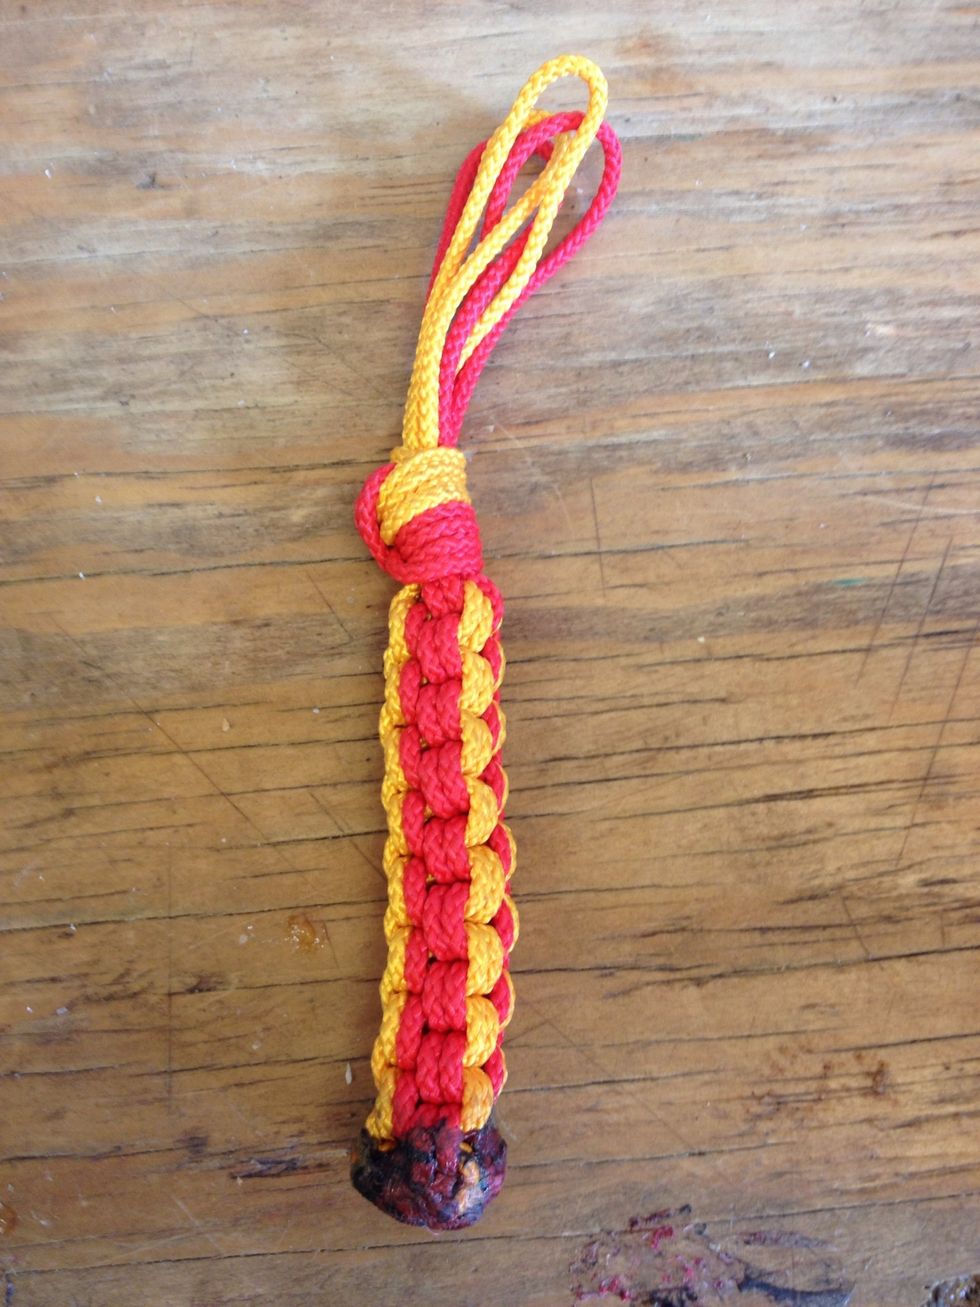
The finished product will look like this. You can put it on a zipper, bag, keychain, sailboat rigging, etc. We use them on our quick release on our diving harnesses.