The Conversation (0)
Sign Up
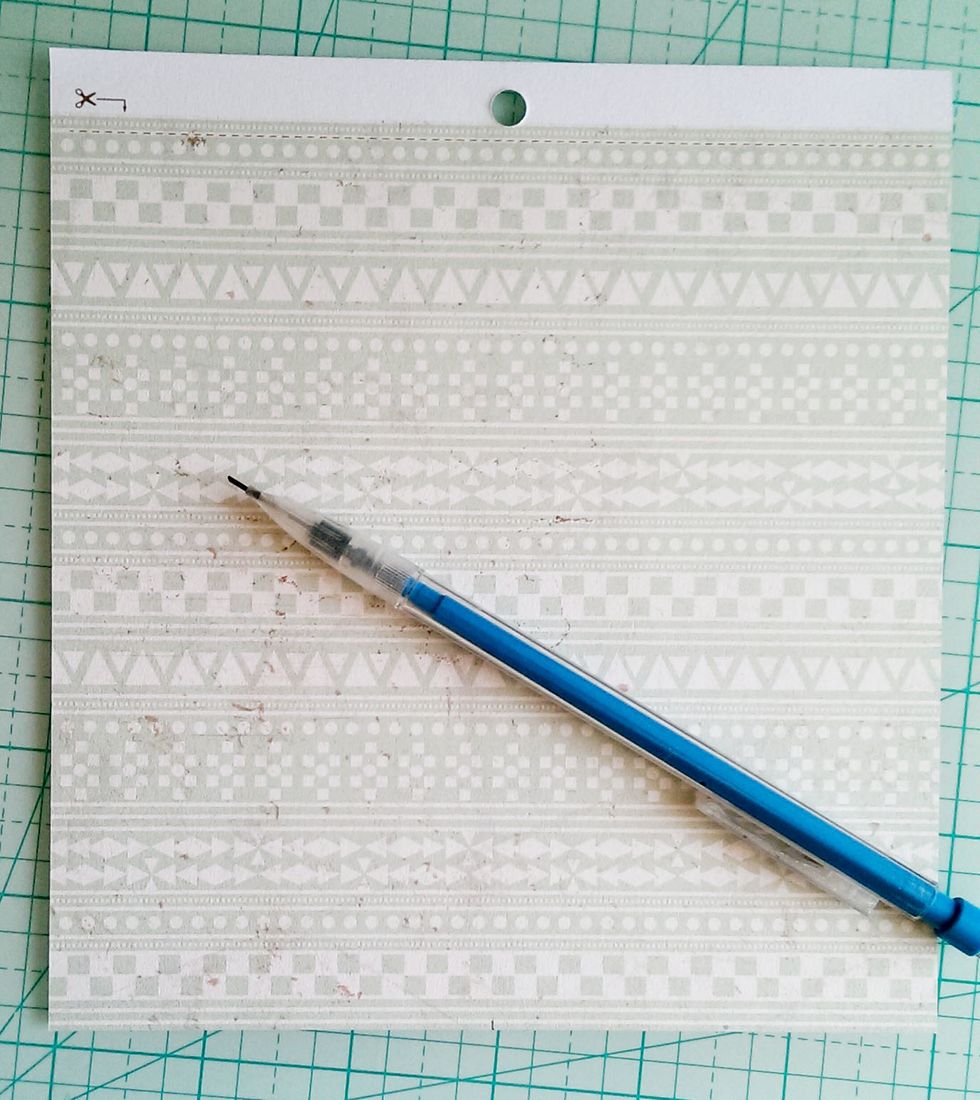
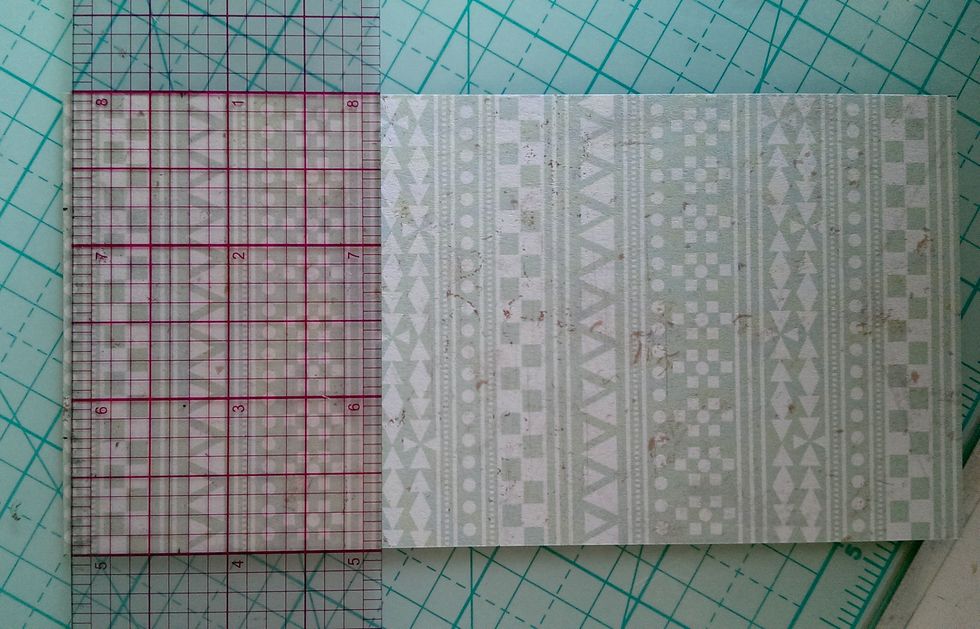
Find this cute print from the Happy Camper 6x6 Paper Pad from www.FotoBella.com. Measure a 6”x3” piece and cut out.
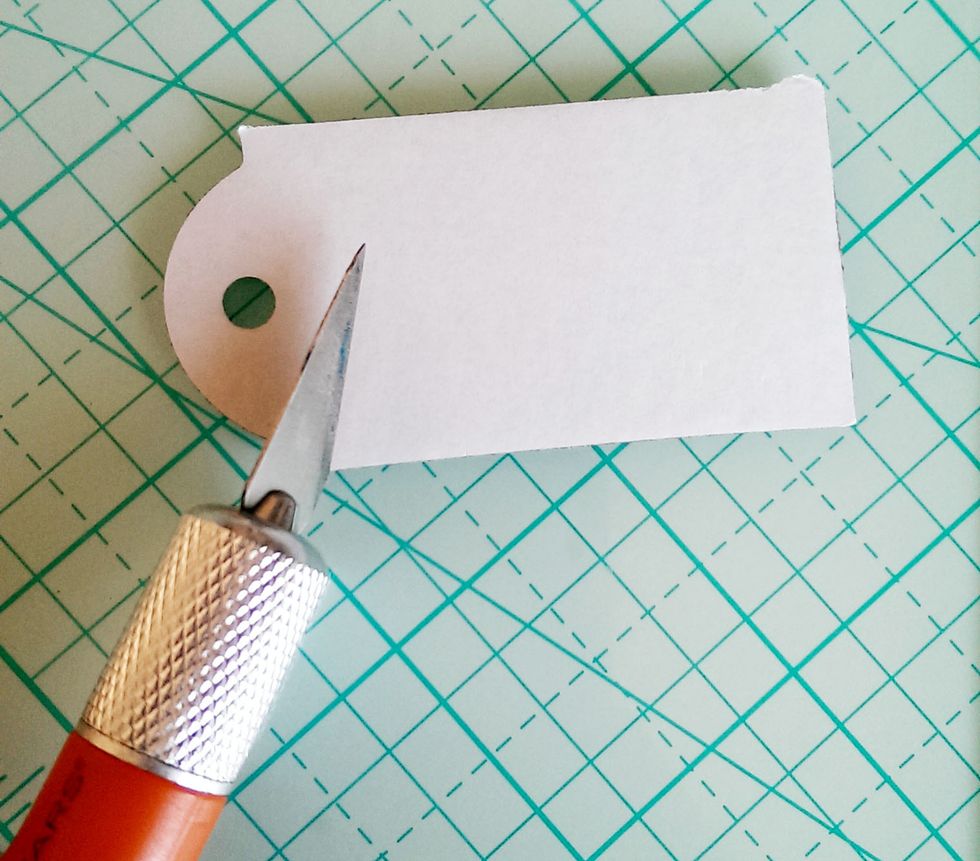
Mark the center point of the top of the tag, about 3/8” down. Mark a diagonal line on each side, where you want the tag corners cut. I marked mine approx. ¾” down and ½” in on the top.
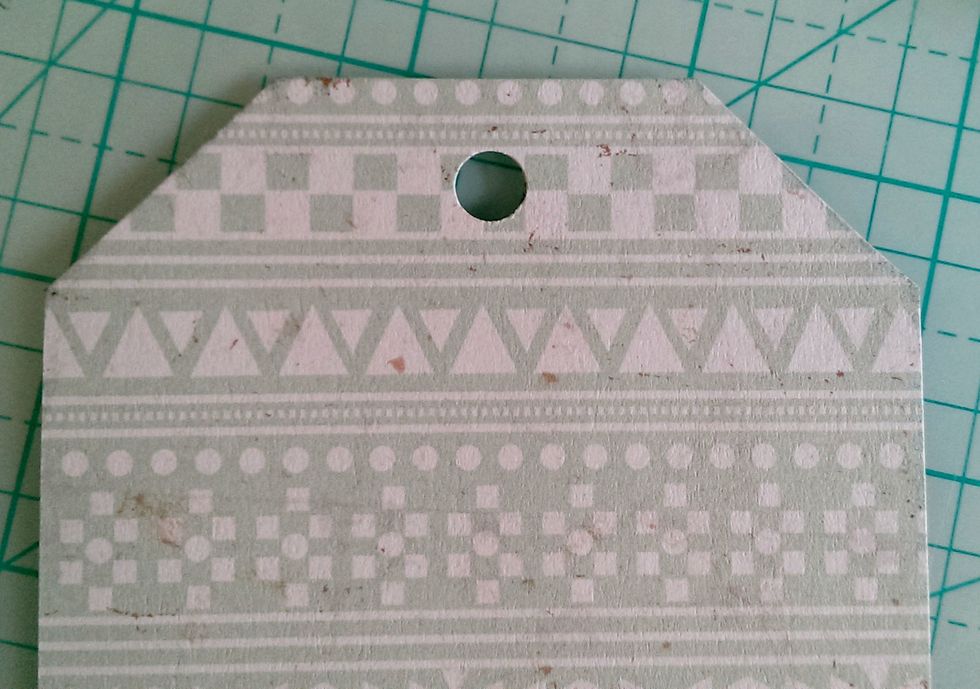
Cut the corners off, and punch a hole at the center point.
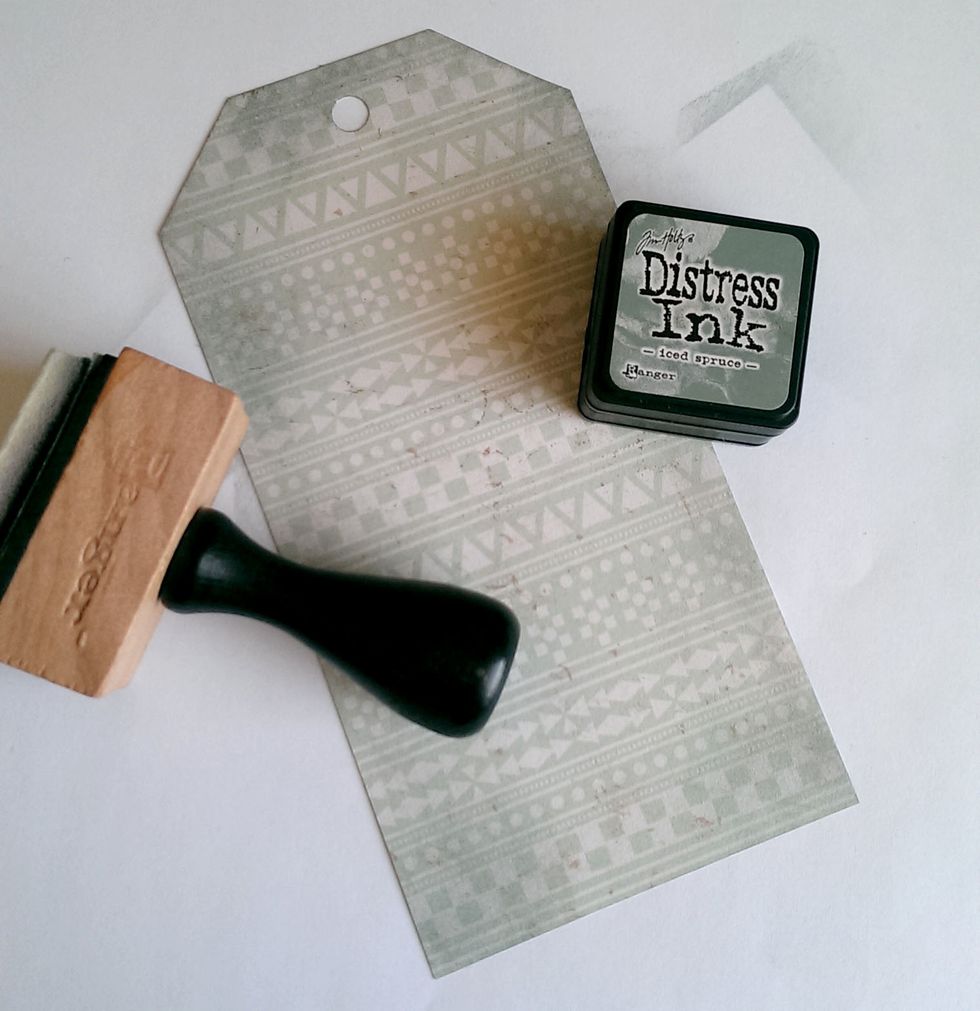
Using the Tim Holtz Iced Spruce Distress Ink, ink the edges of the tag.
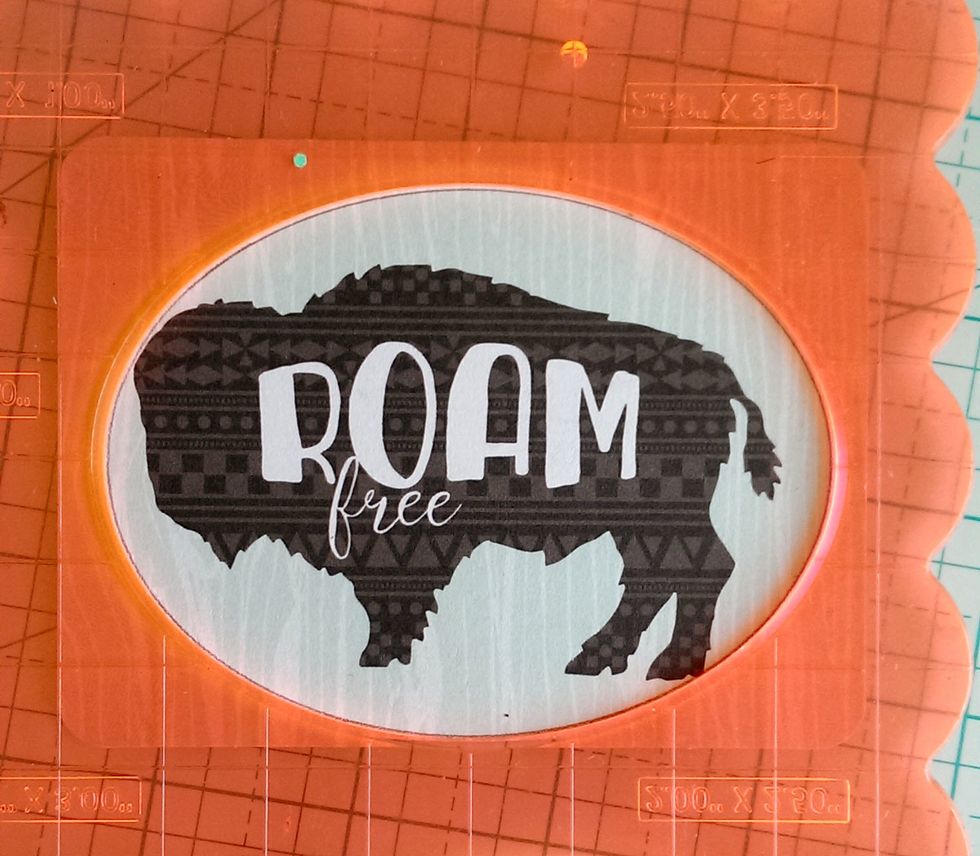
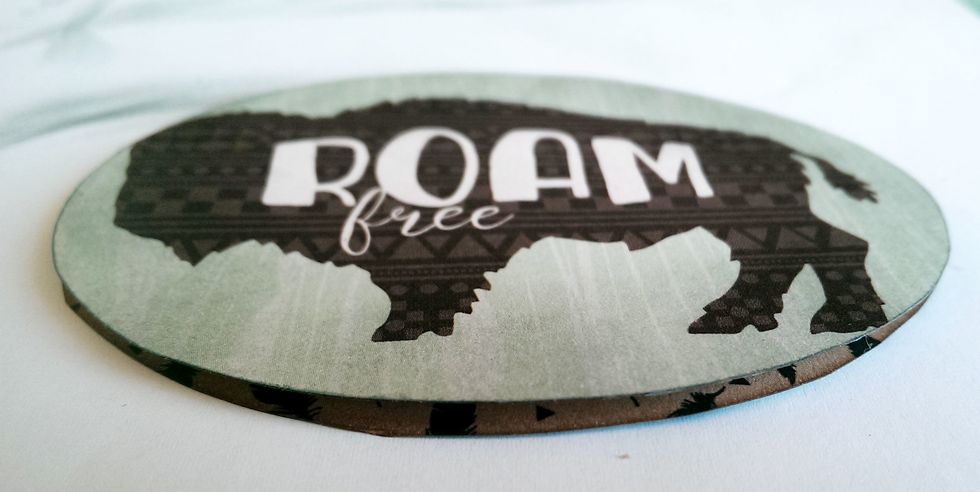
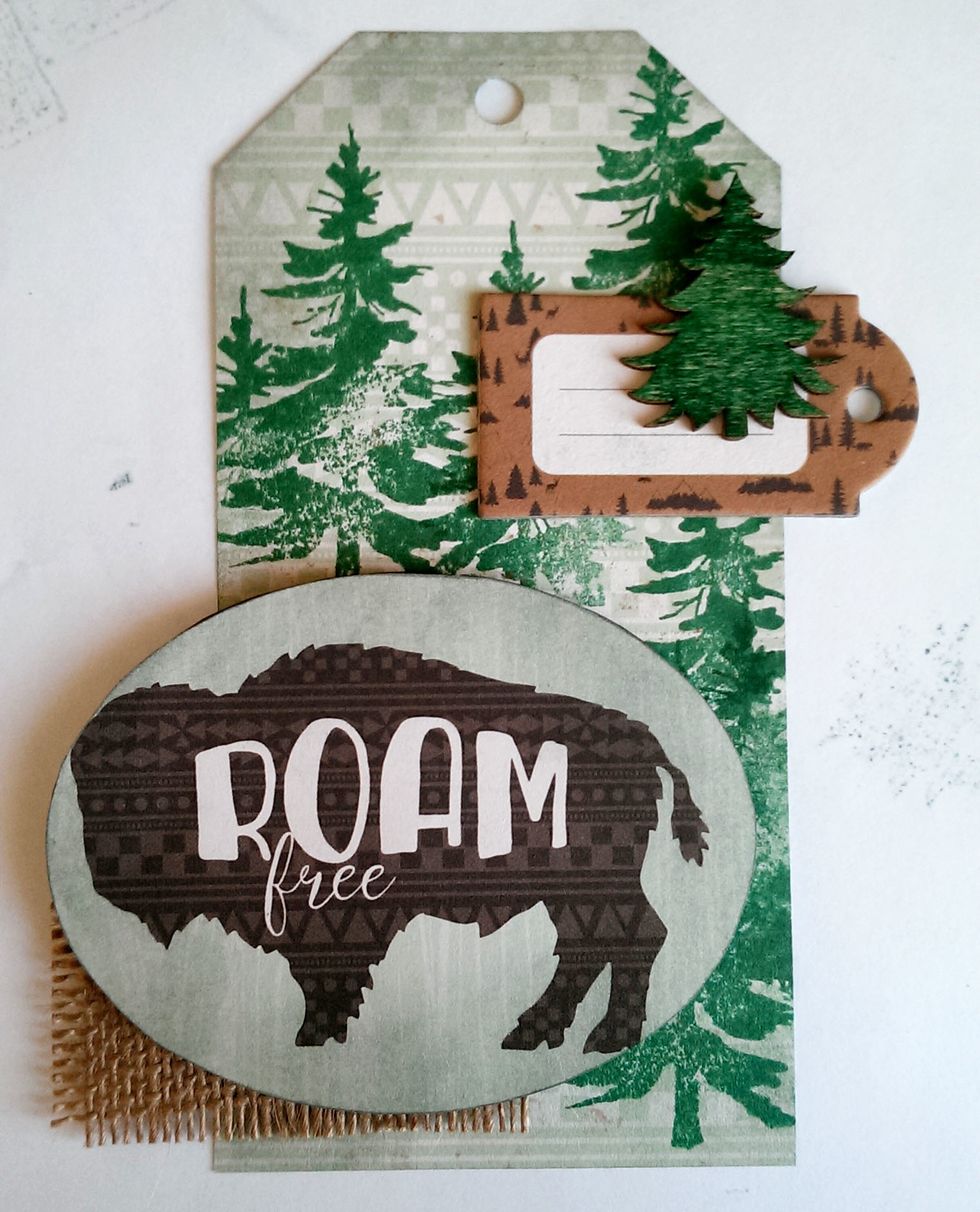
Find this cute Buffalo Journal Card, and trace an oval around the image. Cut it out.
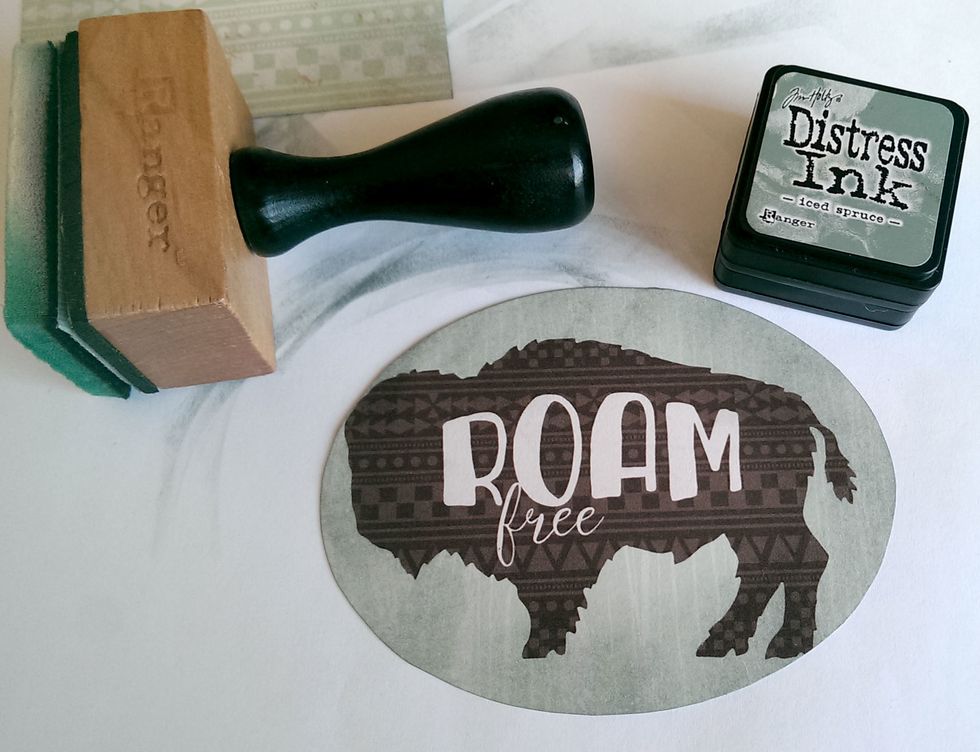
Ink the edges with the Iced Spruce Distress Ink.
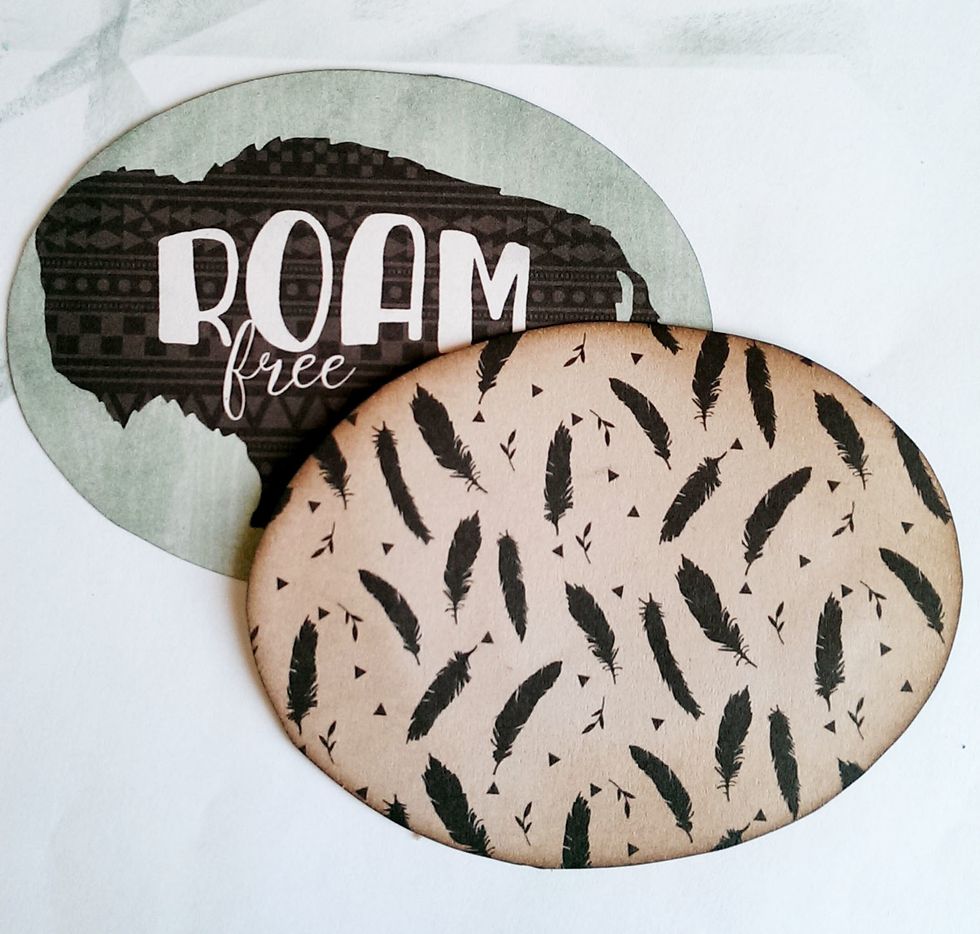
Find this Feather Sheet in the 6x6 Paper Pad. Cut the same size oval out, and using Gathered Twigs Distress Ink pad, distress the edges.
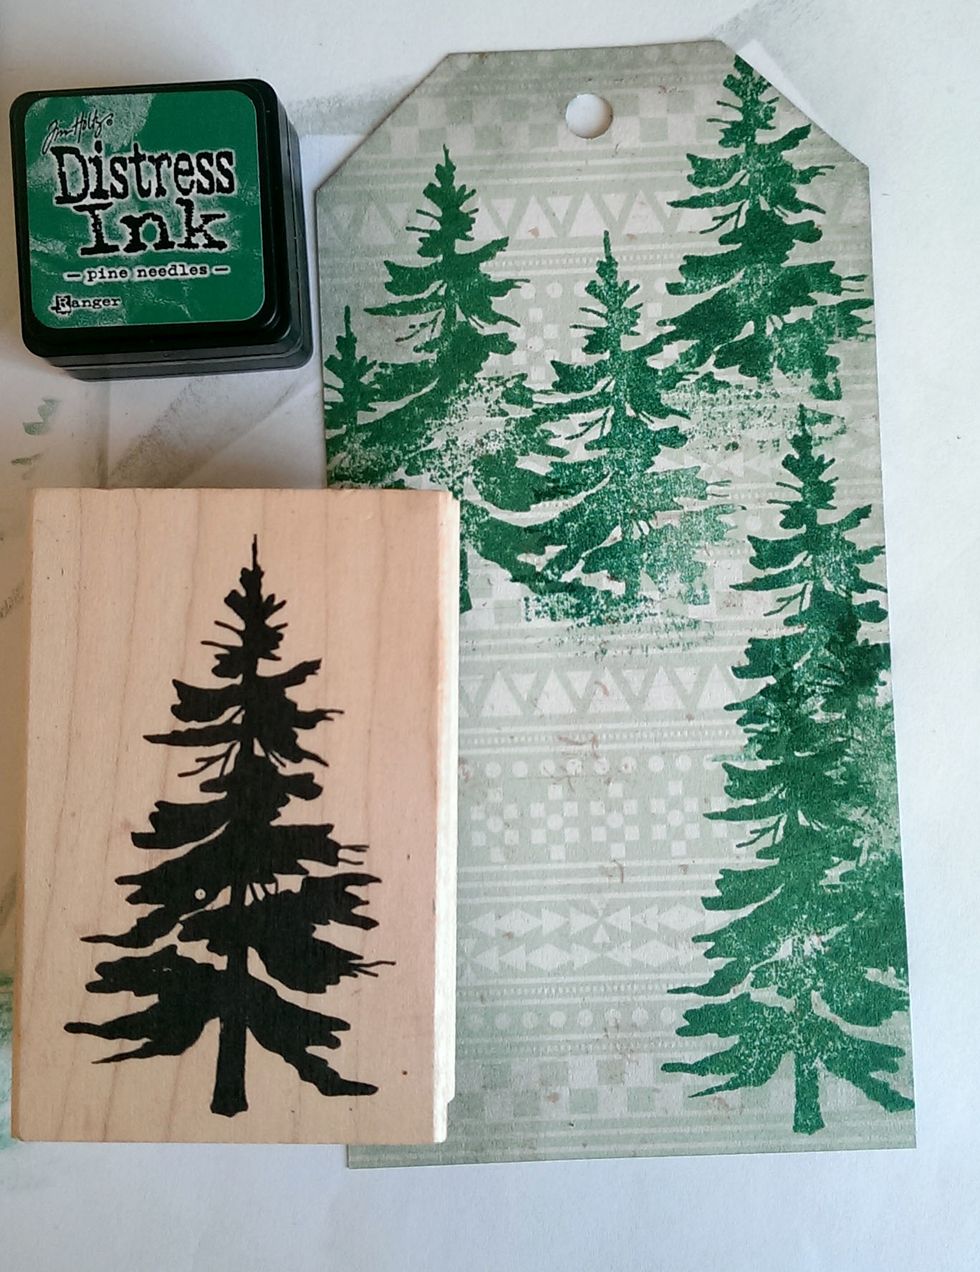
Using a Tree Stamp and the Pine Needles Distress Ink, stamp a few random trees around the tag.
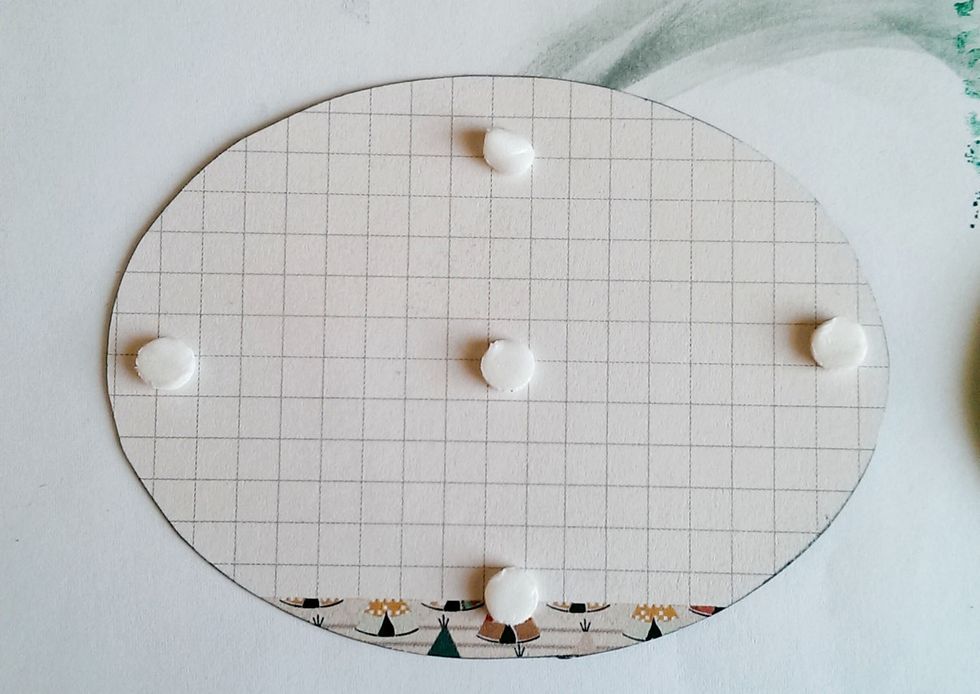
Add a couple 3D Foam Dots to the back of the Buffalo oval.
Secure it to the top of the Feather Oval. This will give it a little dimension on the tag.
Ink the Tree Wood Icon with the Pine Needle Distress Ink, then dab with a paper towel to remove the excess ink.
Find the brown tag chipboard, and with a knife, slice the backing about ¾ of the way up. Leave the backing on the upper part, since it will hang off the tag.
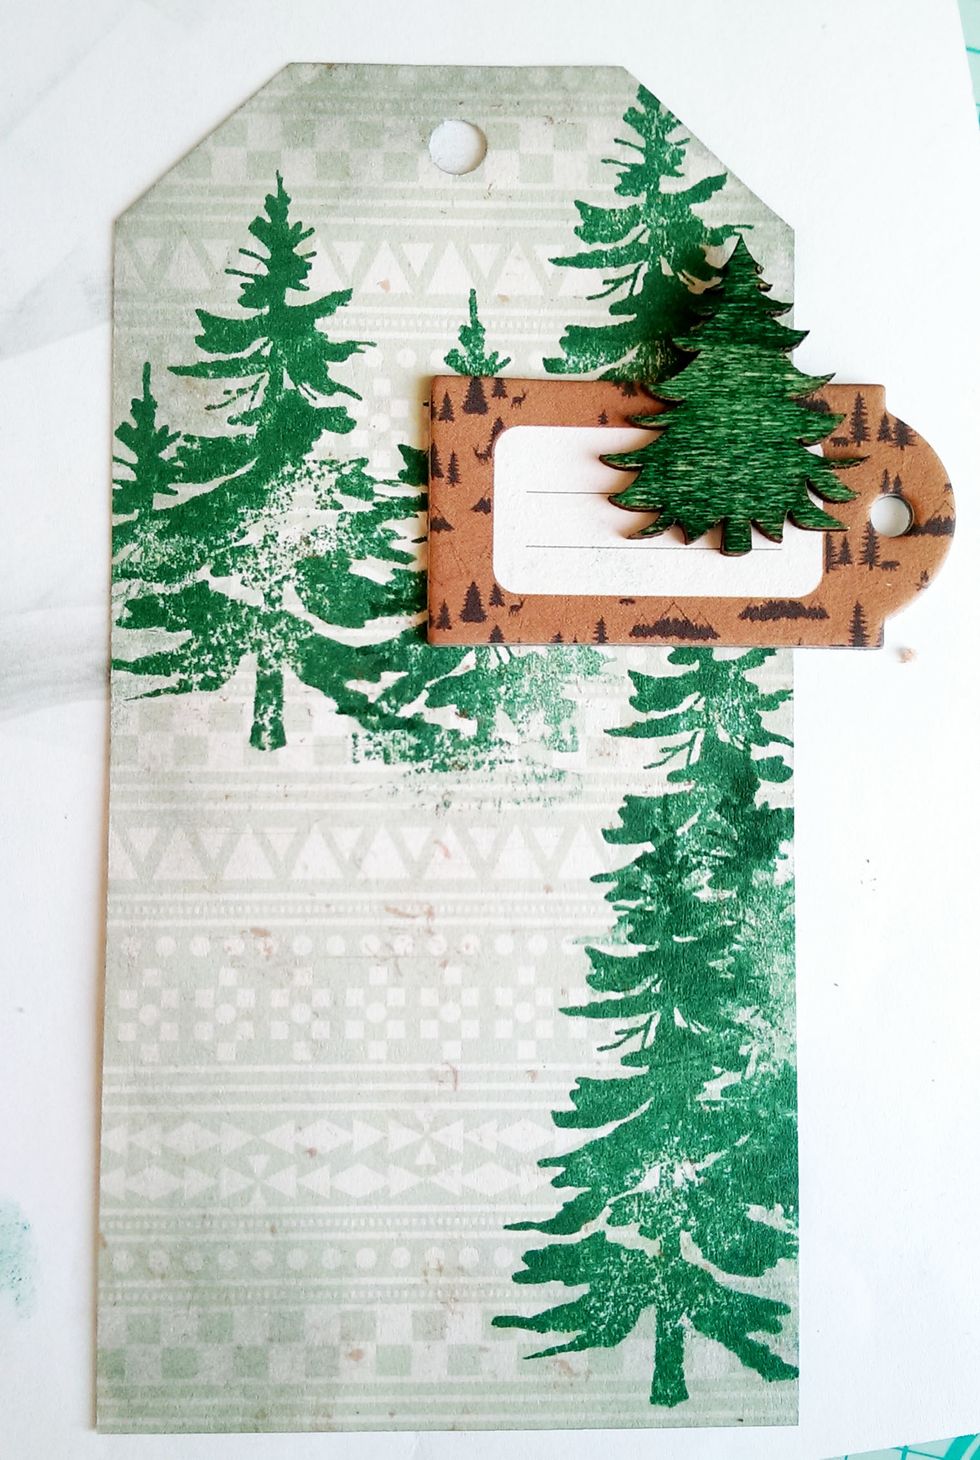
Stick the Brown tag to the top right, and then secure the Wood Tree on top of it, as in the picture.

Using the Gathered Twigs Ink, ink the edges of this saying found in the Brads package. Use your finger to round up the edges.
With double sided tape, secure a small piece of burlap in the bottom left corner. Add a couple more 3D Foam Dots to the back of the Buffalo Oval, and secure that to the top of the burlap.
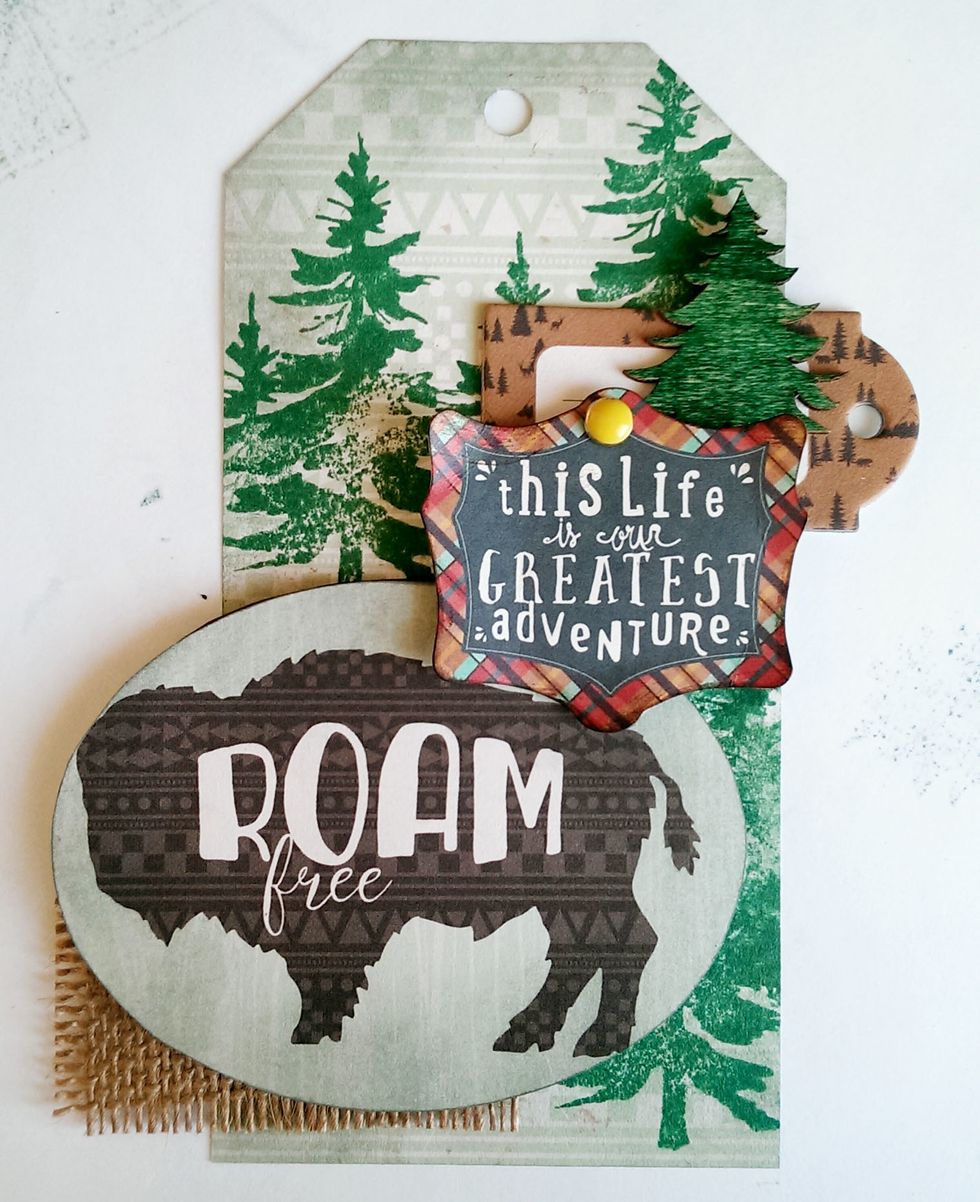
Using 3D Foam Dots, secure the Brad saying on top of the brown chipboard and Buffalo oval.
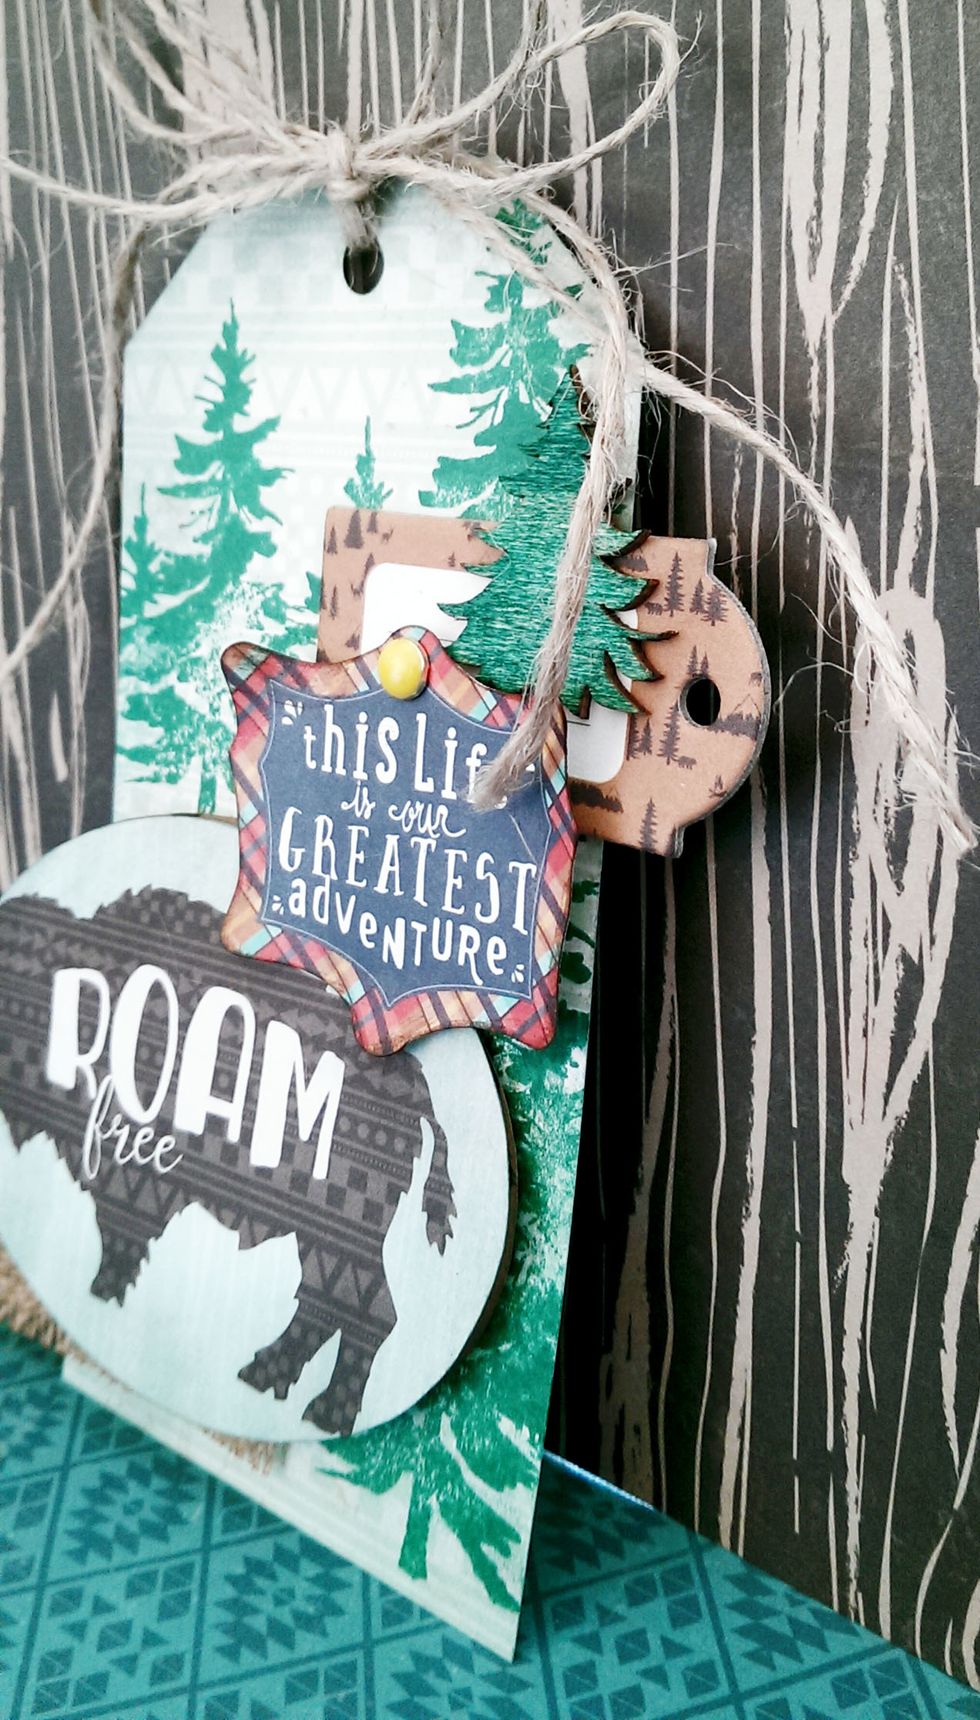
With some jute string, tie to the top of the tag.
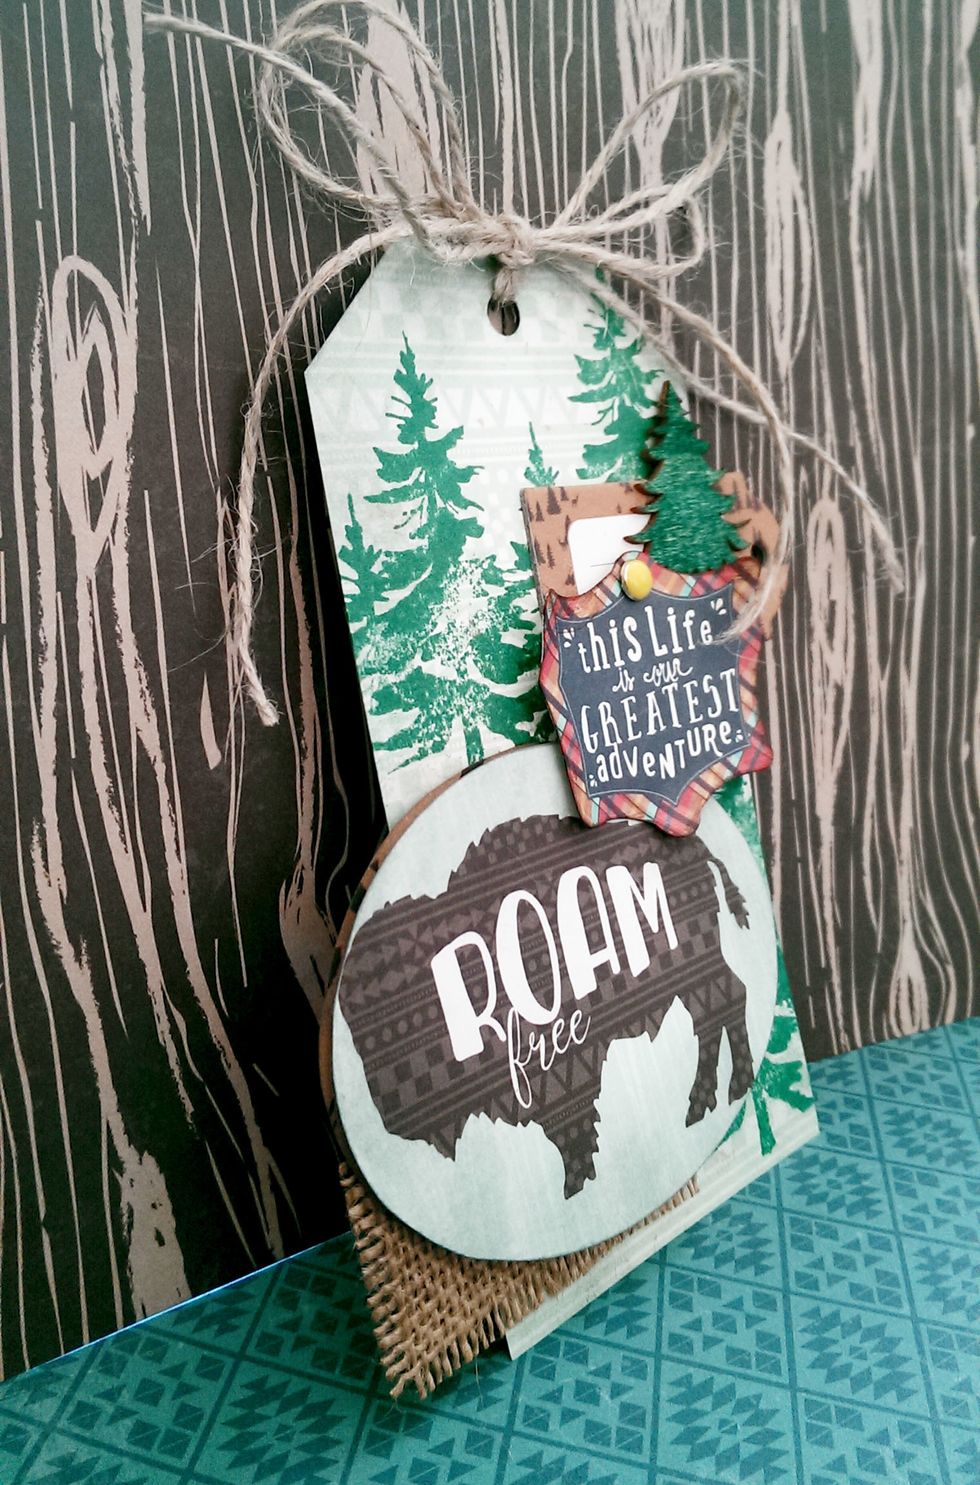
Your MME Happy Camper Roam Free Tag is now complete. You can find your supplies at www.FotoBella.com
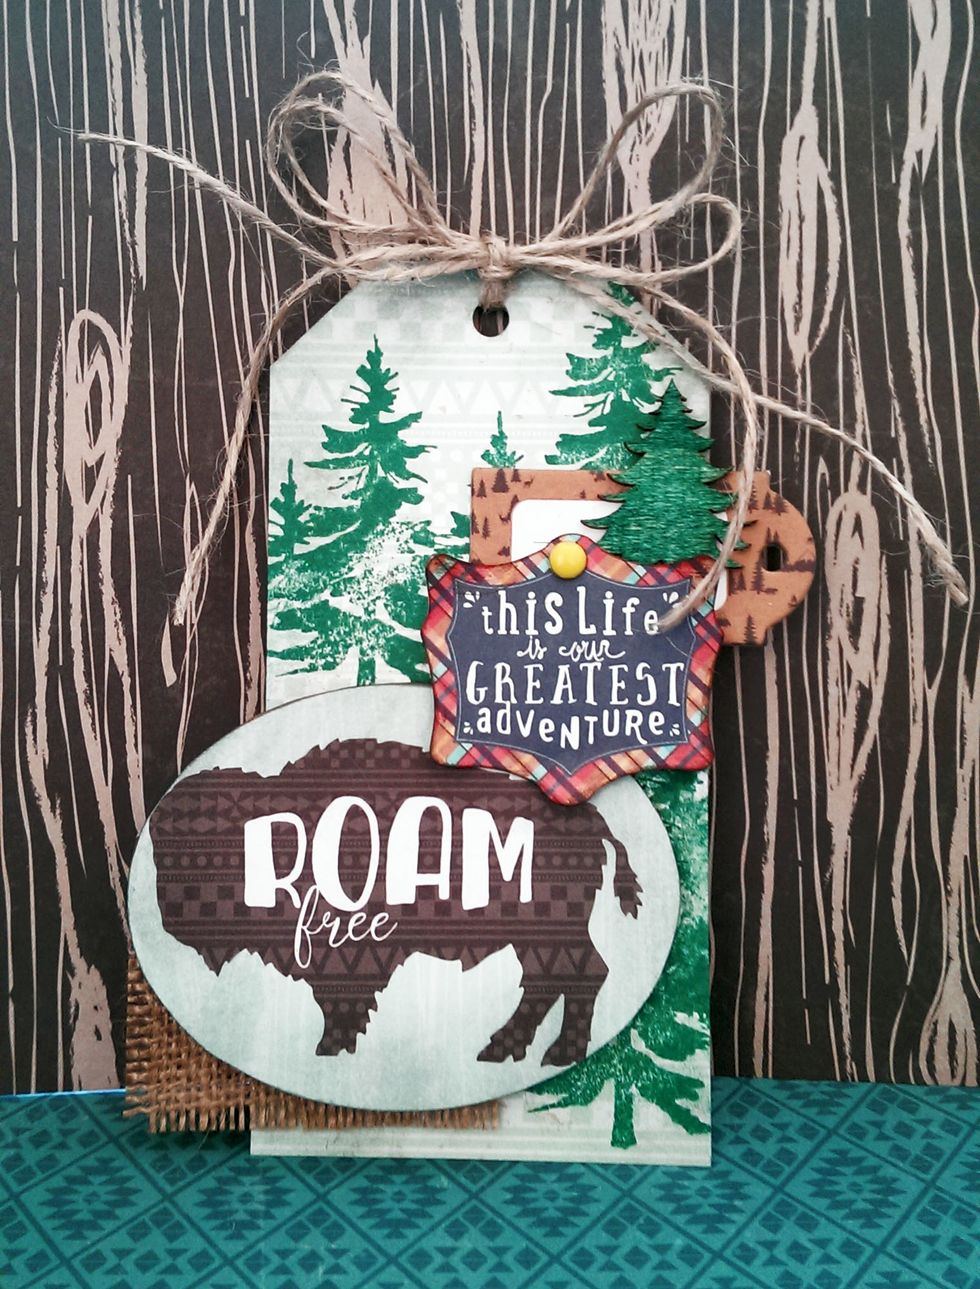
My Mind's Eye Happy Camper Roam Free Gift Tag Tutorial from our FotoBella Design Team Member Jeri.