The Conversation (0)
Sign Up
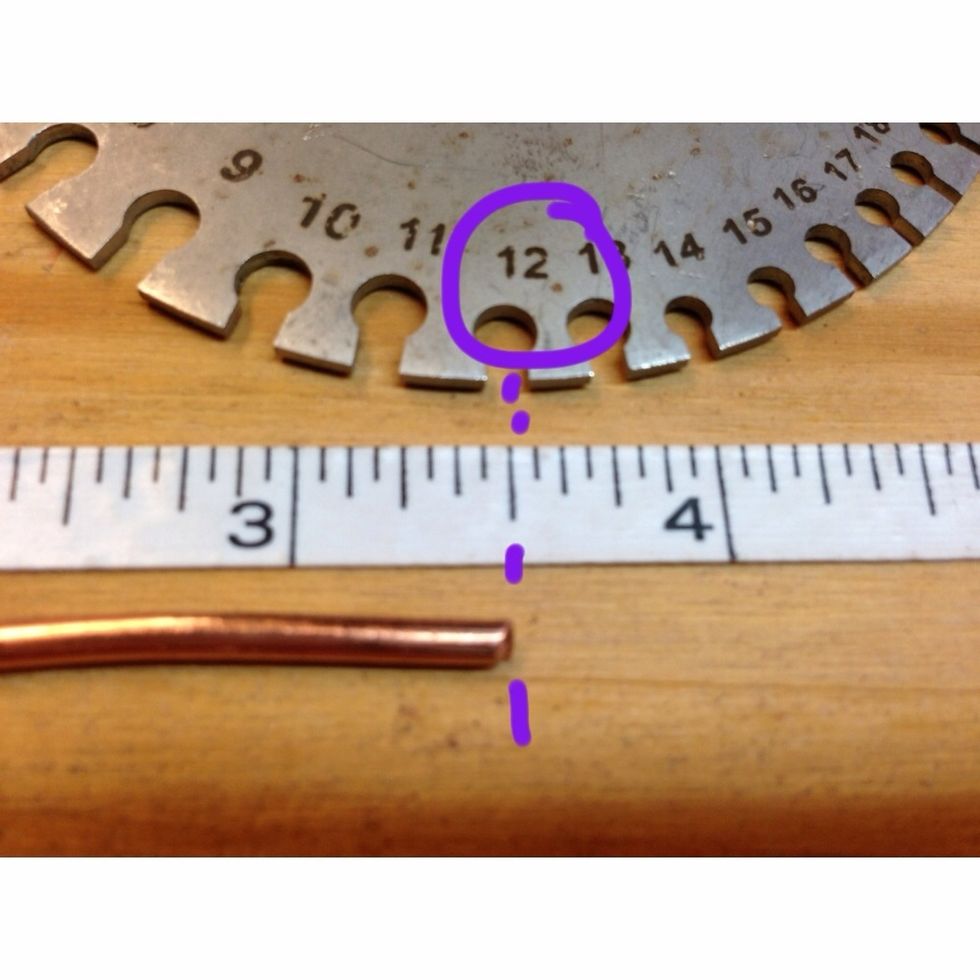
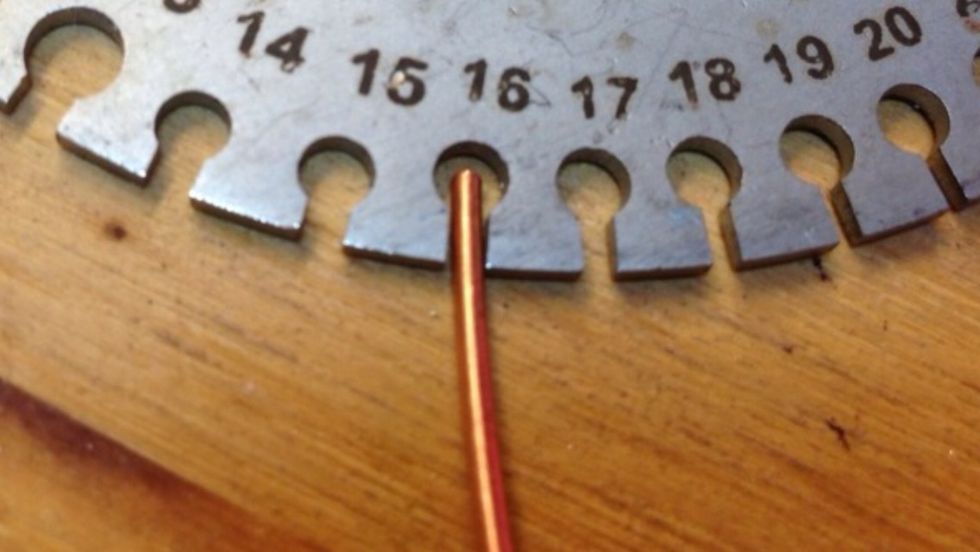
Cut a 3.5" piece of 12 gauge copper wire, for a 6" bracelet. Add more length here if you want it bigger.
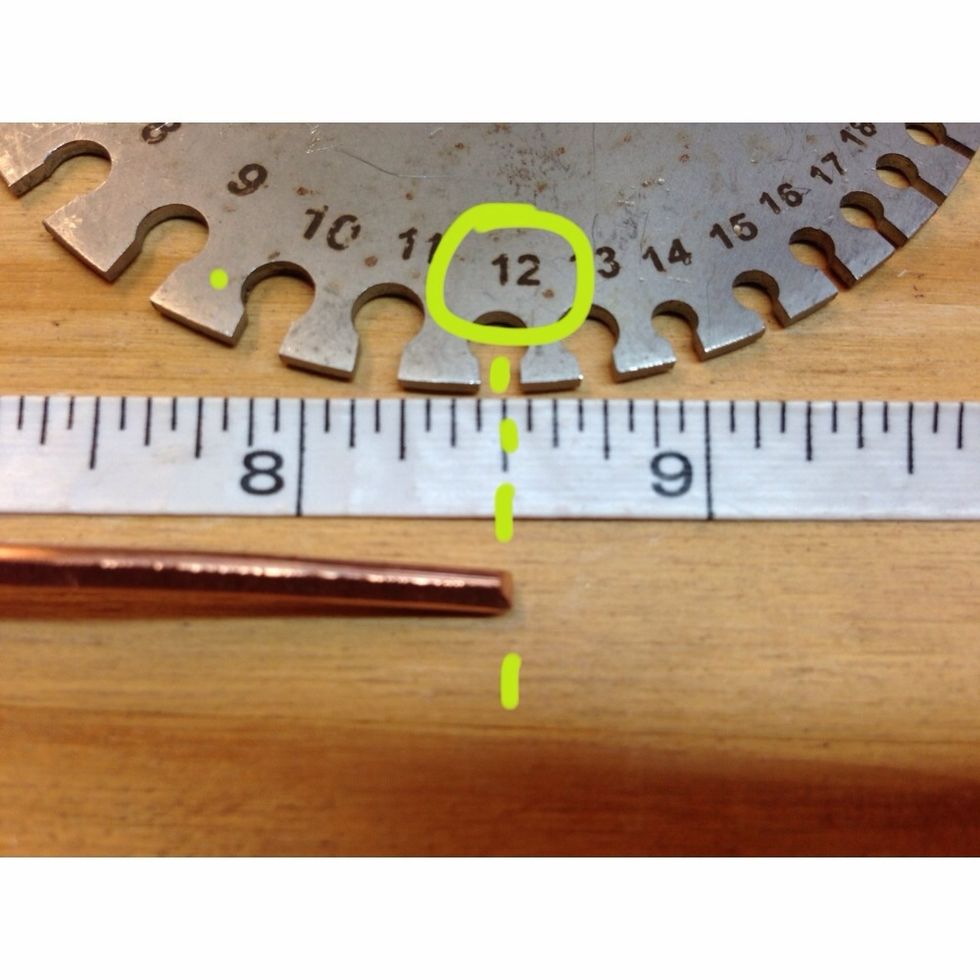
(Double-wrap Option: cut 8.5" of 12 gauge wire for a 12" double-wrap bracelet.)
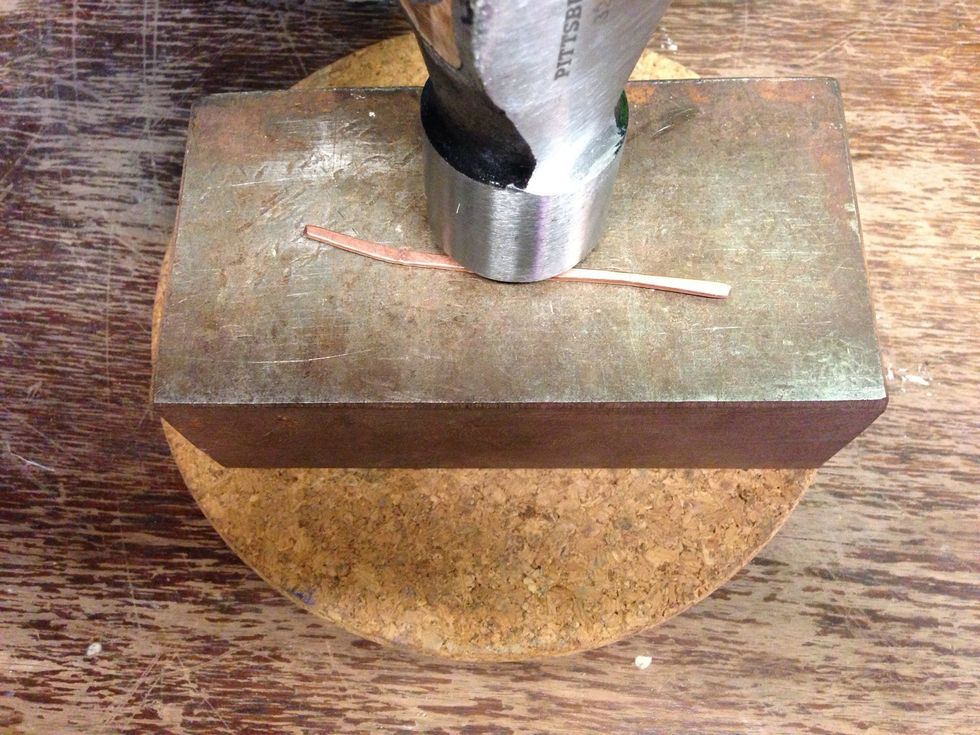
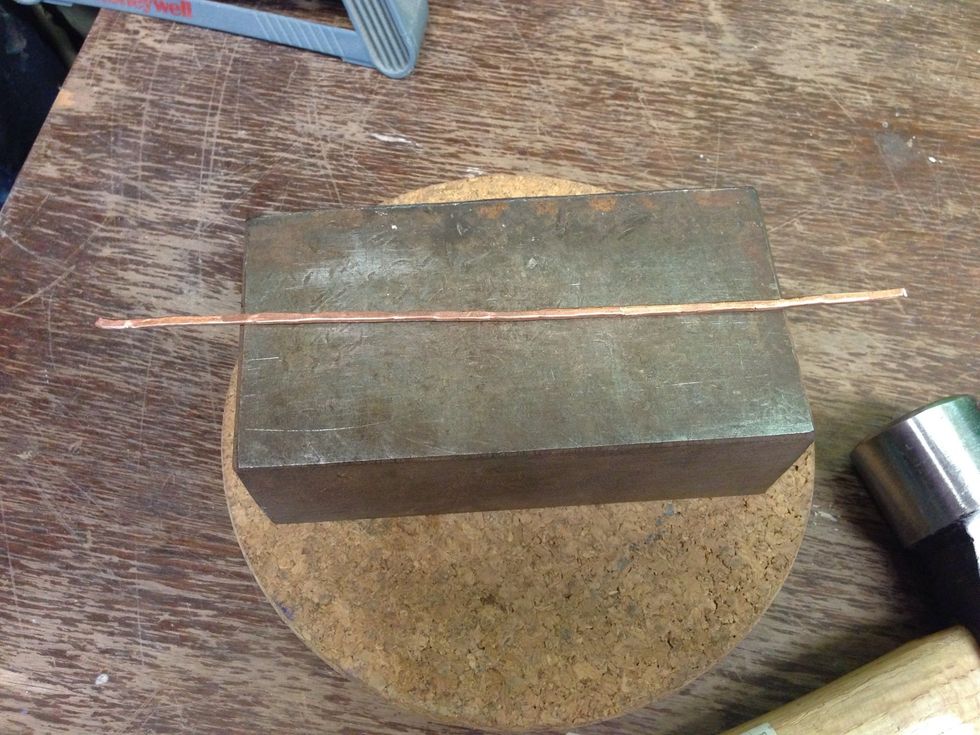
Hammer the piece until it is flat, about half it's thickness.
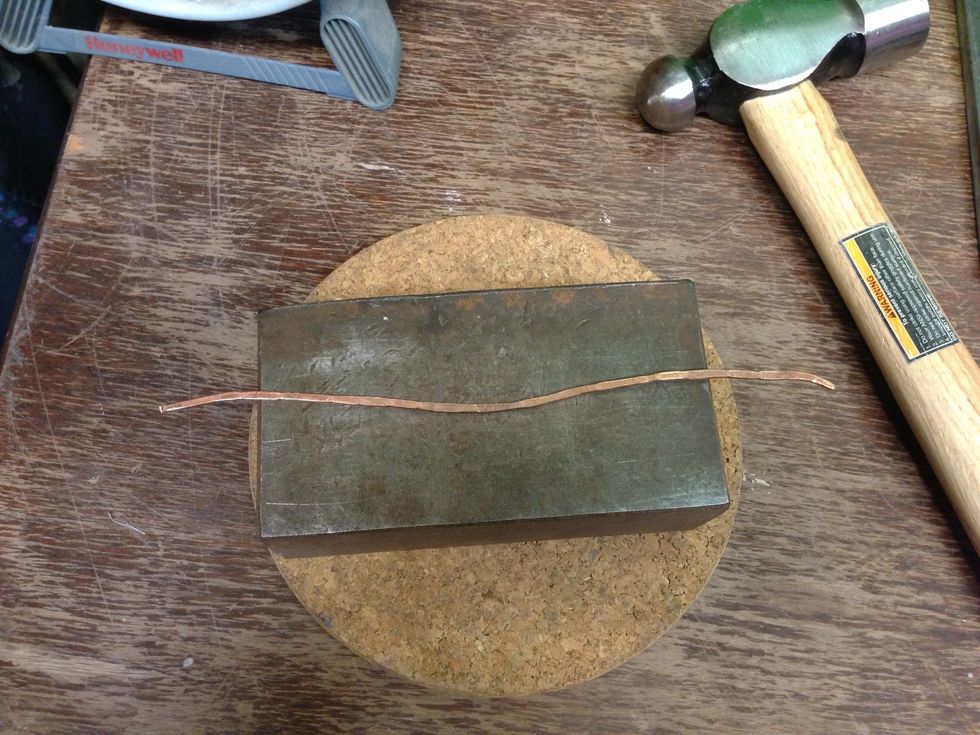
Hammering will distort the shape. You will want to straighten it out...
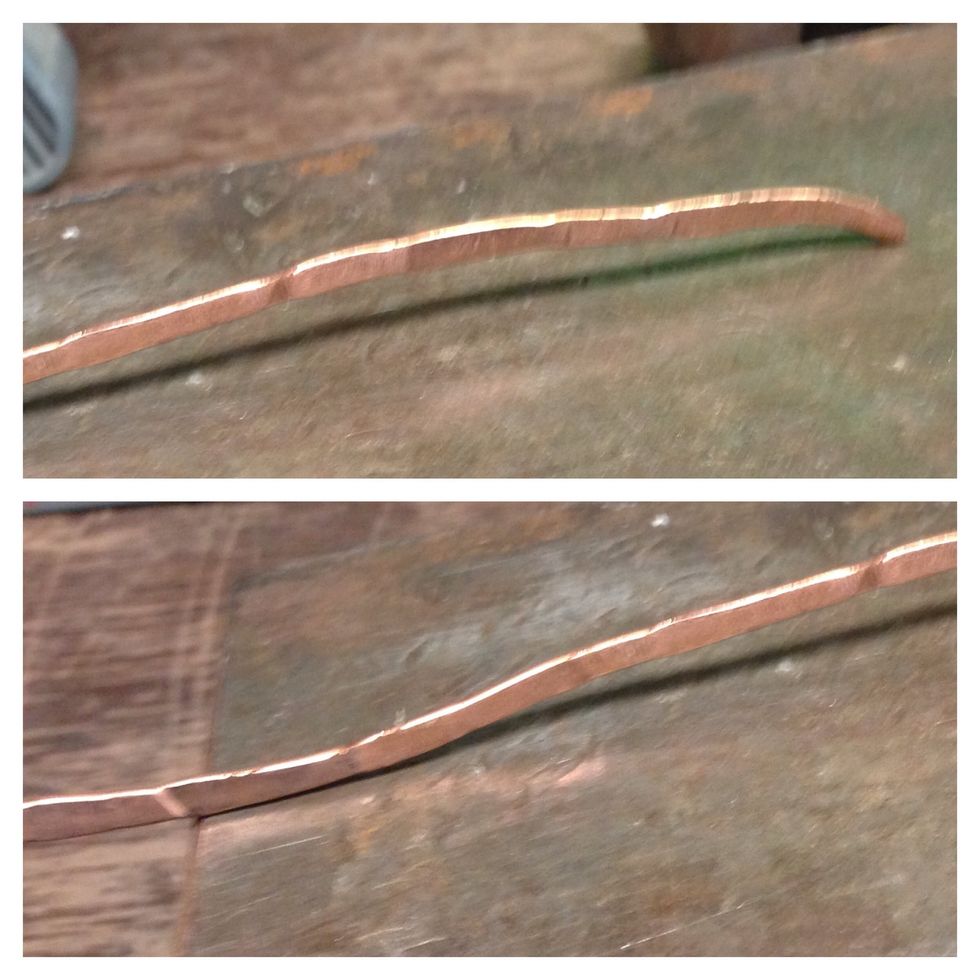
Lay each curve on the bench block, and lightly hammer the raised part. Keep checking for curves this way, hammering them flat.
Good enough!
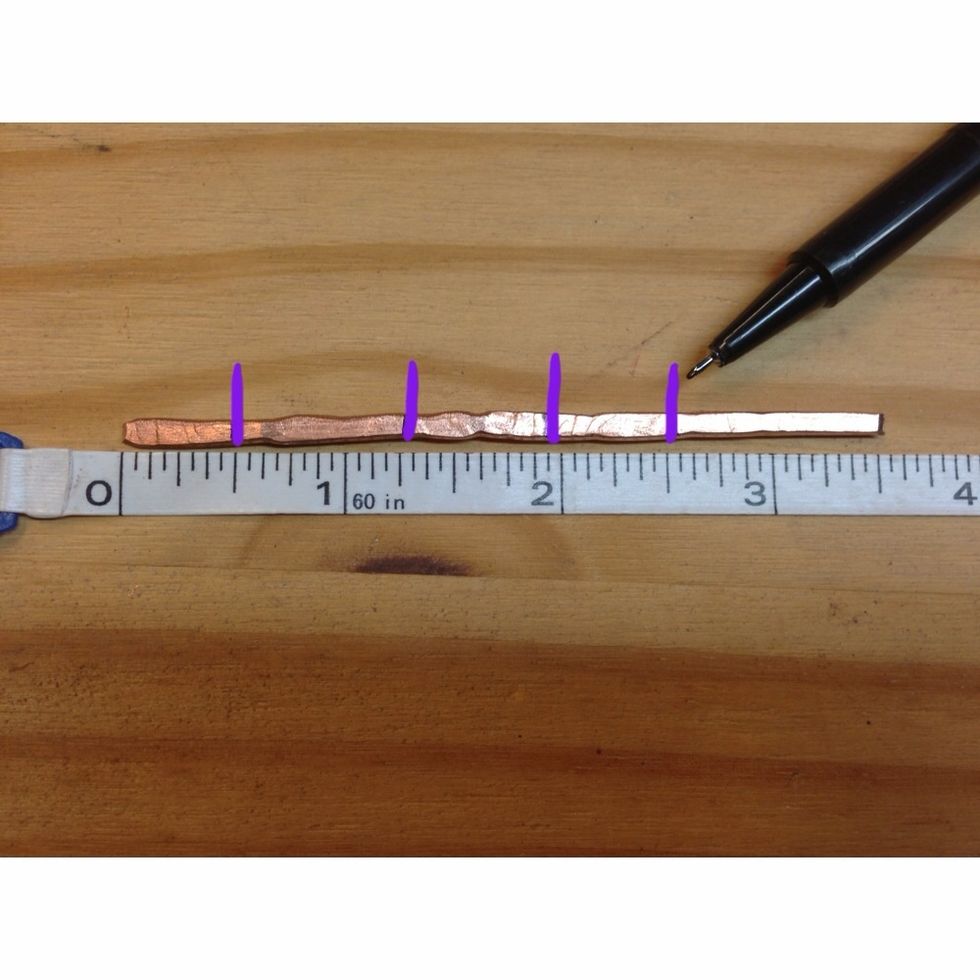
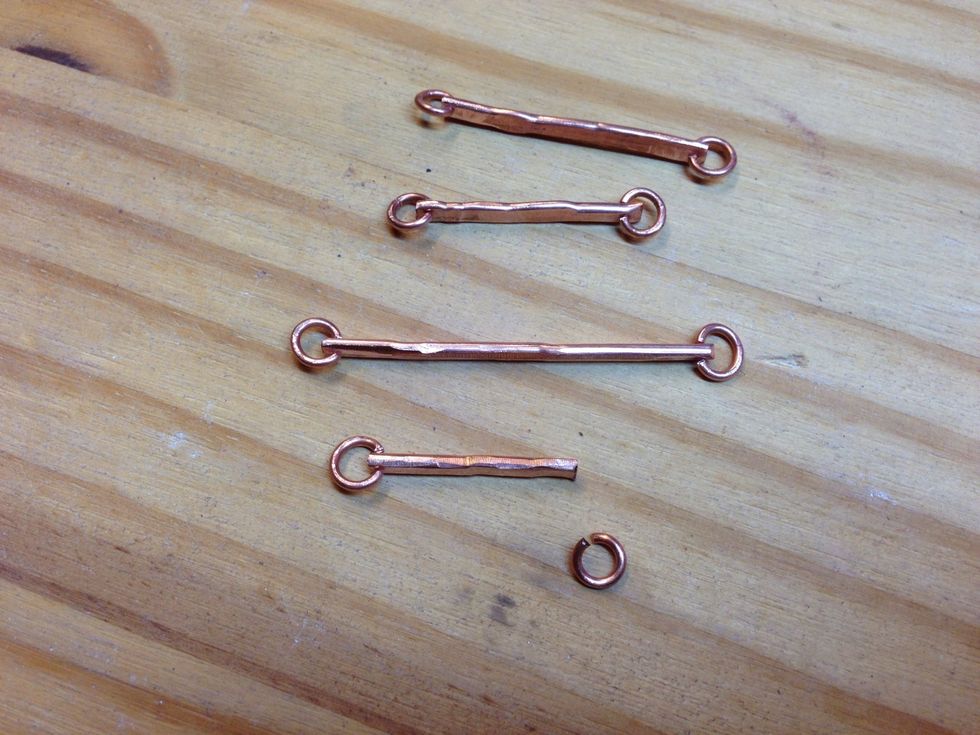
Mark your piece with a permanent marker at .5", 1.25", 2", 2.5"

(Double-wrap Option: Mark your Double-wrap piece with a permanent marker at 2", 3.5", 4.75", 6", 7", 7 5/8".)
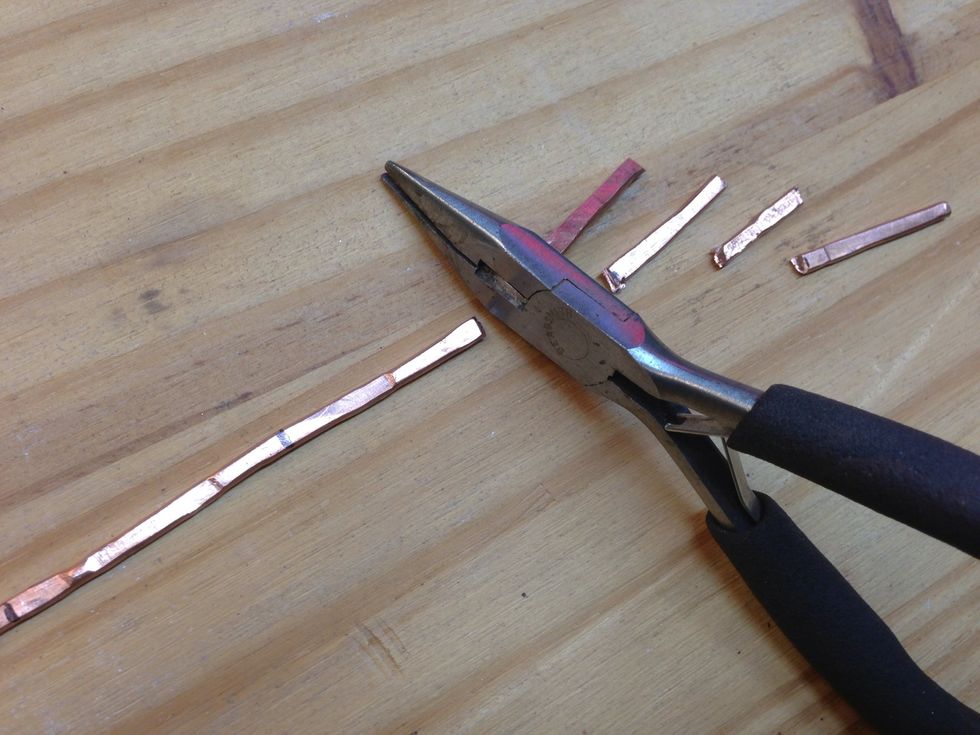
Cut at the marks.
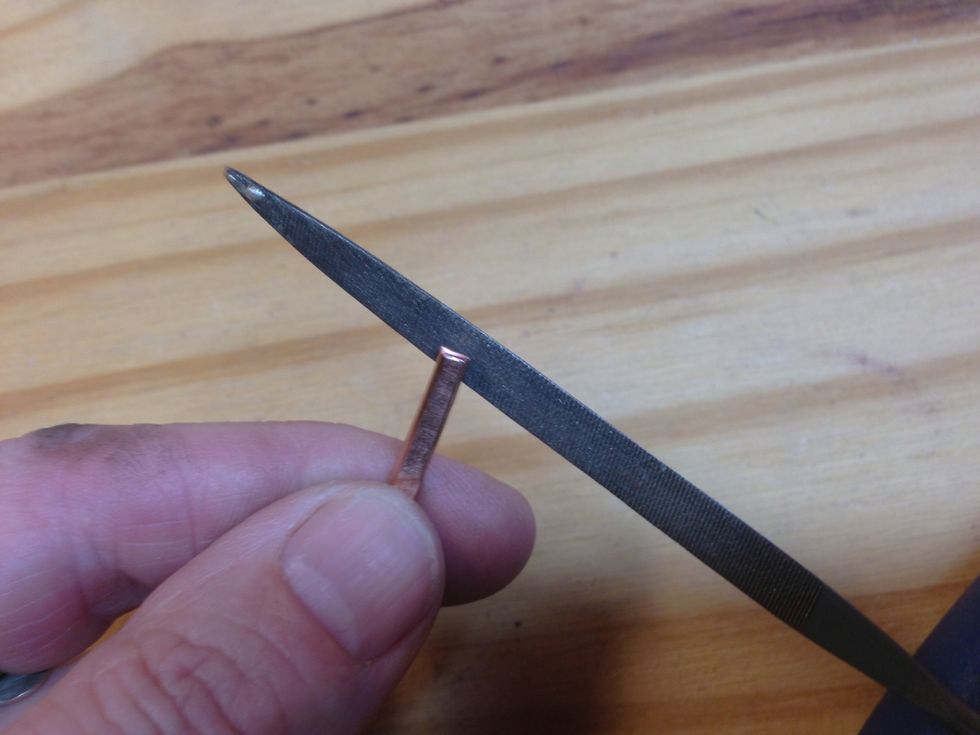
File the cut edges until they feel smooth, and file the flat edges near the ends where the jump rings will connect.
Make enough jump rings from 16 gauge wire for both ends of each segment of flattened 12 gauge wire, minus 1 end, where the clasp will go.
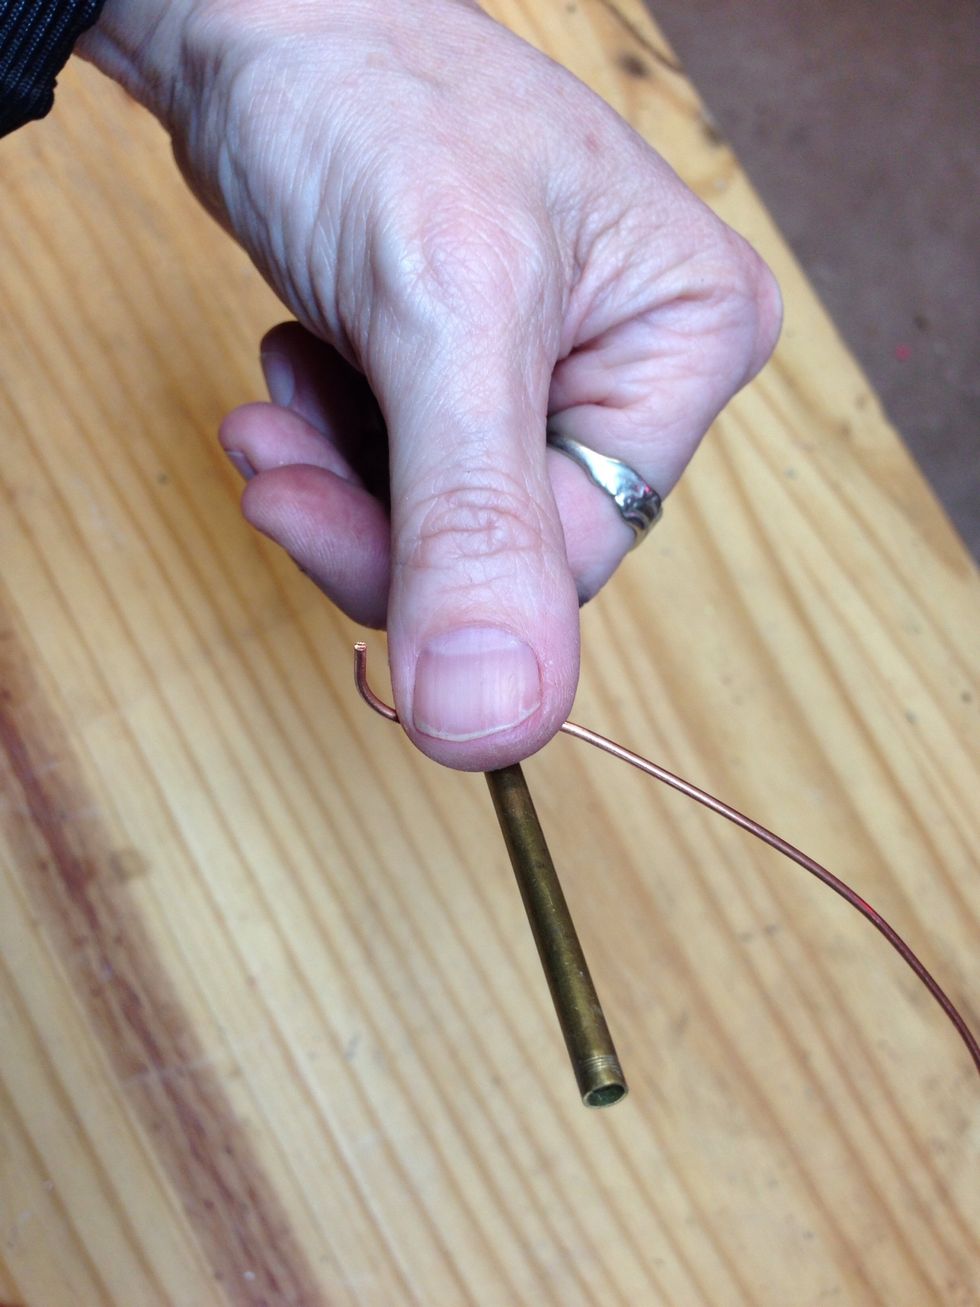
To make jump rings, wrap about a foot of wire around something thinner than a pencil, maybe a knitting needle, or a chopstick, or it can be done on a round nose pliers. I start with a 1" thumb grip.
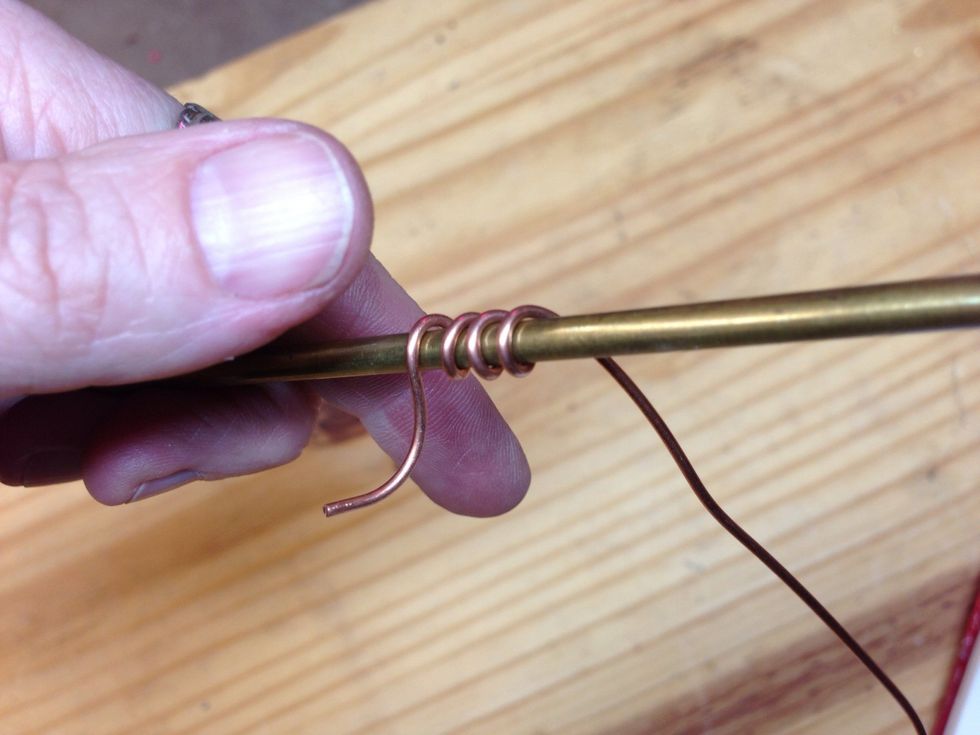
Wrap a few to get started.
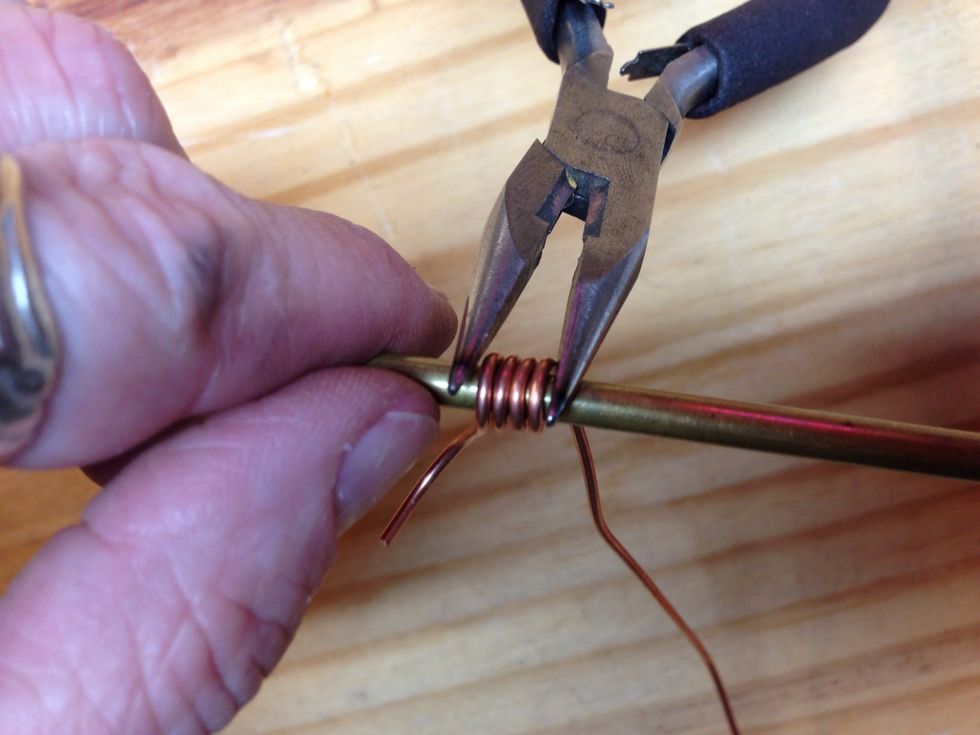
Compact the links to keep them uniform.
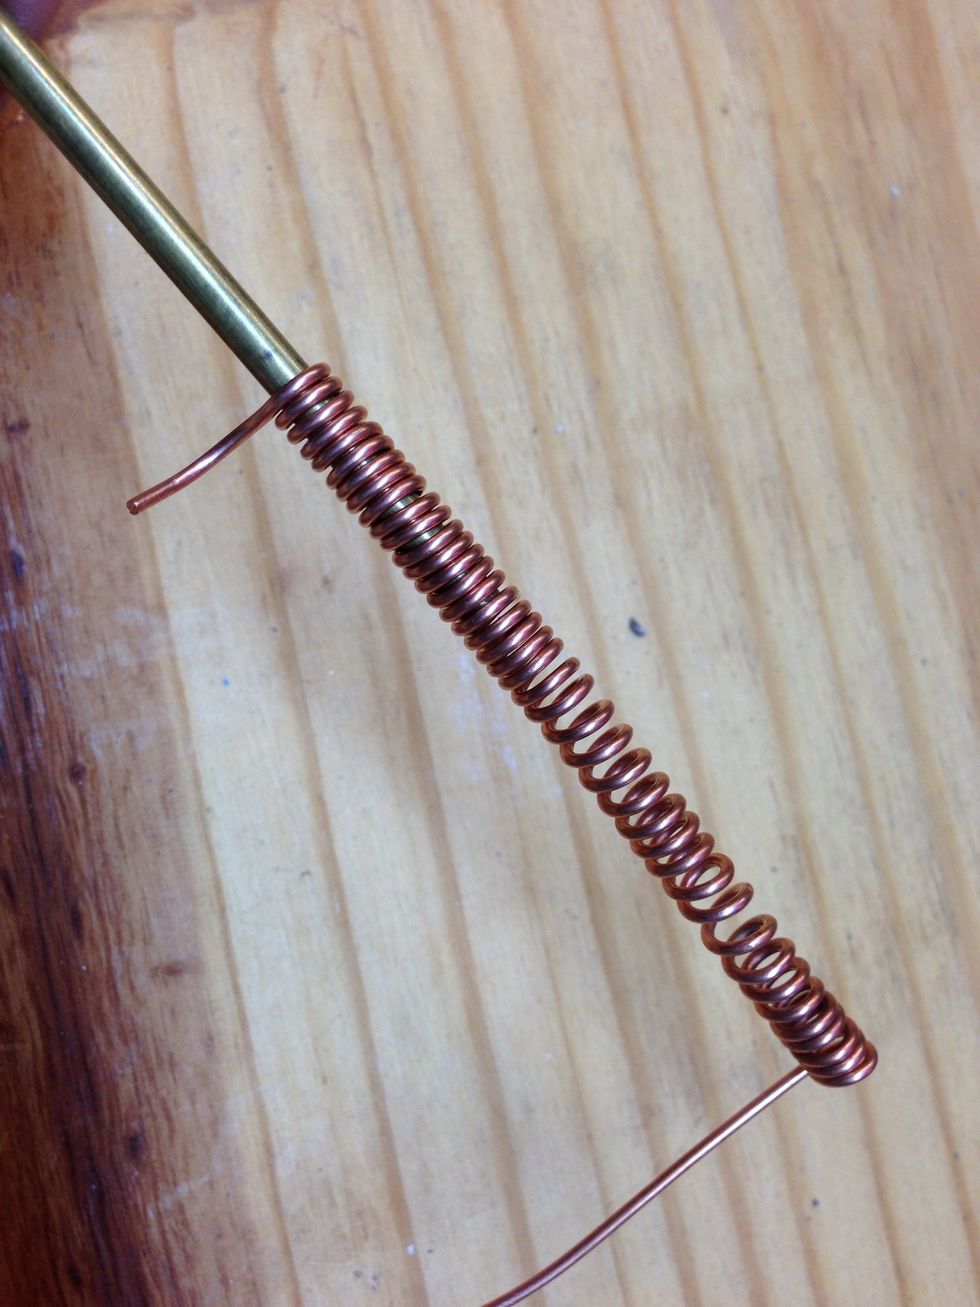
Once you have wrapped as much of the wire as comfortably possible, pull the coil off.
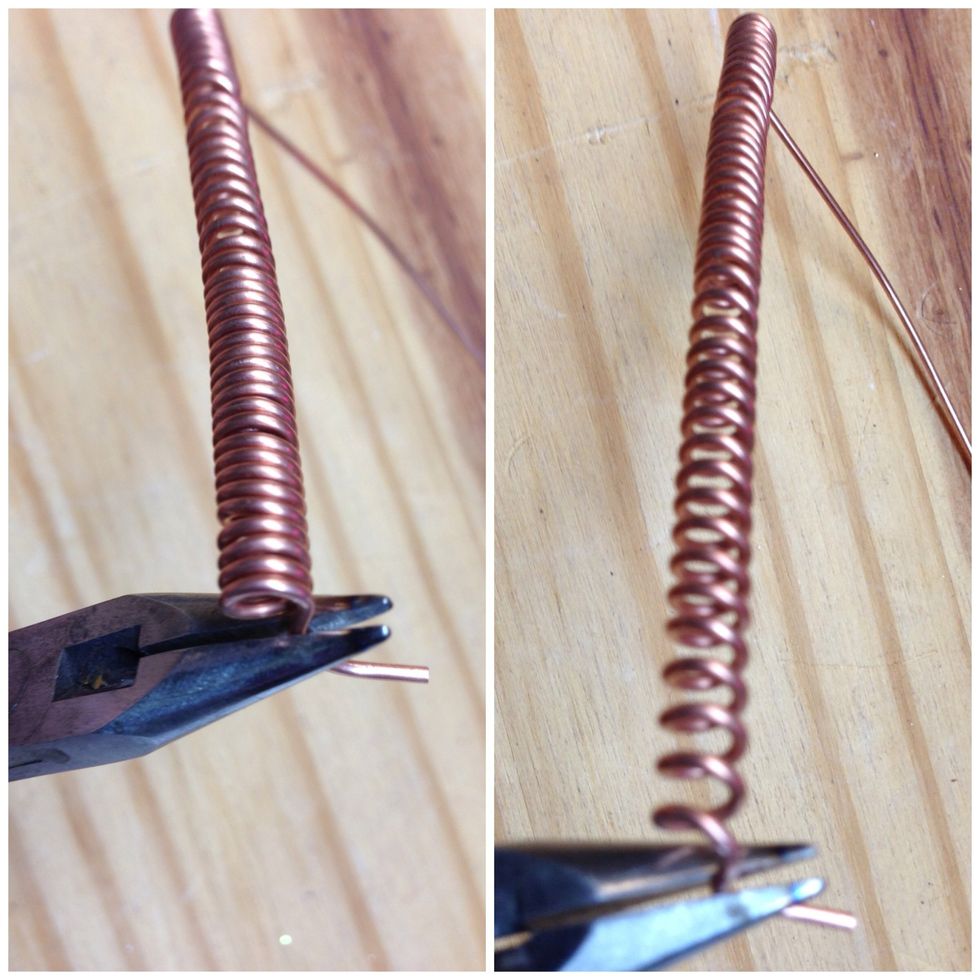
Stretch the coil to make room for the nipper to get in.
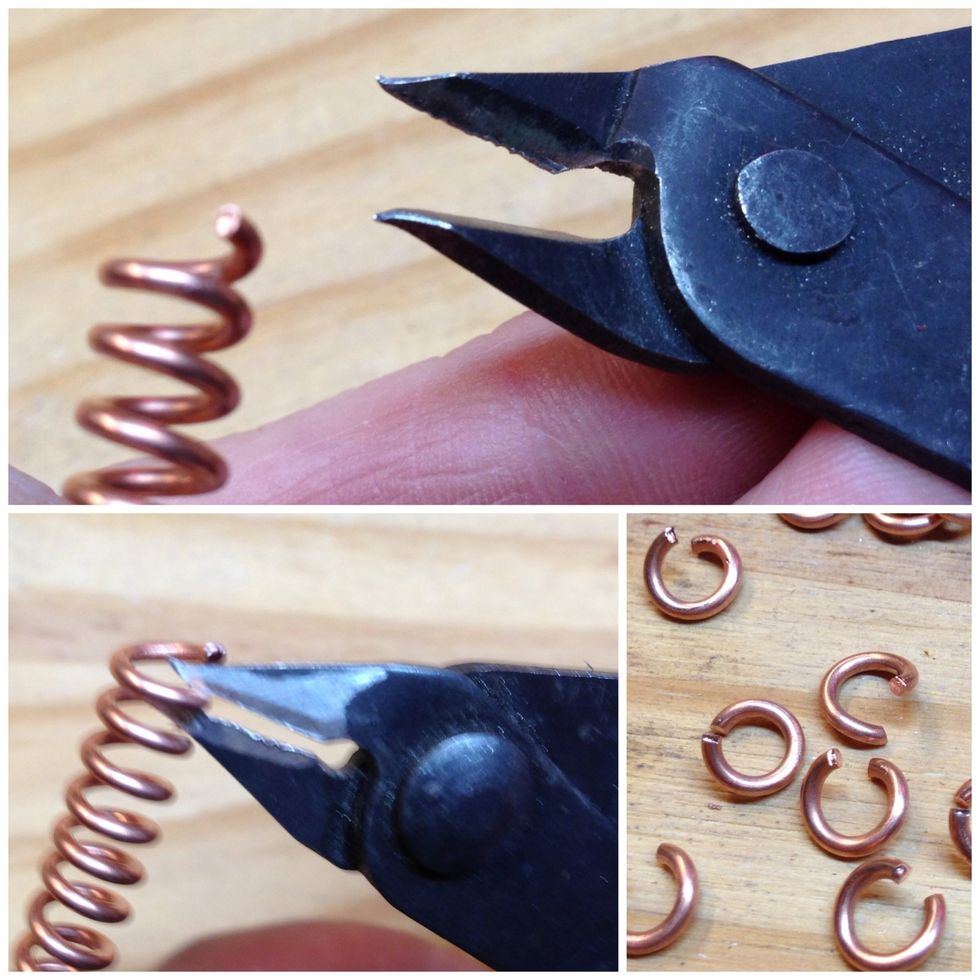
Nippers cut one side flush, so you need to flip the tool to trim the other side of every cut.
You can lightly hammer each jump ring to flatten it very efficiently, but don't go too far. You don't want to turn them into disks.
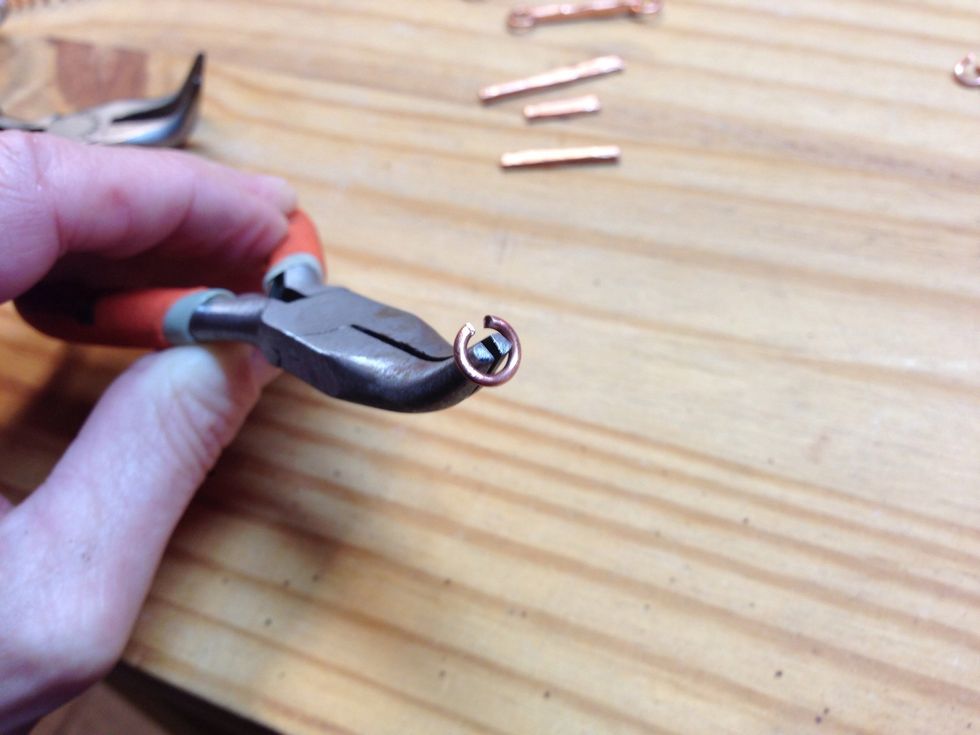
You can also flatten them with 2 pliers. I like using the elbows of two bent nose pliers. Make sure there aren't any grip ridges on your pliers to mar your work.
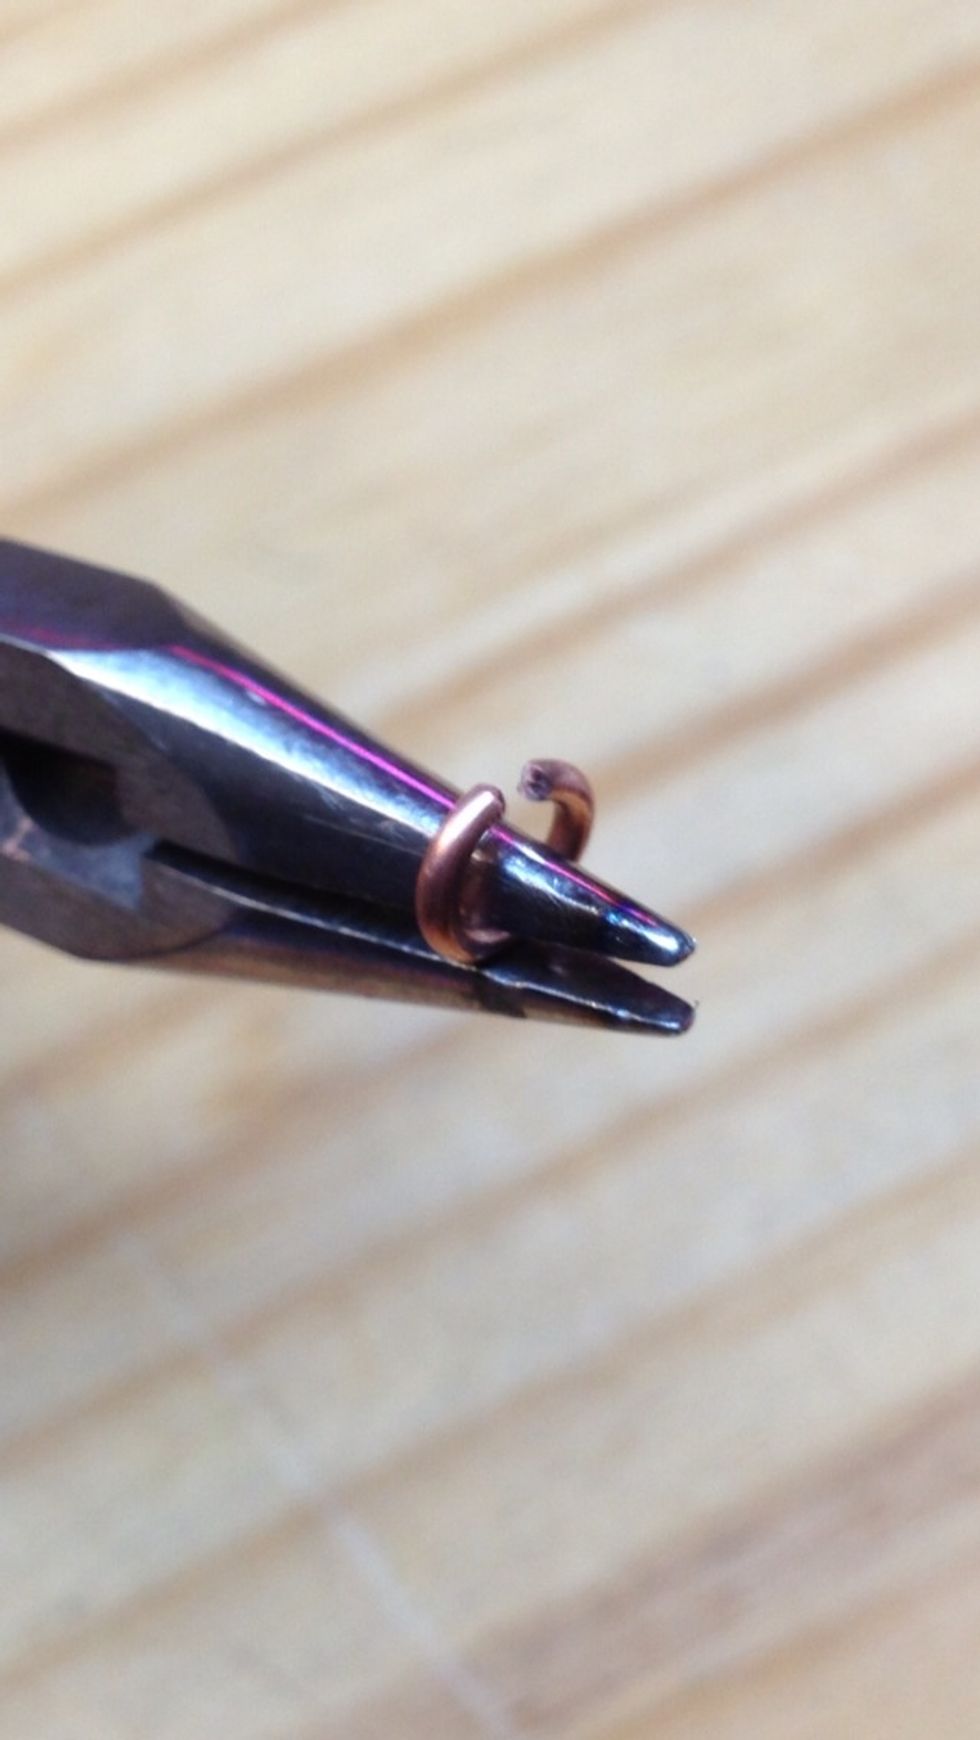
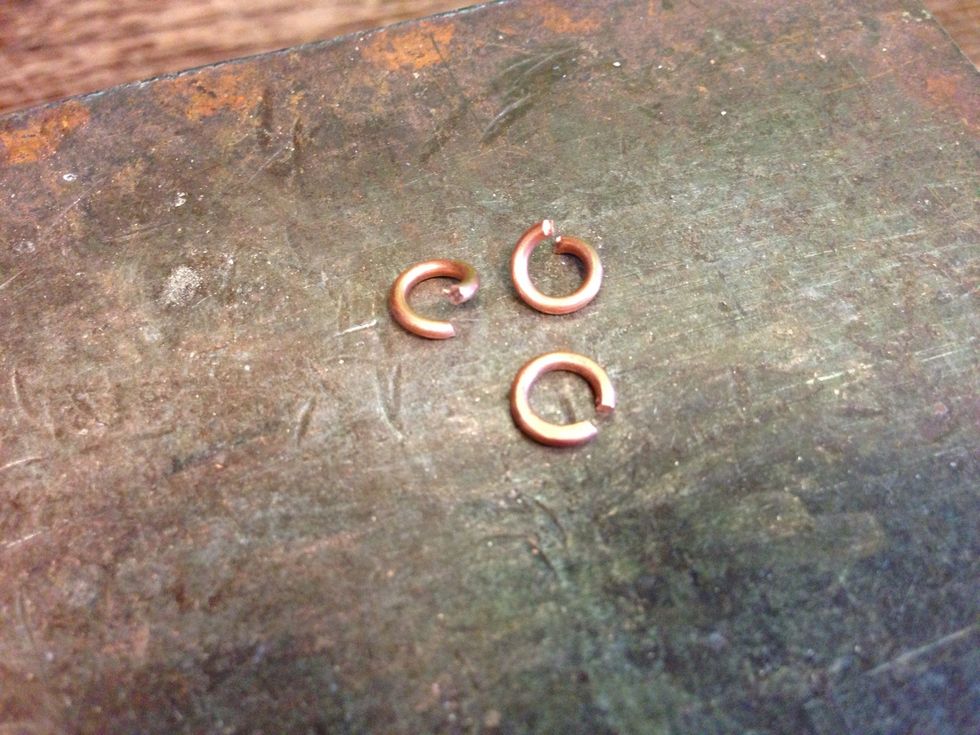
Now, this is the hardest part. Splay each ring just enough to fit it over the end of a 12 gauge segment.
Sometimes the tip of your pliers will splay the jump ring evenly,
As you complete each segment, place it on a fire brick, ready to be soldered. (One end will have a clasp.)
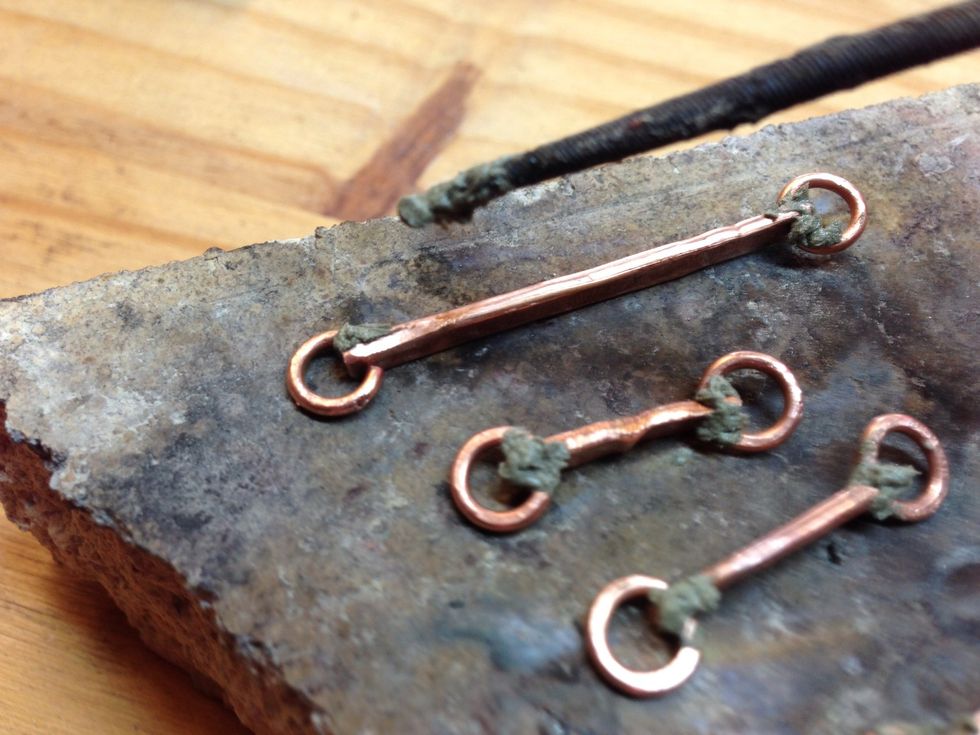
Put soldering paste at all the connections.
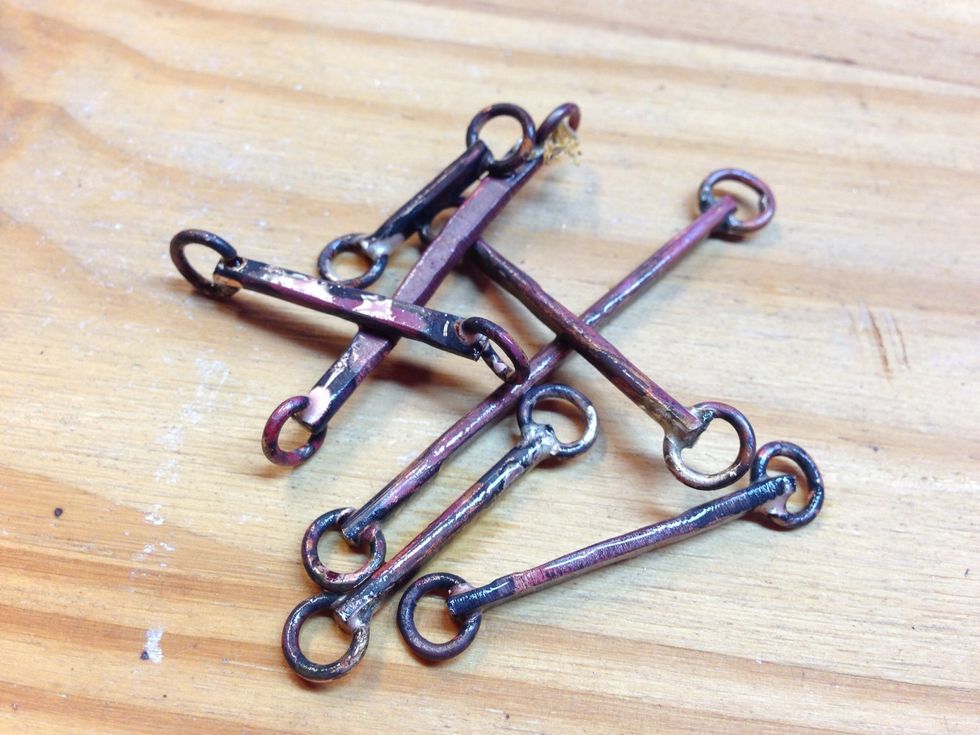
Post soldering.
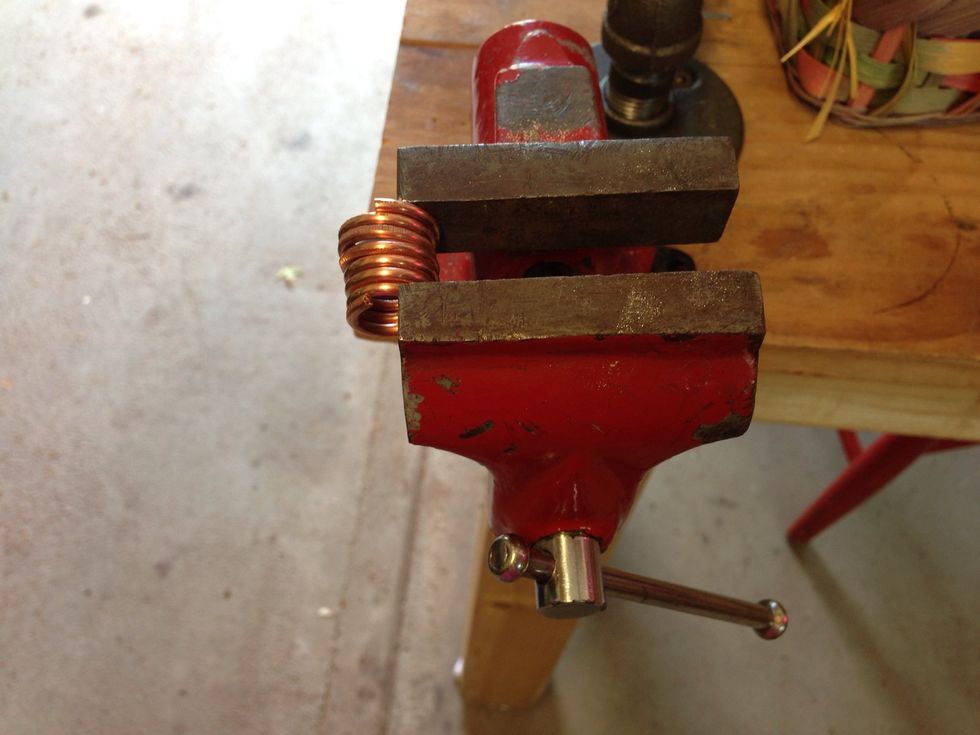
Make big chunky, connecting jump rings. Wrap 12 gage wire around something about the size of a pencil. Here is the coil being compressed.
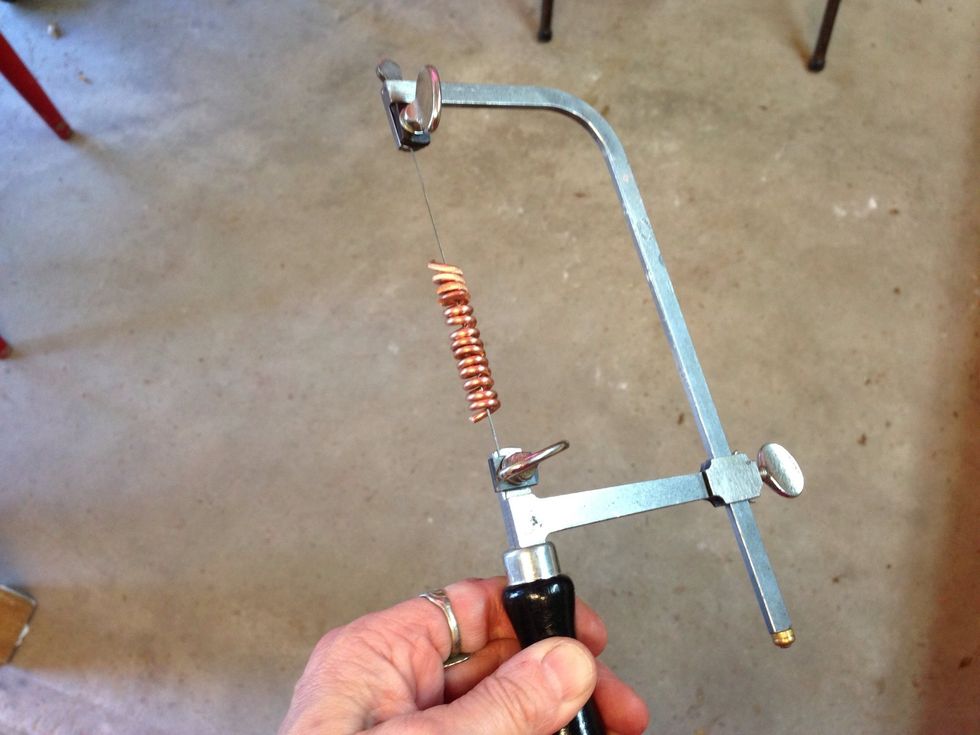
Put it ON your saw blade, and saw your way OUT.
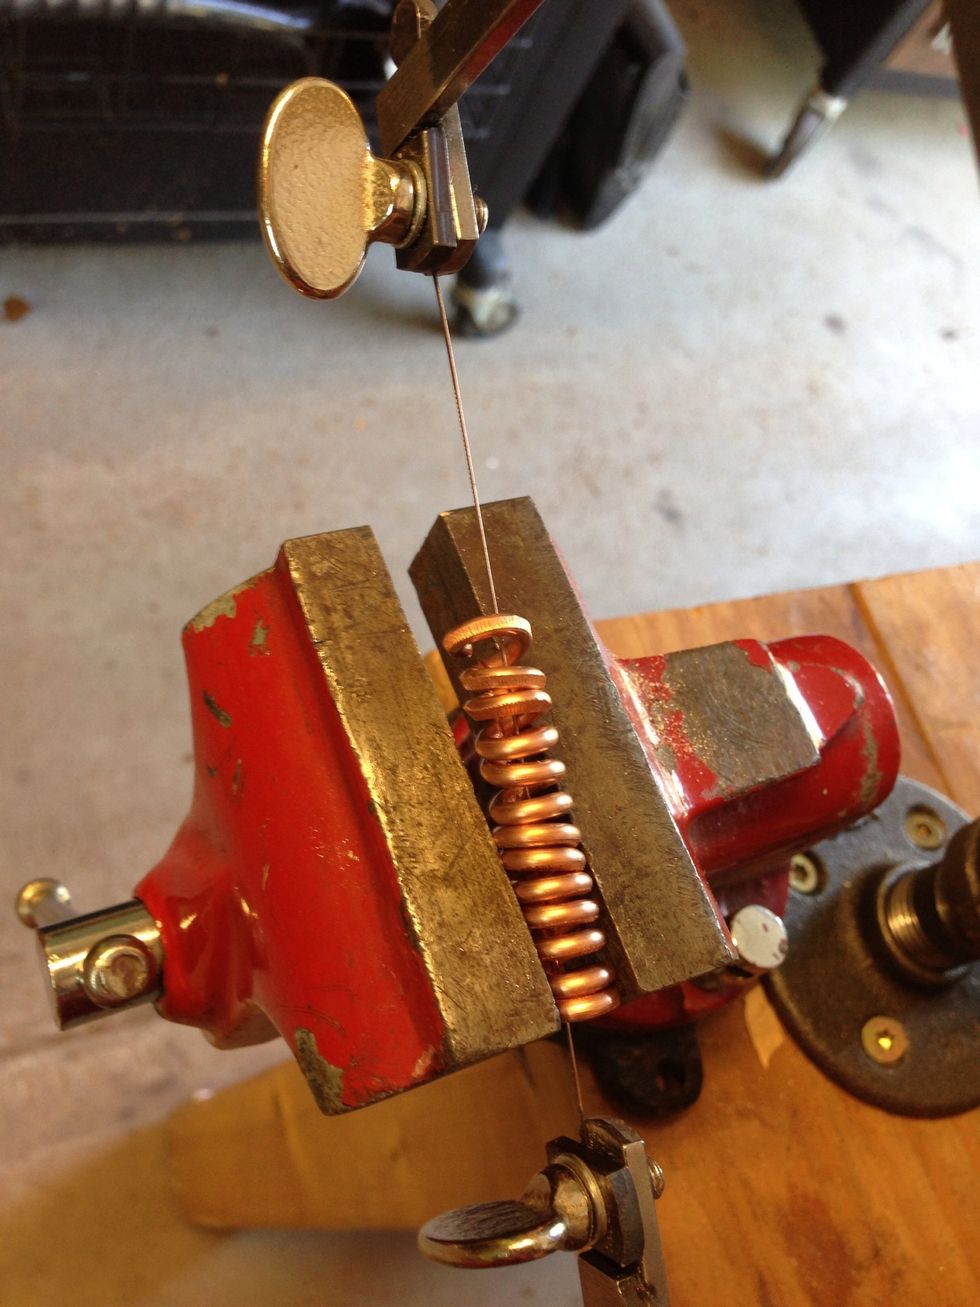
Adjust where the vice is gripping frequently, so you are not compressing what you are sawing.
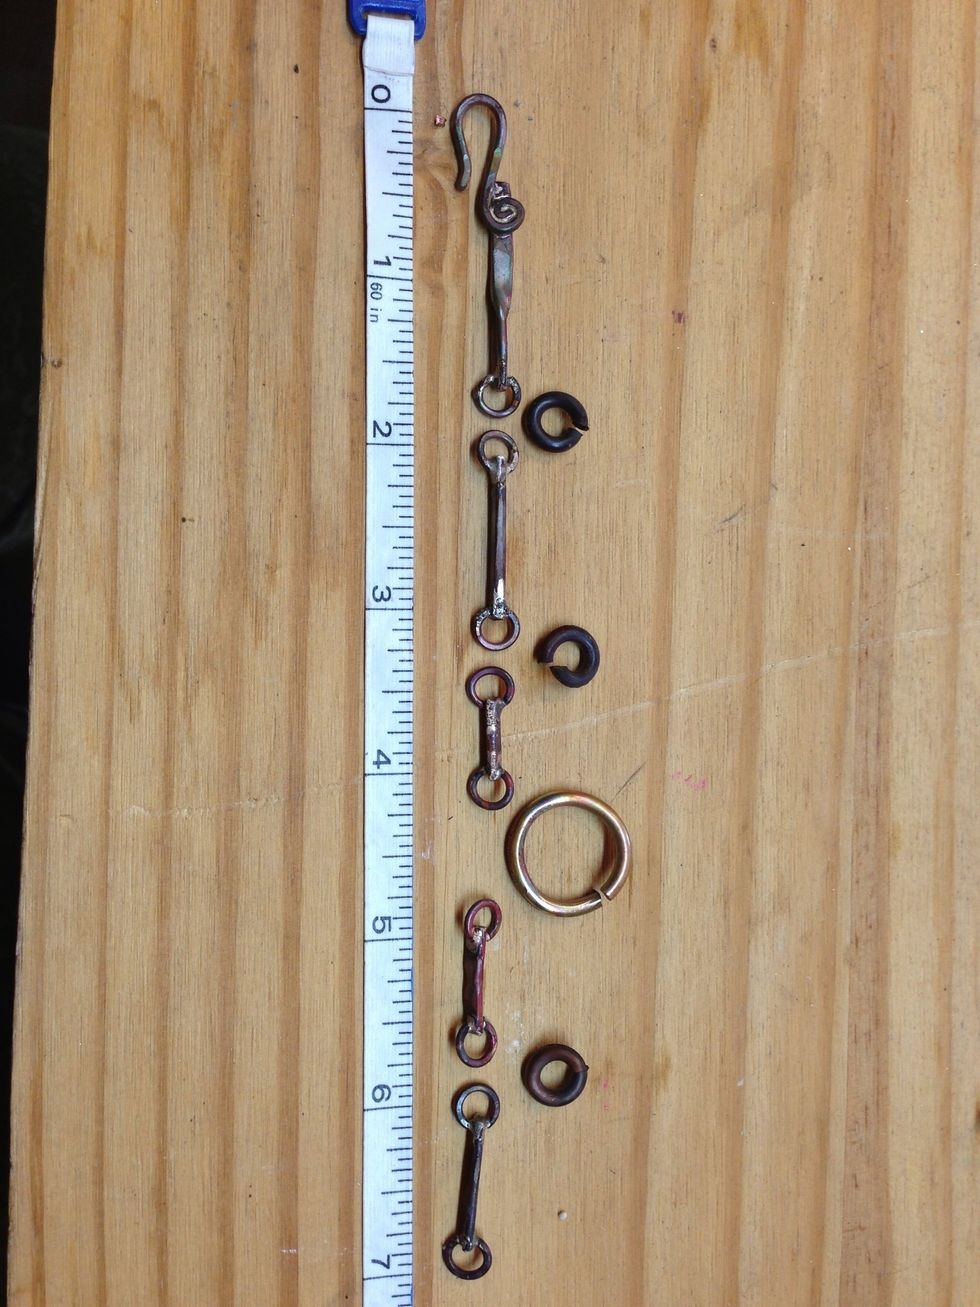
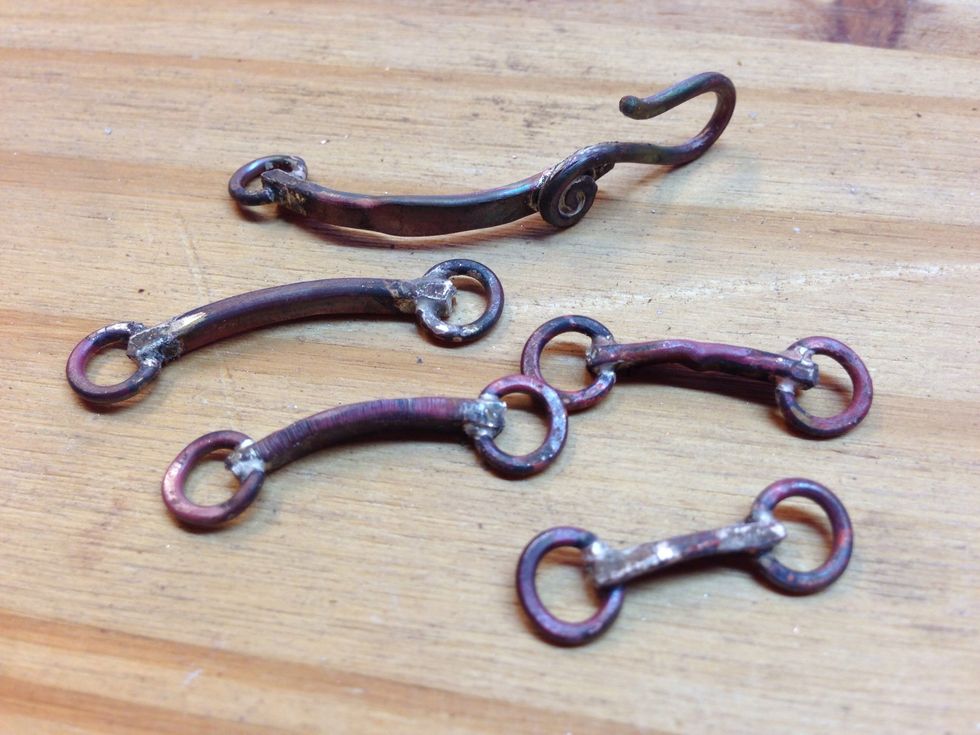
Here are my pieces laid out to see how I'm doing on length. I threw in a large connecting jump ring for fun. I oxidized all the connectors with my torch, so they would look the same.)
Slightly curve each link like this.
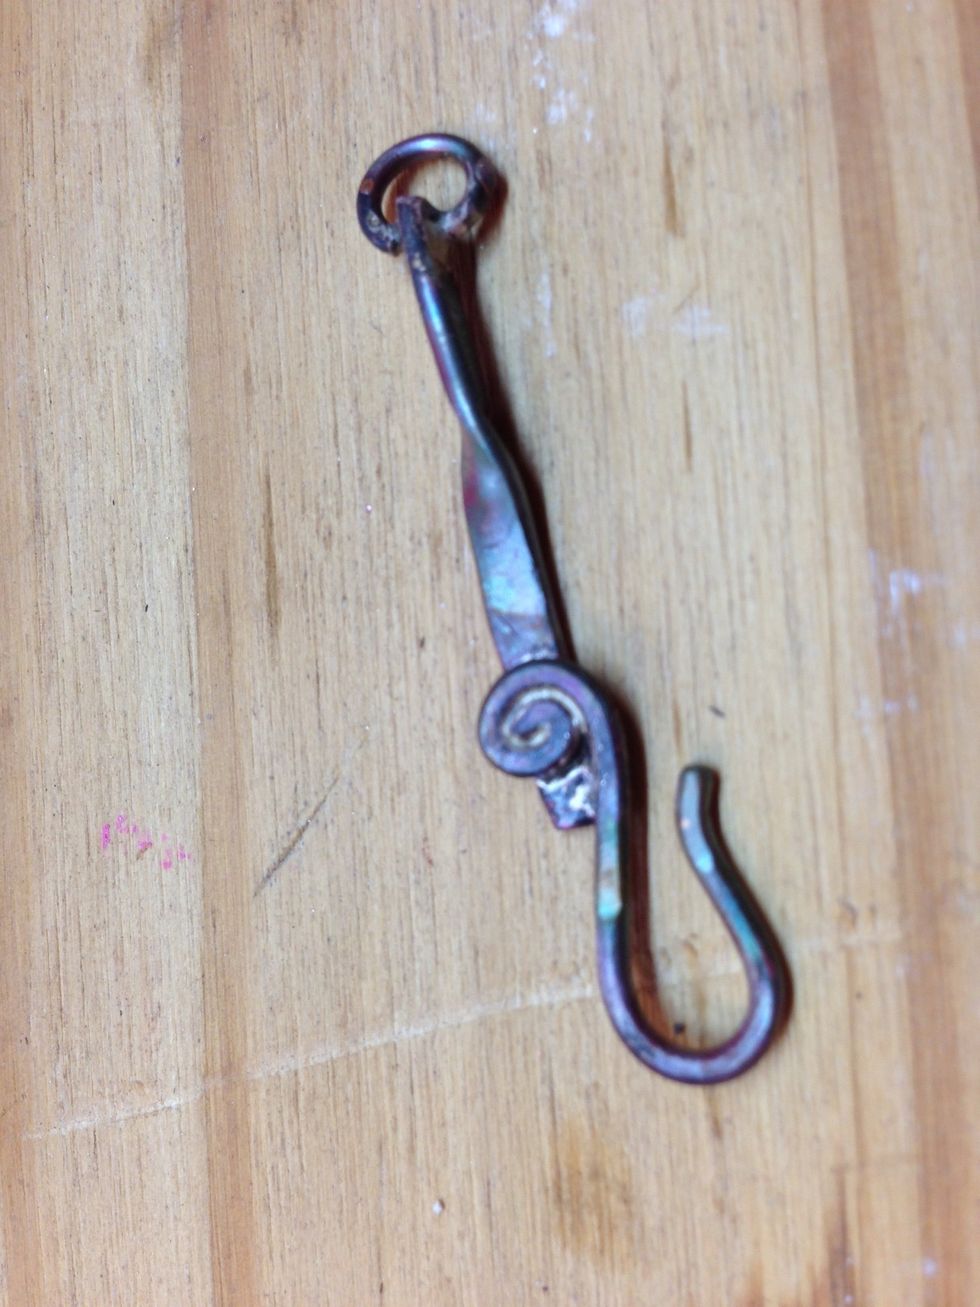
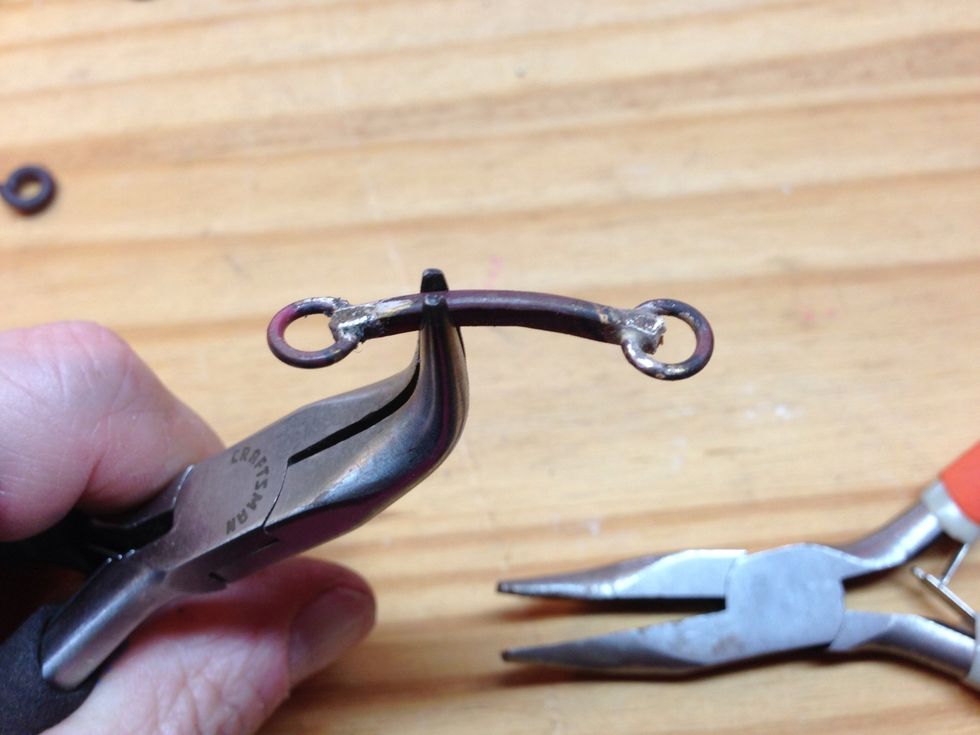
I soldered the clasp link with a 90 degree twist in the middle so that the fluxed elemets wouldn't fall apart when they were heated.
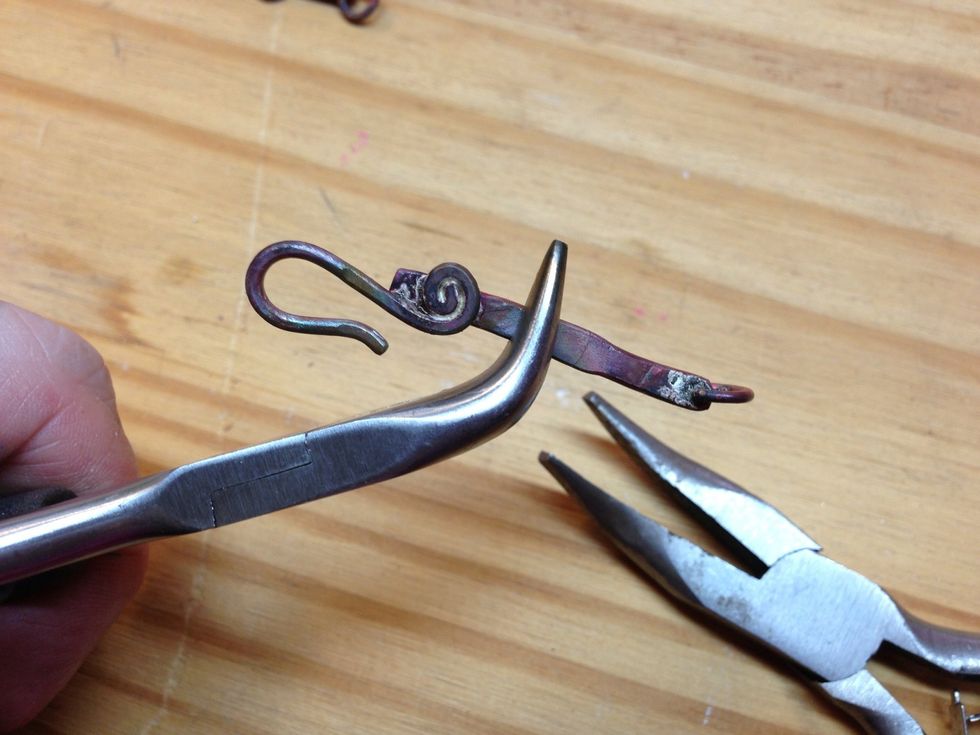
Bend it back into place. Annealed metal is soft and easy to bend. Then curve this piece like the others.
I know they look pretty discusting now, but wait for it!
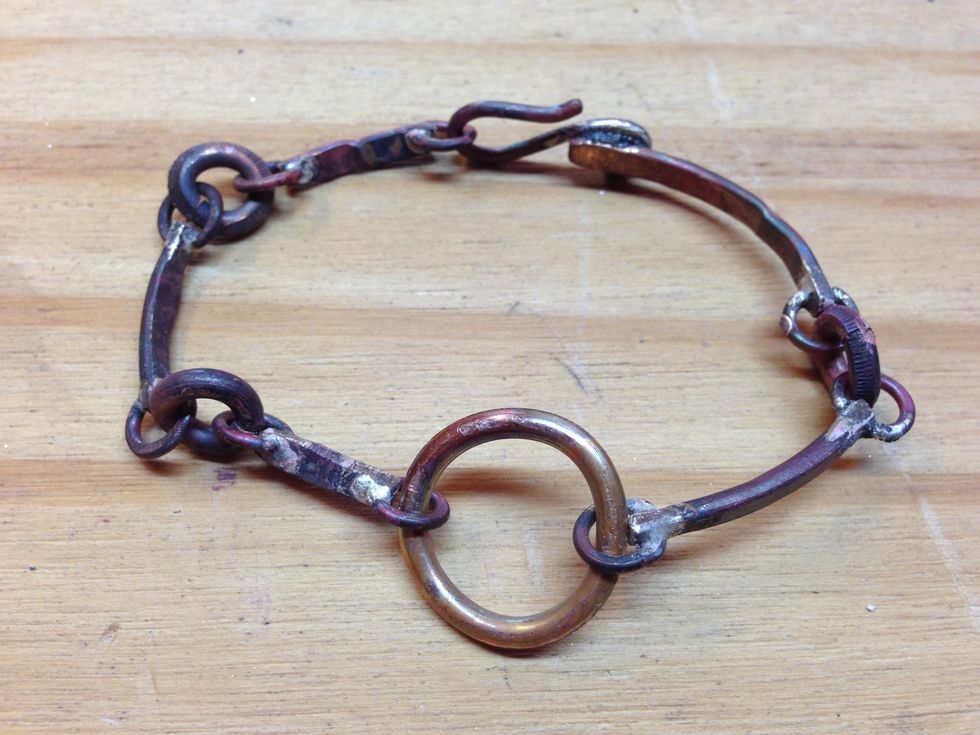
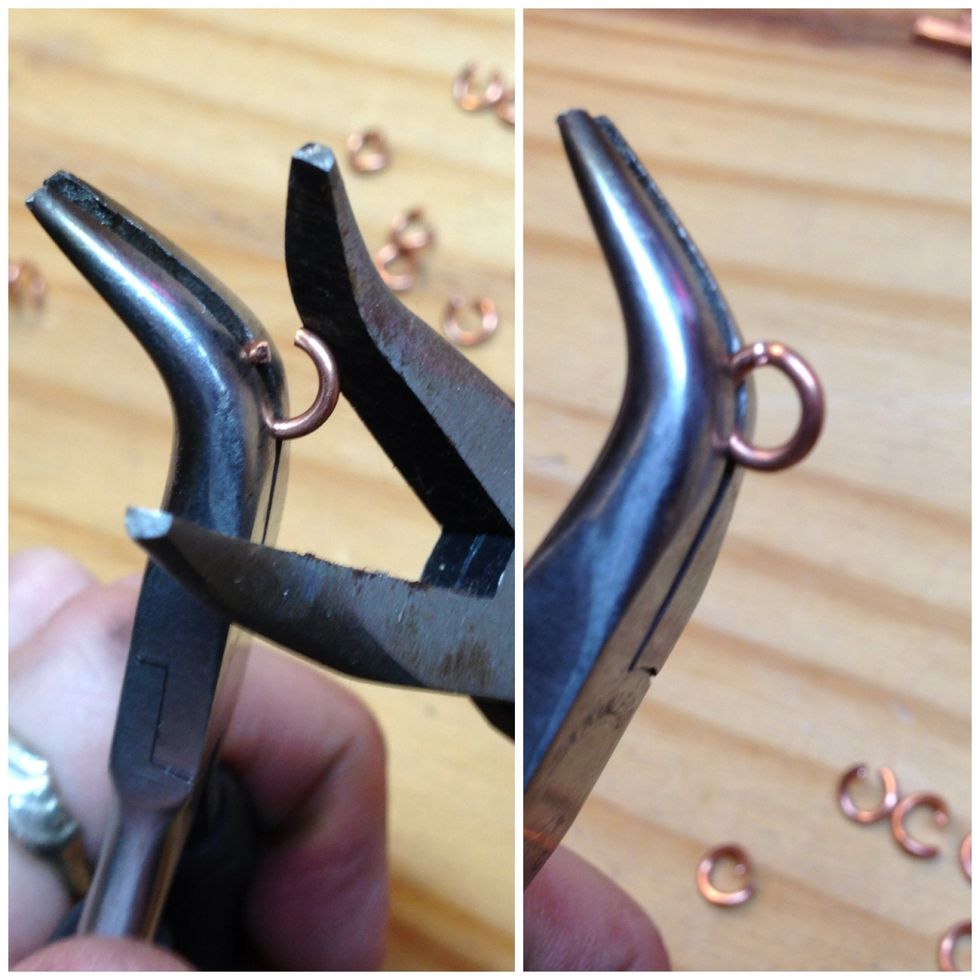
Close the connector jump rings when they are where you want them, as in step 19.
Follow my guide to tumble-shine your jewelry to both clean AND work-harden your new bracelet. http://snapguide.com/guides/tumble-shine-your-jewelry
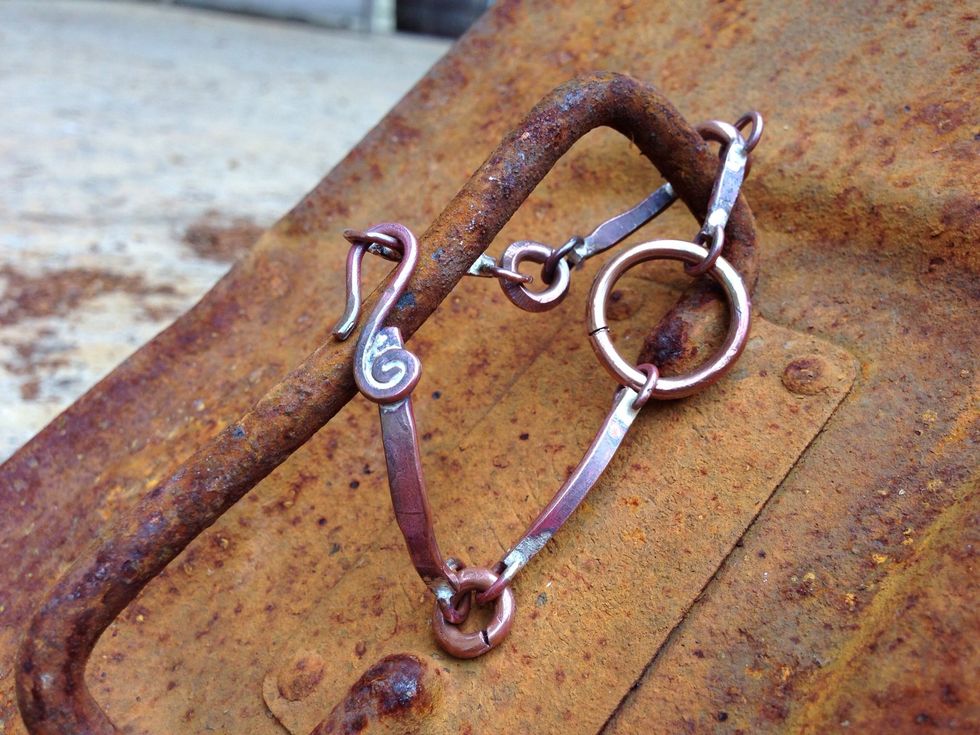
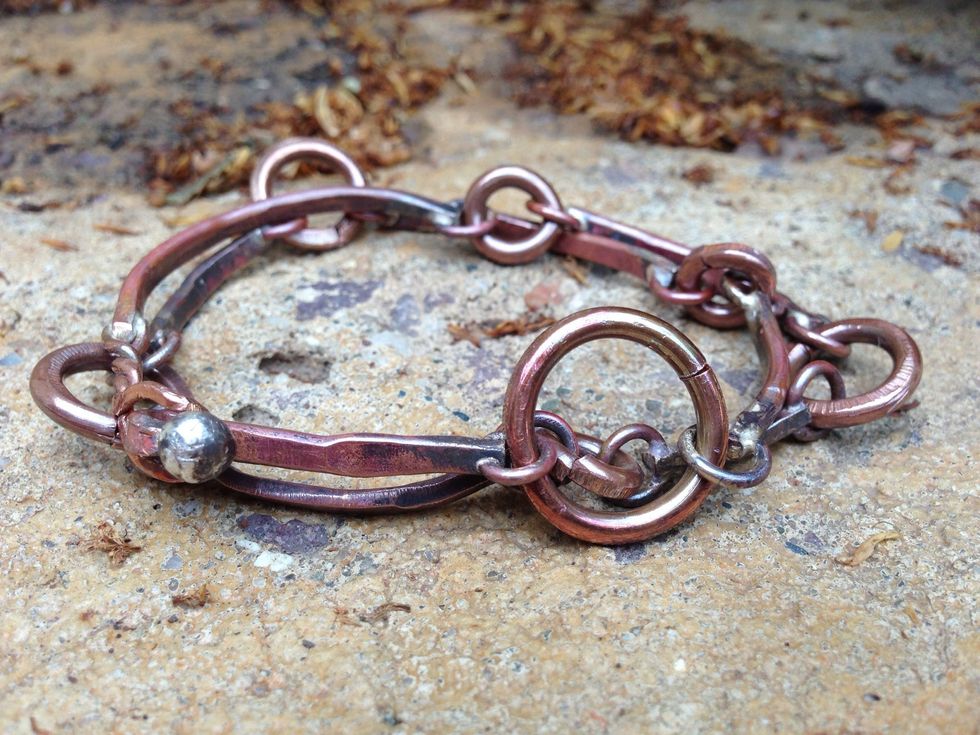
Here it is tumbled, but not buffed, but you can do that too, for a bright shine. Strong...
...unique...
...beautiful!
(Double-wrap Option done!)
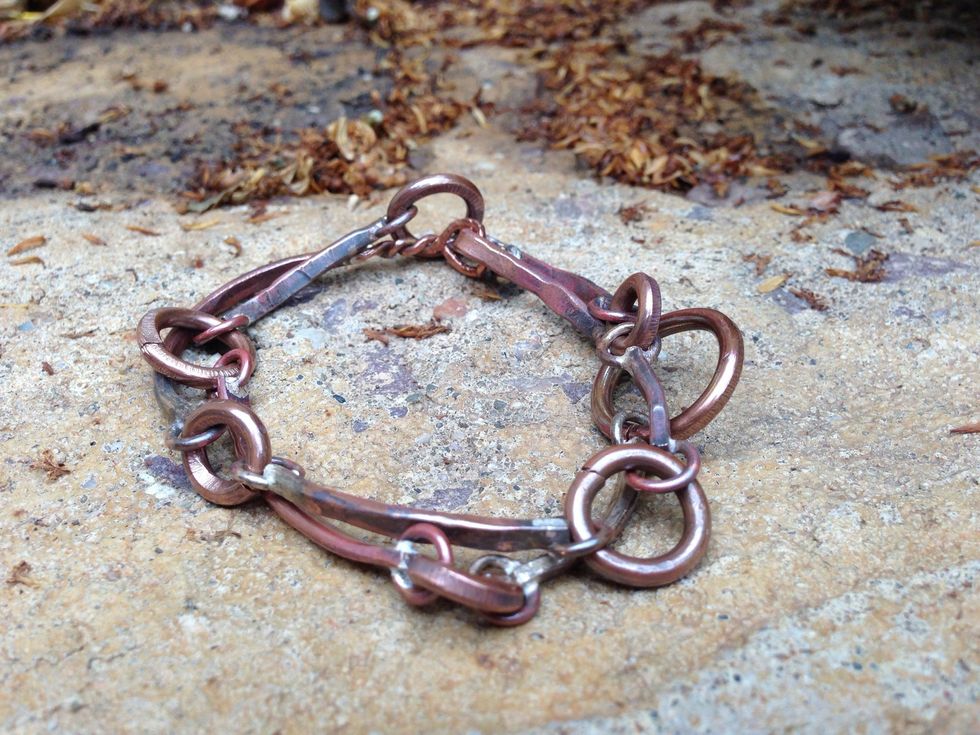
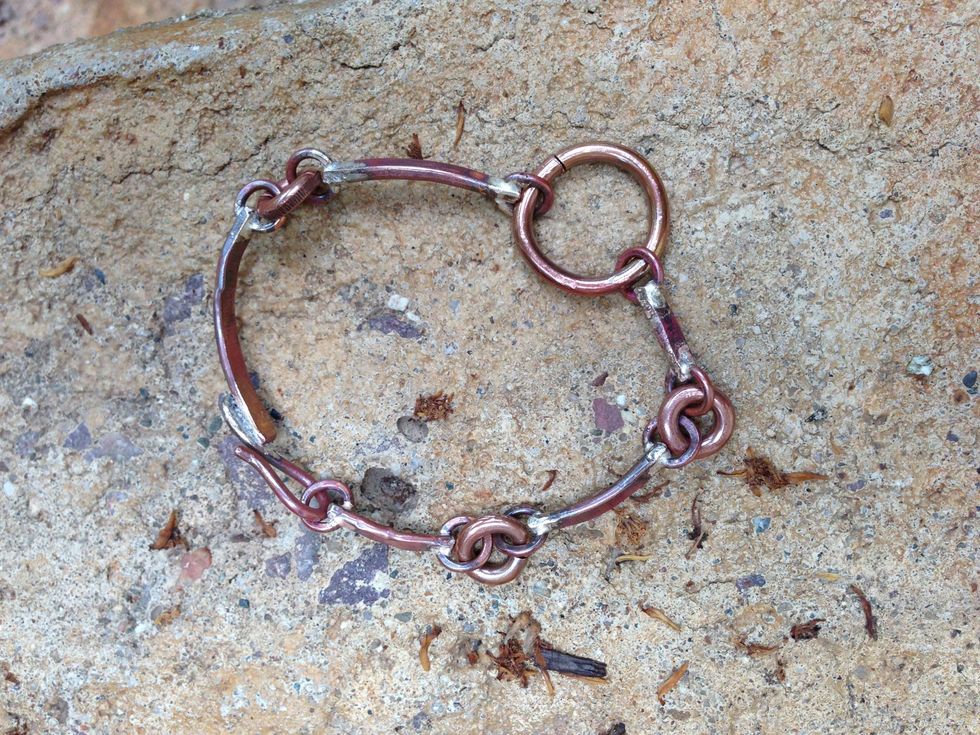
Love those copper colors!
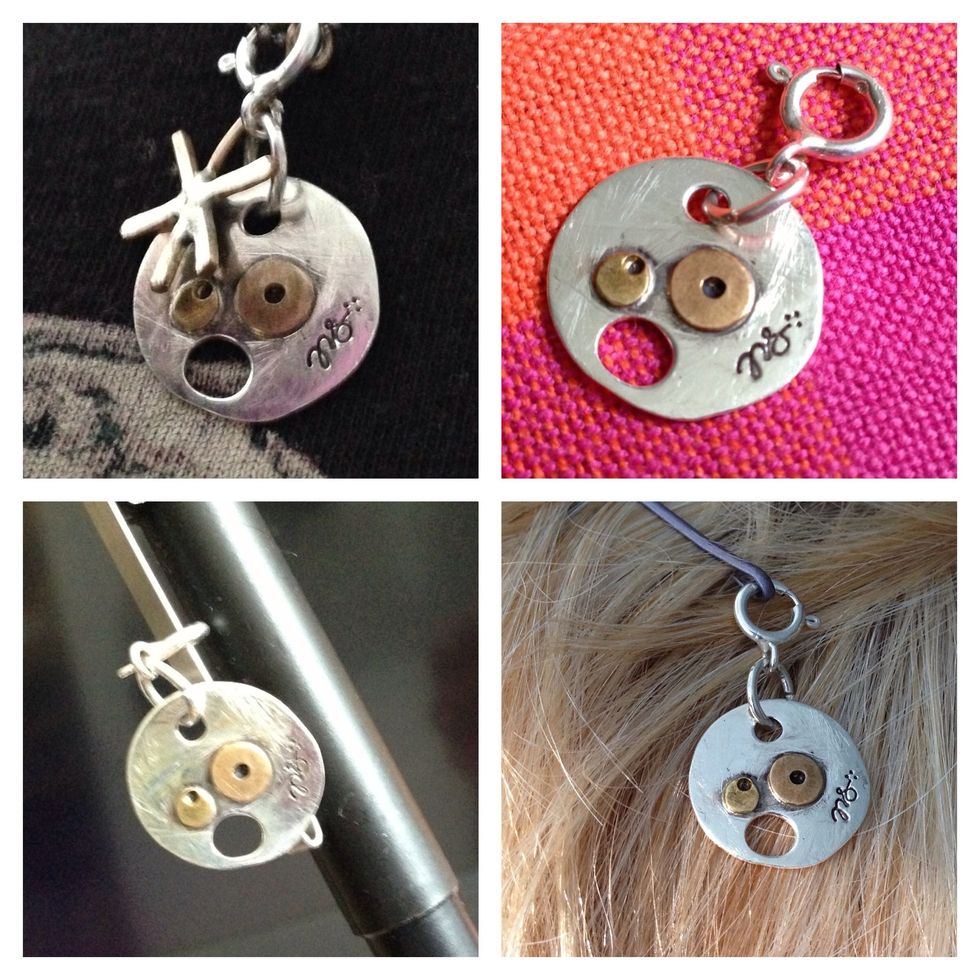
Its a great charm bracelet! Add charms to any link or segment. (These are JoeBobLeigh #facesinplaces Charms.)
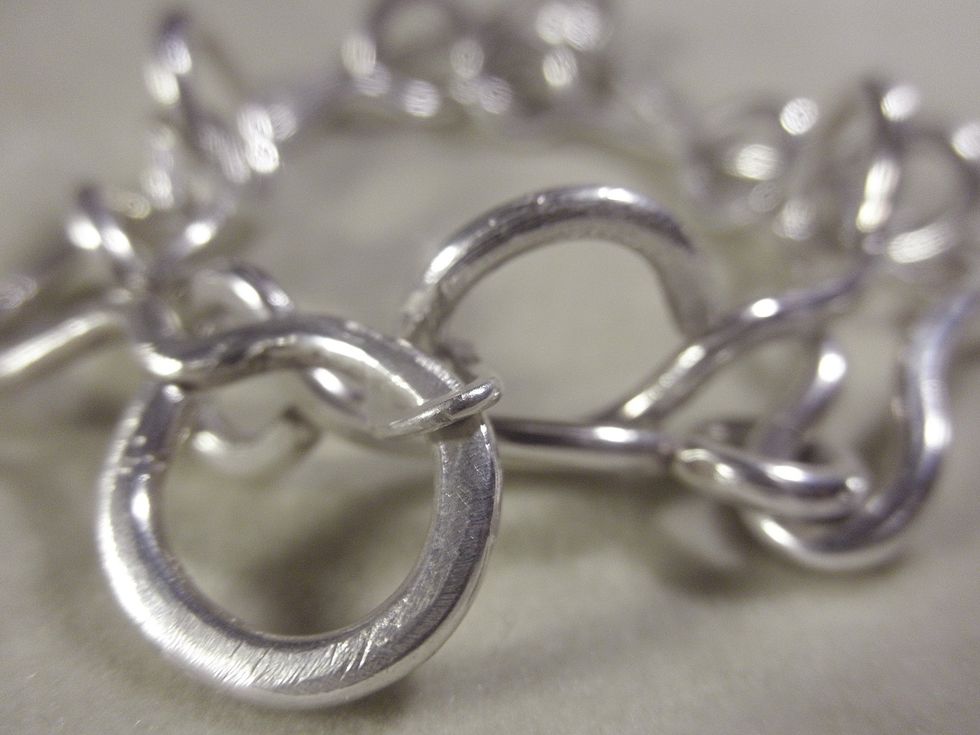
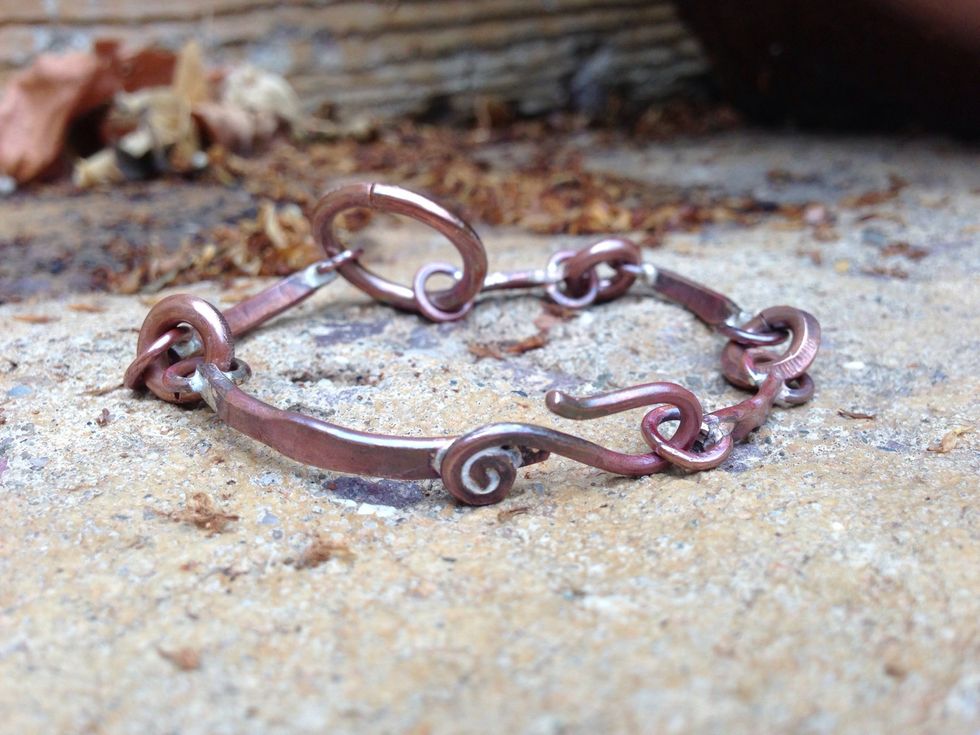
Try it in sterling!

Thanks for viewing my how-to! There is always more at JoeBobLeigh.com.