The Conversation (0)
Sign Up

Gather supplies to make your calendar. 11 x 14 plain frame, Graphic 45 Time to Flourish Paper Pad, Communique Collection, Black Graphic 45 Tag, Black Card Stock, Dry Erase Pens, and Velcro

Using two 12 x 12" matching sheets of paper, glue together. to form one large sheet.
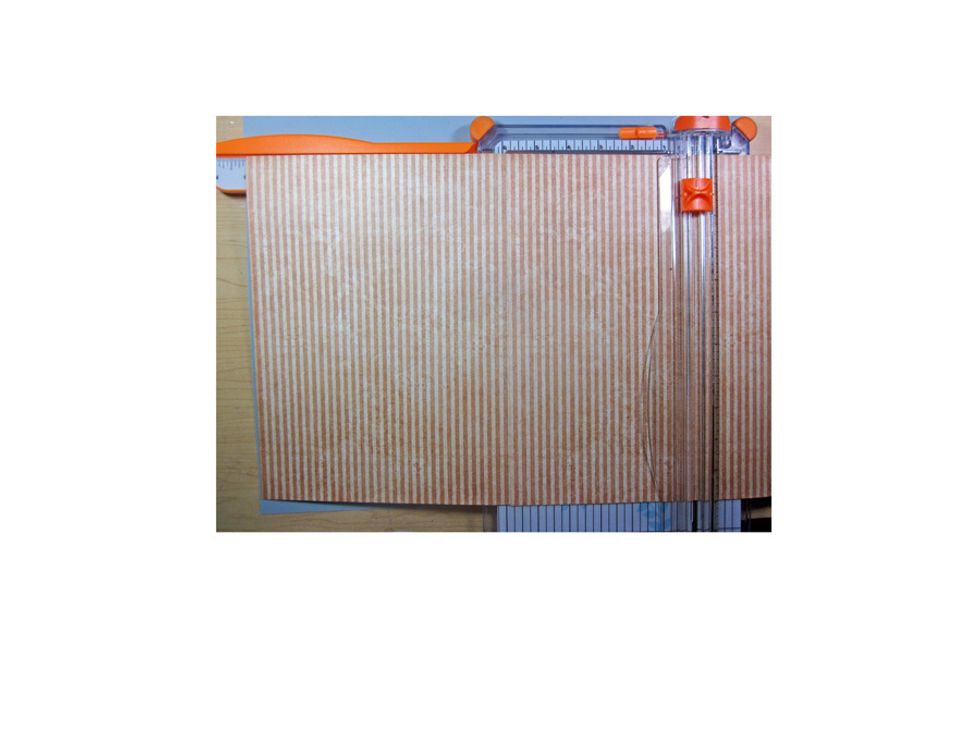
Cut your sheet down to 11 x 14" to fit in your frame.

Cut a grid from your die cut machine...or if you don't have a Cricut or something similar then measure out with a ruler and X-acto tool and cut.

Cut out each of the month names from the Time to Flourish Collection.

Mount each of the month names on plain black card stock strips leaving a 1/4" border.
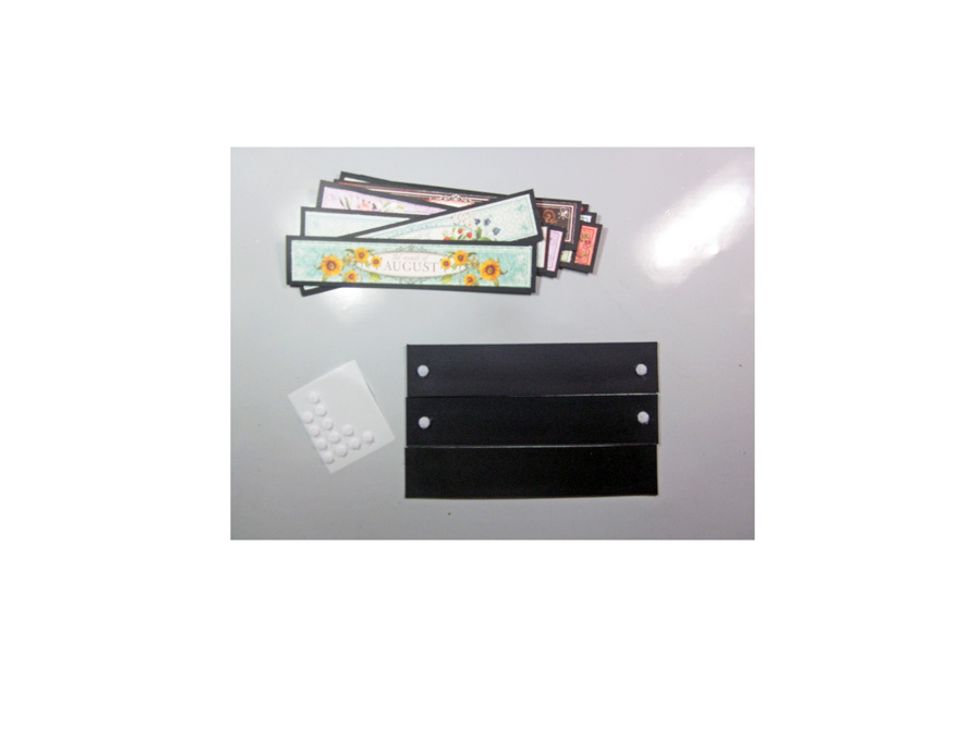
Add dots of Velcro to each of the backs of the month plates. If you don't have Velcro dots, just use regular sticky Velcro.

Add the opposite side of the velco to the top of the calendar grid. Be sure to line each one the same and then to line it up on the base calendar so each one will stick when rotated.

Fussy cut some images to add as permanent decorations. Be sure to choose images that will be good year round.
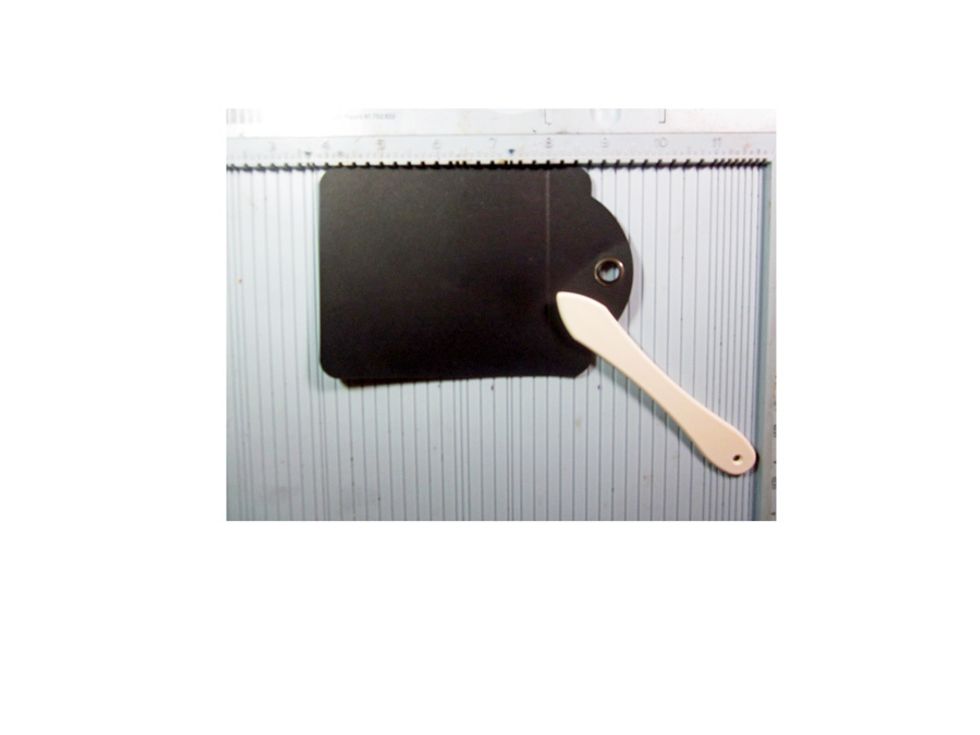
Score the top of a Graphic 45 black tag.

Fold over the score line and then attach some of the decorative paper from The Time to Flourish collection on the front of the pocket.

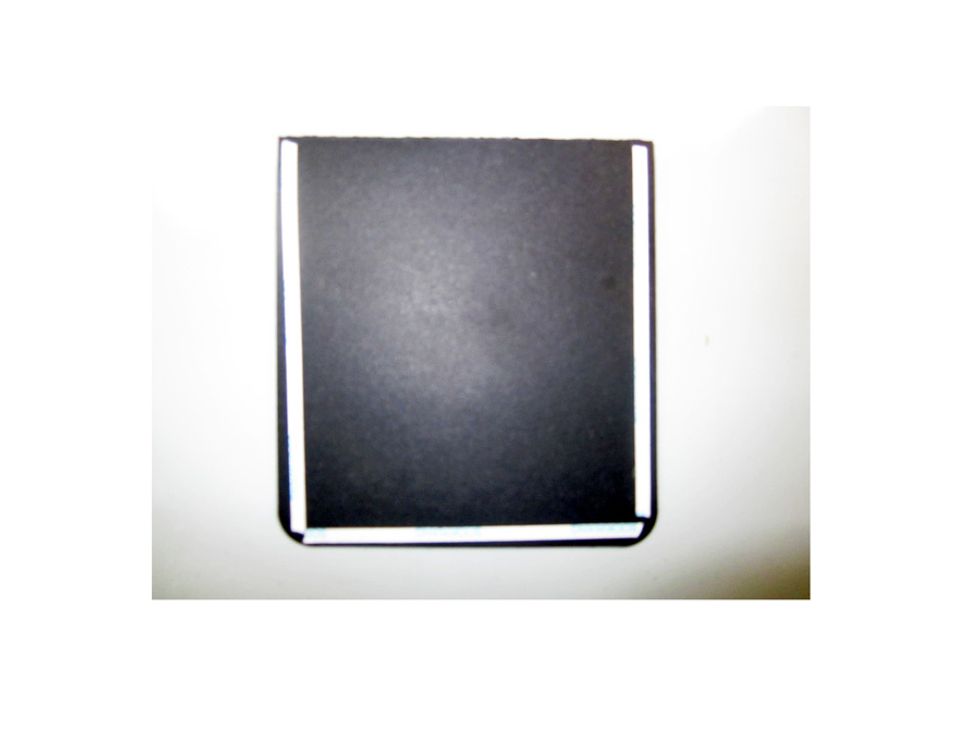
This little pocket will hold all of the month plates on the back of your frame/calendar.
Attach double layers of foam tape around the pocket. You want the height so your plates have room.

Attach your pocket to the back of your frame and tuck the extra months in .

Add Velcro to the one of the dry erase markers that has been wrapped in Graphic 45 paper. Then add the matching dots to the side of the frame. This will hold your pen to mark the days.
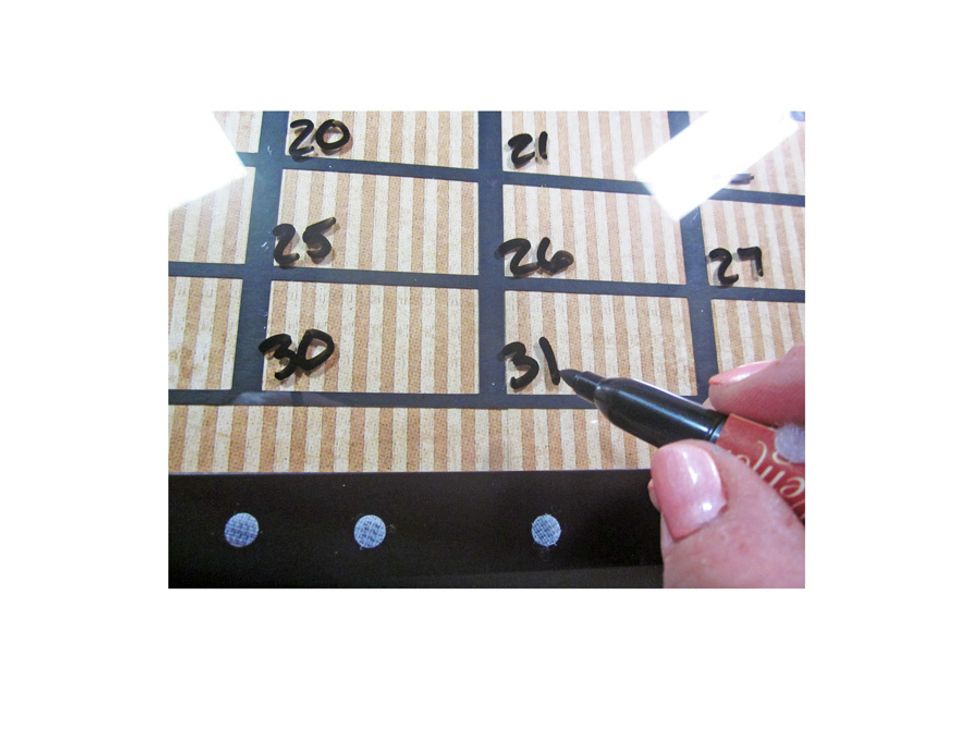
Mark your days for each month....at the end of the month wipe the frame clean, change your month plate and start again.

Here is the back of the frame complete with all the extra month plates.

Here is a close up of the finished frame...you might notice the background paper is different from the tutorial pictures. Note: Be sure to have your grid going in the right direction.
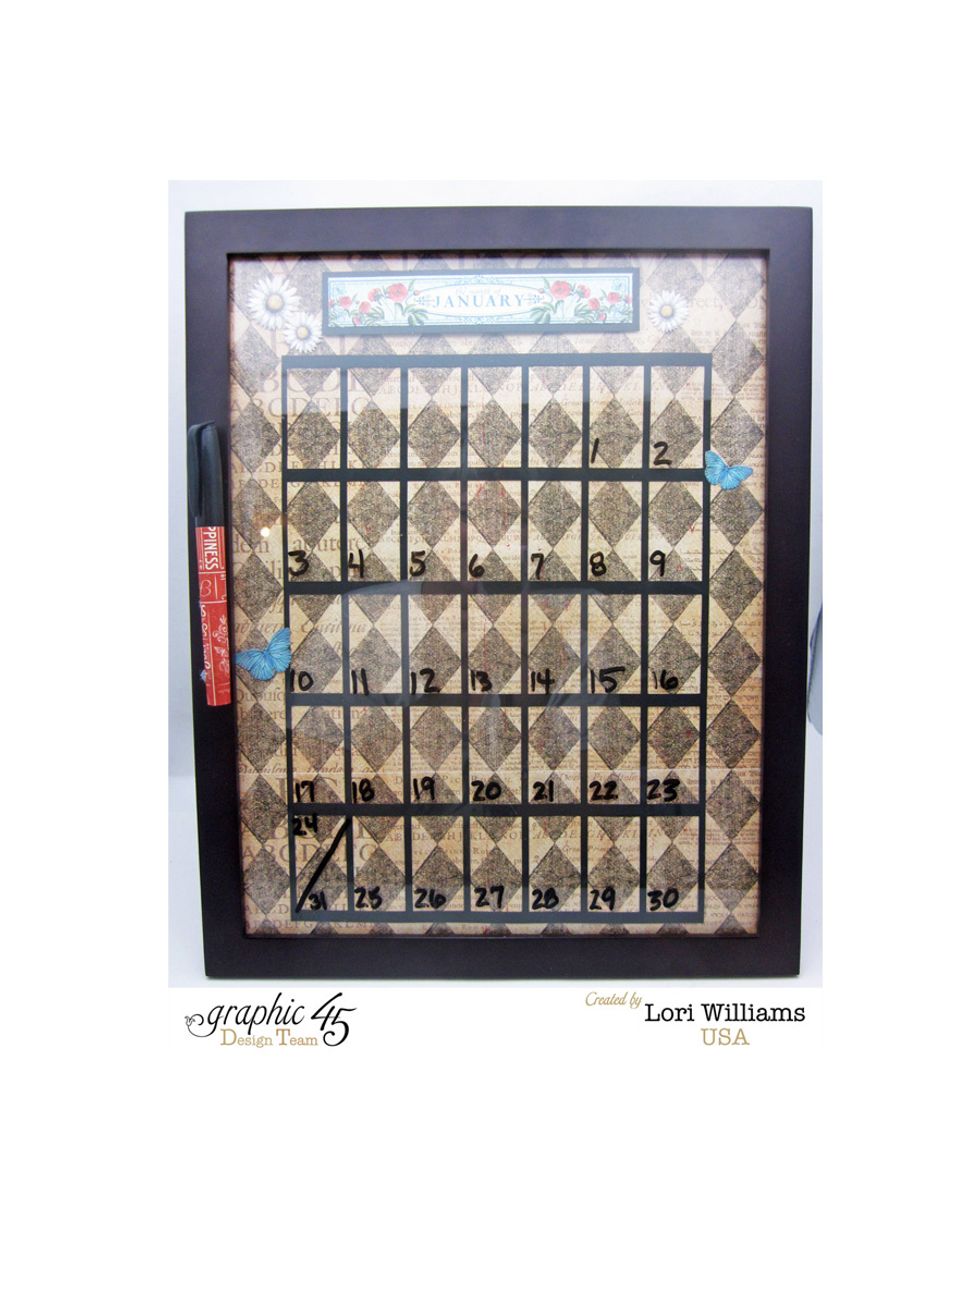
We all make mistakes but the good thing is in crafts...it's an easy fix. Here is the finished calendar...so bring on 2016!!!

My name is Lori Williams & I'm a design team member w/Graphic 45. See more of my work on my blog www.pinkcloudscrappers.blogsp… or on Graphic 45's Blog www.g45papers.typepade.com