The Conversation (0)
Sign Up
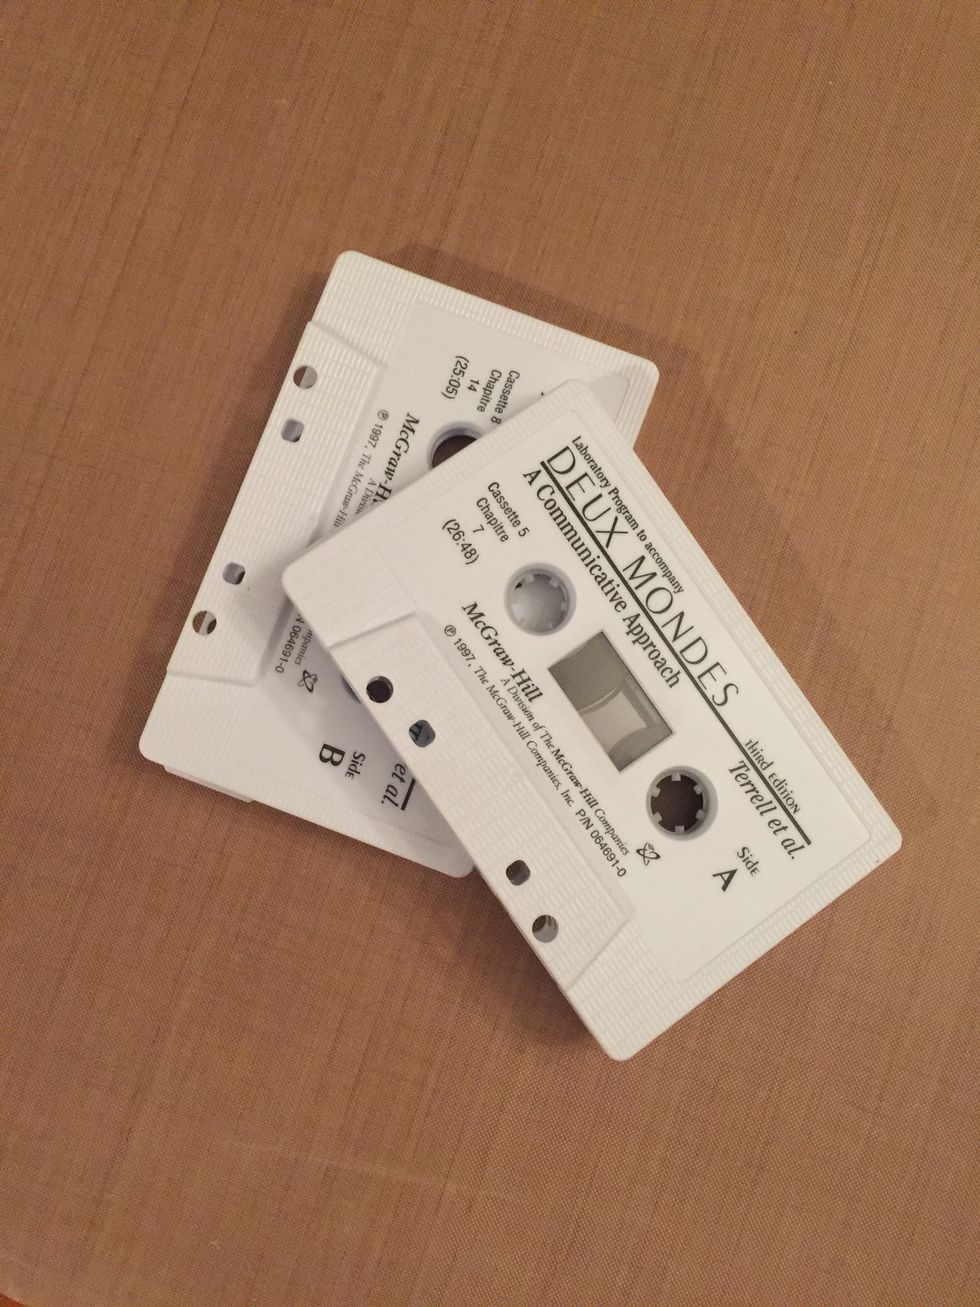
Get two cassette tapes. One for the front cover and one for the back.
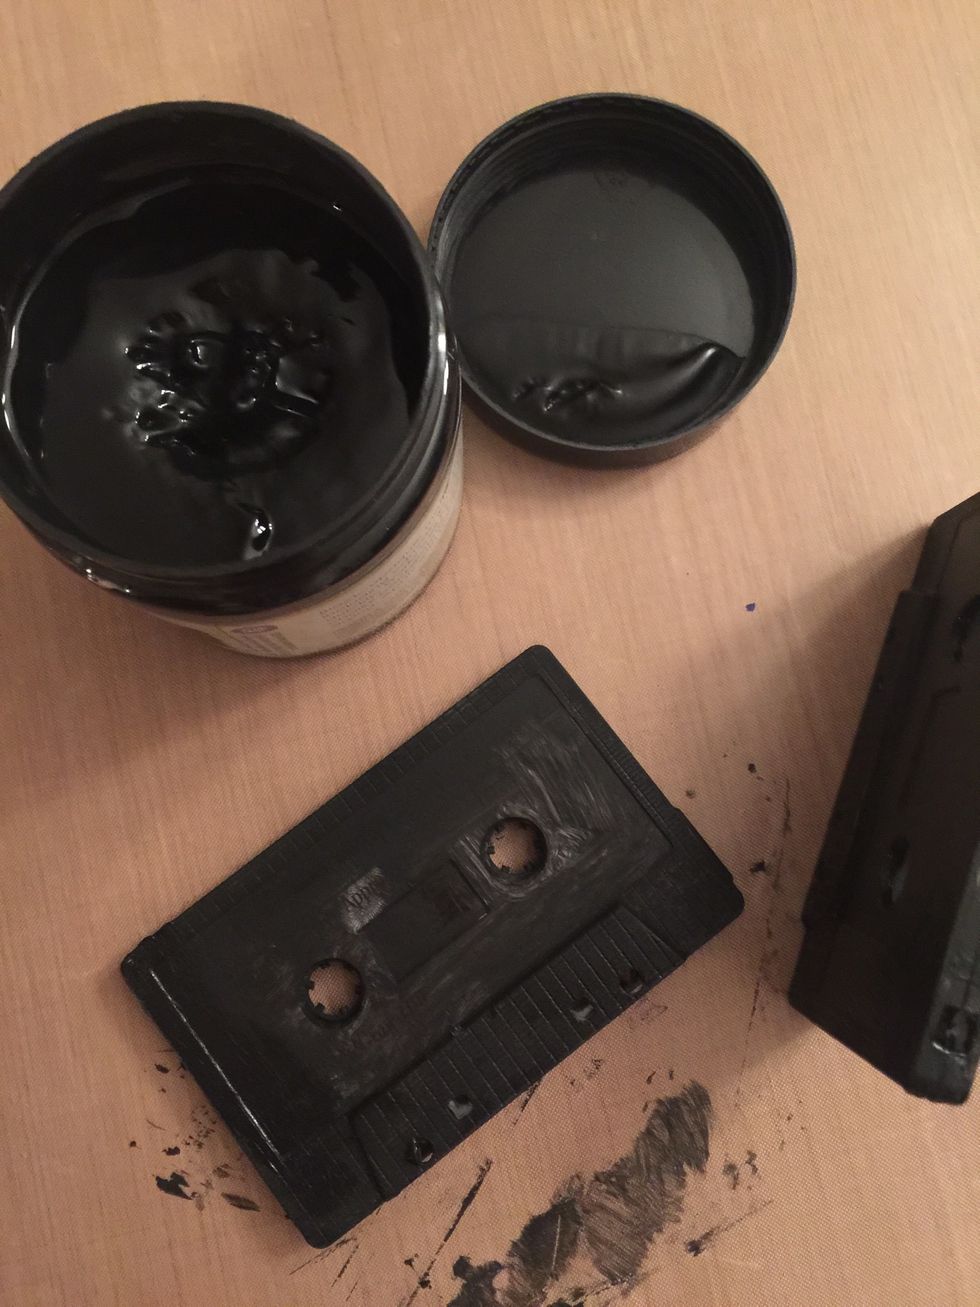
If they are not in the color you'd like, paint them!
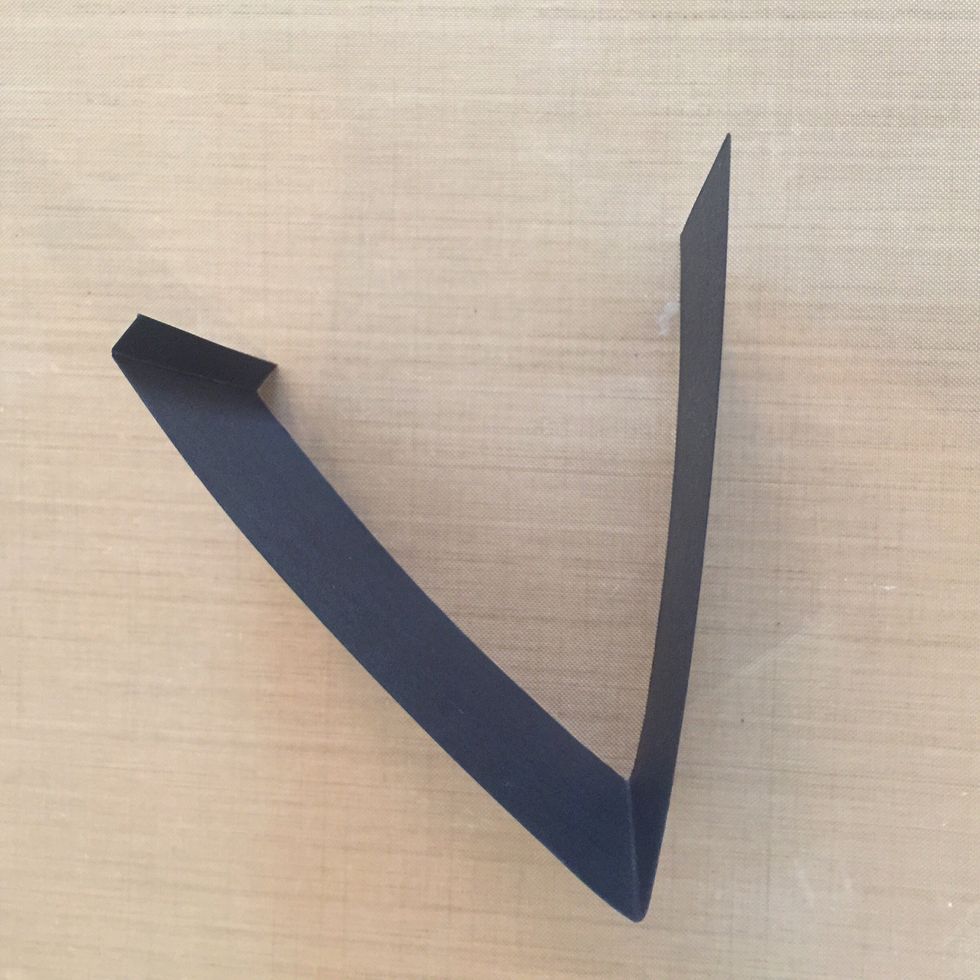
Cut 3 pieces of cardstock 2.5 x 8". Score at 1/4" to create tiny flap parallel to short end. Fold opposite end to meet score line as pictured. (Or, score at about 3 7/8", fold towards flap.)
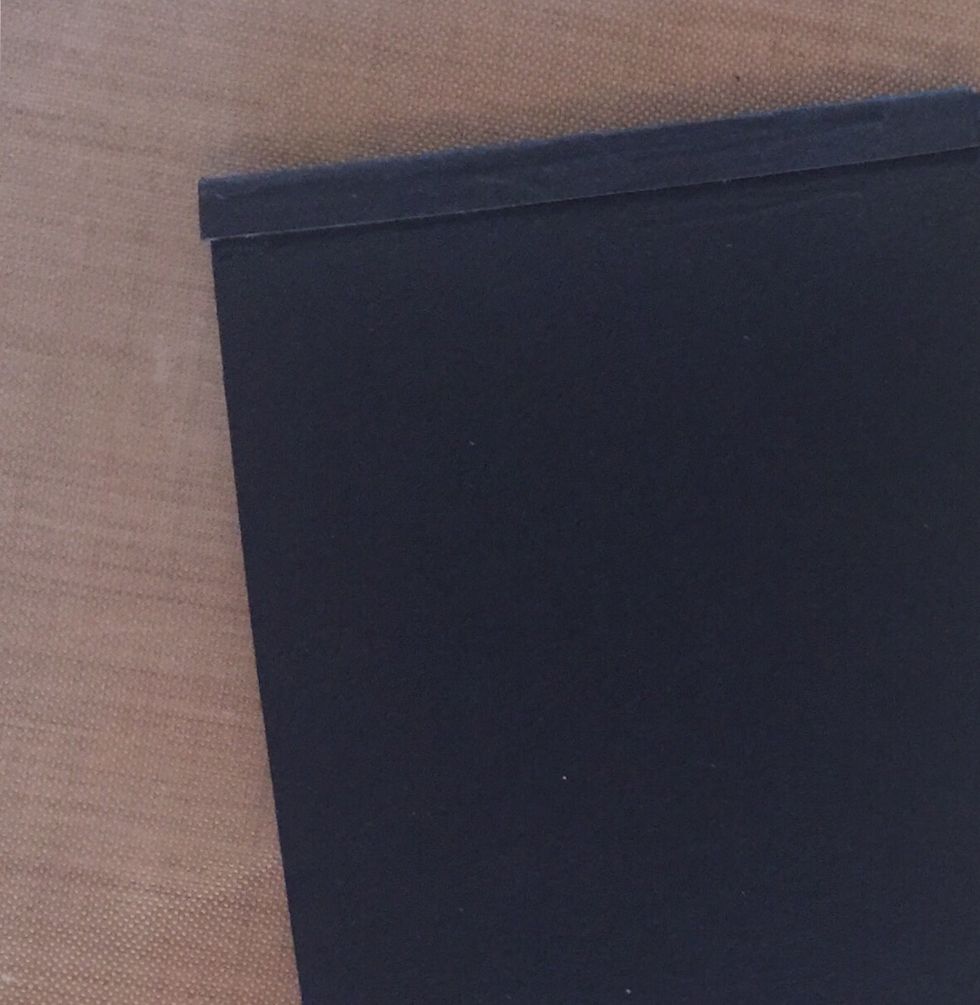
Glue flap to outside to create pocket. It's more like a flattened tube at this point ;) You should have 3 pocket tubes.
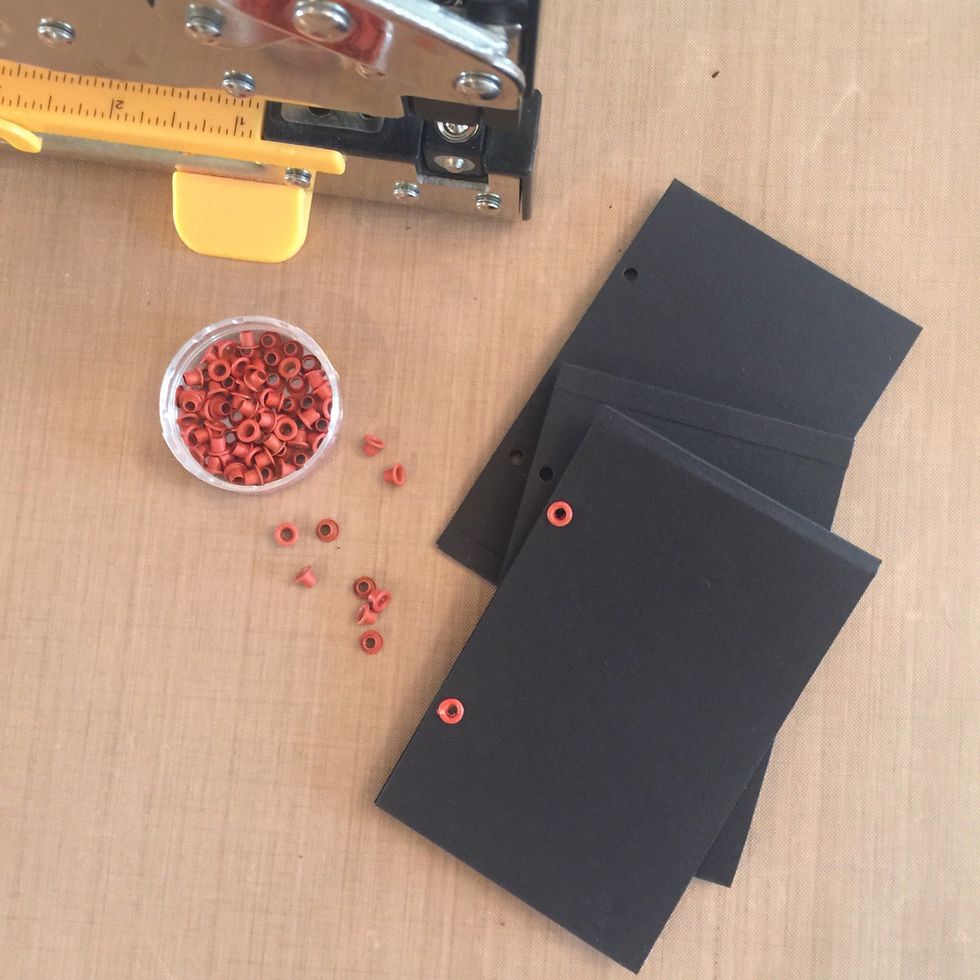
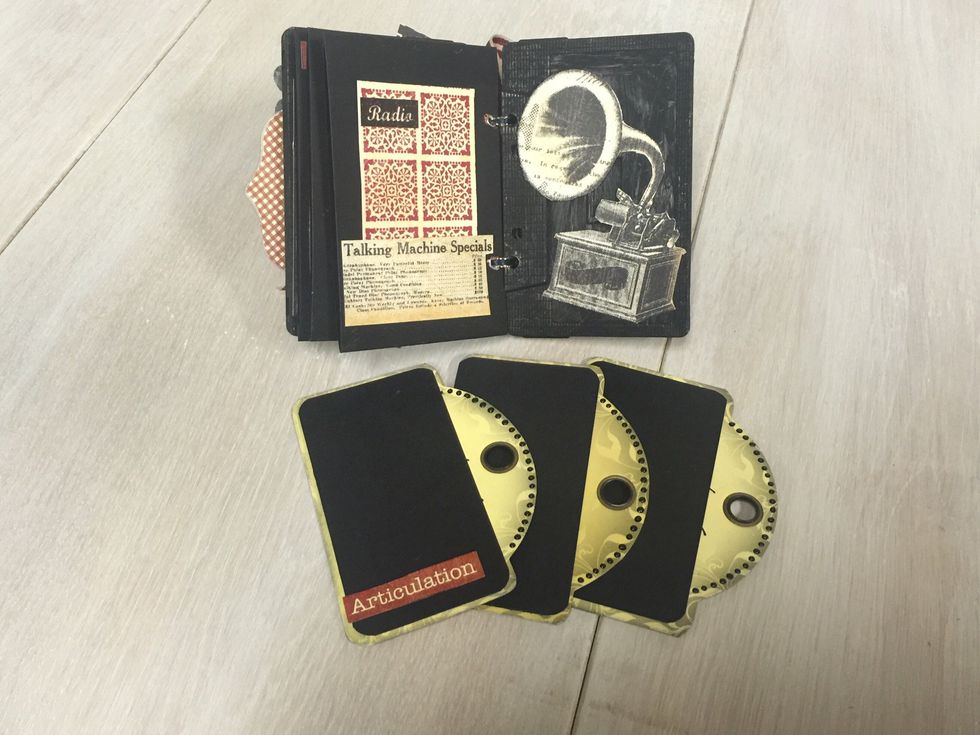
Place cassette tape over pocket page to mark where you will punch the holes. I used the two holes closest to the edge of the cassette tape (see step 10, if unsure) Use eyelets to reinforce holes.
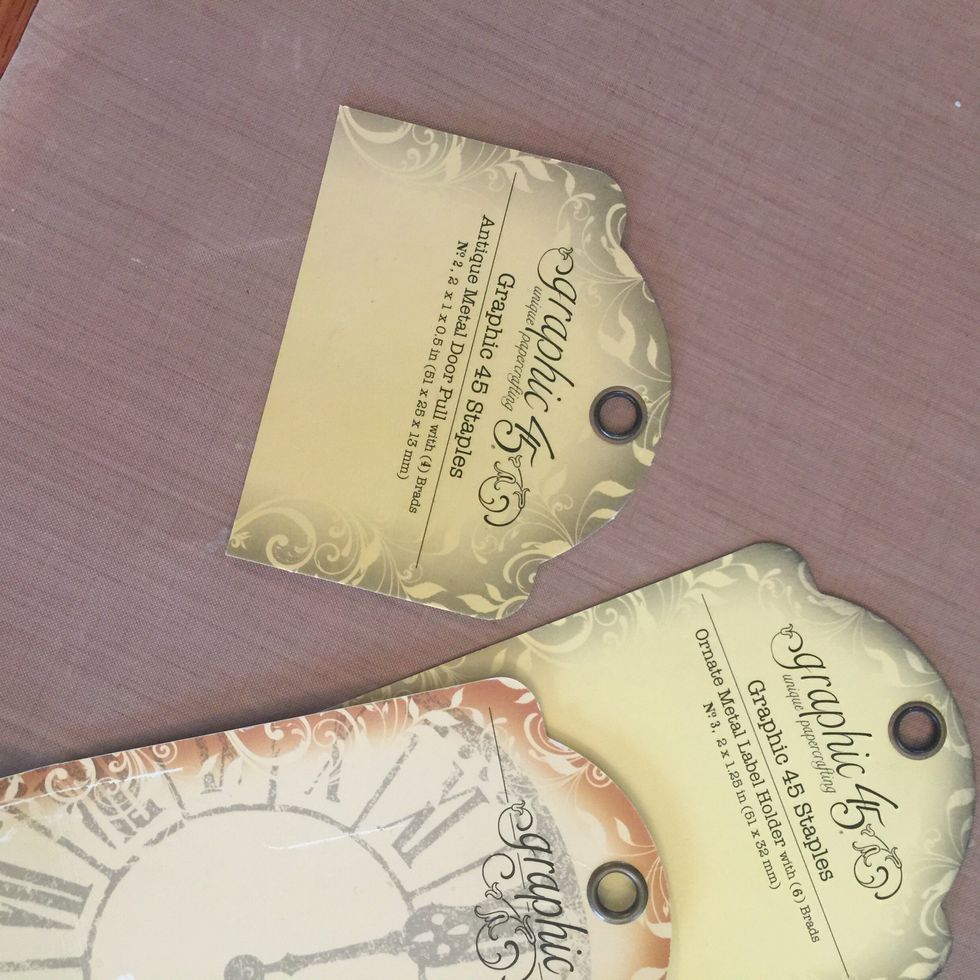
Grab one tag per pocket page and trim a little on the sides so they fit in the pockets and cut them short until you are happy with how far they stick out from the pocket page.
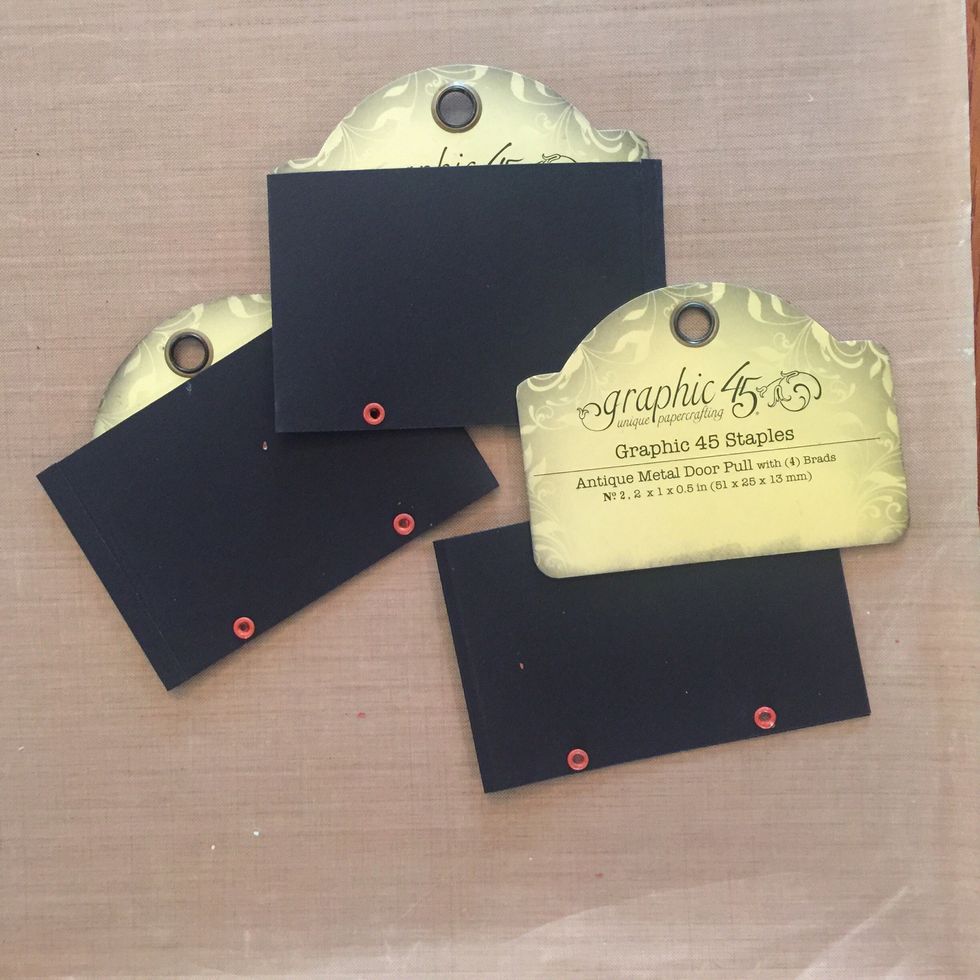
Check fit.
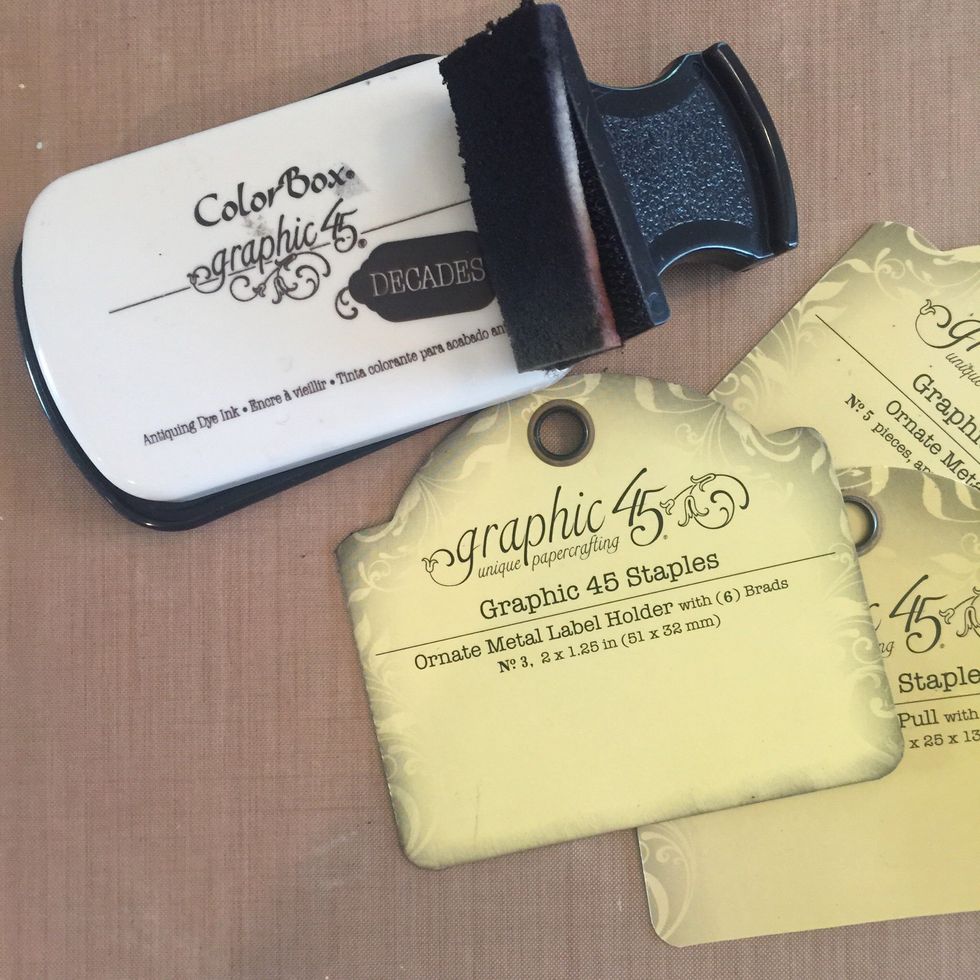
Round corners and ink edges, if desired.
Using narrow ribbon, thread cover and pages together at top & tie off with knot and/or bow. Repeat for bottom hole. Don't tie too tight to allow for page decoration and ribbon at spine (step 11).
Cut off excess ribbon.
Thread wide ribbon through loops of thin ribbon and make a prett6 bow to decorate the album "spine".
Decorate to your hearts content!
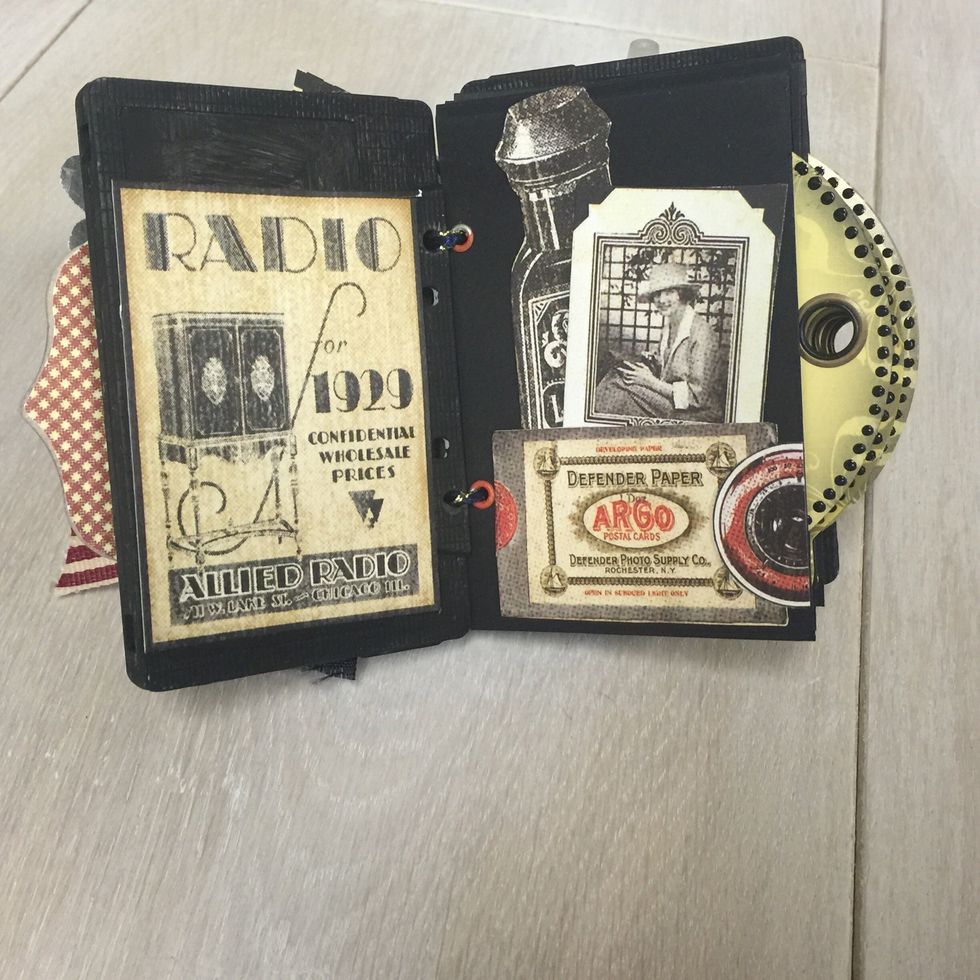
Add a little pocket to tuck some tags and cutouts from the paper collection.
Add photo mats to your tags and stickers for decoration.
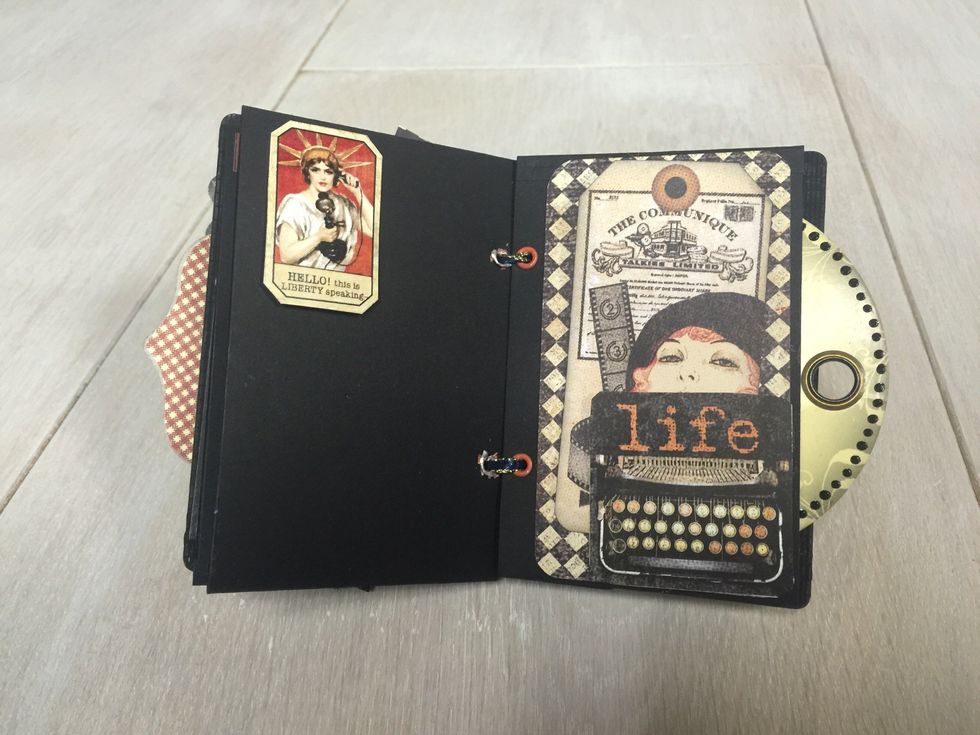
Sticker devote on left and Typewriter corner pocket to hold photo mat on the right.
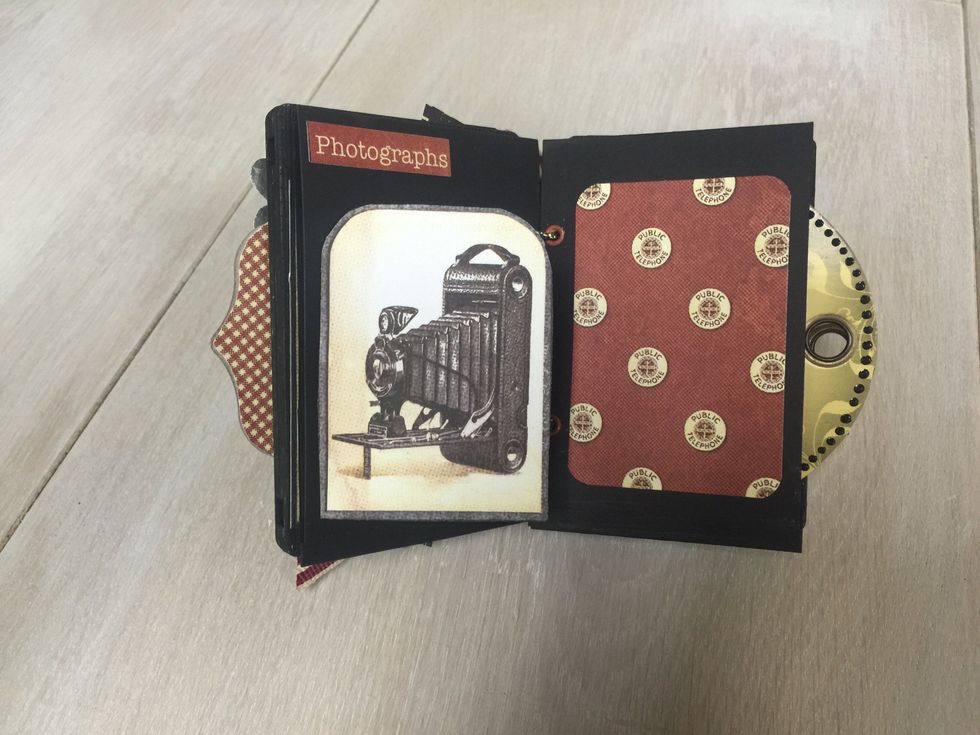
Using a cardstock about 1x2", scored at 1/2" length wise to make a flap from the vintage camera cutout.
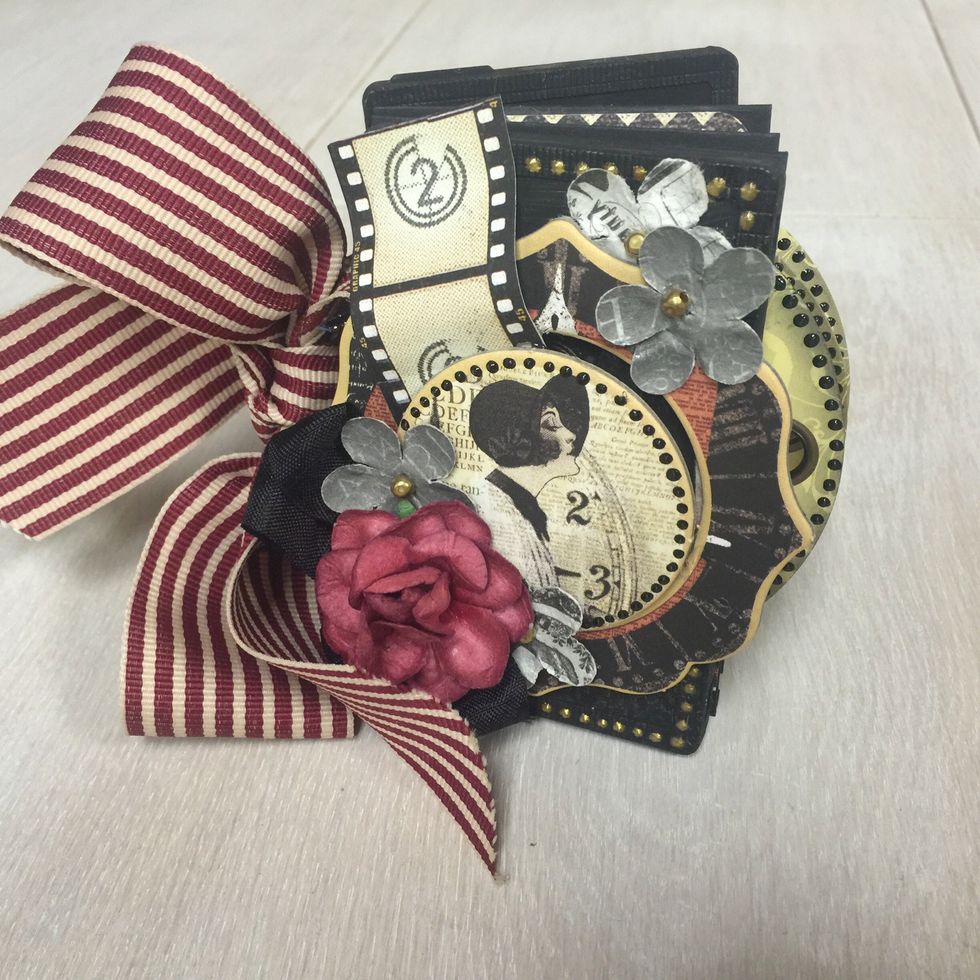
Add some pearl pen dots for a finishing touch and enjoy!